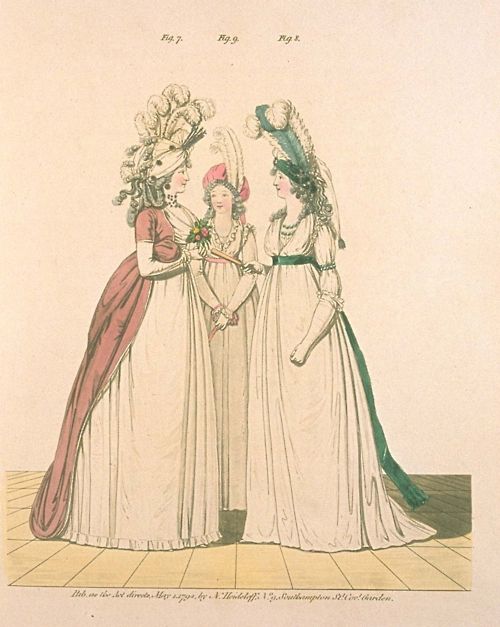
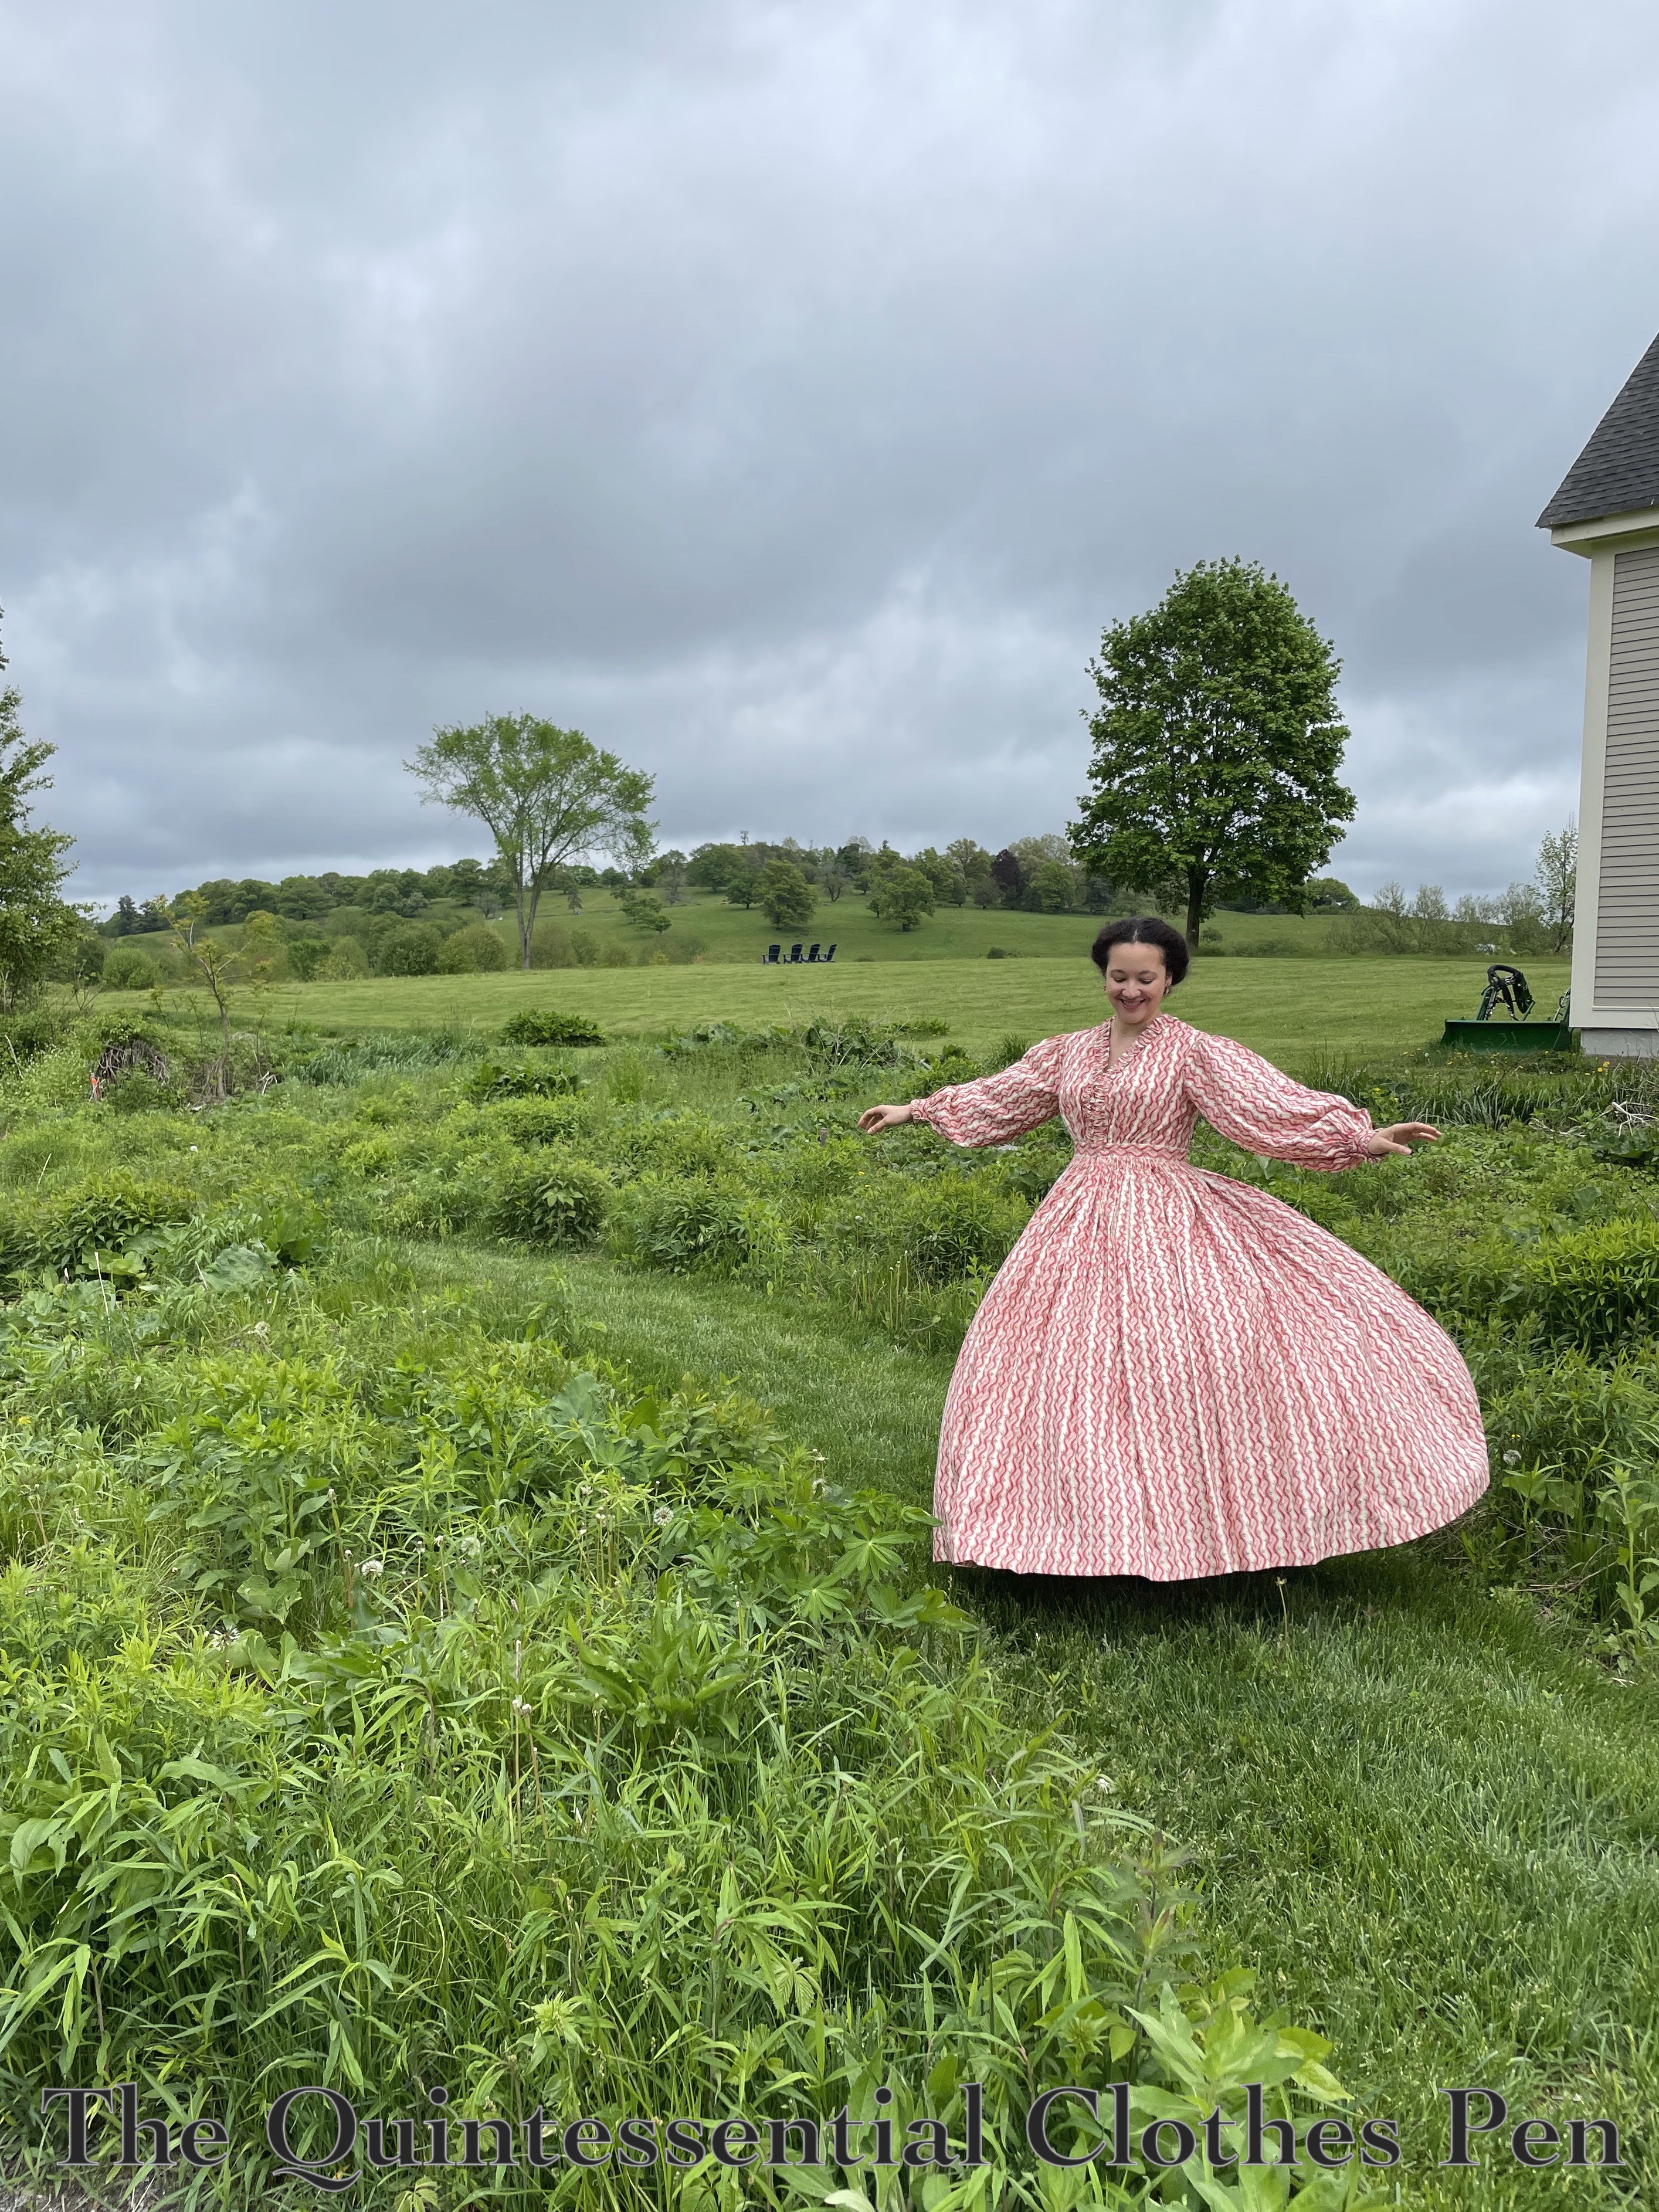
Over the last year or so I’ve been working on another new ensemble: a second 1770s sacque dress (also called a Robe à la Française or sack-back gown) to be friends with my original Versailles dress (which you can read all about in this past series of posts). My goal was to have a new dress that I could loan to two different friends so that they could join me in 18th century splendor. Luckily, the two friends I have in mind are not too different in circumferences!
The new ensemble has many individual garments — under petticoat, over petticoat, the sacque itself, a tucker, and sleeves flounces (or engageantes) — so there will be a number of posts coming up that share details about these various pieces. This post is going to focus on the over petticoat that I made for this ensemble.

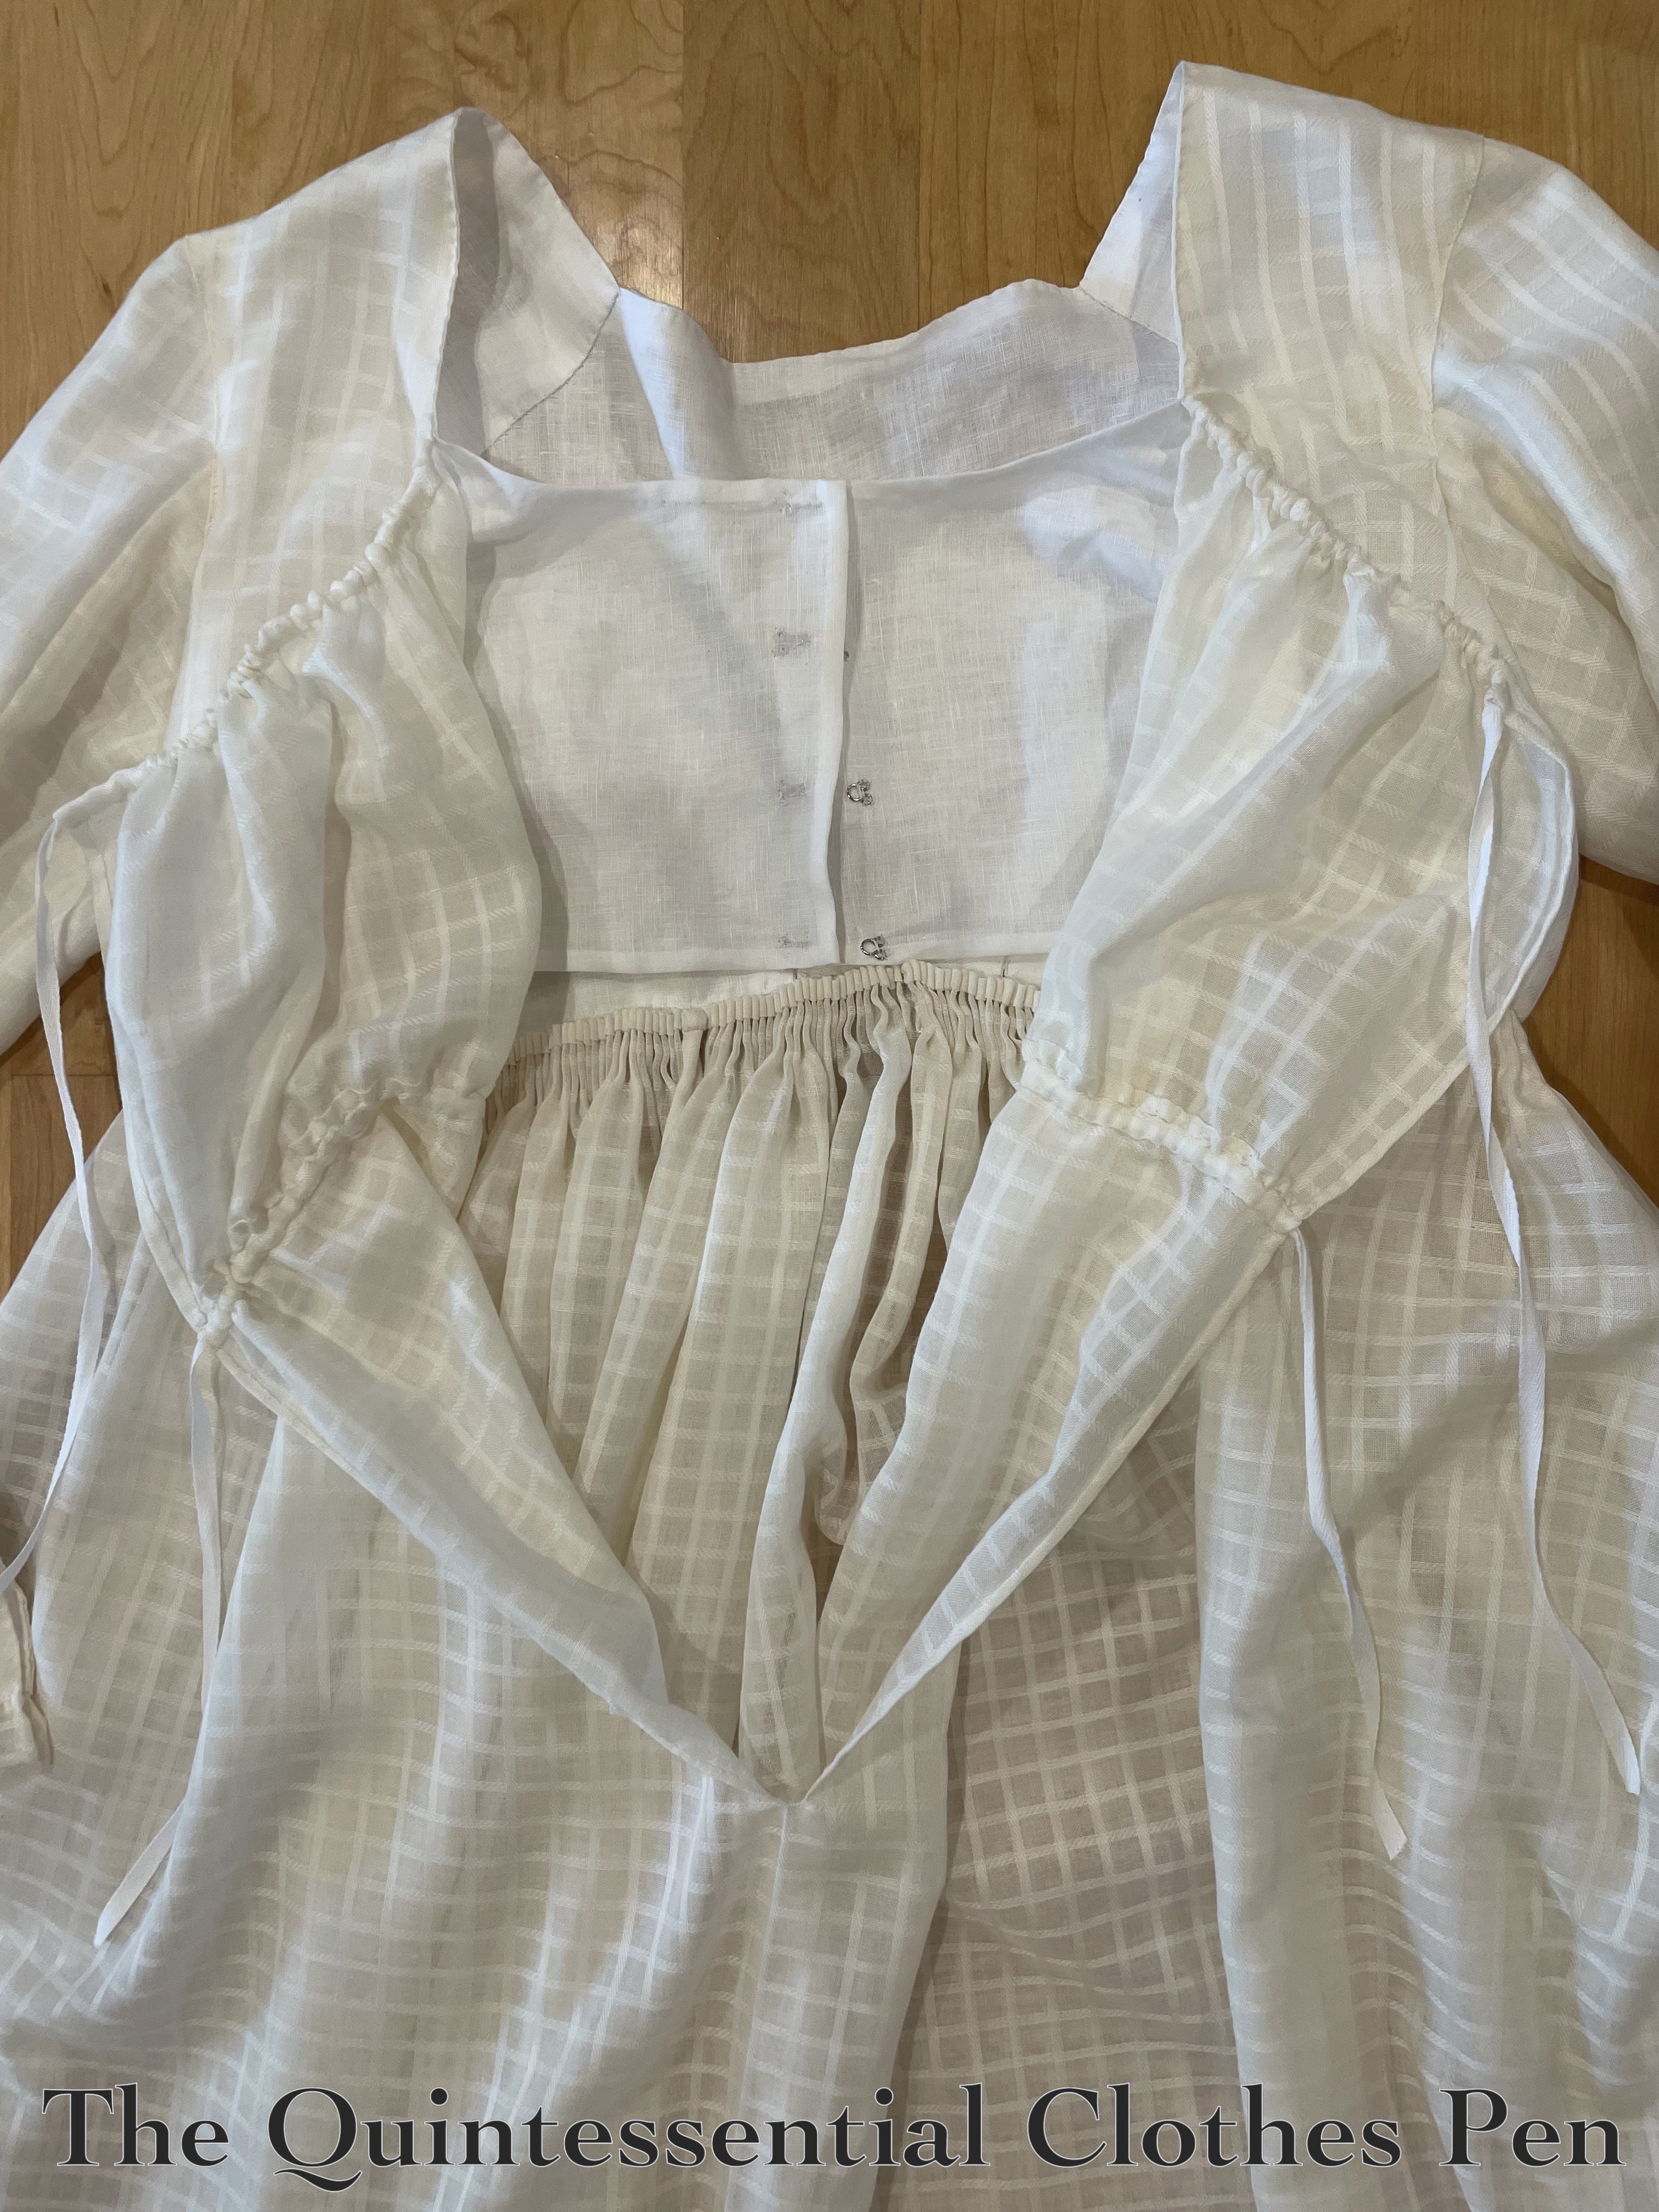
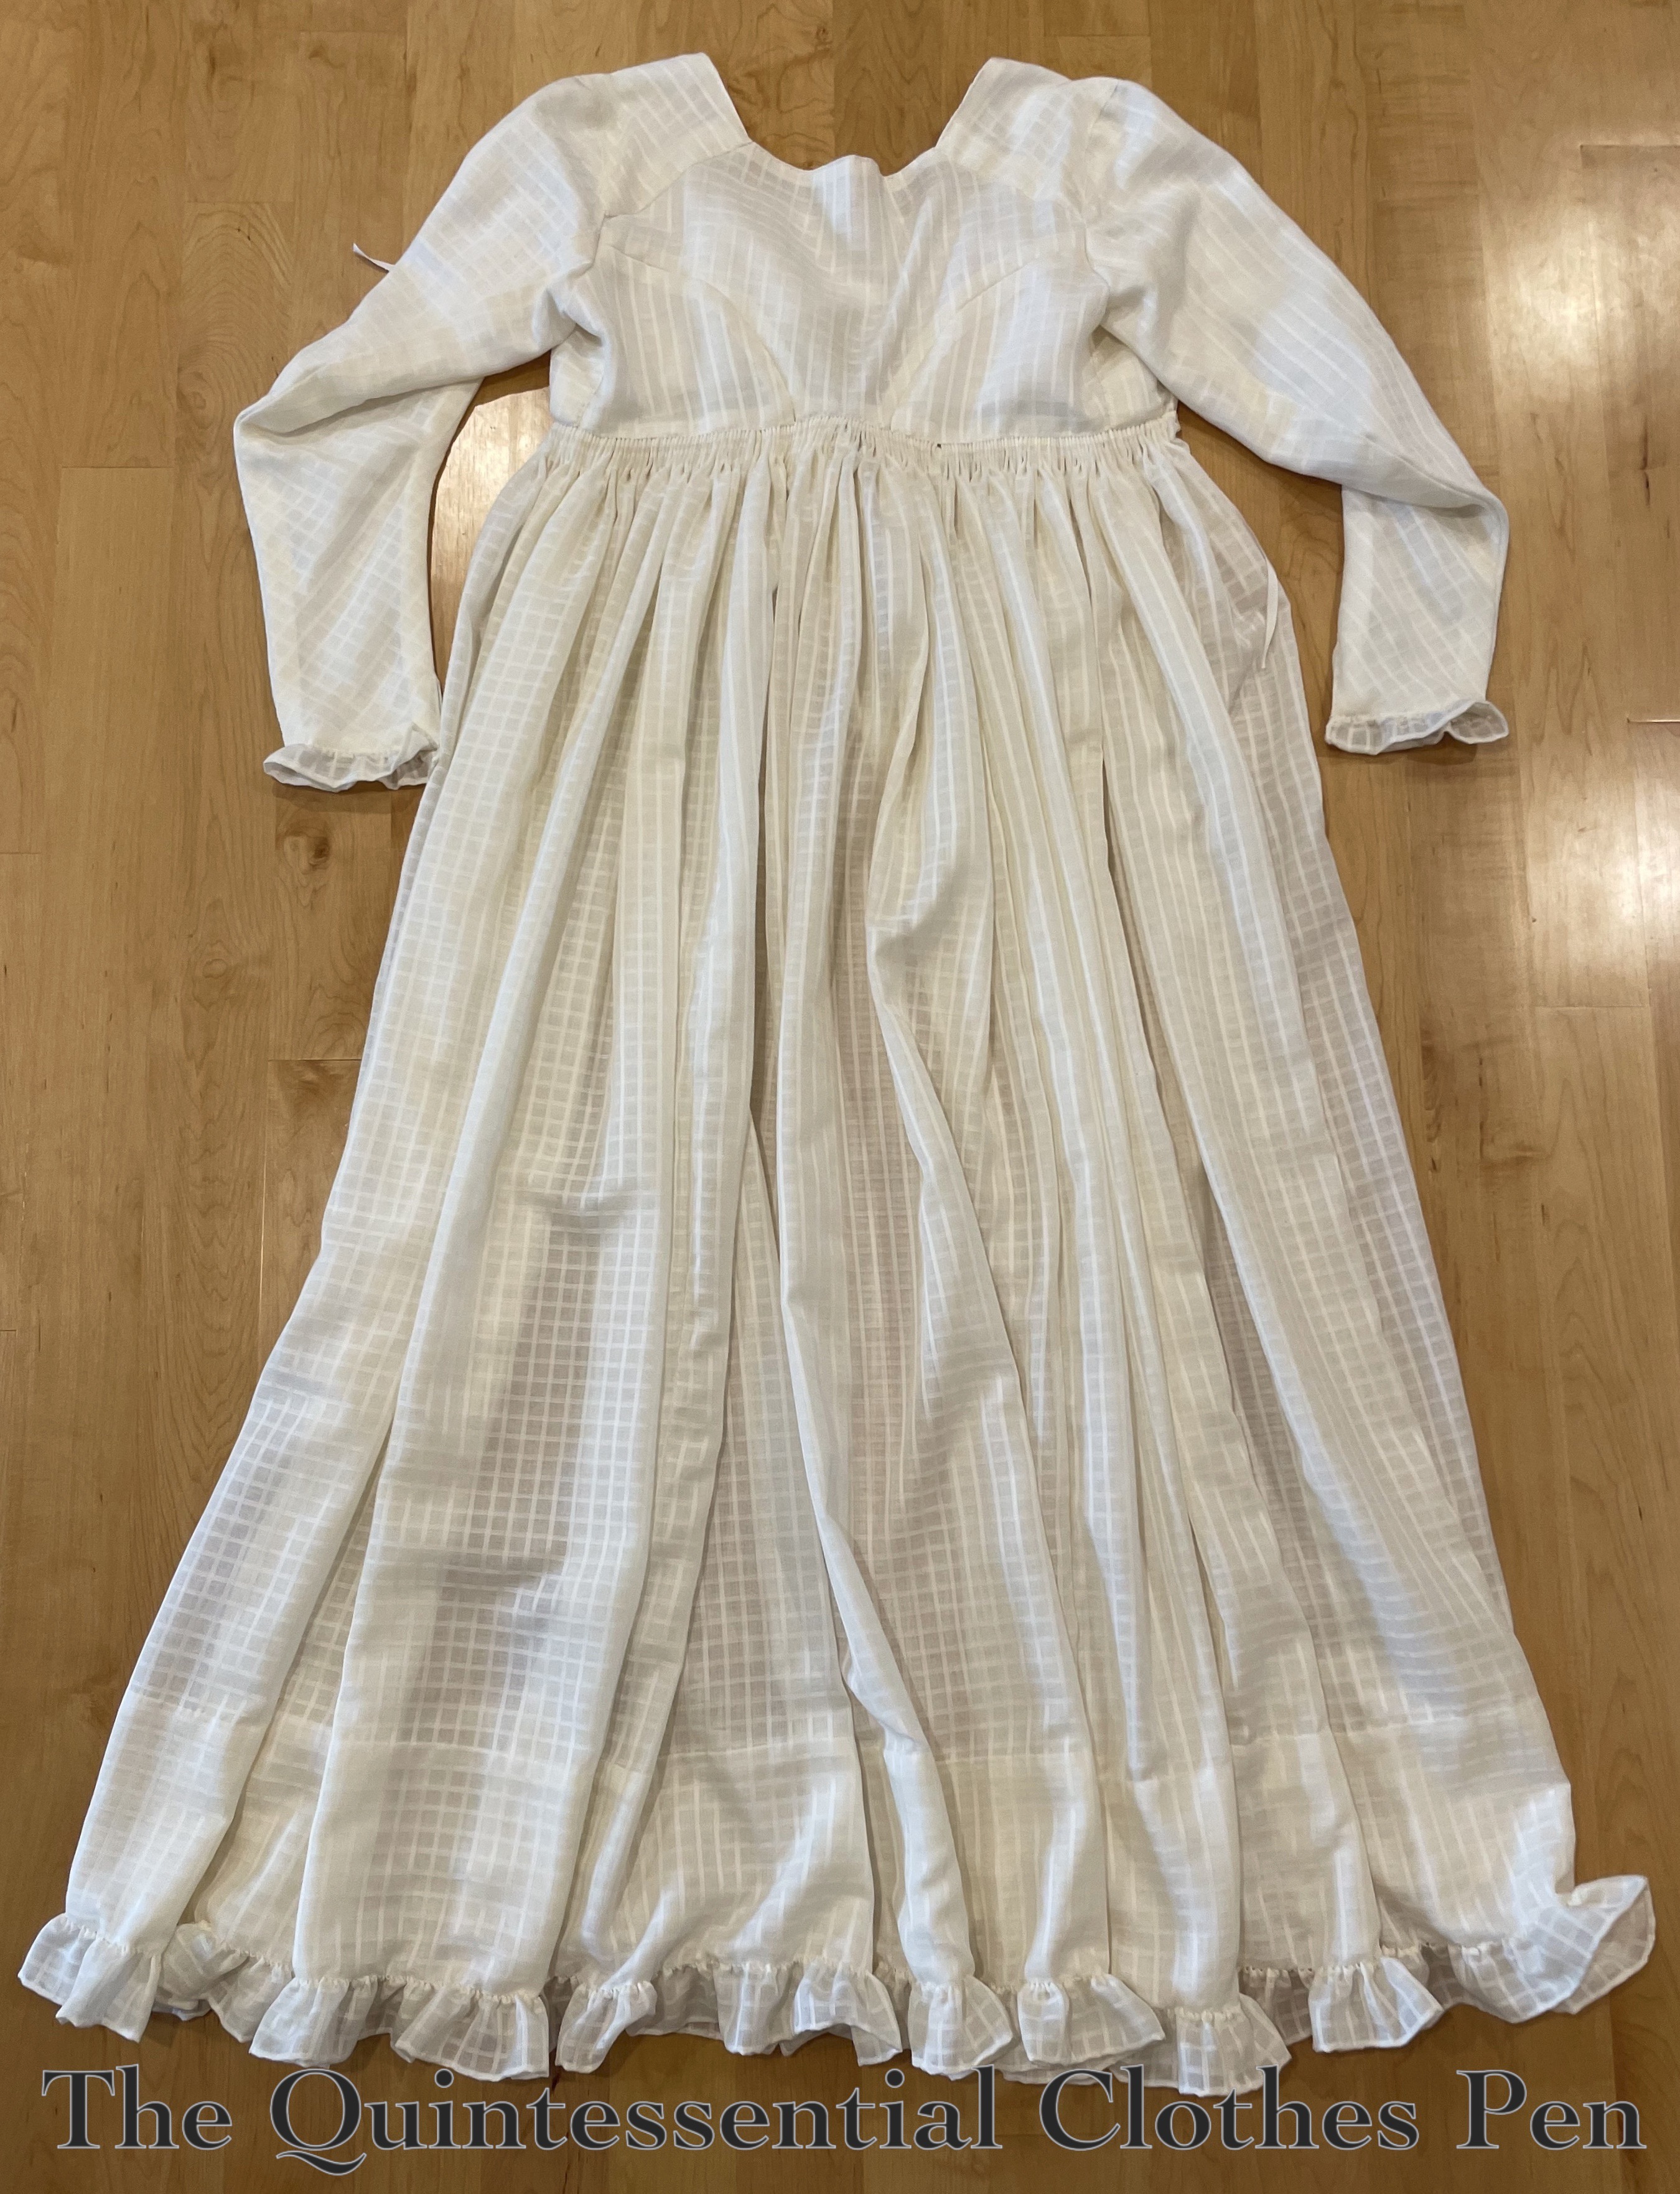
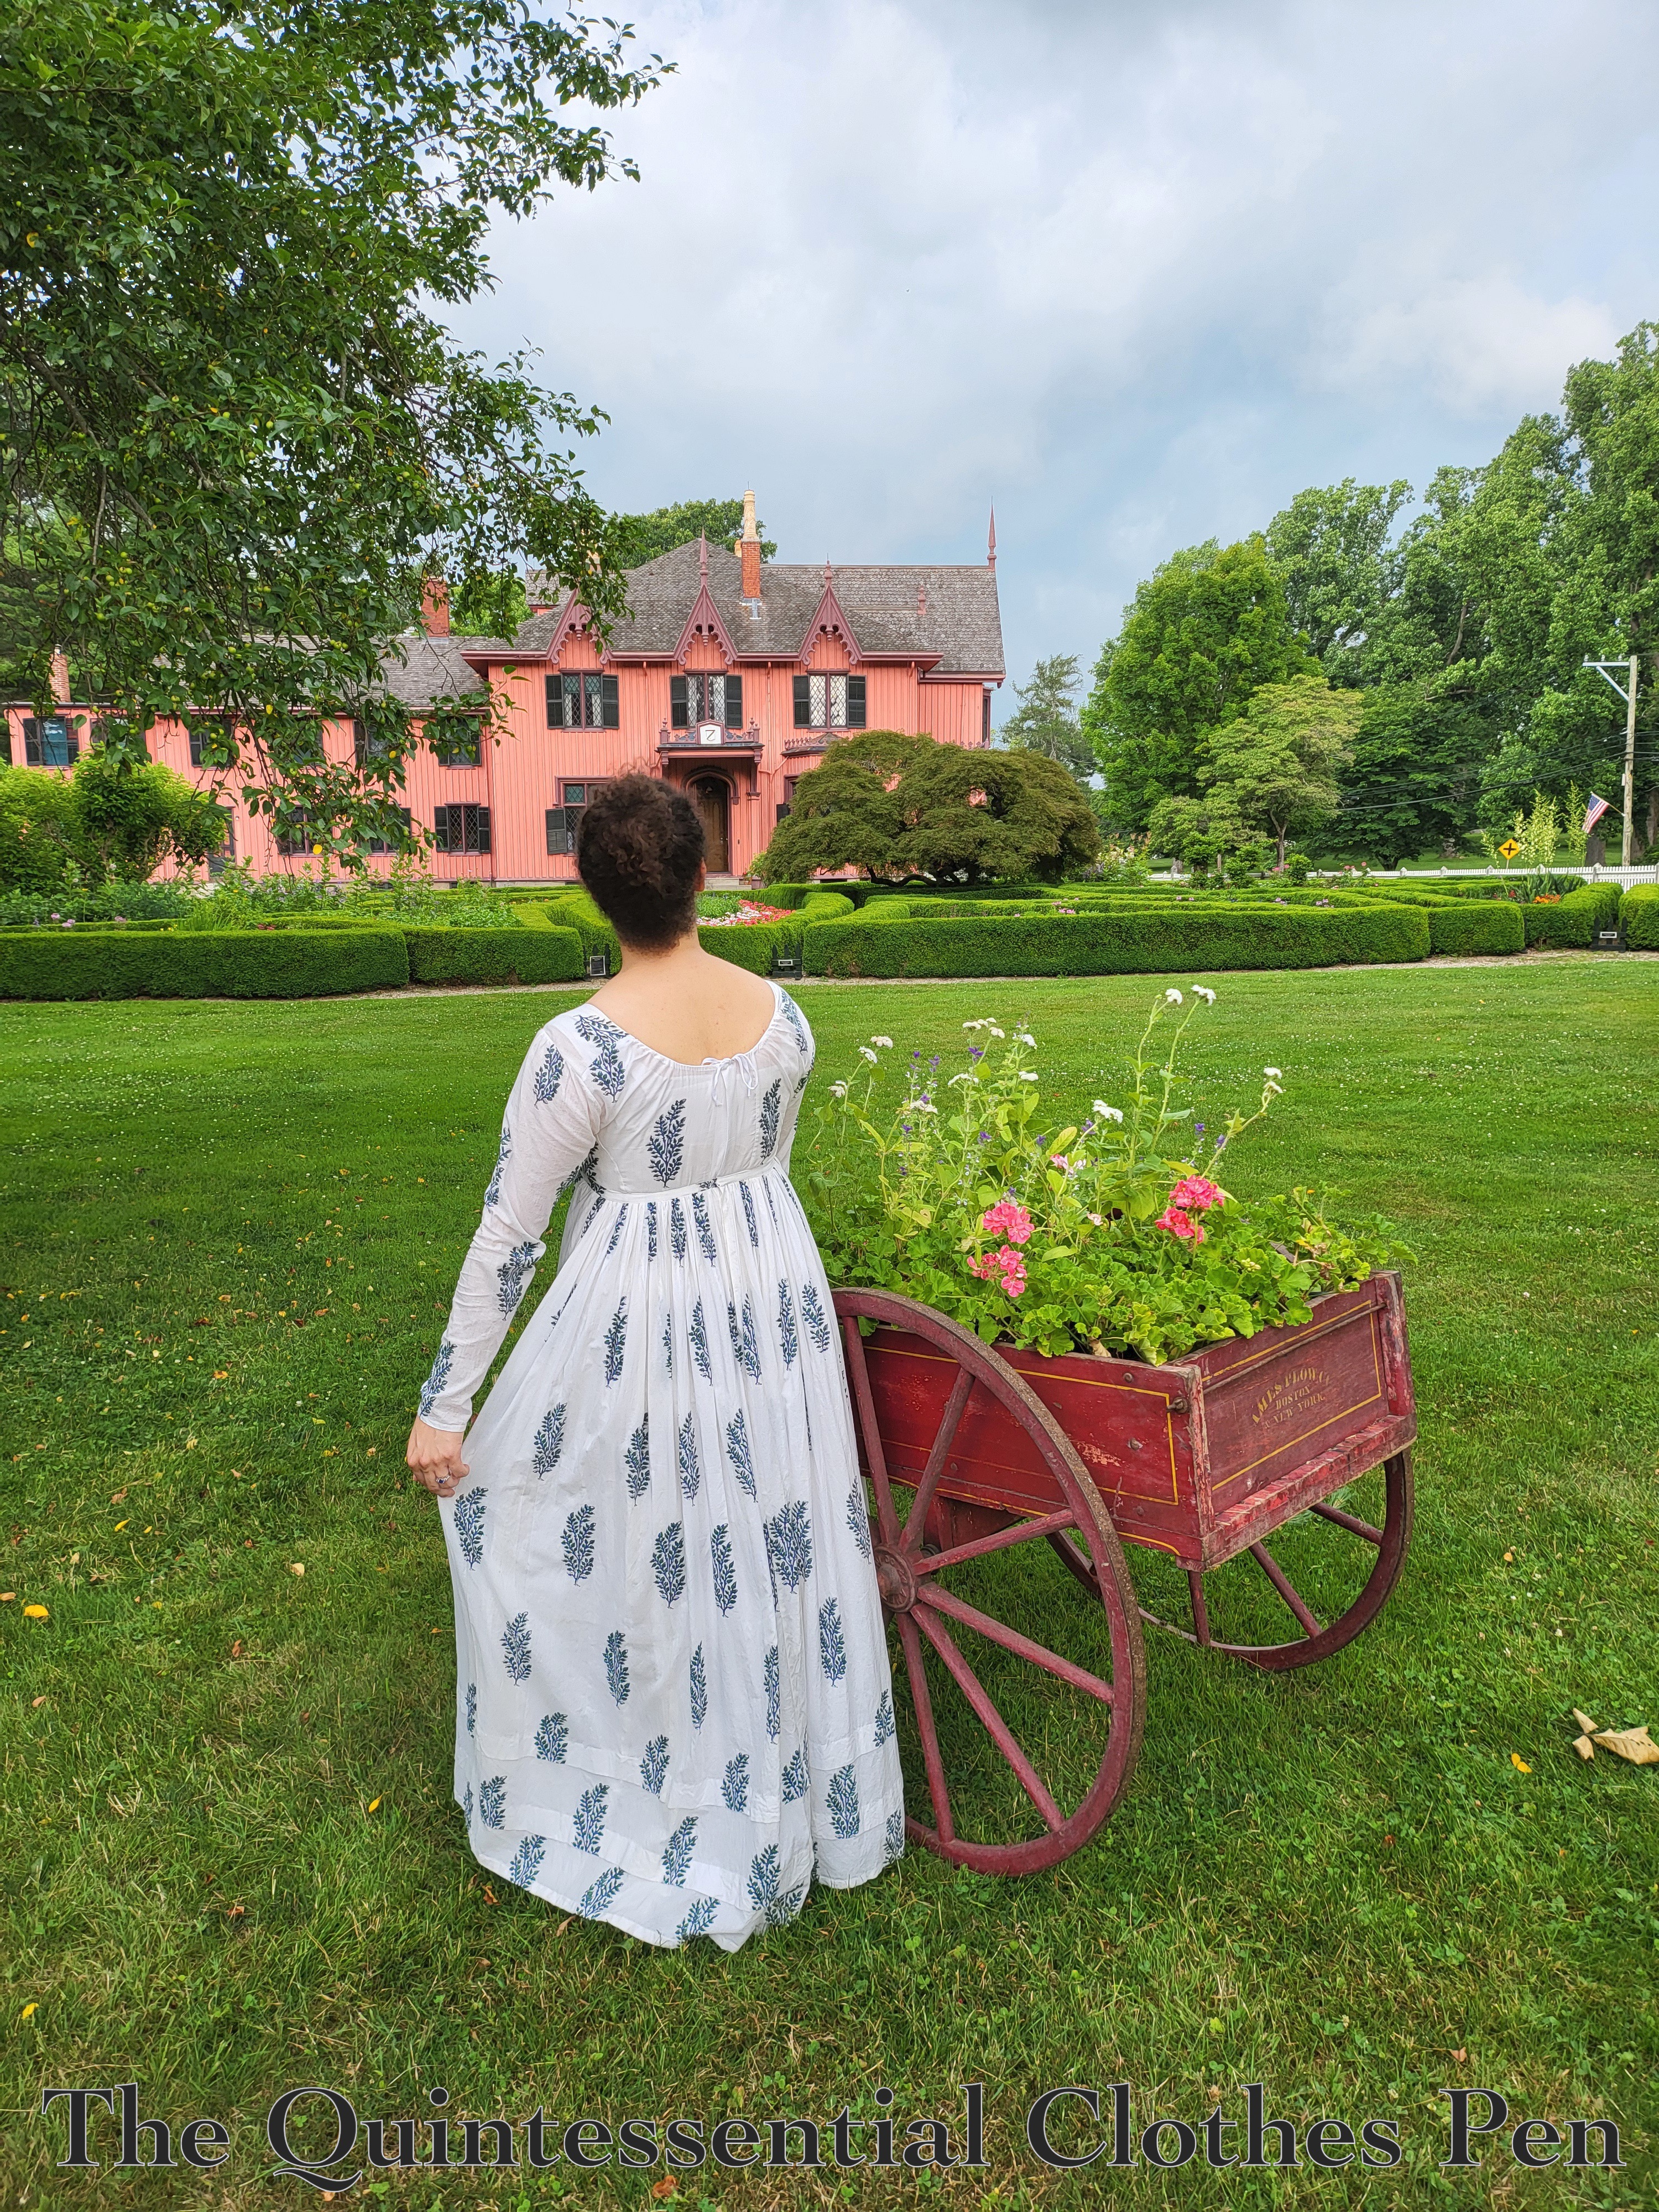
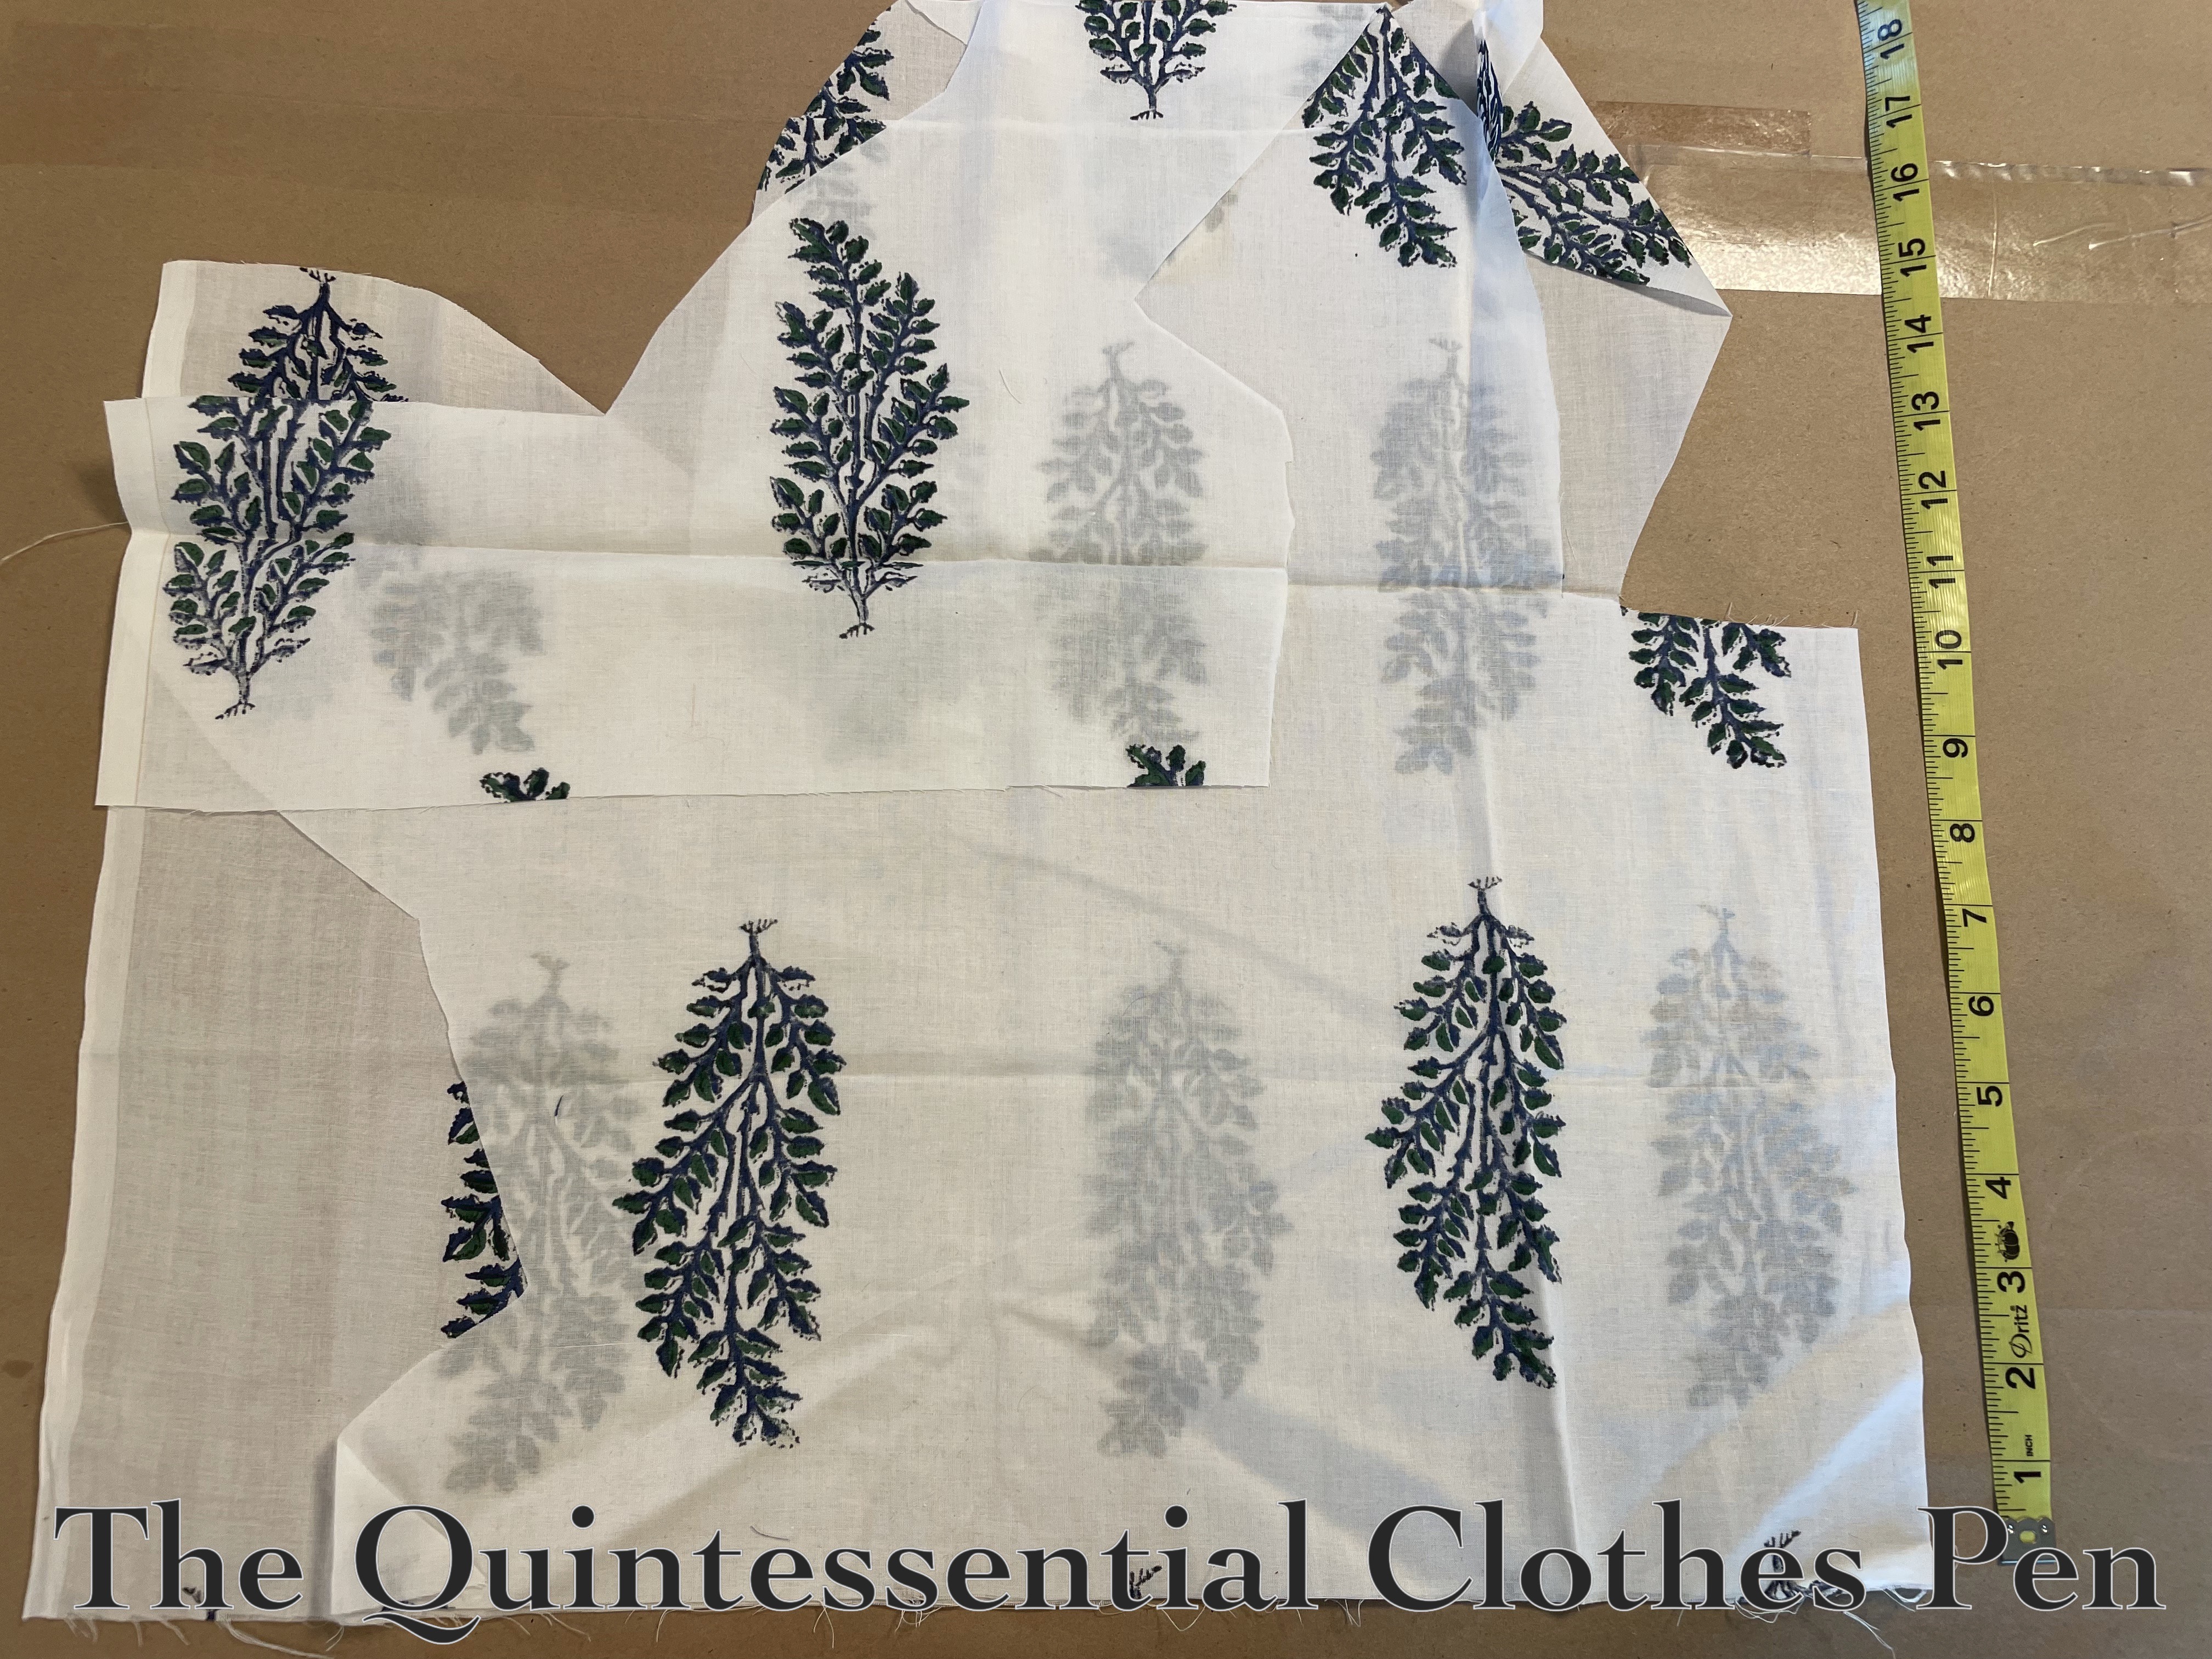
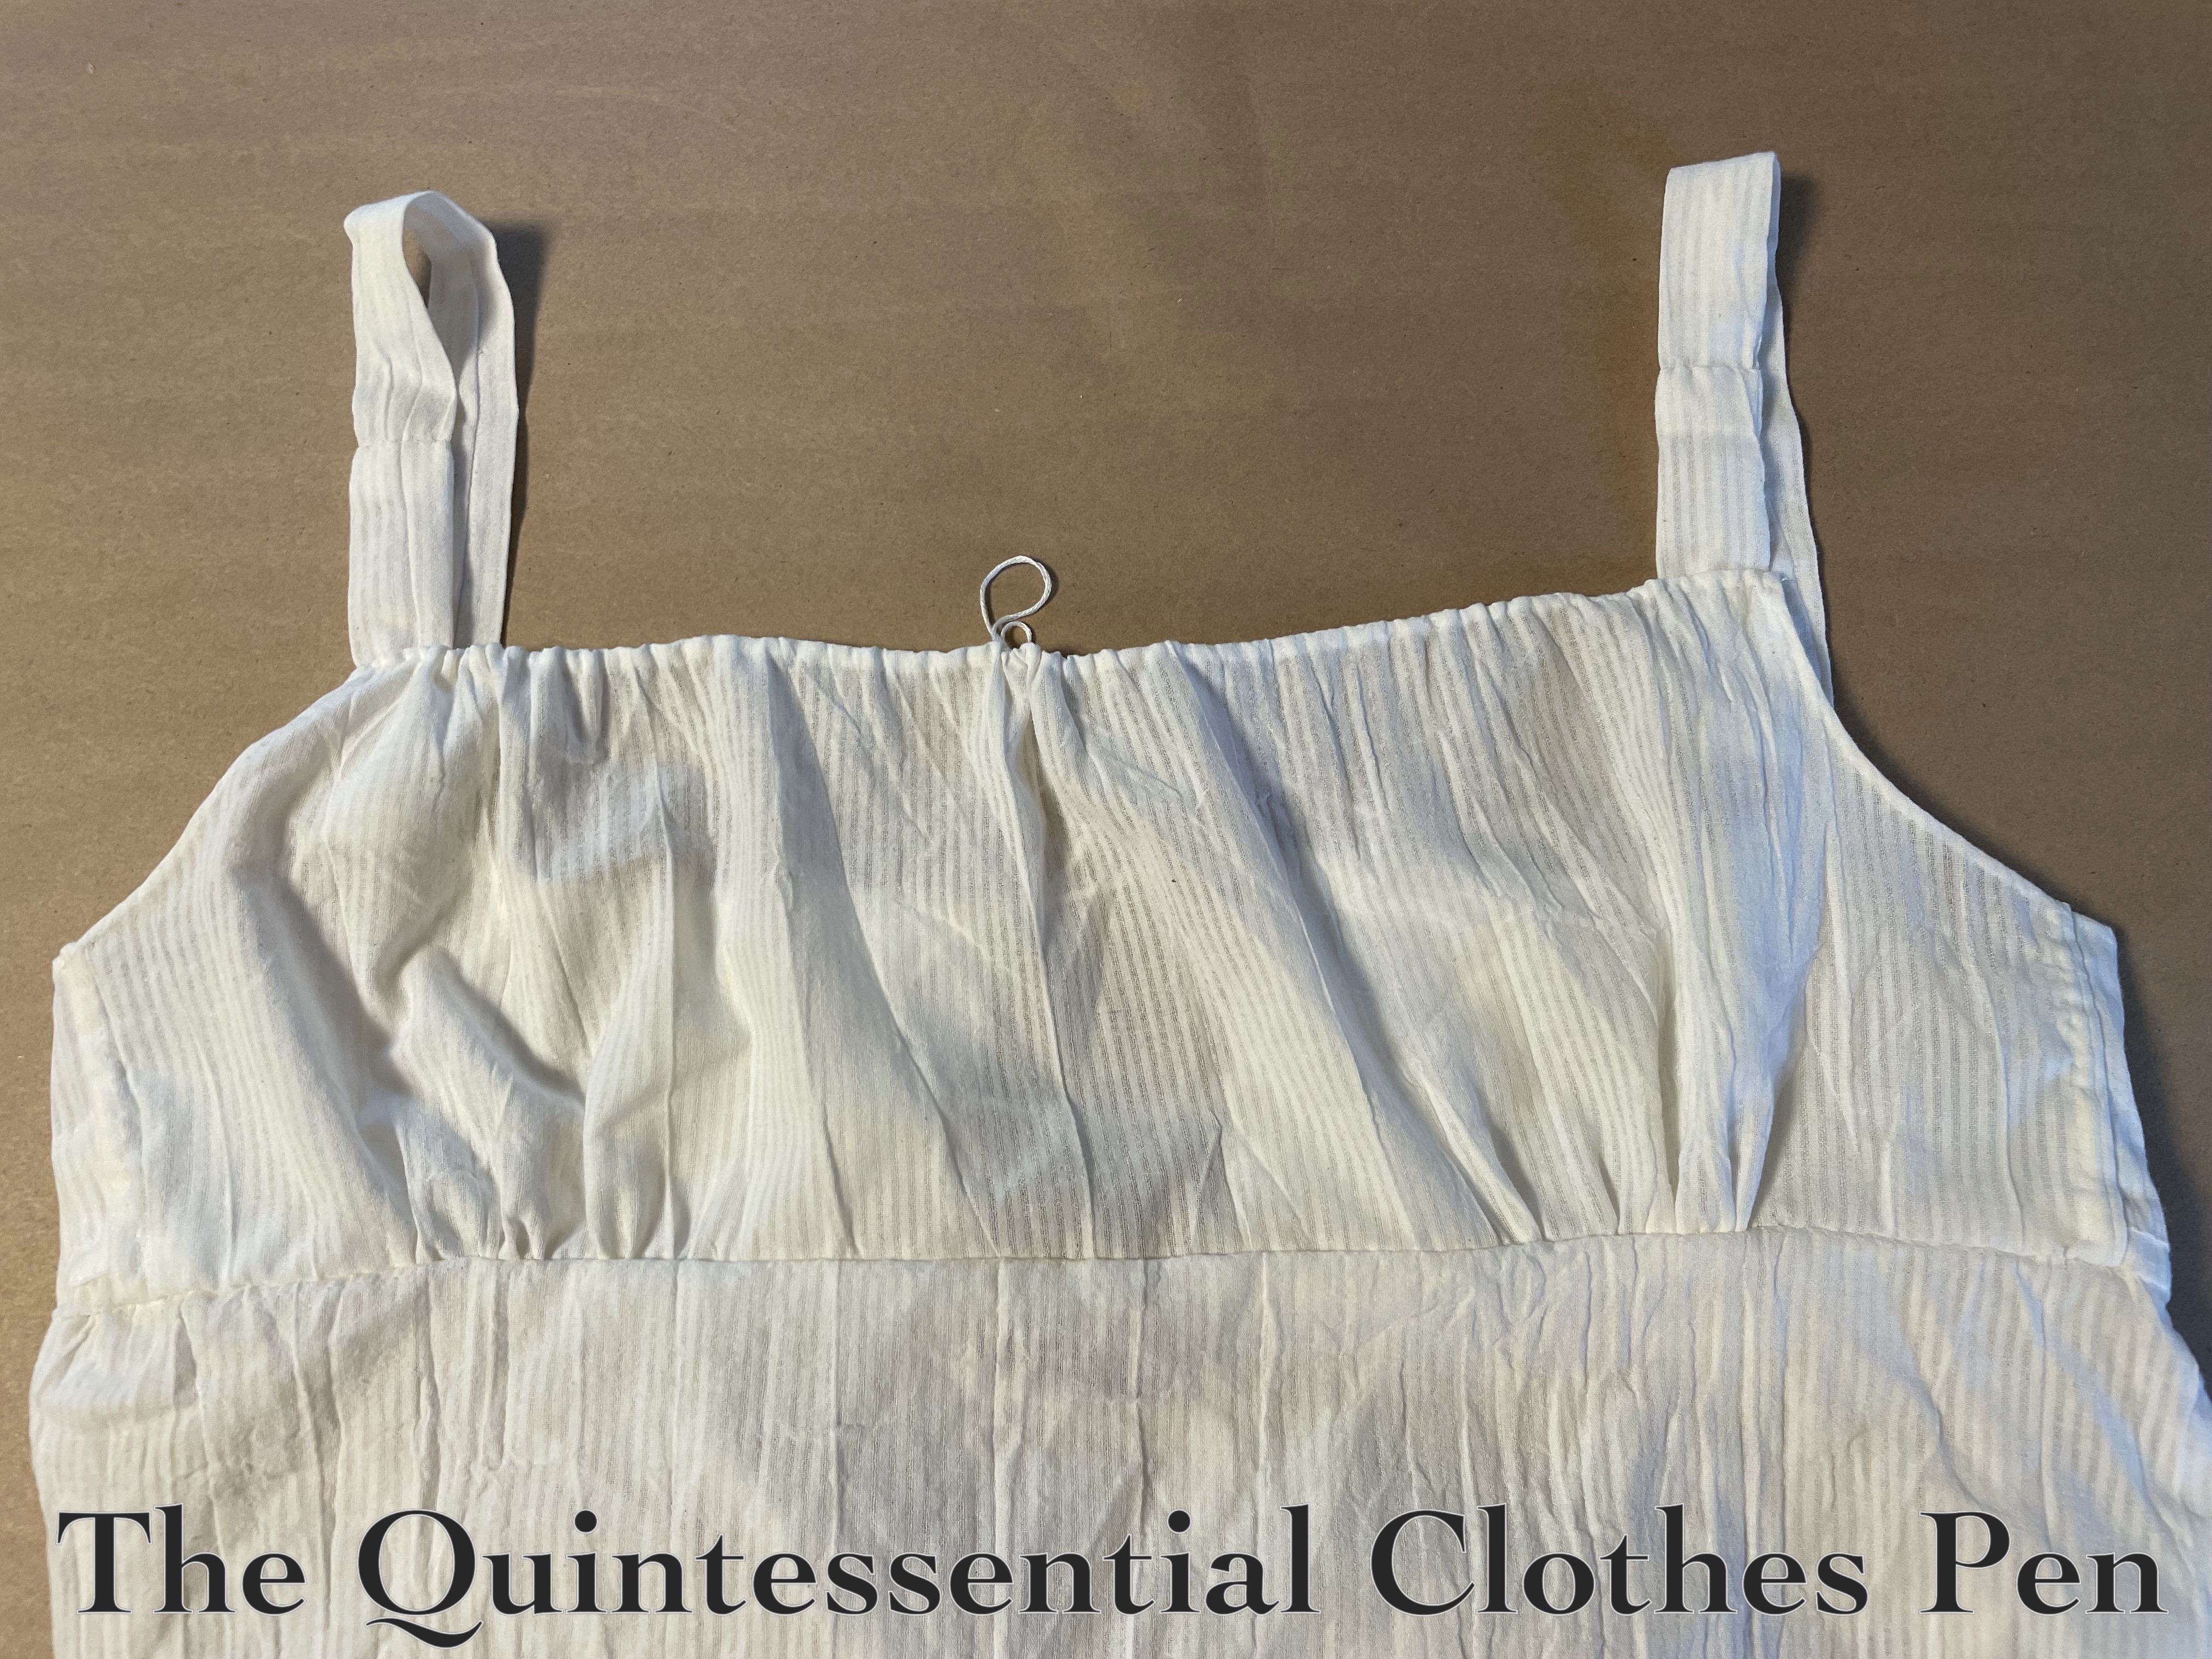
The petticoat front is made up of the yellow jacquard fabric that the dress itself is made out of, while the sides and back are made of a cream colored cotton. No need to use expensive fabric where it is unlikely to be seen! This was a common 18th century practice. Above is an image of the front of the petticoat. Below is an image of the back of the petticoat.

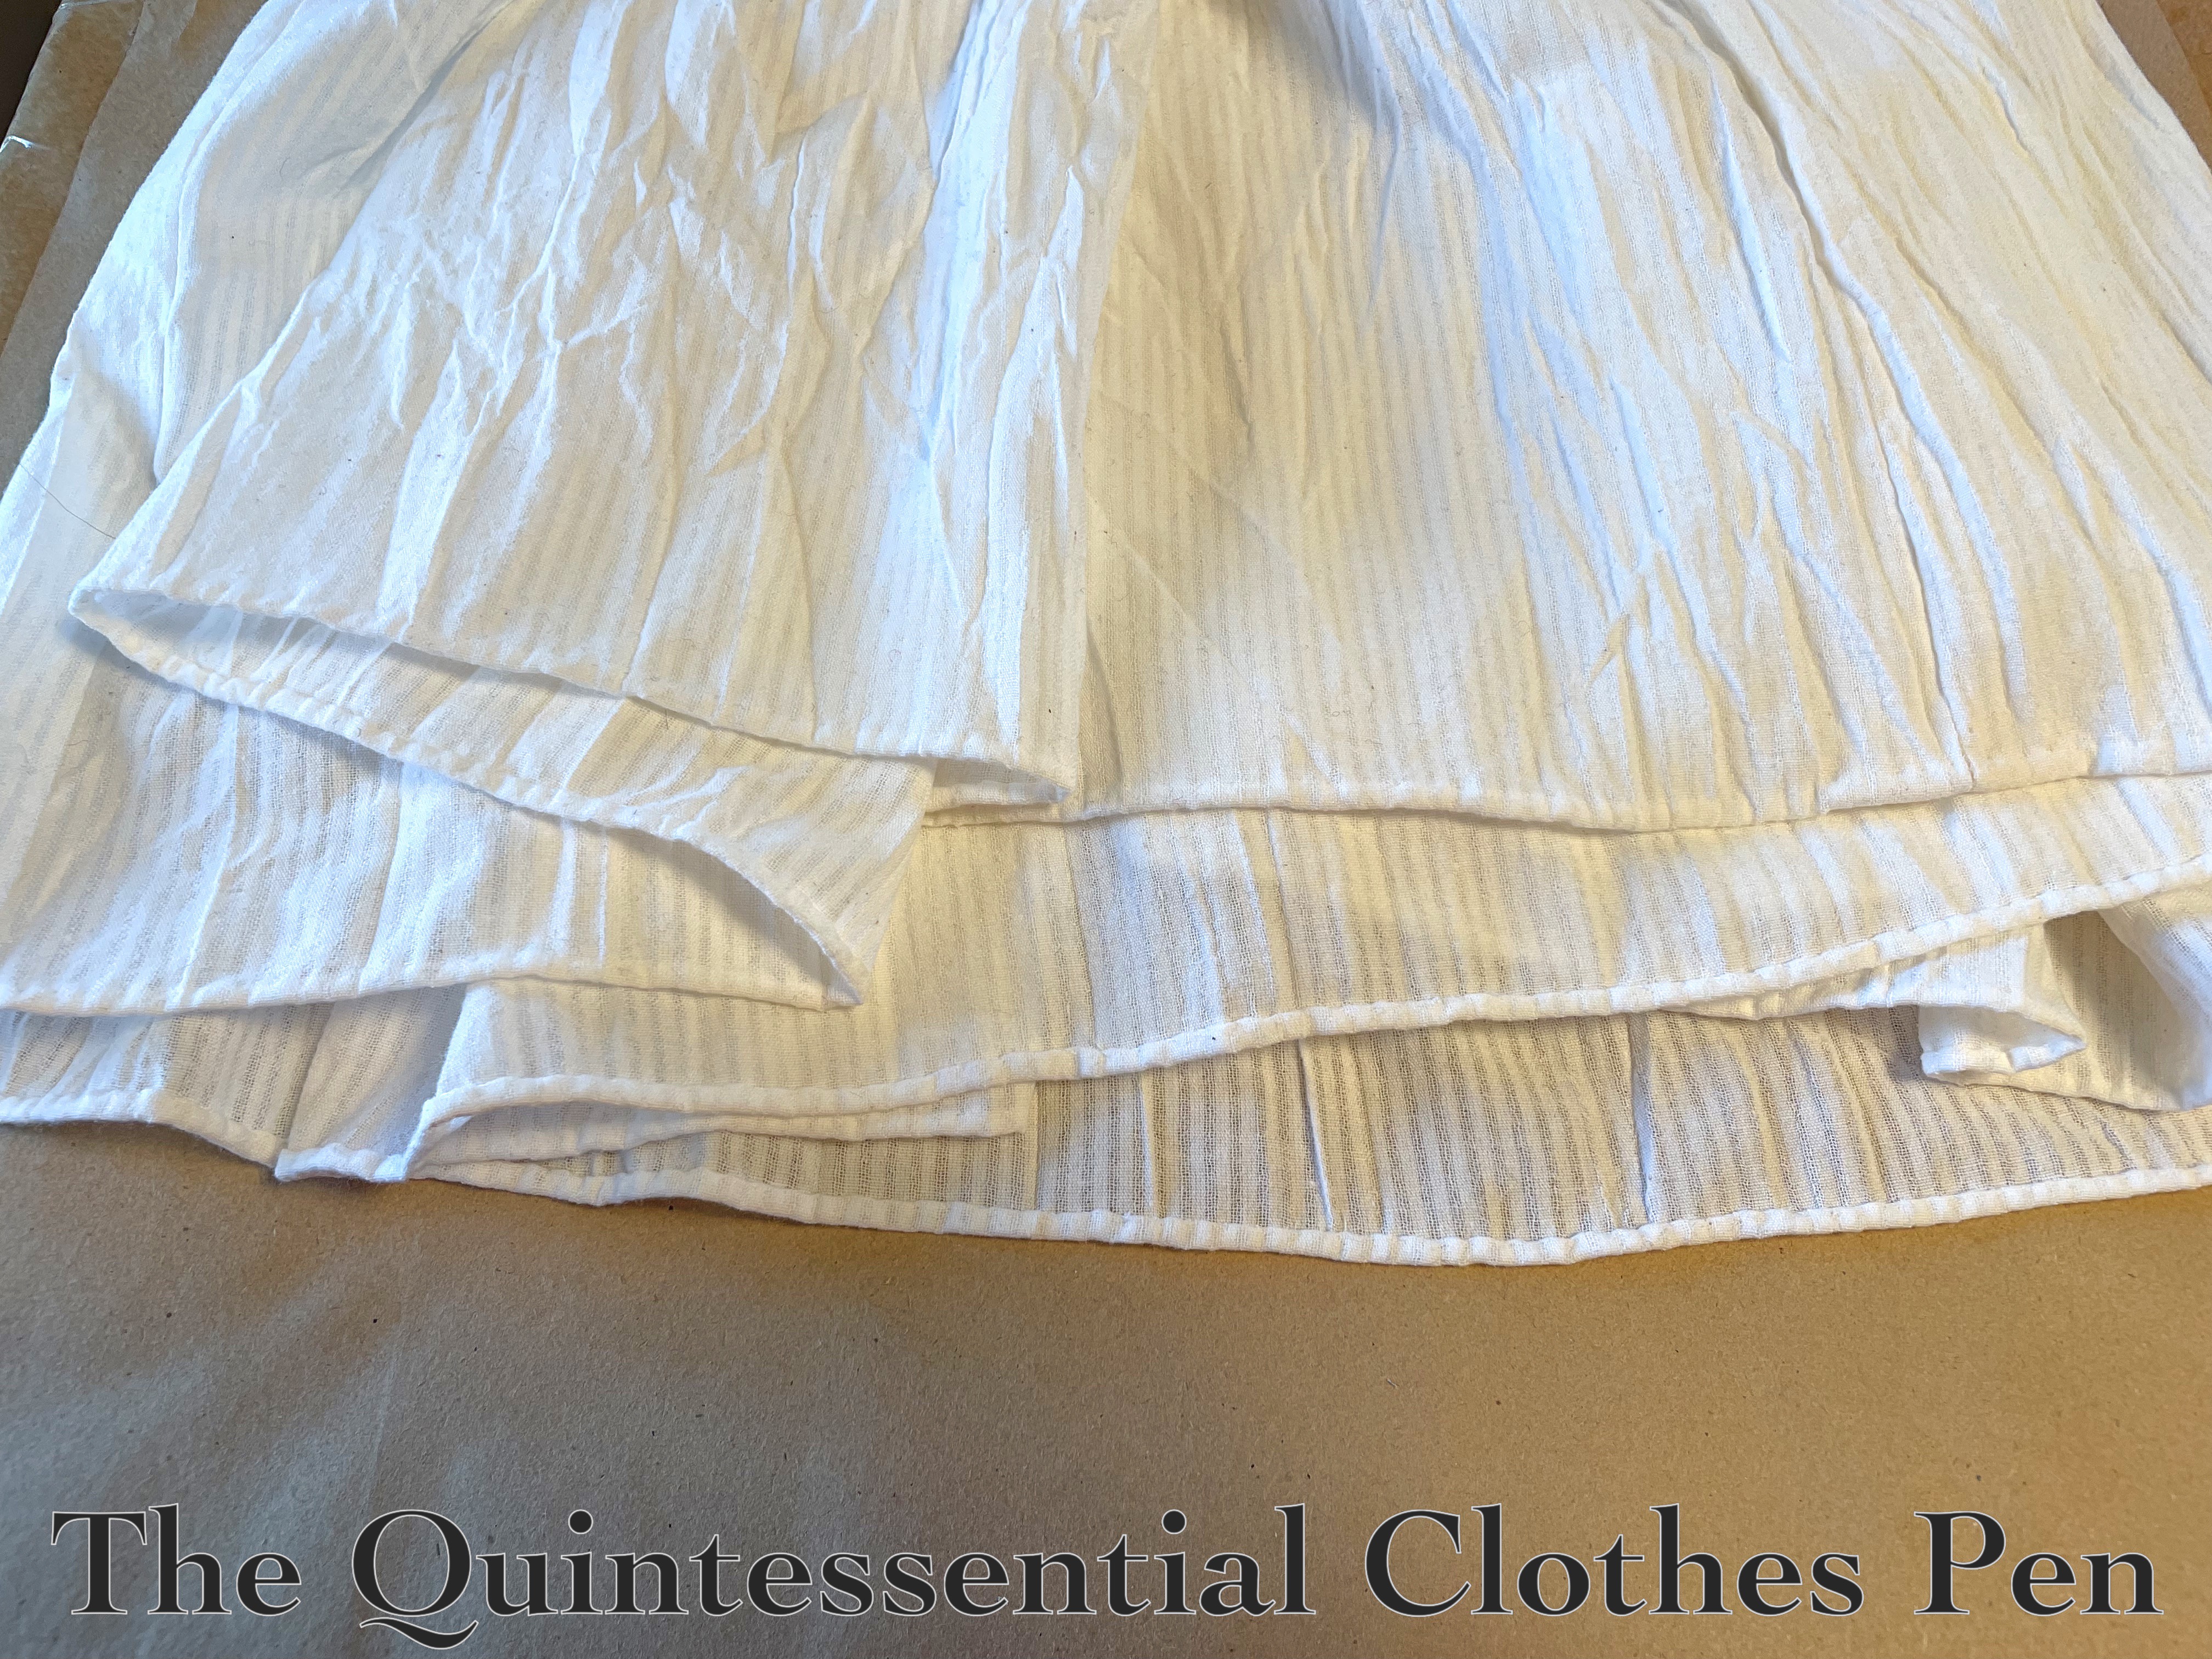
There are three fabric panels — two of the cotton and one of the silk. These are seamed together and then divided in half, such that some of the cotton falls on the ‘front’ of the petticoat (since it makes up ⅔ of the circumference of the skirt). There are slits cut into the sides at the halfway points. These are narrowly hemmed by hand.
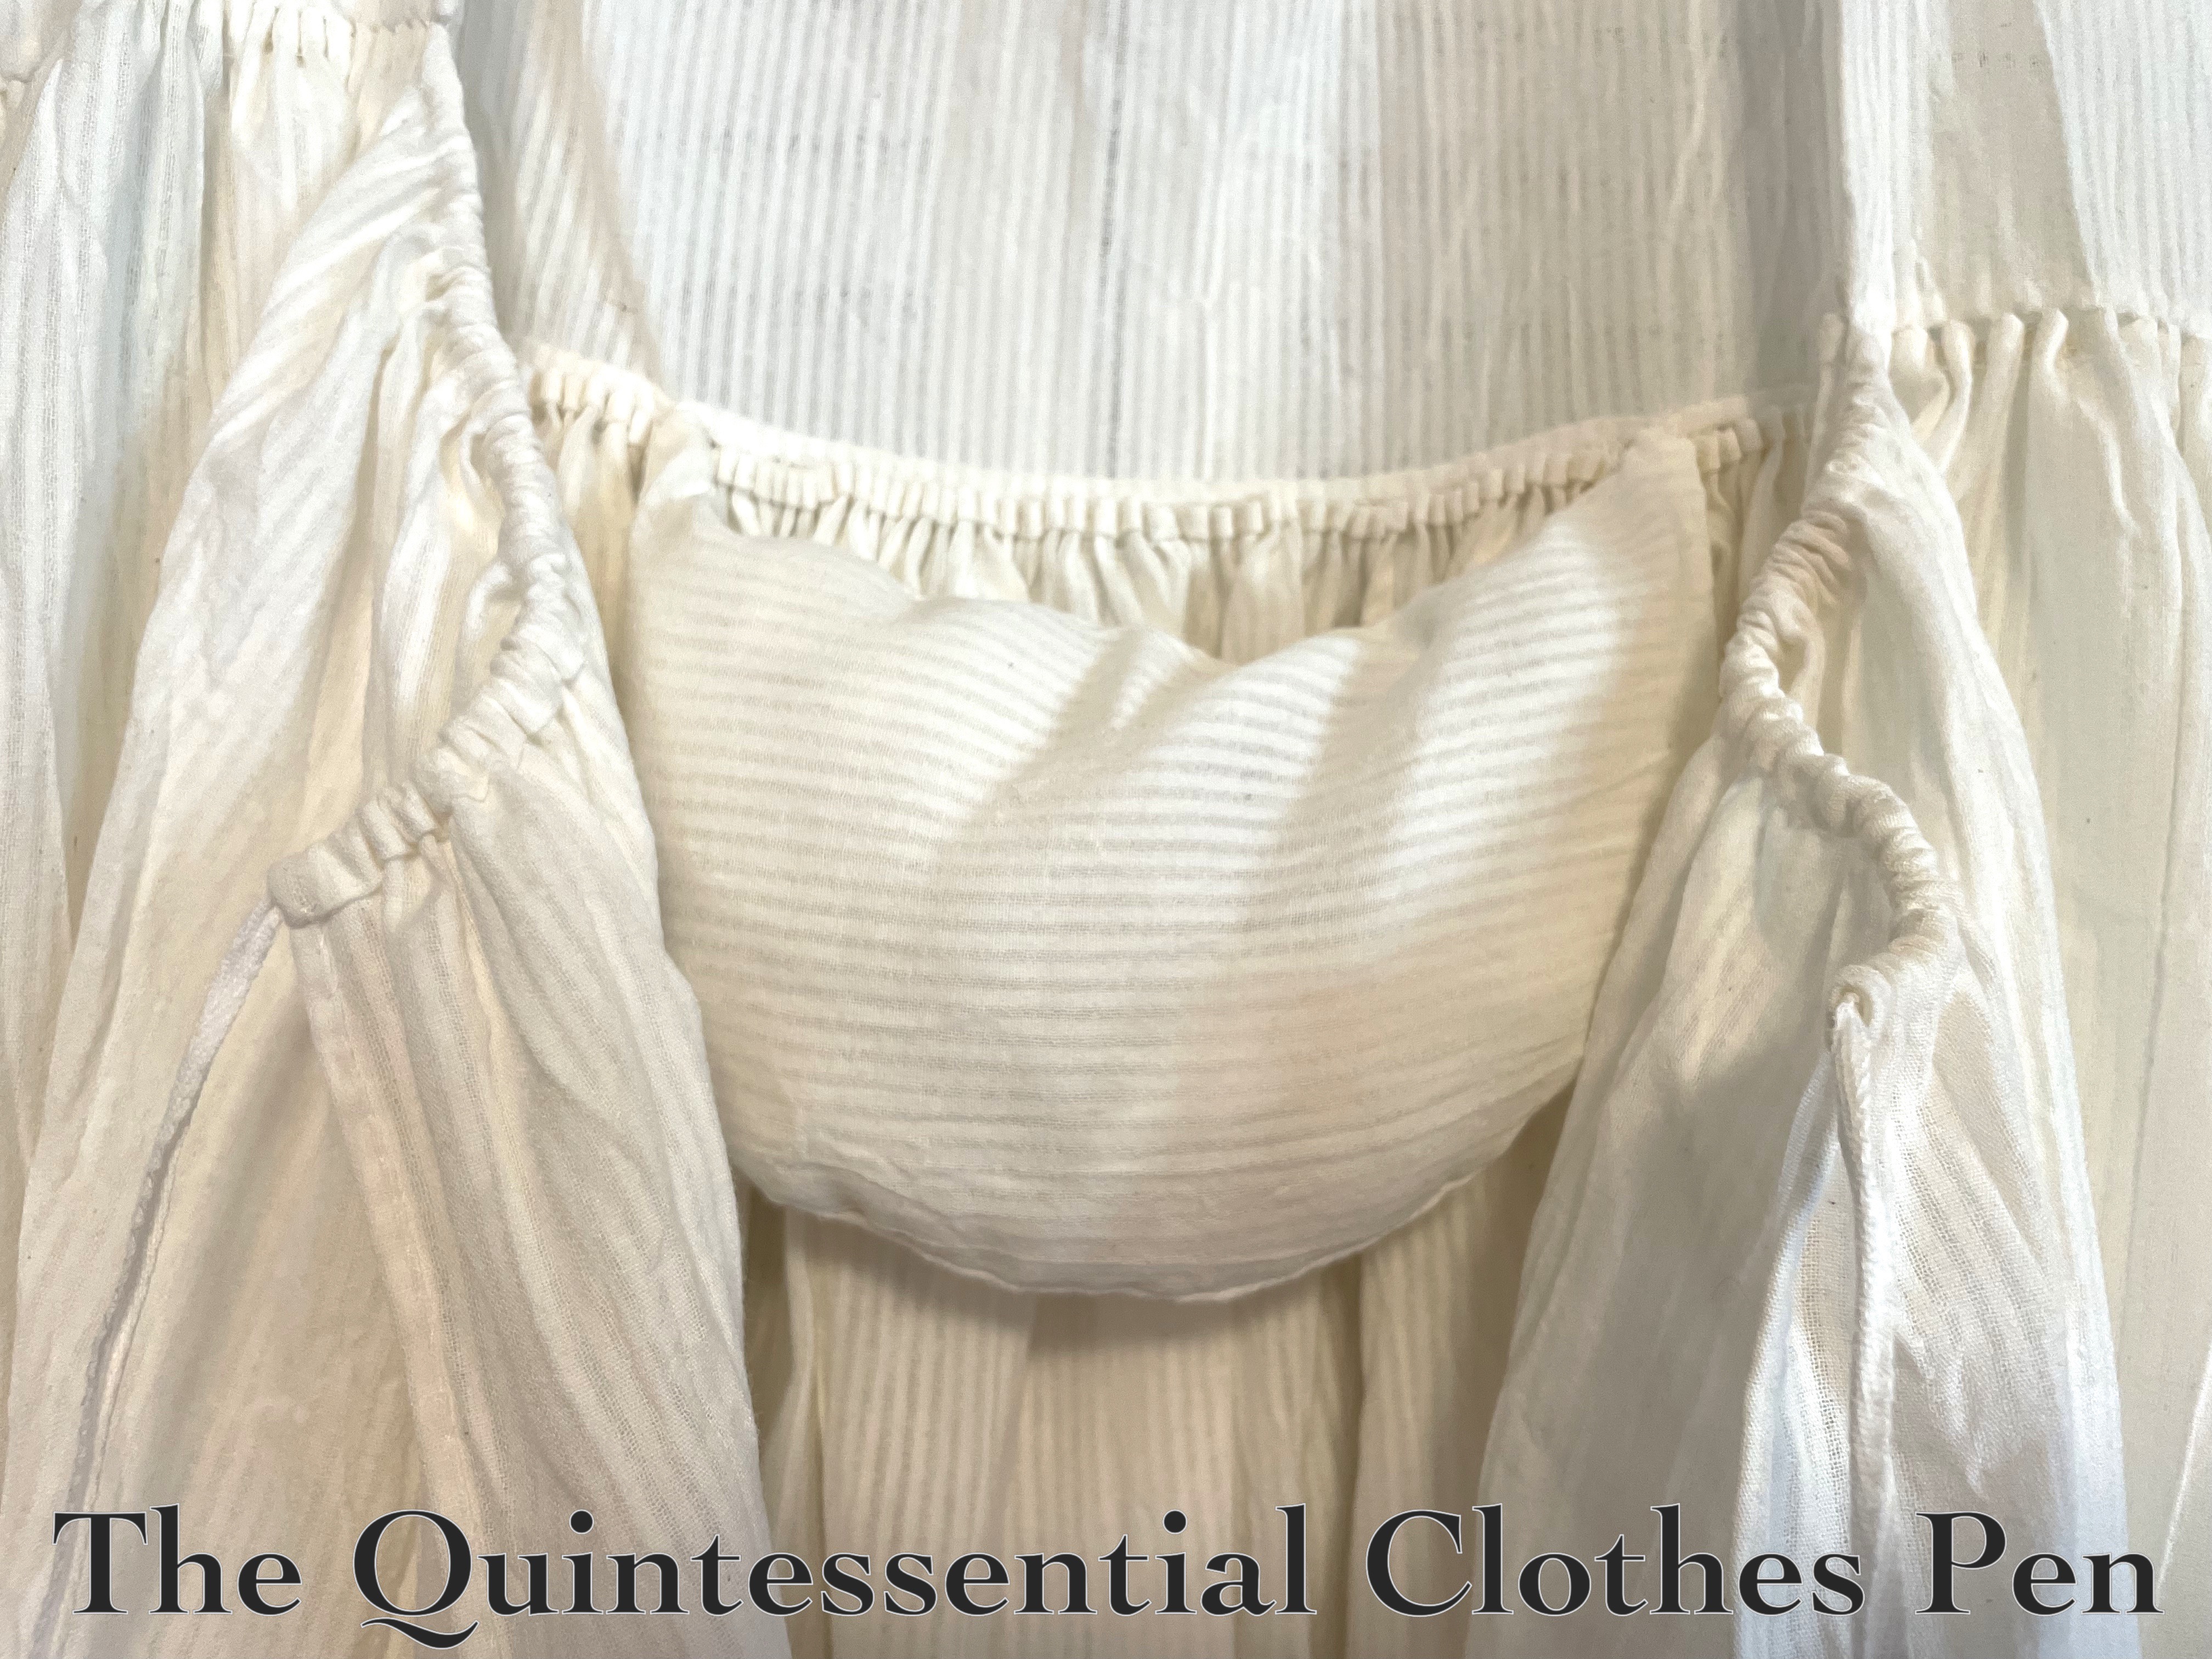
Below is a closeup of the top the petticoat, which shows the pocket slit on the right side.
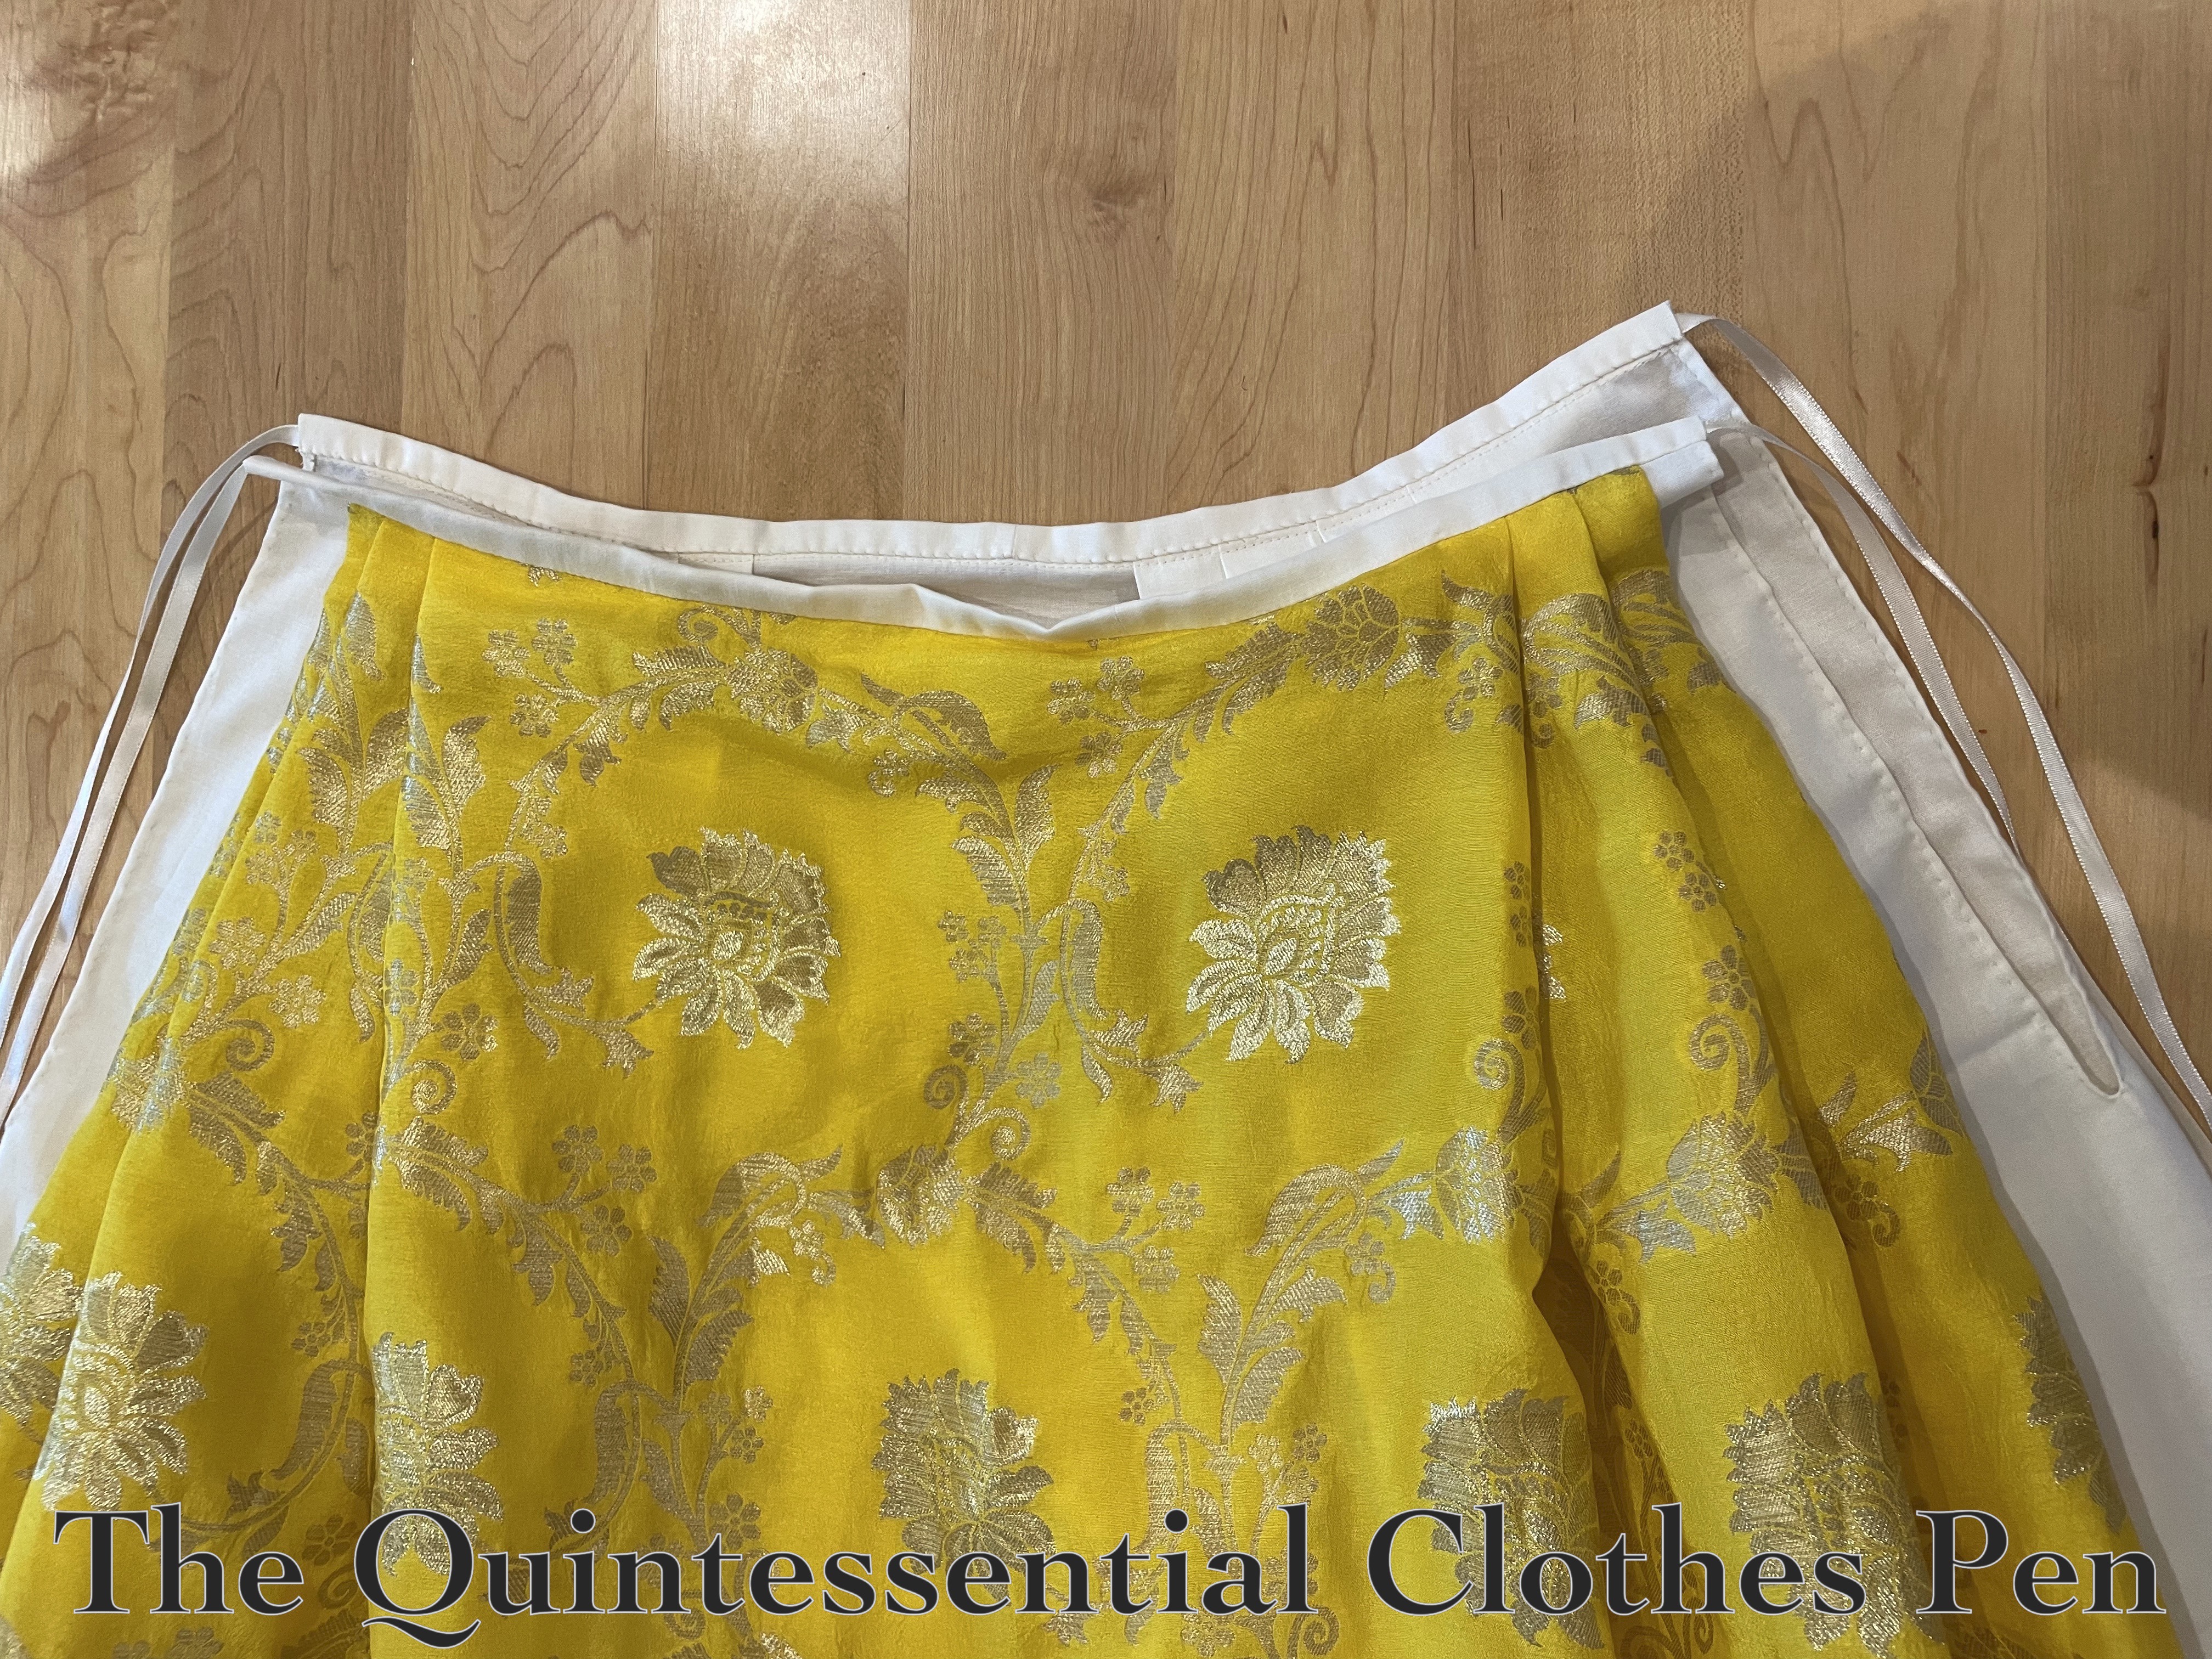
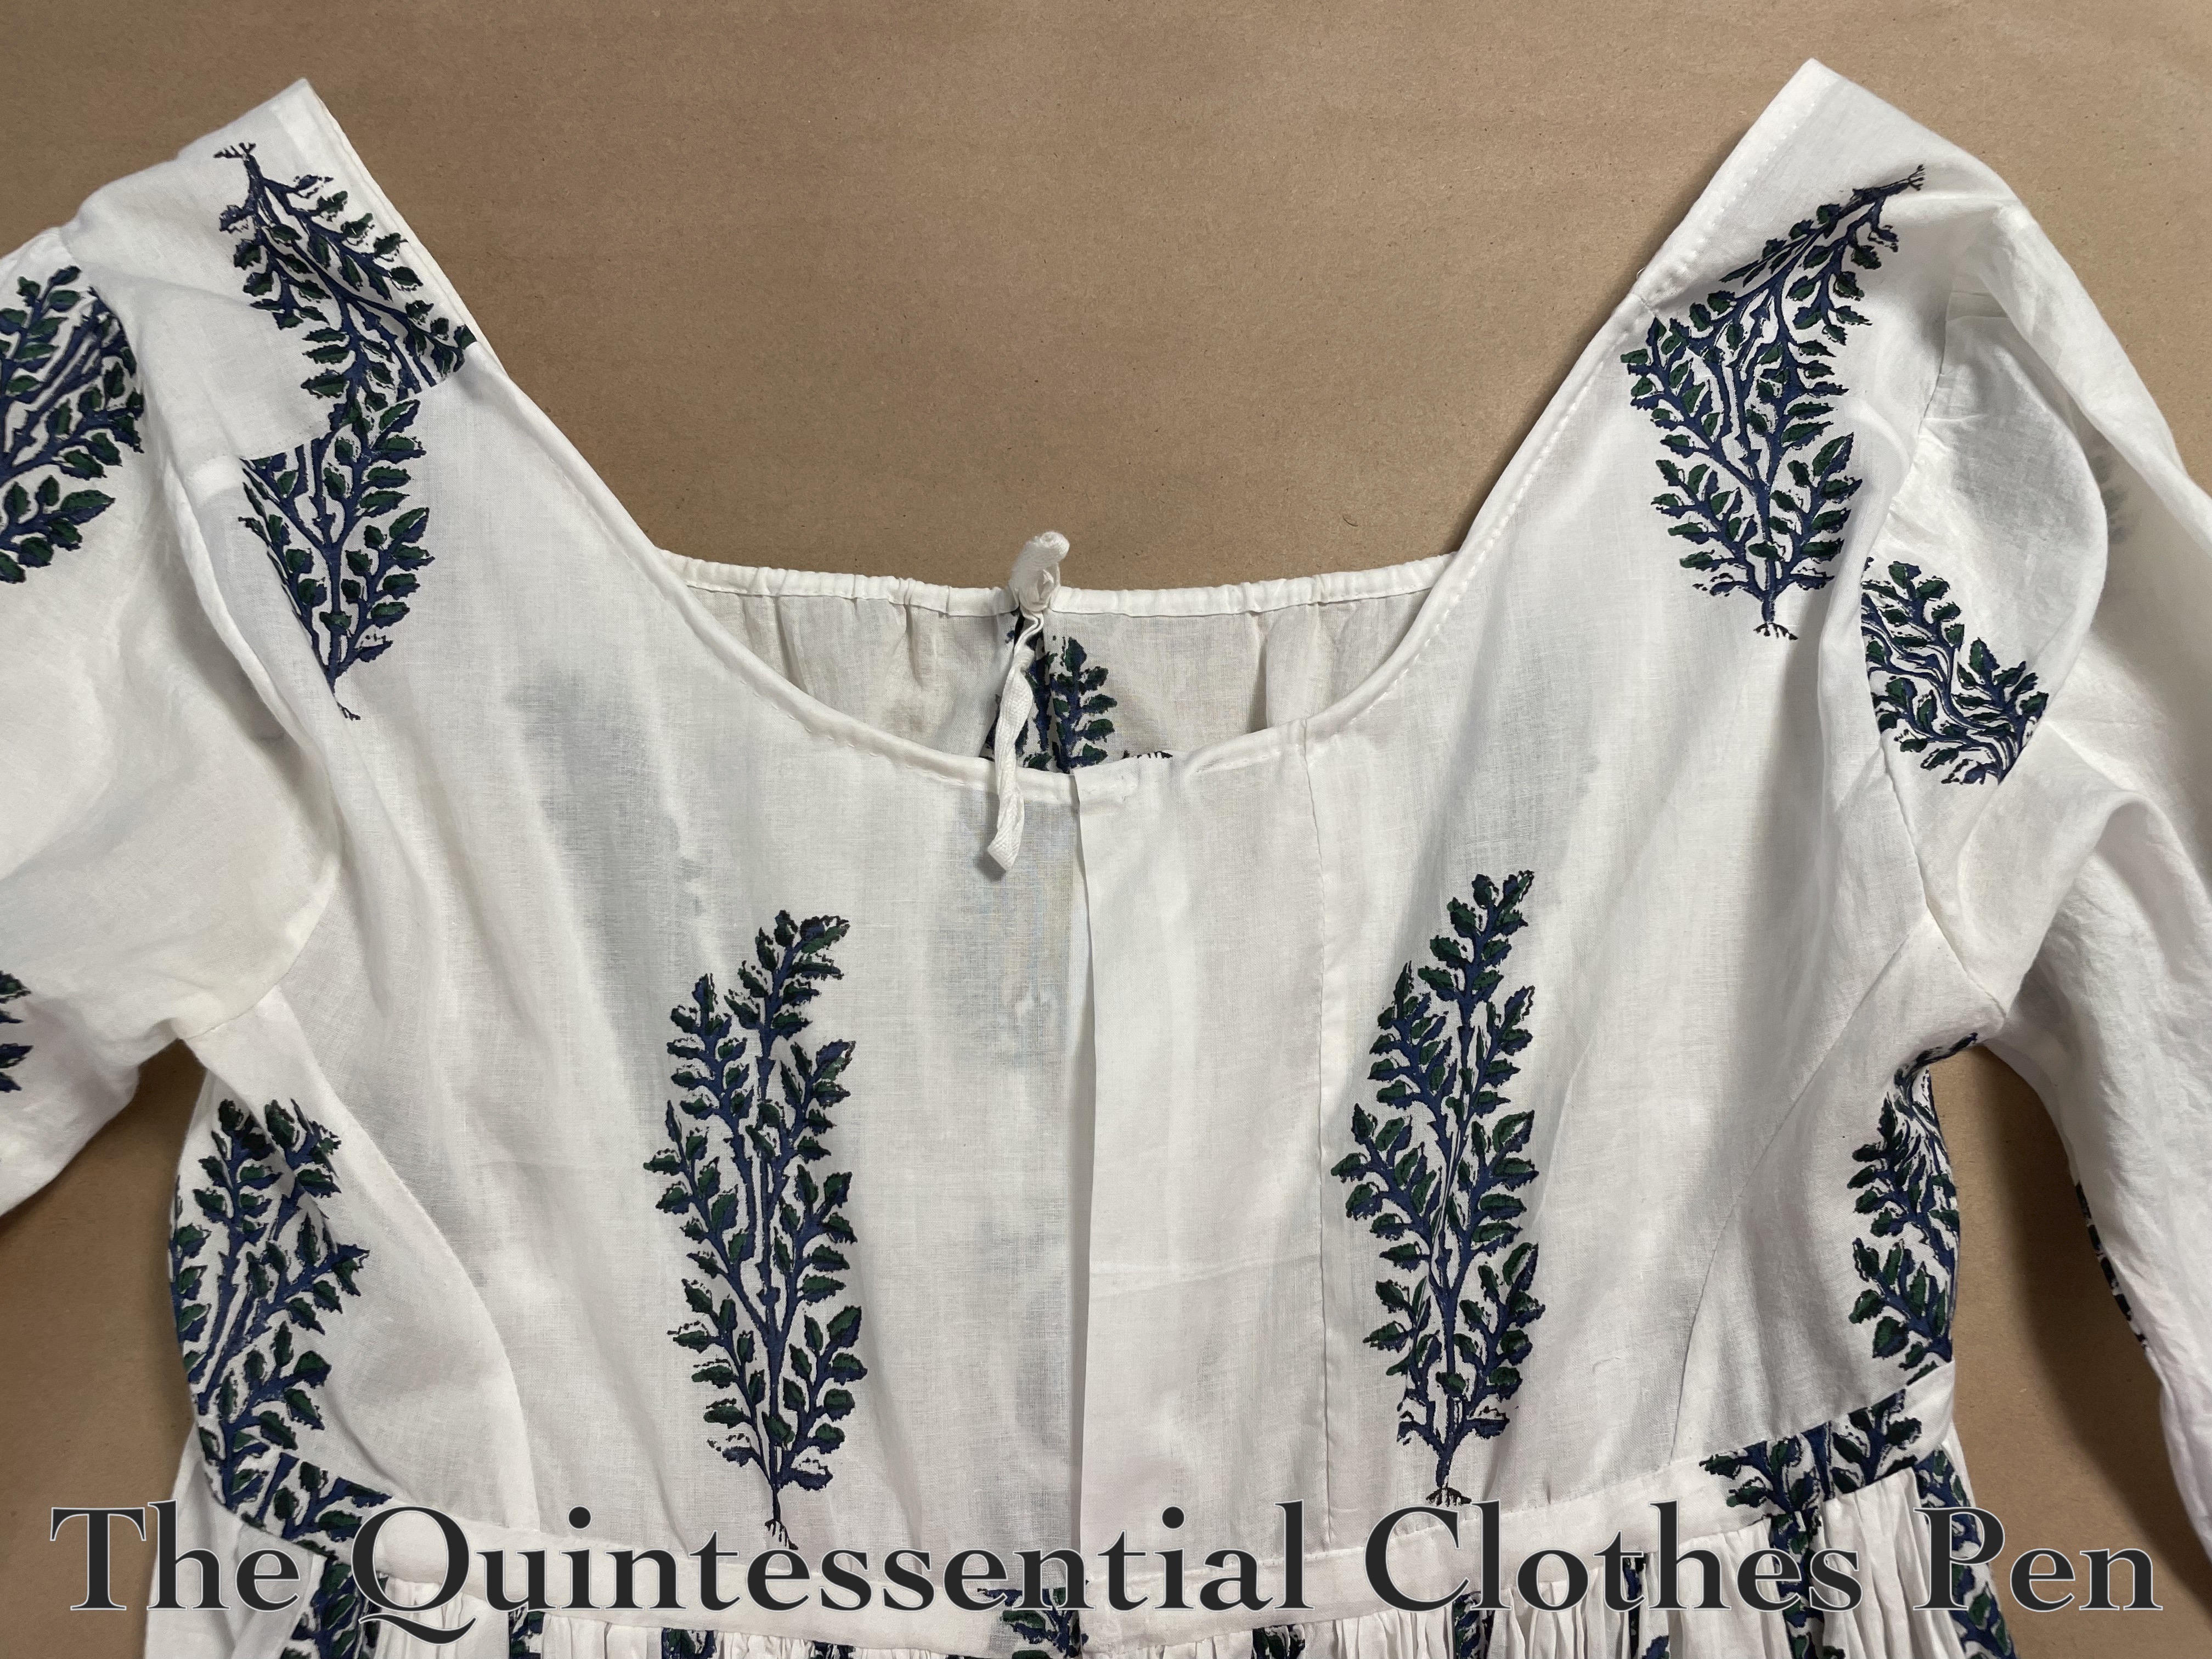
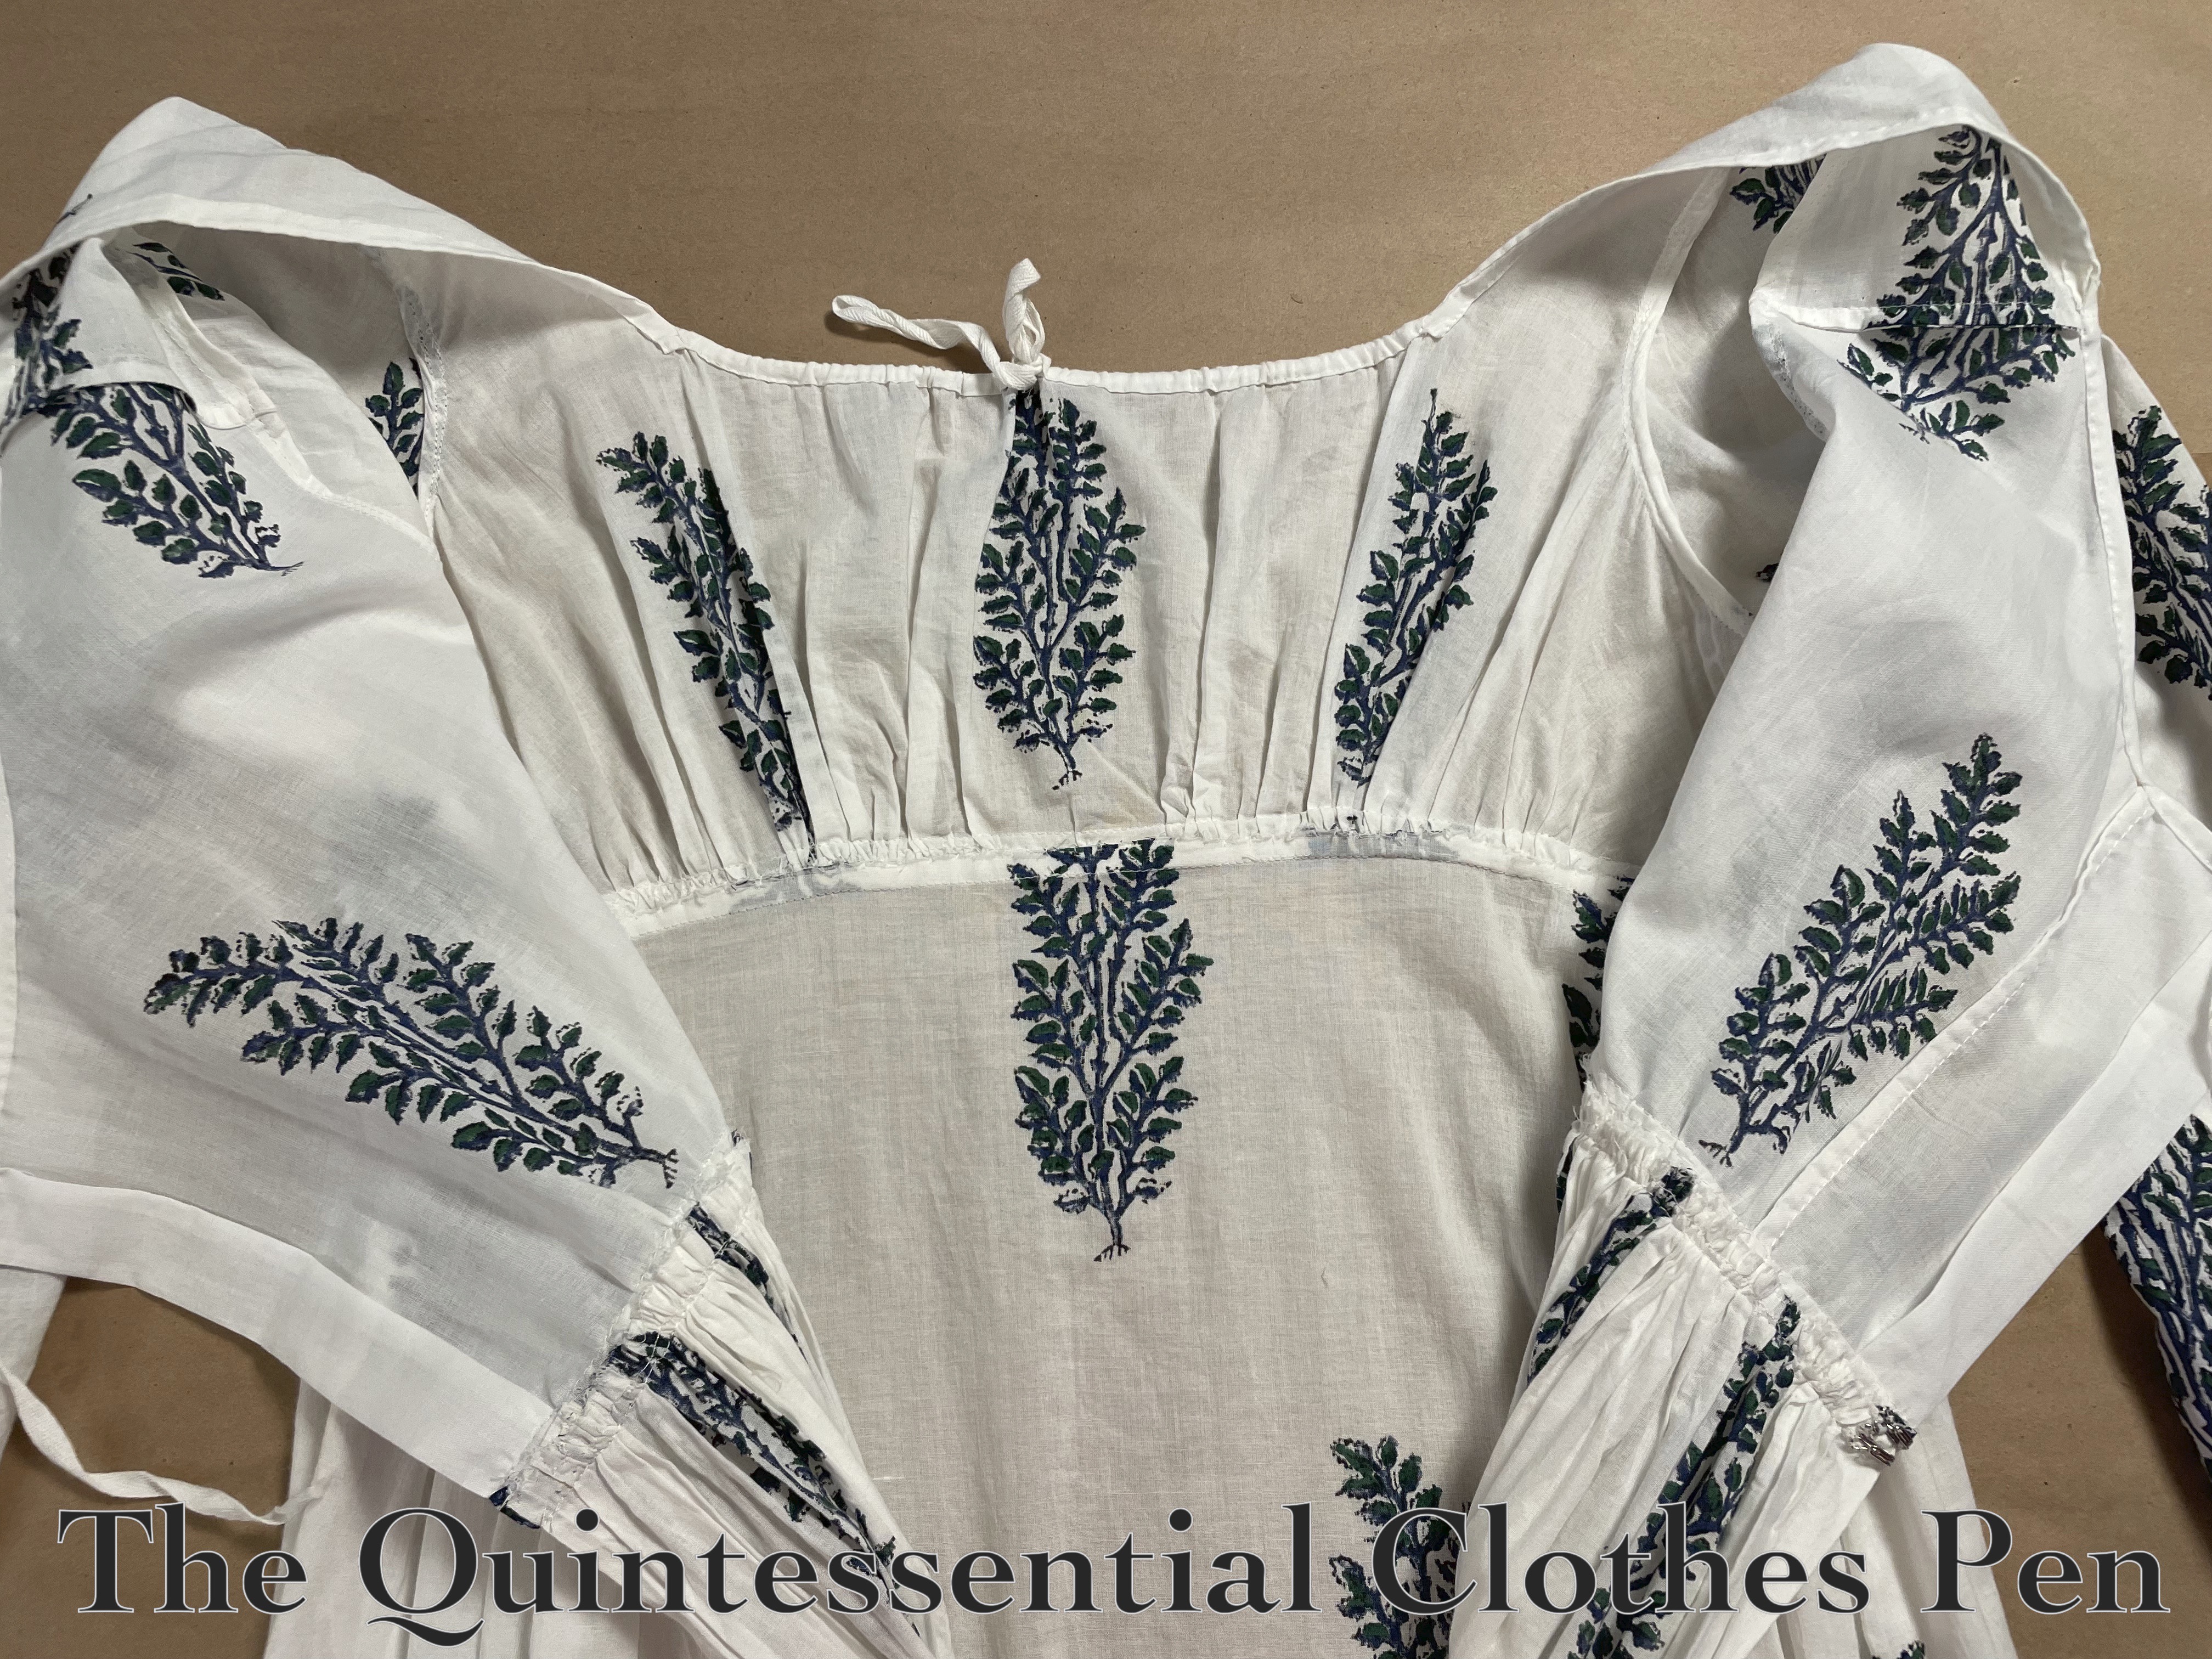
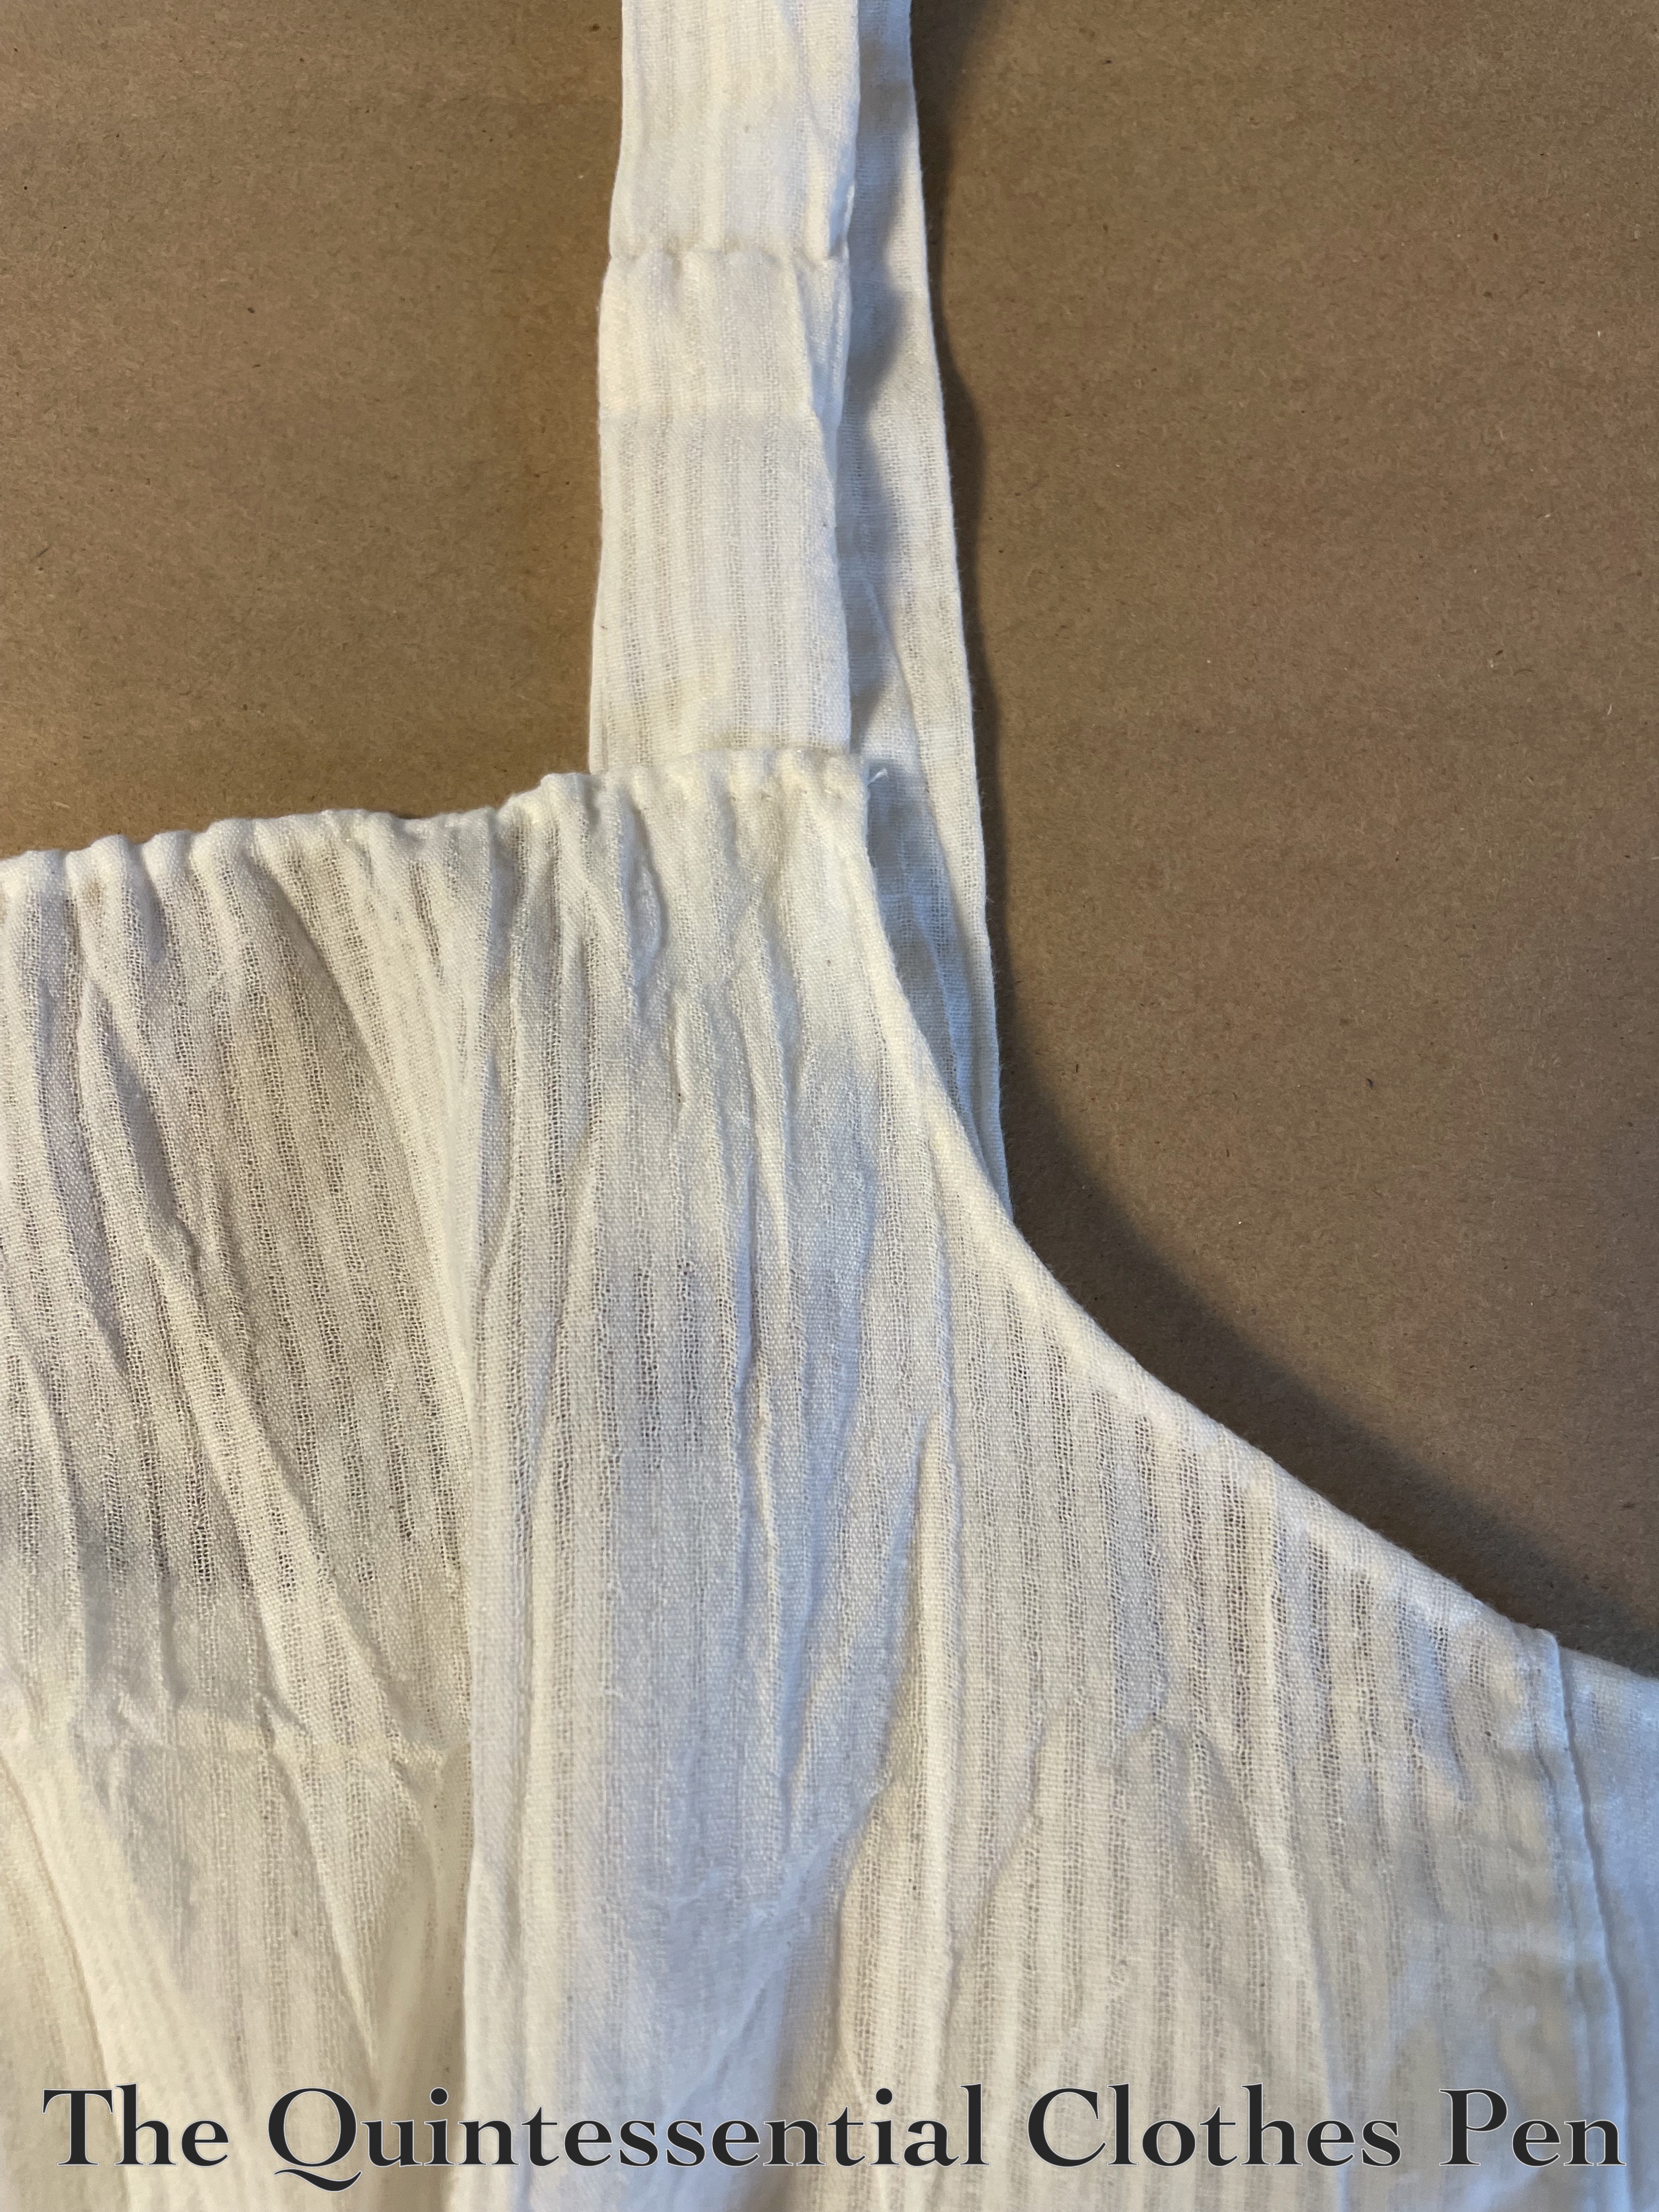
The front and back are pleated in the same way, though with differing quantity and depth of pleats. They have an outward box pleat at the center and additional deep knife pleats towards the sides. The pleats are held in place by front and back waistbands that are finished at ½”. Below, you can see the inside of the front and inside of the back, showing the knife pleats and waistbands.

And here is one more interior closeup of the waistband. You can see that it was sewn on by machine and then flipped to the inside and whip stitched in place. You can also see the ribbon tie on the right as well as a little bit of the pocket opening.

Set inside of the waistbands are long ties (in this case, made of ivory polyester ribbon because it was on hand). The back ties are long enough to tie around the front of the body. Then the front ties warp around the back and are long enough to tie in front. (You can see how this works in this past post about the petticoat I wear under my Versailles sacque.)
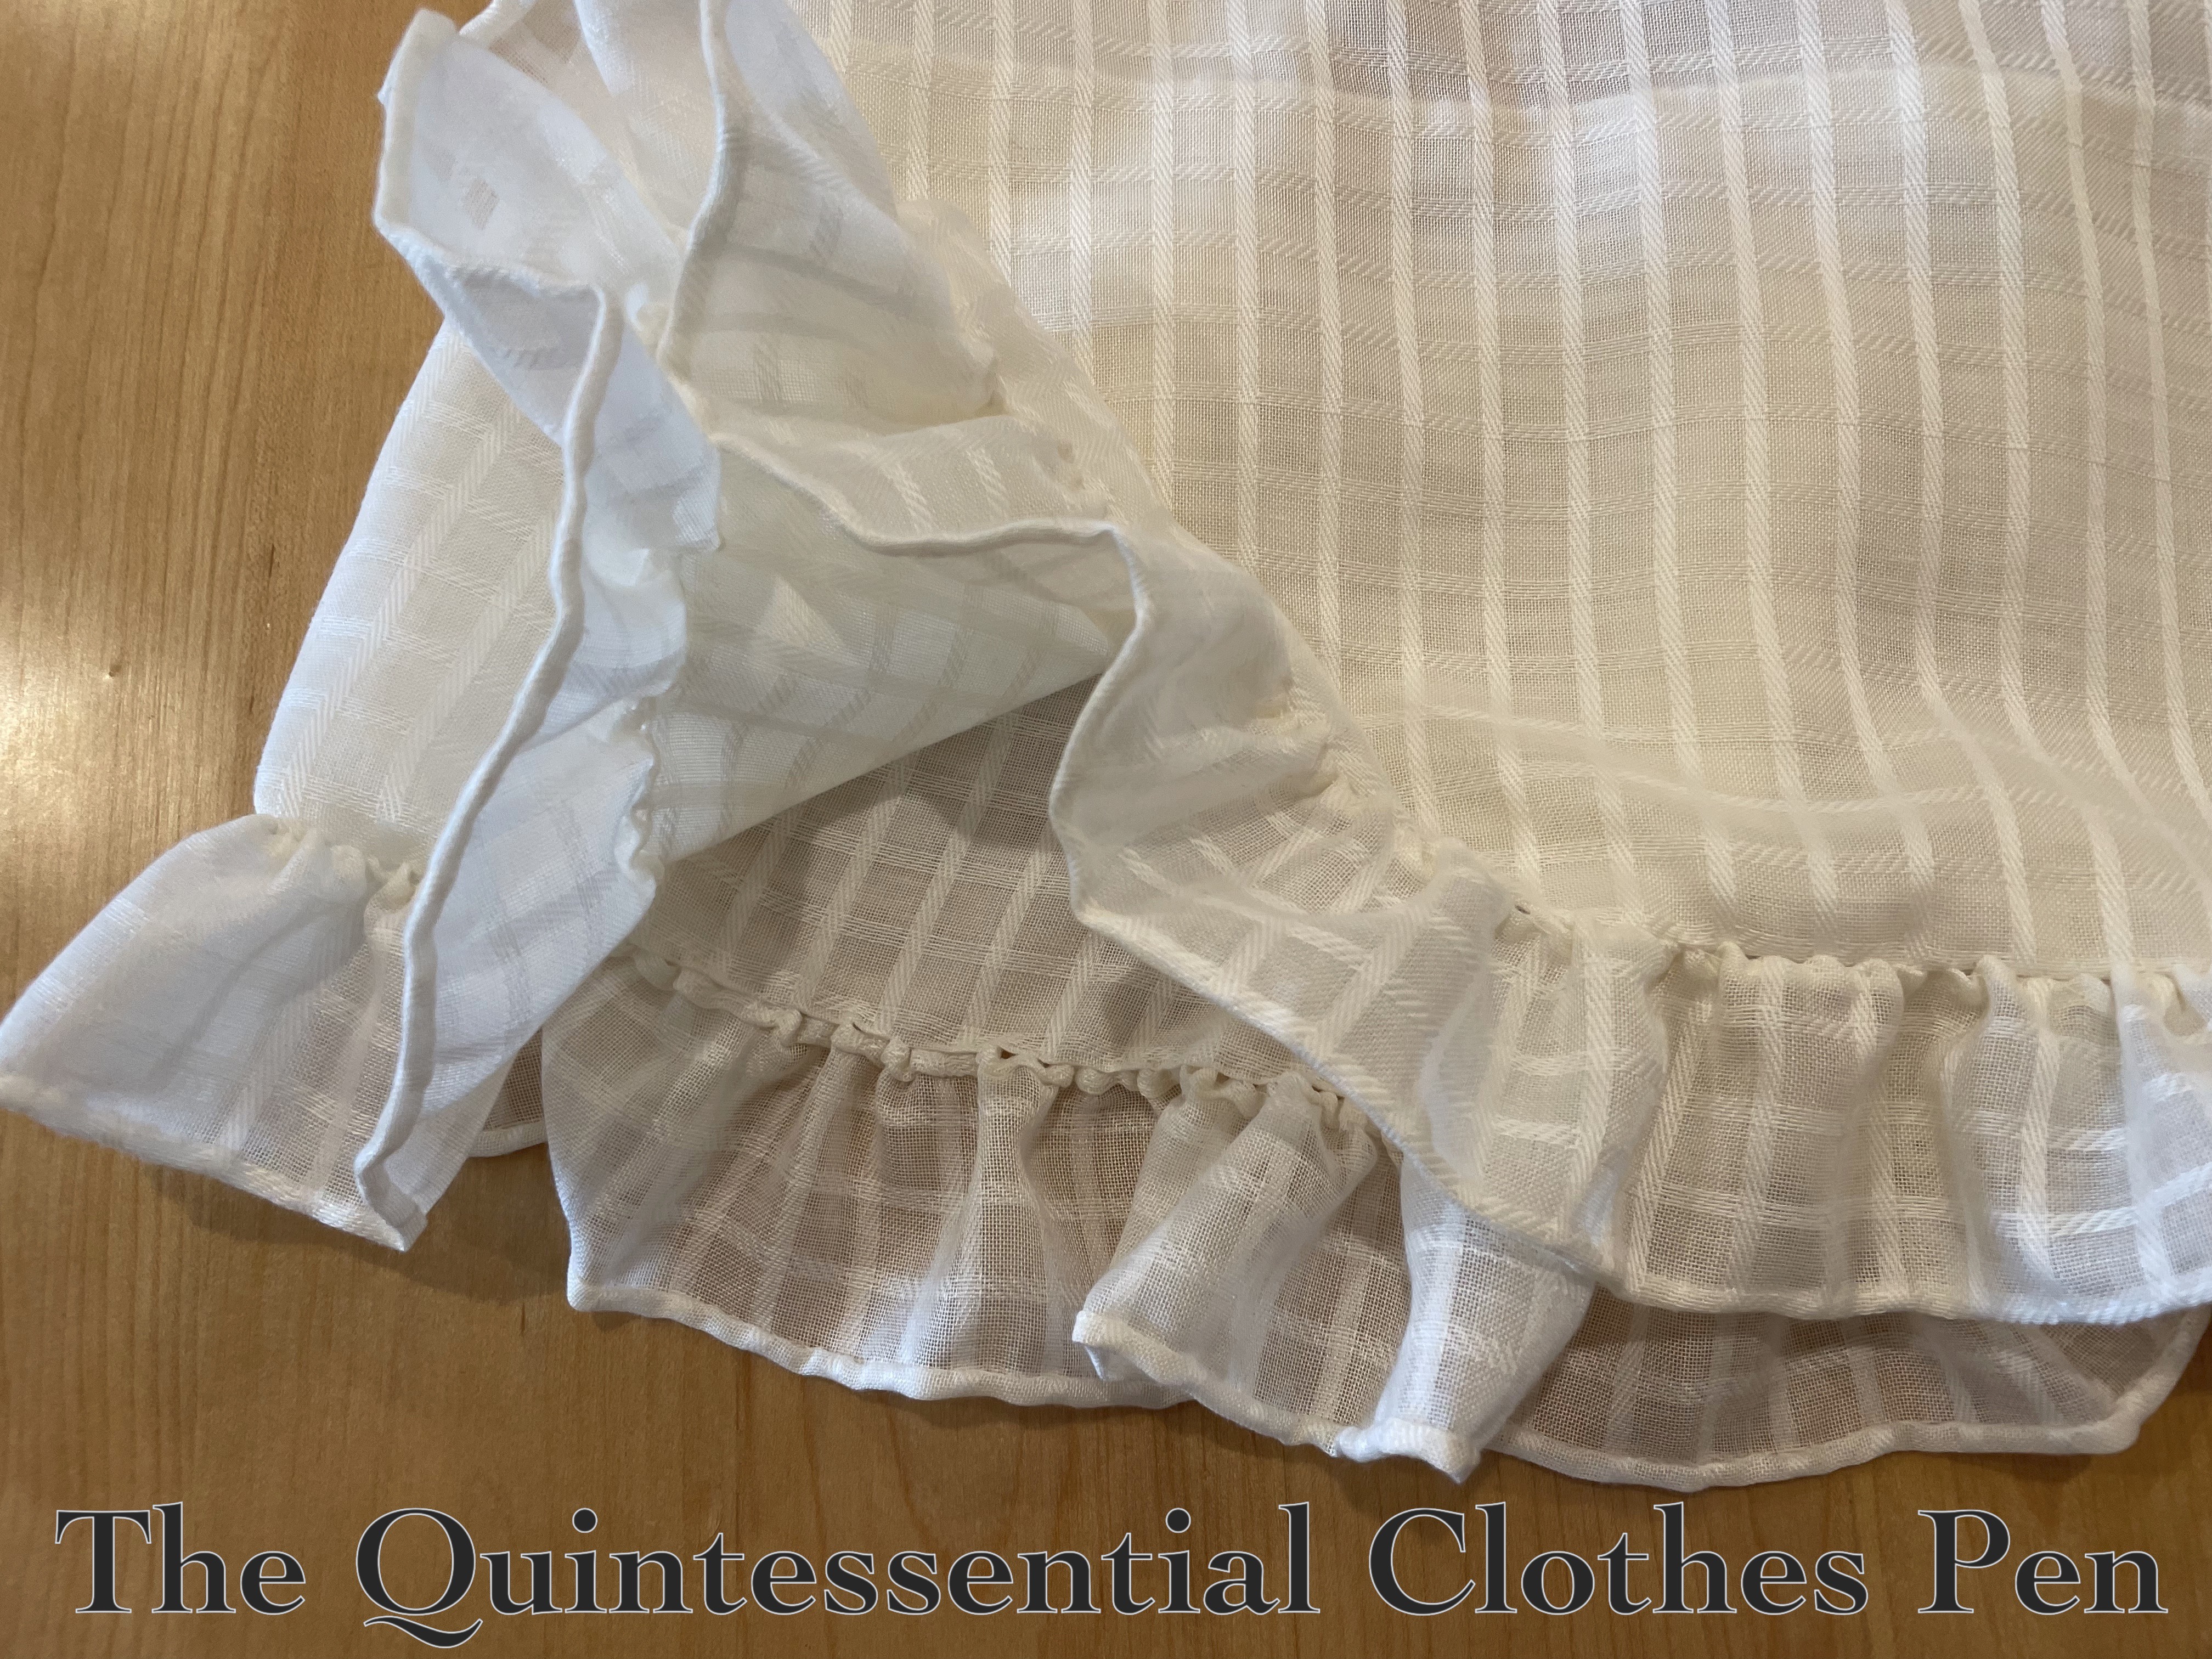
The bottom of the skirt has a ½” hand sewn whip stitched hem, which you can see in the image below. It is leveled to sit over 1770s panniers (which you can read about in this past post).

And that’s basically it! This petticoat qualifies for the Historical Sew Monthly Challenge #12 That’s A Wrap:
Make an accessory or garment that is worn by wrapping it around the body.
Just the facts:
Fabric/Materials: Approximately 1.25 yards of yellow jacquard silk and 2 yards of cream cotton.
Pattern: I referenced my first petticoat, which referenced Katherine’s 18th Century Petticoat Tutorial and The Standard 18th Century Petticoat Tutorial at A Fashionable Frolick. The nice thing about Katherine’s tutorial is that it’s adjusted for a petticoat to go over pocket hoops, while the great thing about the tutorial at A Fashionable Frolick is that it has tons of detailed construction information like which stitches to use. Both tutorials are clear and very helpful.
Year: c. 1775.
Notions: Approximately 3 yards of ¼” ivory polyester ribbon and thread.
How historically accurate is it?: 90%. All of the visible bits are hand sewn. The construction methods are accurate, though cotton is not the most likely fiber content as it was expensive in the 18th century.
Hours to complete: I didn’t keep track (a nice change from some of my projects). My guess is about 5 hours for machine sewing non-visible areas and hand finishing.
First worn: October 5, 2024.
Total cost: Approximately $30 (the cotton was $4/yard, the silk was $17/yard, and the ribbon was free).