(HSM #111Today, I have another installment of a When The Dress No Longer Fits story. I share these posts as I update older dresses to fit my current body size. You can read all of the posts in this series here.
The Back Story For Evie, My 1864 Green And Gold Dress
Back in 2013, I decided to prove to myself that a hand sewn 1860s dress could stand up to lots of wear by making a new dress and wearing it to many social engagements. Thirteen years later, I can say with confidence that the green and gold silk dress has held up well to many wearings, just as I knew it would!
Here is a past blog post with many images showing this dress, which I named Evie, when it was first made. And below, a photo from that past blog post showing the dress. Looking closely, it even has extra space at the waist…

Well that isn’t the case anymore! I haven’t worn it in the last few years because it no longer fit, particularly in the waist. I changed sizes around 2015, and at some point around there I was able to extend the life of the dress by adding a placket under the bodice lacing so it didn’t quite need to meet to fit. And the waistband was just tight.
But more recently… the waistband would not close. And given how the dress is made, with 6 perfectly even stacked box pleats around the waist, one of which concealed the opening, there was no wiggle room for adjustment without a full re-pleating. When I finally made the decision to make a new waistband and re-do the pleating, I had forgotten how old this dress is. Built in 2013? No wonder it no longer fit!
Documenting My Updates
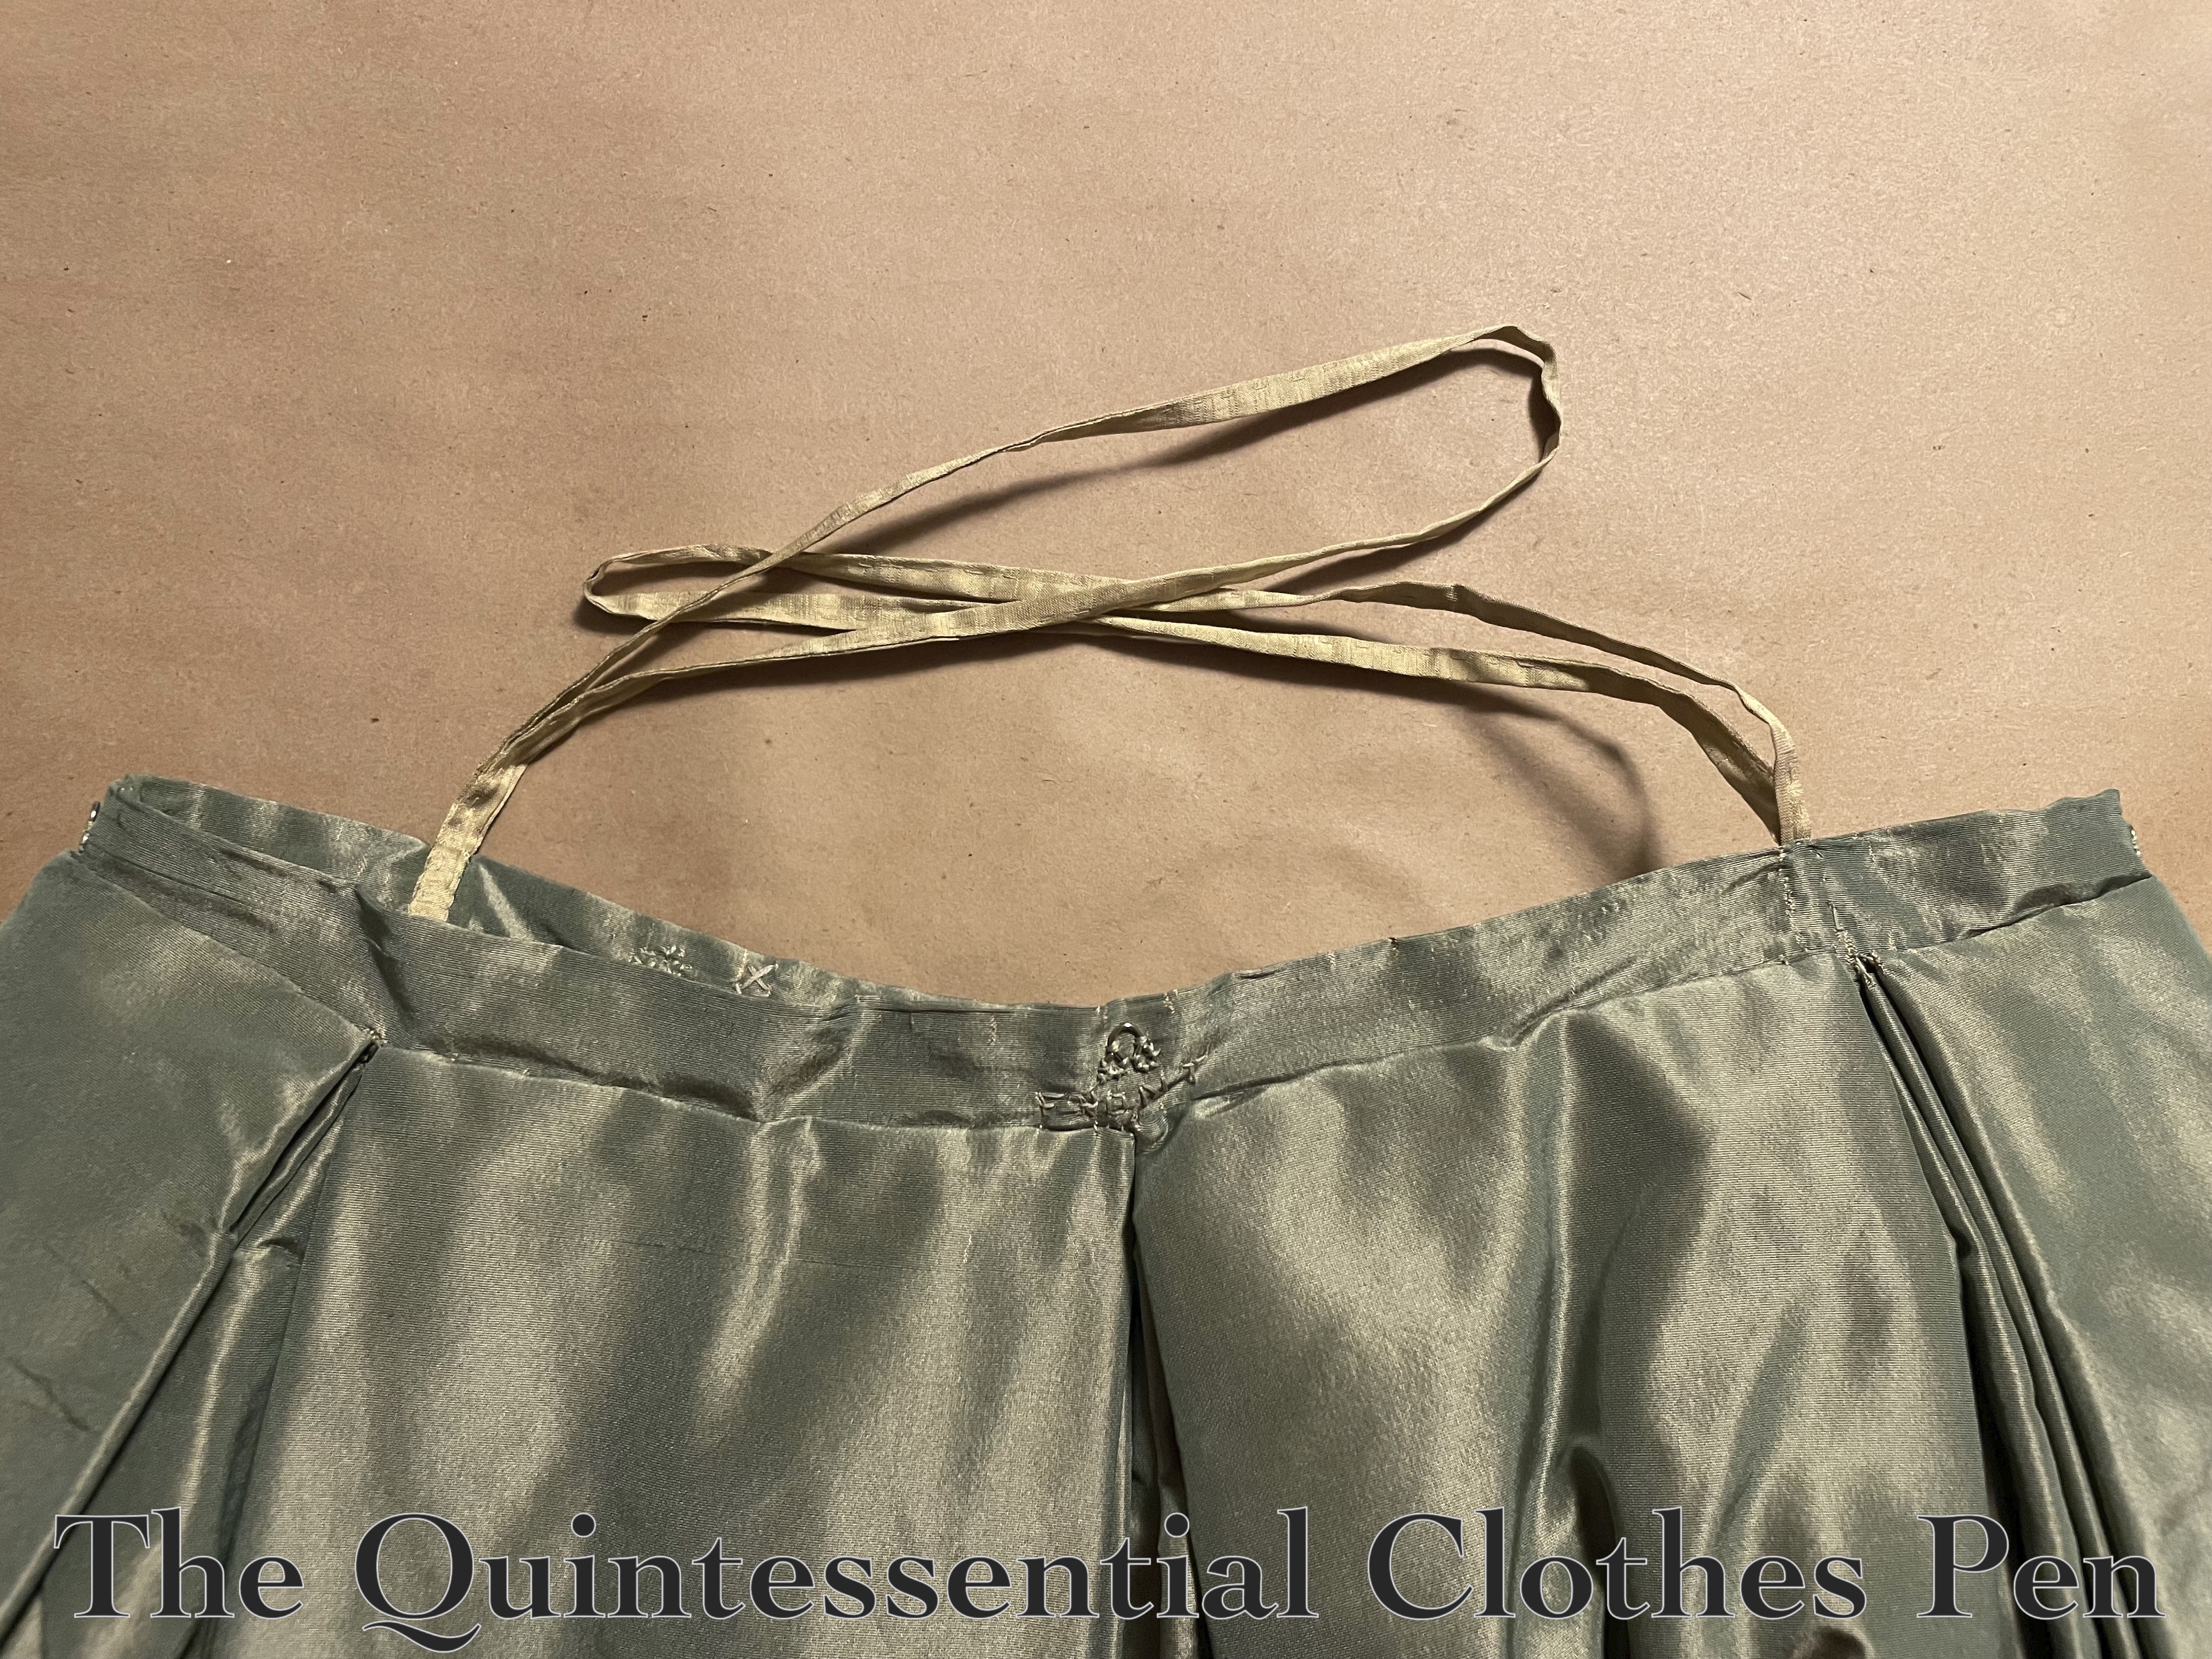
The first step to the remake was to take note of my original pleating math. Below, a photo of the outside of the skirt with the original waistband.
Then, seam ripping the old waistband to remove it from the skirt.
I decided that while the skirt was taken apart anyway, I would do a couple of additional things:
1 – I shortened the skirt by about 2″. It had always been a bit long for dancing, but given that there was so much trim near the hem it wasn’t possible to easily hem it. But with the waistband taken apart it was easy to shorten the skirt from the top.
2 – I removed the top portion of the muslin flat lining from the skirt, leaving only about ⅓ of it around the bottom to support all of the trim and provide a facing for the silk. When I made the skirt flatlining the entire thing felt supportive, but I realized that it was unnecessarily heavy and made the stacked box pleats at the waist extra thick and annoying to deal with. So no more of that on this second version of the skirt!
Below is a photo showing the inside of the skirt in its original form, with the muslin extending all the way up to the waistband. The box pleats were so thick there was no way to sew the waistband in a conventional way, so I turned all of the raw edges of the skirt to the inside and whipped the waistband to the top edges of the folded down pleats.

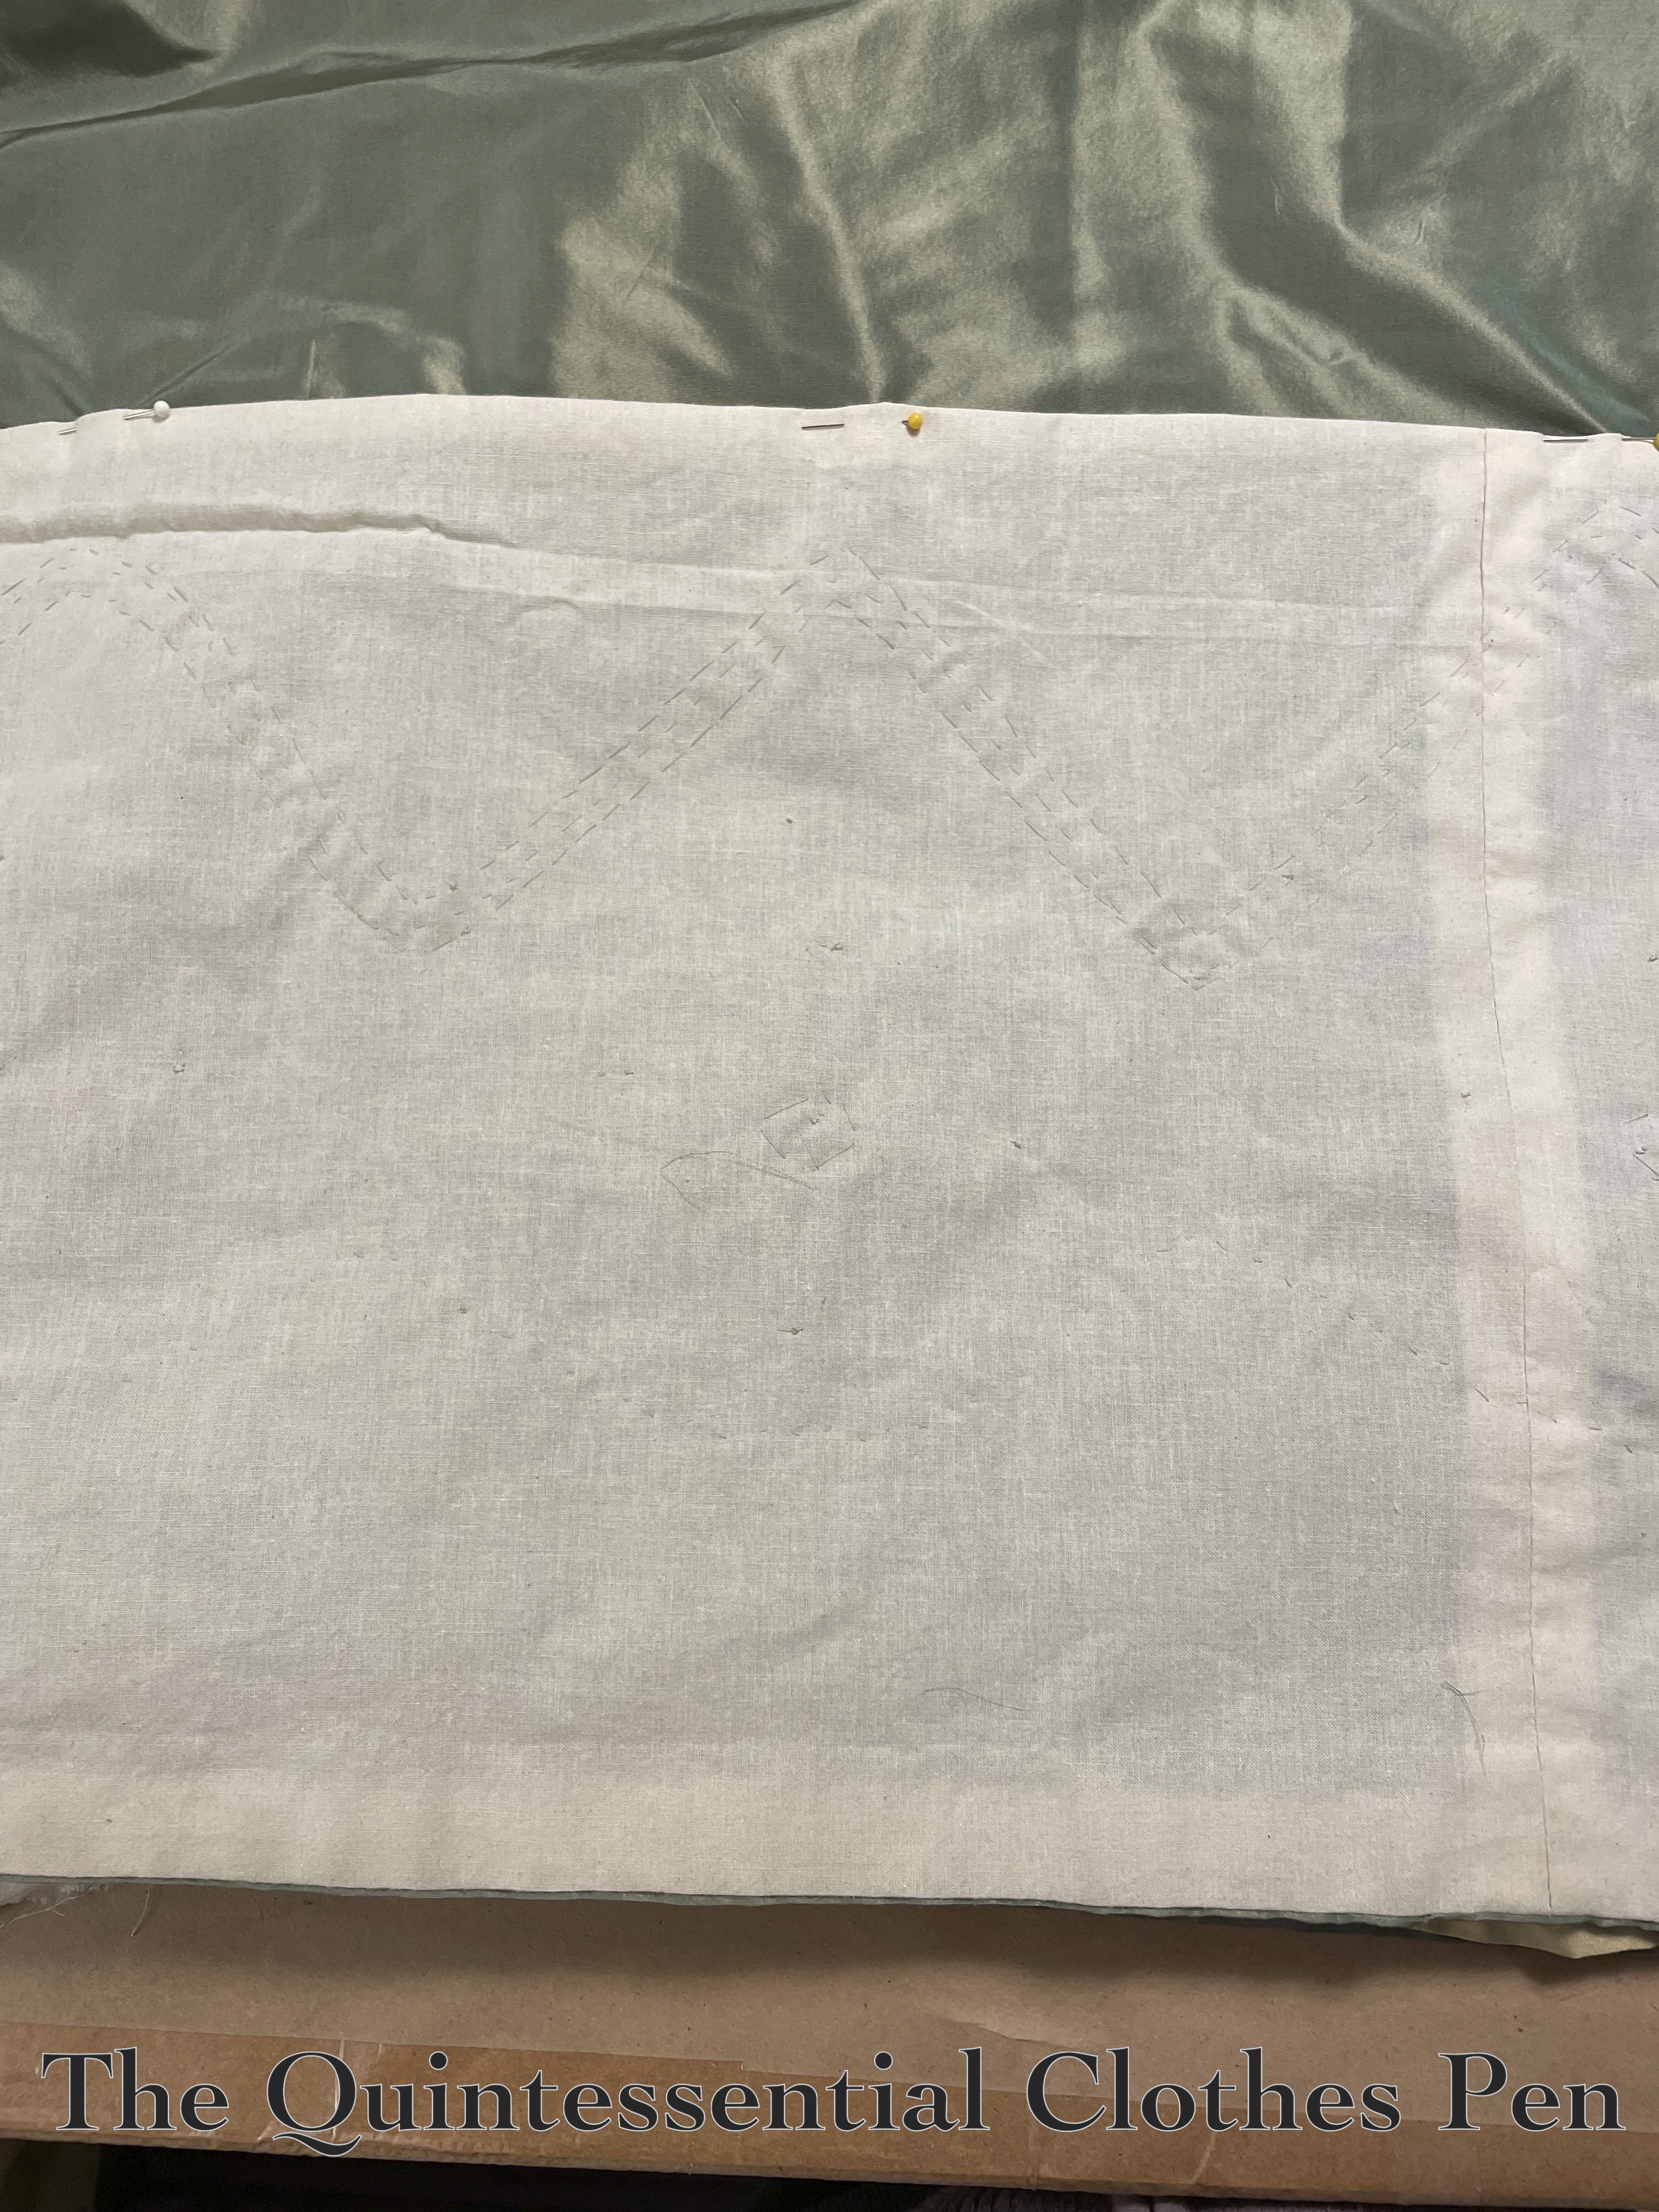
Below, a photo of the inside of the skirt with the muslin cut off to end just above the trim stitch lines. It’s pinned in place and ready to be slip stitched to become a wide facing.
Next, I dug out my fabric scraps and cut an extension piece to make the new waistband larger. I also cut a piece to put a formal placket into the new skirt (to replace the previous opening, which had the raw edges of the silk and muslin turned towards each other and running stitched — that method wouldn’t work with the new all silk upper). You can see the old opening in one of the earlier photos.
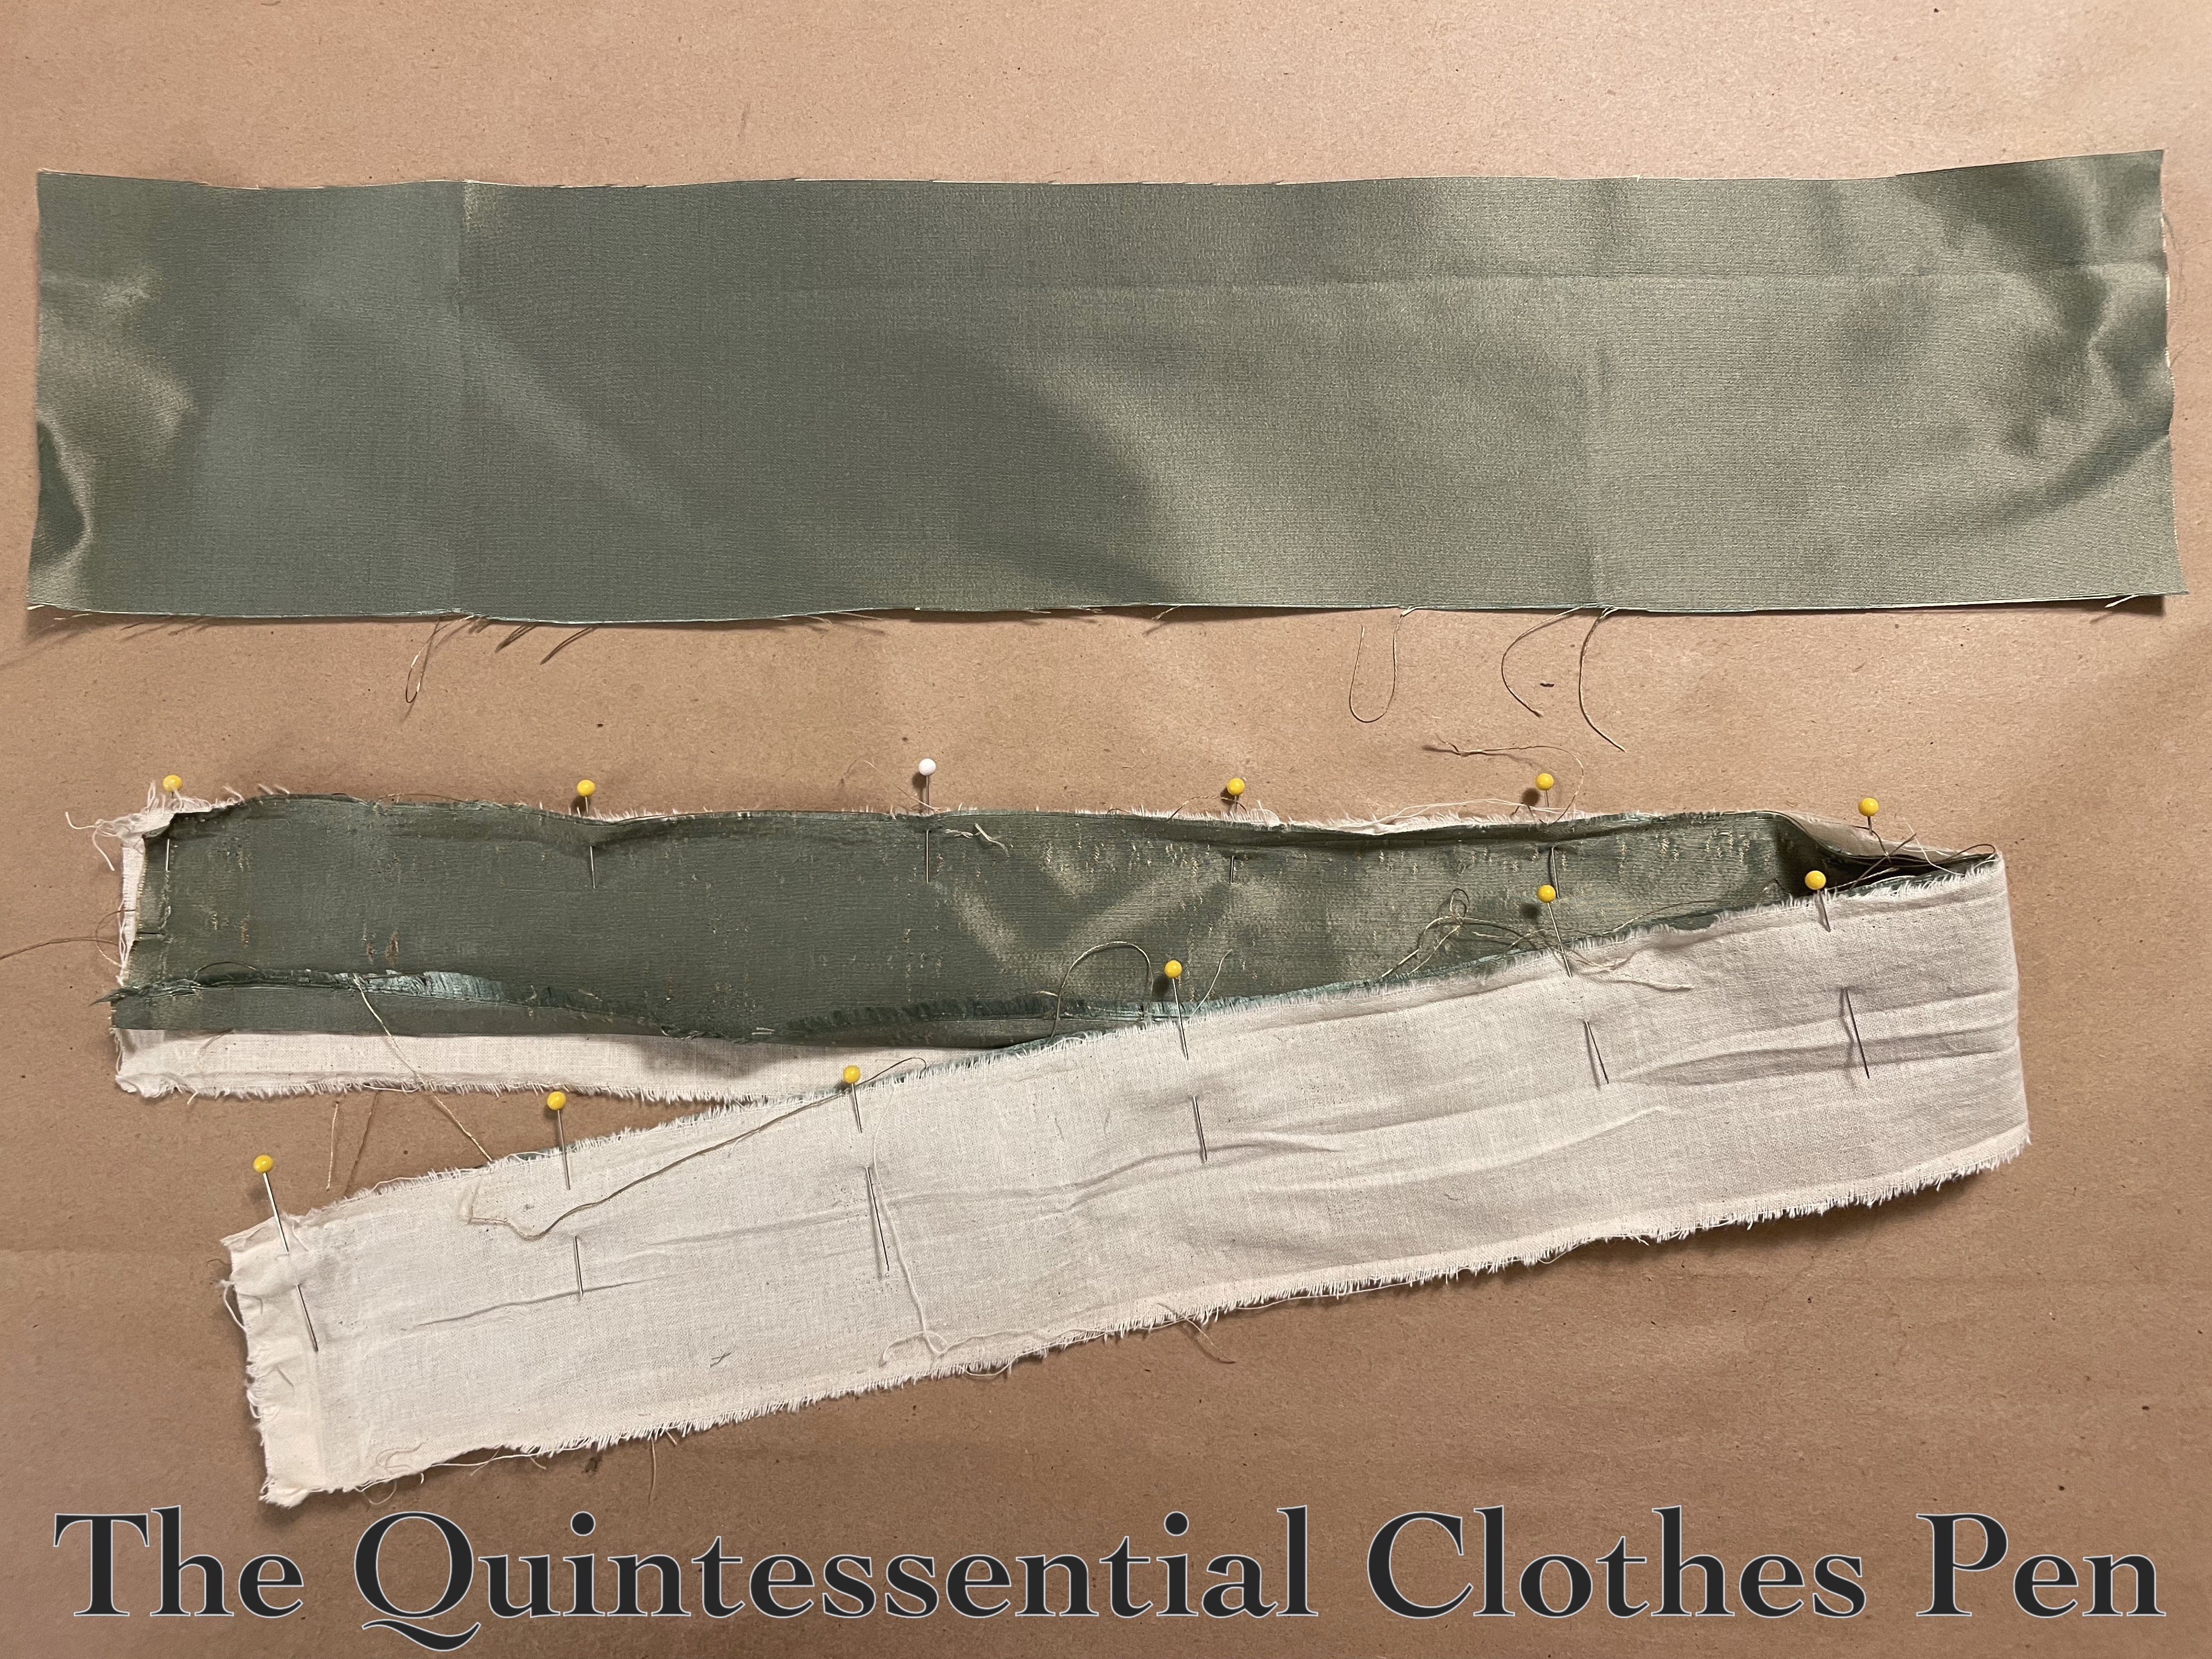
Below, the old waistband, before adding extensions, and the new placket piece (laid sideways).
Once I had my new pieces cut and ready to go, it was just a matter of stitching the placket in place and then pleating the skirt to the new waistband dimensions. I don’t enjoy doing pleat math, so this step took a lot of fiddling. I’d rather pleat by trial and error… a time consuming method, but it works for my brain. It was extra brain-boggling because I was trying to hide the placket inside of the double stacked box pleats of the skirt folds, such that it landed in the middle of one of the pleated areas.
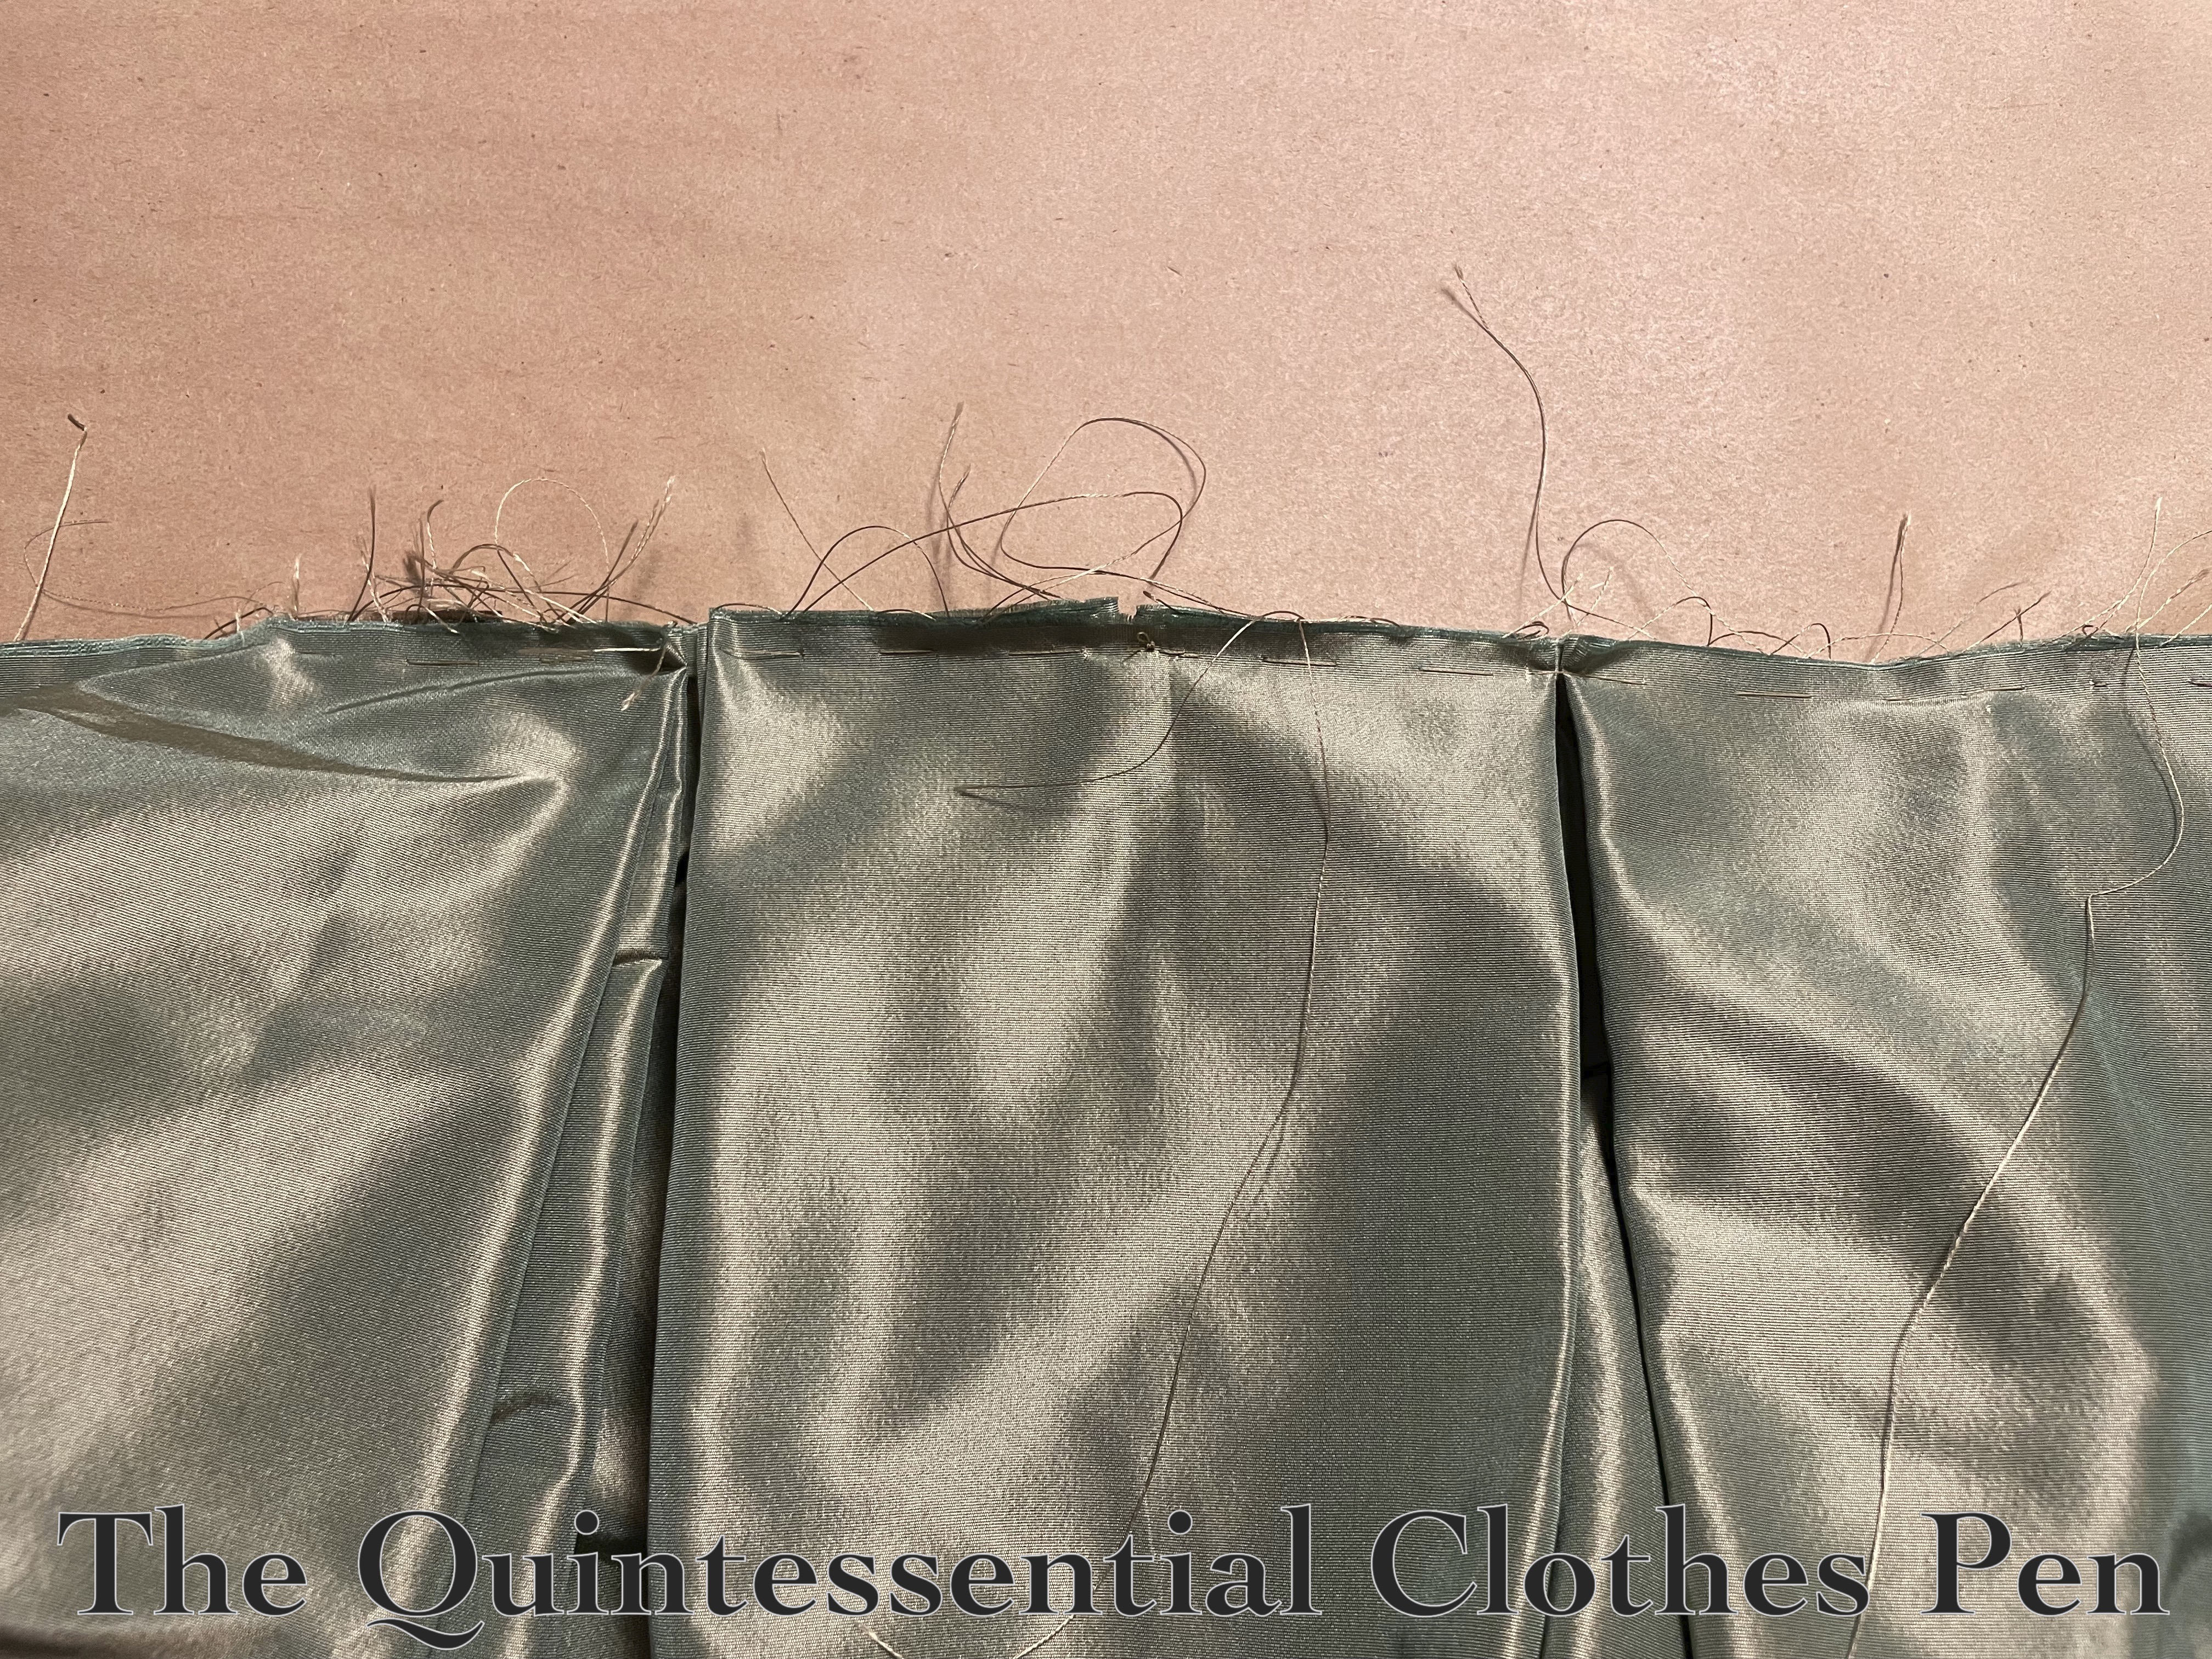
Below, the new top edge of the skirt. Shortened, pleated, and basted in place.
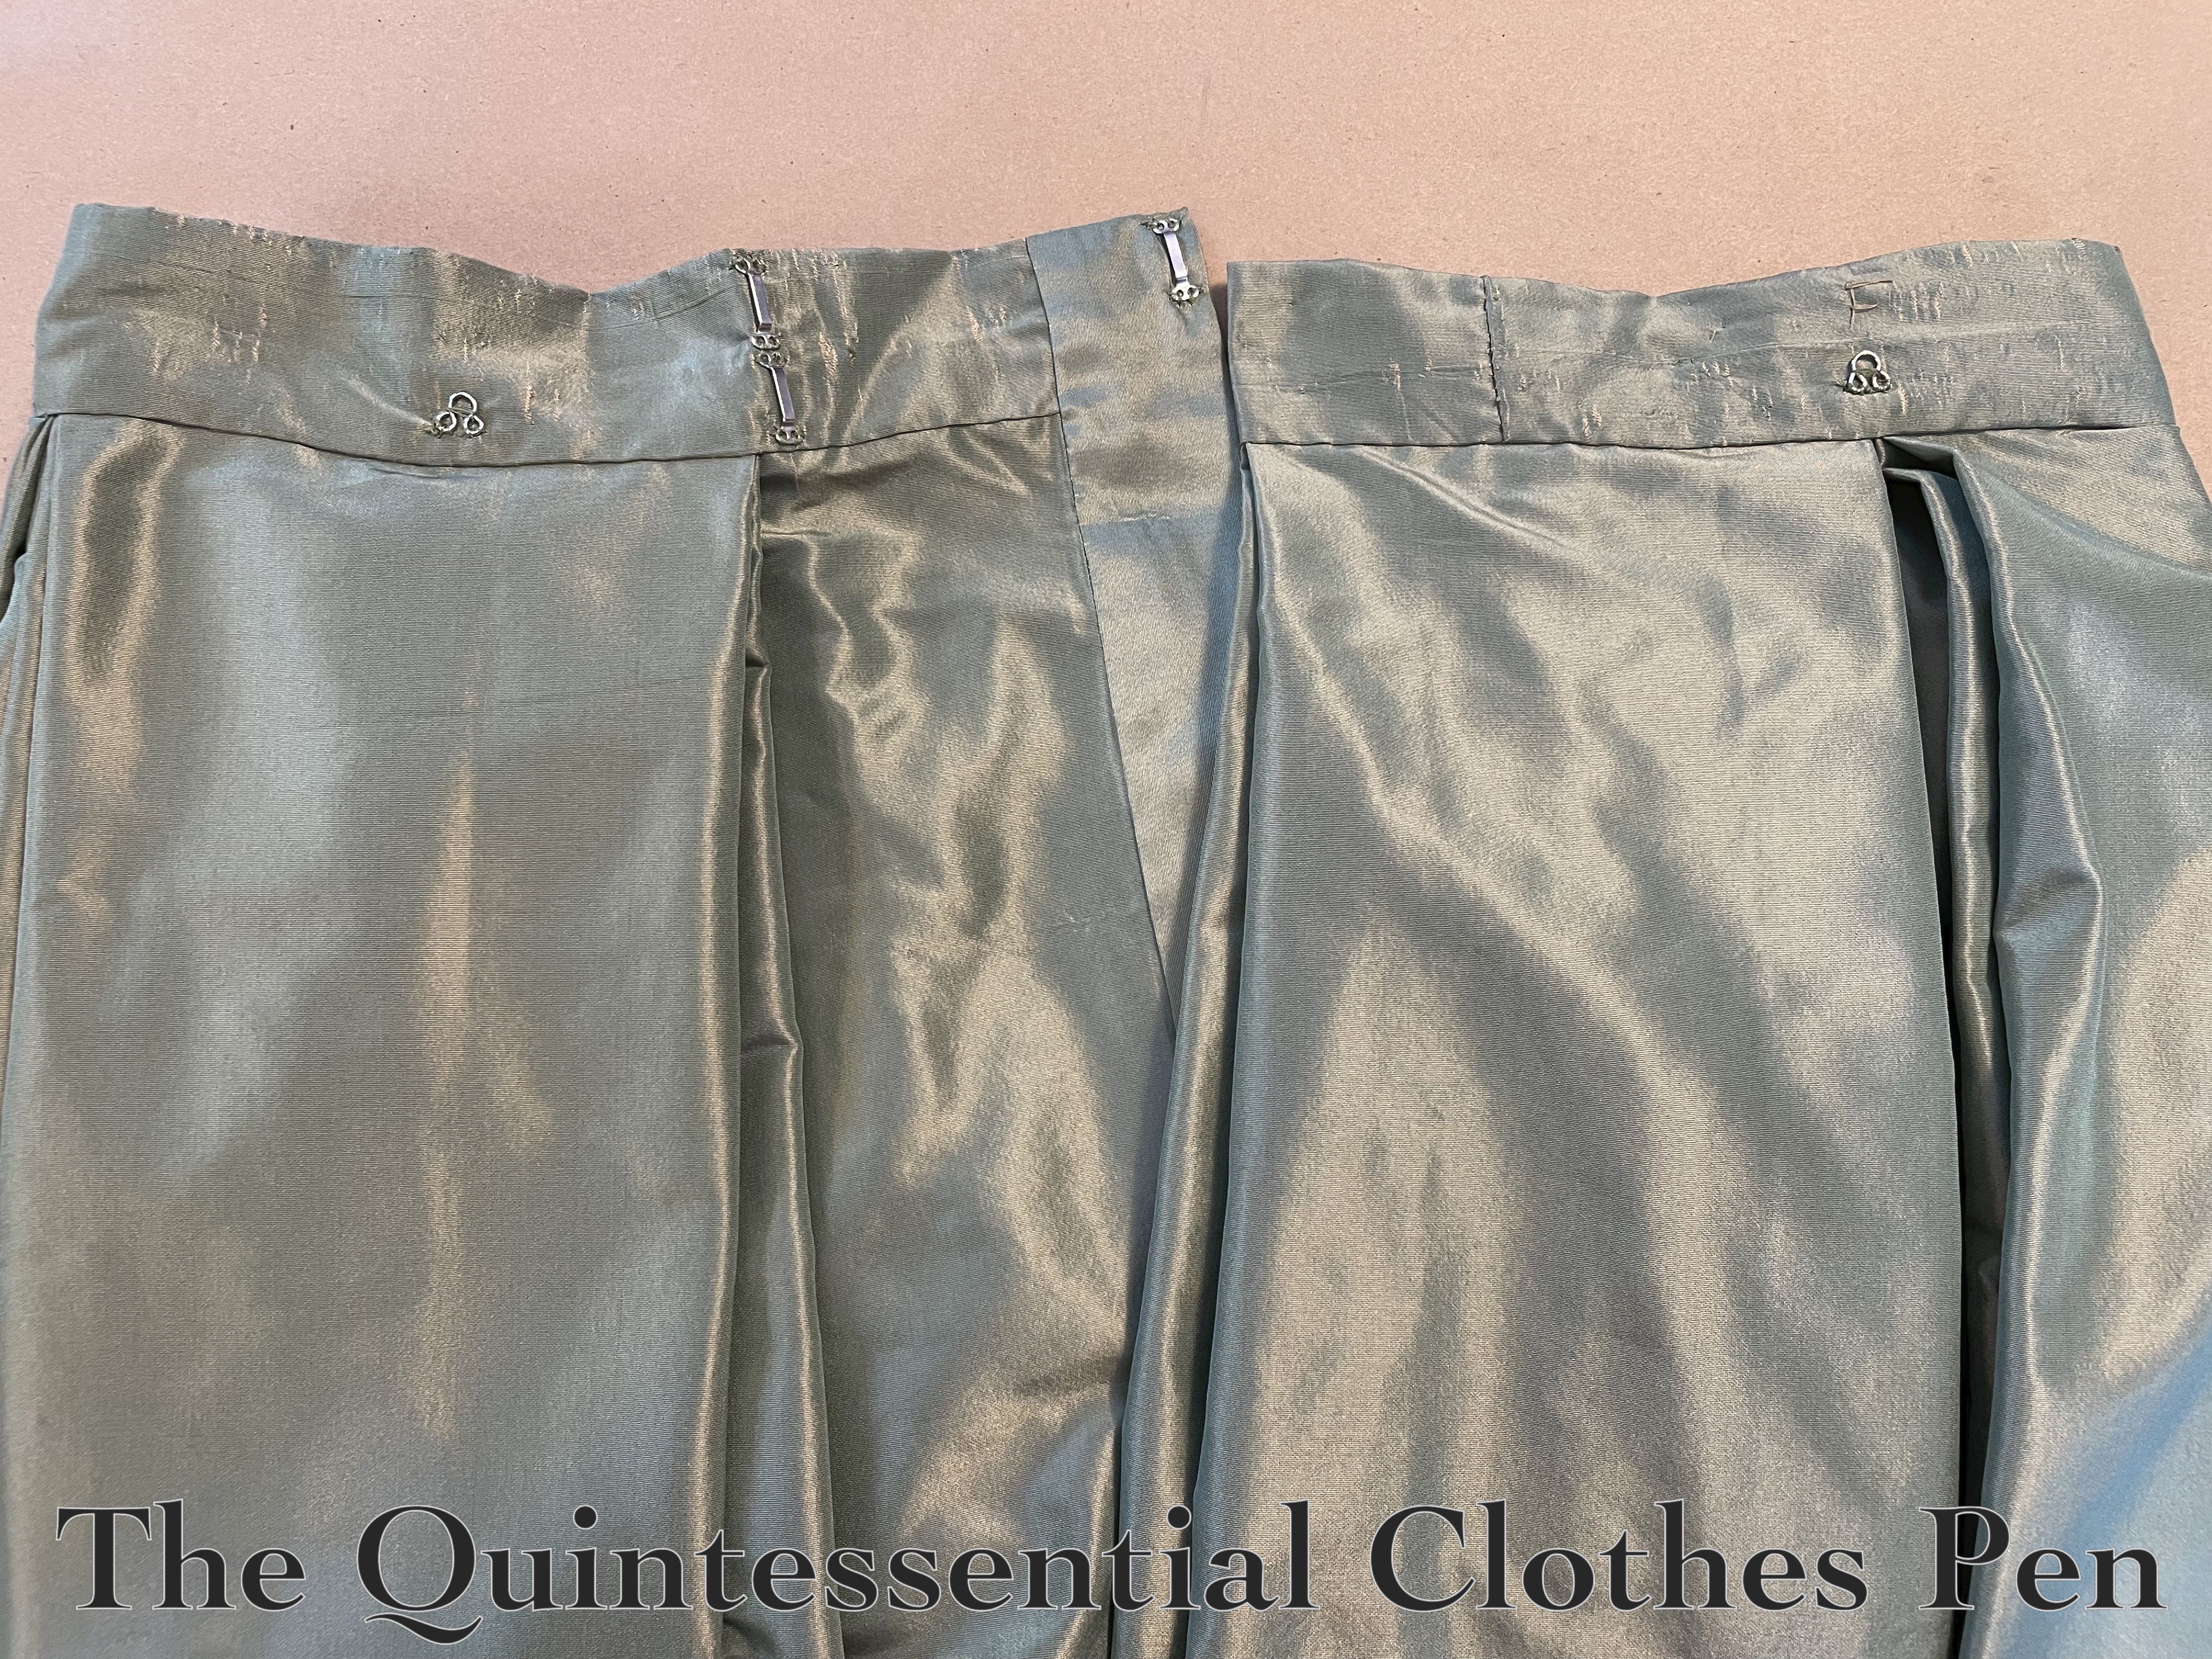
Once pleated, the sewing part was easy. All that remained was putting the waistband closures back on! Below is the updated waistband and placket from the outside of the skirt, with the placket hidden under one of the stacked box pleats. I reused the old waistband, even though it is a bit worn, because way not? It’s recycling and has patina!
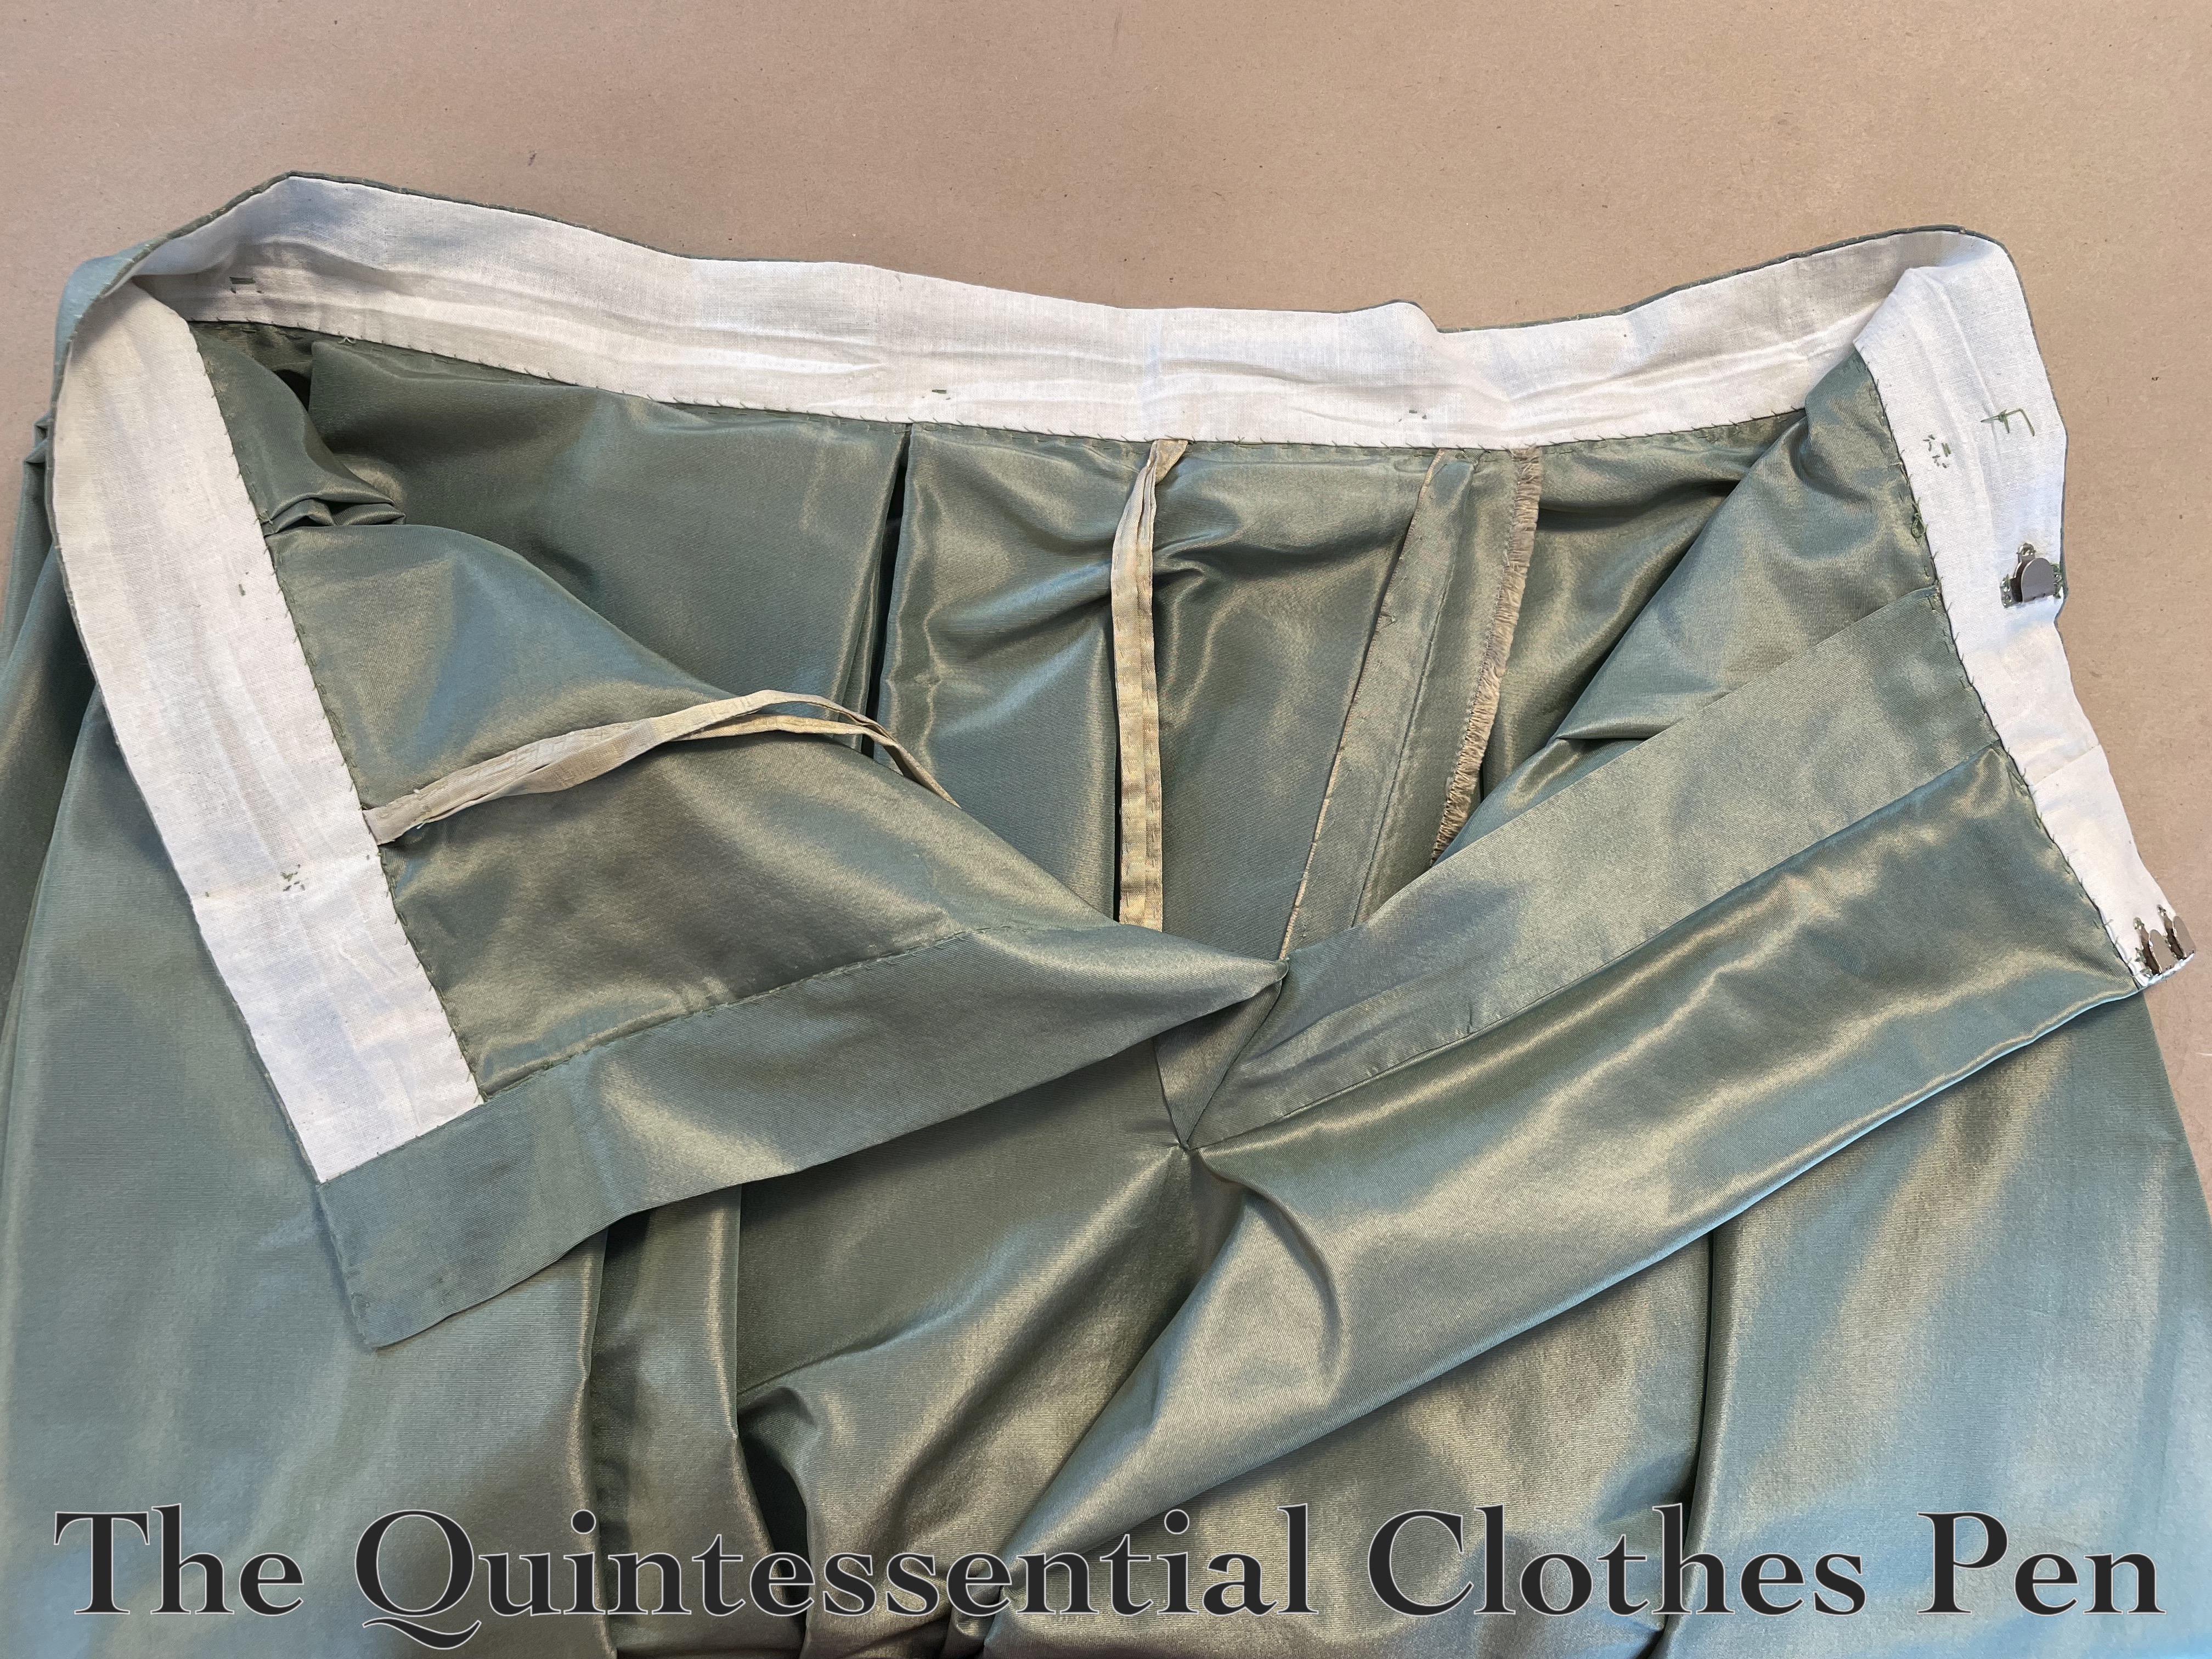
And here is the updated skirt from the inside. The only muslin in this area now is on the waistband facing. The location of the placket, hidden under a pleat, is a little more clear.
As a bonus, I decided to stitch down the gold skirt trim a little more securely, so that it would always stay in the correct place and look tidy, rather than needing a fluff for every wearing. And, I thought that a small bit of contrast would be nice, so I added some burgundy ribbon rosettes in the middle of the gold rosettes on the skirt, too. These were gifted to me about twenty years ago (along with the beads for my snowflakes last year) and I have never known what to do with them. This worked well! I just safety pinned them from the back so they are easy to remove if/when I decide to change things up.
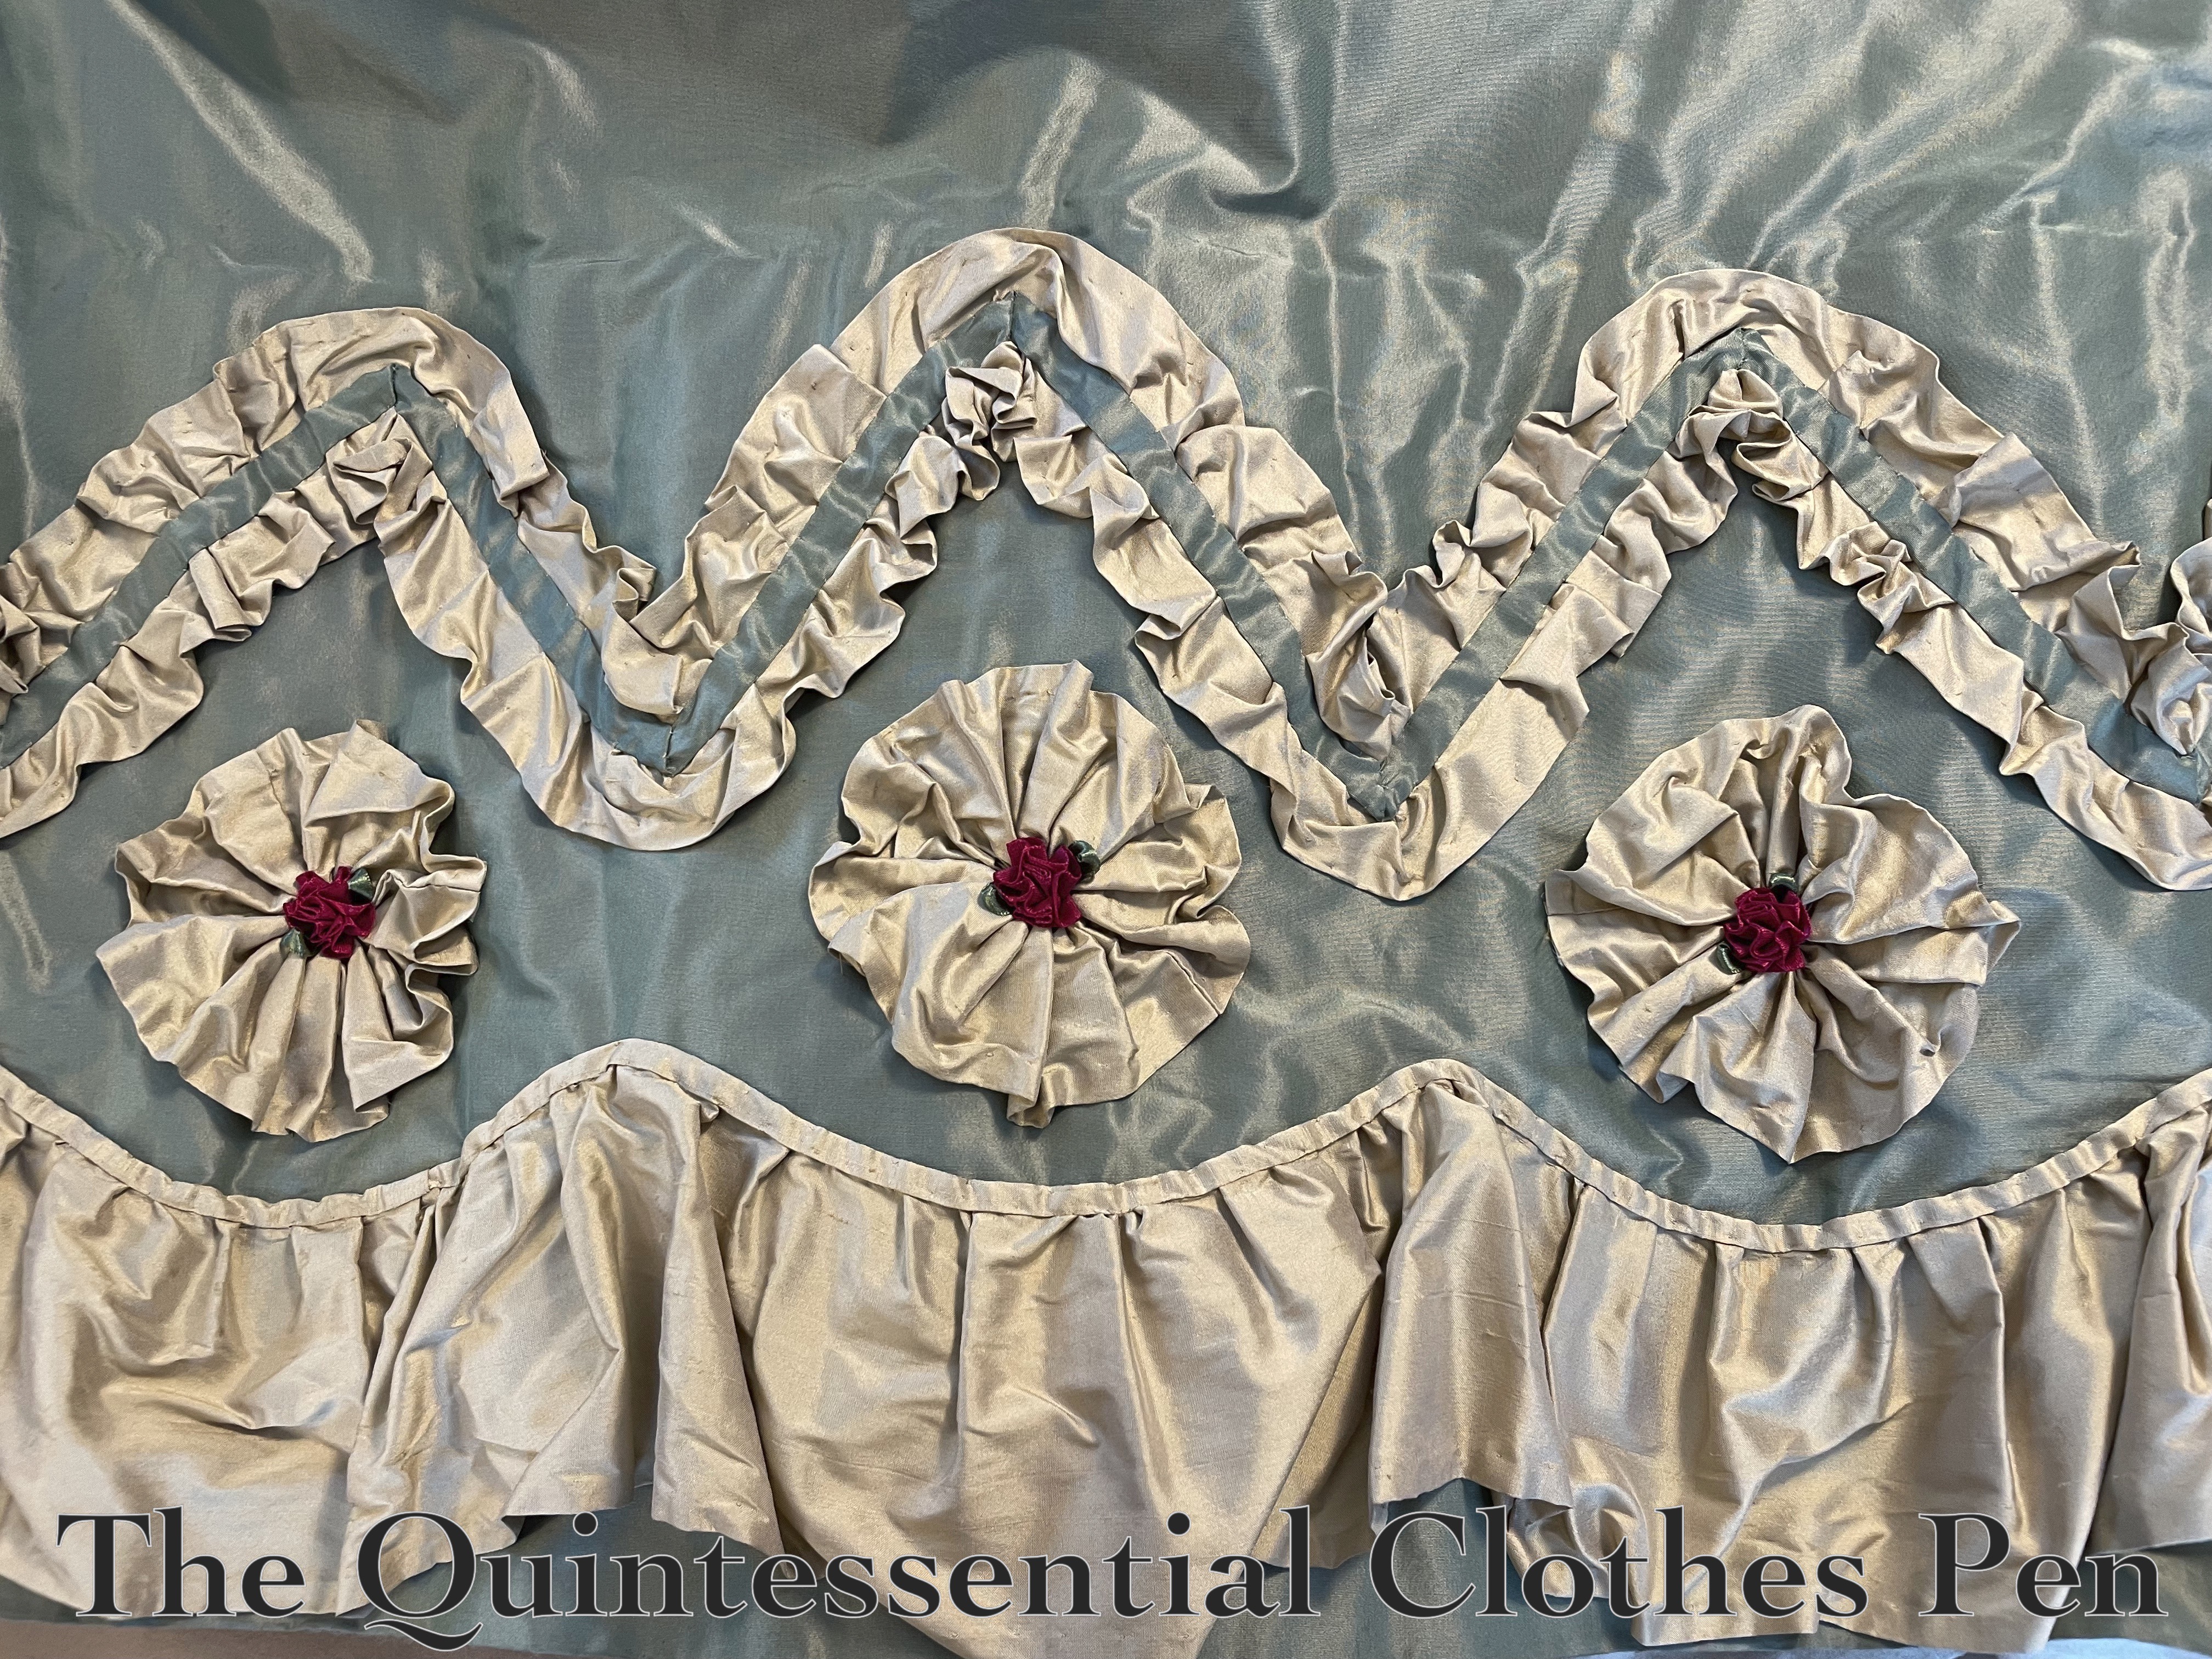
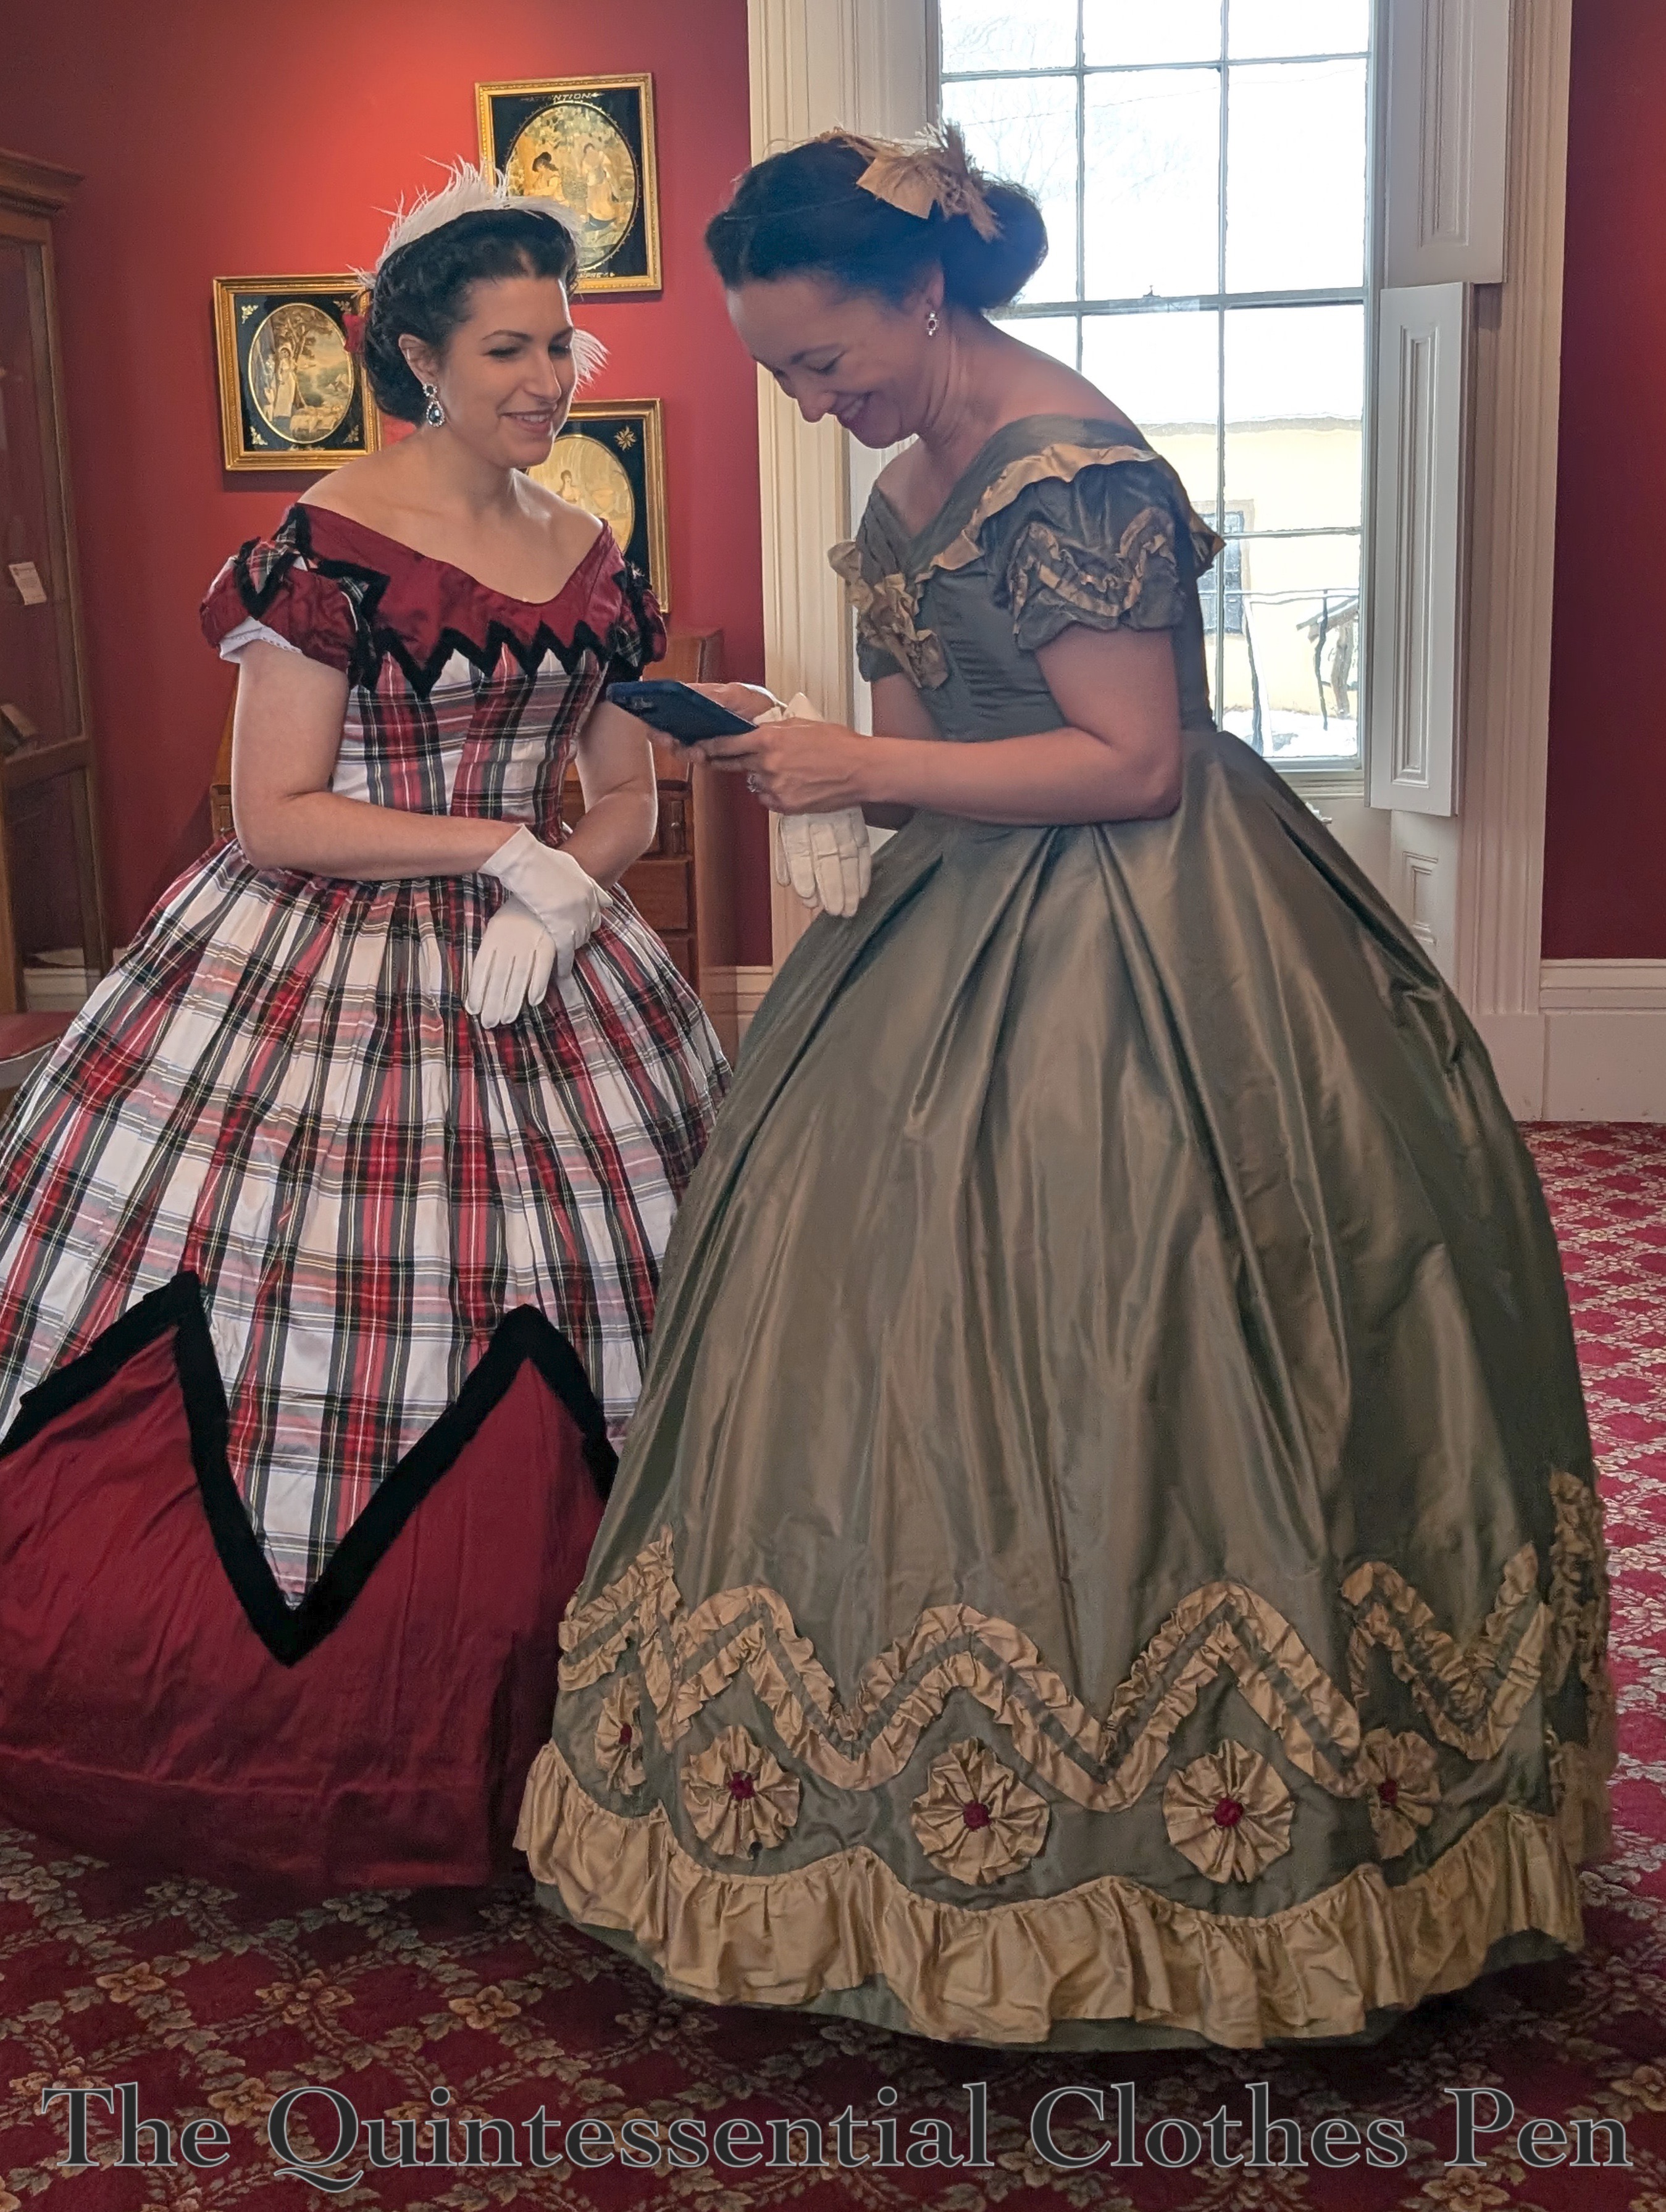
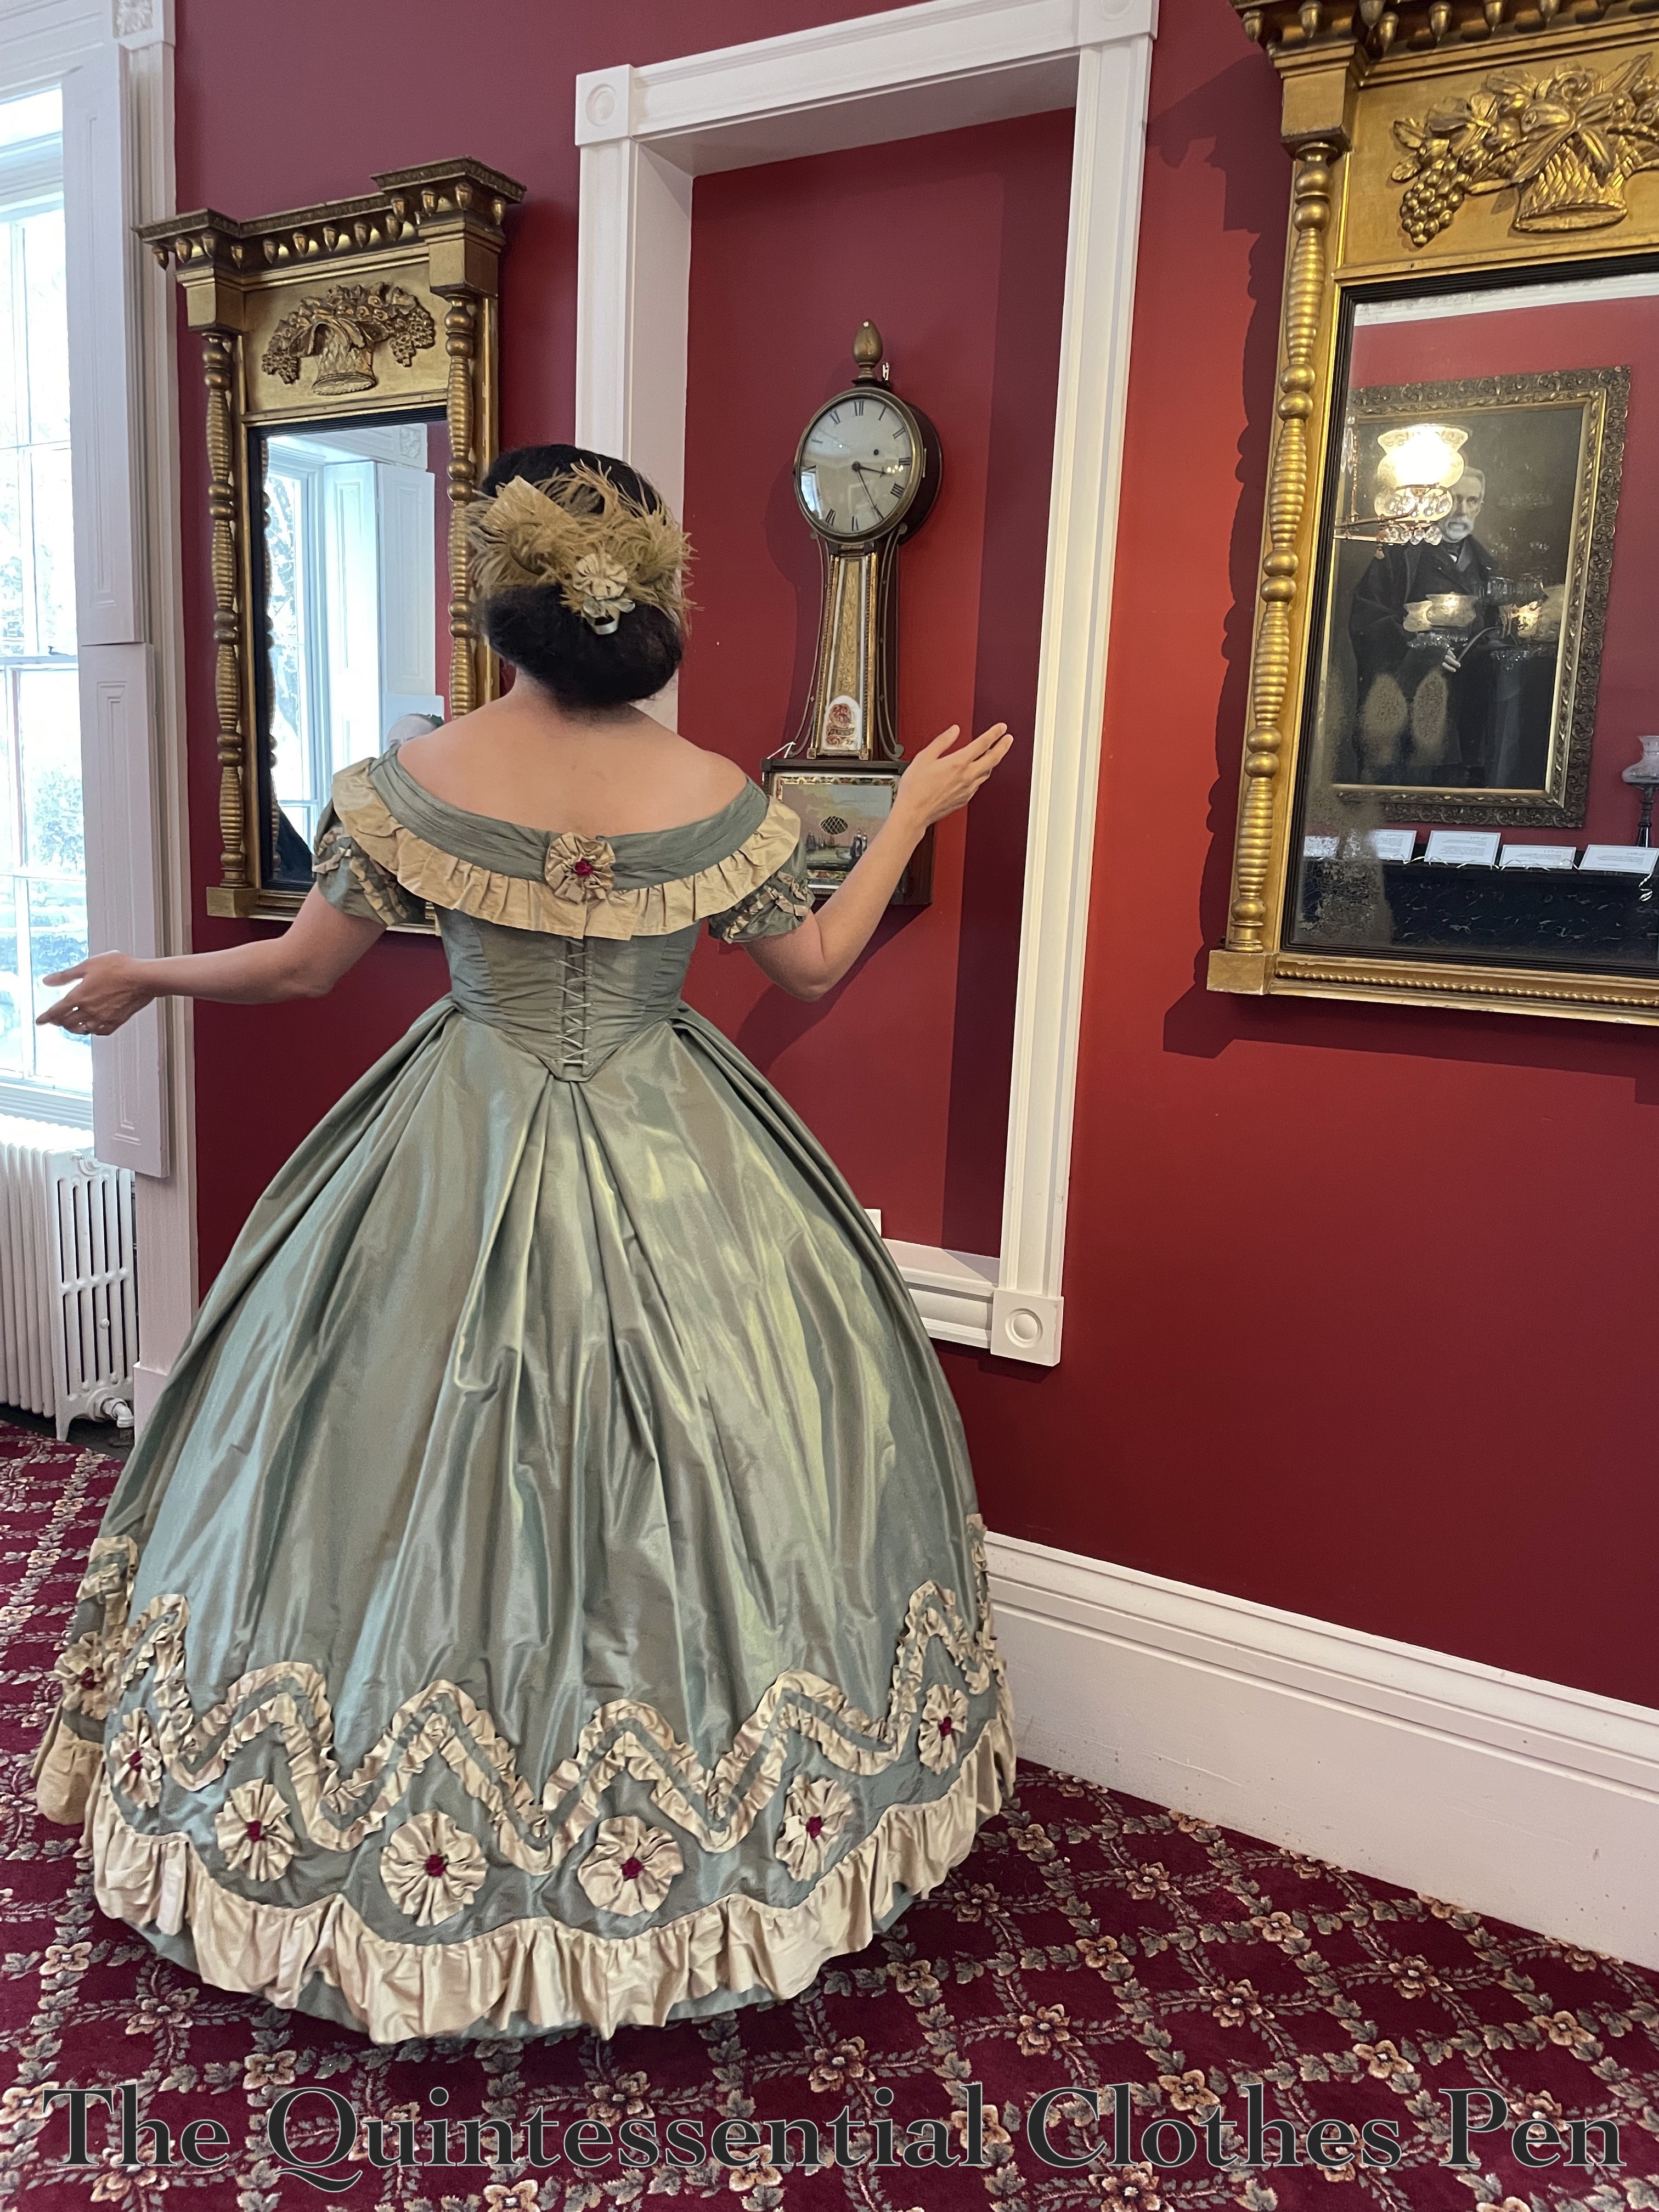
And that’s it! Evie is now wearable again! And the red rosettes match the paint on the walls very nicely, I think.
Historical Sew Monthly Information
I’m calling this my entry for the 2026 HSM Challenge #11: Green:
Make something that has the color green in it, or that is “green” in that it upcycles materials or resources from something else.
This fits the challenge in terms of color and in terms of reusing materials from an old dress and from gifted trimming bits!
Just the facts:
Fabric/Materials: Scraps of green silk and cotton muslin.
Pattern: My own.
Year: 1864.
Notions: Thread, hooks, bars, and ribbon rosettes.
How historically accurate is it?: 99%. Accurate materials, reasonable upgrades and hand stitching, I think this one is pretty good.
Hours to complete: I didn’t keep track.
First worn: January 1, 2026.
Total cost: Free, since everything came from the stash and was either gifted to me or purchased ages ago!
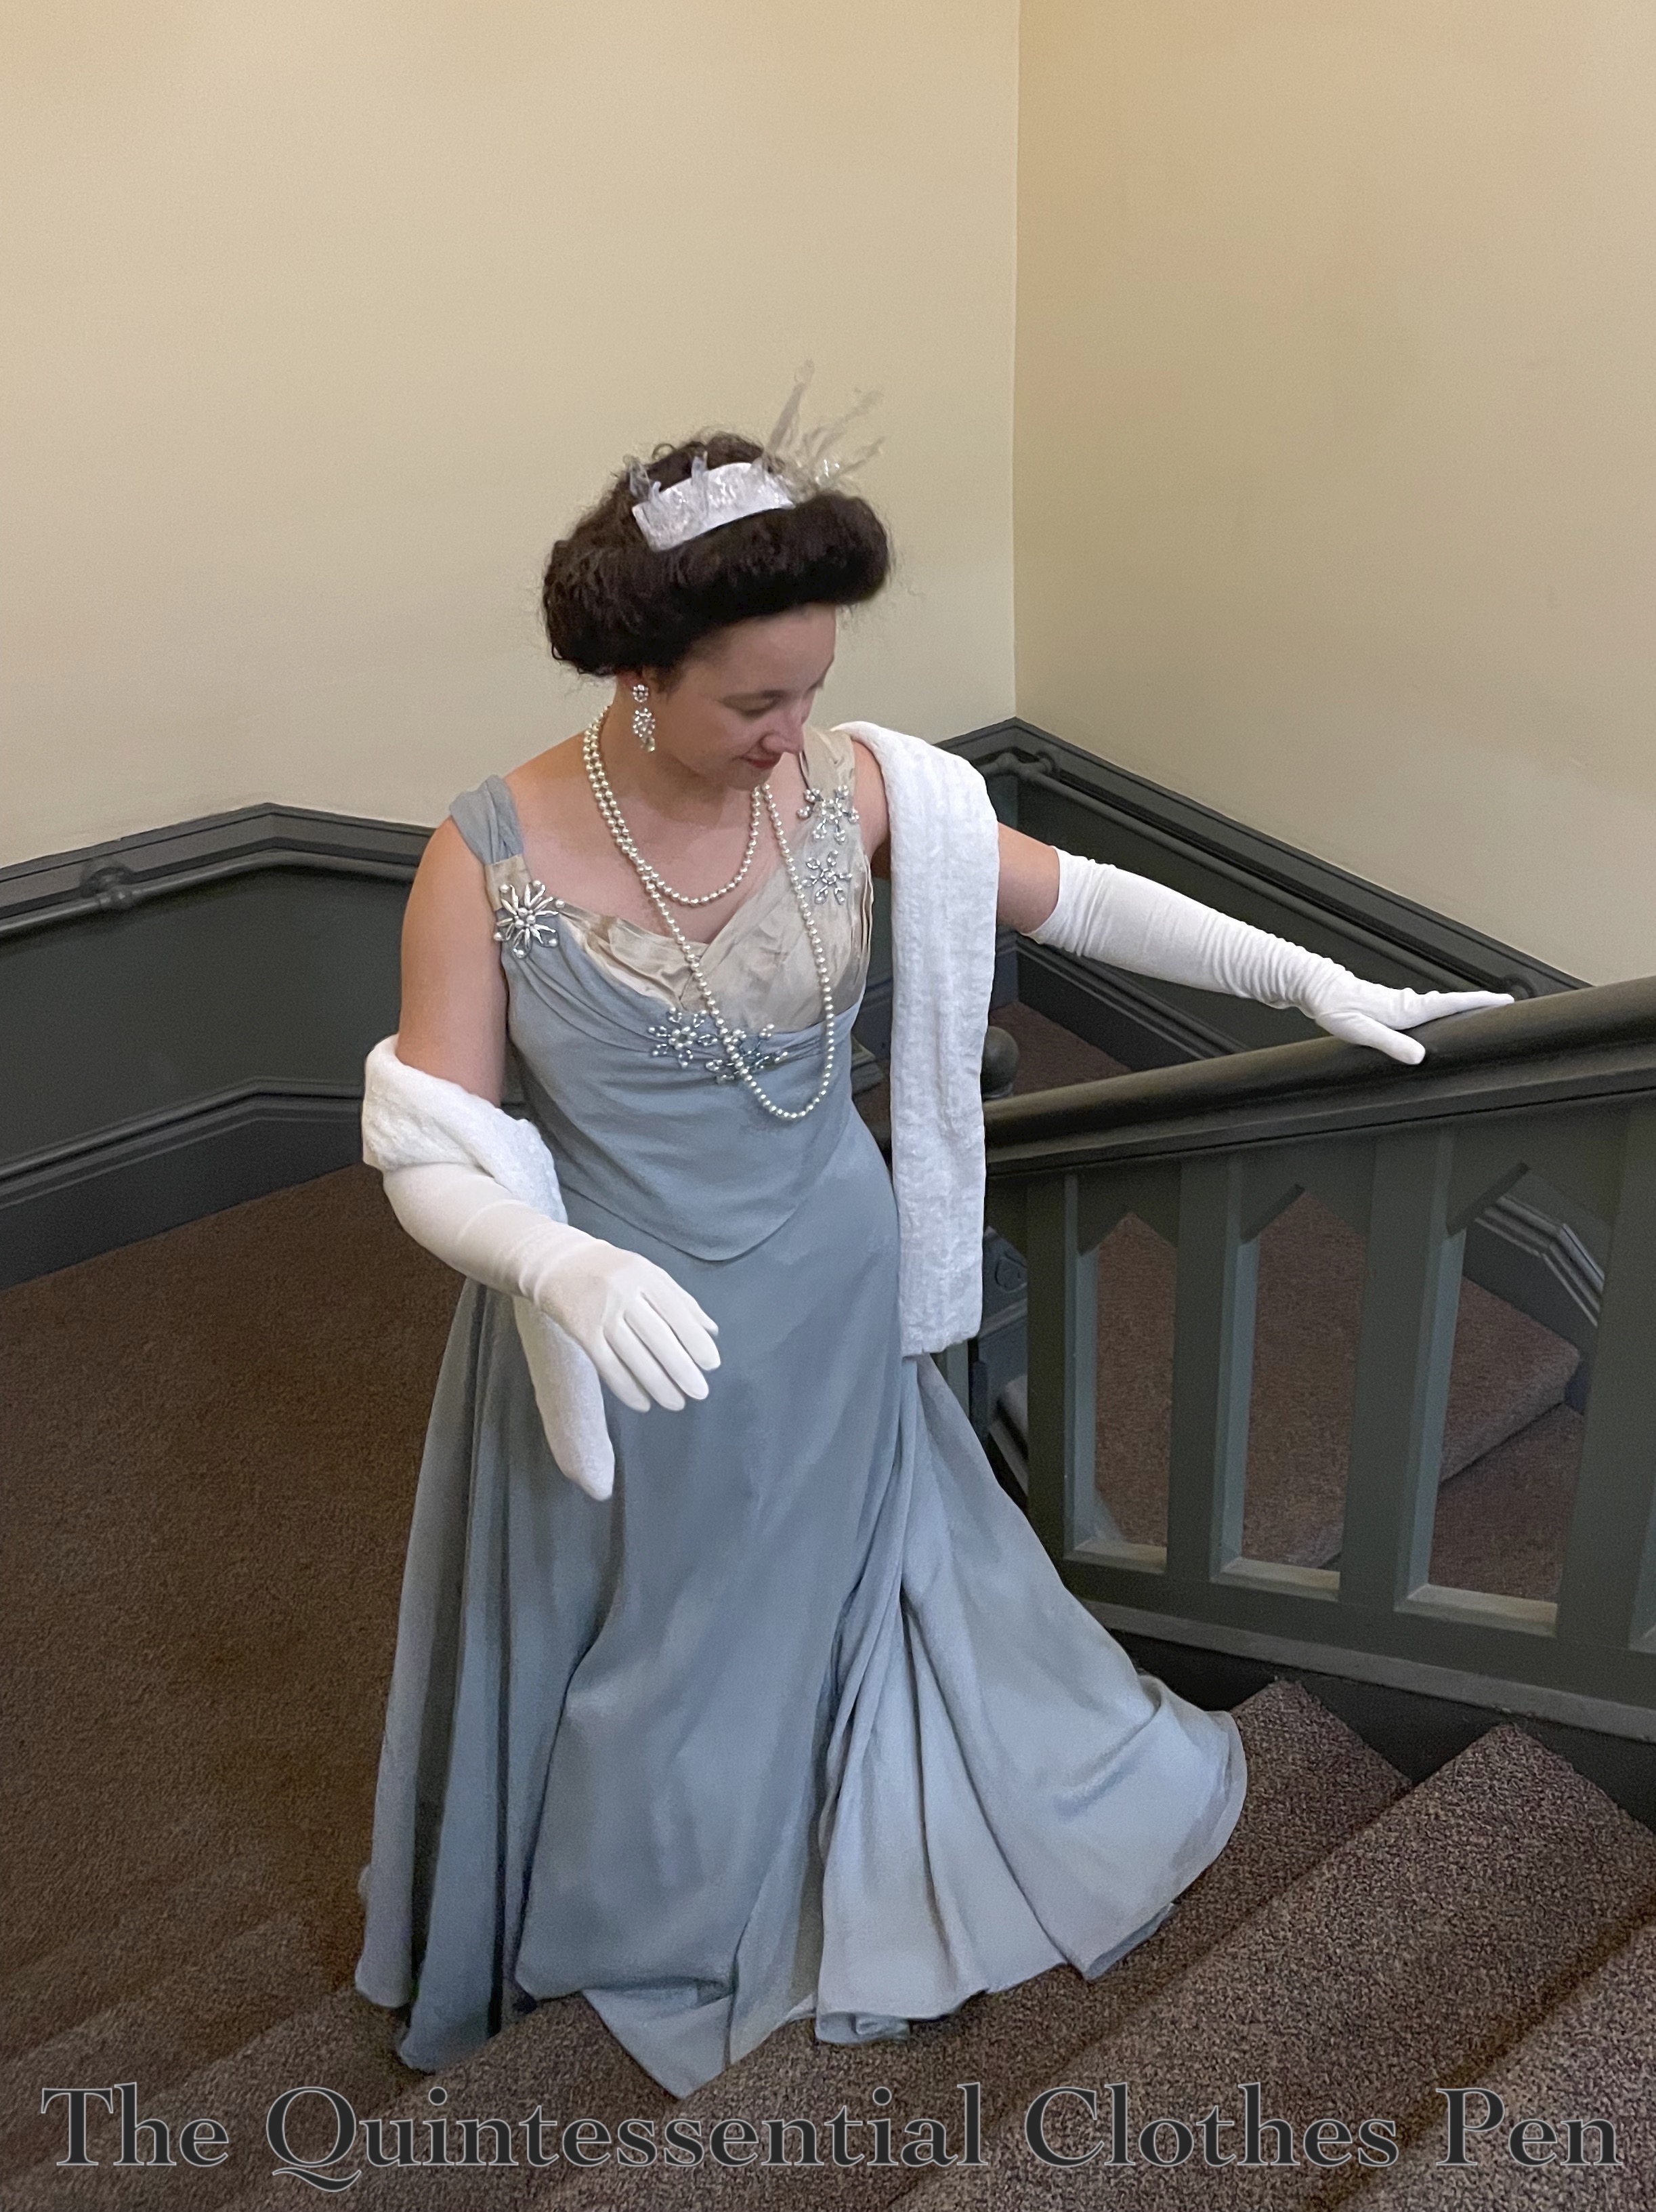
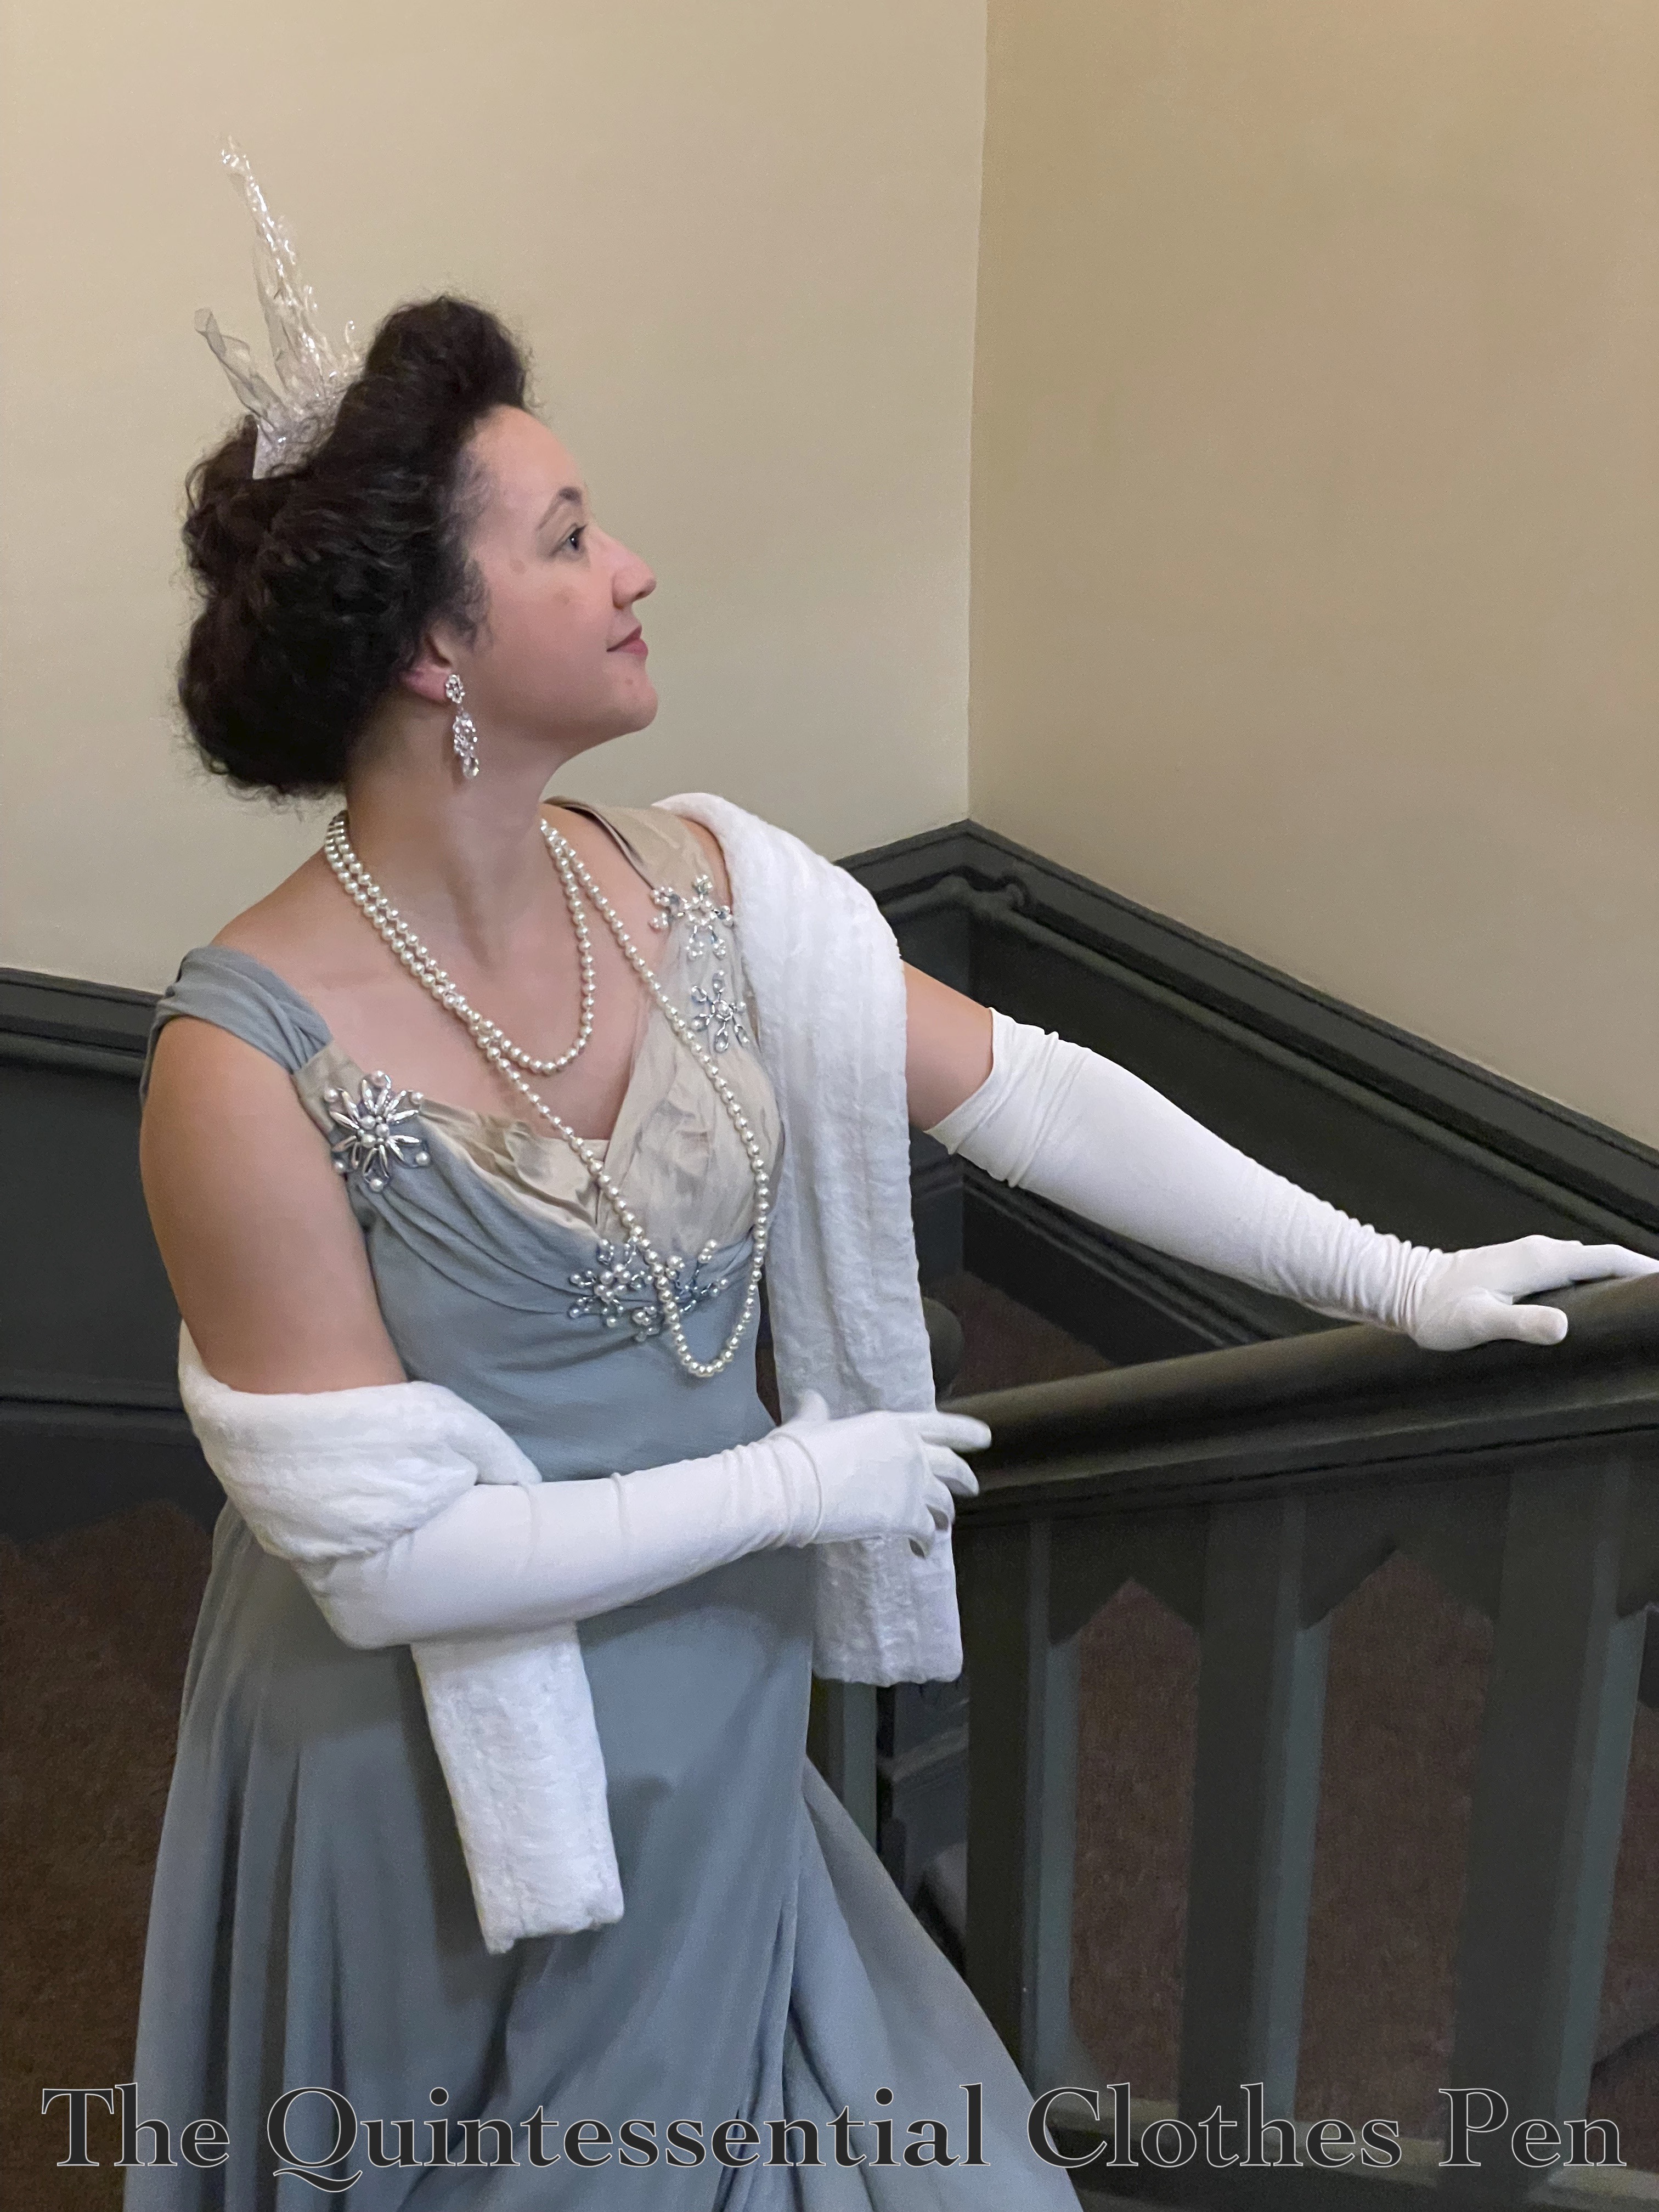
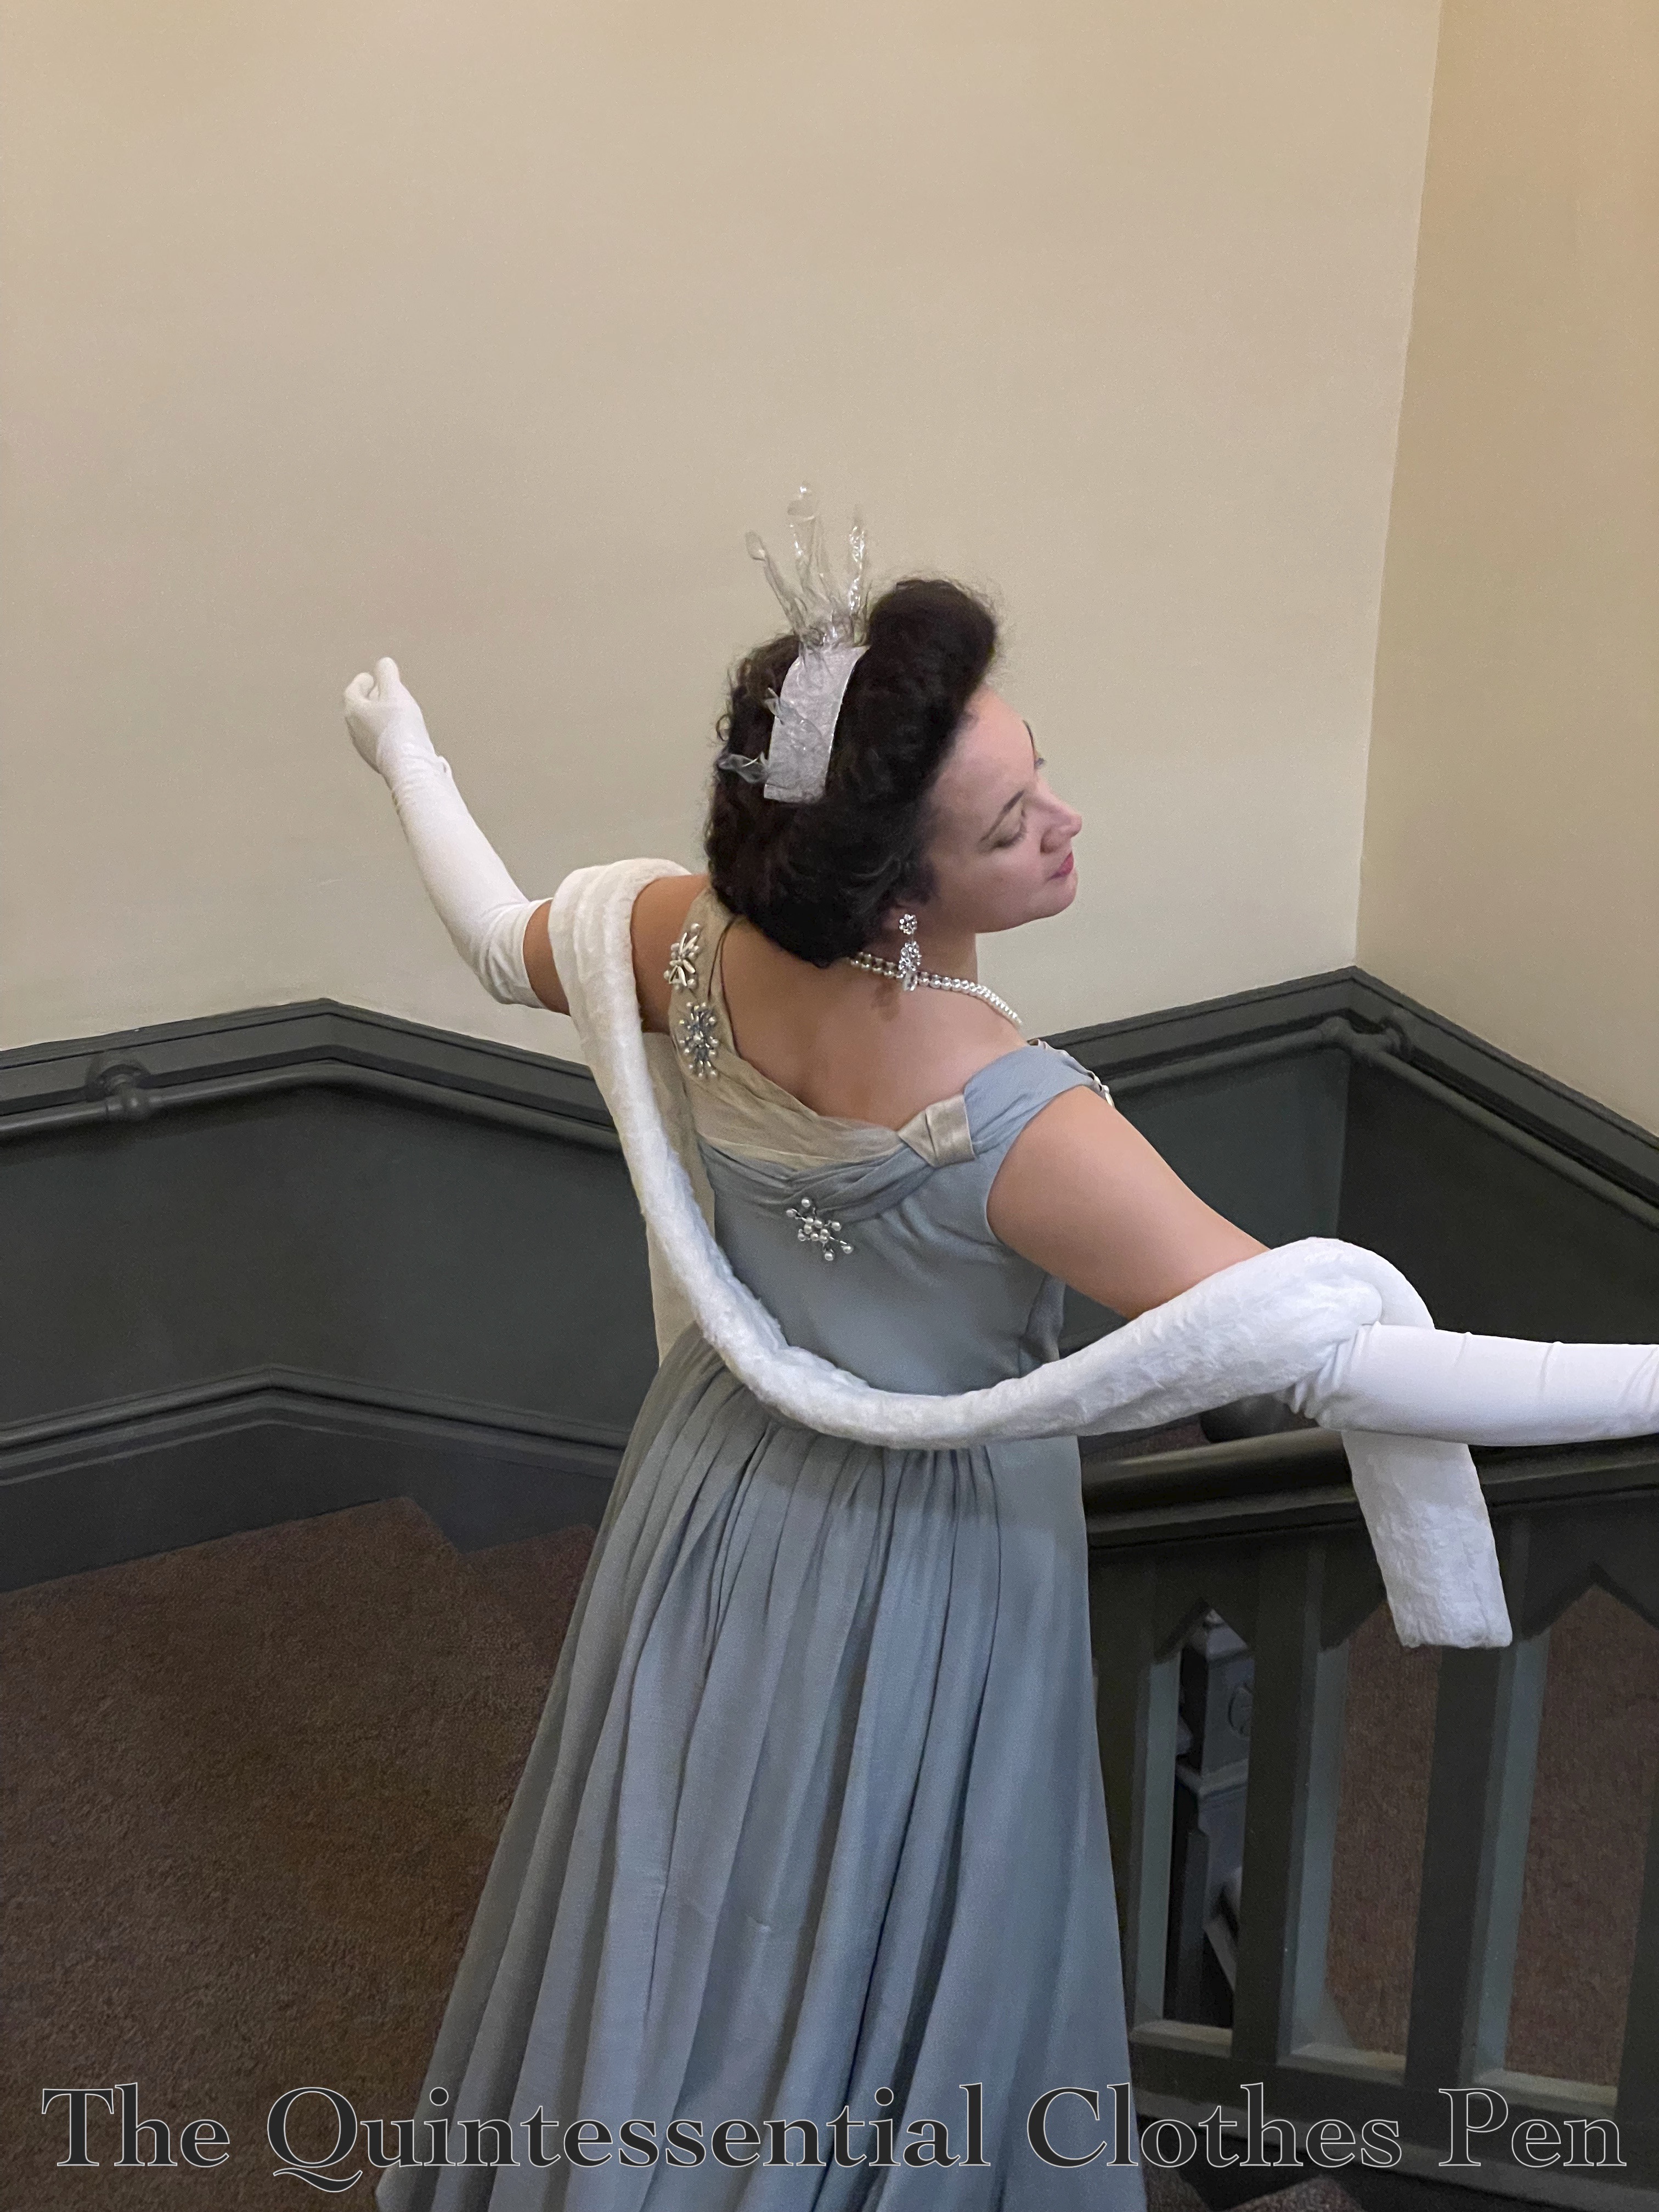
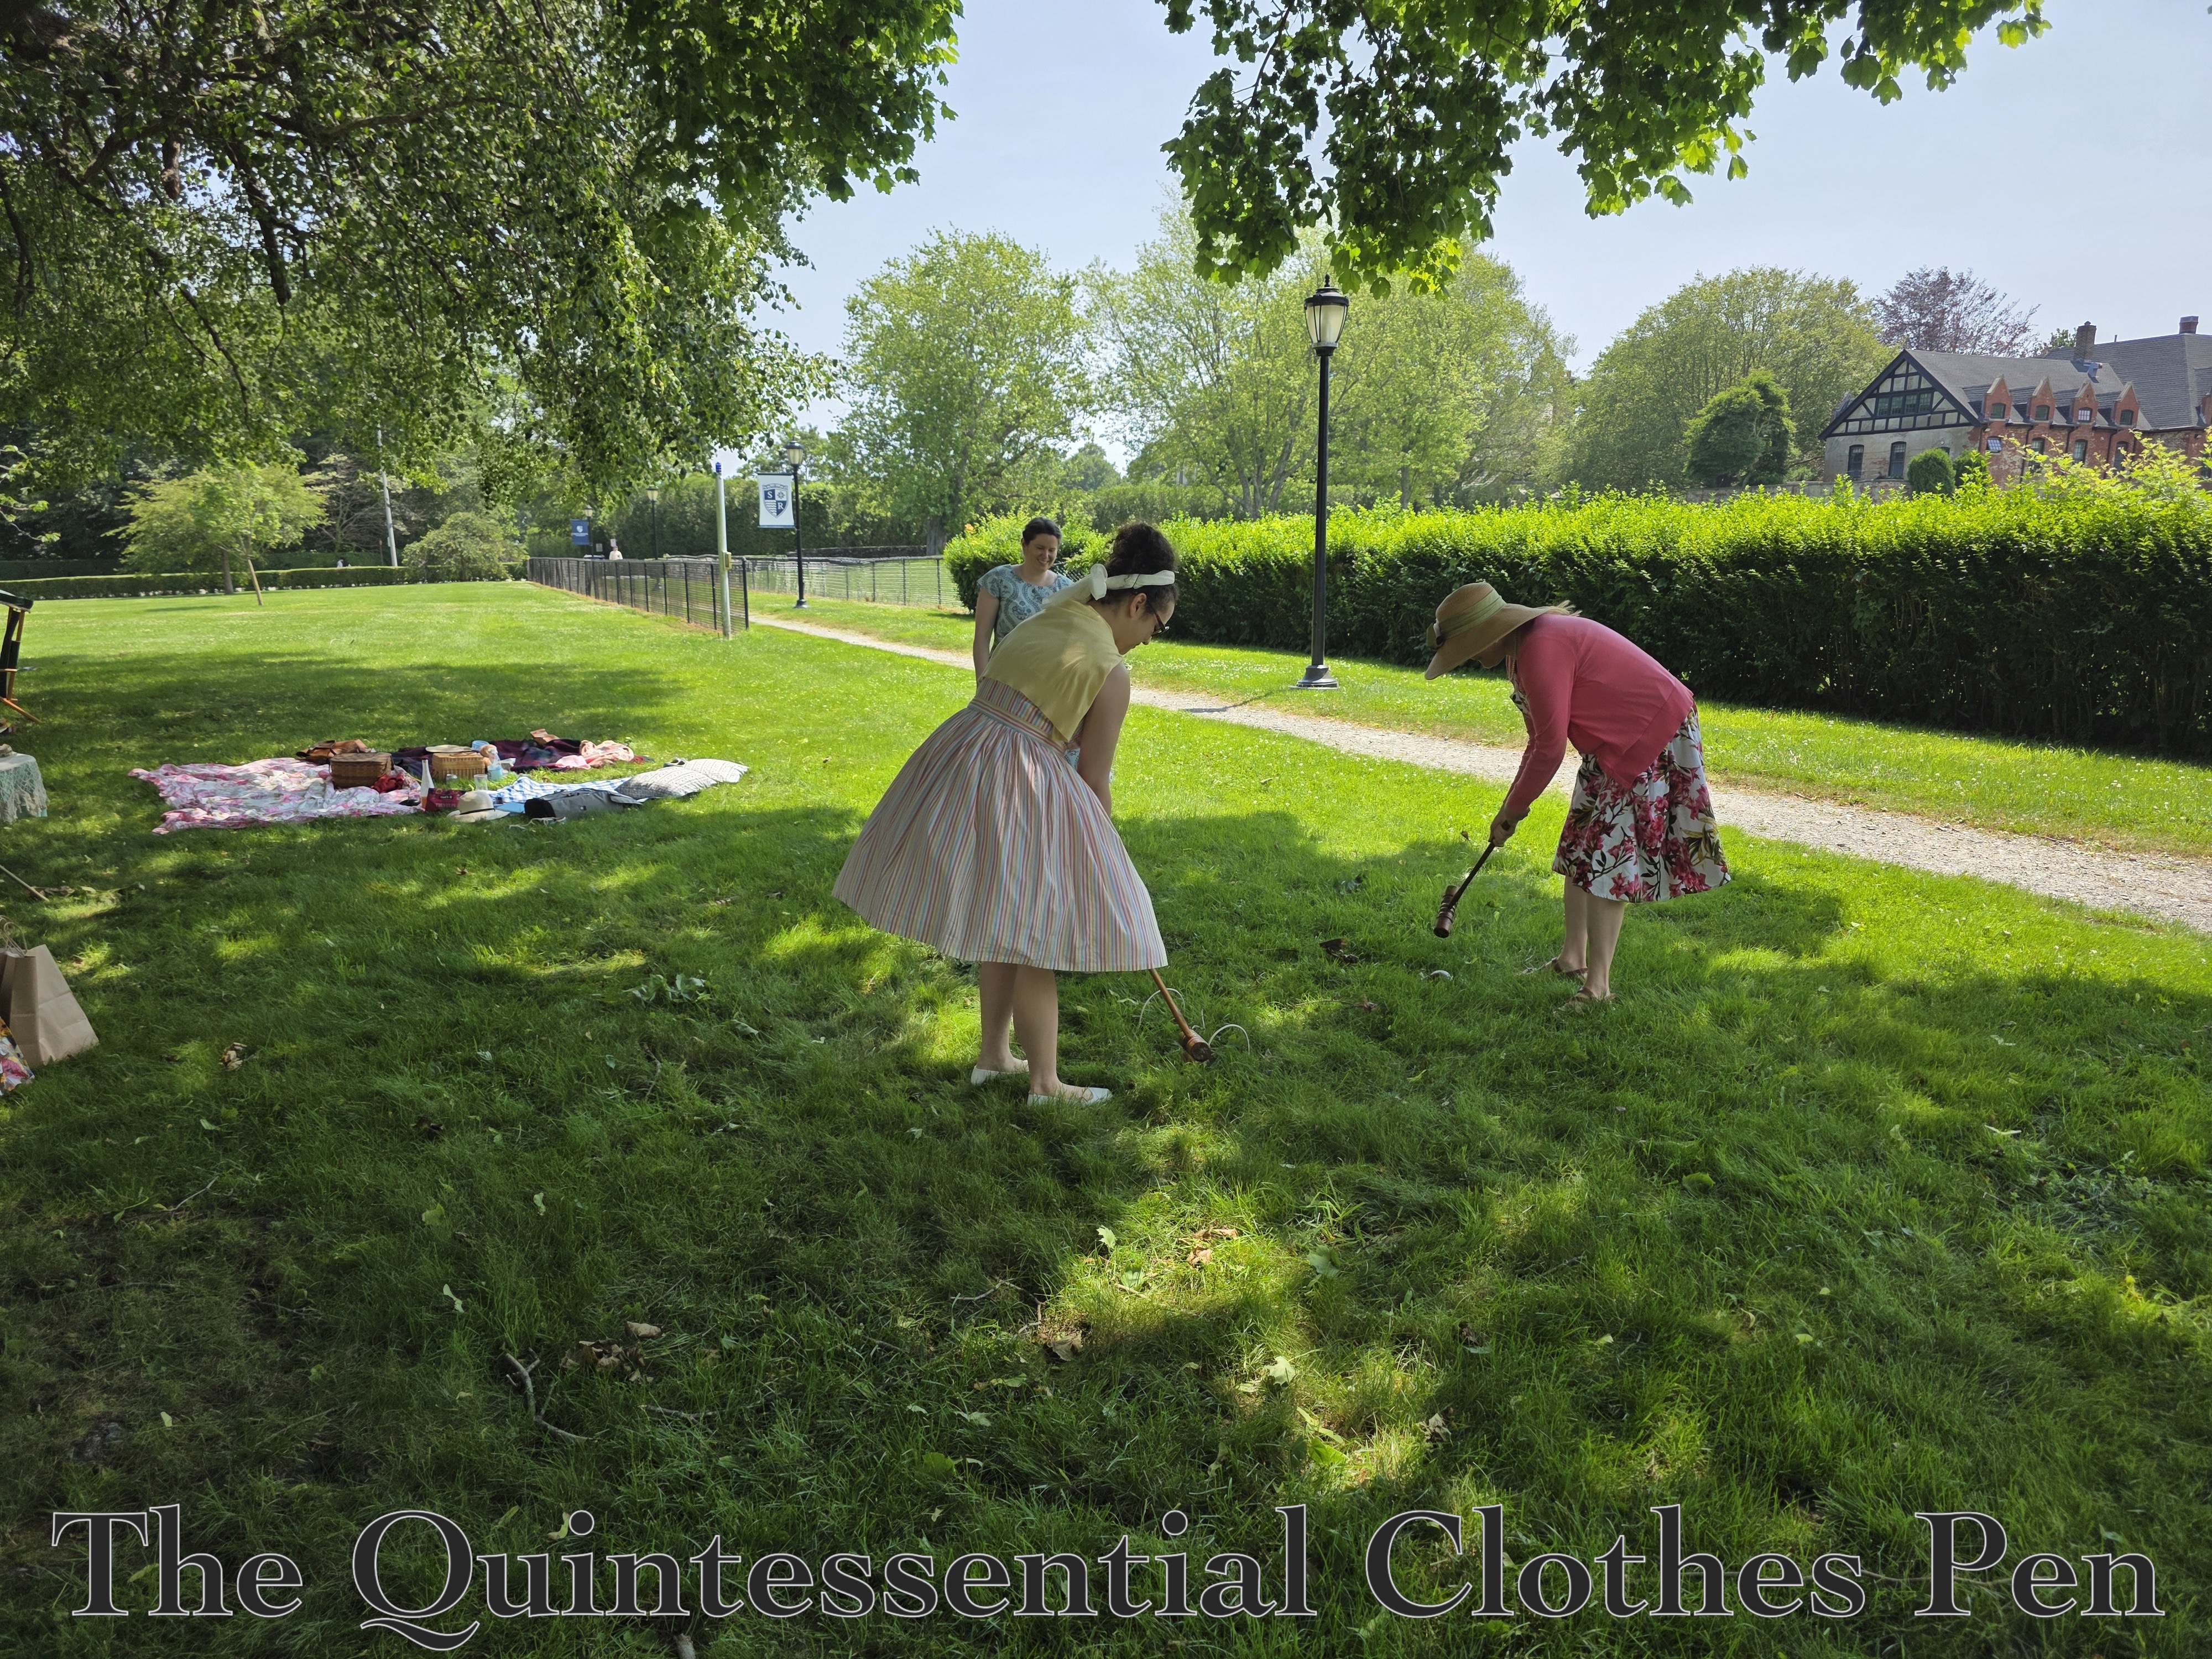
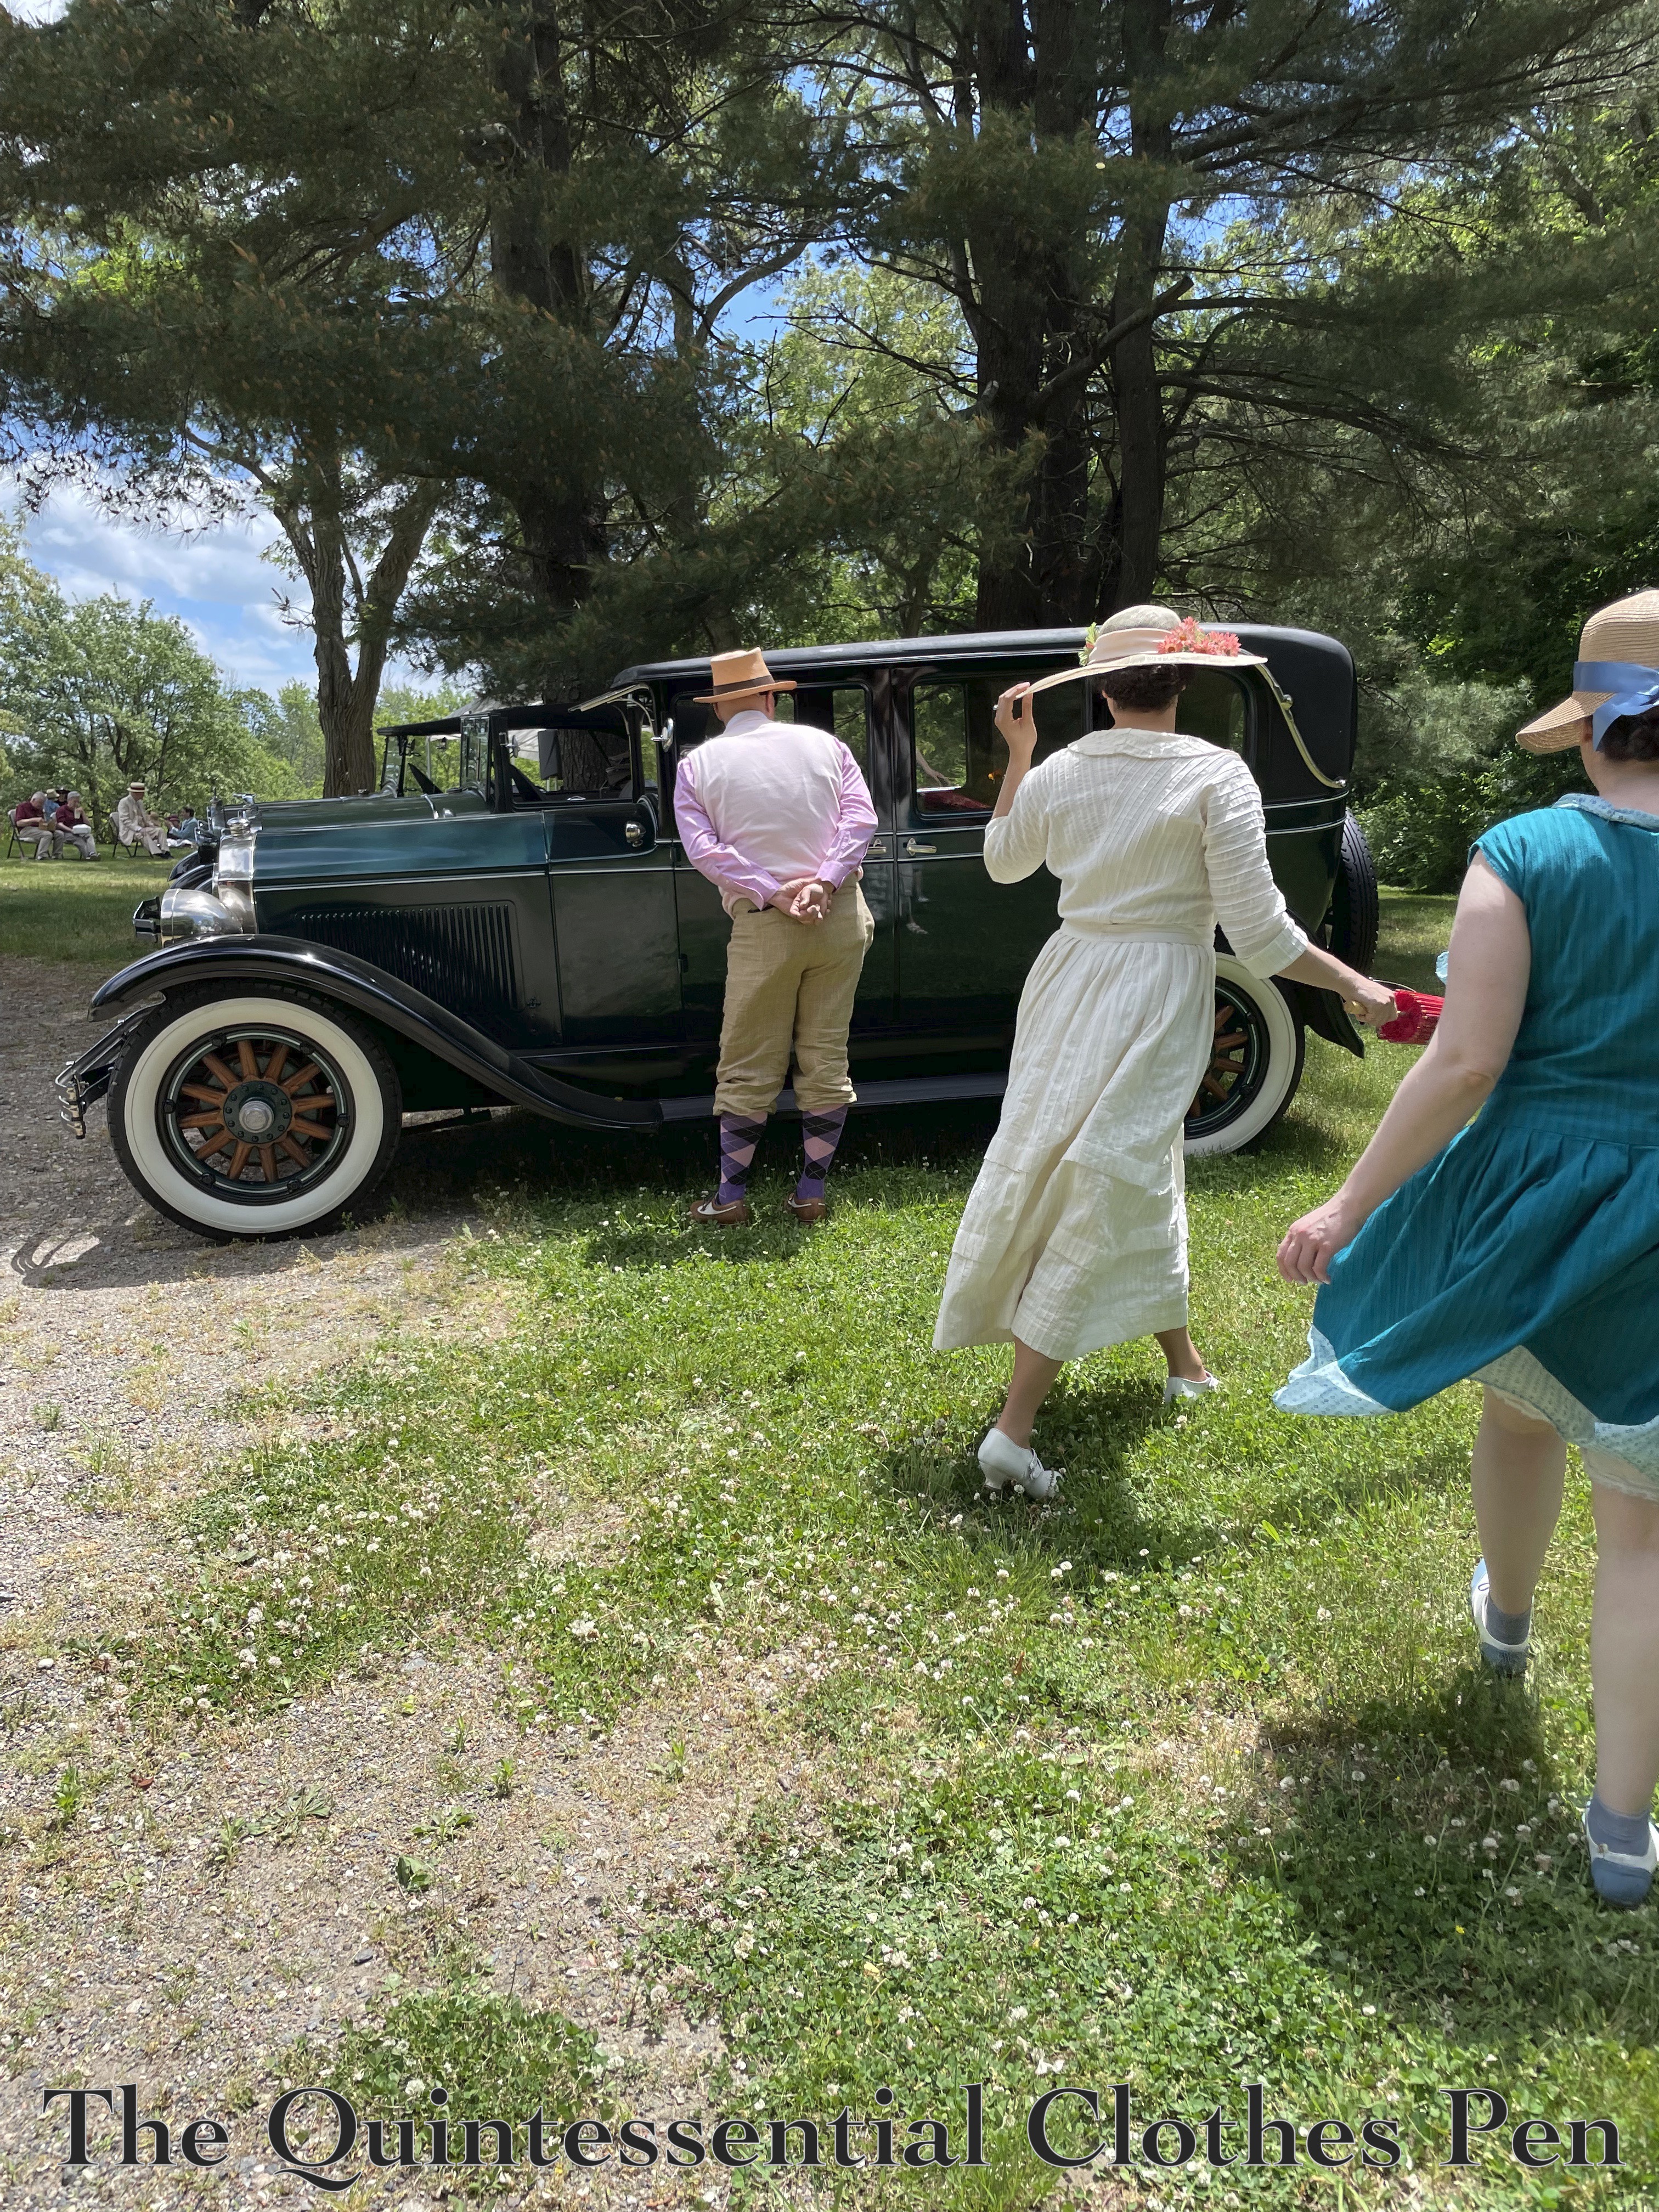
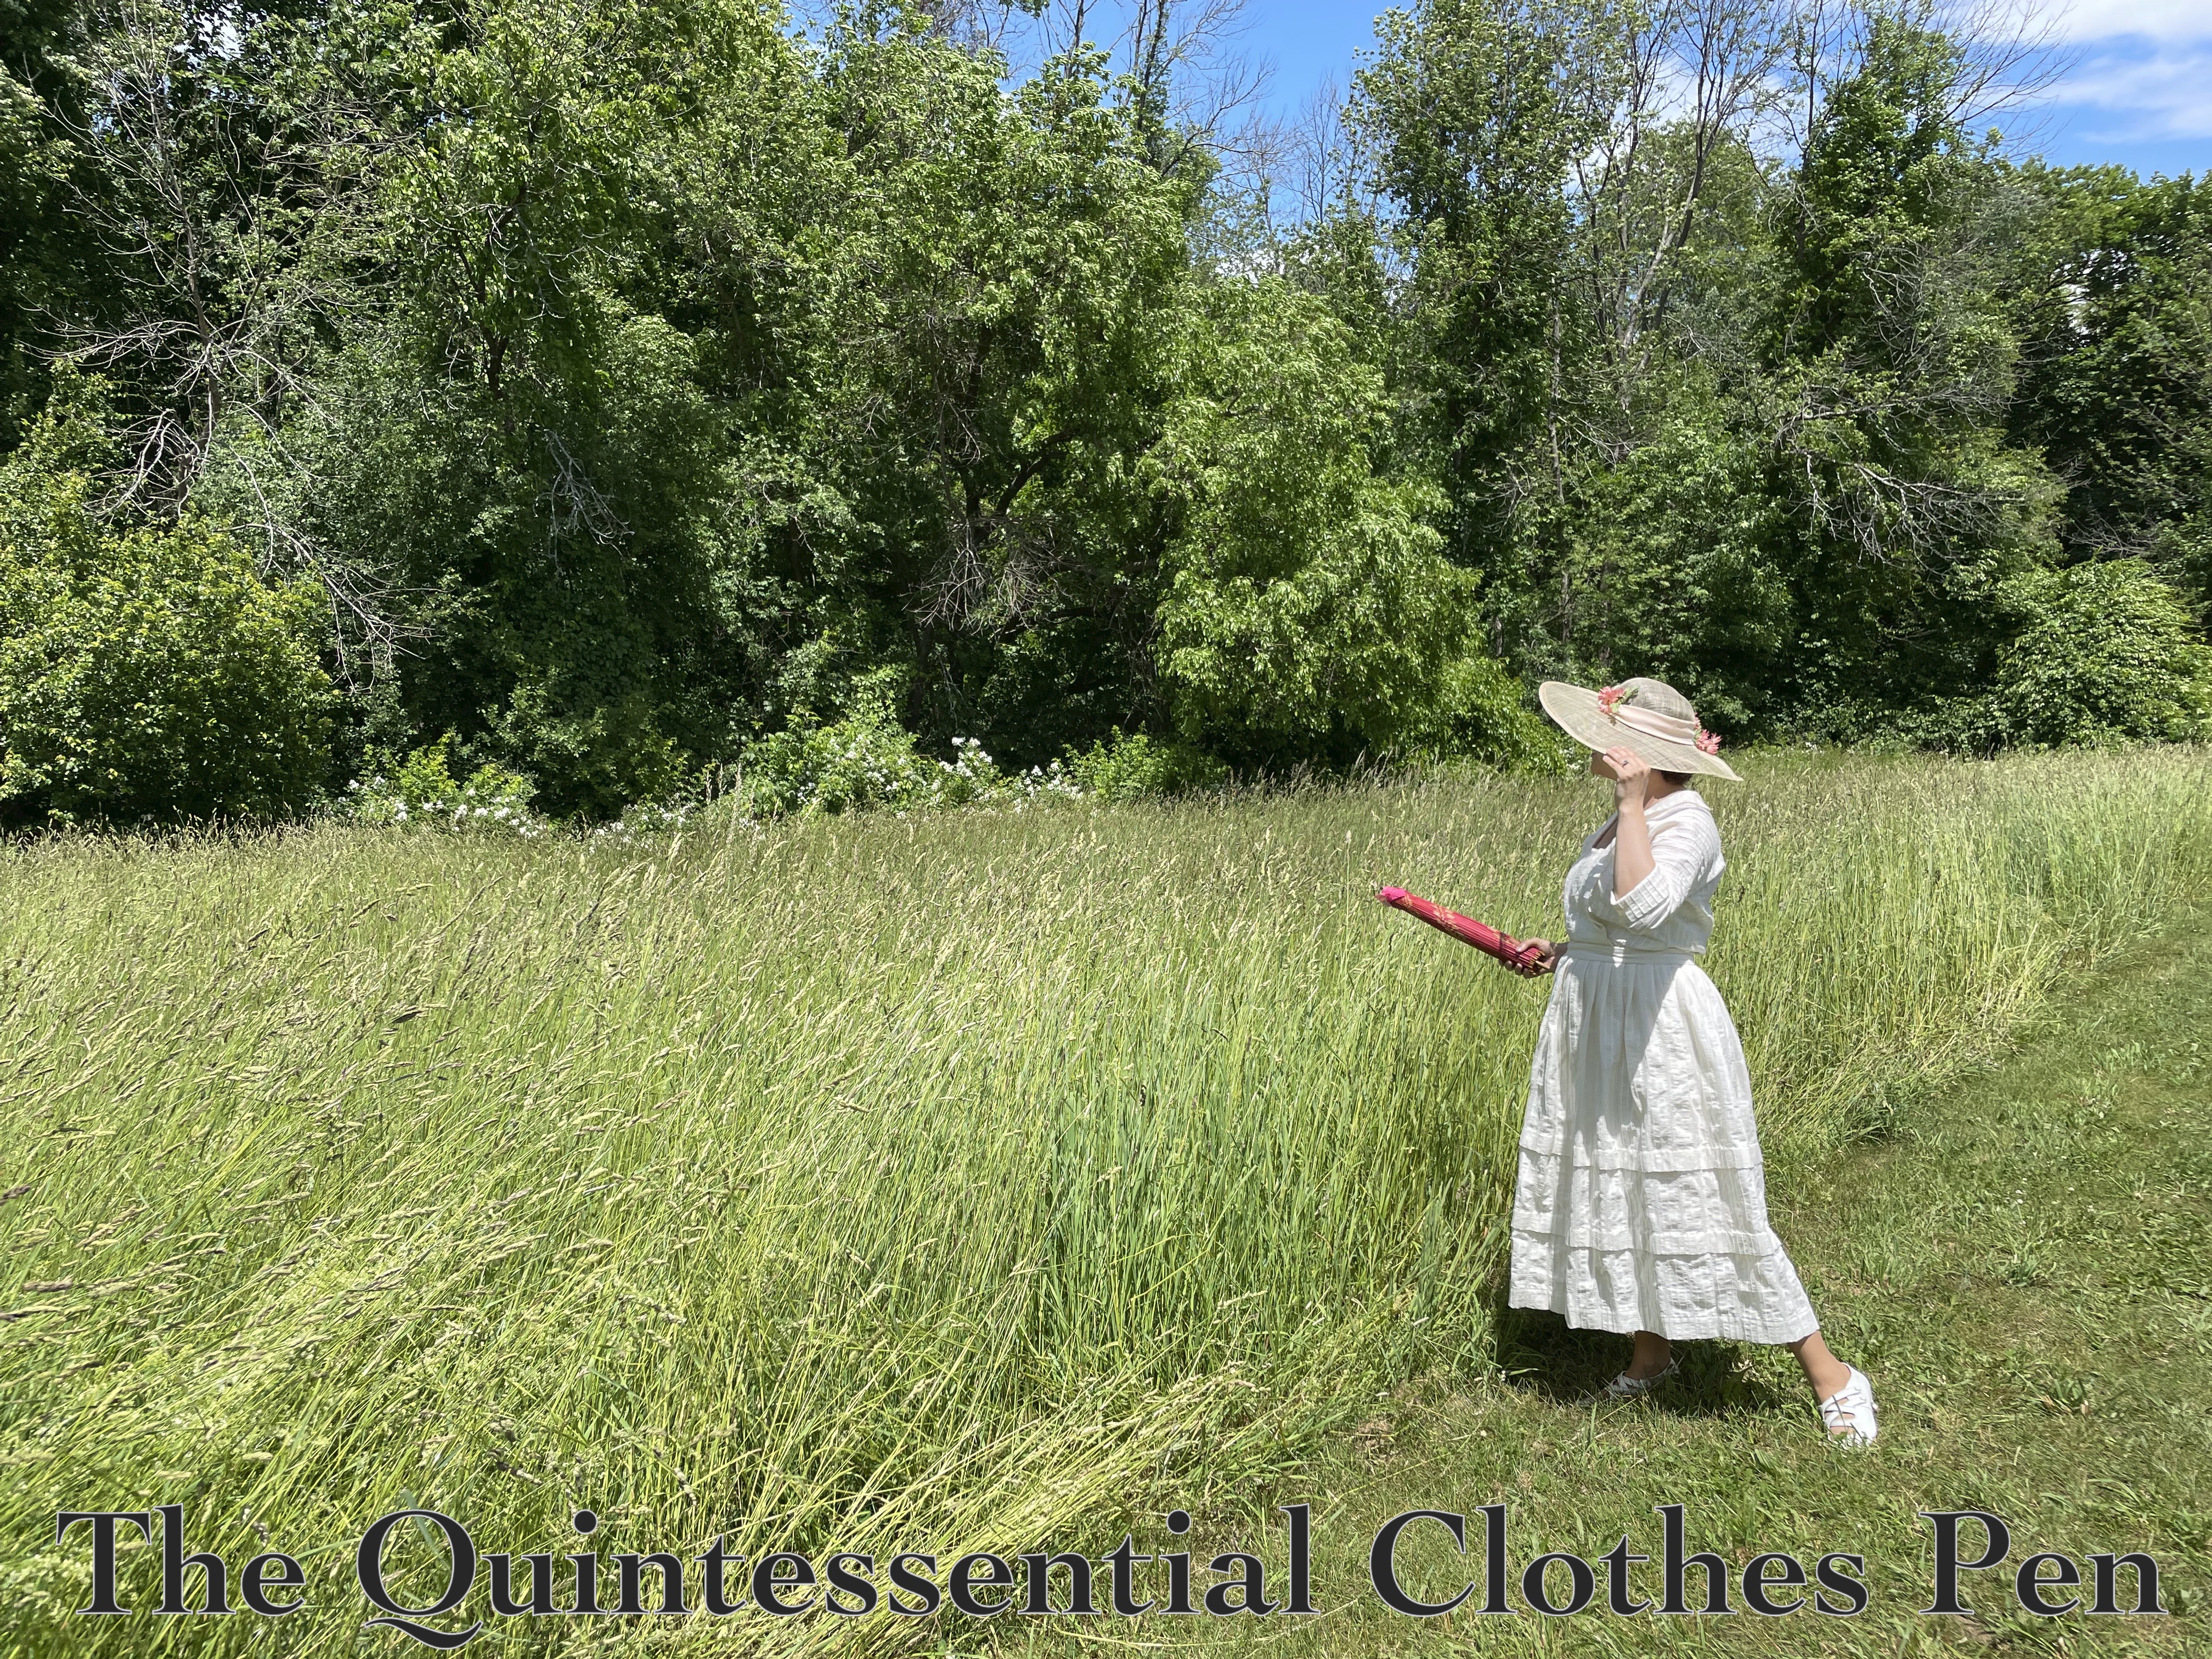
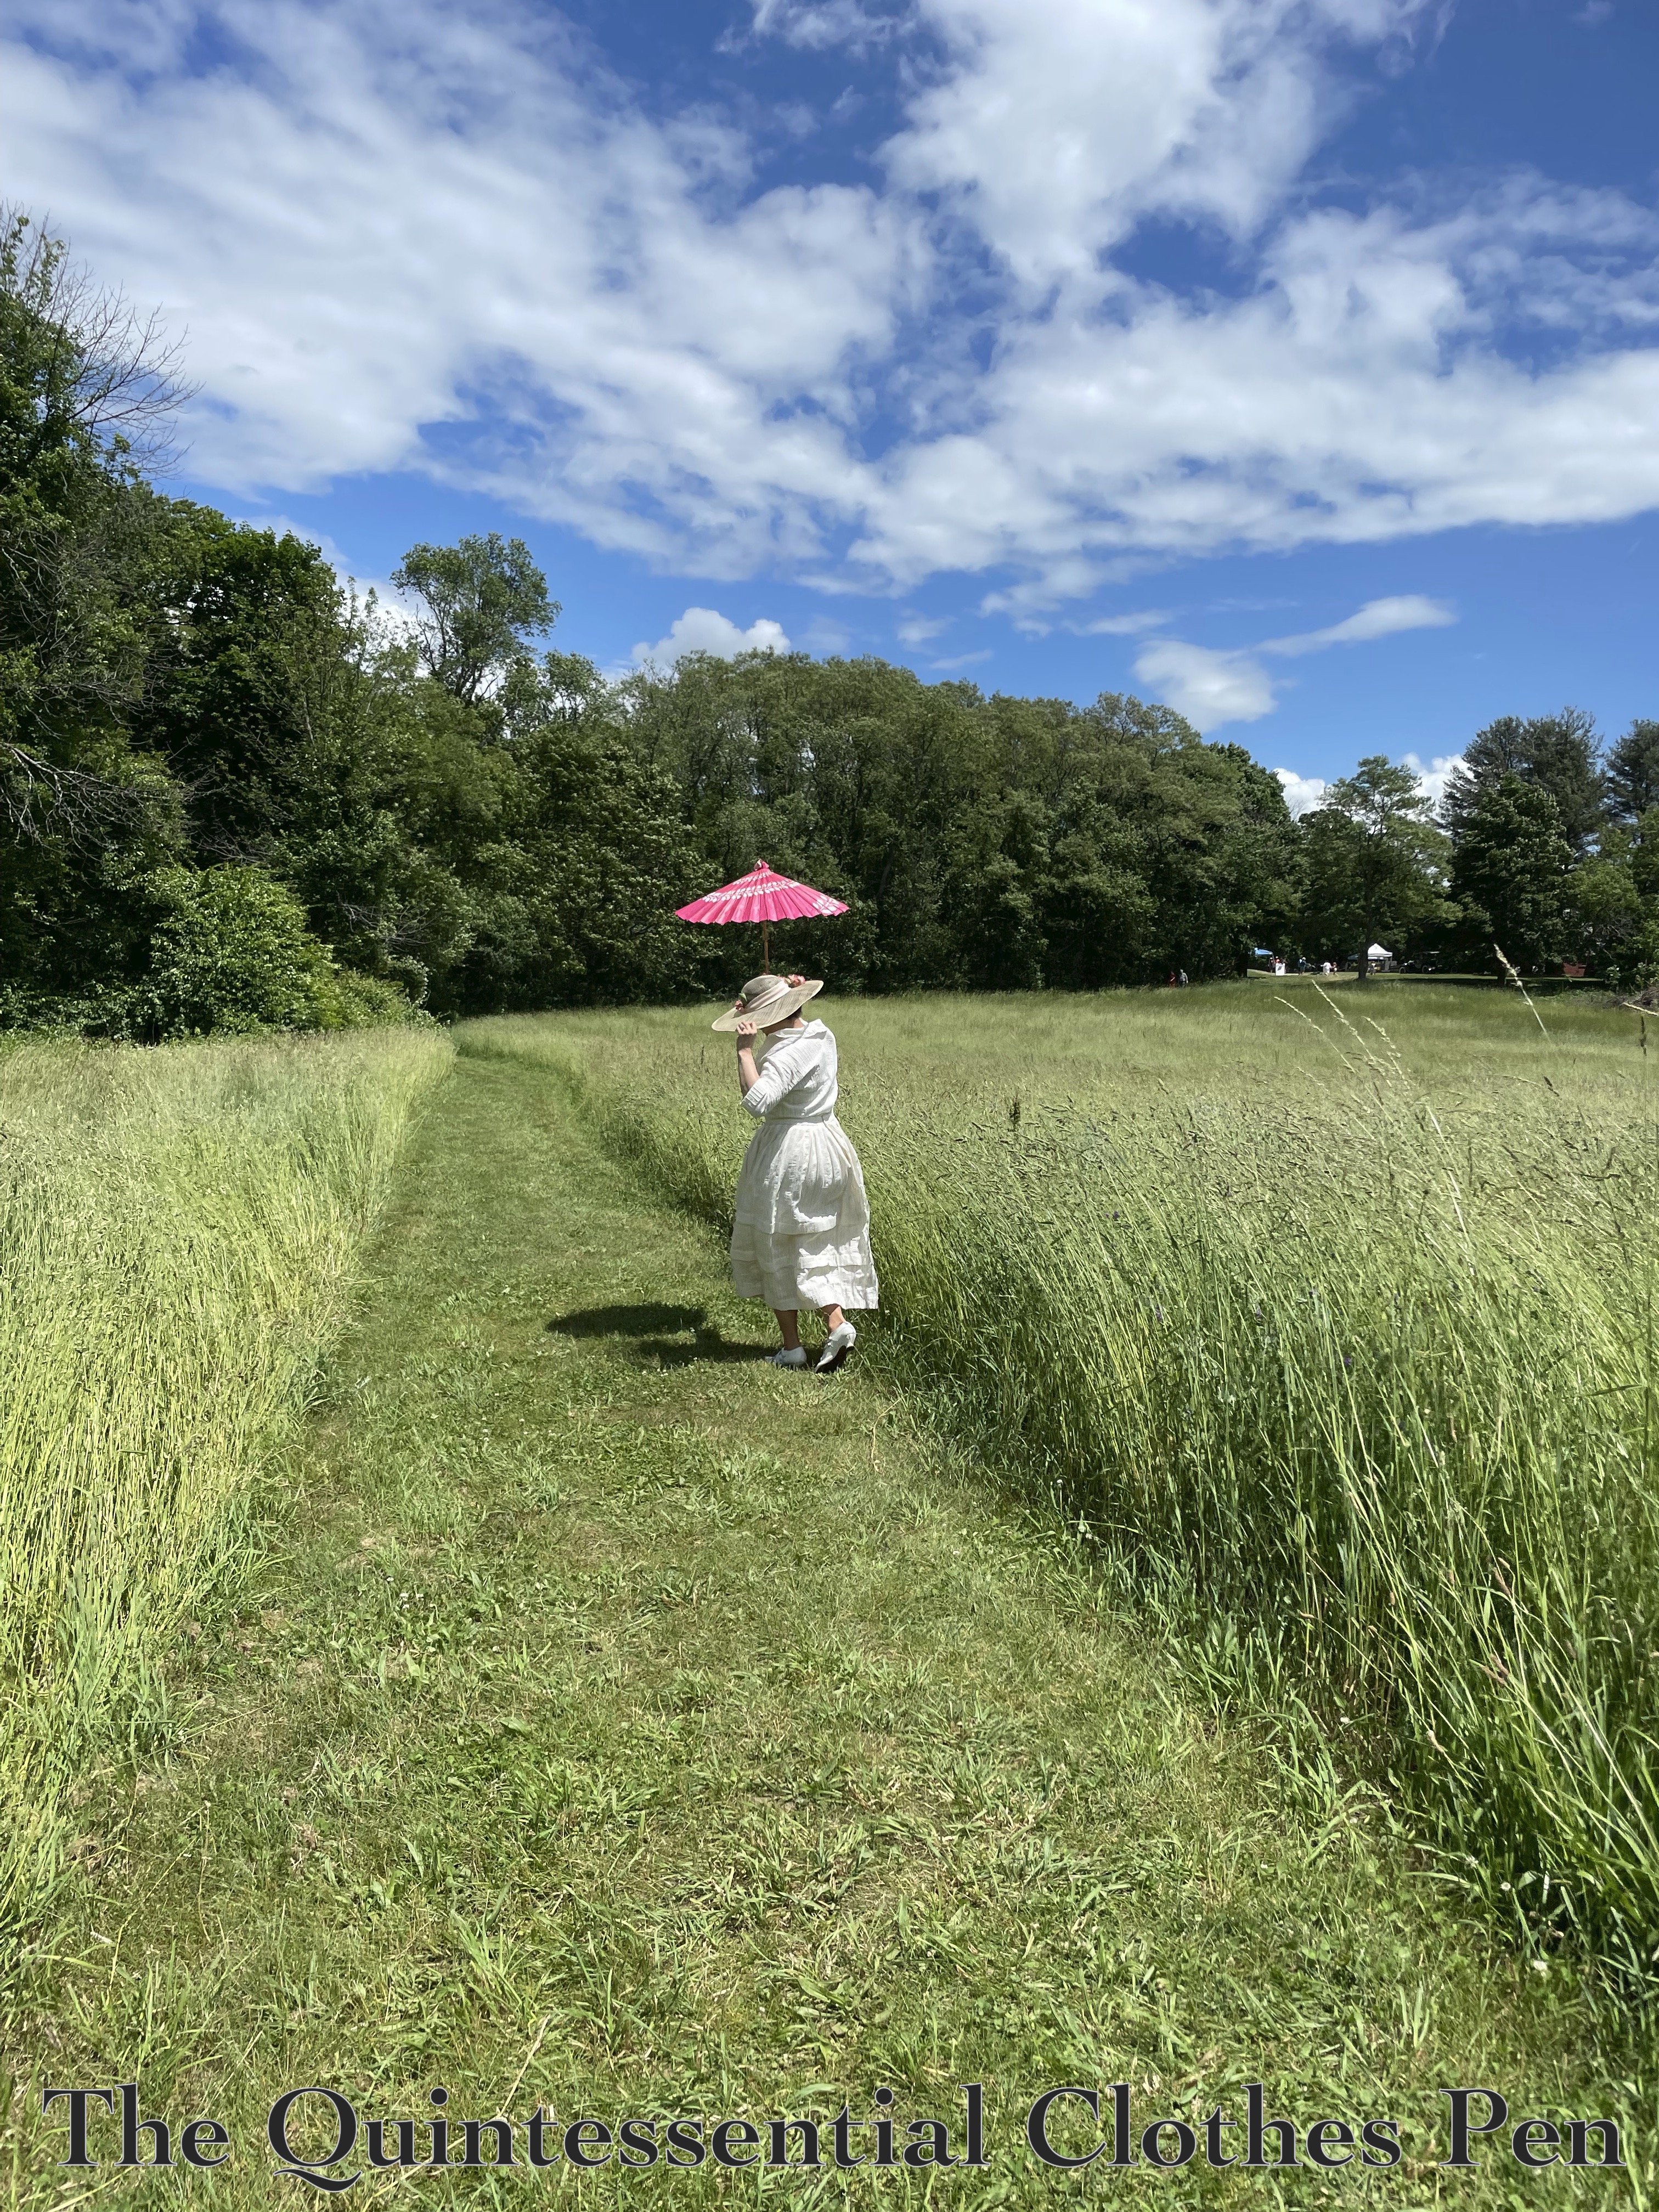
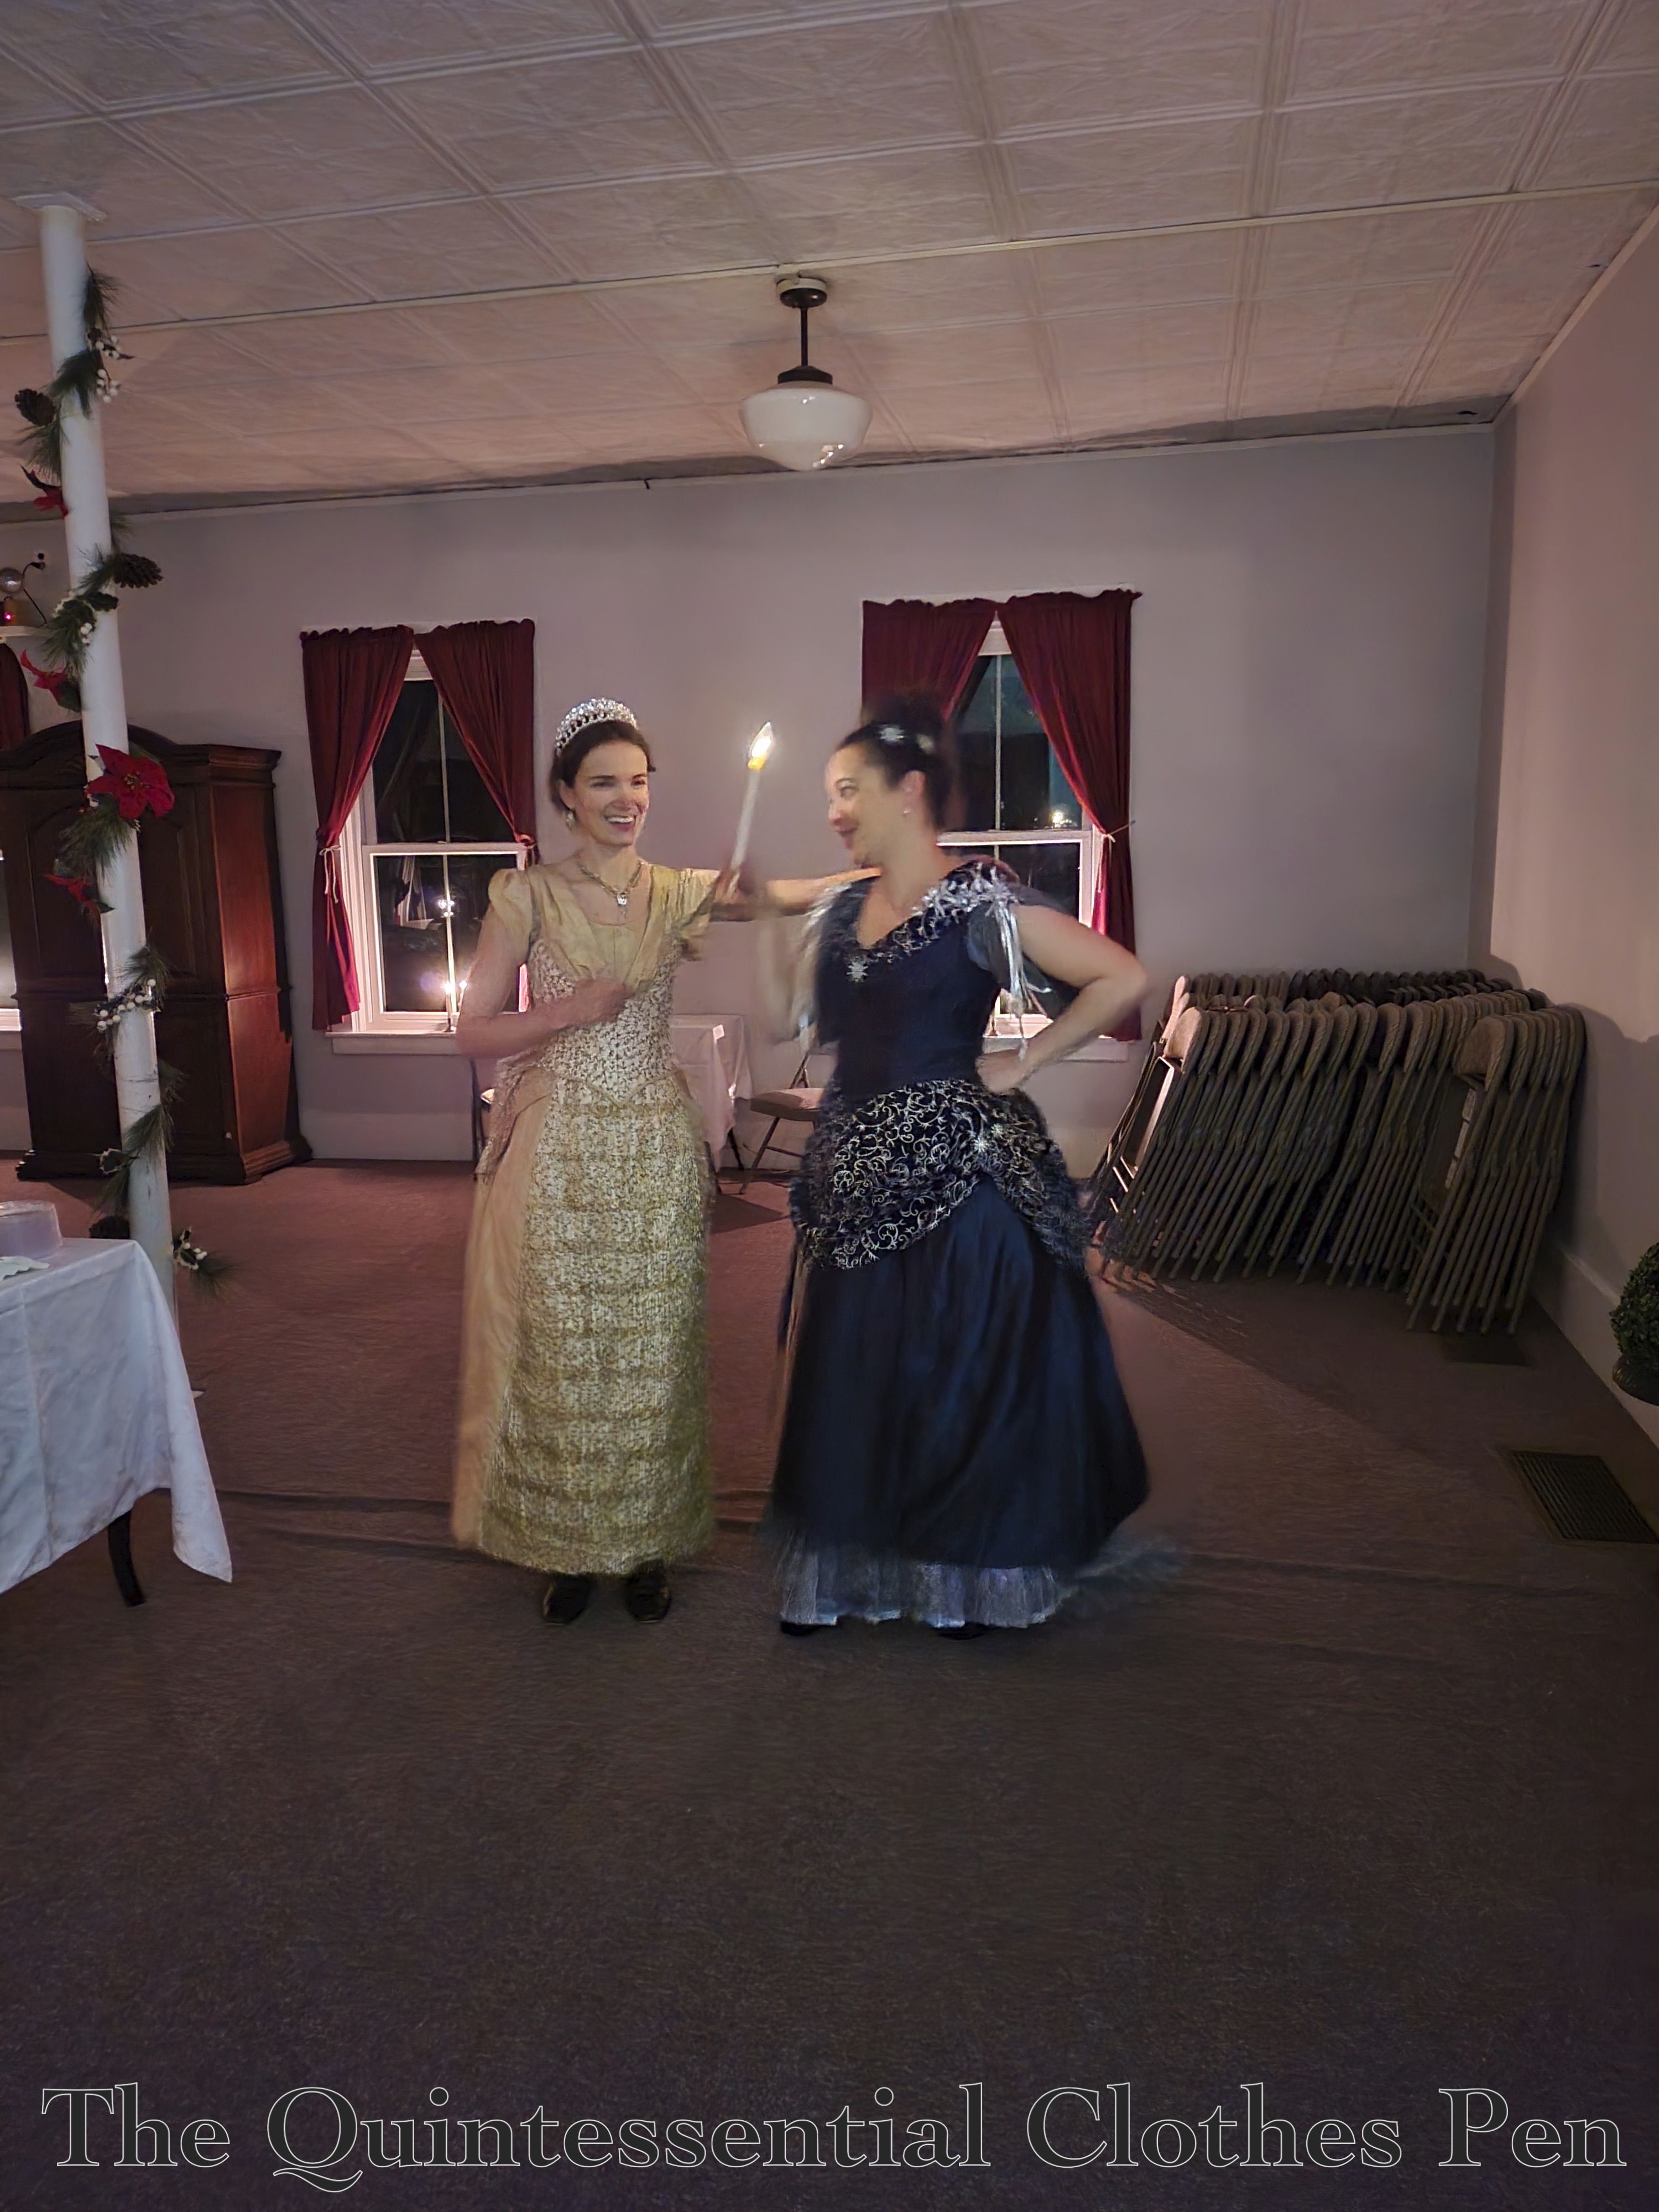
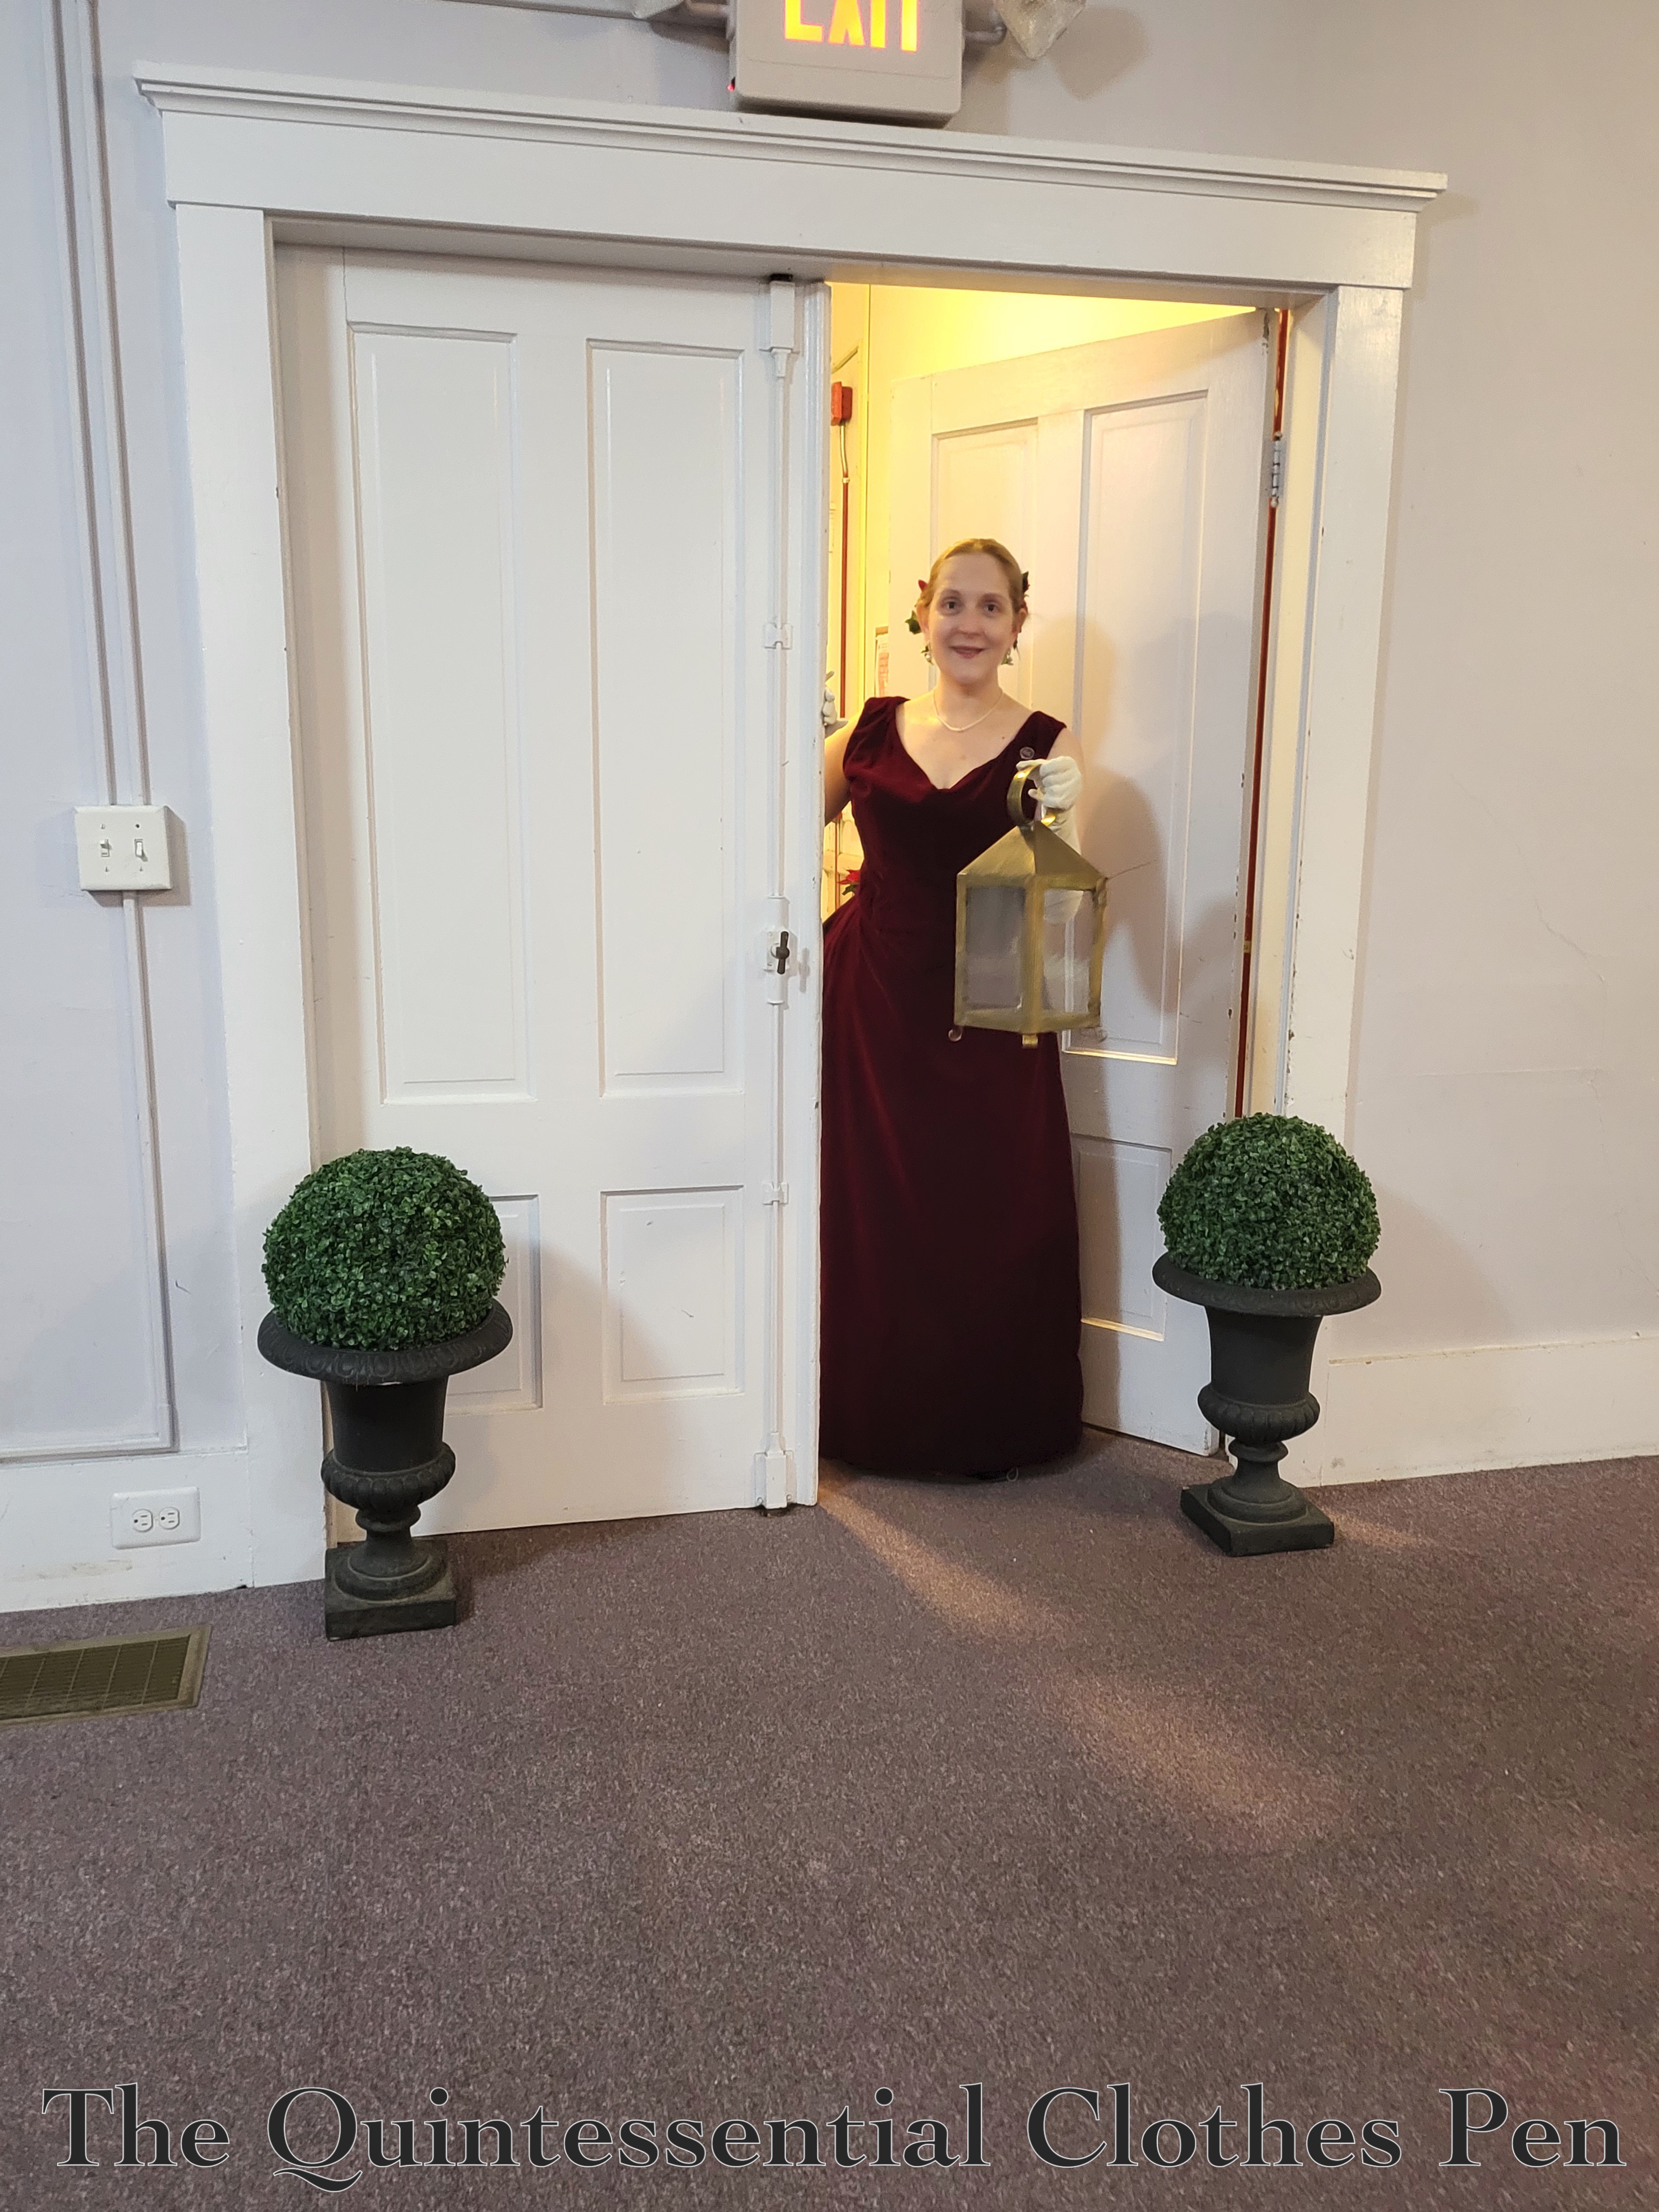
For a fun finish, here are a few more atmosphere photos showing off Evie and her well dressed friends.