1896 Black Gaiters For A Sporting Look

Five years ago (yikes, where did the time go?!?), I made ivory gaiters. They were made to wear over heeled shoes, giving the look of two tone boots. Unfortunately, the ivory gaiters I already have don’t work for the the 1896 cycling ensemble on my sewing table! Ivory gaiters would show dirt and be rather impractical for the sporting look, so I decided to make utilitarian black ones for this outfit.

I used the same pattern as for the ivory gaiters with only a few modifications: the top edge curves in a bit more over my calf and the back heel is longer so it stays on top of my shoe (in my blog post about the ivory gaiters I share about how they were riding up over my shoe–I solved this with a little piece I added in after the photos were taken, but for the new pair the pattern was cut longer instead). It was lovely to have a pattern ready to go!

I’m pleased that I squeezed this small project into 2018. I can count it for the HSM Challenge #12: Neglected! This challenge is sort of a catch-all for making something that fits into a previous challenge either from this year or a previous year. I chose the September 2018 challenge, Hands and Feet, for this December challenge.

Just the facts:

Fabric: About ¼ yard slightly stretchy black cotton.

Pattern: Created by me.

Year: 1896.

Notions: Thread, ¼” and ½” cotton twill tape in various widths, and plastic buttons.

How historically accurate?: 90%. The look is right but the materials are a mix and match of right and modern.

Hours to complete: Approximately 5.

First worn: Not yet!

Total cost: $5 for the buttons. The fabric and twill tapes were in my stash!

These are constructed in the same way as my previous pair. The seams are covered with ½” twill tape, the edges are bound with ¼” twill tape, there is a strap (in this case made of the exterior fabric), and then buttons and buttonholes finish it off.

The great thing about my gaiter pattern is that they work for a few different decades. The ivory pair was made for a 1917 outfit, but I feel perfectly confidant that the pattern works for the 1890s and 1900s as well. I’m looking forward to trying these on with my cycling ensemble once that is far enough along to put all the pieces together!

A Fortescue Frock

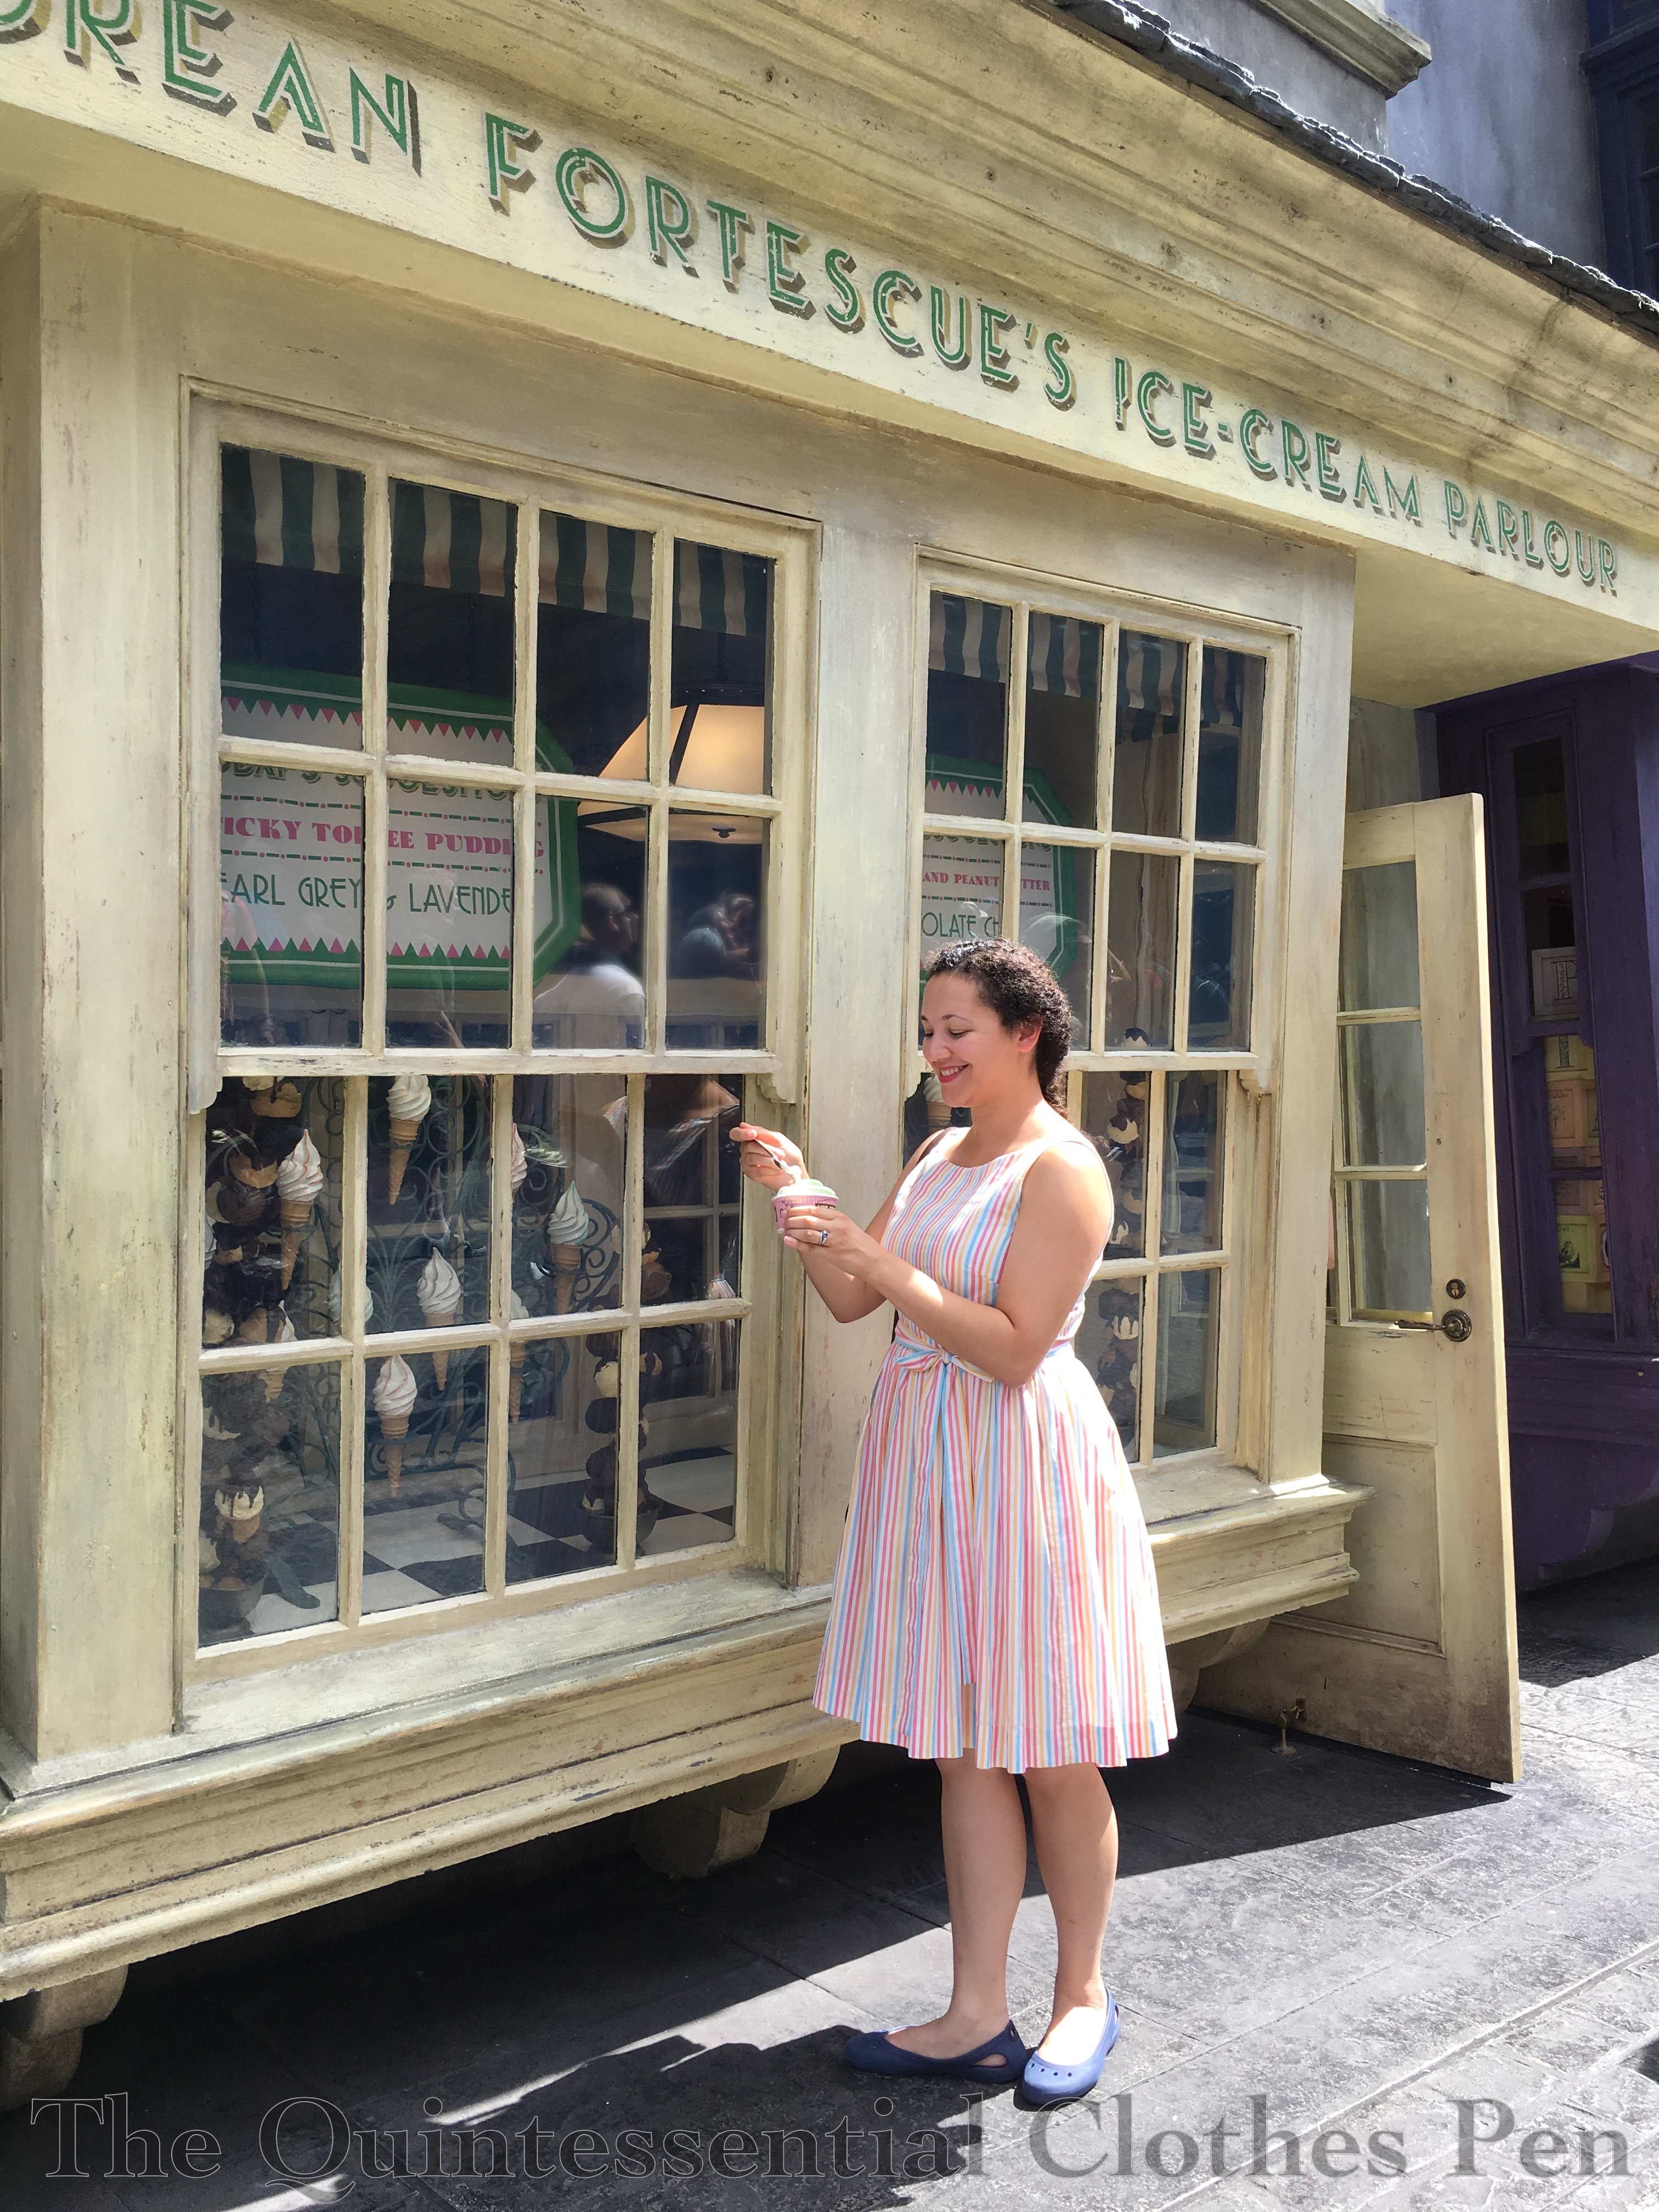
Say that ten times fast! I was originally calling this dress the Cotton Candy Stripe Dress, but while wearing it to The Wizarding World of Harry Potter and seeing how well it matched the decor of Florean Fortescue’s Ice Cream Parlor it earned a new name.

I happened upon this summery fabric while looking for a different striped fabric at Farmhouse Fabrics. I bought it with the plan of using New Look #6143 for the bodice with a gathered skirt similar to my Bubble Dots Skirt.

I very carefully cut out the bodice pieces to match the stripes and was very pleased with the results. Look at how well my center back seam matches with the invisible zipper set in! The shoulder seams match nicely, too, and I didn’t even plan that!

The bodice is lined in lightweight white cotton, in the same way as the New Old(er) Dress I posted about in July. It uses the same bodice pattern and like the other dress this one closes with an invisible zipper down the back as well.

I thought of adding pockets but the fabric seemed to sheer to hide them well, so I decided against it.  I thought of adding a skirt lining, but decided I didn’t want to add bulk at the waist so I would live dangerously and hope that a slip would be enough to provide opacity. Thankfully, a knee length white slip is perfect. To add a just a little bit of volume, I also wear my vintage petticoat with the dress. You can see that petticoat in this past post.

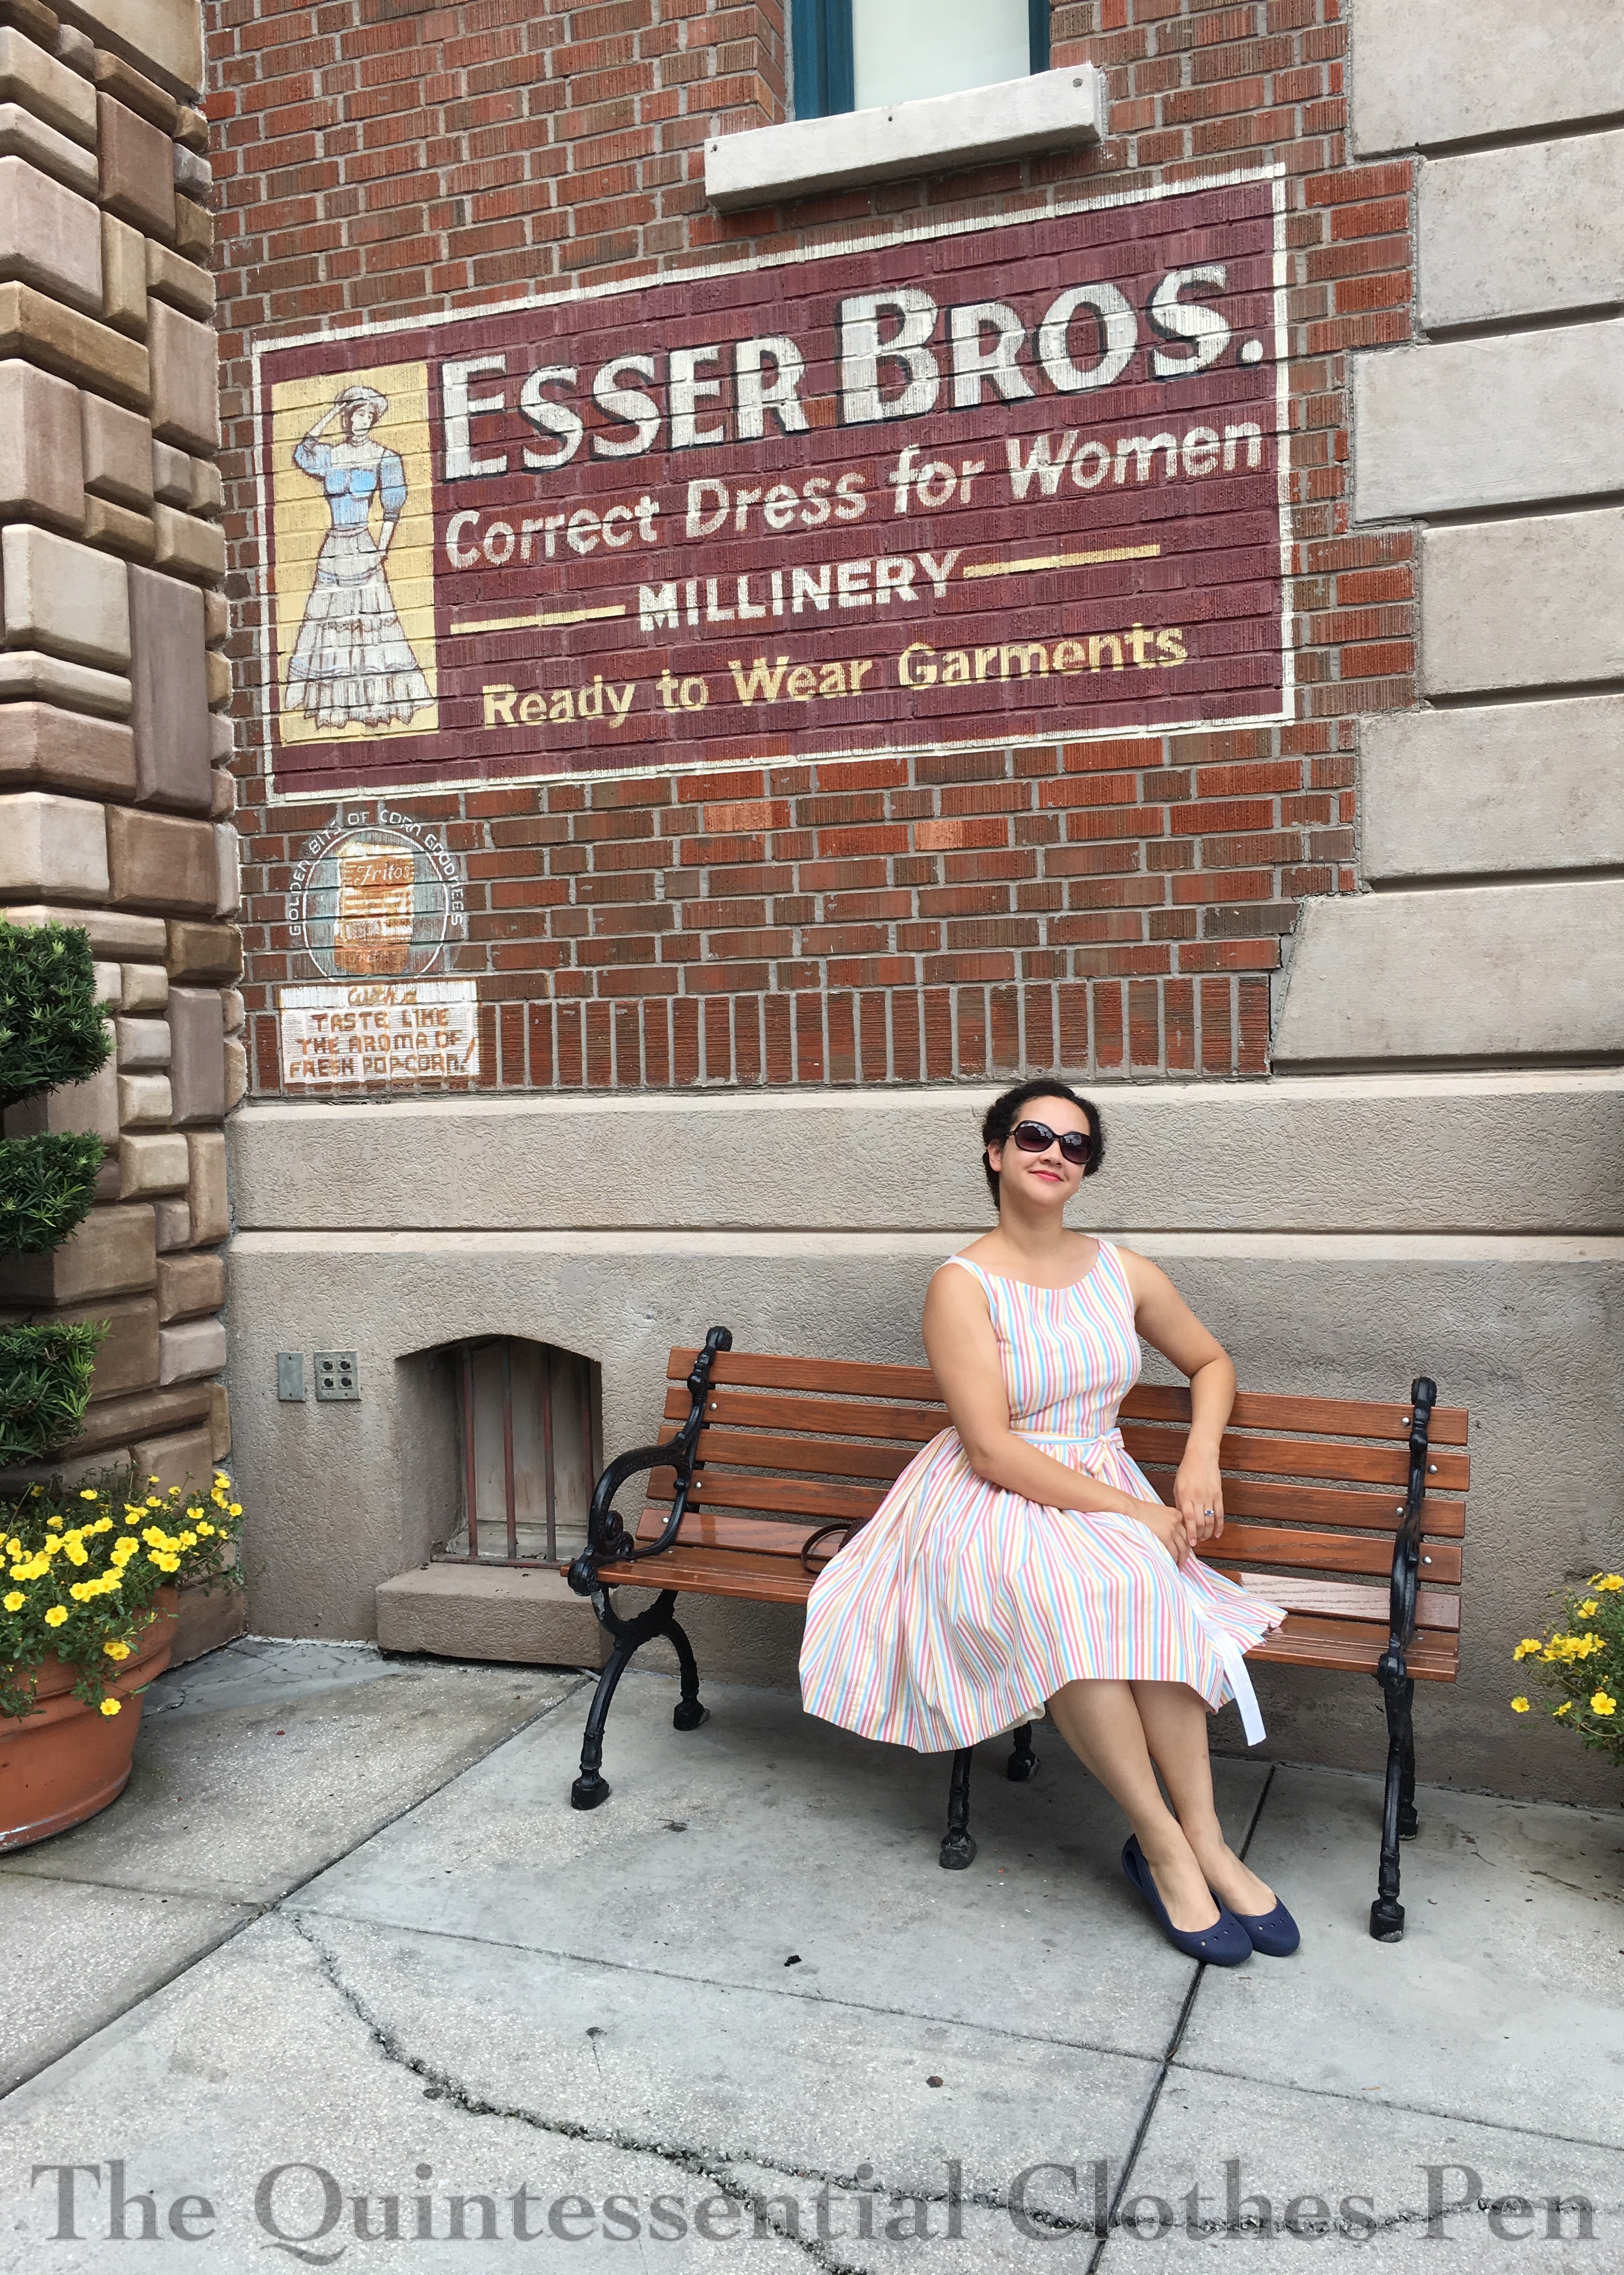
This dress is fun! It’s light, summer-y, and my only fear was getting something on the white fabric while wandering around the amusement park. Thankfully that never happened!  We happened upon this spot while wandering around and it seemed good for a photo! My vacation sunglasses look like a bug and are silly, but I rather enjoy them once or twice a year. I never wear sunglasses that big in my normal life! They were great for the bright Florida sun!

Here are a few end-of-day shots, with frizzier hair and running-out-of-pose-idea poses. We stayed at the Cabana Bay Resort. It’s vintage themed and had some really adorable decor that we really enjoyed!

I made the dress with a 2″ hem but that skirt length was just barely long enough to conceal my petticoat (I realized after looking at photos). It was too close for comfort, so after I got home I decided to lower the hem as much as possible, which I’m very pleased with. Sadly I only got one wearing in with the new length before fall set in. Now the dress is now packed away and waiting for warmer weather next year!

Vintage-Inspired Book Dress

Two or so years ago, I came across this dress as I was poking around the internet. I loved the print, but the style was not for me. The peter pan collar, in particular, isn’t really my style. However, I got it in my head that maybe I could make my own version of this dress, with style details that suited me better.

This led to a hunt for the fabric. With a little bit of searching, I was actually able to find the exact cotton print fabric used in the dress I originally liked! I bought mine from Fabric.com, but it was (and still is) also listed on Etsy. It has a little bit more stiffness than your average quilting cotton, which makes for a dress with nice body. It also has little hints of metallic gold in the book titles, some of which are readable. This makes it a little festive and fun without being over done.

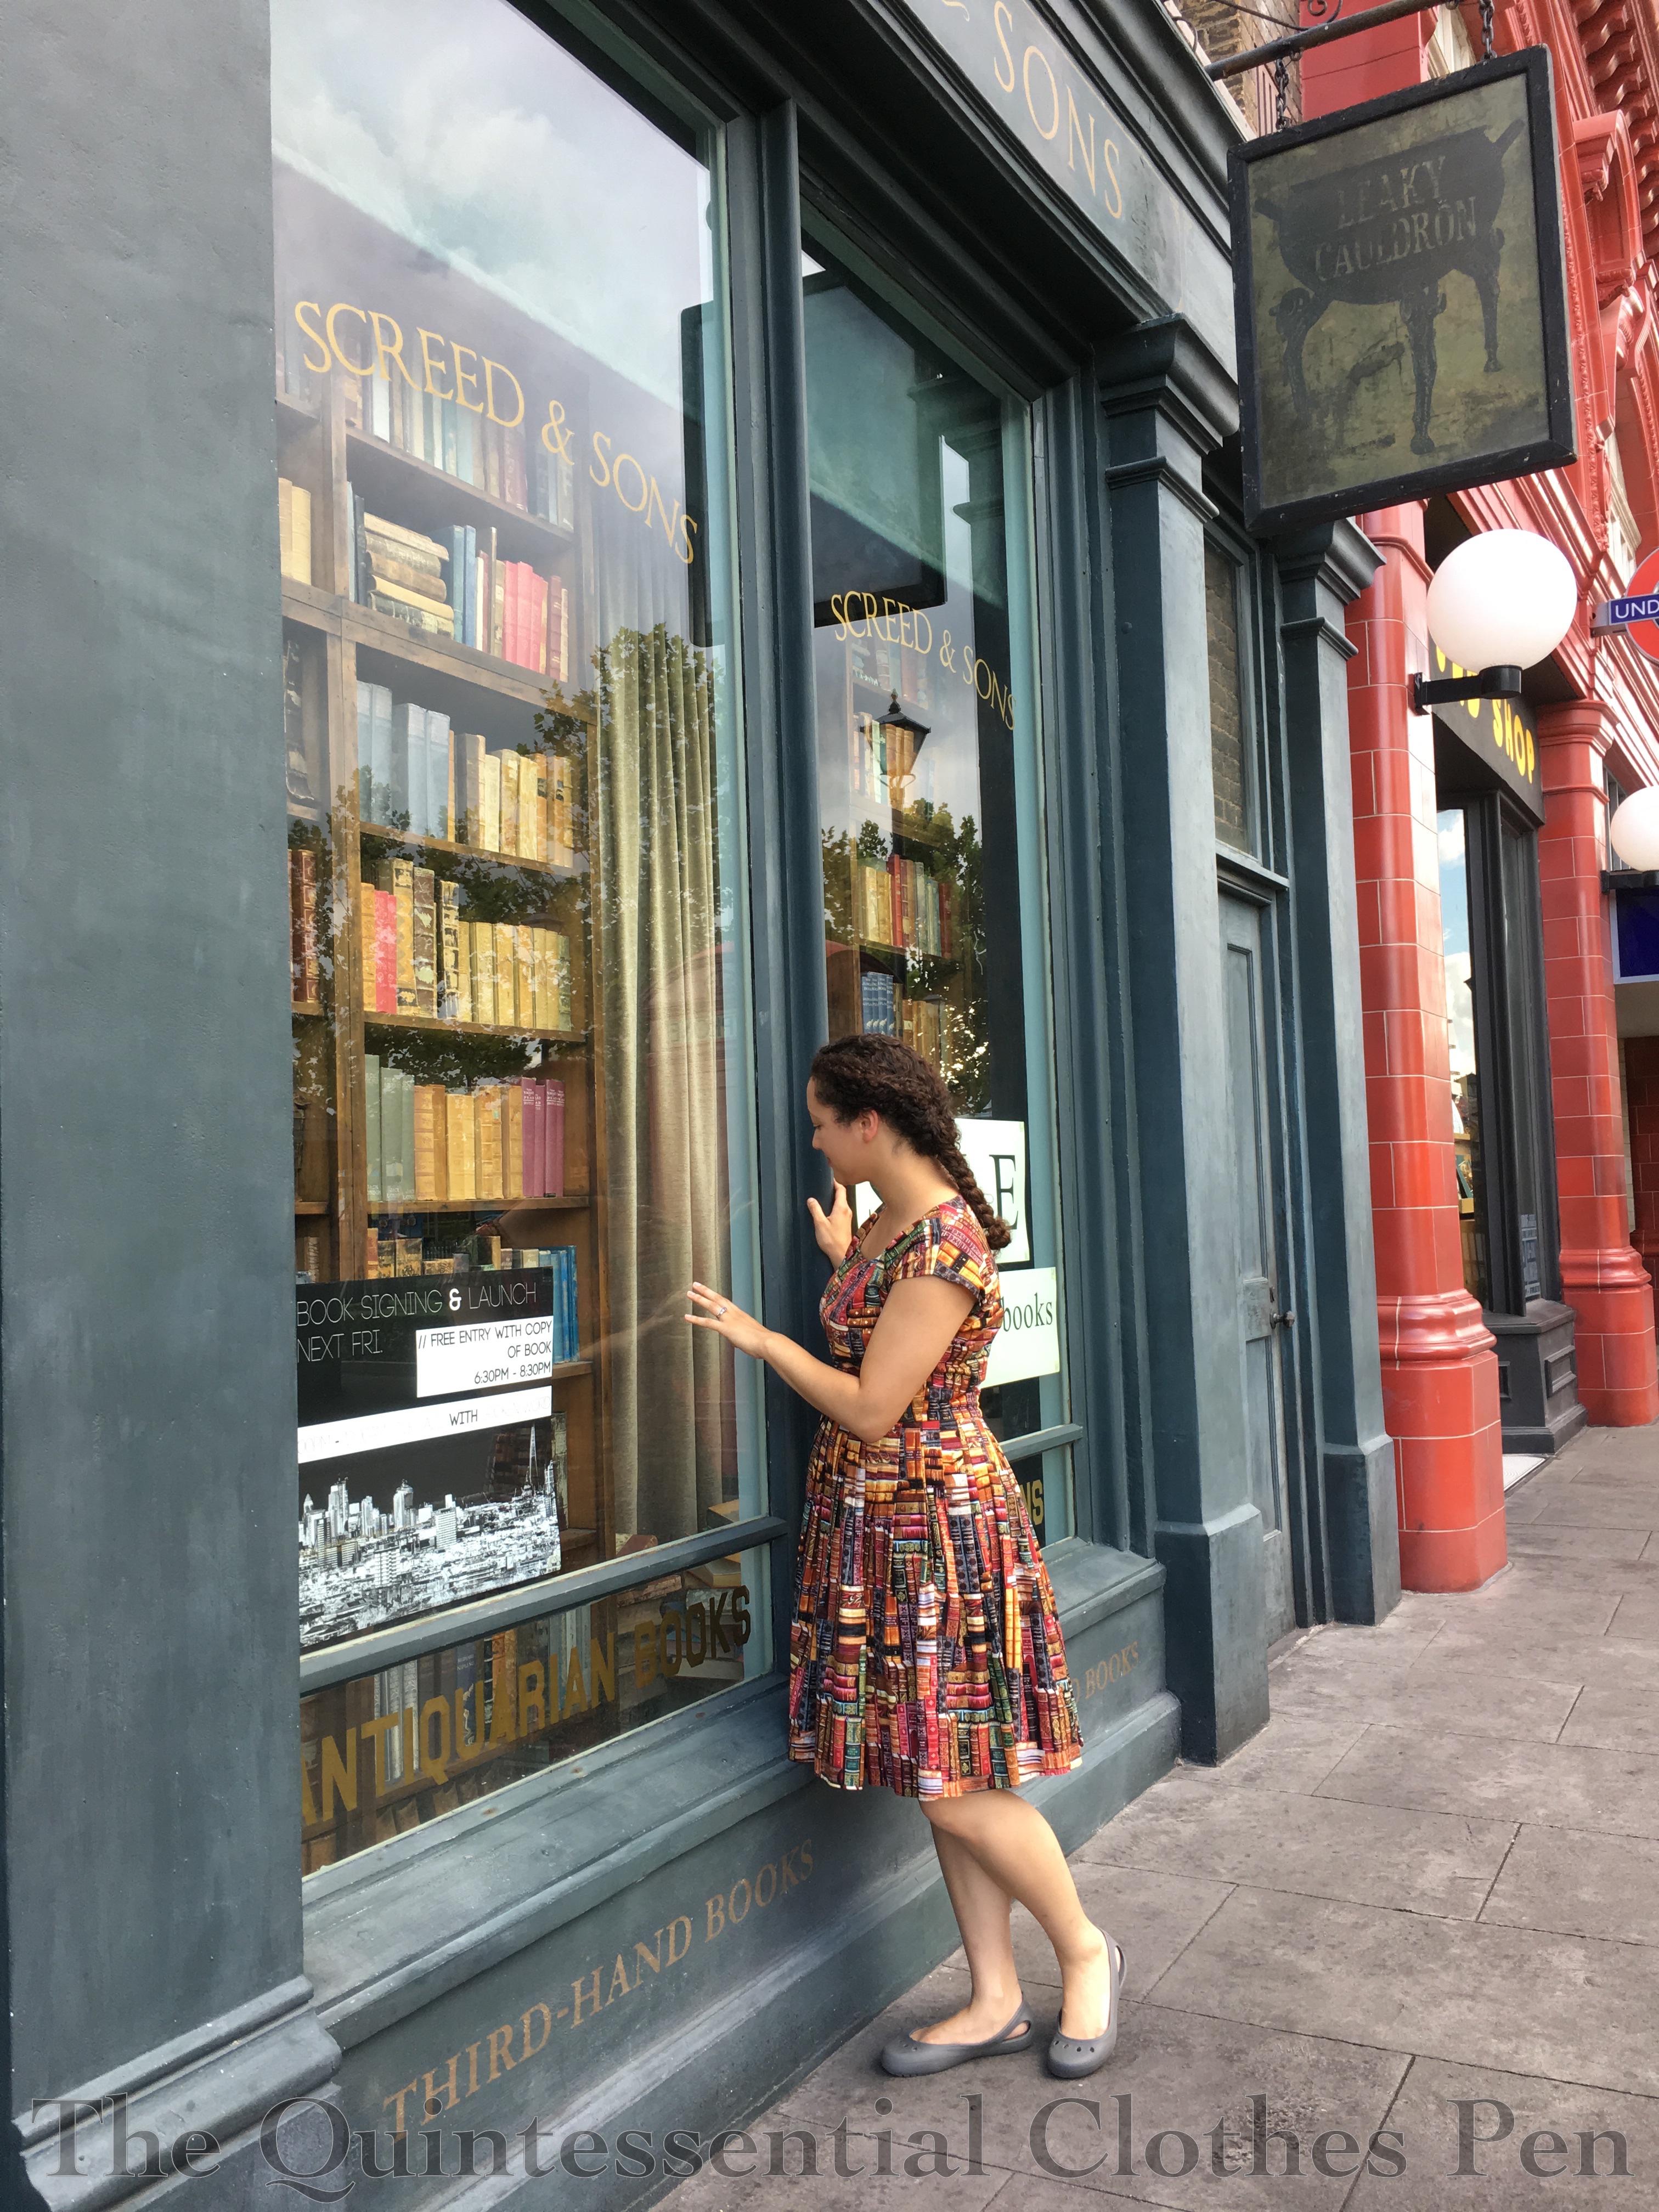
That was back in 2016. It took me about a year to get around to making the dress, but I finished it in late 2017. And I’ve been wearing it! It just took another year to wear it somewhere that was good for taking photos. (I still hold out hopes of taking photos of it in a fabulous wood paneled library, while holding my hardcover copy of Gone With The Wind. That’s one of the readable titles on the dress! Not sure when that will happen, though.) In the meantime, I’m very pleased with these photos from my trip to Universal Orlando, where we took photos of this dress in various Harry Potter locations.

I used Butterick 5880 (a retro pattern from 1951) for the bodice of this dress. This is the same bodice I used for my Happy Clover Dress, which I finally finished in 2017 as well. Both of these dresses have a different neckline than the original pattern. I’ve found that this is a great basic pattern for me. It fits well, I like the all-in-one-with-the-bodice sleeve, and different necklines work with it to change it up from one dress to the next!

The square neck inspiration for this dress came from a blog reader in 2017, who commented on my Happy Clover Dress post and suggested that a square neckline might be a nice vintage touch. I thought the idea made sense with the square corners of the books in this print and decided to give it a try!

As with the Happy Clover Dress, I did not use the Butterick skirt pattern, instead opting to create my own. My vintage inspired skirt is simply a tube that is 122″ in circumference, knife pleated to fit the waist size of the bodice. I carefully cut and seamed the panels to maximize my fabric use and have side seams as well as a center back seam. Part of the reason I had to maximize my fabric use was that I used up pretty much all of all 2.5 yards that I bought. In fact, I didn’t even have scraps big enough to make pockets out of after cutting out the bodice and skirt pieces! I used what I had and pieced the rest of my pocket bags with fabric left over from my 1860s Flower Basket Fancy Dress project. I had dyed the fabric a mottled brown, had only had small scraps left, and the look reminded me of book leather, so it seemed like a fitting thing to use.

Pockets in a dress is excellent! And you can do that when you make your own clothes. Actually, while I was on my trip I was asked whether I’d made the dress. The giveaways were the fact that I had my hands in my pockets and the knife pleated skirt, both of which struck the person who asked as being vintage and self-made details–not a combination that would be easy to buy in a store. I thought that was fun!

I made this dress using modern techniques. All of the inside seam allowances are finished using a serger/overlocker. There is an invisible zipper in the back. It is almost entirely machine sewn, including the hem and armholes. The only hand stitching is the finishing of the brown bias tape that finishes the neckline, in order to keep that nice and invisible. On the hem and armholes the black machine stitching blends into the print and is hardly noticeable.

I have fun wearing this dress and pairing it with different cardigans in the colder months! Black and red are my favorites. And I can report that it was very enjoyable to be dressed in slightly-vintage-style to visit Diagon Alley and Hogsmeade. I had no trouble on the rides and was as comfortable in the heat of Florida as I would have been in shorts or capris and a tee shirt, which is what most people were wearing. I felt more put together and enjoyed the themed dress! I might have to do things like that more often!

An Edwardian Island Adventure

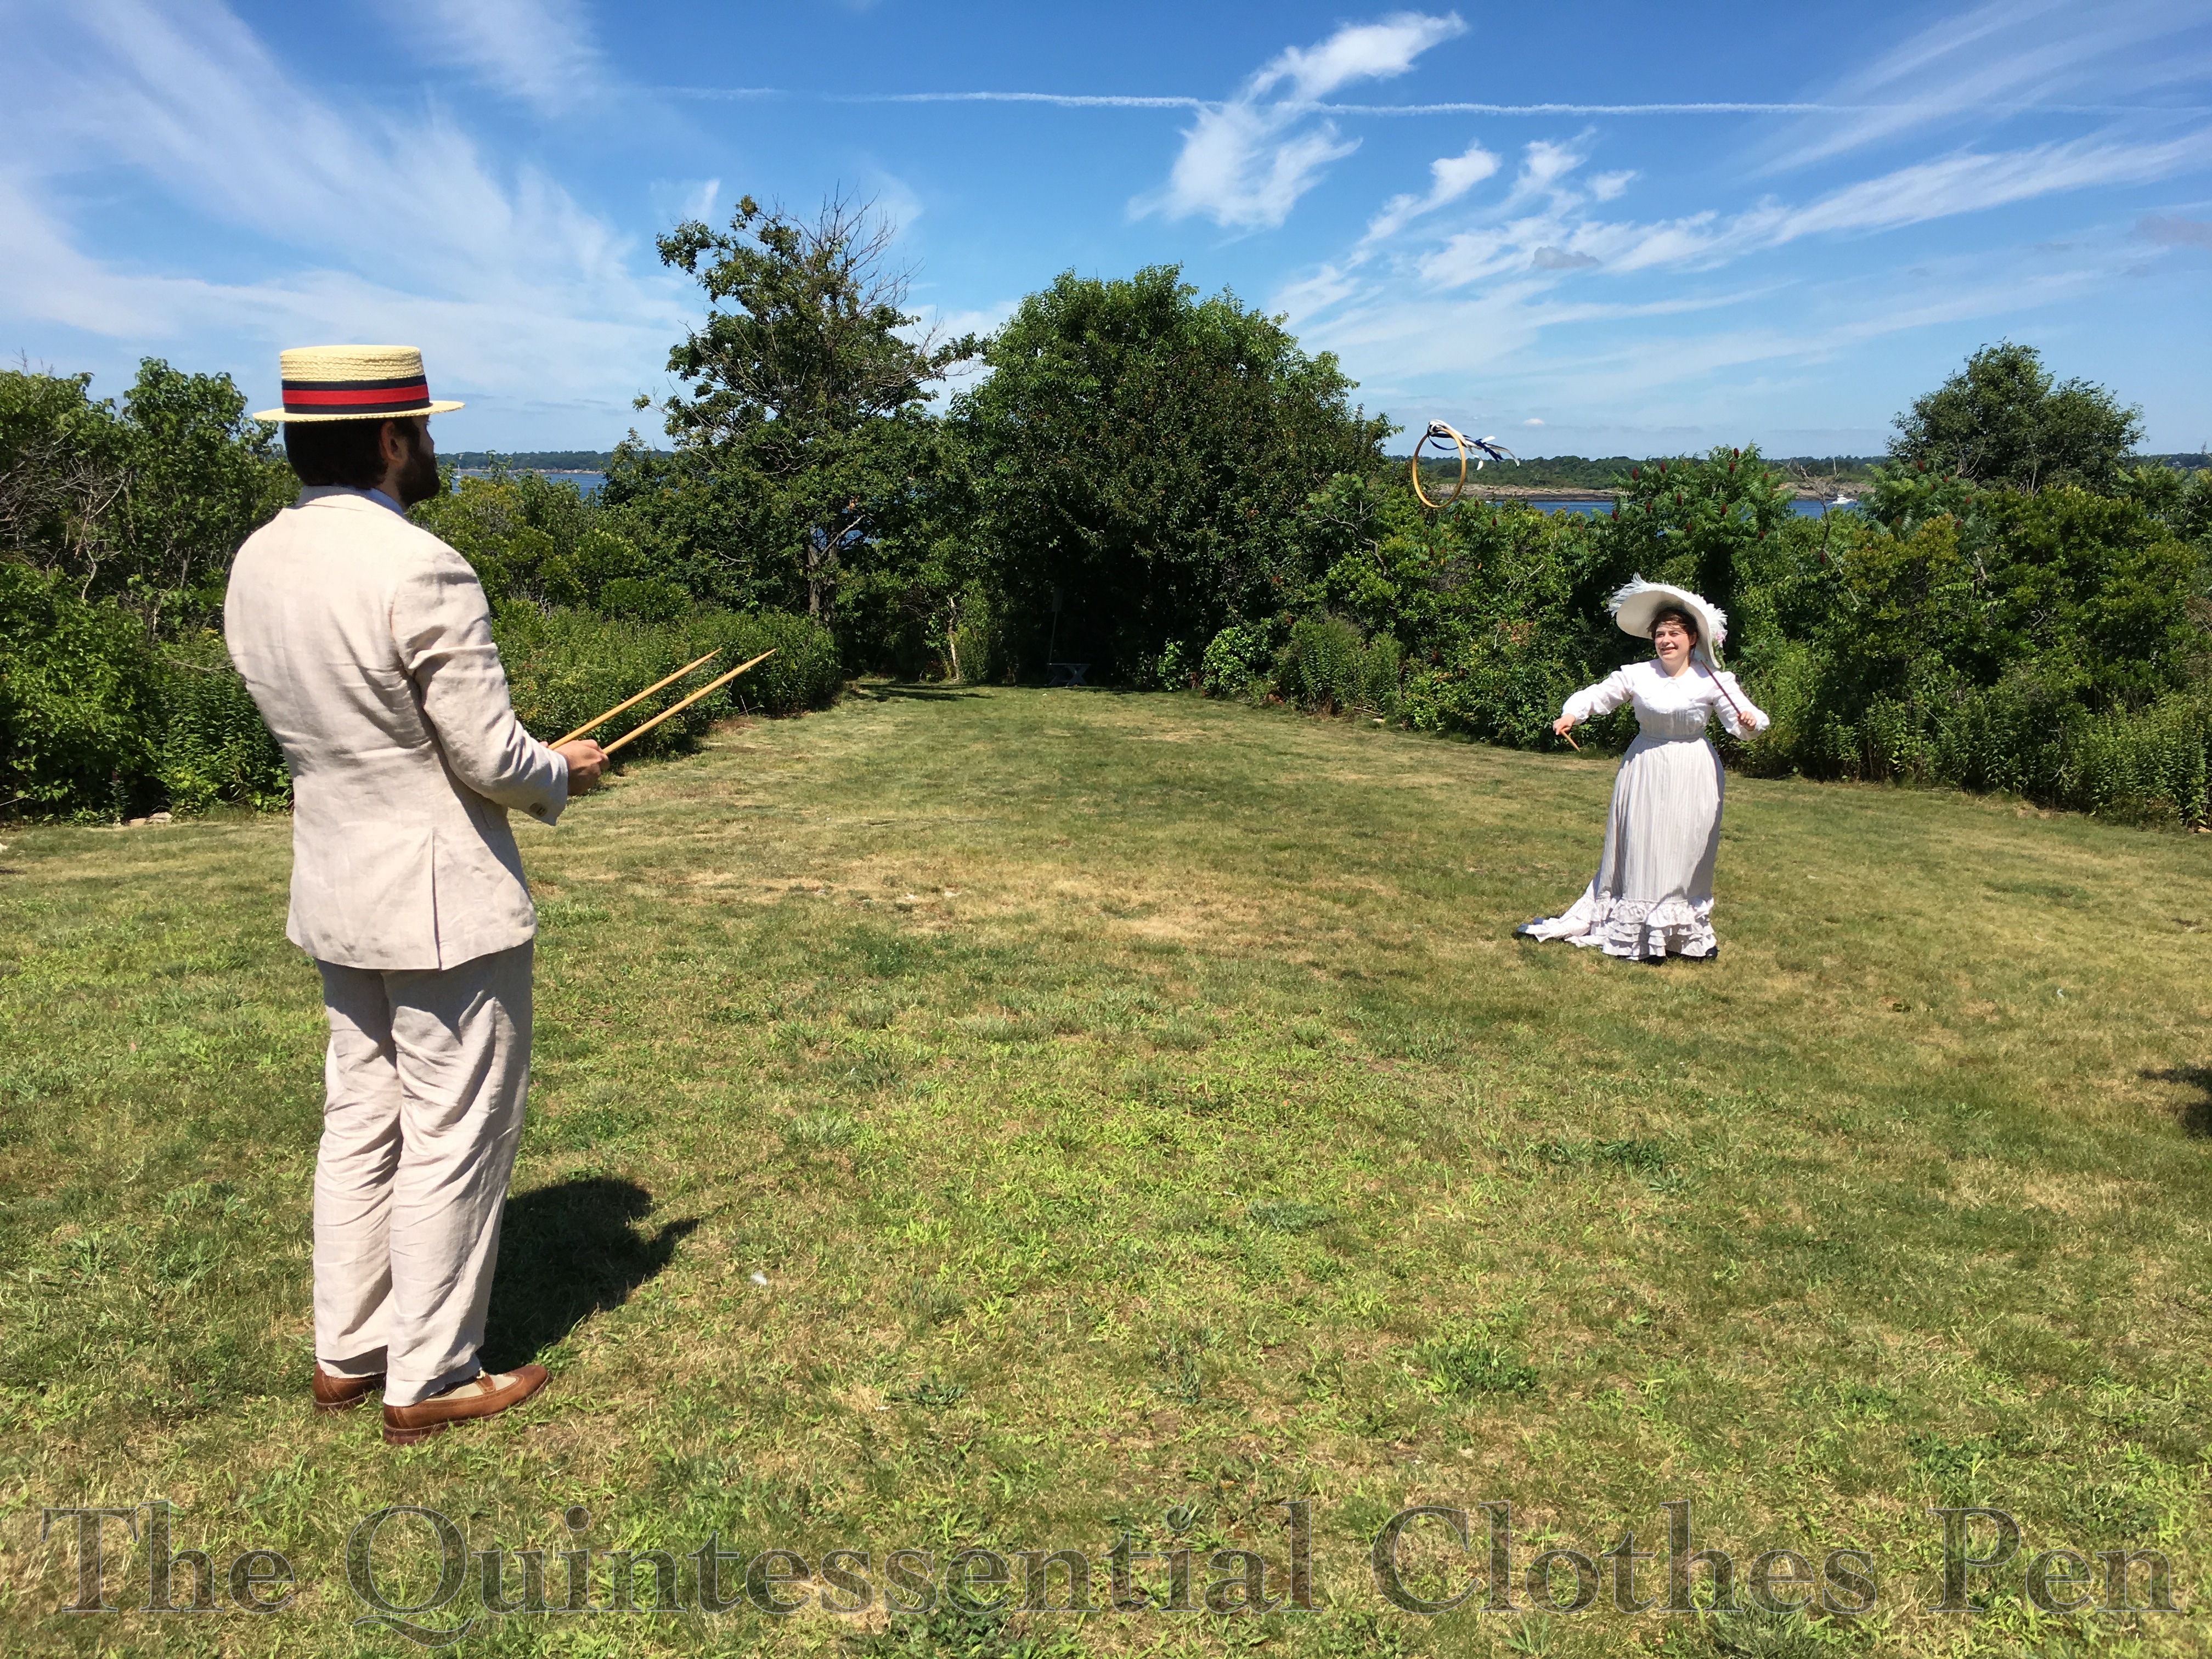
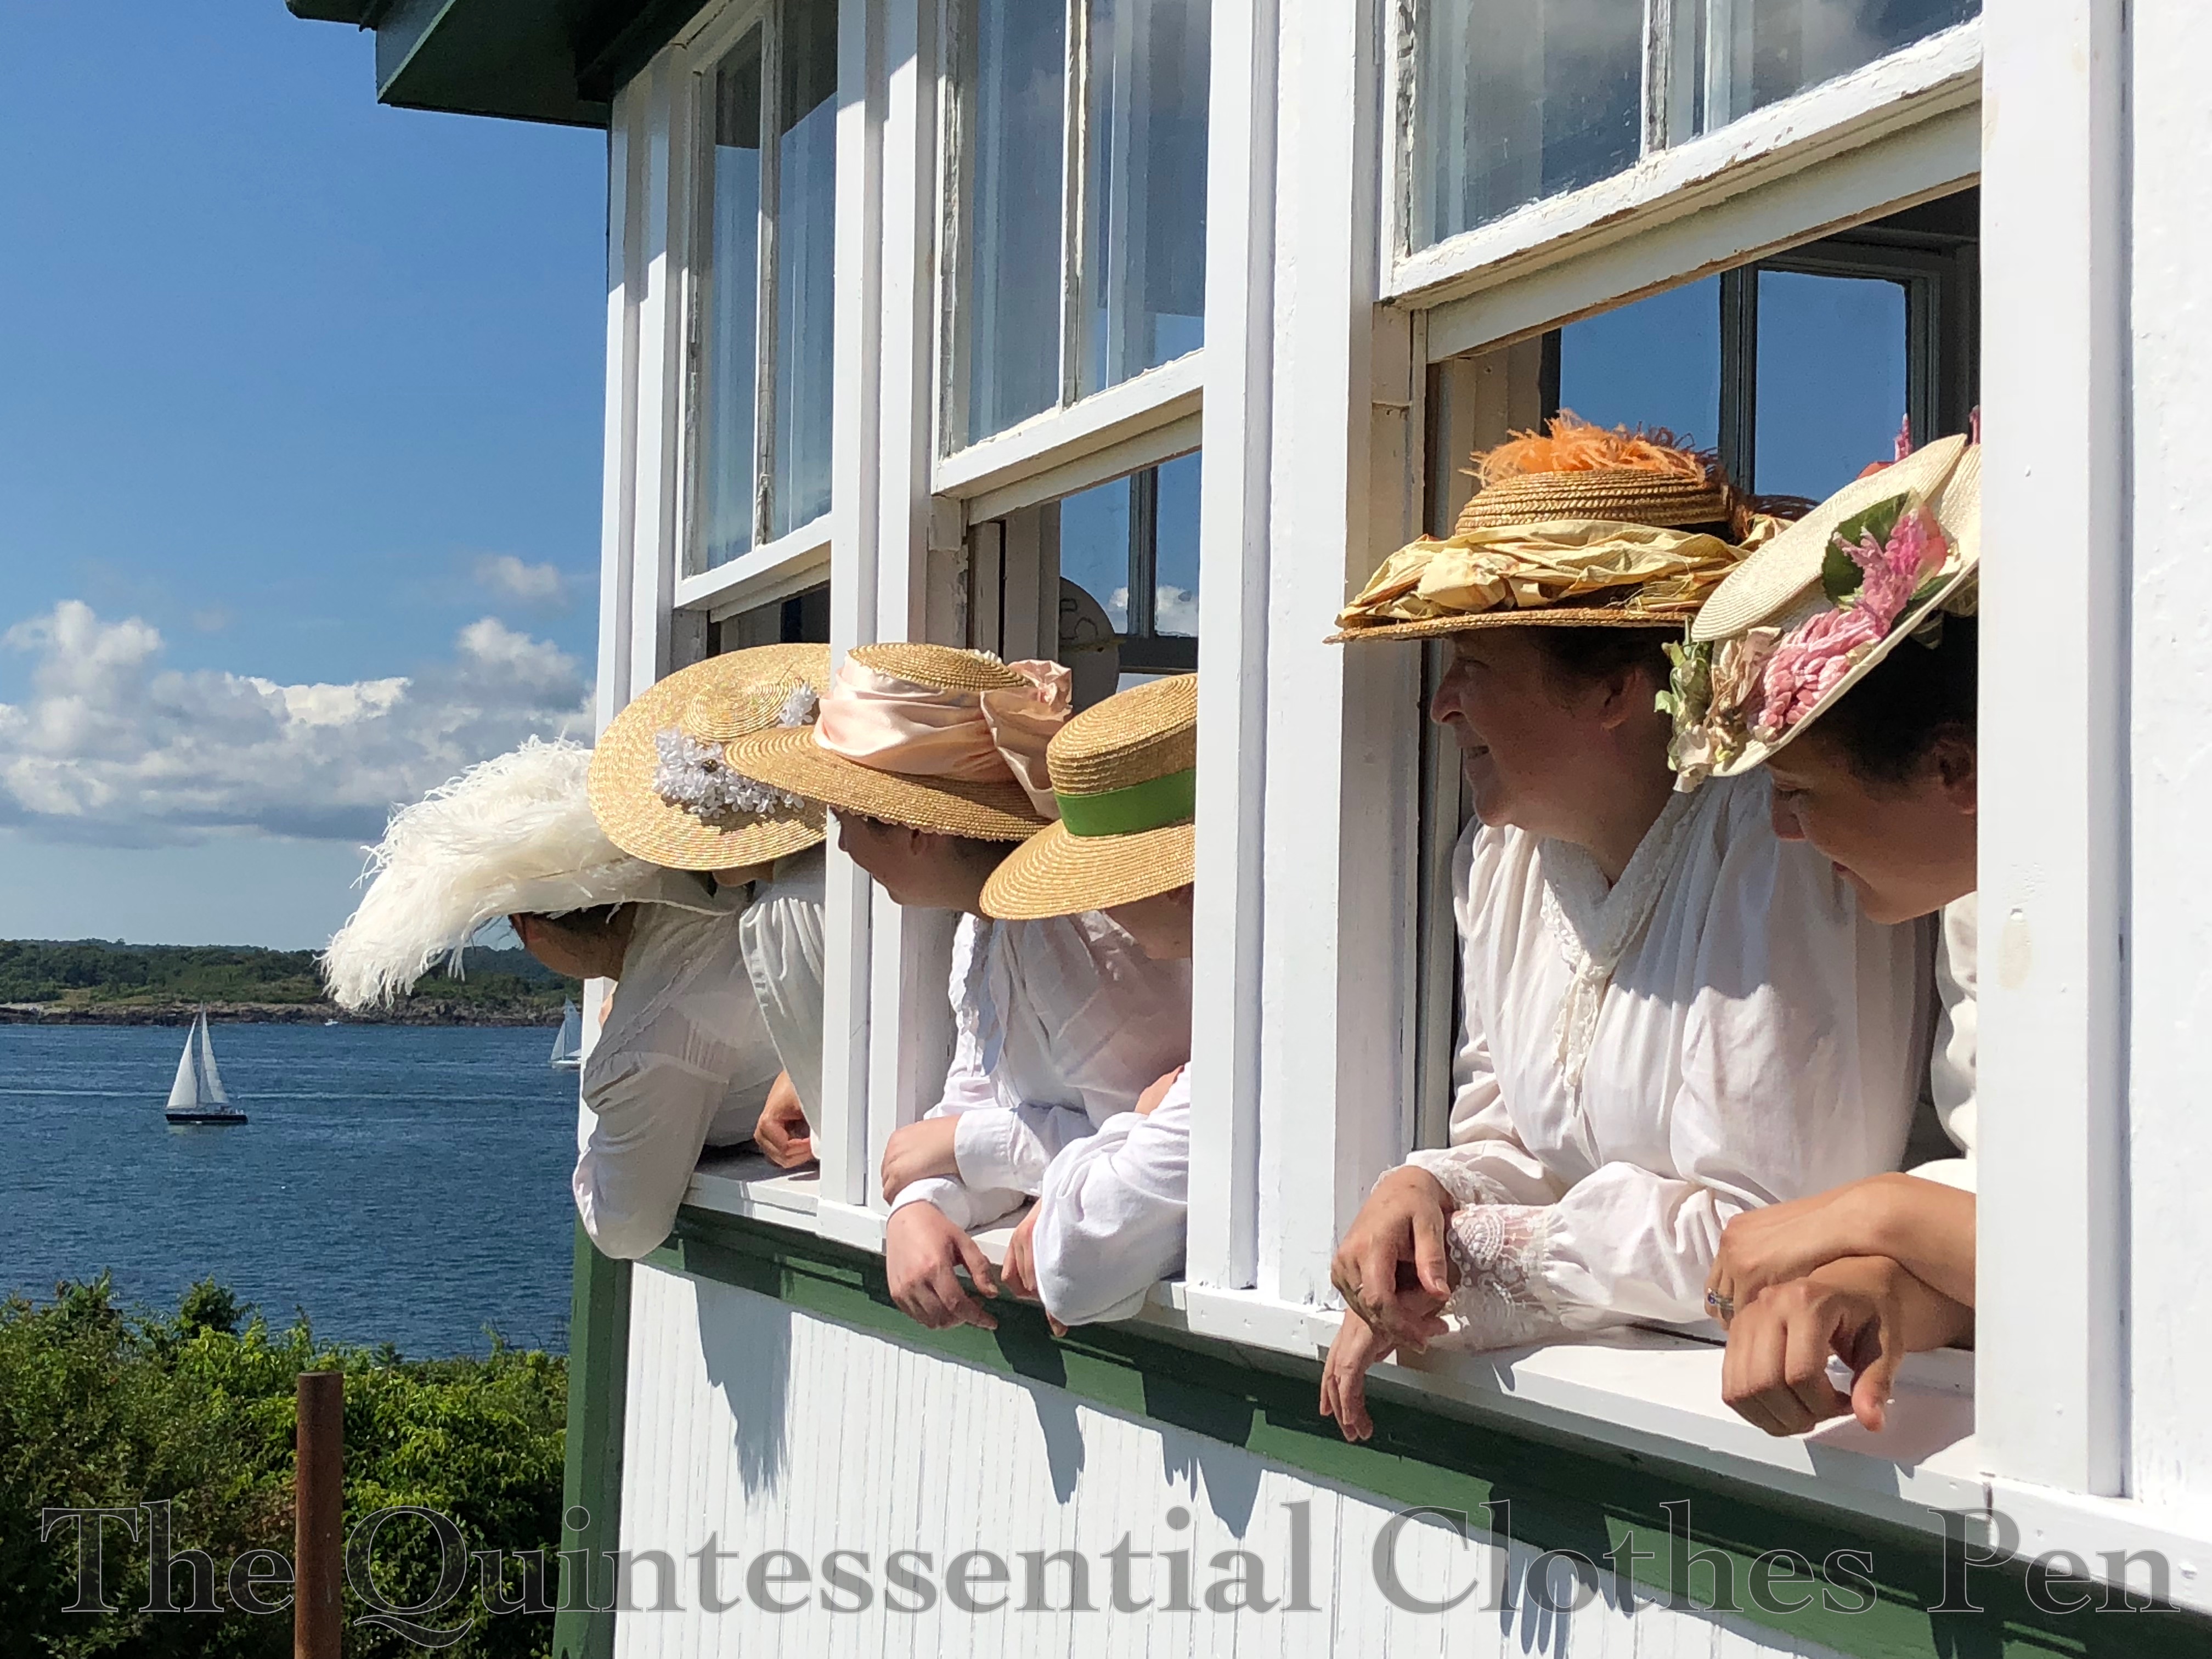
Over the summer, my dance group was invited to create a turn-of-the-century atmosphere for a weekend on Bakers Island, off the coast of Salem, MA. Today, the part of the island we were on is managed by Essex Heritage and is home to a lighthouse, but for our visit the idea was that visitors to the island could get a sense of what the island would have been like over 100 years ago when there was a large hotel located there.

We didn’t actually dance, but we played historical games and activities and explained our context to the visitors. They came upon us along various paths during their walking tour.

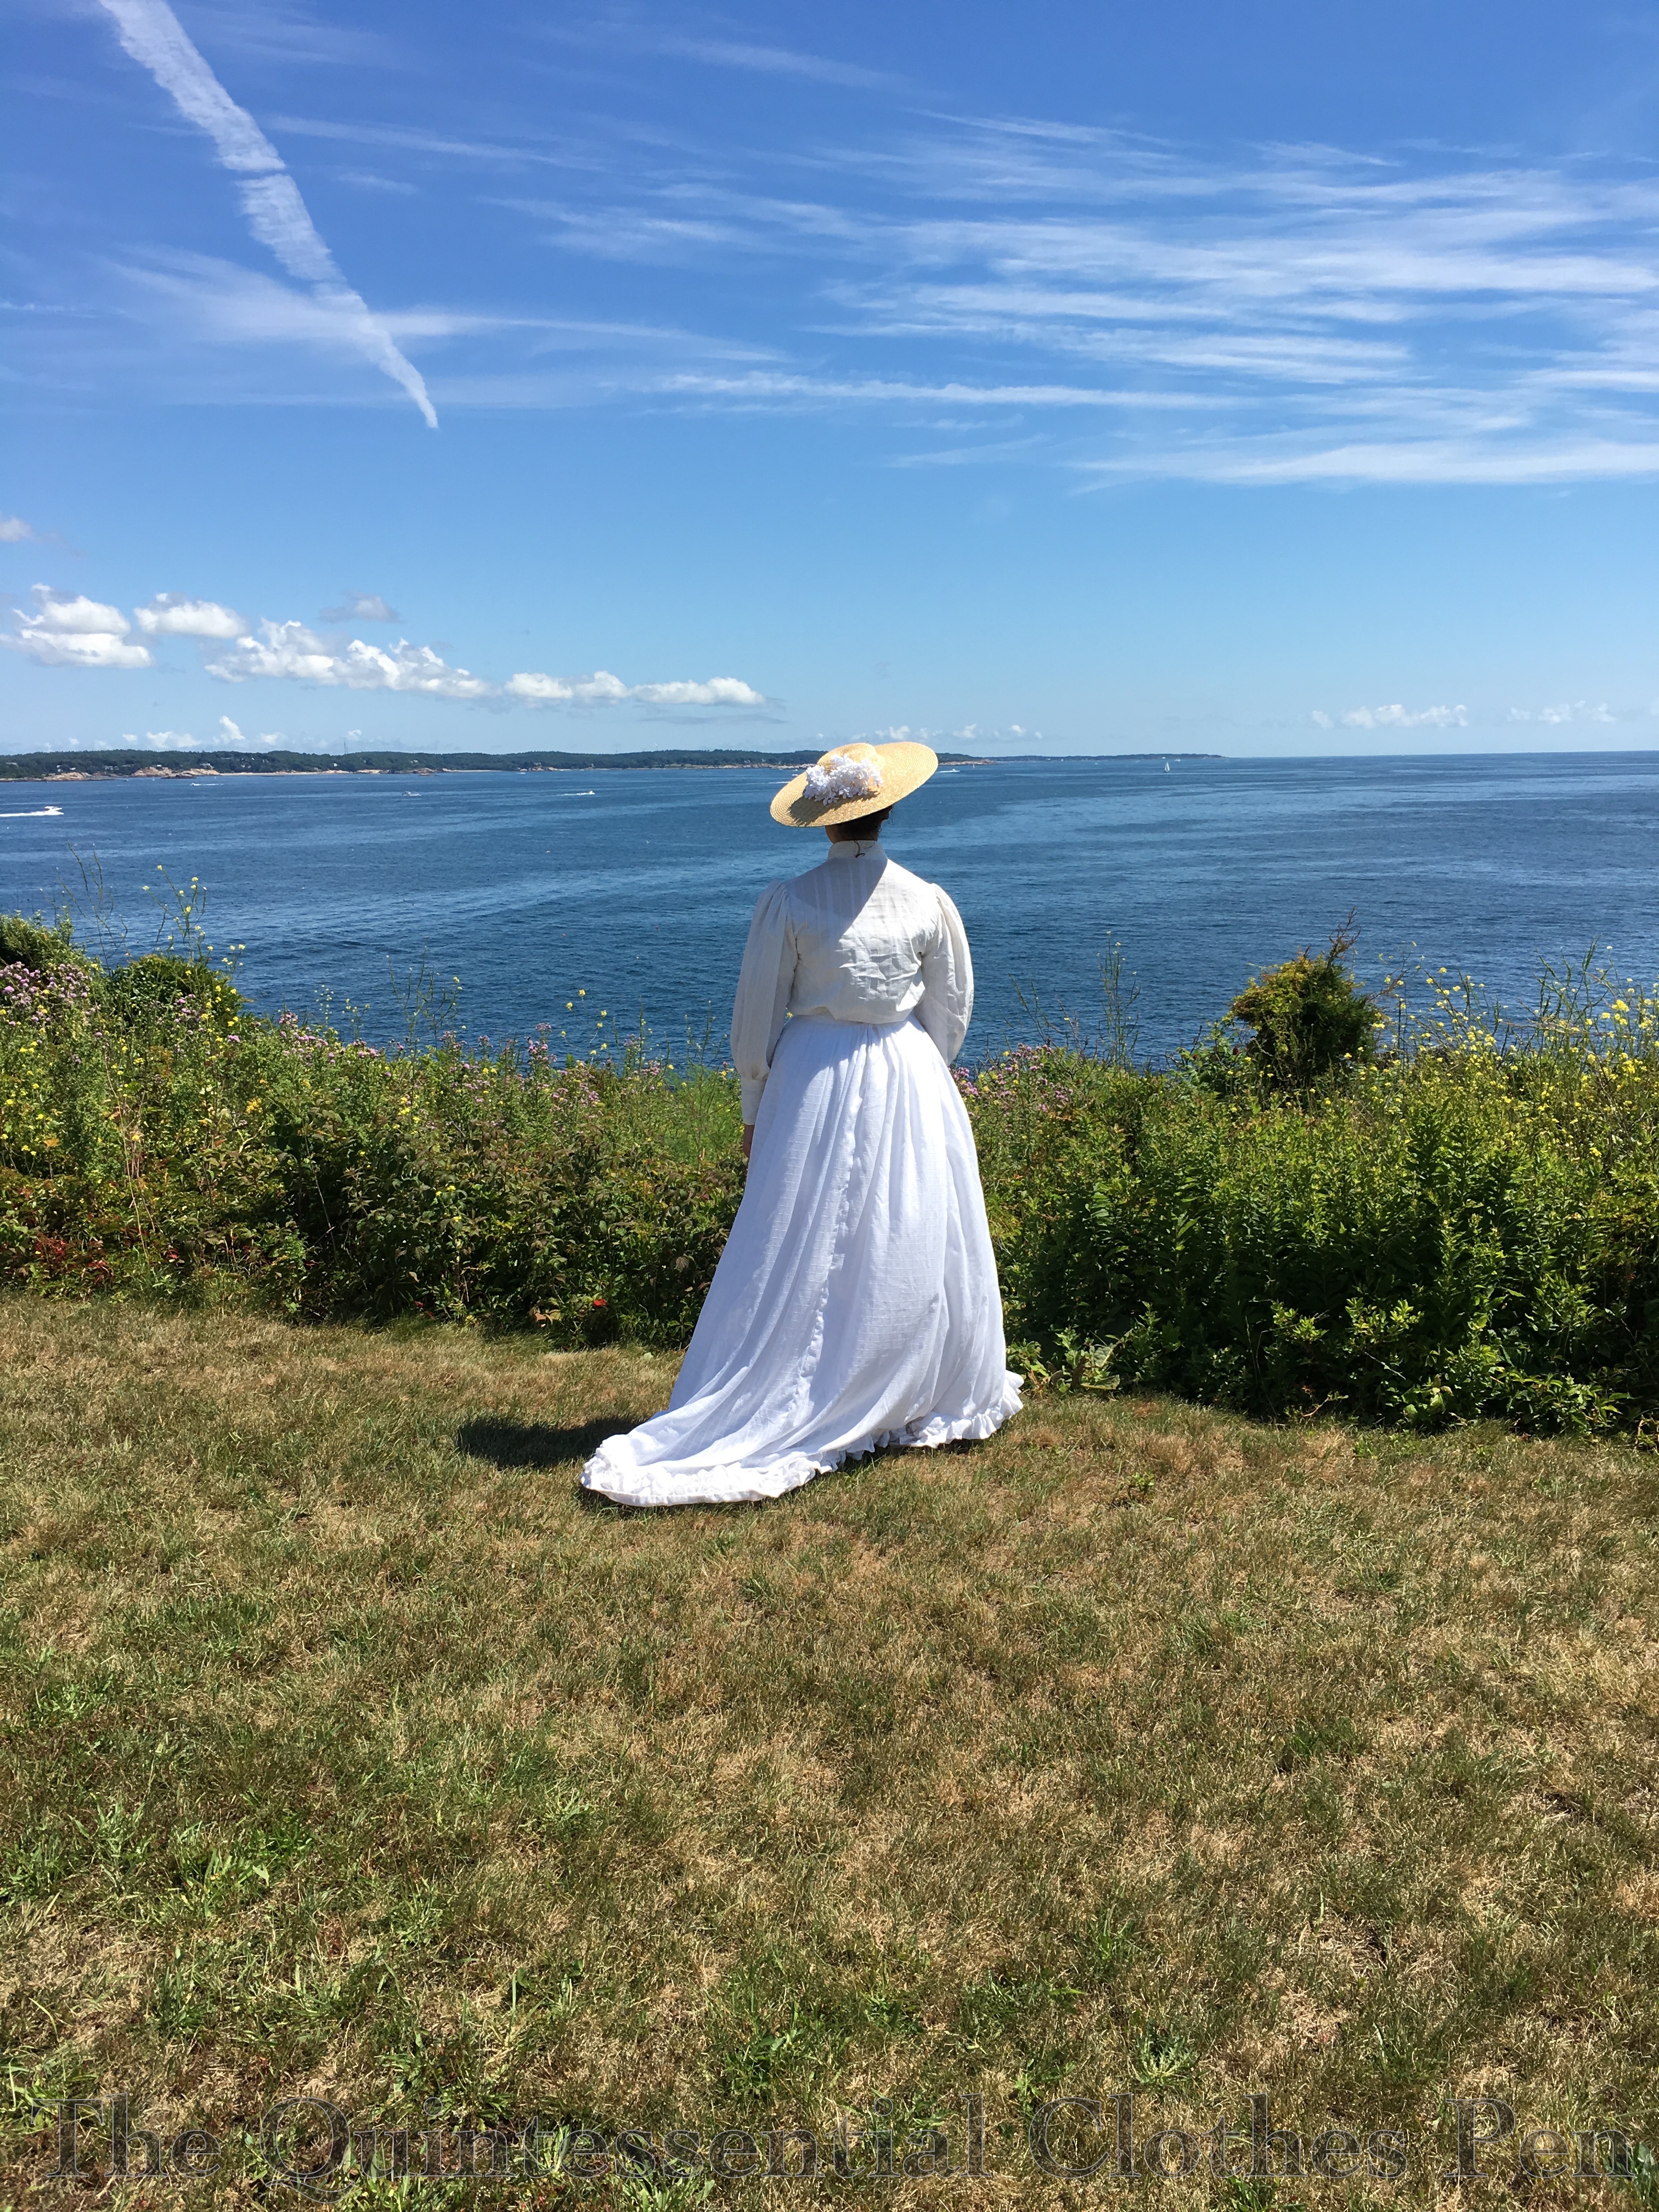
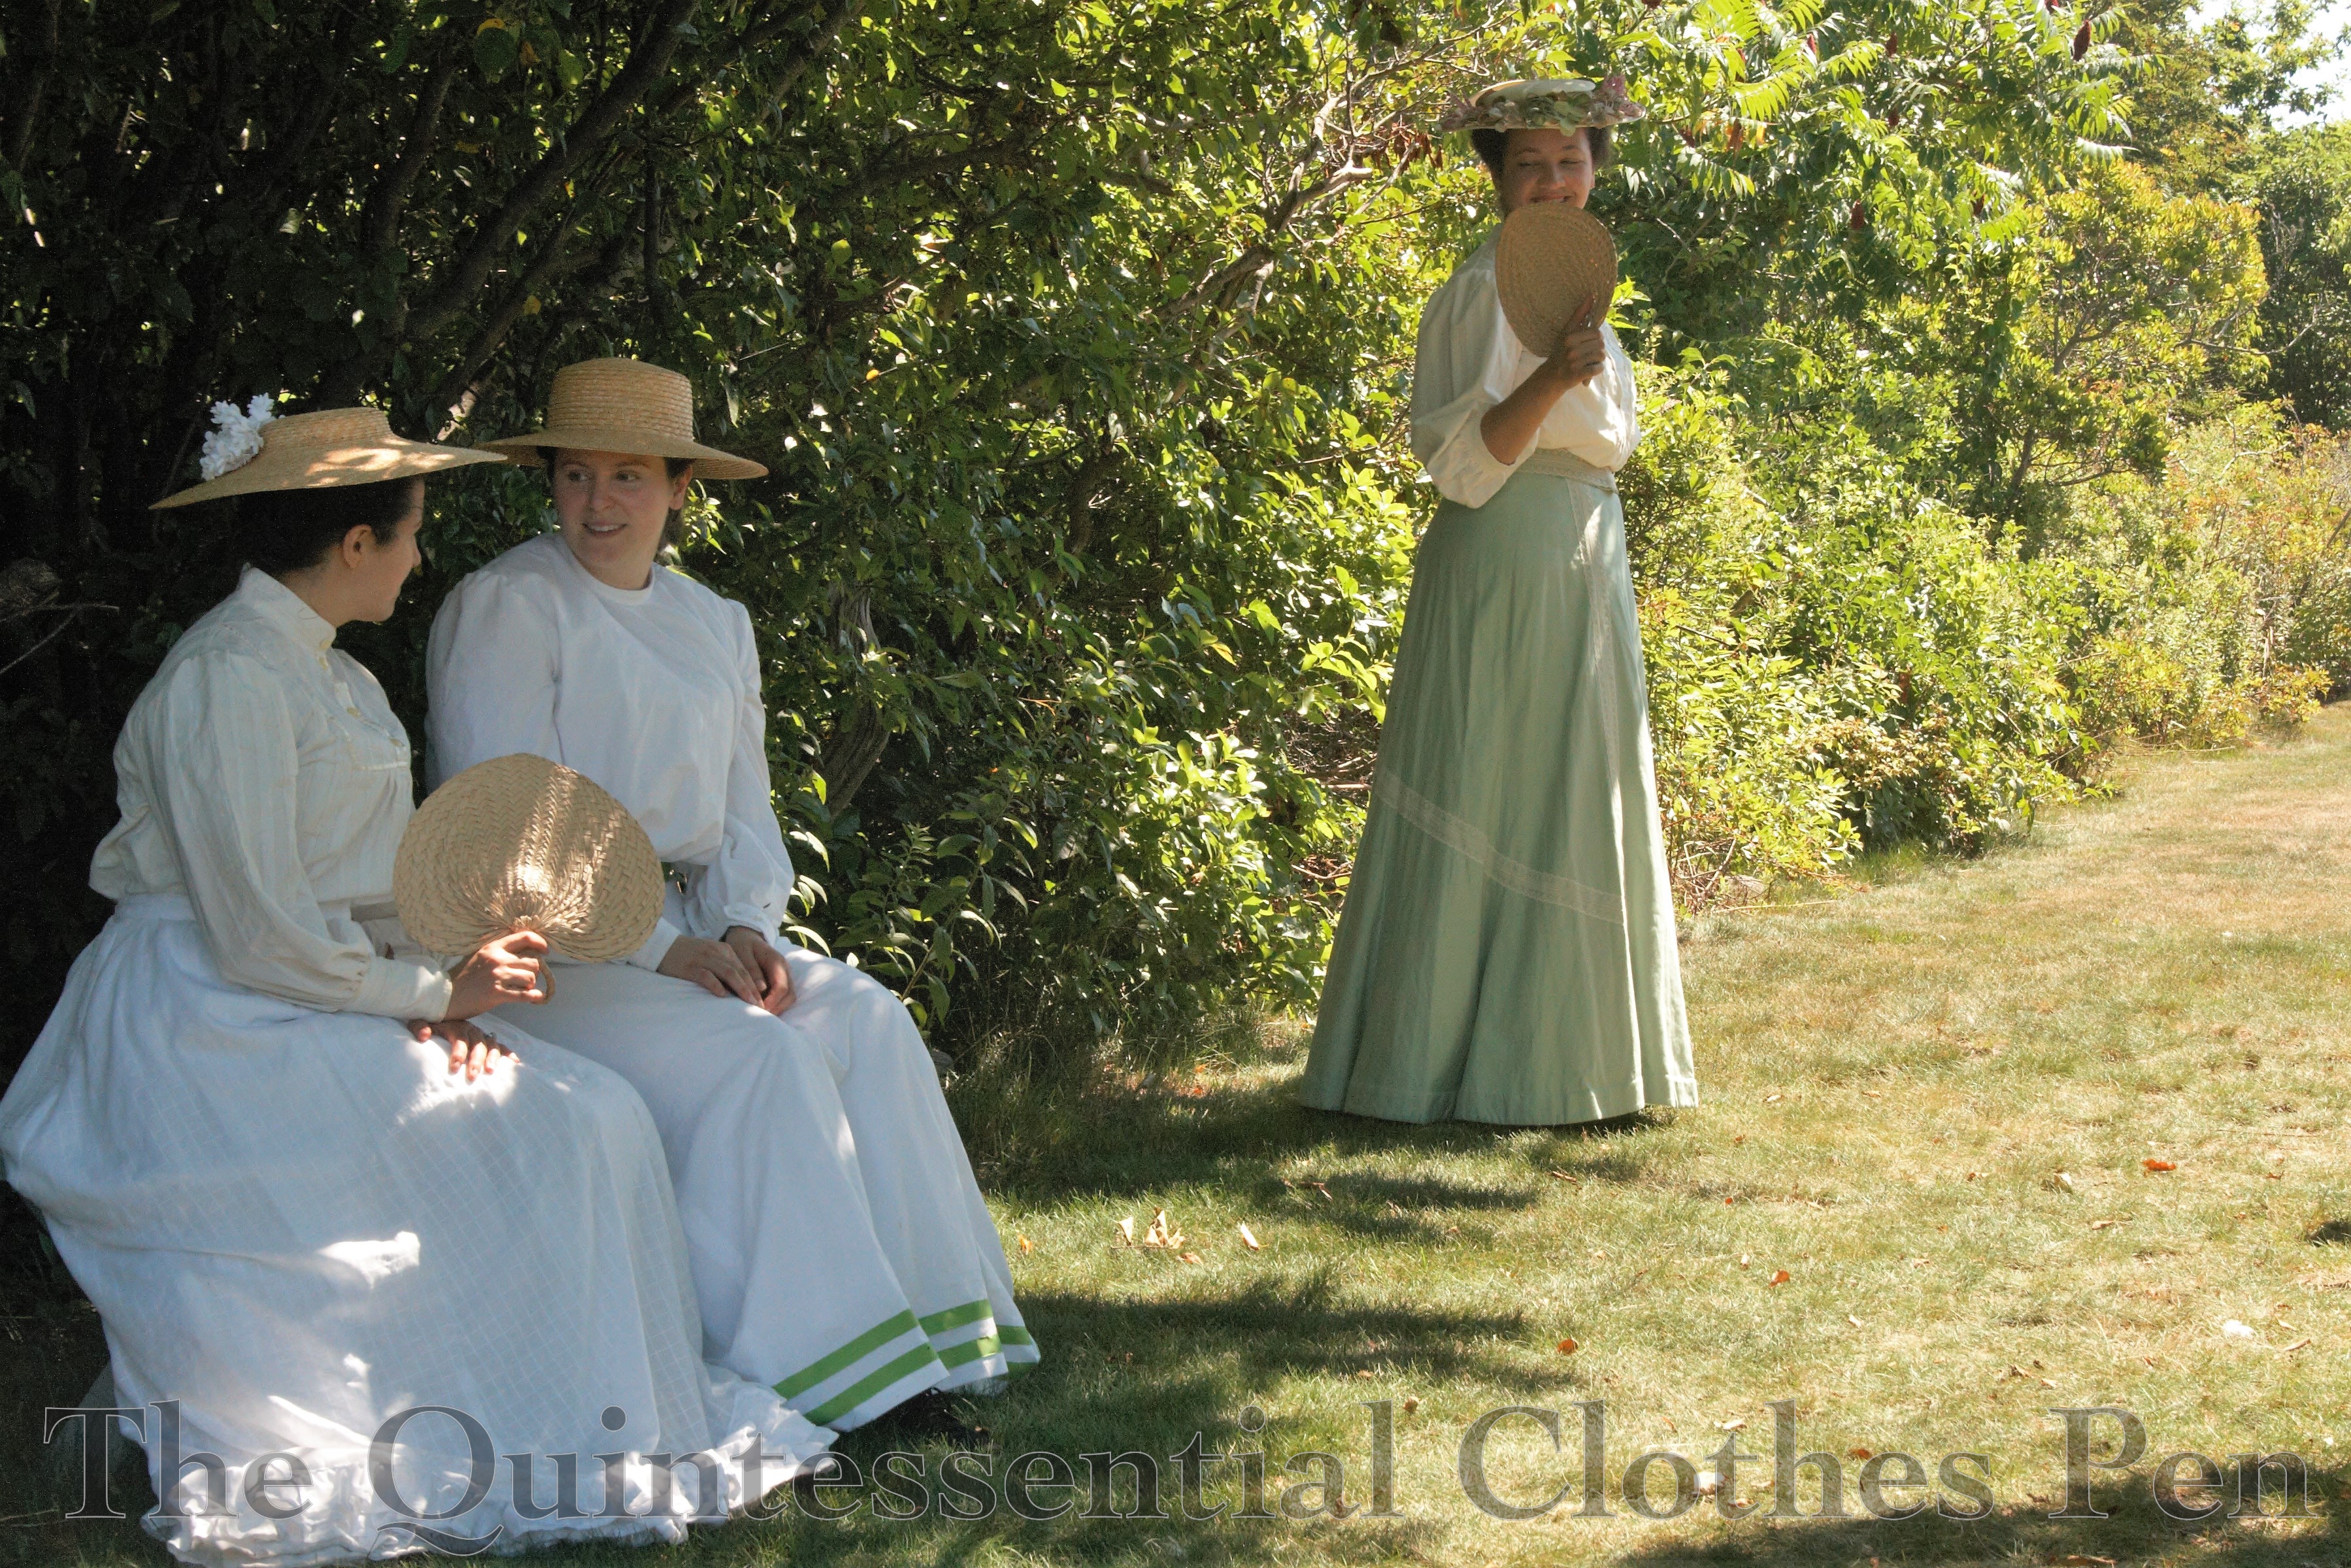
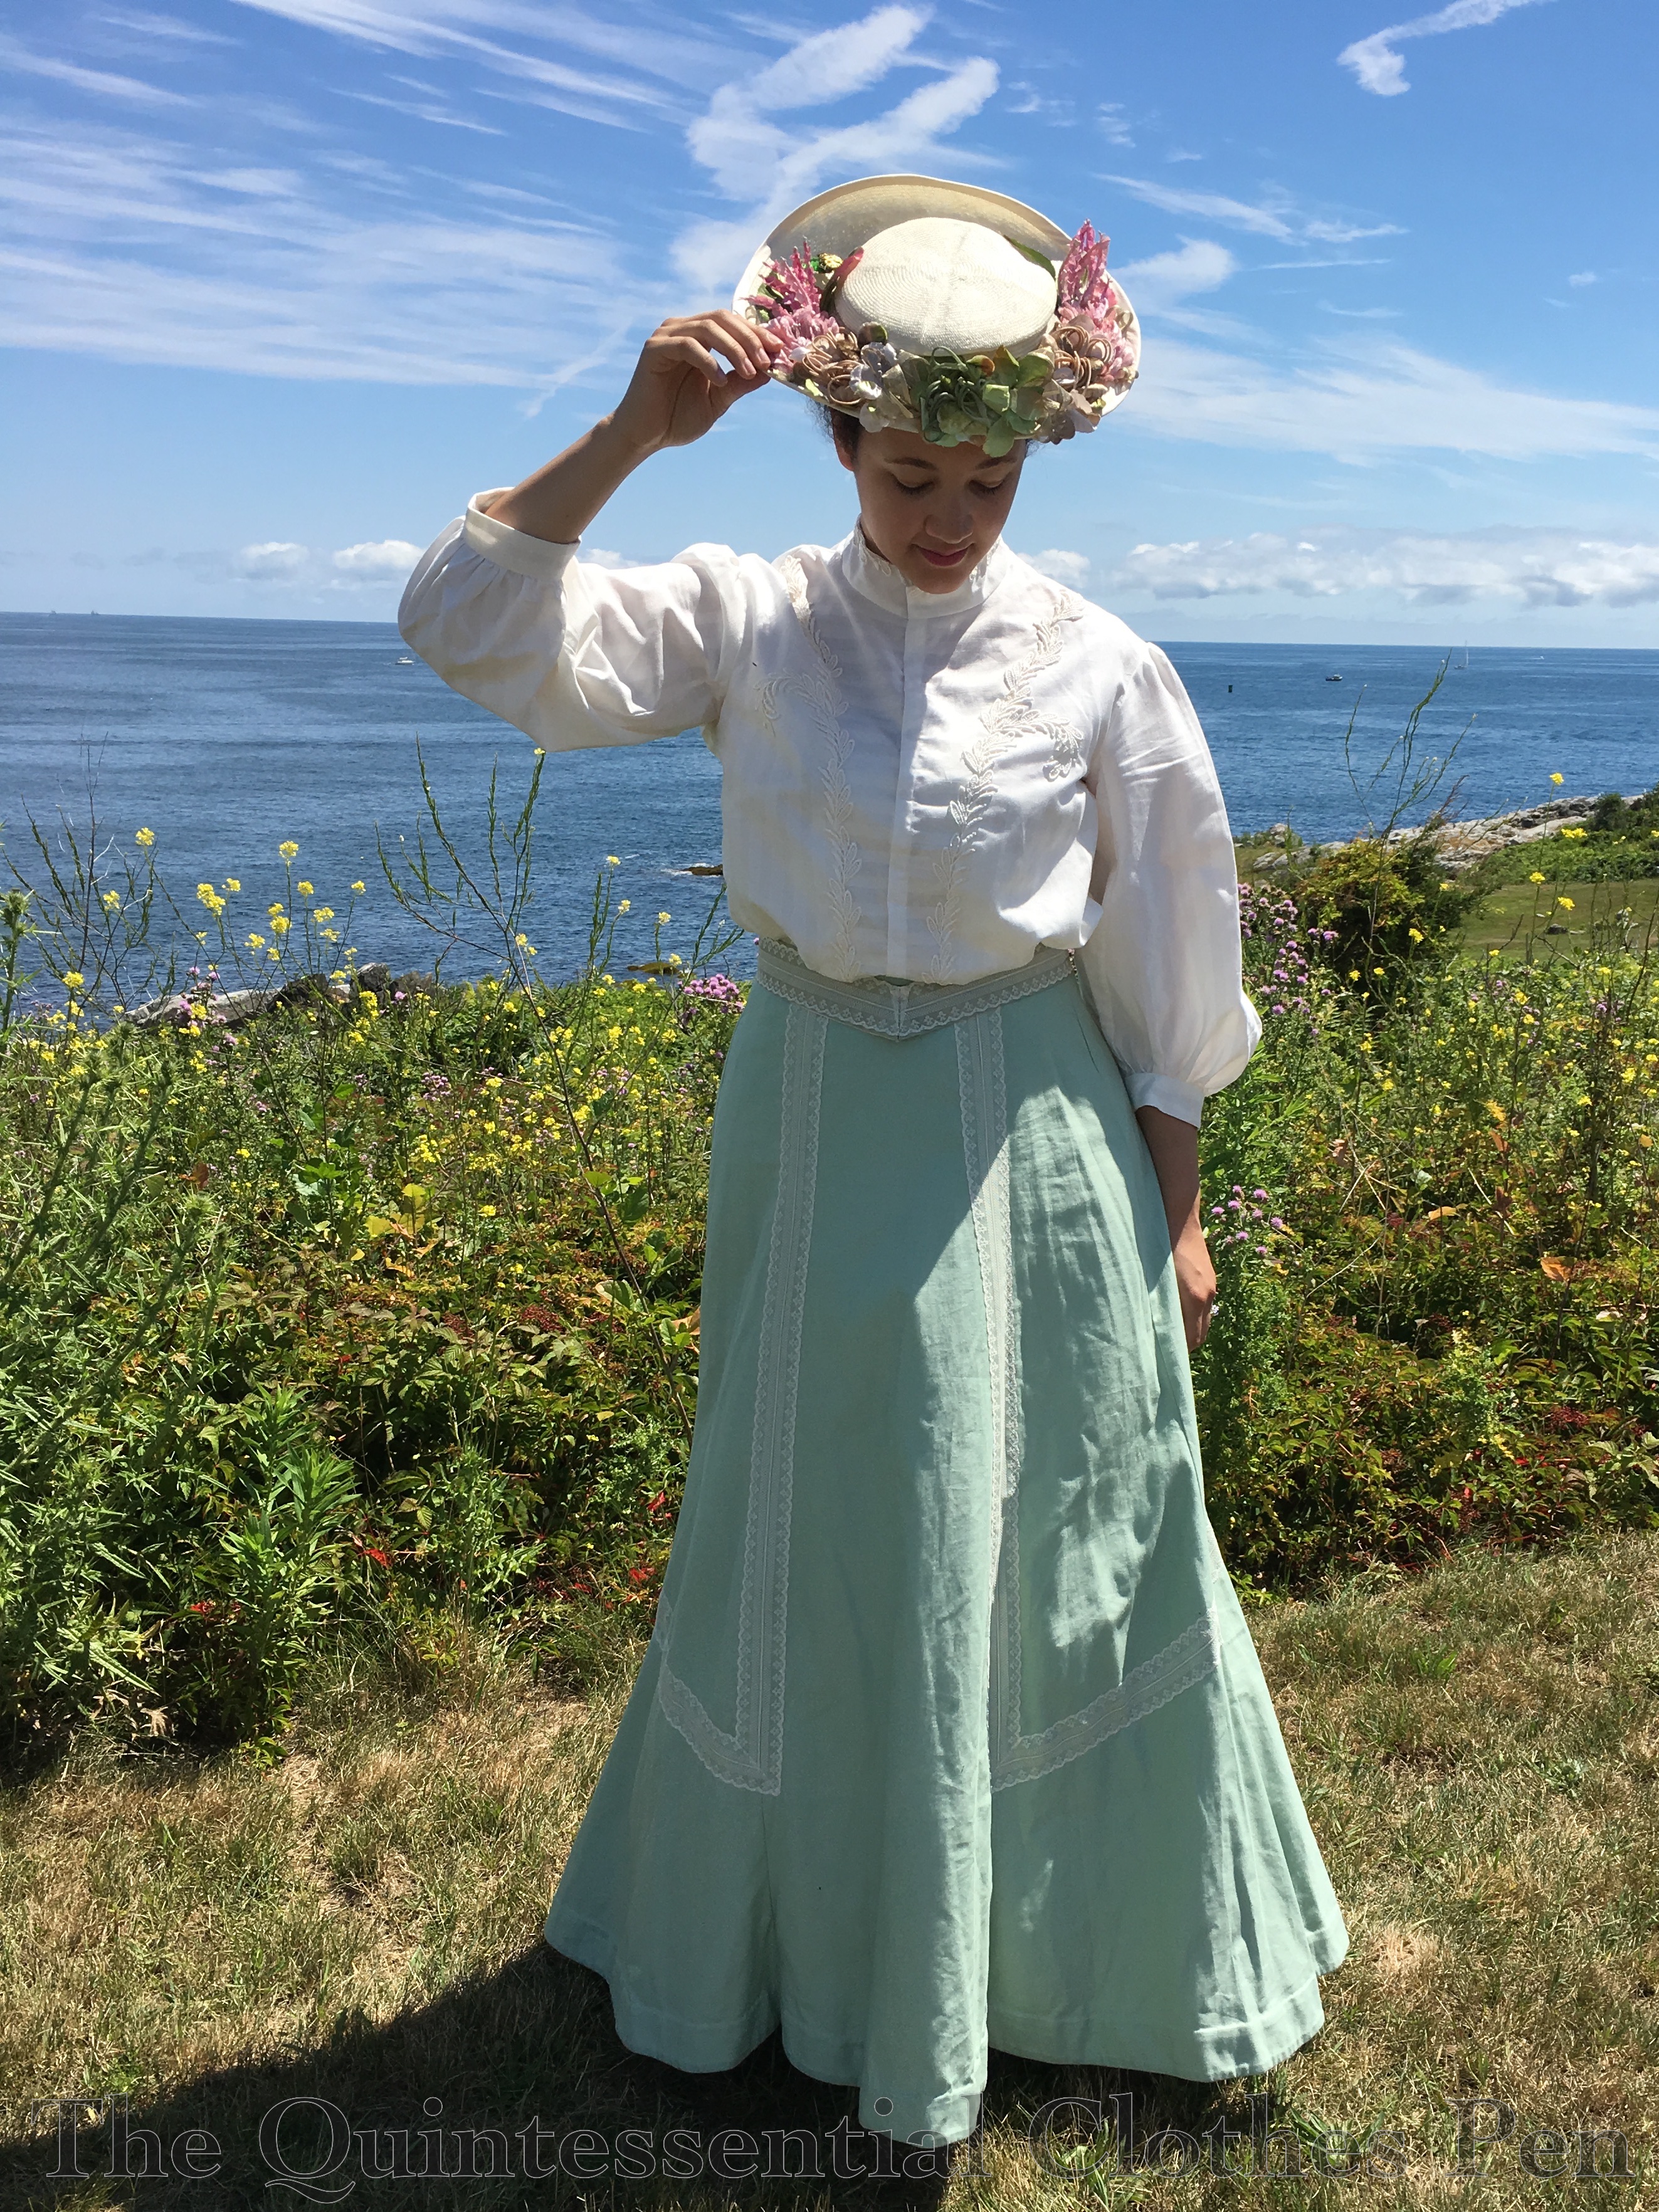
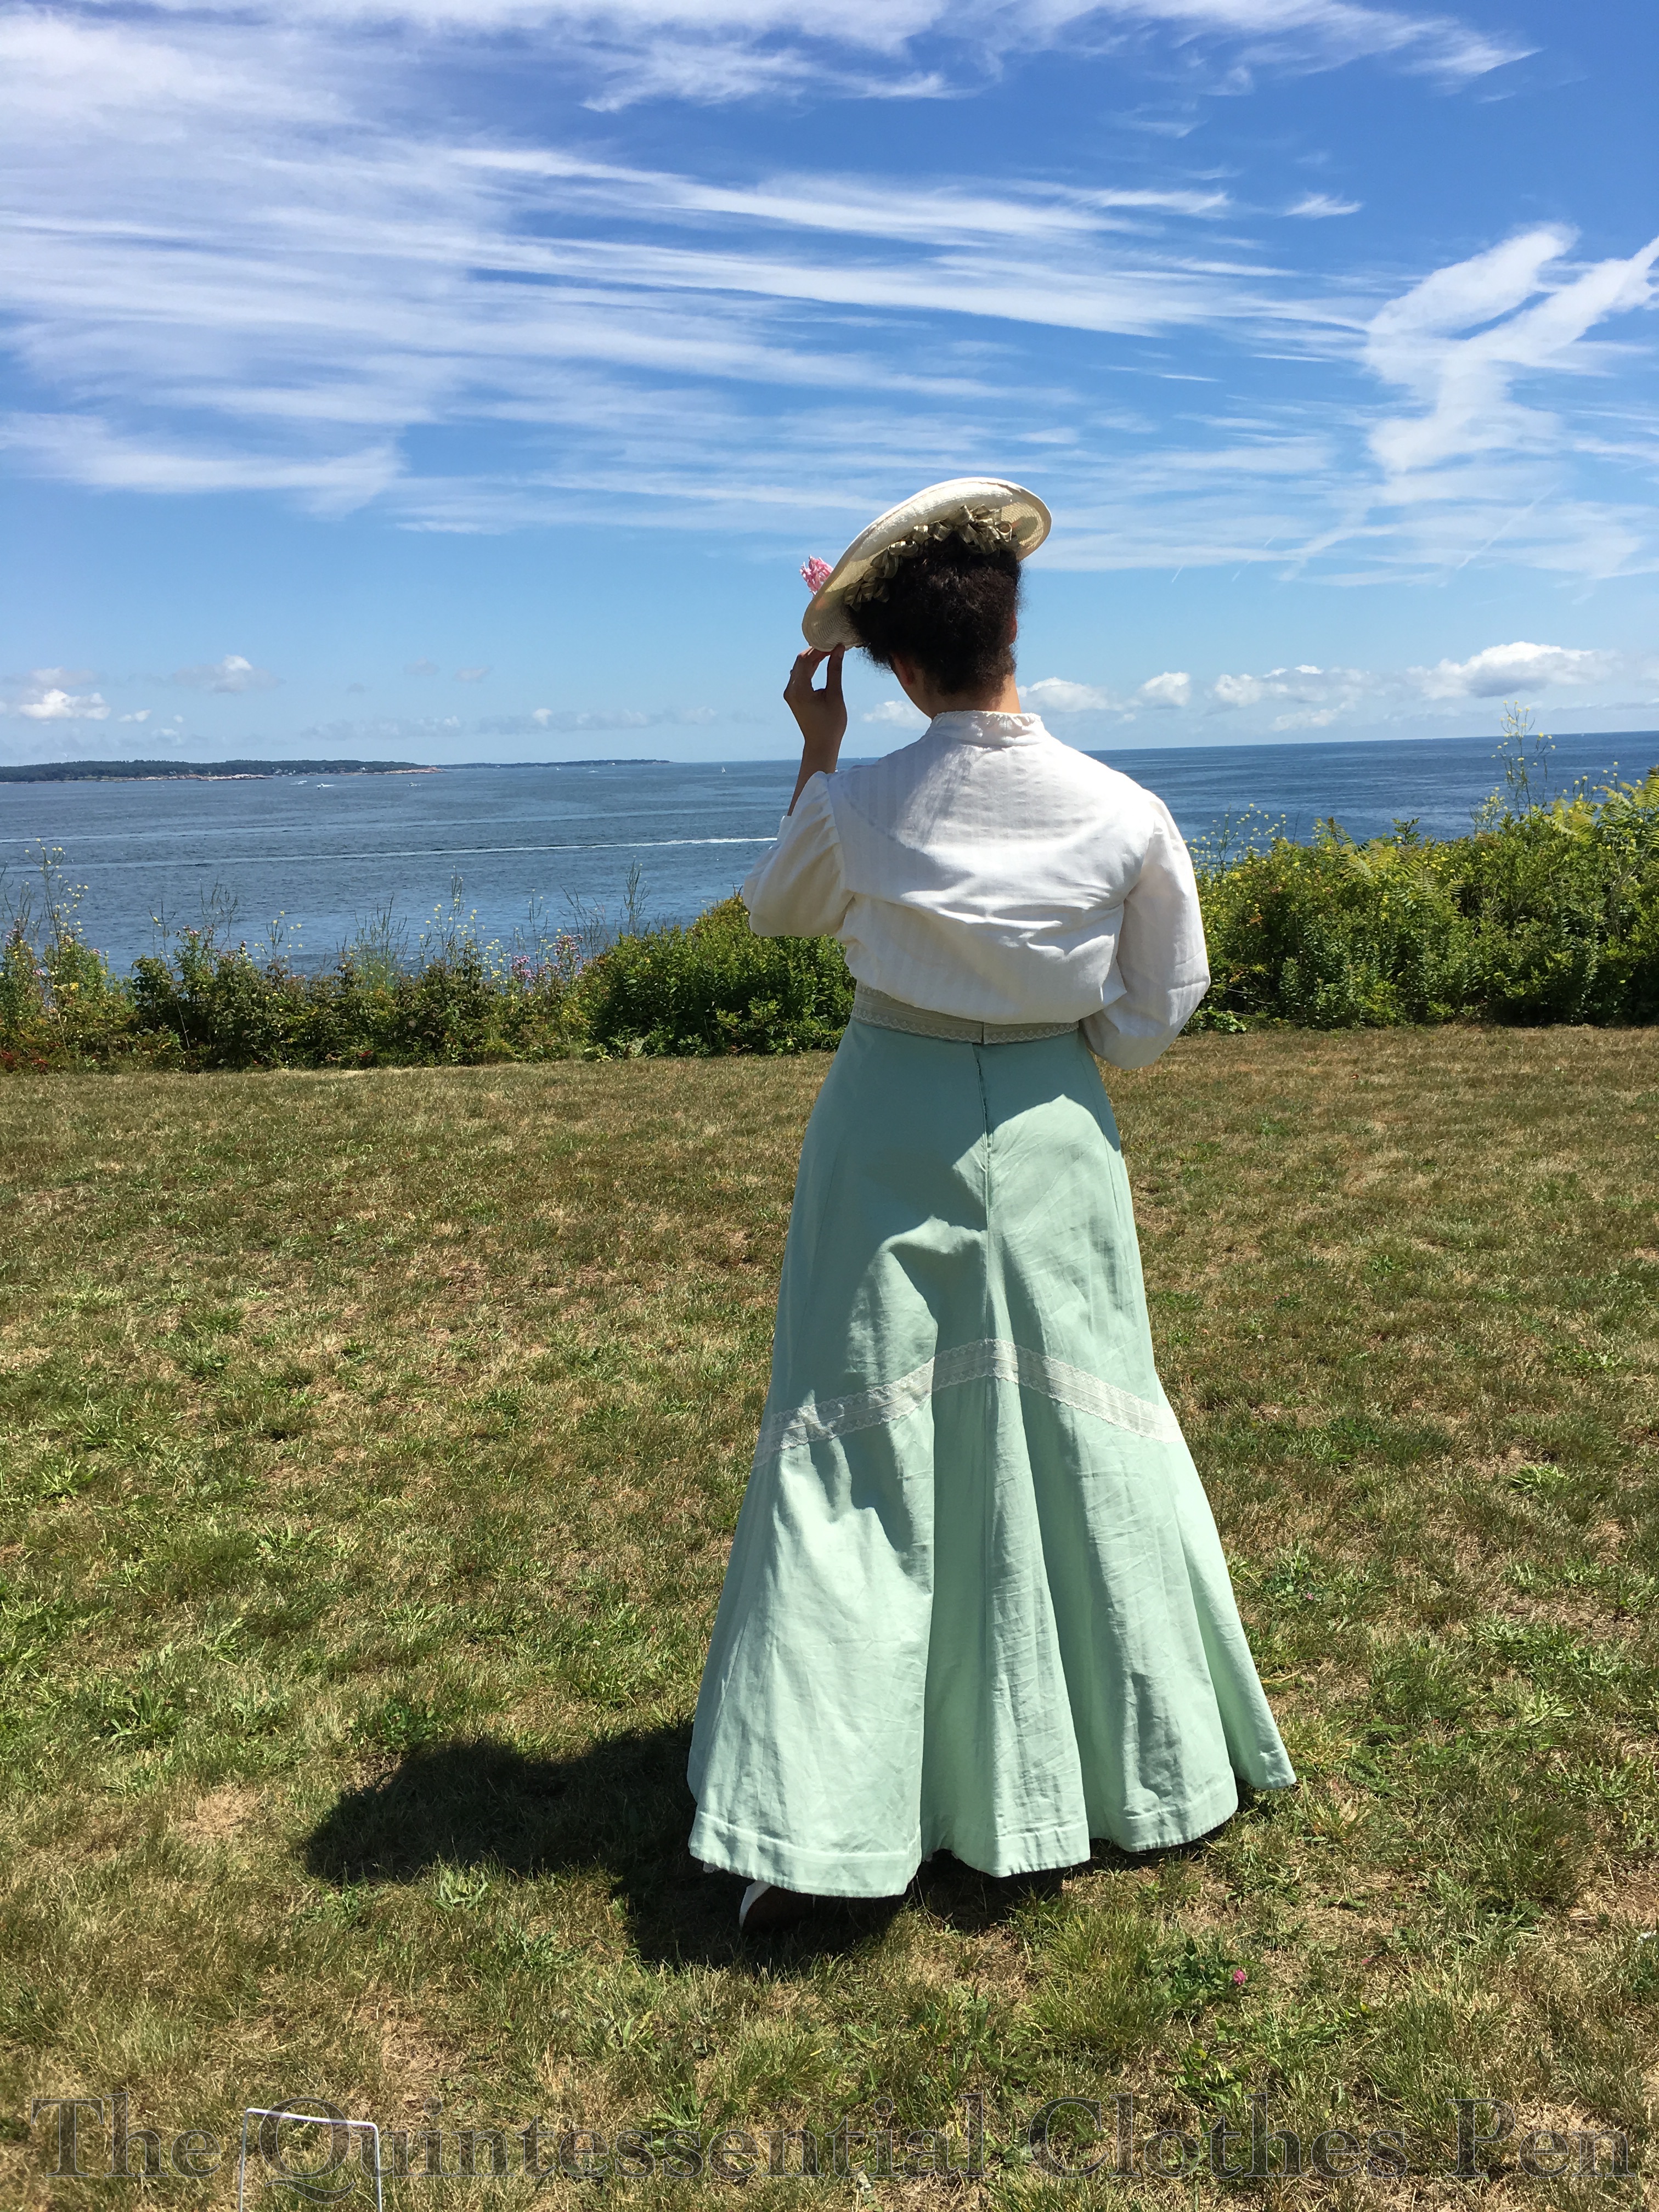
I wore my 1904 Anne of Green Gables ensemble. This time, though, I had a new belt and I got my hat to behave. It’s supposed to flip up in back, but was misbehaving last time I wore it and was flipped down in back. Boo!

The new belt is green silk covered with the same lace that I used on the skirt. The green isn’t a perfect match to the skirt, but I like that it coordinates without being too match-y. Taking a photo of it also allowed us to capture the subtle lace detail and woven stripe in the fabric of the blouse better than we did last time, which was a bonus outcome.

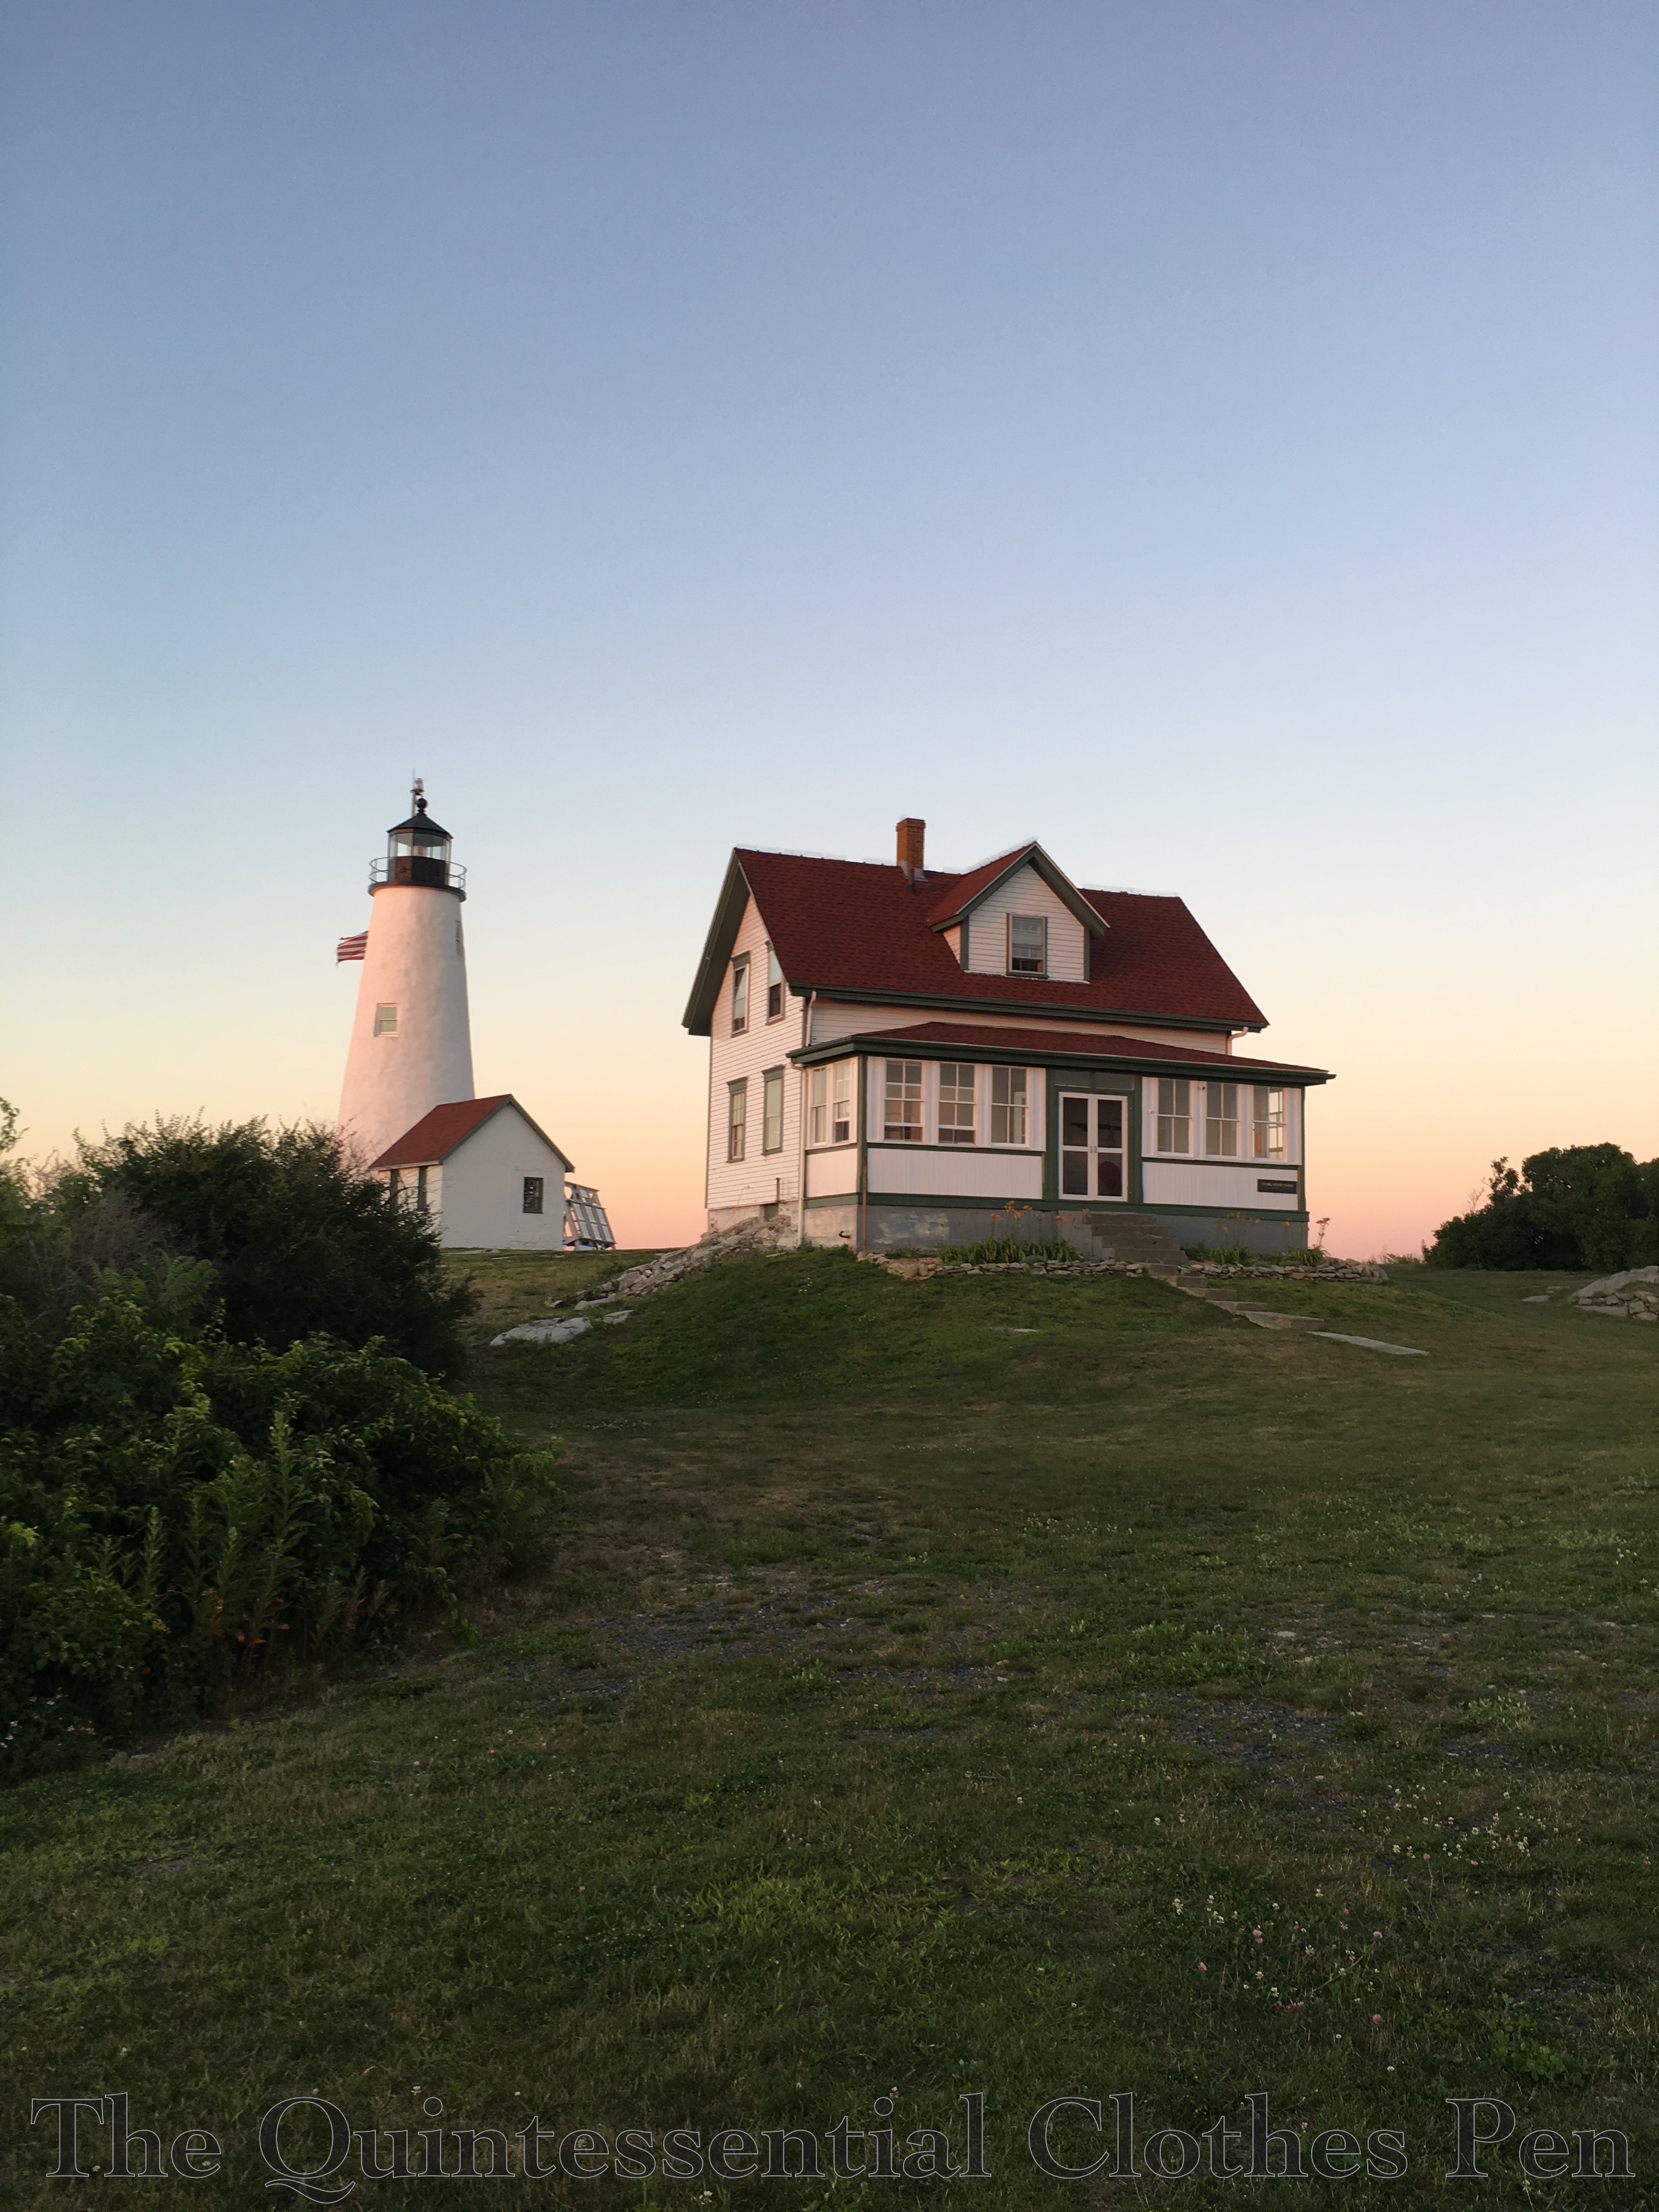
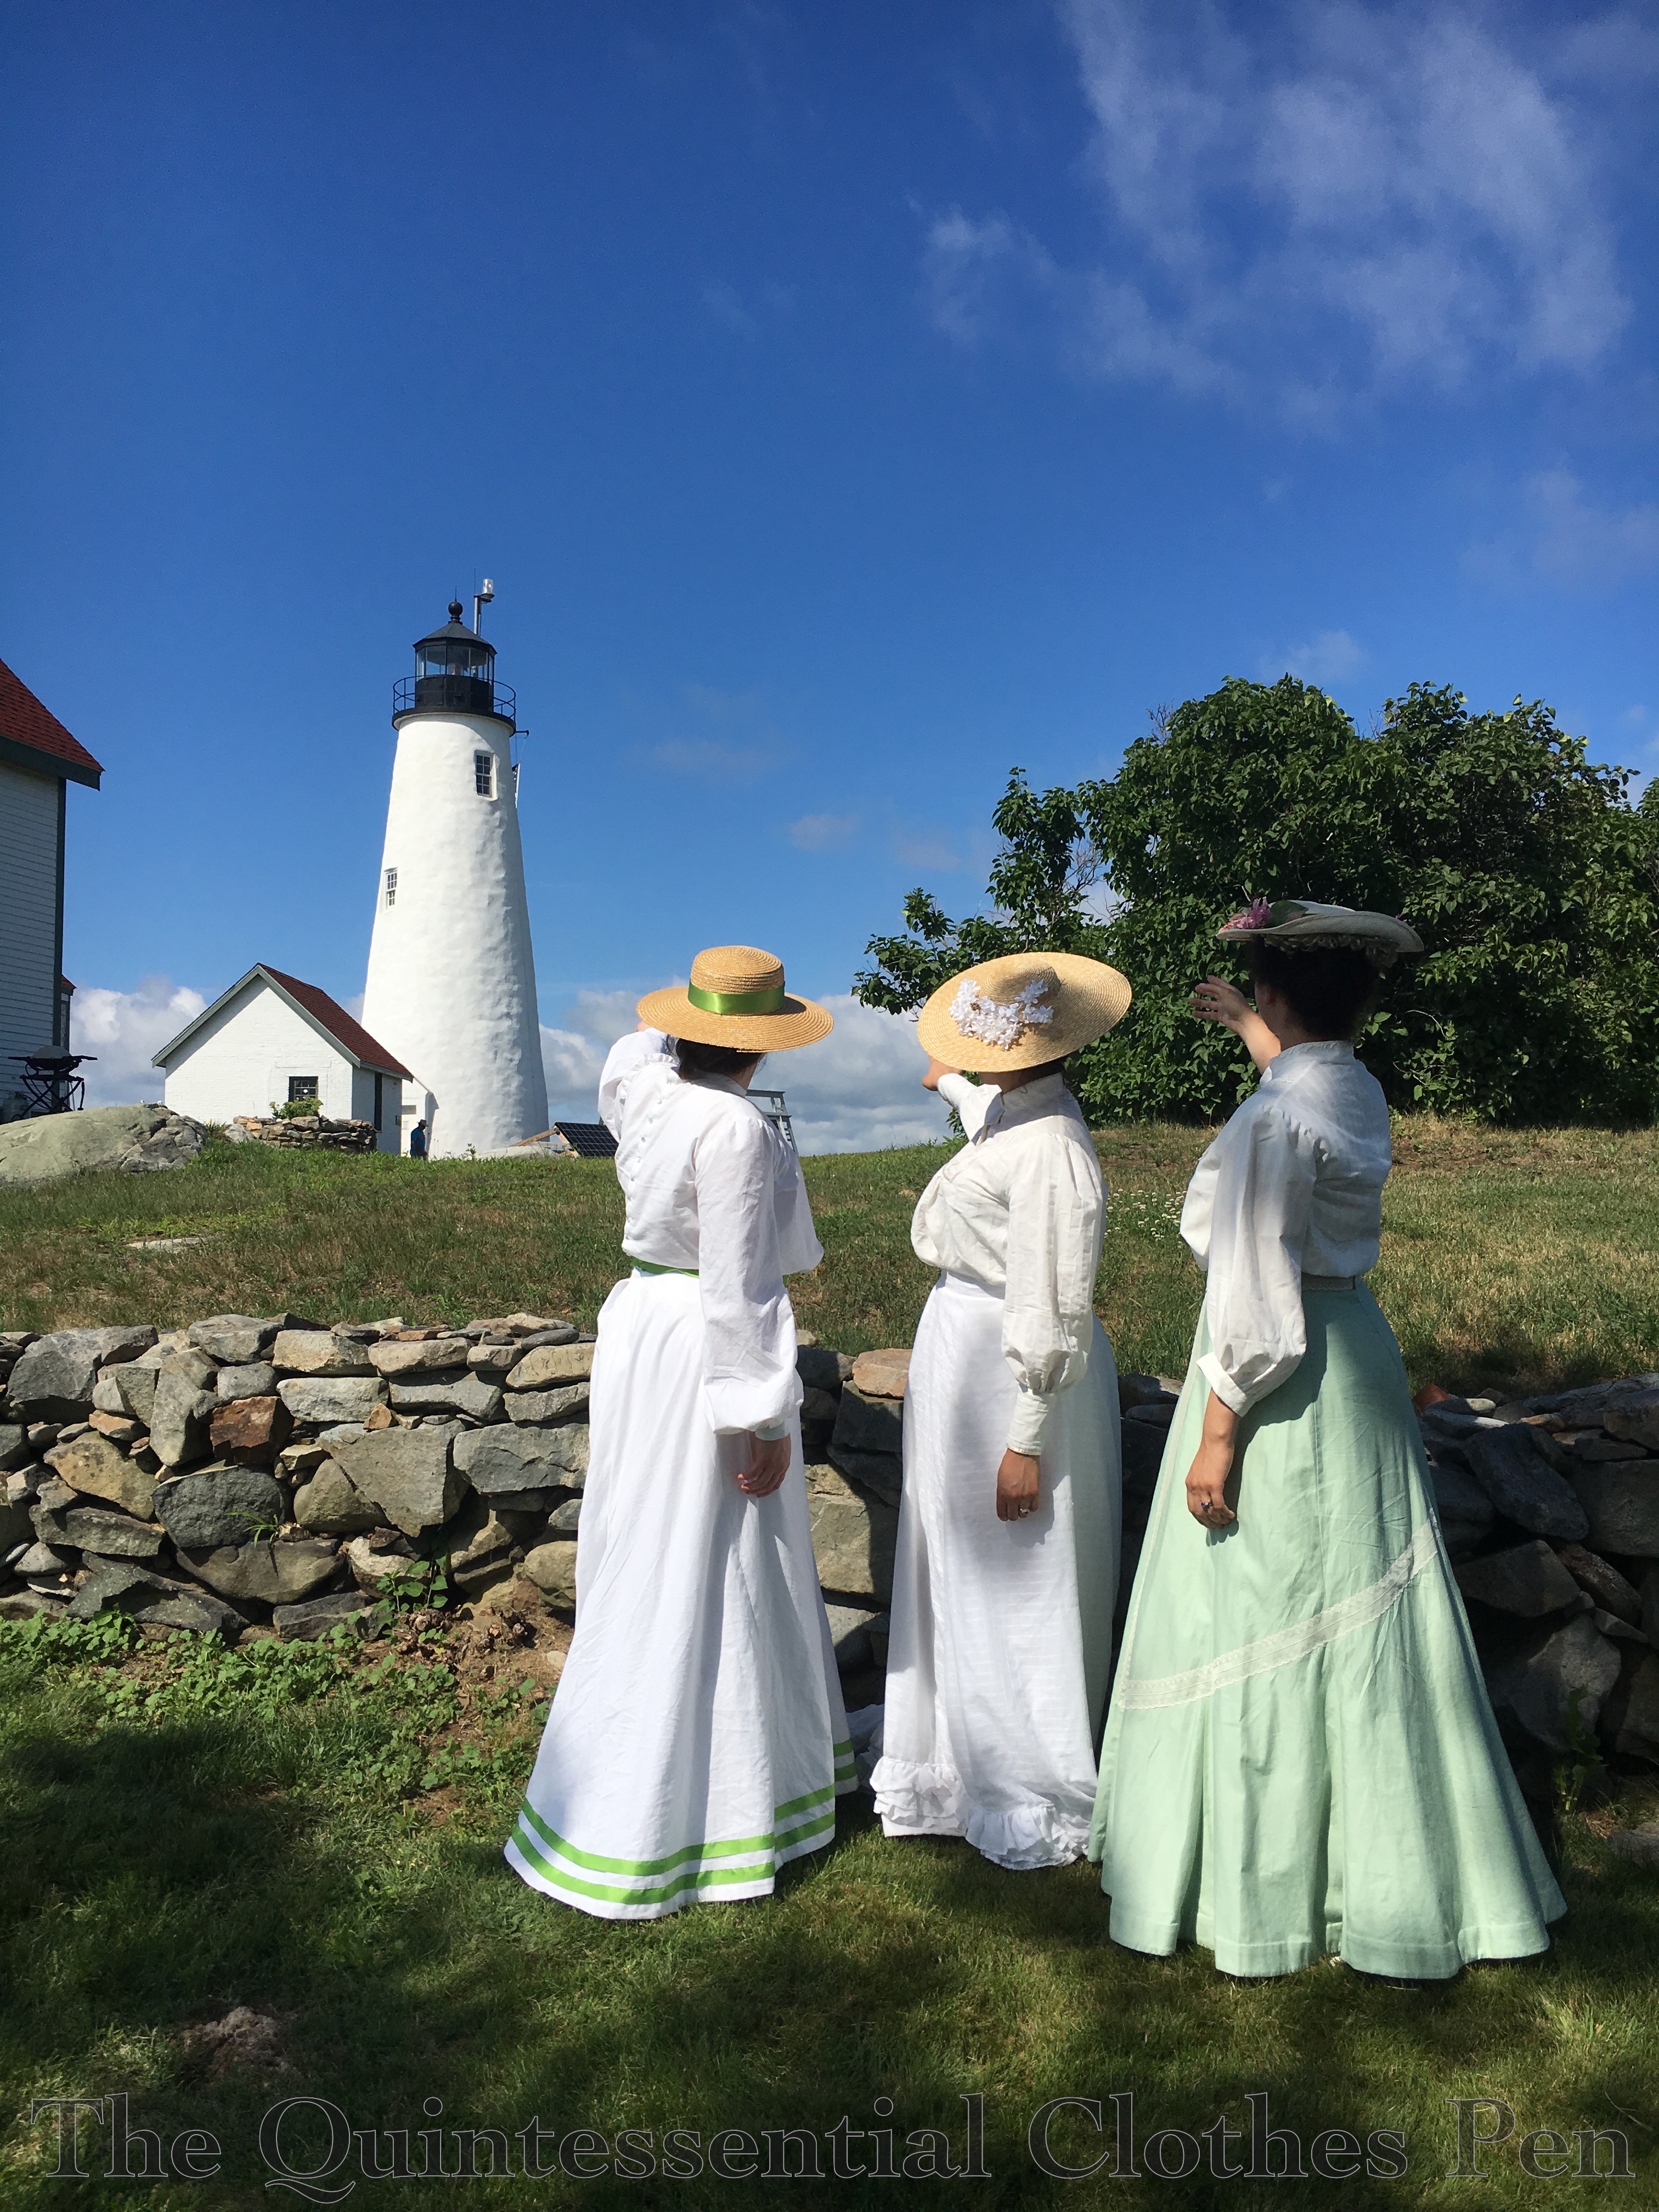
In between tours, we took some group photos around the lighthouse and the light keeper’s house. The light keeper’s house, in particular, provided us with some really adorable photos. These were provided to us by the light keepers, who keep their own charming blog (currently about their stay on Bakers Island this summer) which you can view here.

Behind the scenes, we needed to arrive before the visitors to set up. Given when boats were available that meant we had to arrive the day before the visitors. There aren’t any indoor accommodations we were able to take advantage of, so it was camping in tents for us. I’m not really a camping kind of person, but thankfully other people had tents to share. Between the modern equipment and food that we needed as well as the historical clothes, games, and amusements, we had quite the pile of luggage for two days and seven people! Here we are waiting for the boat back to the mainland.

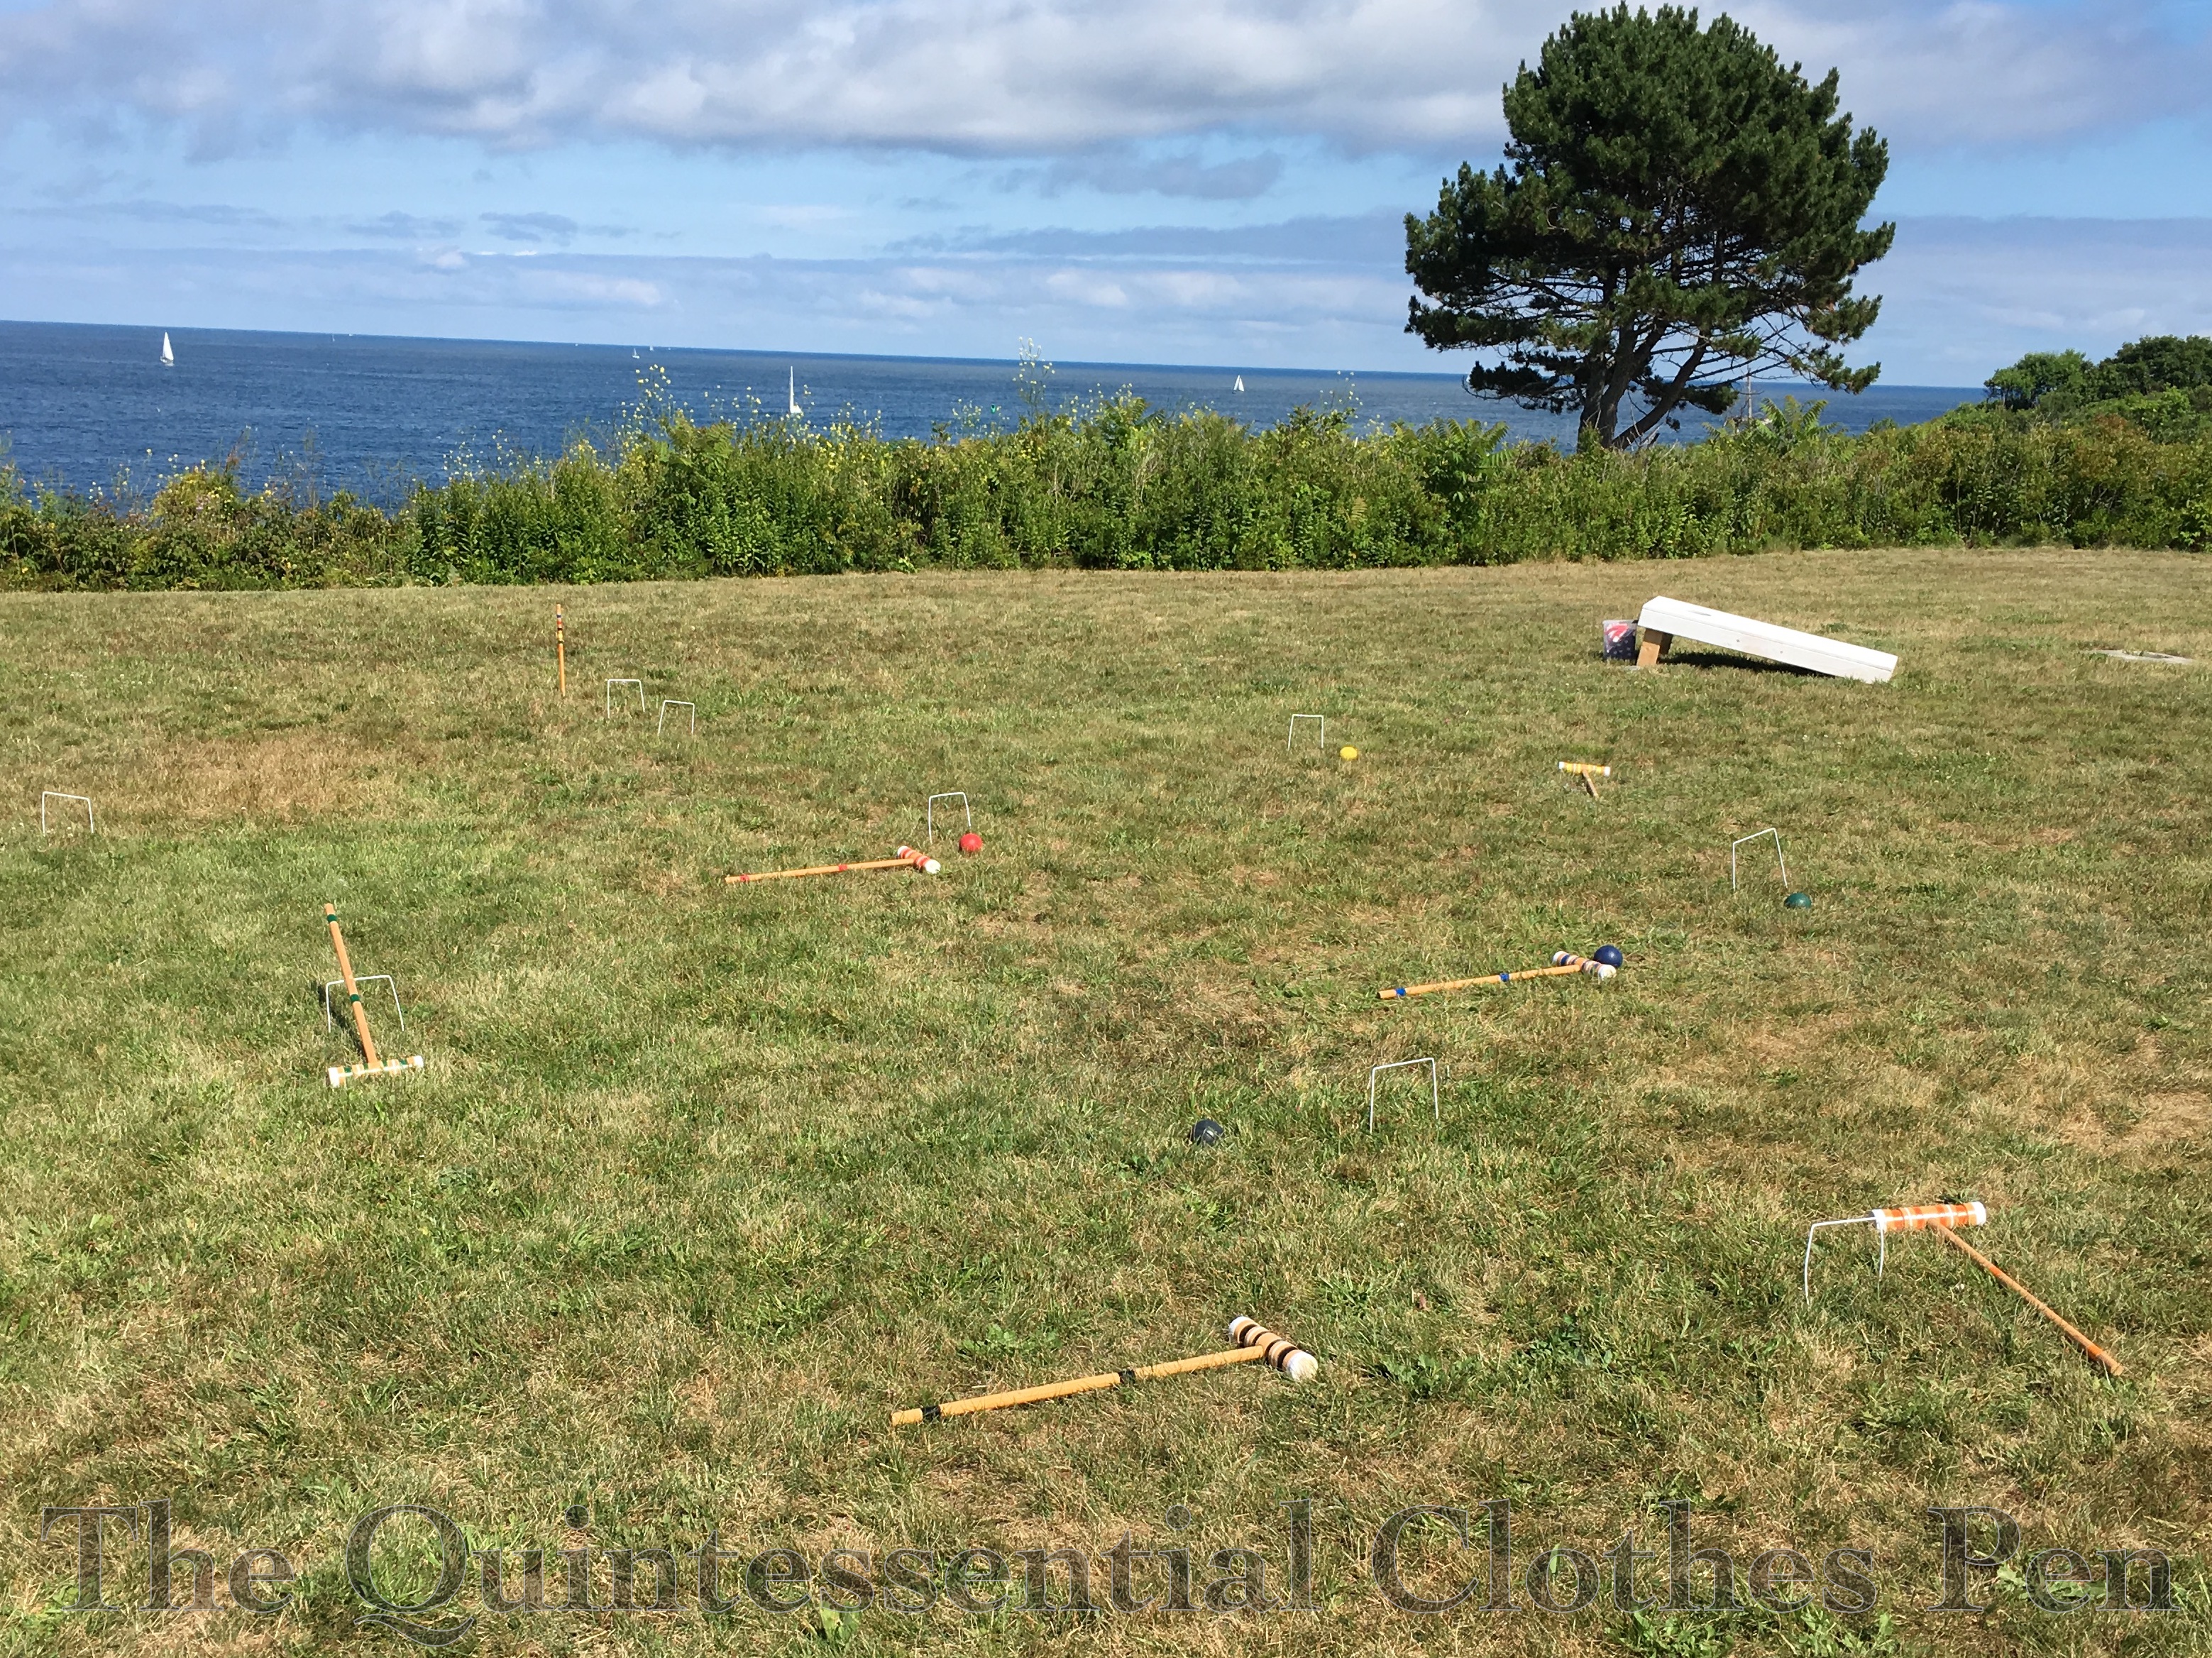
A new adventure complete! The croquet set is still in place but the players are gone! Maybe someday there will be others (or maybe us, who knows?) to once again bring history to life on this island.

Late Summer Fabric Stash Additions

At the very end of summer I found myself at the local discount fabric store (not looking for fabric for myself–how often have you heard that?). As often happens when I’m looking for fabric, I found some that just absolutely needed to come home with me.

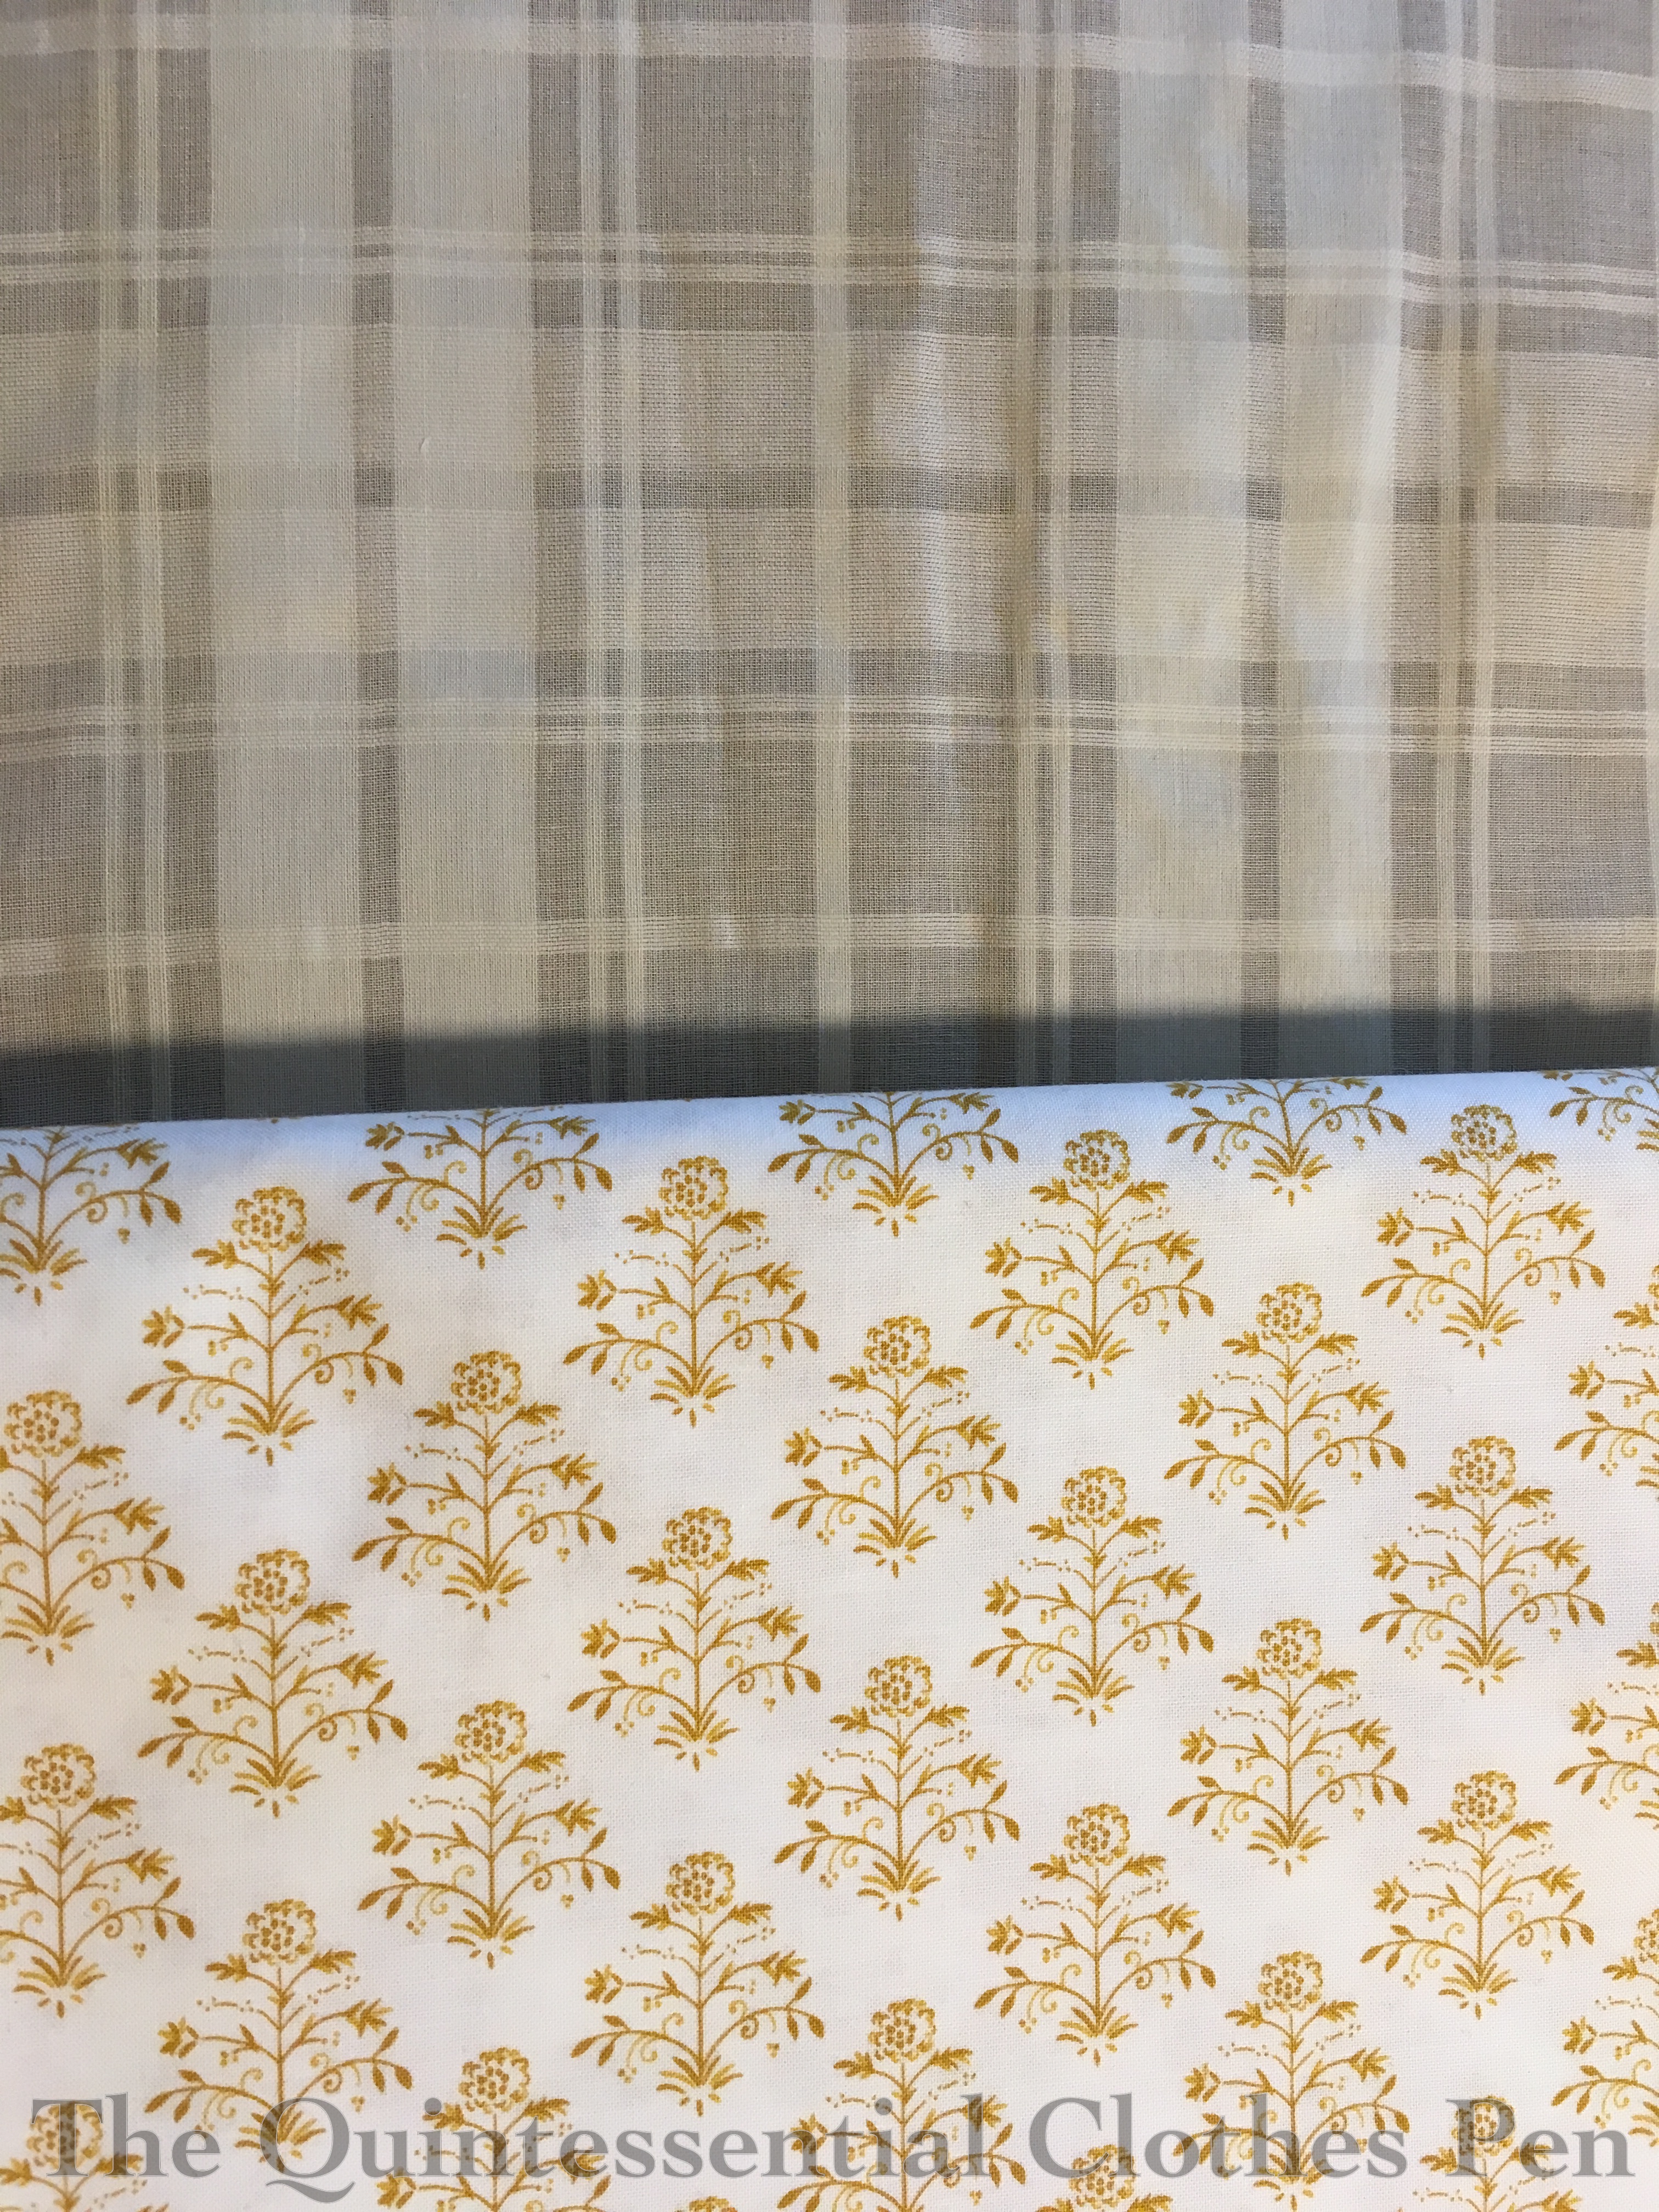
The top fabric is a lovely woven cotton plaid. It’s quite creamy, as the next photo shows. I’m considering making it into something mid-19th century someday and bought enough yardage to accommodate that idea.

The lower fabric is a cotton print that looks perfect for a Regency dress! I’ve been wanting a yellow on white cotton for at least a year, but hadn’t found just the right one in a price I wanted. The only downsides about this one are that it’s not block printed and that the weight is a quilting cotton rather than a lawn or voile. But I liked the colors, motif, and price enough to buy it. I finished off the bolt on this one! Whew! I’m glad there was enough for my Regency dress idea.

Neither of these ideas has any particular timeline (so don’t expect to see these fabrics again soon), but it was fun to share these with you before stashing them away!

1925 Lace Cloche

I knew I wanted a cloche to go with my 1925 Blue Coral Dress from early on in the process of making it. It was going to be hot when I wore the dress, so I knew I wanted something that would both look and feel lightweight. Turns out any hat was warmer than a bare head (well, one with hair on it!), but that being said, I think this was on the right track with a lightweight hat.

I considered making the cloche from fabric, but couldn’t decide on a style with seams that I liked. However, as I was browsing my Pinterest board, my eyes kept settling on straw, horsehair, and lace hats. It seemed like that was the way to go.

I didn’t have any particular materials on hand or in mind for that type of hat but I had come across a modern cotton lace cloche on Amazon for $14 that seemed like a good starting point. It’s no longer available, but I’m sure a careful search could find something similar. To the right is what it looked like before I started changing it up.

Generally, modern cloches have such a deep crown that they don’t leave any space for hair arranged on the back of the head. I have long hair, so that just doesn’t work for me. Cloches from the 1920s frequently have a cutout in the back to allow for your neck… or hair! They also have more interesting brims than modern cloches often do. Perfect. That’s what I wanted. An interesting brim and a cutout for my hair.

With my design plan in place, I started disassembling the modern cloche. First, I removed the braided band and flower. Then, I started unwrapping the lace on the brim, taking out the stitching that held one circumference to the next. I stopped at the bottom of the crown. I removed the inner hat band for most of the way around the hat, so I could stitch the new brim shape and the back cutout without stitching through the hat band.

Next, I played with the lace I had unwrapped for the brim to decide on a new shape. Once I made some decisions I had to make a few shorter pieces out of the lace, but most of it I tried to keep intact. In the back, I decided where I wanted my cut out to be… and cut it! Then I bound the edge using the lace and topstitched it down to encase the edges.

It was a bit tricky to find an acceptable shape for the new brim. The first few tries were so similar in shape to the crown of the hat that they hardly showed when I put it on my head. I ended up with a brim that flares out a bit so it stands away from the crown of the hat, especially in the front. I had to be careful to cover the ends of the plastic horsehair braid that backs the cotton lace, as it is very poky when cut. I covered the ends either by turning them under or having the inner hat band cover them.

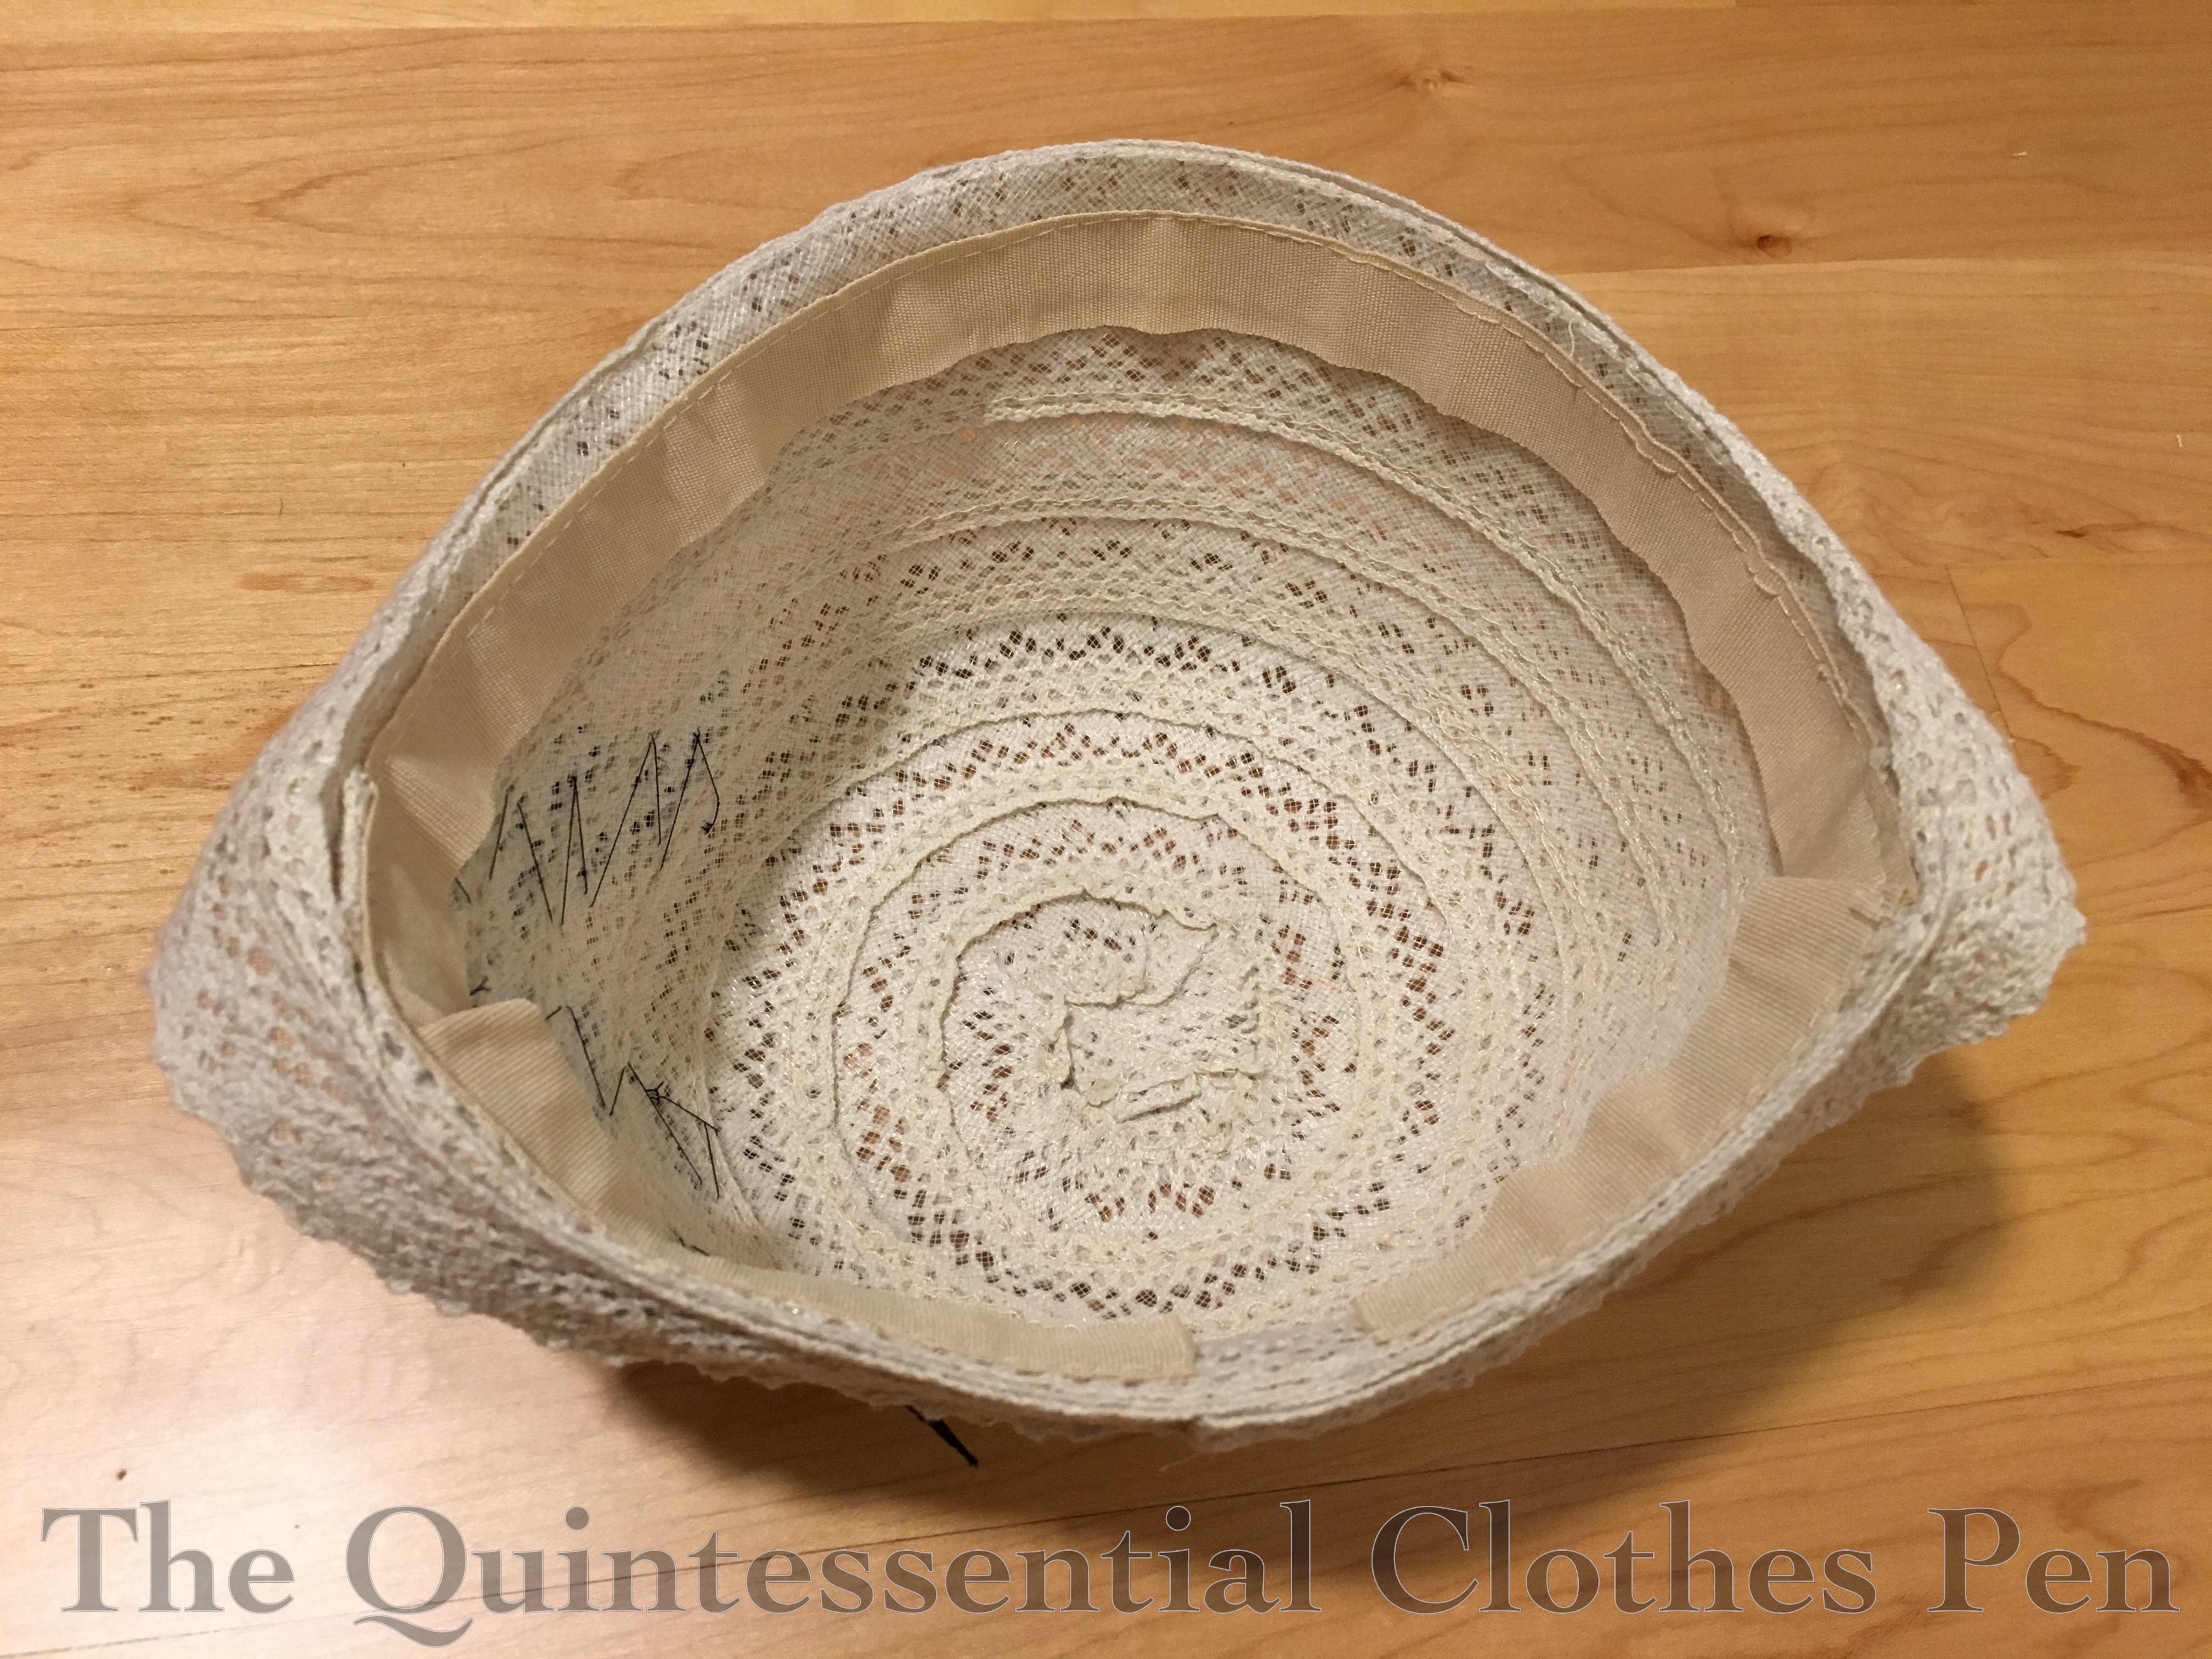
After sorting out the brim and back cutout it was time to reattach the inner hat band. Then I sewed on my trim. Here’s what the hat looked like on the inside after all that.

I’ve loved Leimomi’s cloche decoration in this post since she posted about it in 2014. Having that in mind, I thought of what bits of trim I already had in my stash and what might work for this hat. I decided on a random yard of navy grosgrain ribbon, which I cut into thirds, pleated, and attached in imitation of this hat.

When I styled my hair, I tried to have hair come down to my jawline more than I usually do. I think cloches look less silly if there is some hair showing around them. My hair didn’t really look like a bob, but at least there was some hair showing in the front. In the back, it was pinned into a low twist-y mass of curls.

The great thing about the materials of this hat is that they are intended to be flexible for packing and traveling. Not only is it easy to store this hat but it’s also easy to remove it at a picnic and leave it on the blanket or put it in a bag without worrying that it will be damaged. It can get crushed and bounce back into shape!

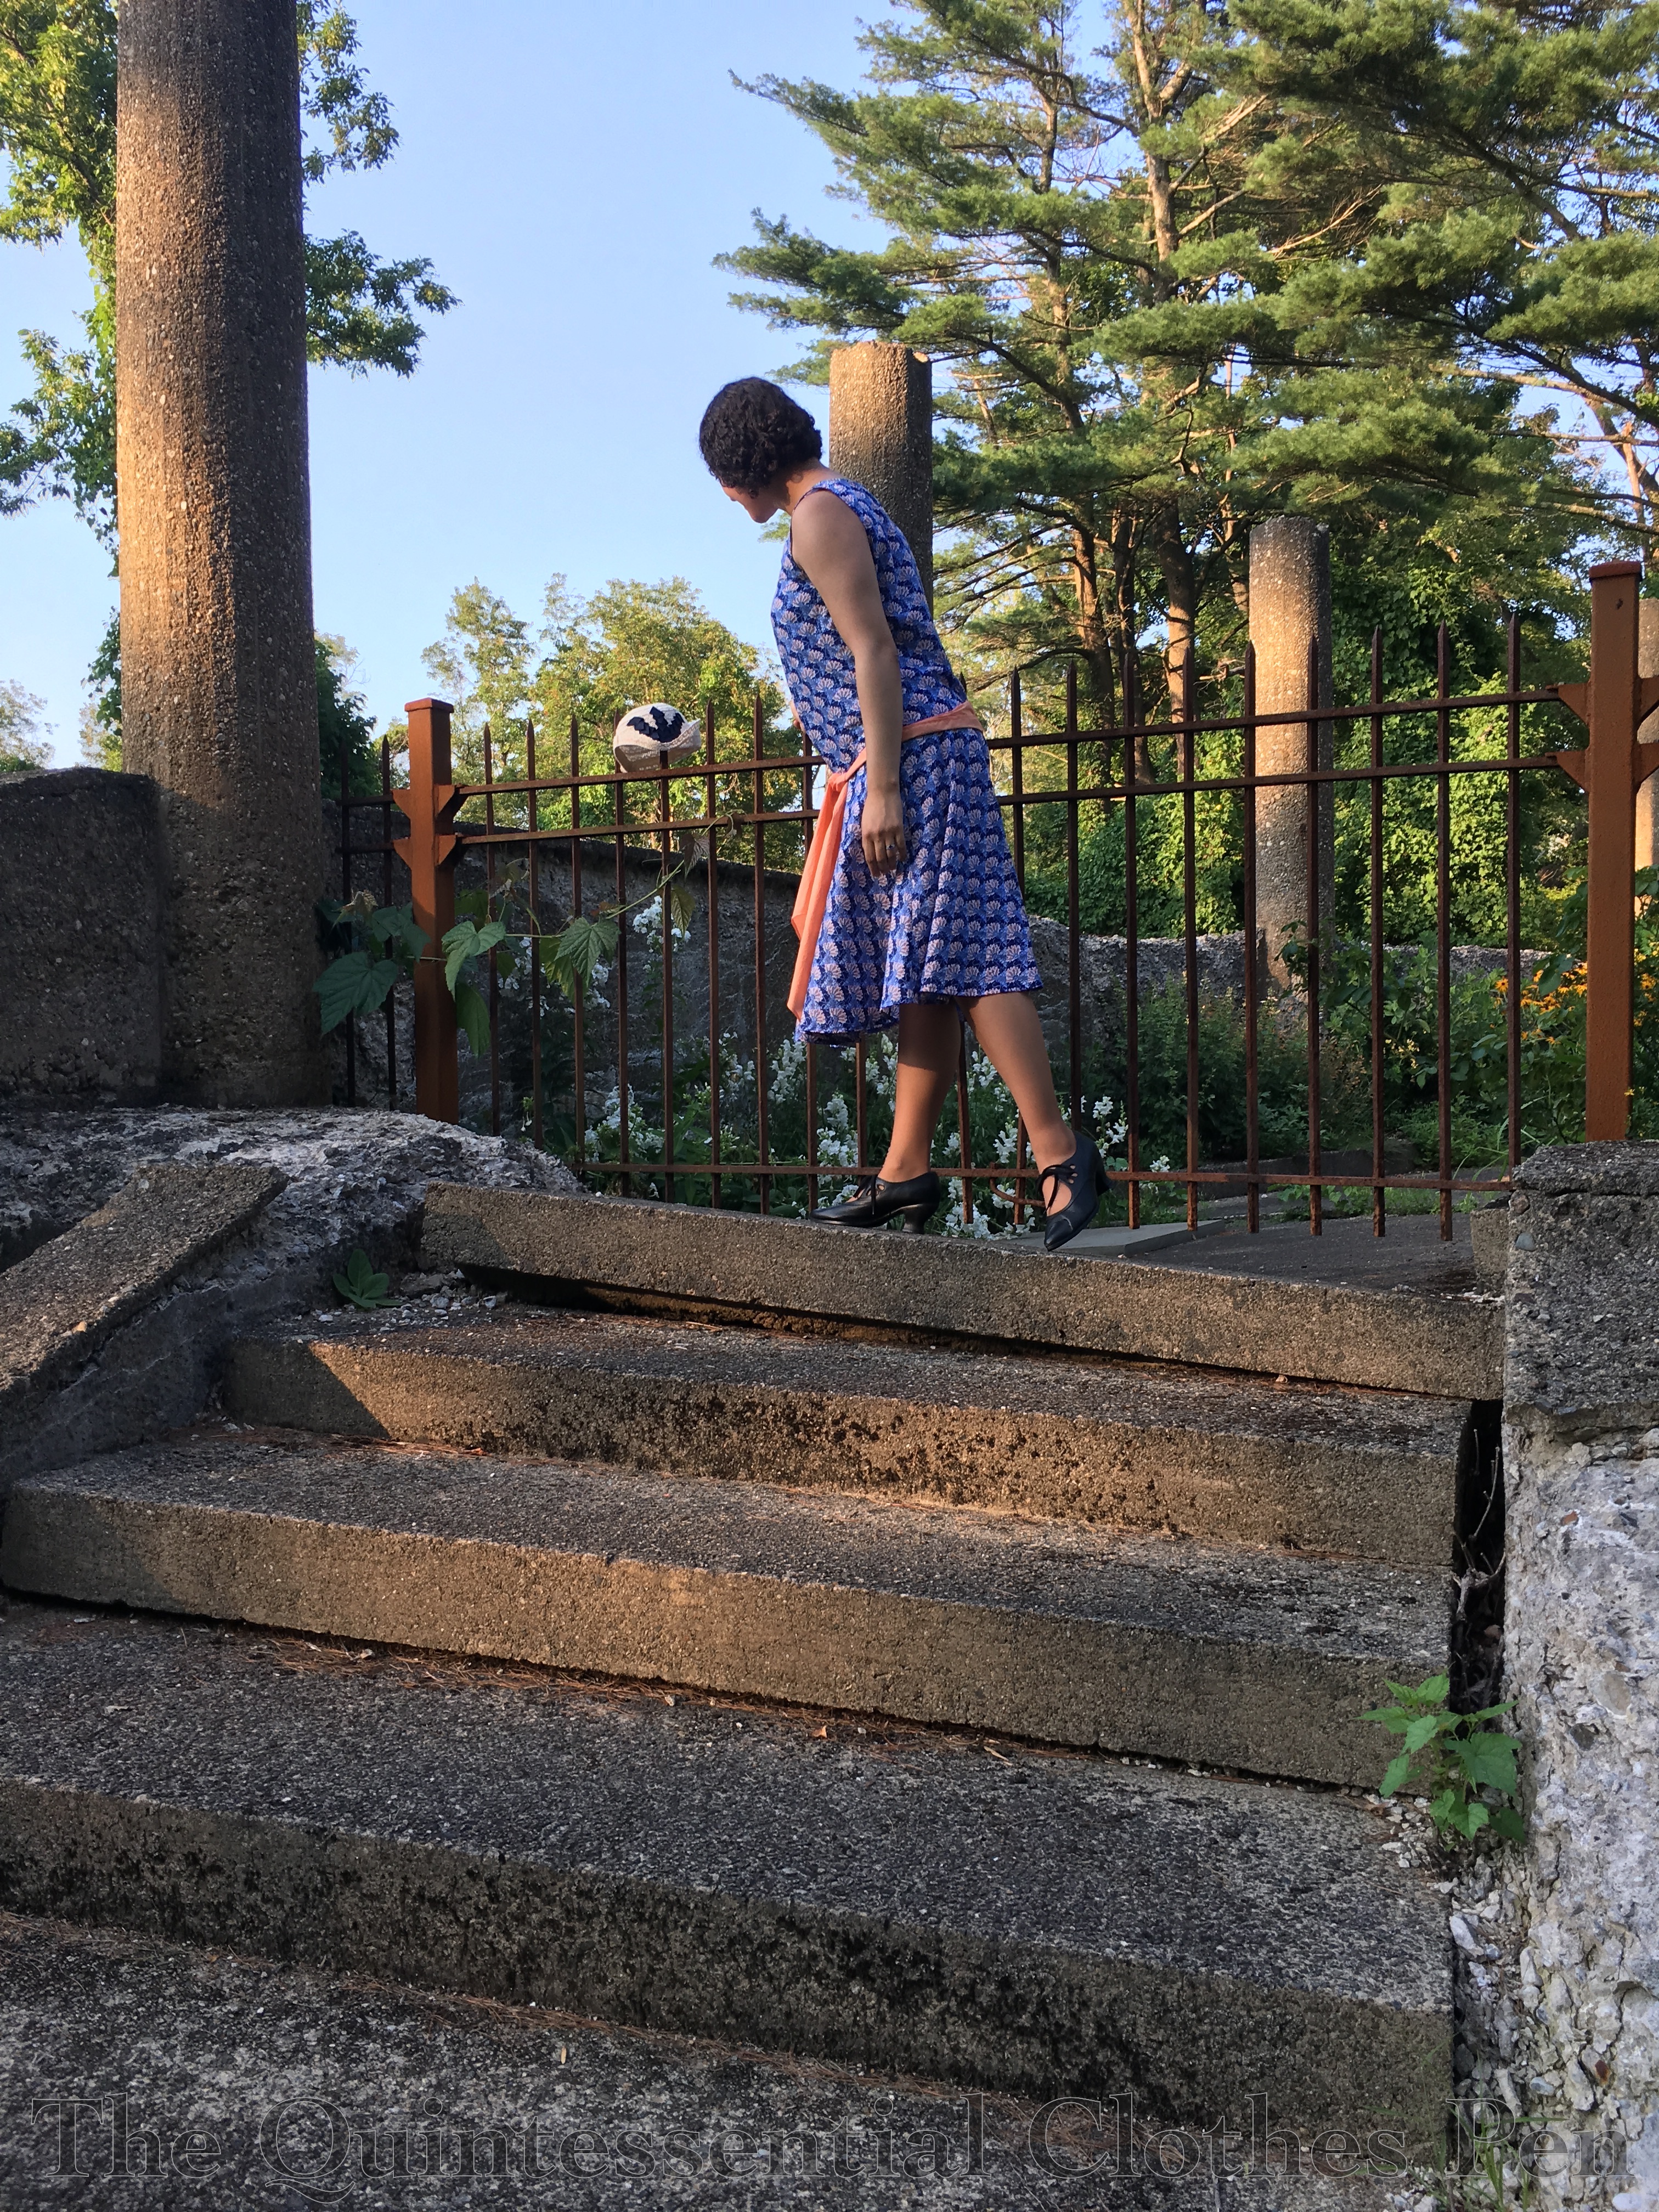
In the end, I continue to think my head looks like an egg when I wear a cloche. I like styles that don’t hug my head better! That’s my own feeling–other people don’t think it’s nearly as egg-like as I do! But as egg-heads go, this was better than some attempts, so I think we’ll call it a success! It certainly looks cute on the fence!

1925 Blue Coral Day Dress (HSM #8)

The summer has been very busy and I don’t feel like I’ve completed very many sewing projects for myself. Really the only reason I’ve completed anything is because I’ve been live streaming my sewing, which forces me to make things from the list of the-things-I-want-to-make-that-I-never-make-time-for. Do you have a list like that? Mine is lengthy!

One of the first of these things-I-don’t-usually-make-time-for projects was a dress made out of one of the fabrics I bought earlier this year. I really wanted to have it for events this month as they are generally quite hot and the fabric I found is nice and lightweight while still being opaque. I found this fabric at a local discount store for the awesome price of $2.99/yard and then later saw it at a regular price store for somewhere closer to $10/yard, which really made me feel like I got a deal!

The pattern for this dress is a Quinnpen special (ie. made by me). I took my inspiration directly from this extant dress at All The Pretty Dresses. Due to that, it qualifies for the HSM Challenge #8 Extant Originals (copy an extant historical garment as closely as possible)!

To start, just the facts:

Fabric: 2.5 yards cotton lawn.

Pattern: My own.

Year: 1925.

Notions: Small bits of contrasting fabric for bias binding, thread.

How historically accurate is it?: I’d say this one is about as close as I can get to 100%!

Hours to complete: Approximately 8 hours.

First worn: August 5, 2018.

Total cost: $10.50 (including the fabrics I used for decorative sash options).

For the bodice of this new dress, I started with my 1927 Blush Sparkle dress (that dress started life as a tube before I added a head hole, armholes, and side seams/darts to about the hip level). For the skirt, I made a circular pattern that had the zig zag top edges that are featured in the extant dress. It was a bit of trial and error process to get the zig zags just right, but I made it in the end! You can see the topstitched zig zag detail on the extant inspiration if you look at the pictures carefully.

The zig zag top edge of the skirt is pressed under and topstitched onto the bodice. On both my dress and the extant dress that detail gets lost in the pattern, but it allows the skirt to have a lovely drape and fullness while the top can stay that straight 1920s shape that is so iconic. Here’s a closeup of my topstitching. Not bad on the pattern matching!

I finished my dress armholes and neck hole using bias, as I believe the original did based on looking at the photos. My only changes here were to use a contrasting color so I could actually see where the openings are (before I put on the orange binding the blue on blue pattern just made a big indistinguishable pile!) and to turn the bias binding to the inside of the openings (given that I was using a contrasting color). Aside from that the only other detail I omitted was a center back seam on the bodice since I had enough fabric not to need it when I was cutting out the pieces.

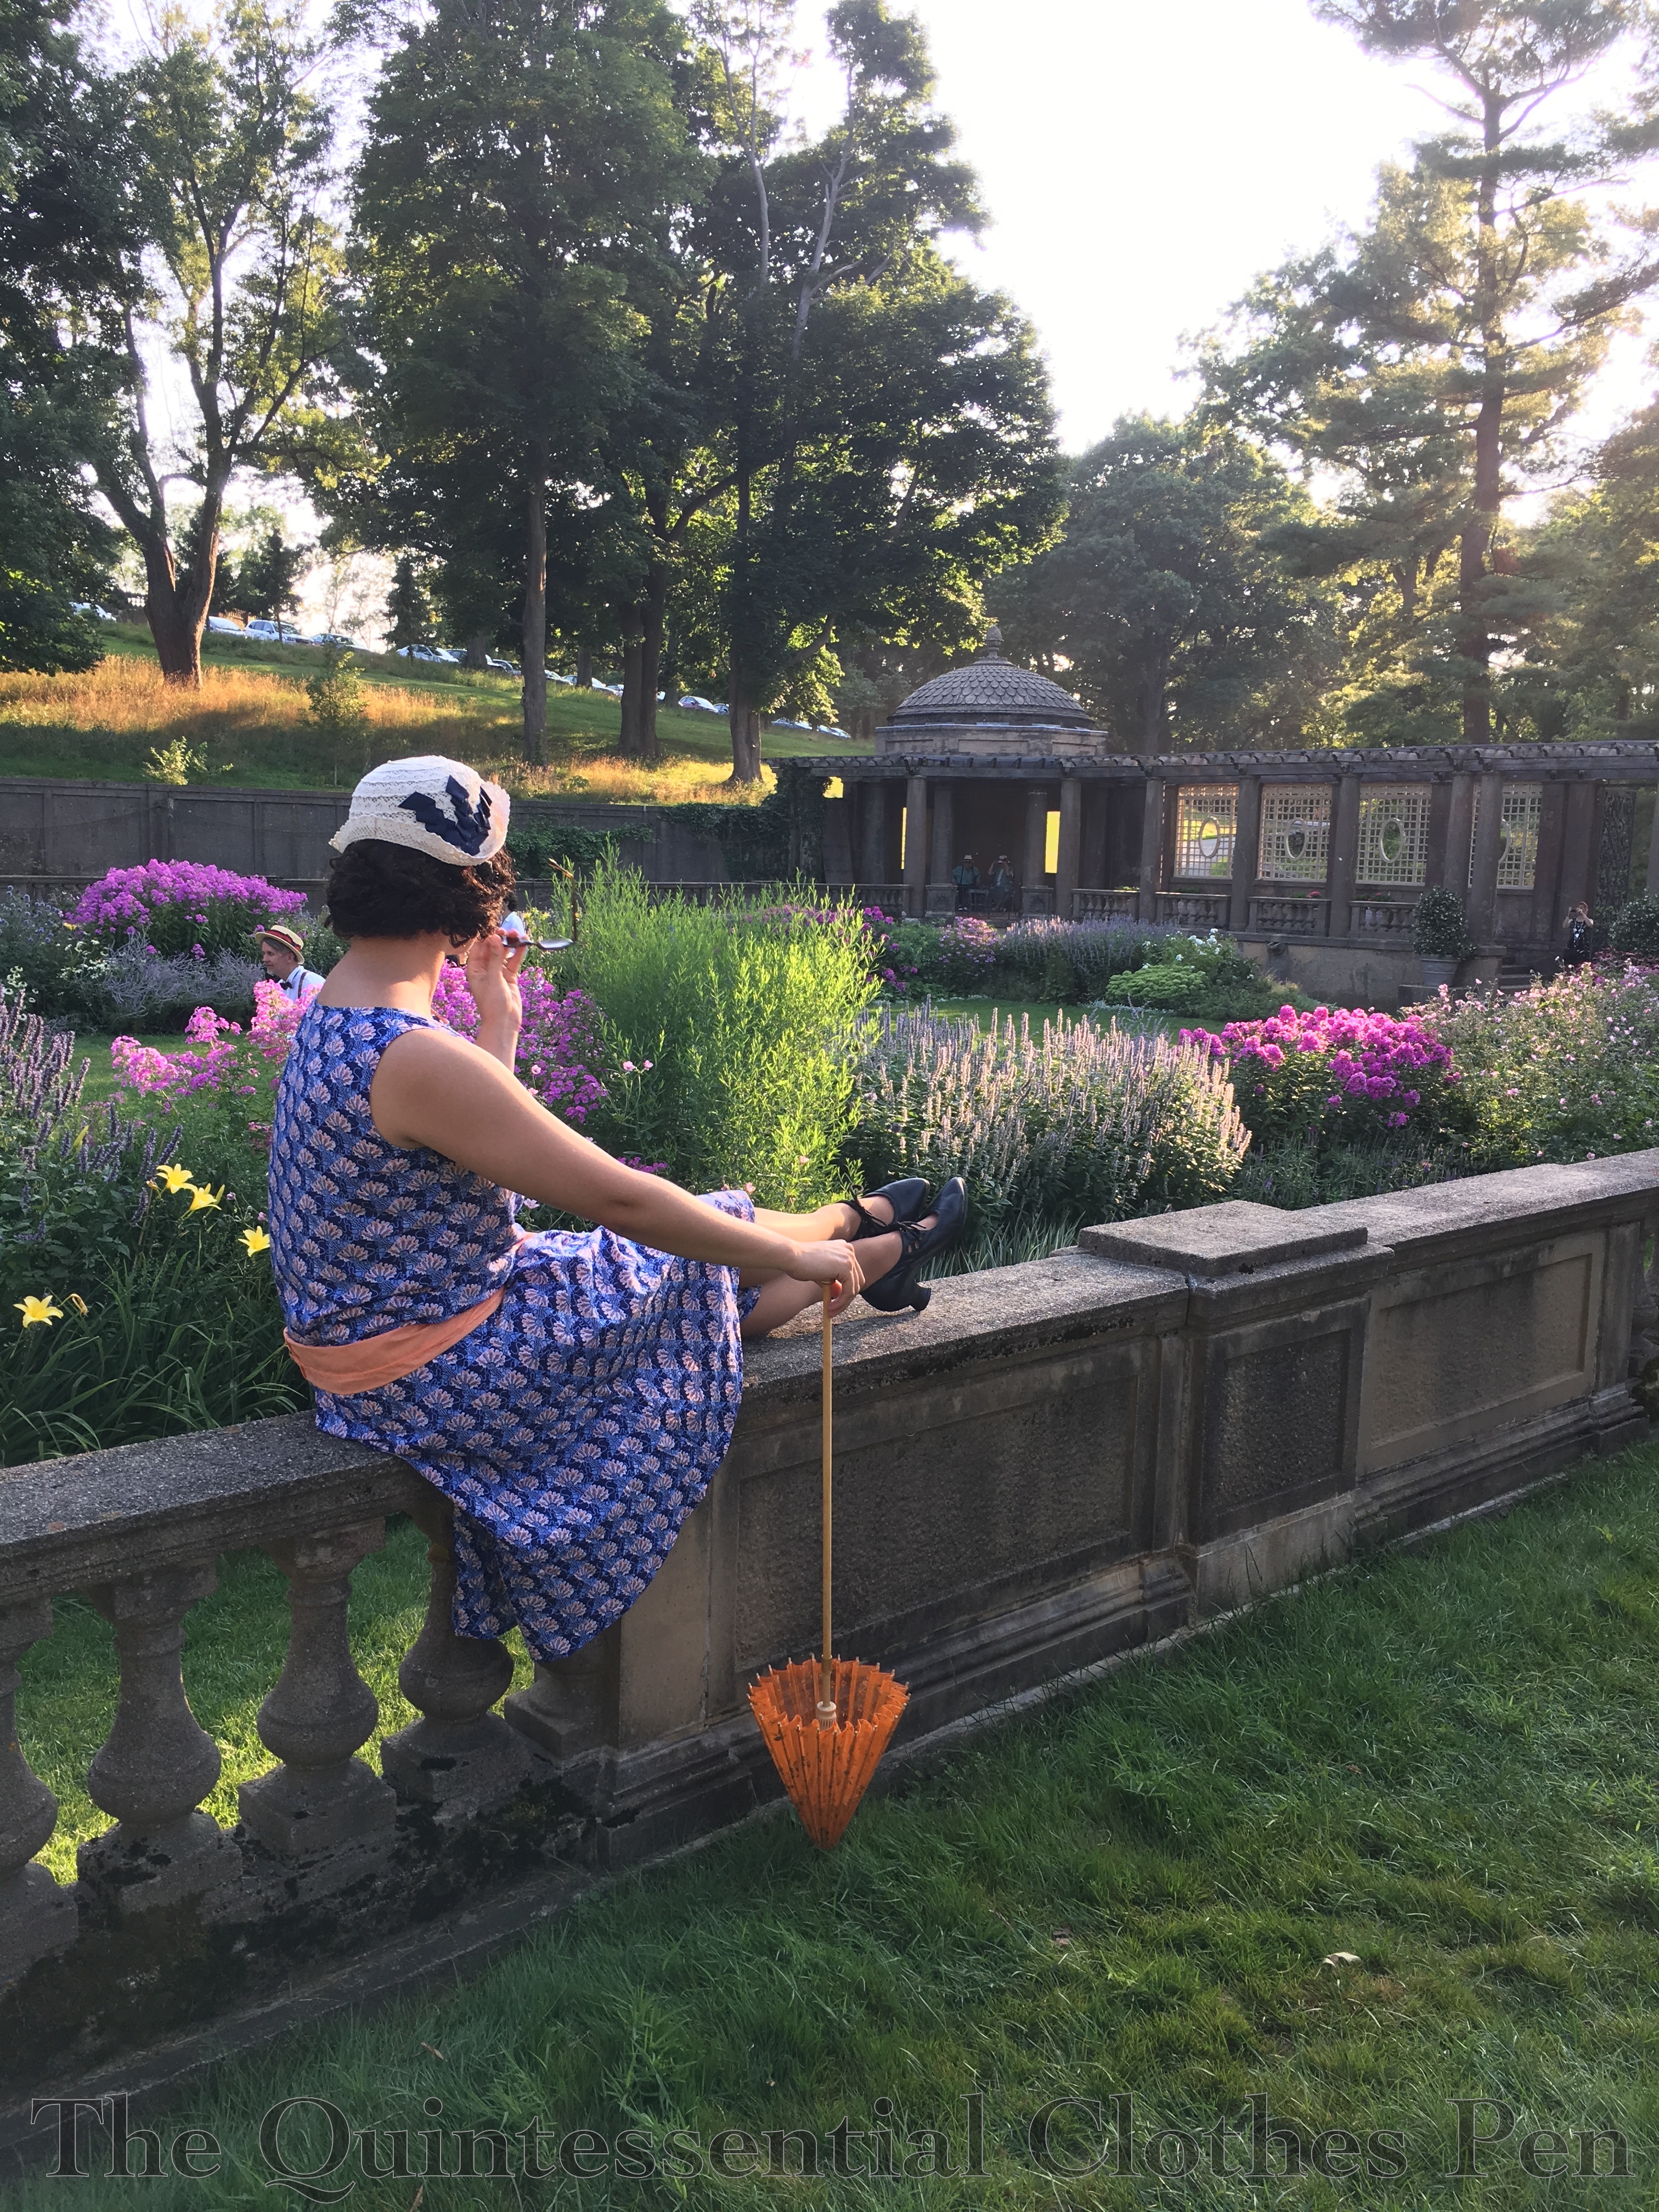
The photo above shows the dress with two different sash options that I made for it: pink and orange. I bought the orange when I bought the blue, but when I got home I thought it might be too bold and decided I might like the pink better. But I really couldn’t decide, so in the end, I made both!

When I wore the dress, I was still undecided… so I took pictures with all three options: no sash, pink sash, and orange sash. See each look below!

The idea behind a sash was this inspiration: Wilton Williams, The Bystander, August 12th 1925, though after wearing it my preference is no sash! I think that the bold, large scale patterns in the fabrics of the inspiration dresses lend themselves better to a sash than this blue dress.  The bonus part of not having a sash is that the dress is easy to wear, there’s no fussing with keeping a sash in place, and the dress really does have a nice 1920s shape to it even though the detail of the zig zag is lost from more than a foot or two away. What do you think? Does one style of sash (or no sash) speak most to you?

It’s fun to have a new dress to wear, discuss, and document! There are more dresses in the live stream queue, so if you want to stay in touch with what I’m making I would love to have you join me for one of my virtual sewing circles. You can join me on Wednesdays and Fridays from 9-10:30pm EST!

A New Old(er) Dress

Today, I present a new version of an old dress.

(Well, not old in the usual way on this blog, which is a dress that is often 100+ years old. In this case, the ‘old’ dress is about 8 years old. I couldn’t pass up the colors in the flowers, though the cut and fabric was more ‘junior’ than adult woman, especially with the built in underskirt of tulle which I promptly cut out as soon as I reached home. However, worn with a waist length or otherwise cropped cardigan, the original dress saw me through a number of summers.)

And then my shape changed and the the dress became a bit too small and a bit too tight. This is the standard my-clothes-shrunk-in-the-closet problem. Boo! But I still loved the colors, so when I happened to see a similar fabric at the fabric store I snapped it right up with the goal of making a new, older (as in, not ‘junior’ style) version of the original dress, so I could retire the original from my wardrobe and send it on to a new home. (In fact, when Mr. Q saw me working on the new dress he confused it with the old one because the colors are so similar!)

I decided to use New Look #6143 as a starting point for a pattern for the new version of the dress. It’s got a basic bodice that would be good for other things if I liked it made up and a variation on a basic skirt, which never hurts to have either. I believe the only thing I changed from the original pattern design was the neckline in the front. Of course, it took me probably two years to actually get around to finishing the darn thing. I started it, realized it was too big, got frustrated by the amount of alterations needed, and let it languish (for years…).

This year, however, I was determined. Turns out I had just cut a size larger than I needed. (P.S. I hate figuring out commercial pattern sizing. There is so much ease that the size the pattern envelope claims I should be is often too big, as in this case. Do you ever have that struggle? When I took apart my bodice pieces and traced out the lines for a smaller size, the bodice fit perfectly. Nice, but it would have been so much better if it fit perfectly the first time!) I had already pleated the skirt and added side seam pockets when I started the dress years ago-I wasn’t going to change that–so instead I angled the side seams from the pockets up to the waist to take in the excess amount. Not the most perfect solution, but in a full skirt you can’t see the fudge.

I love how tidy the insides of Carolyn’s modern dresses are (like this and this) and I wanted similar tidiness for this dress. The bodice of my dress is fully lined in lightweight cotton and the skirt edges are all overlocked to keep them from fraying.

Oh, and as I mentioned, I added pockets! Most dresses are better with pockets! (I would say all, but some lightweight dresses just pull in awkward ways with things in the pockets, so really, why bother adding them?)
The dress closes in the back with a (pink!) invisible zipper that is carefully sandwiched between the floral exterior and the bodice lining. The pink zipper matches perfectly and amuses me greatly. It’s a fun color!

At the bottom of the bodice lining the seam allowance is turned up and whip stitched to the waistband seam allowance to create a tidy finish. Tidy finishes like this make my heart pitter-patter with glee!

I’m very pleased with the new version of this dress and so pleased that it is off of the UFO pile! My only slight complaint is that I wanted an everyday dress, but the fabric is a little satin-finish-y rather than matte, even though it’s cotton, which takes it more in a ‘dinner’ or ‘event’ direction rather than ‘wear to work’. Oh well! It’s cute, it fits, and the colors are perfectly me.

I’m looking forward to trying this pattern out in other variations! I have plans to make another version of this dress soon–probably during August!

SaveSave

SaveSave

SaveSaveSaveSave

SaveSave

SaveSave

Spring & Summer Fabric Stash Additions: Stripes & Patterns

For most of this year, I’ve had a dress in mind that I want to build for an event in August. I’ve been on the hunt for just the right striped fabric for it for a few months, but really hadn’t found anything that was just right. I was shopping for another fabric and saw that Farmhouse Fabrics had a large section of stripes… I had to come back and look through them!

‘Danger!’ Should have been posted somewhere, because I wound up purchasing three different striped cotton fabrics instead of just the one I’d been looking for!

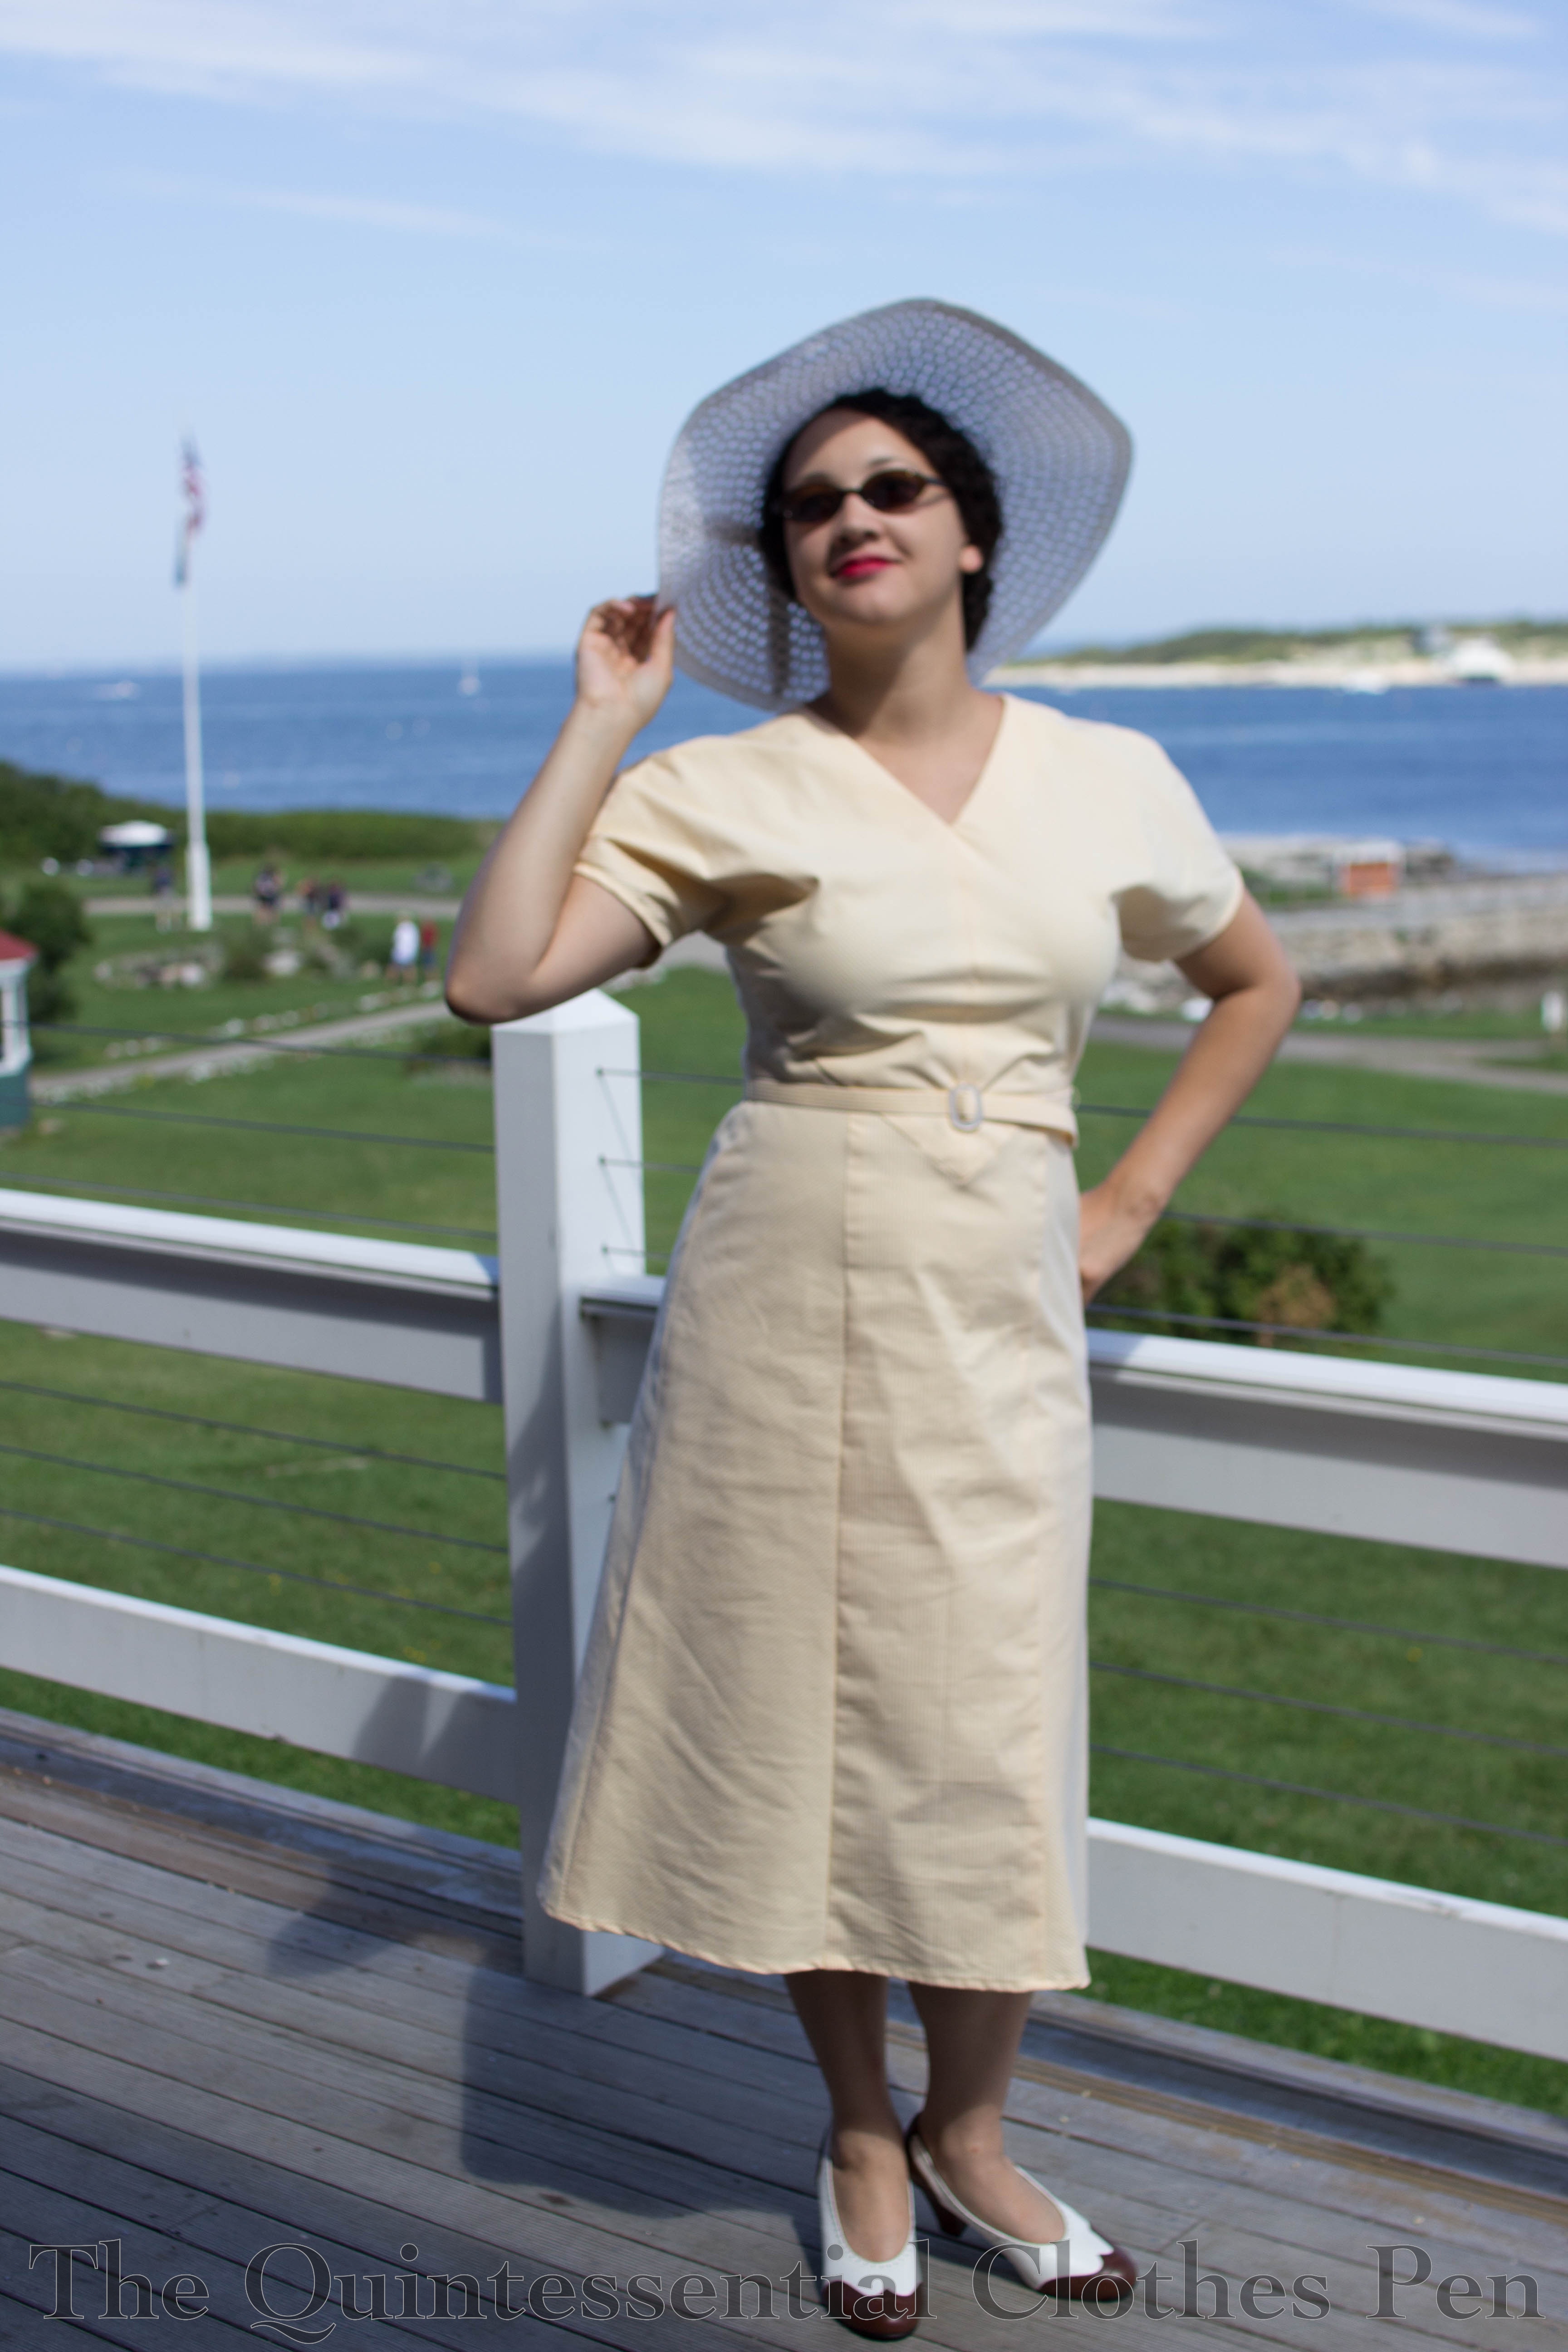
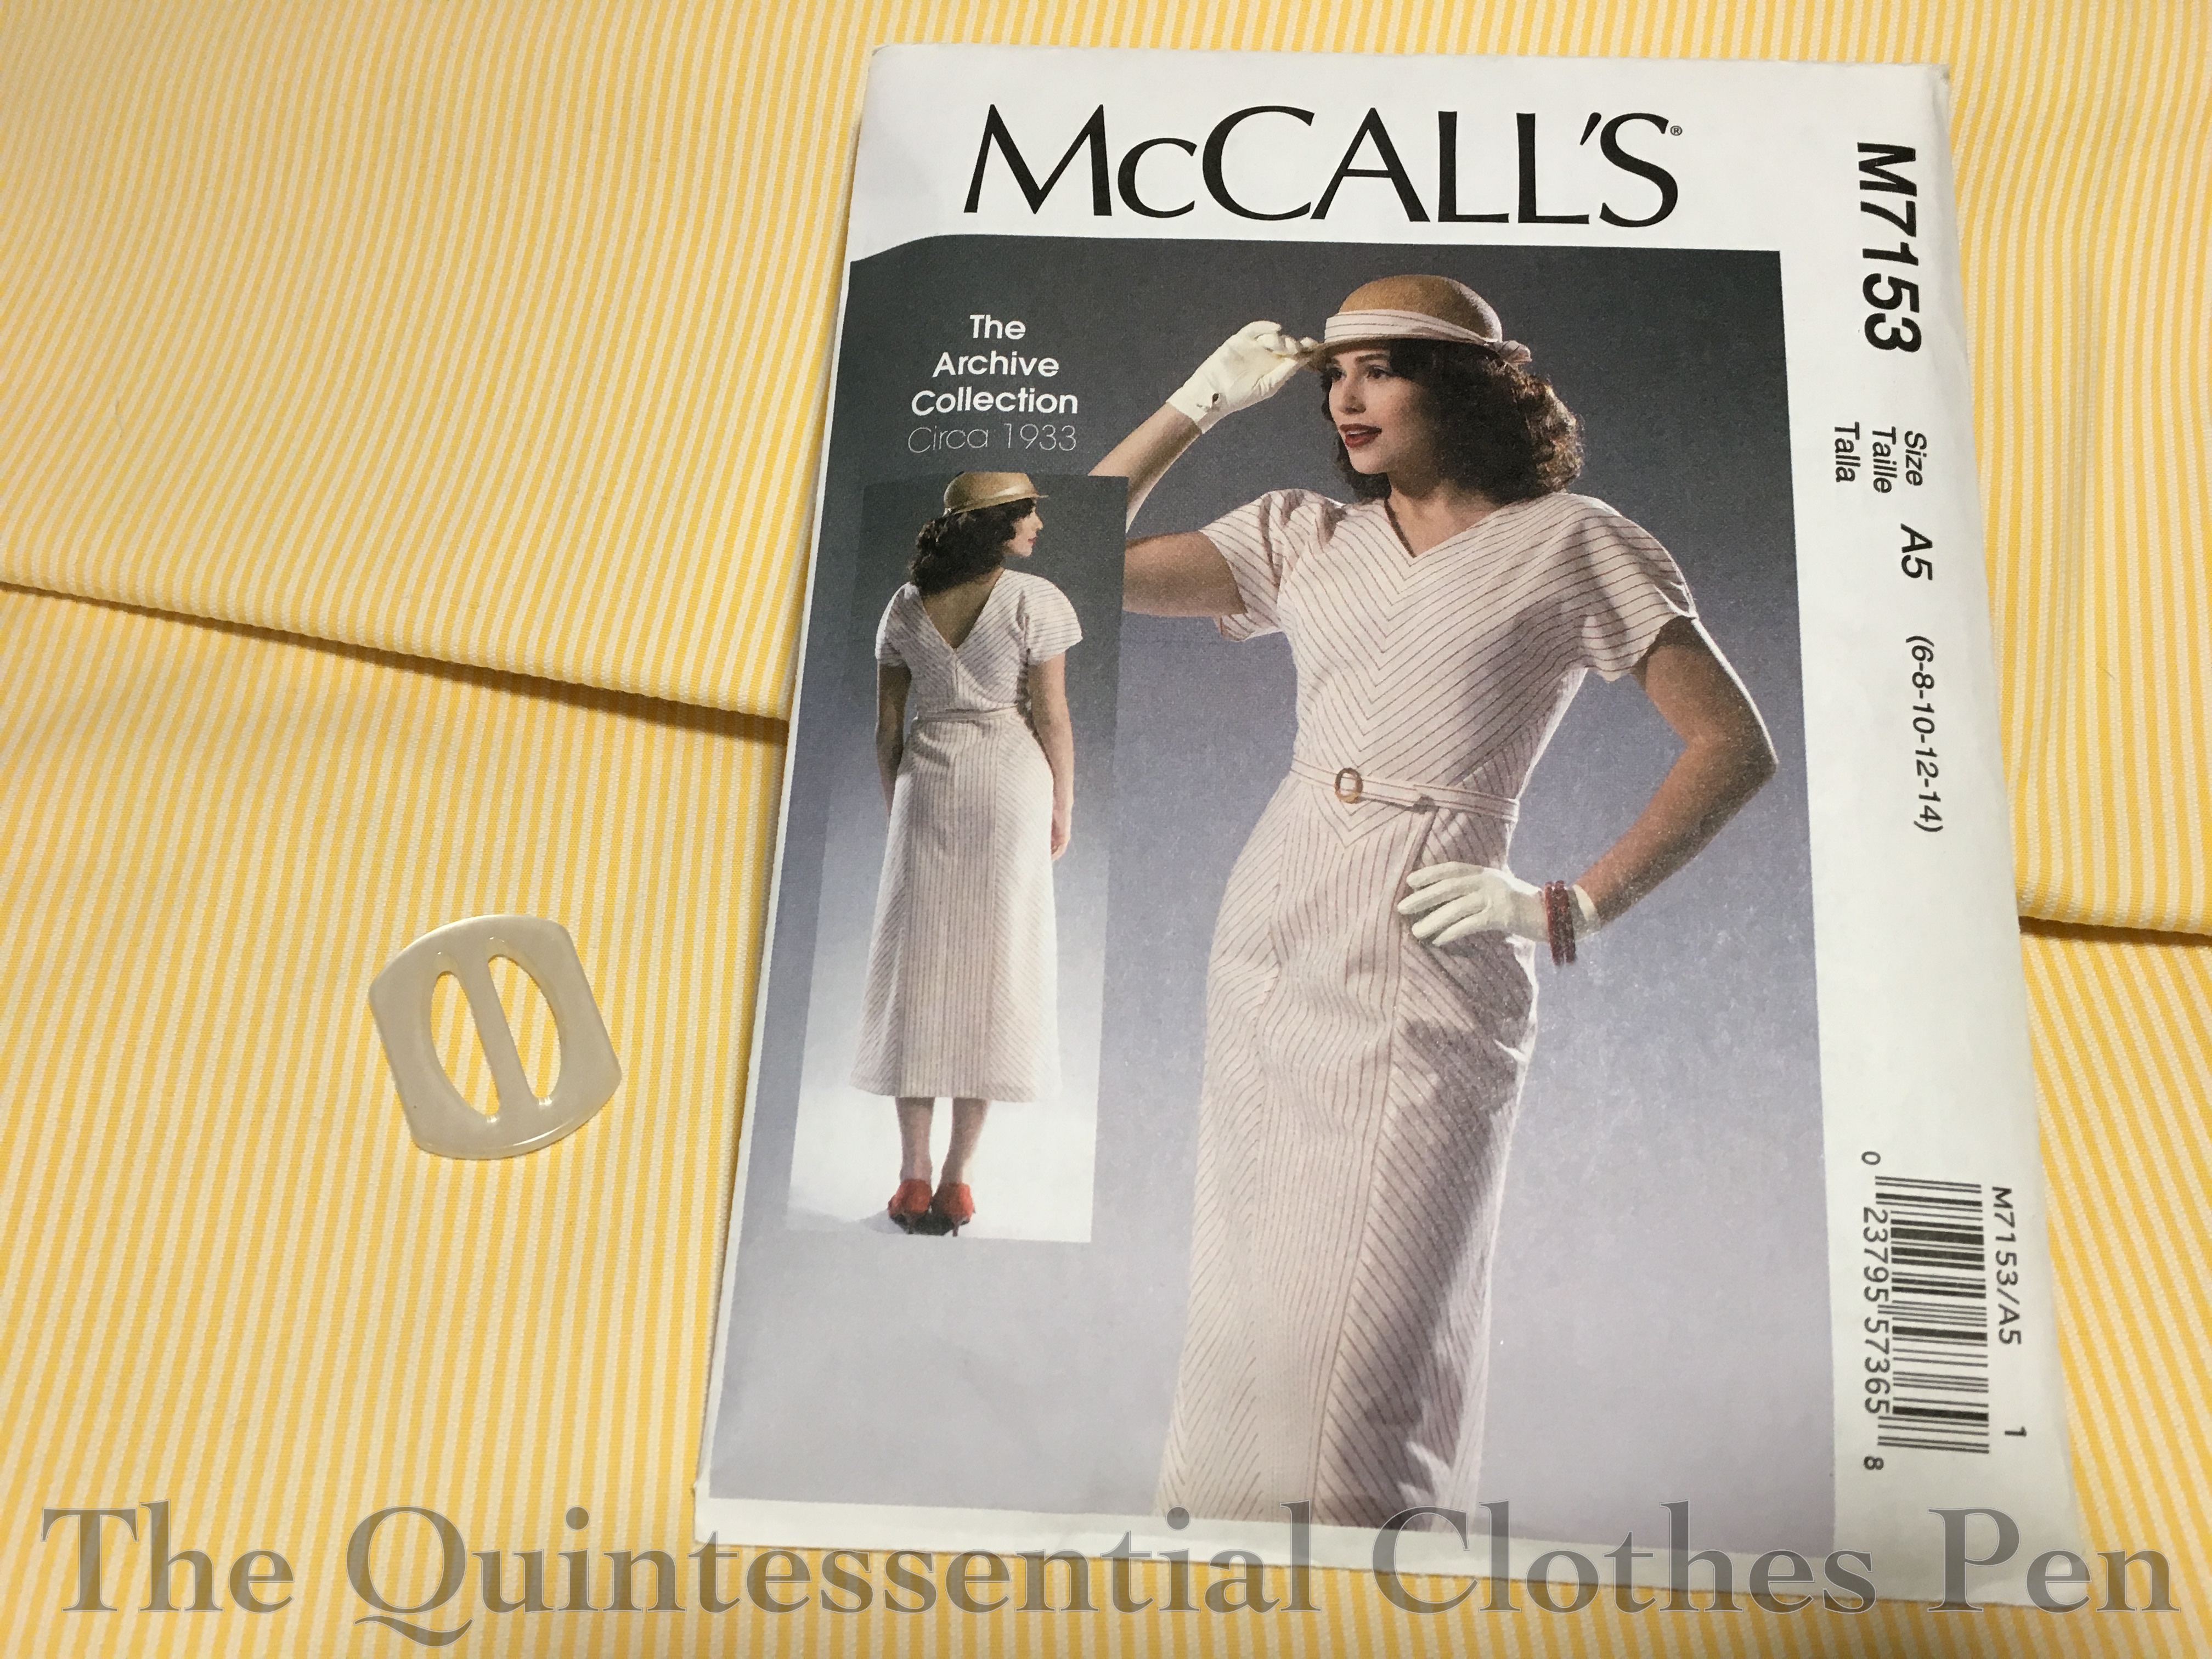
I have solid plans for all three fabrics, which somewhat justifies their purchase. The green seersucker I plan to make a modern dress out of, most likely with a circle skirt. The cotton candy stripe, as I call it, I’m planning to also use for a modern dress based on New Look #6143. The yellow stripe is intended for McCall’s #7153, a 1933 Archive Collection pattern.

I also came across (yes, I promise, I wasn’t intentionally looking for these either!) two interesting patterned fabrics this spring.

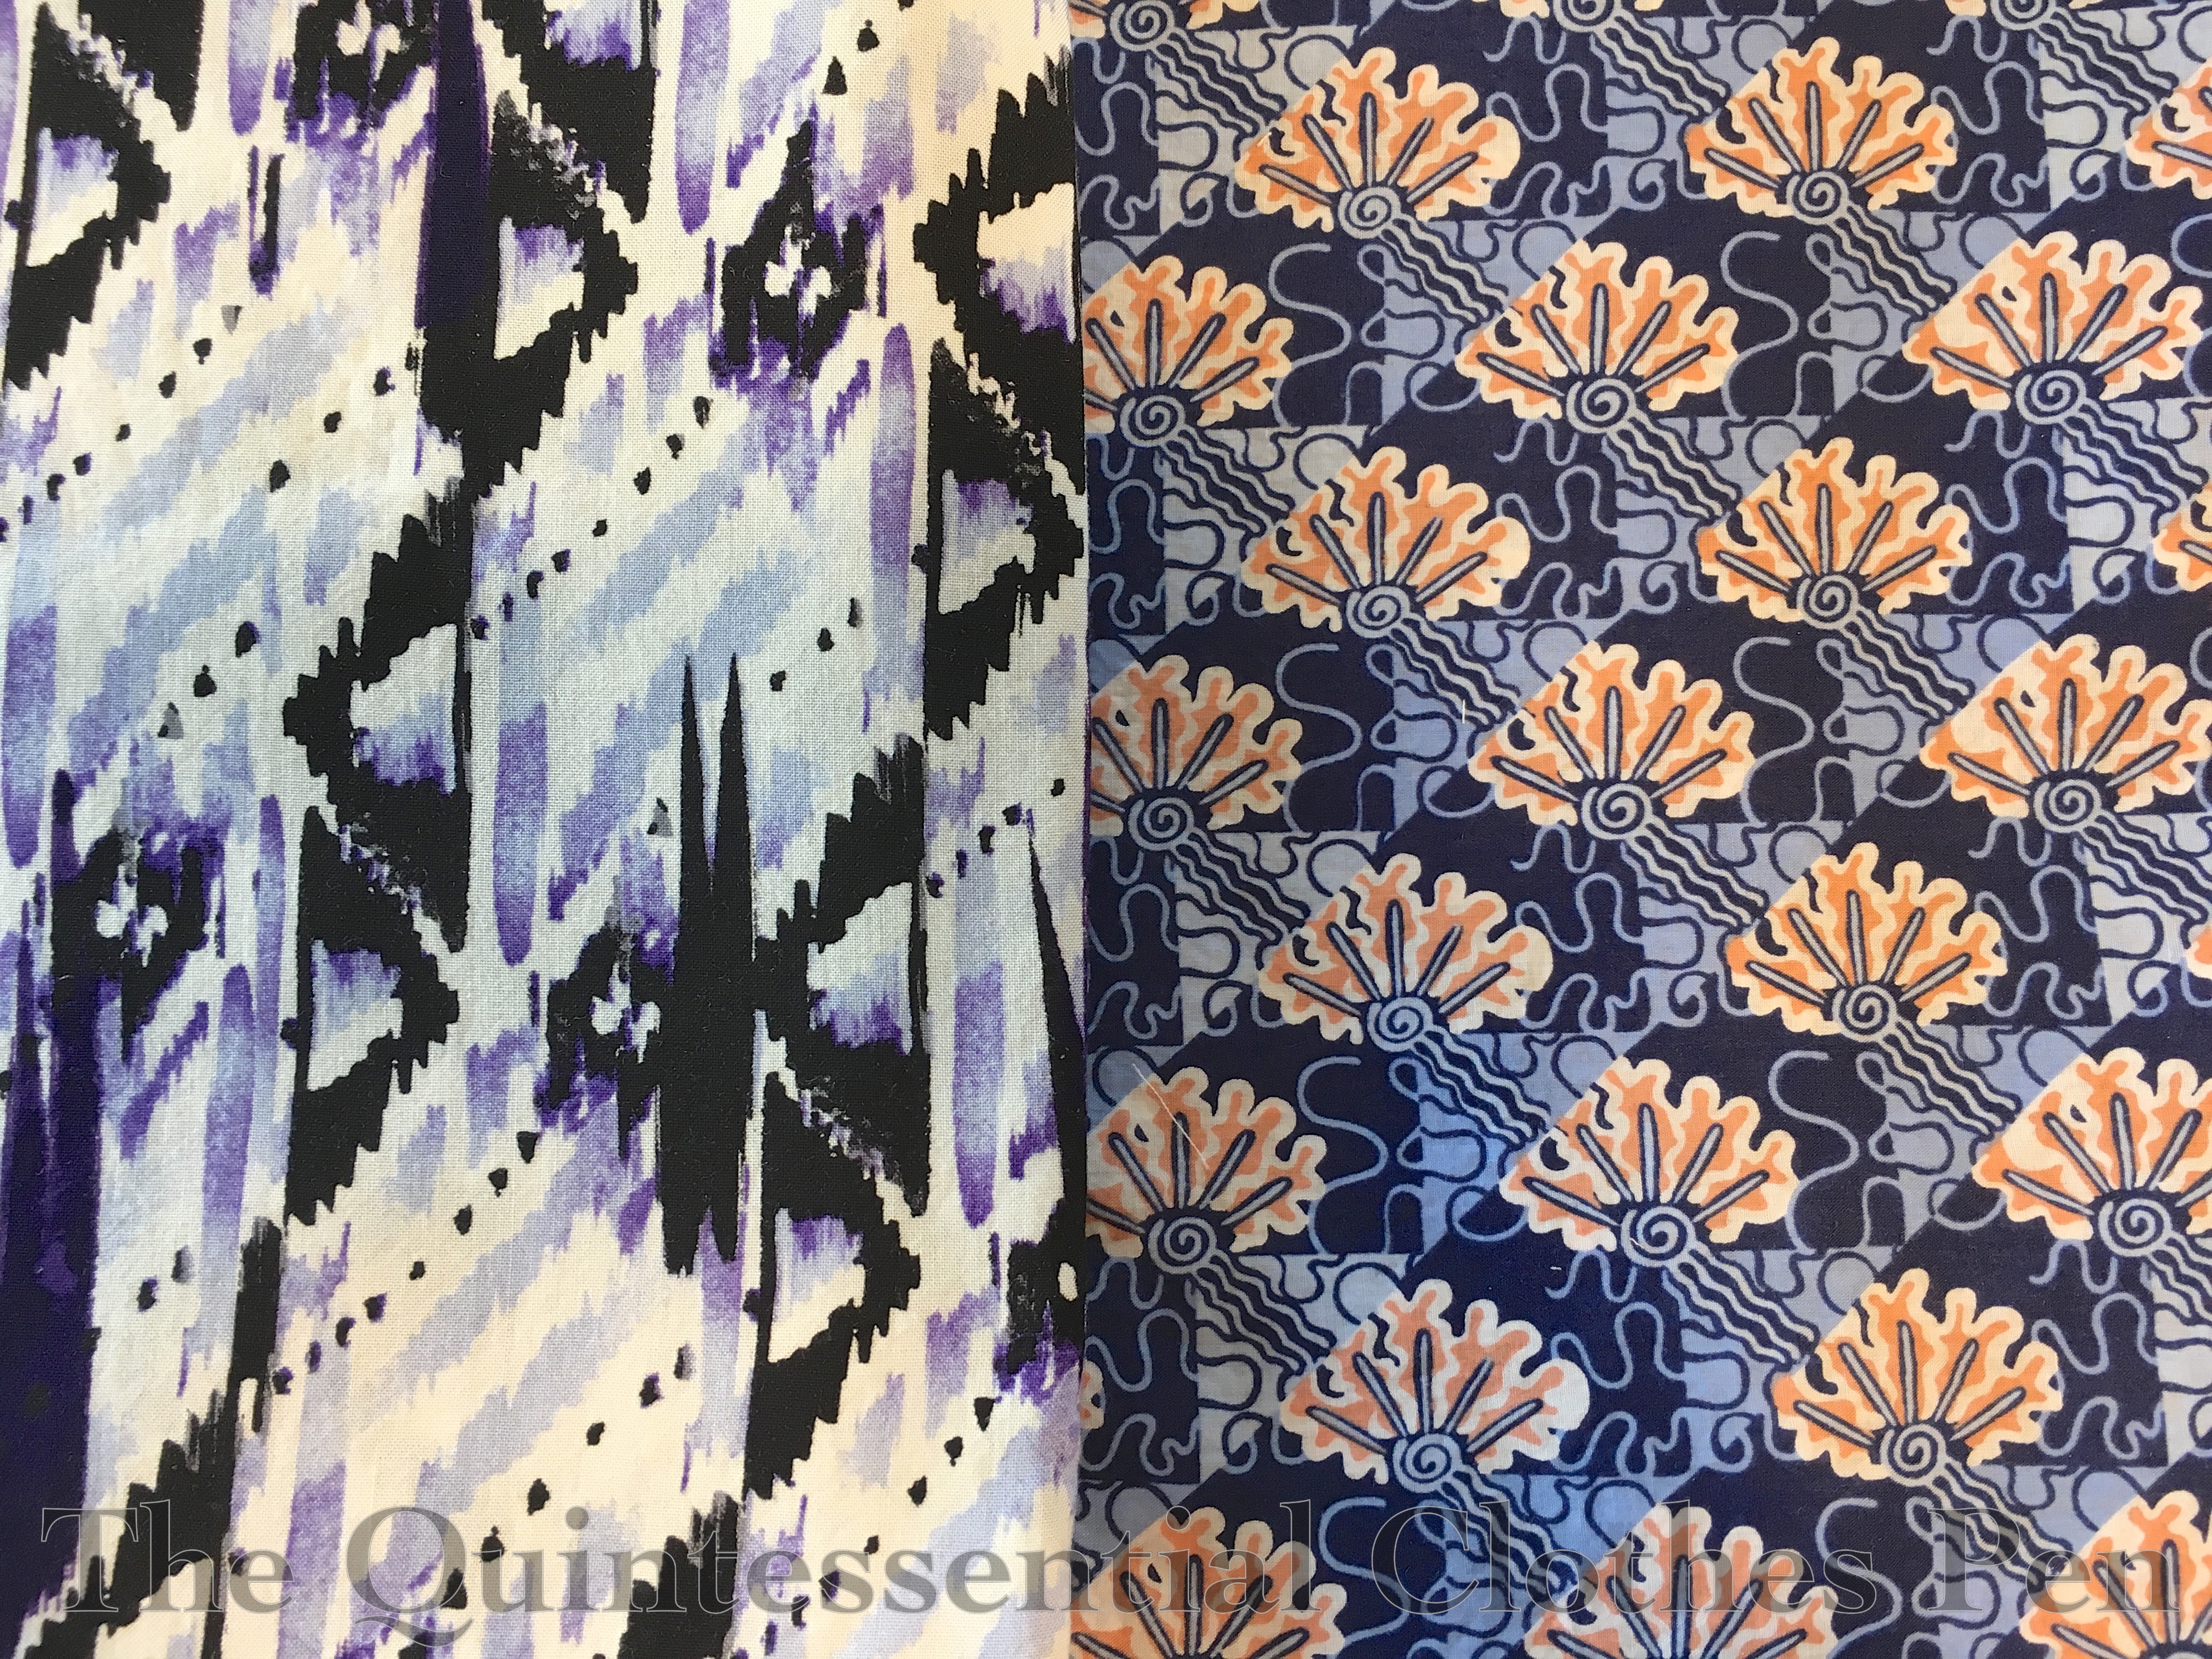
The one on the left is a rayon from Joann’s (and in looking for the link I see they’ve got a whole bunch of lovely looking new rayon prints–more danger!). It’s great that they’ve got a wider variety of fiber contents lately. I think it will make an interesting Henrietta Maria. Leimomi posted one awhile ago that I loved and this fabric reminds me of it a little.

The fabric on the right was super discounted at a local store (though I’ve seen at regular price at another store, so I definitely got a deal). It’s a lovely cotton lawn that I think will make an interesting 1920s day dress. I’ve got lots of evening gowns but my daywear options are somewhat limited. It will be fun to have new 1920s daywear! In fact, I’ve already started making a dress with the cotton lawn! I’ve been posting progress pictures of it on my Instagram account. Check it out!

Oh, I also came across remnants of seafoam green silk taffeta for a bargain price that I also bought, though I don’t have a picture or a specific project in mind for that. It’s hard to pass up silk taffeta even when there is no project in mind, because if you go on a hunt for a specific color you can’t usually find it at a bargain price.

I’m looking forward to putting these new fabric projects high enough on the to-do list to actually accomplish them!

SaveSave

SaveSave

SaveSave

SaveSave

The Simple, The Complicated, & The Continent Part II

In Part I of The Simple, The Complicated, & The Continent, I shared casual pictures from the mid-19th century dance week I attended last August. Now it’s time for the (mostly) more elegant pictures of the formal balls from the week. You’ll see why I say mostly elegant… there are some silly pictures, too!

On the Wednesday of the dance week we had an informal ball at the school. In terms of dancing, it went generally well. We’d had two days of dance classes and we weren’t completed exhausted yet. Everyone looked lovely so it was fun, as always, to admire other people’s ensembles. We were informed that the social custom of Denmark is to only post photos of other people if you have their permission, so I don’t have too many photos I can share of the informal ball, in particular. It’s a reasonable custom, I think, just quite different from what we’re used to in America. It really is the Wild West of willy-nilly picture posting here! Maybe the Wild West village on the grounds of the school made more sense than I thought…

So here I am dressed for the informal ball. My hair was frizzy and big by the evening of the day so I decided to run with it! Big round hair is perfect for the 1858 anyway. I wore Georgina, with her evening bodice. Actually, all of the Americans wore our mid-19th century cotton ballgowns (many of which you can see in this past post), which quite impressed many of the other attendees. We were told that fabrics like these are difficult to find in and around Denmark.

After another two days of classes, the week ended with a formal dinner and ball. We were bussed to the town where these events were to be held (and it was quite an adventure, getting all the large dresses onto the tour buses and into the seats!) and then did a small walking tour of the town before dinner. A new friend snapped this photo of me traipsing across the street after getting some photos taken. I chose my matching crocs to wear around the town before going into dinner and the ball, but I didn’t think anyone would see them!

OLYMPUS DIGITAL CAMERA

Dinner was lovely and then it was time for the ball. It was quite exciting to be attending a formal ball on ‘the continent!’ It sounds so fashionable in a 19th century way!

The ballroom contained actual candles! These are forbidden in many of the halls I normally get to dance in, so that was a nice novelty. They were especially lovely as the light faded outside.

Our hosts provided us with dance cards, which had a convenient hook for hanging the dance card off of a belt or waistband. In my case, the belt on my dress was perfect!

The ballroom was rather small for the number of people we squashed into it, but I suppose that is probably rather accurate for some events in the 19th century. It did mean that the room became quite hot, so I spent a fair bit of time enjoying the lovely garden outside.

As you can see, I wore Eleanor, my plaid silk ball gown. It was a good choice for traveling and it was fun to be elegantly simple in my clothing choice.

Capturing the photographer in a photo! Isn’t it lovely how well their dresses coordinate with the colors in the garden?

Why was I lifting my skirt so scandalously? I think to see how high I could easily lift my leg in my dress. Or perhaps to check my balance? Doesn’t really matter, does it? Silly photos are fun!

I did get permission to share this photo of me with two new friends. Our colors coordinated so well and that uniform was absolutely stunning! And it had fur on the cuffs. Such soft fur! I bet it was boiling hot, but it was also quite dashing!

Unfortunately, by this point in the week we were all brain-dead, so the room in general didn’t do a great job of executing all the dancing we had been working on without many mistakes. That felt like rather a let down, sadly, as it would have been nice to dance at a ball on ‘the continent’ with perfect execution. I guess this gives me another reason to go back and try again some day!

SaveSave

SaveSave

SaveSave