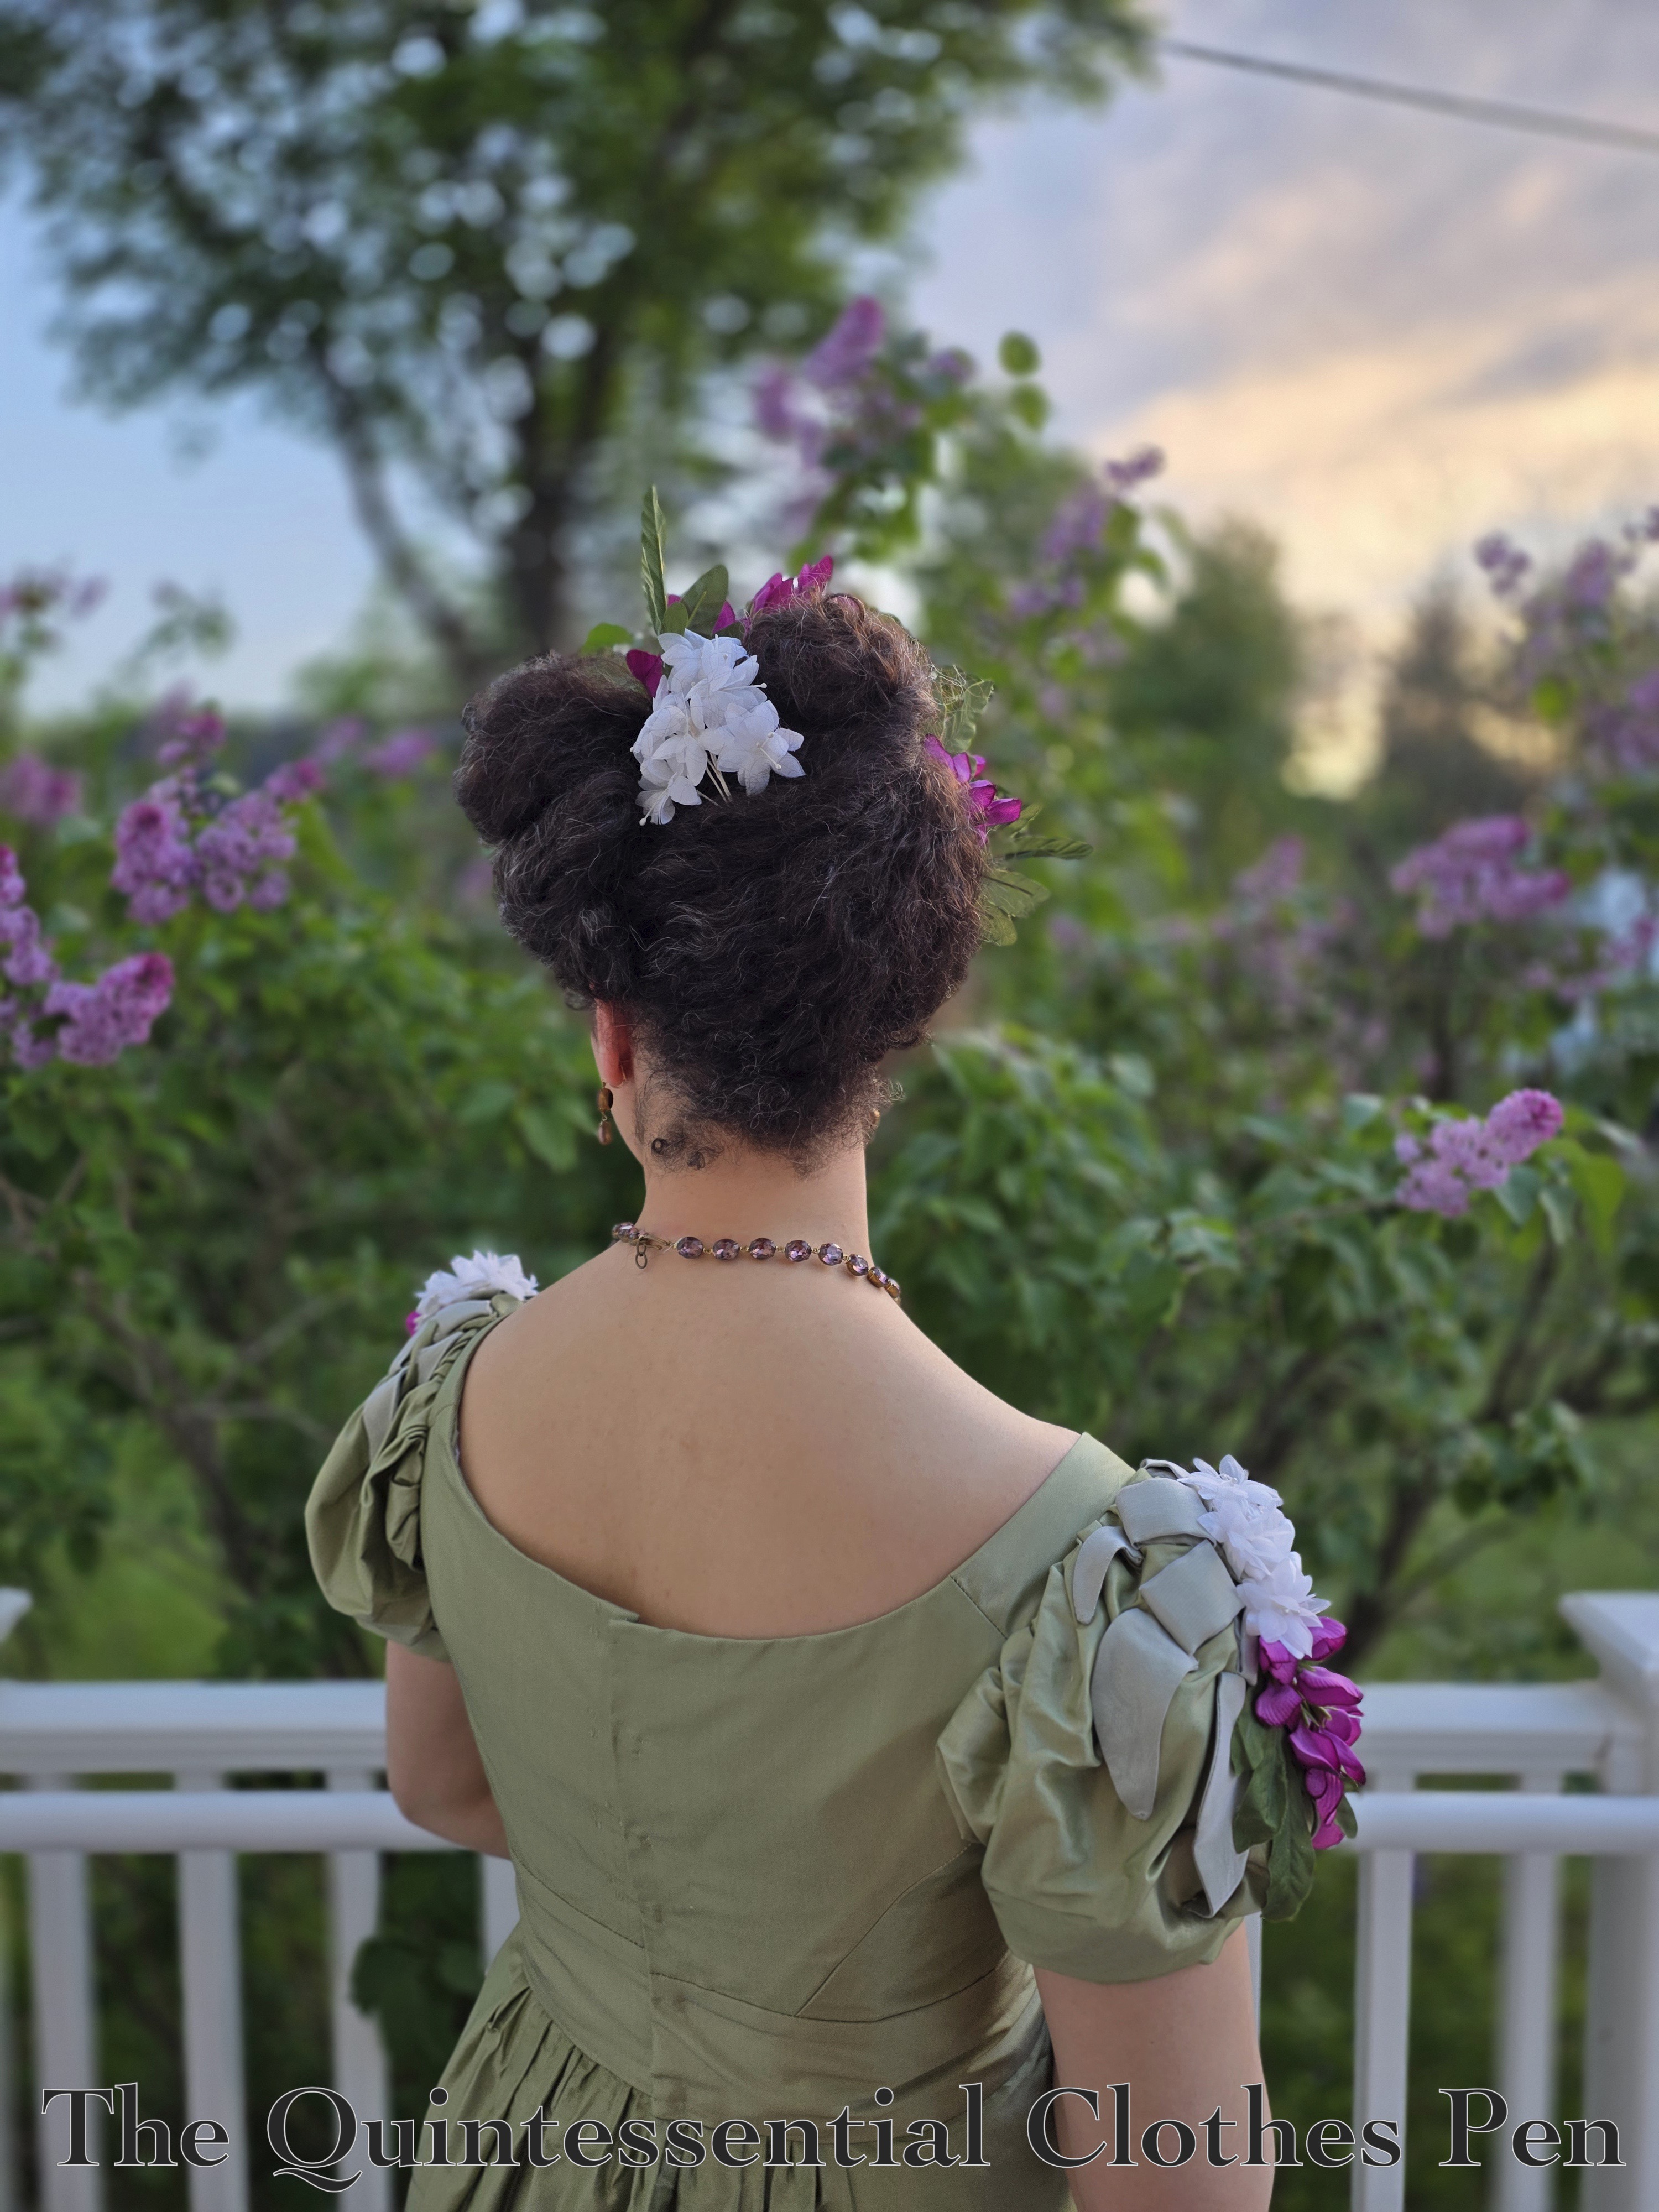
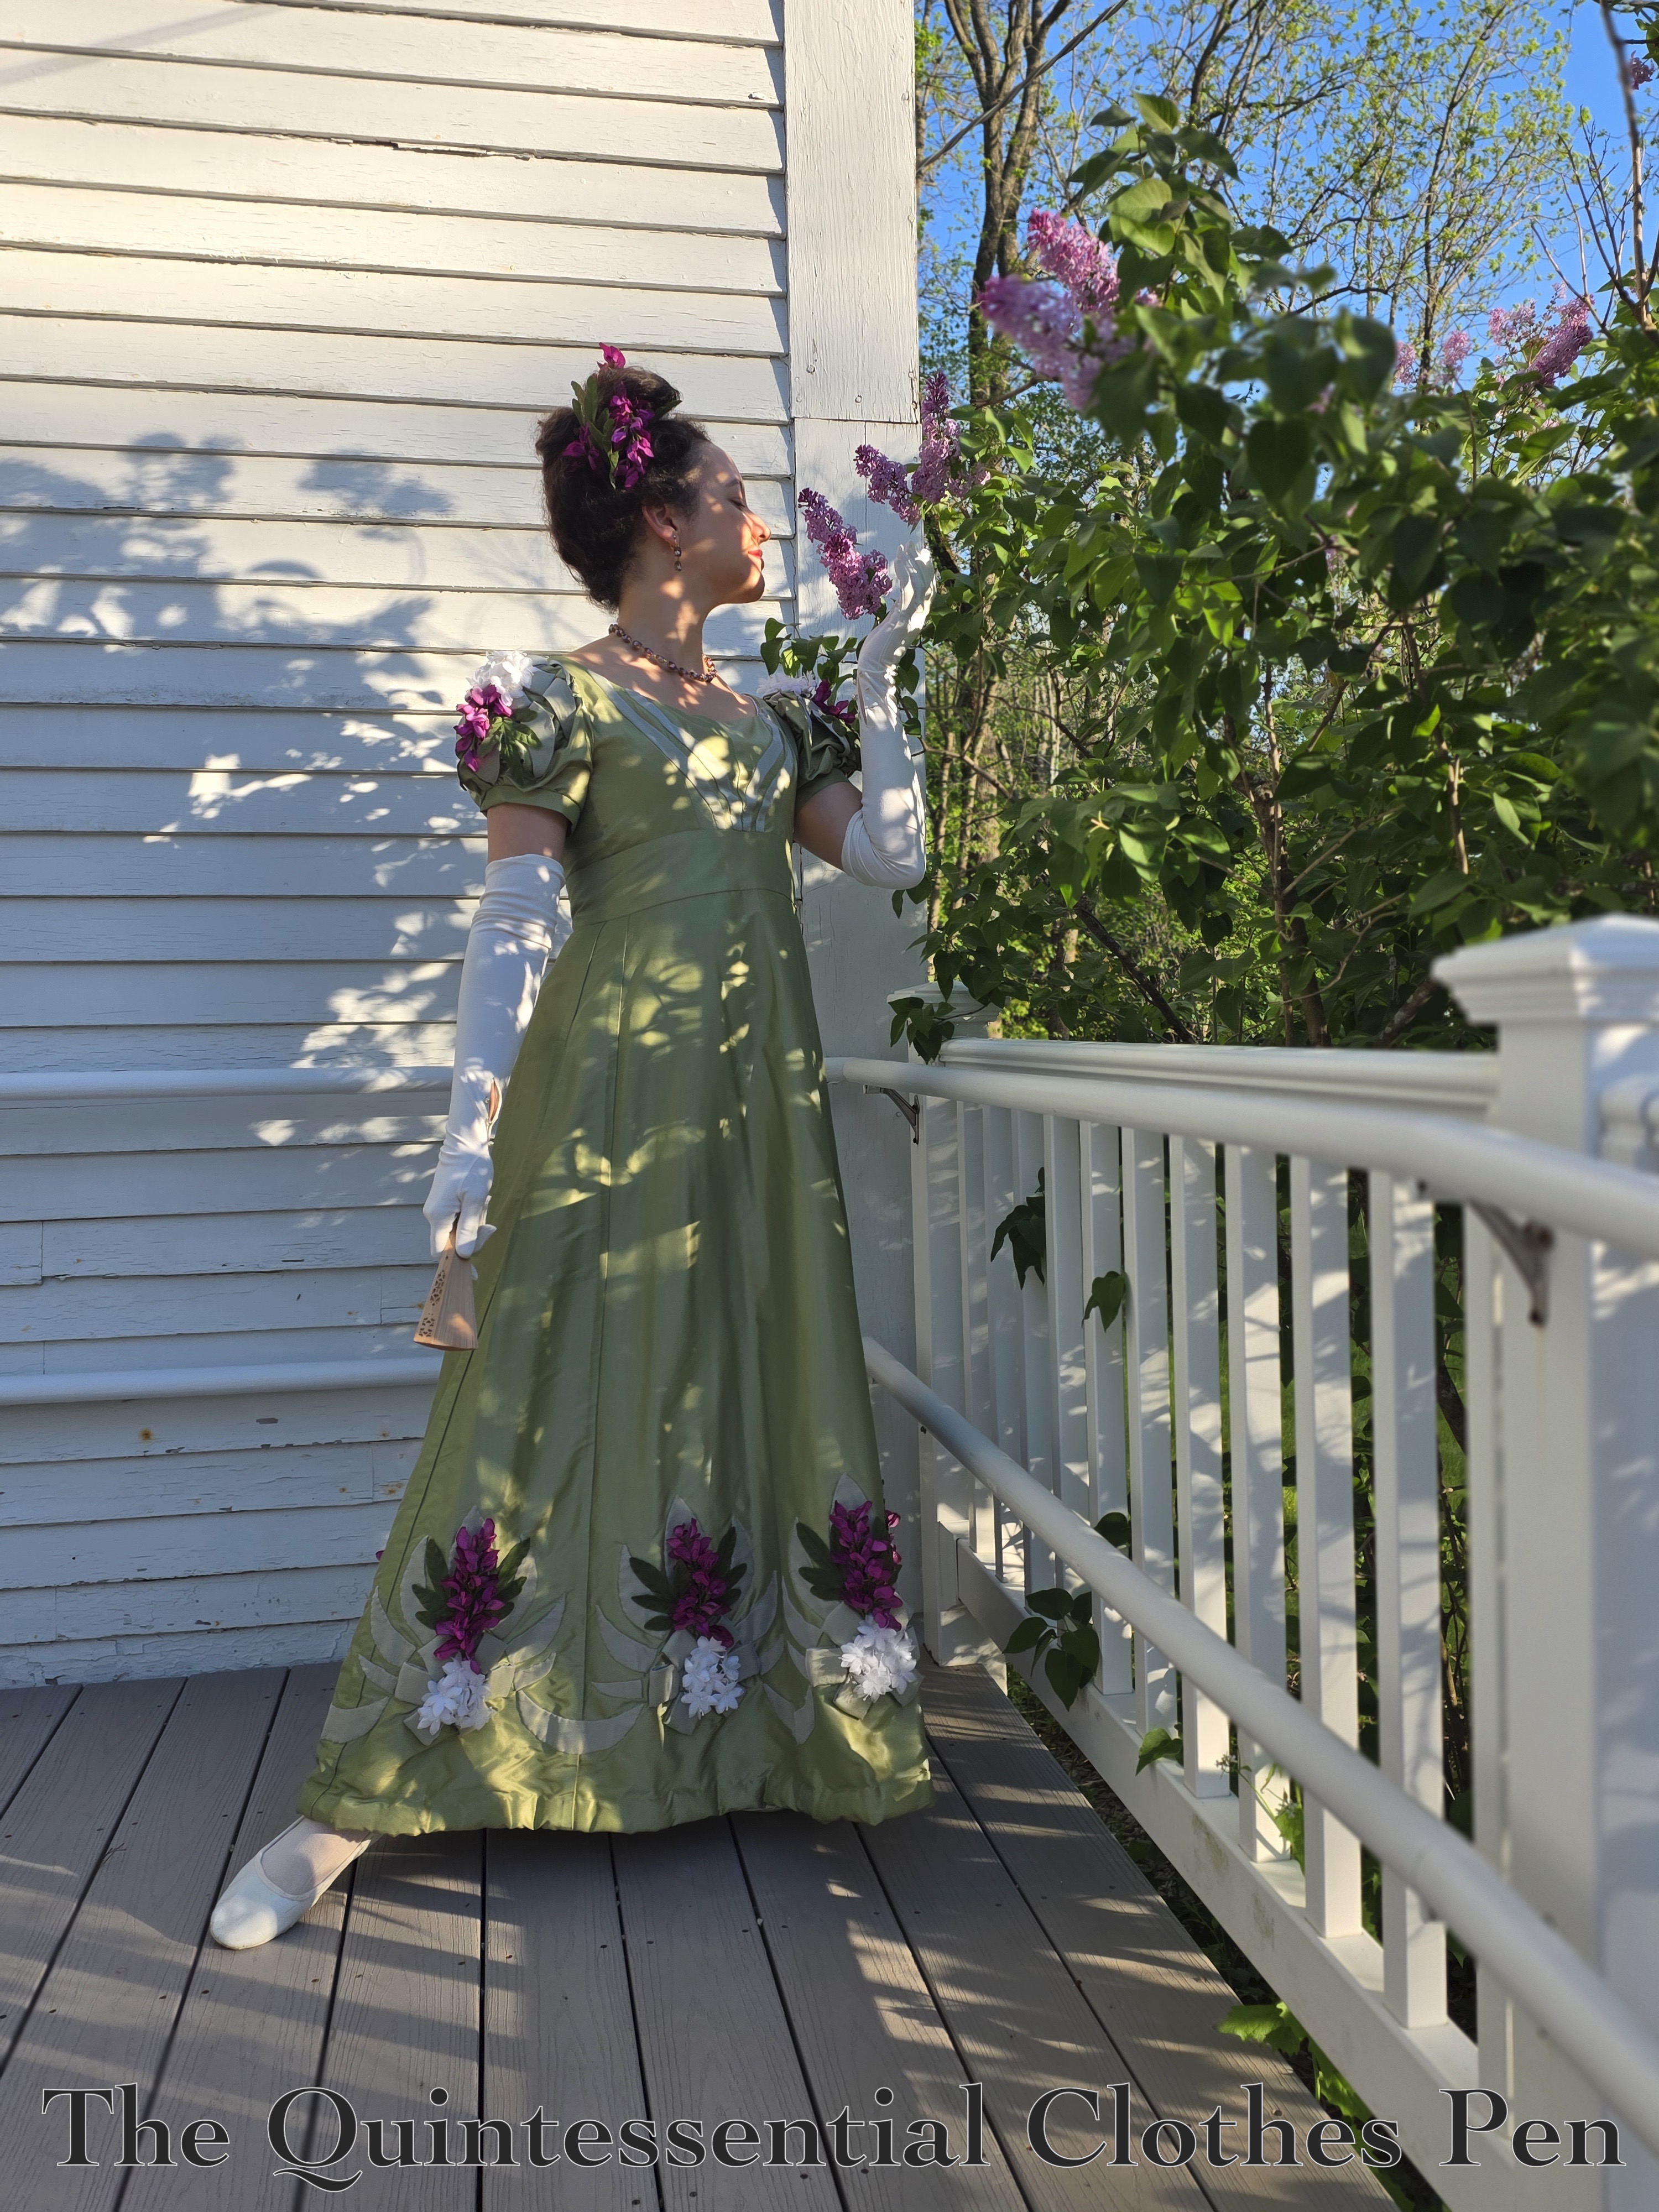
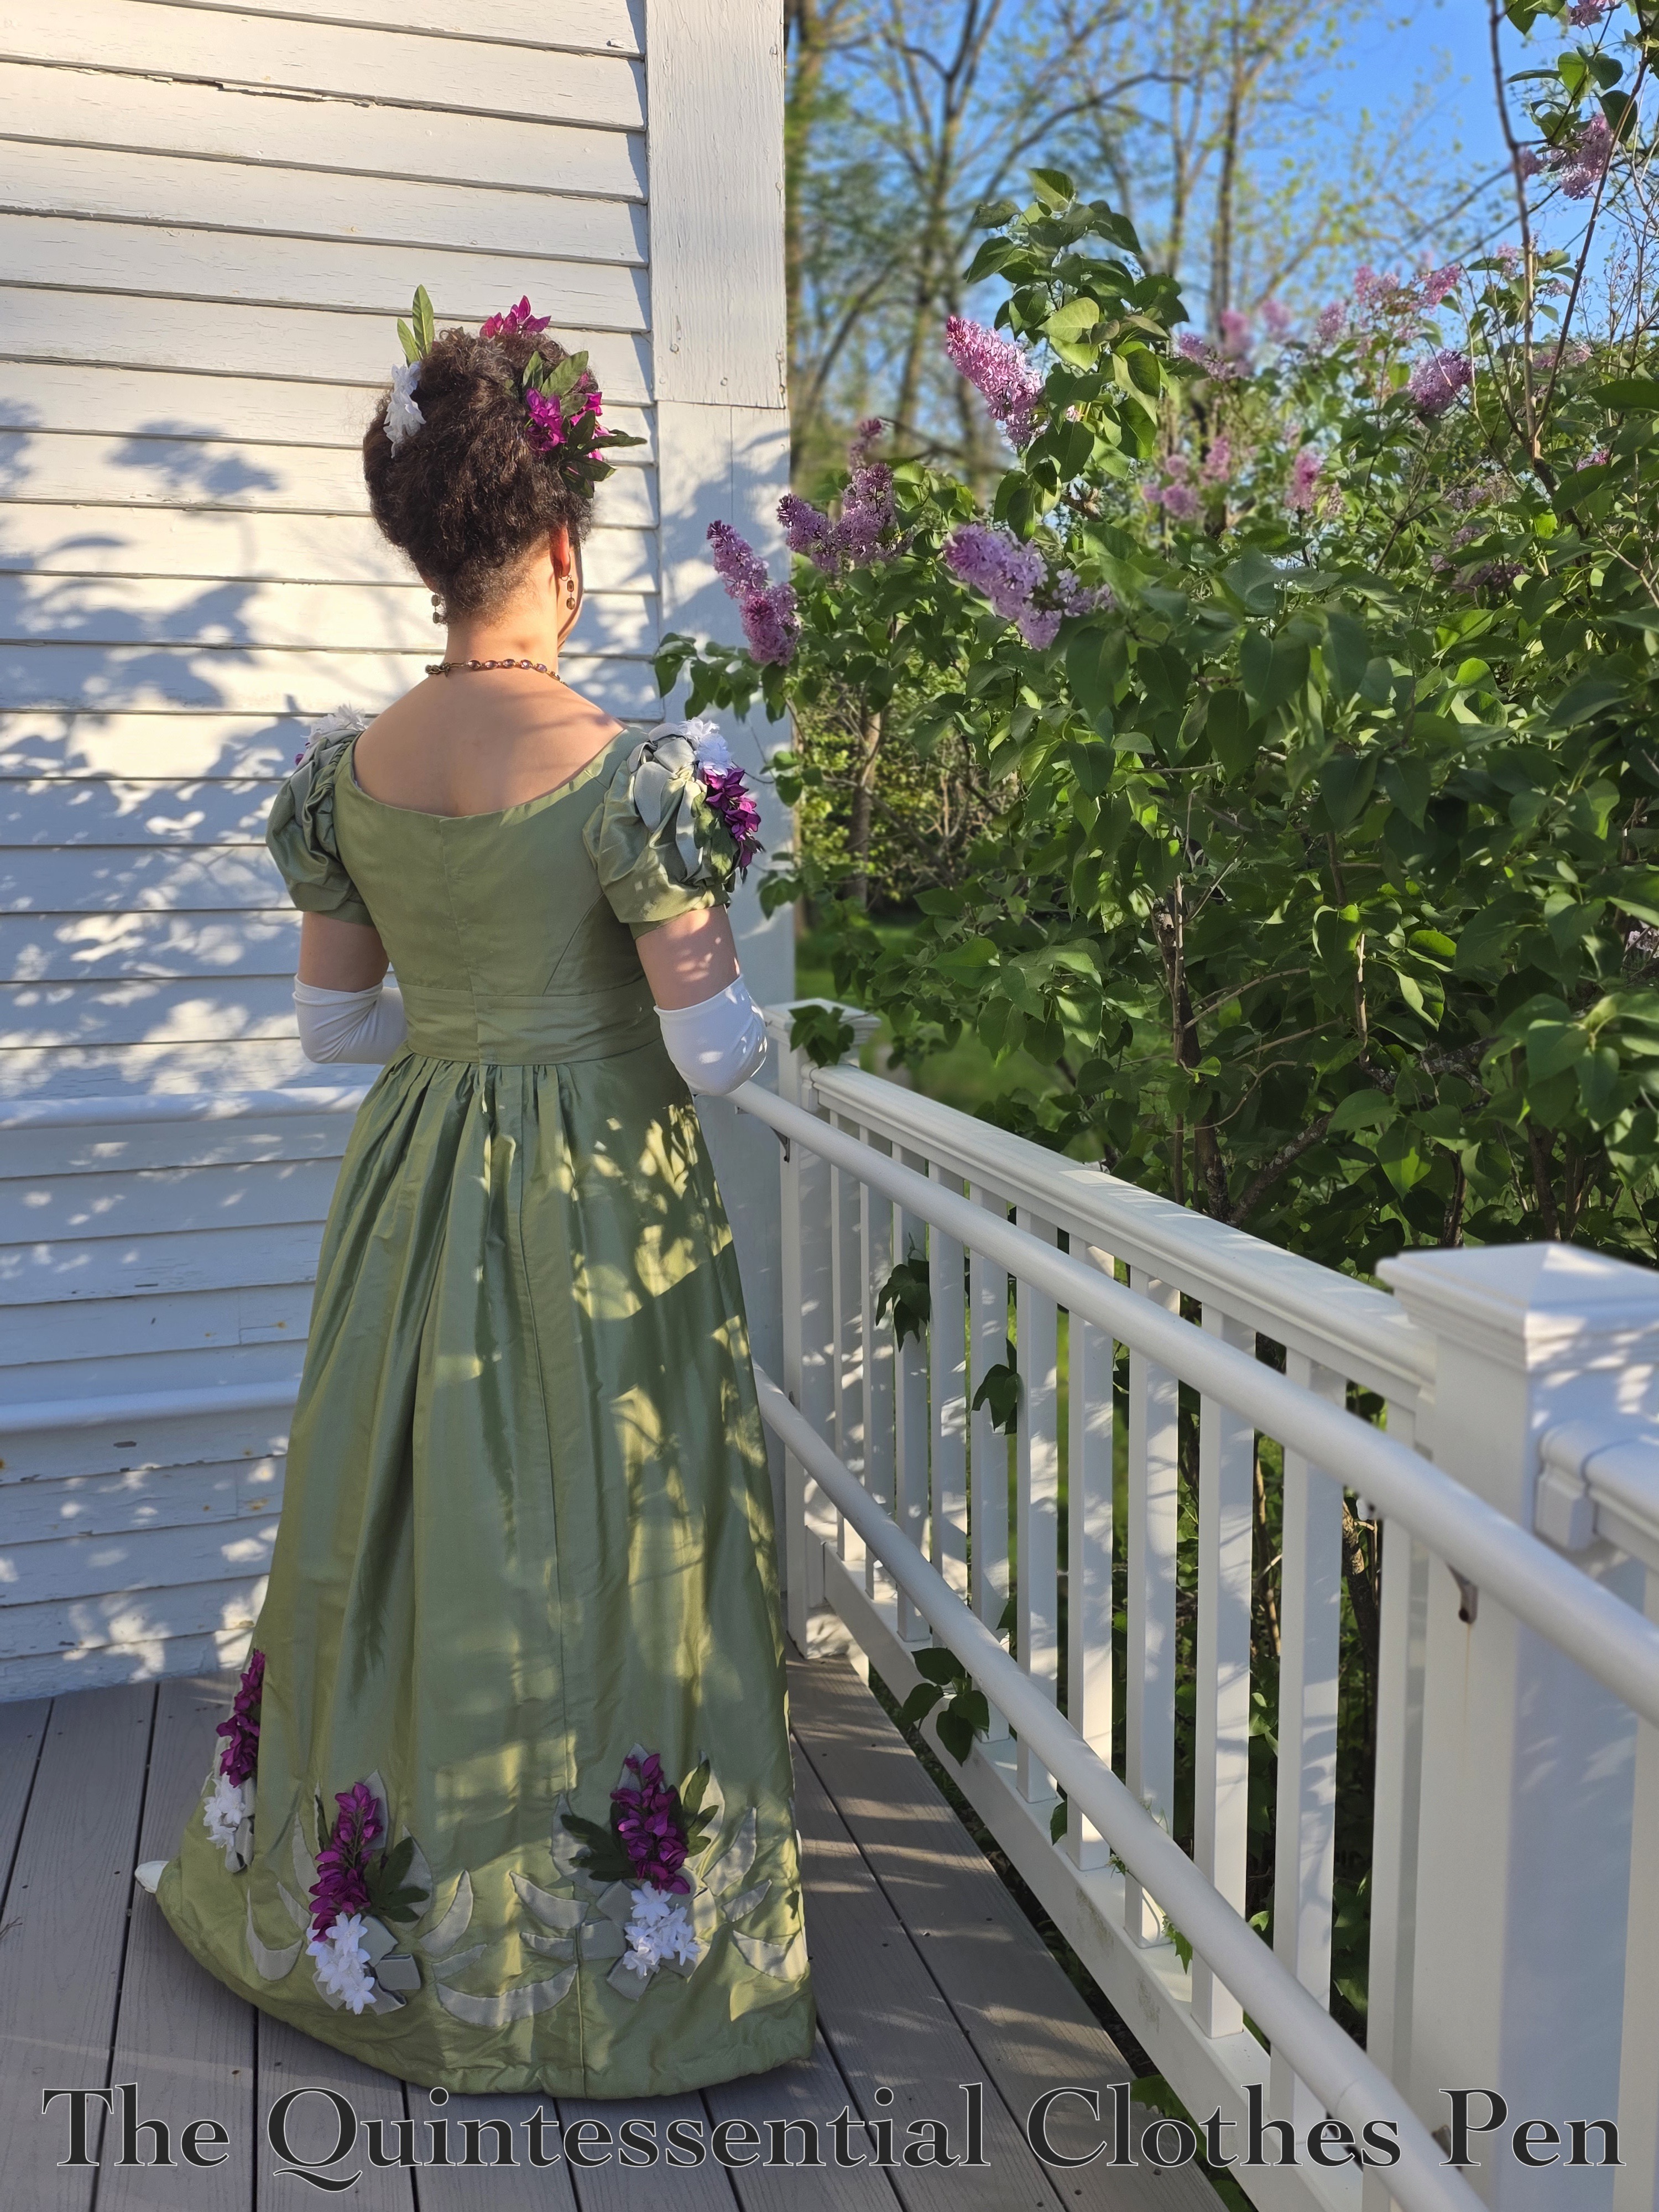
1824 Blossoms Coiffure

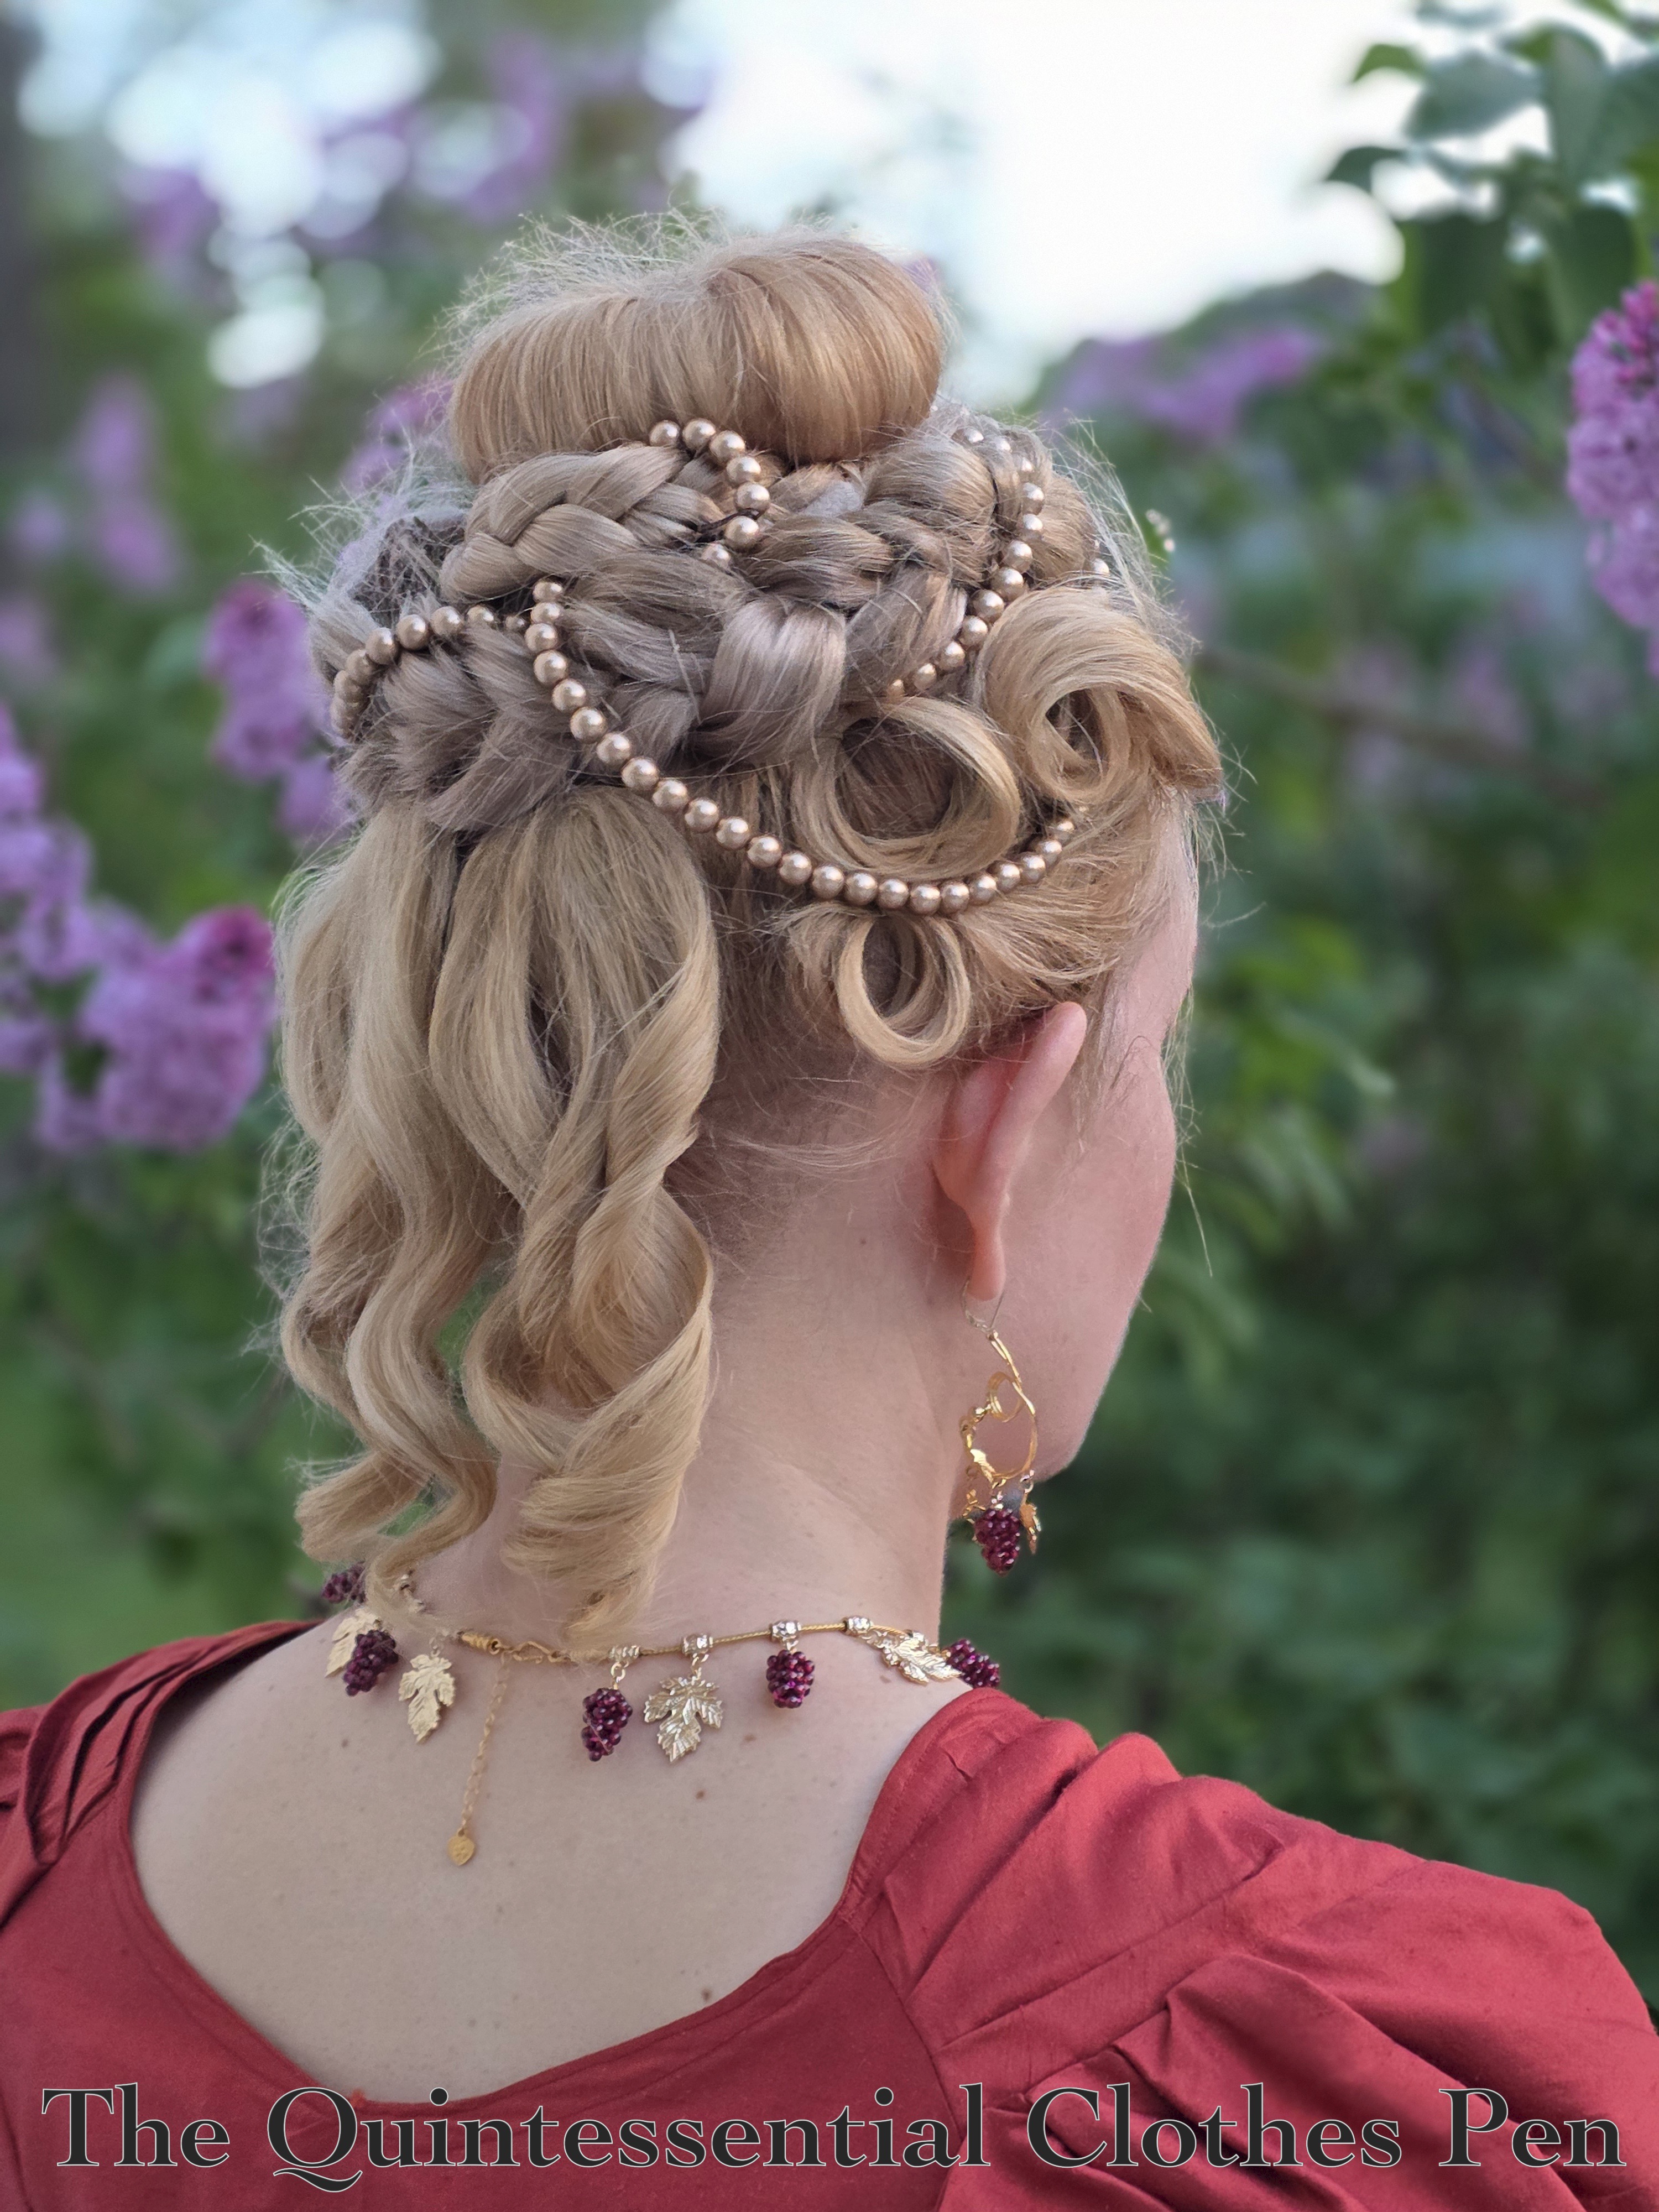
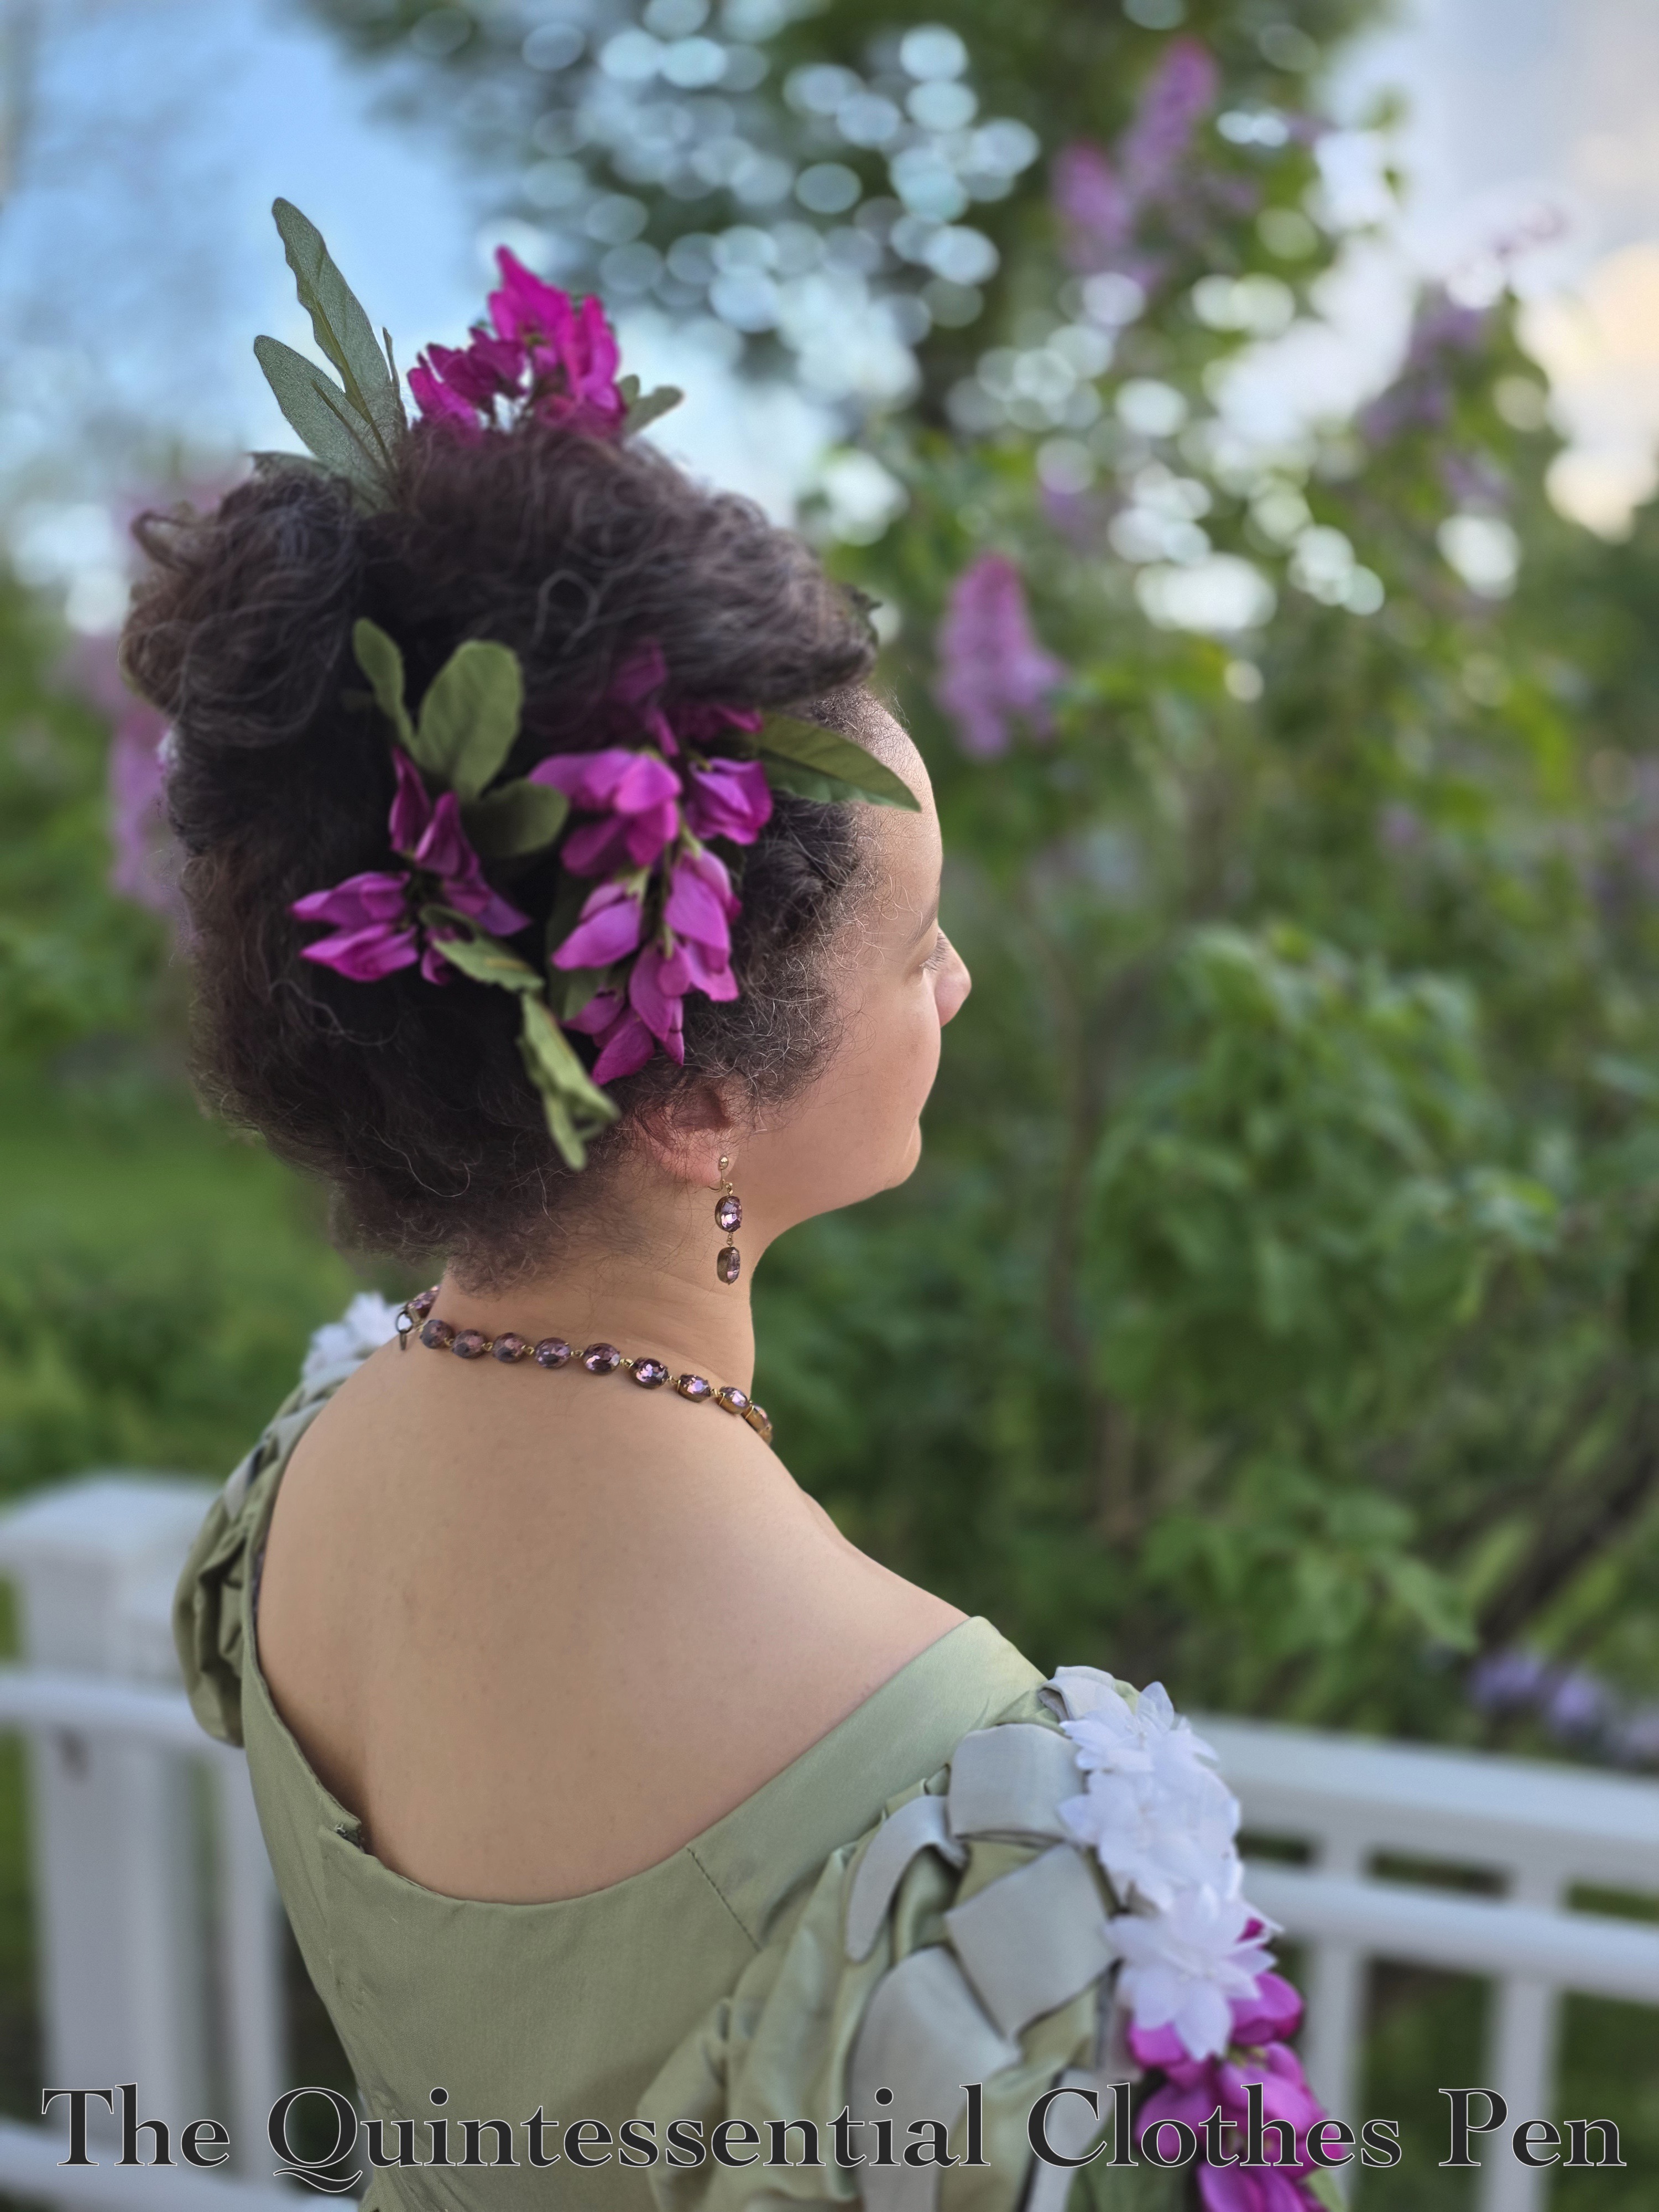
I had so much fun creating a hairstyle to go with the re-imagined 1824 dress I recently posted about! In addition to some more subdued styles with braids and buns, the 1820s and 1830s can often have wild styles with flowers, greenery, loops, and puffs sticking out every which way!

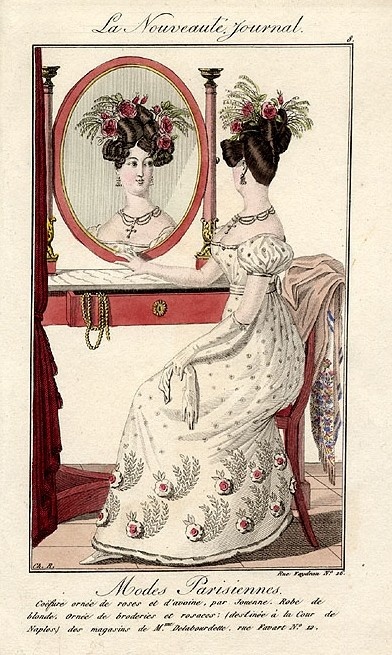
I’ve attempted these before, but wanted to try again. And this time, I was specifically inspired to do a twist with the hair on the back of my head, as in the fashion plate below from Modes Parisiennes in 1825.

Modes Parisiennes 1825

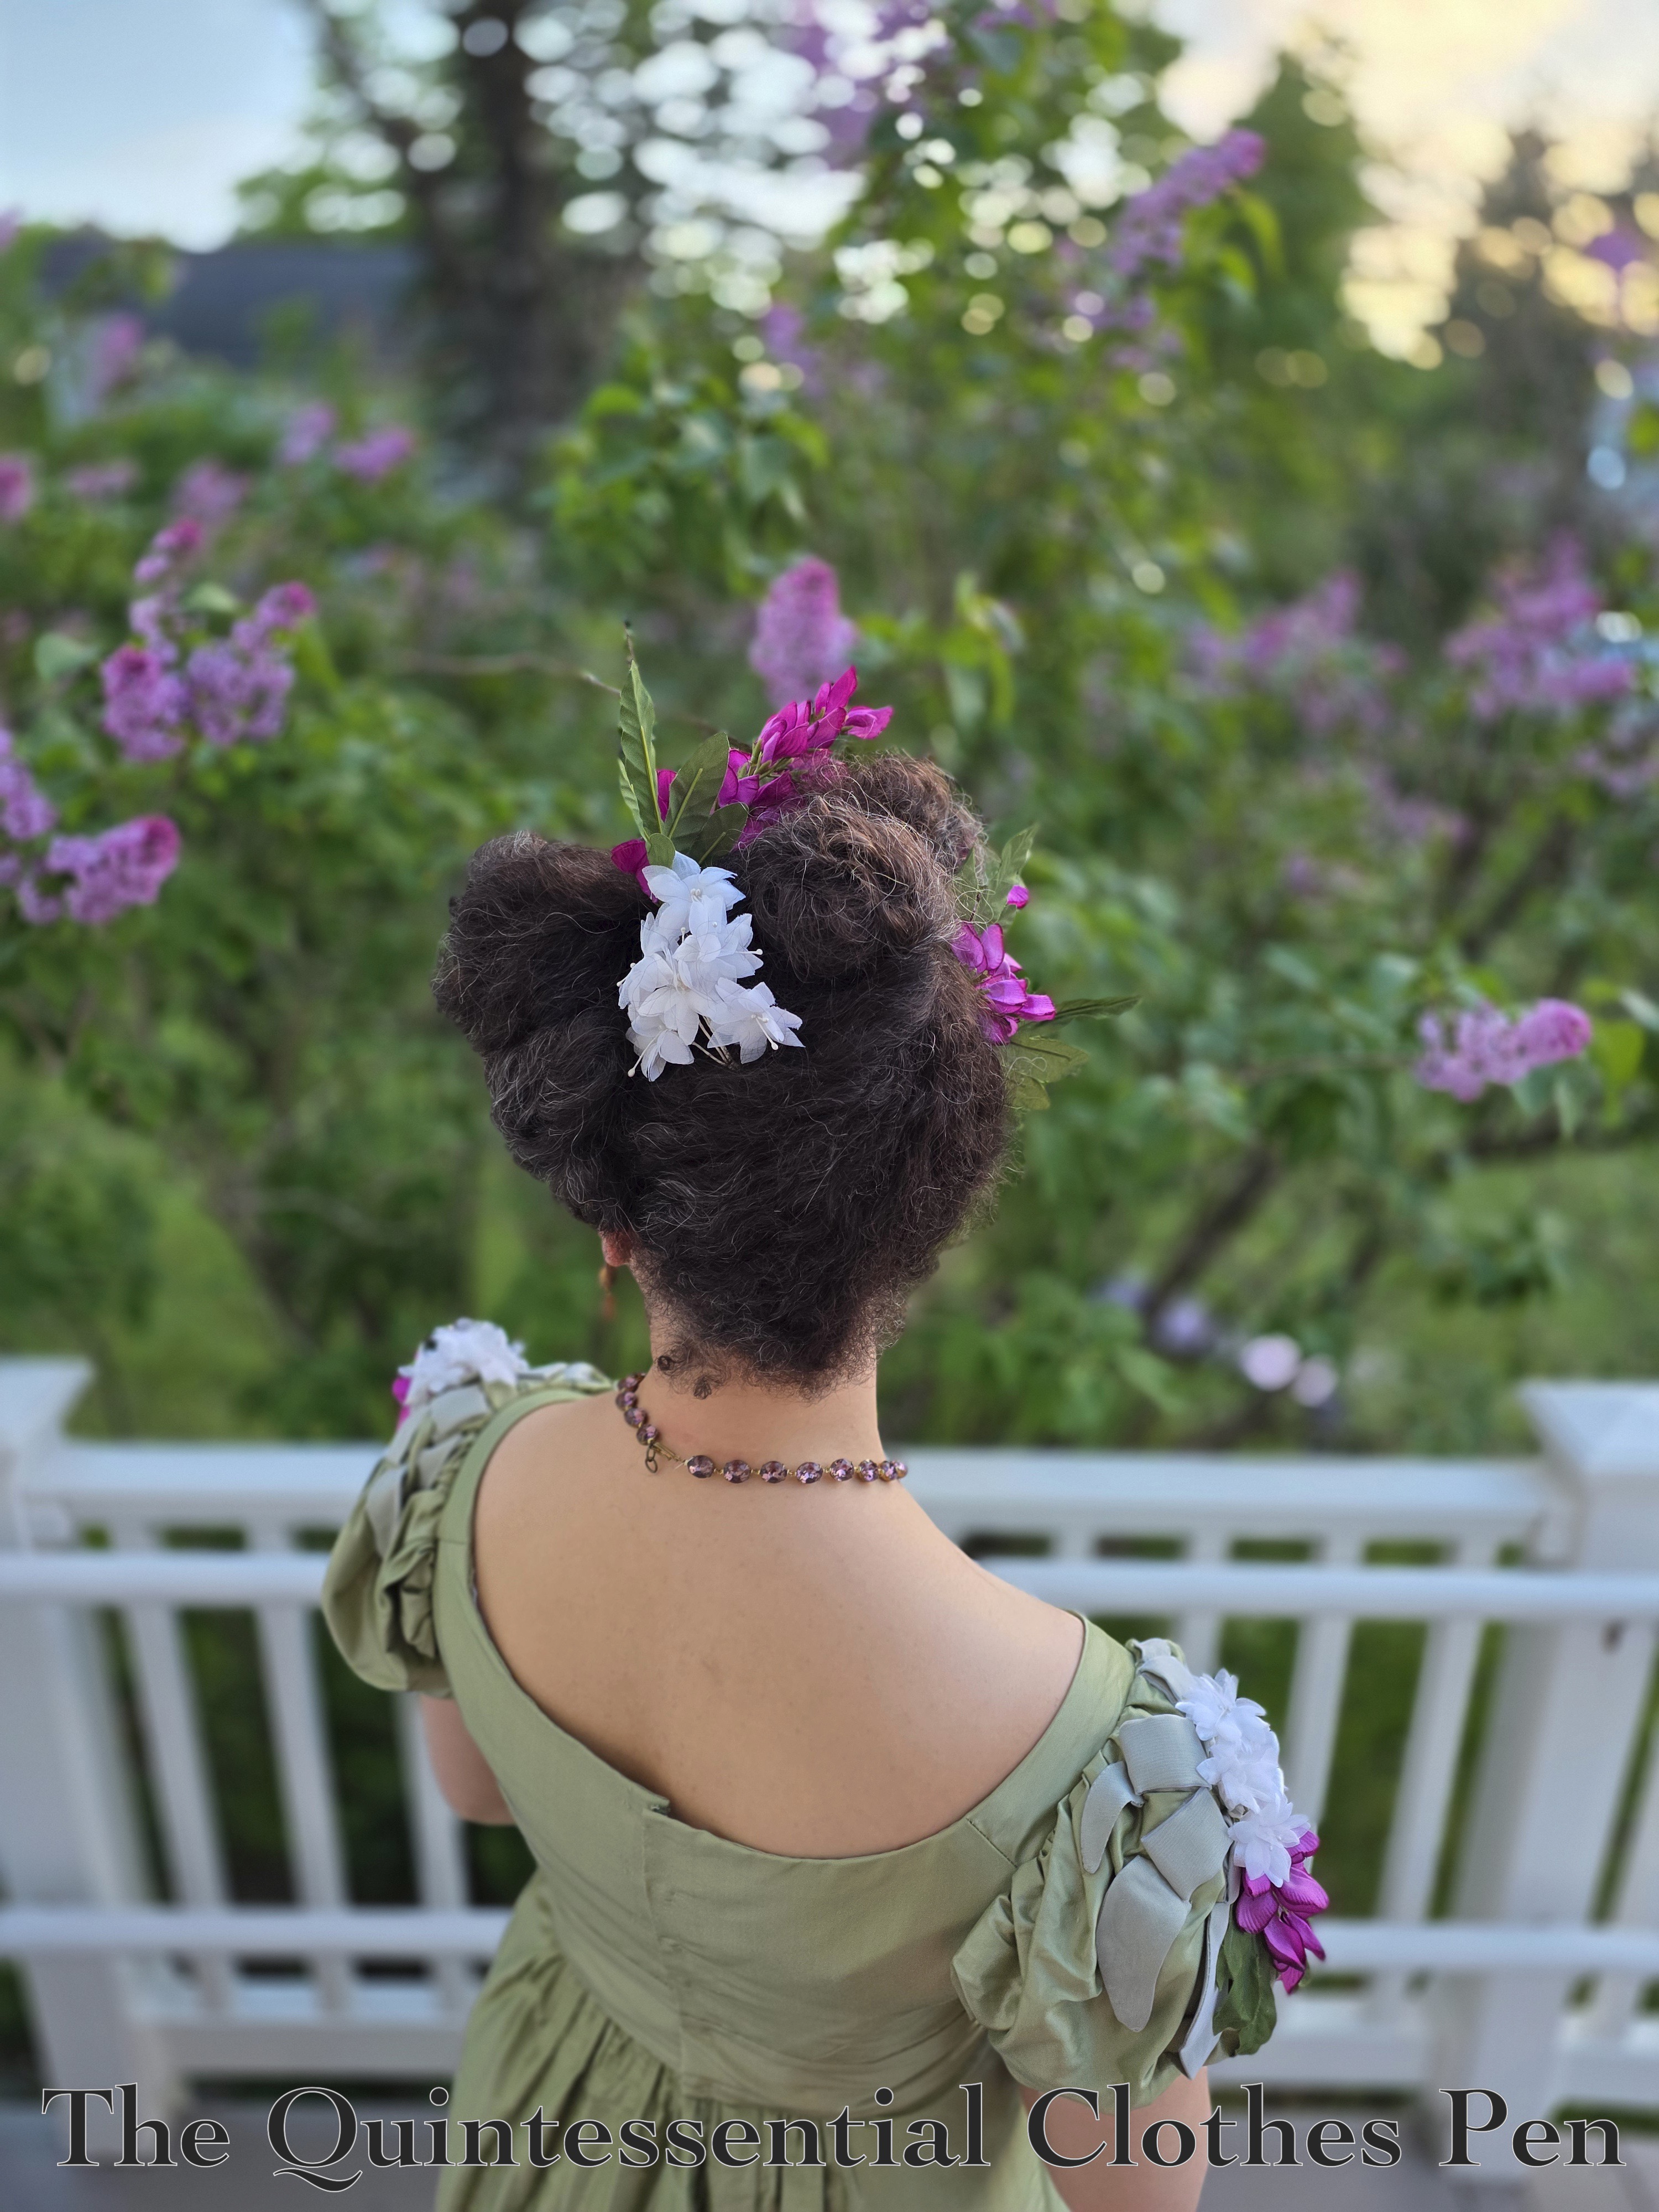
A twist! With flowers stuck in the coiffure and sticking out at all angles!
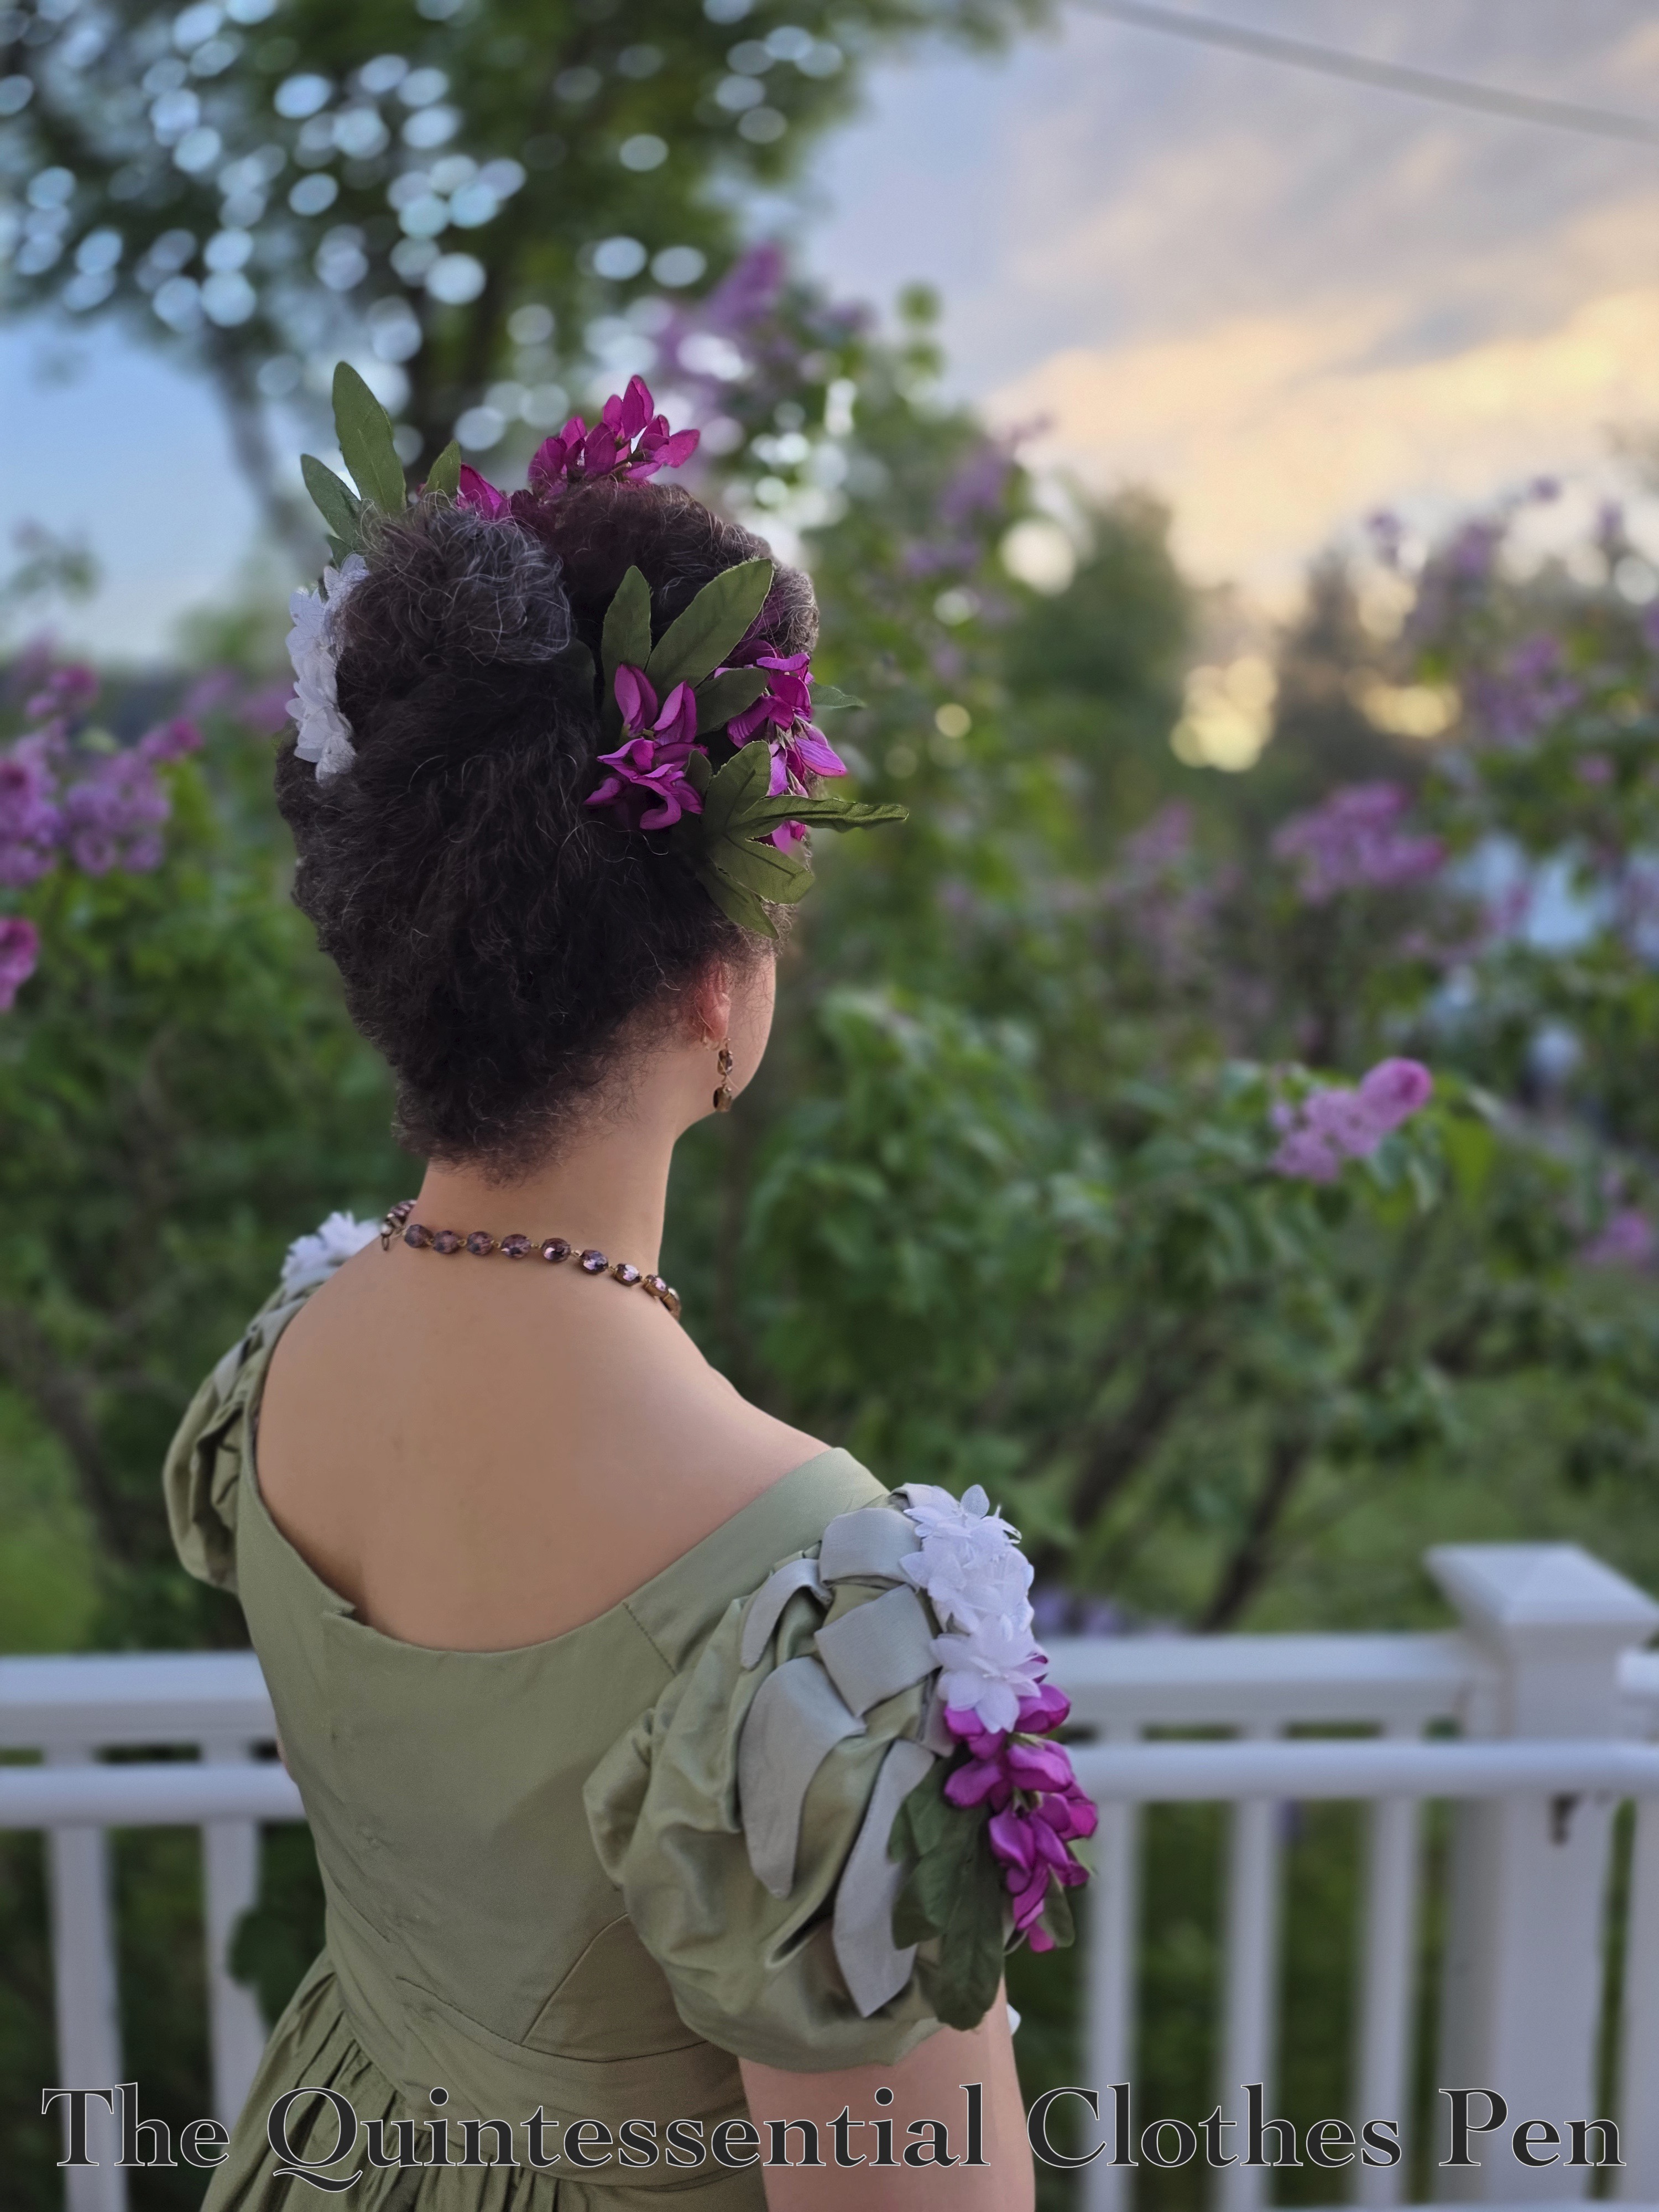
The setting, with the sunset and lilacs, was such a perfect backdrop for the green dress ornamented with purple and white flowers and green leaves.

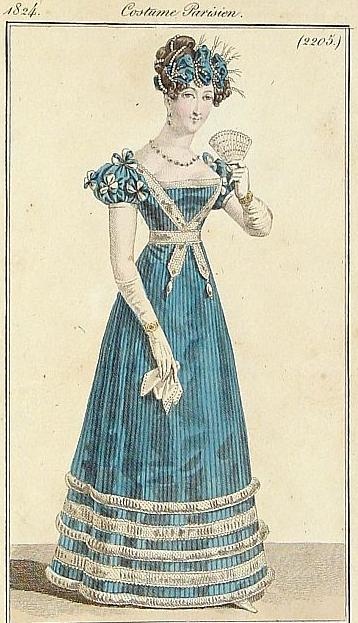
Another fashion plate provided inspiration for a friend’s coiffure, as well. We wove a strand of gold beads through her hair in the style of the fashion plate below from Costume Parisien in 1824.

Modes Parisiennes 1825

More magic in this finished hair style!

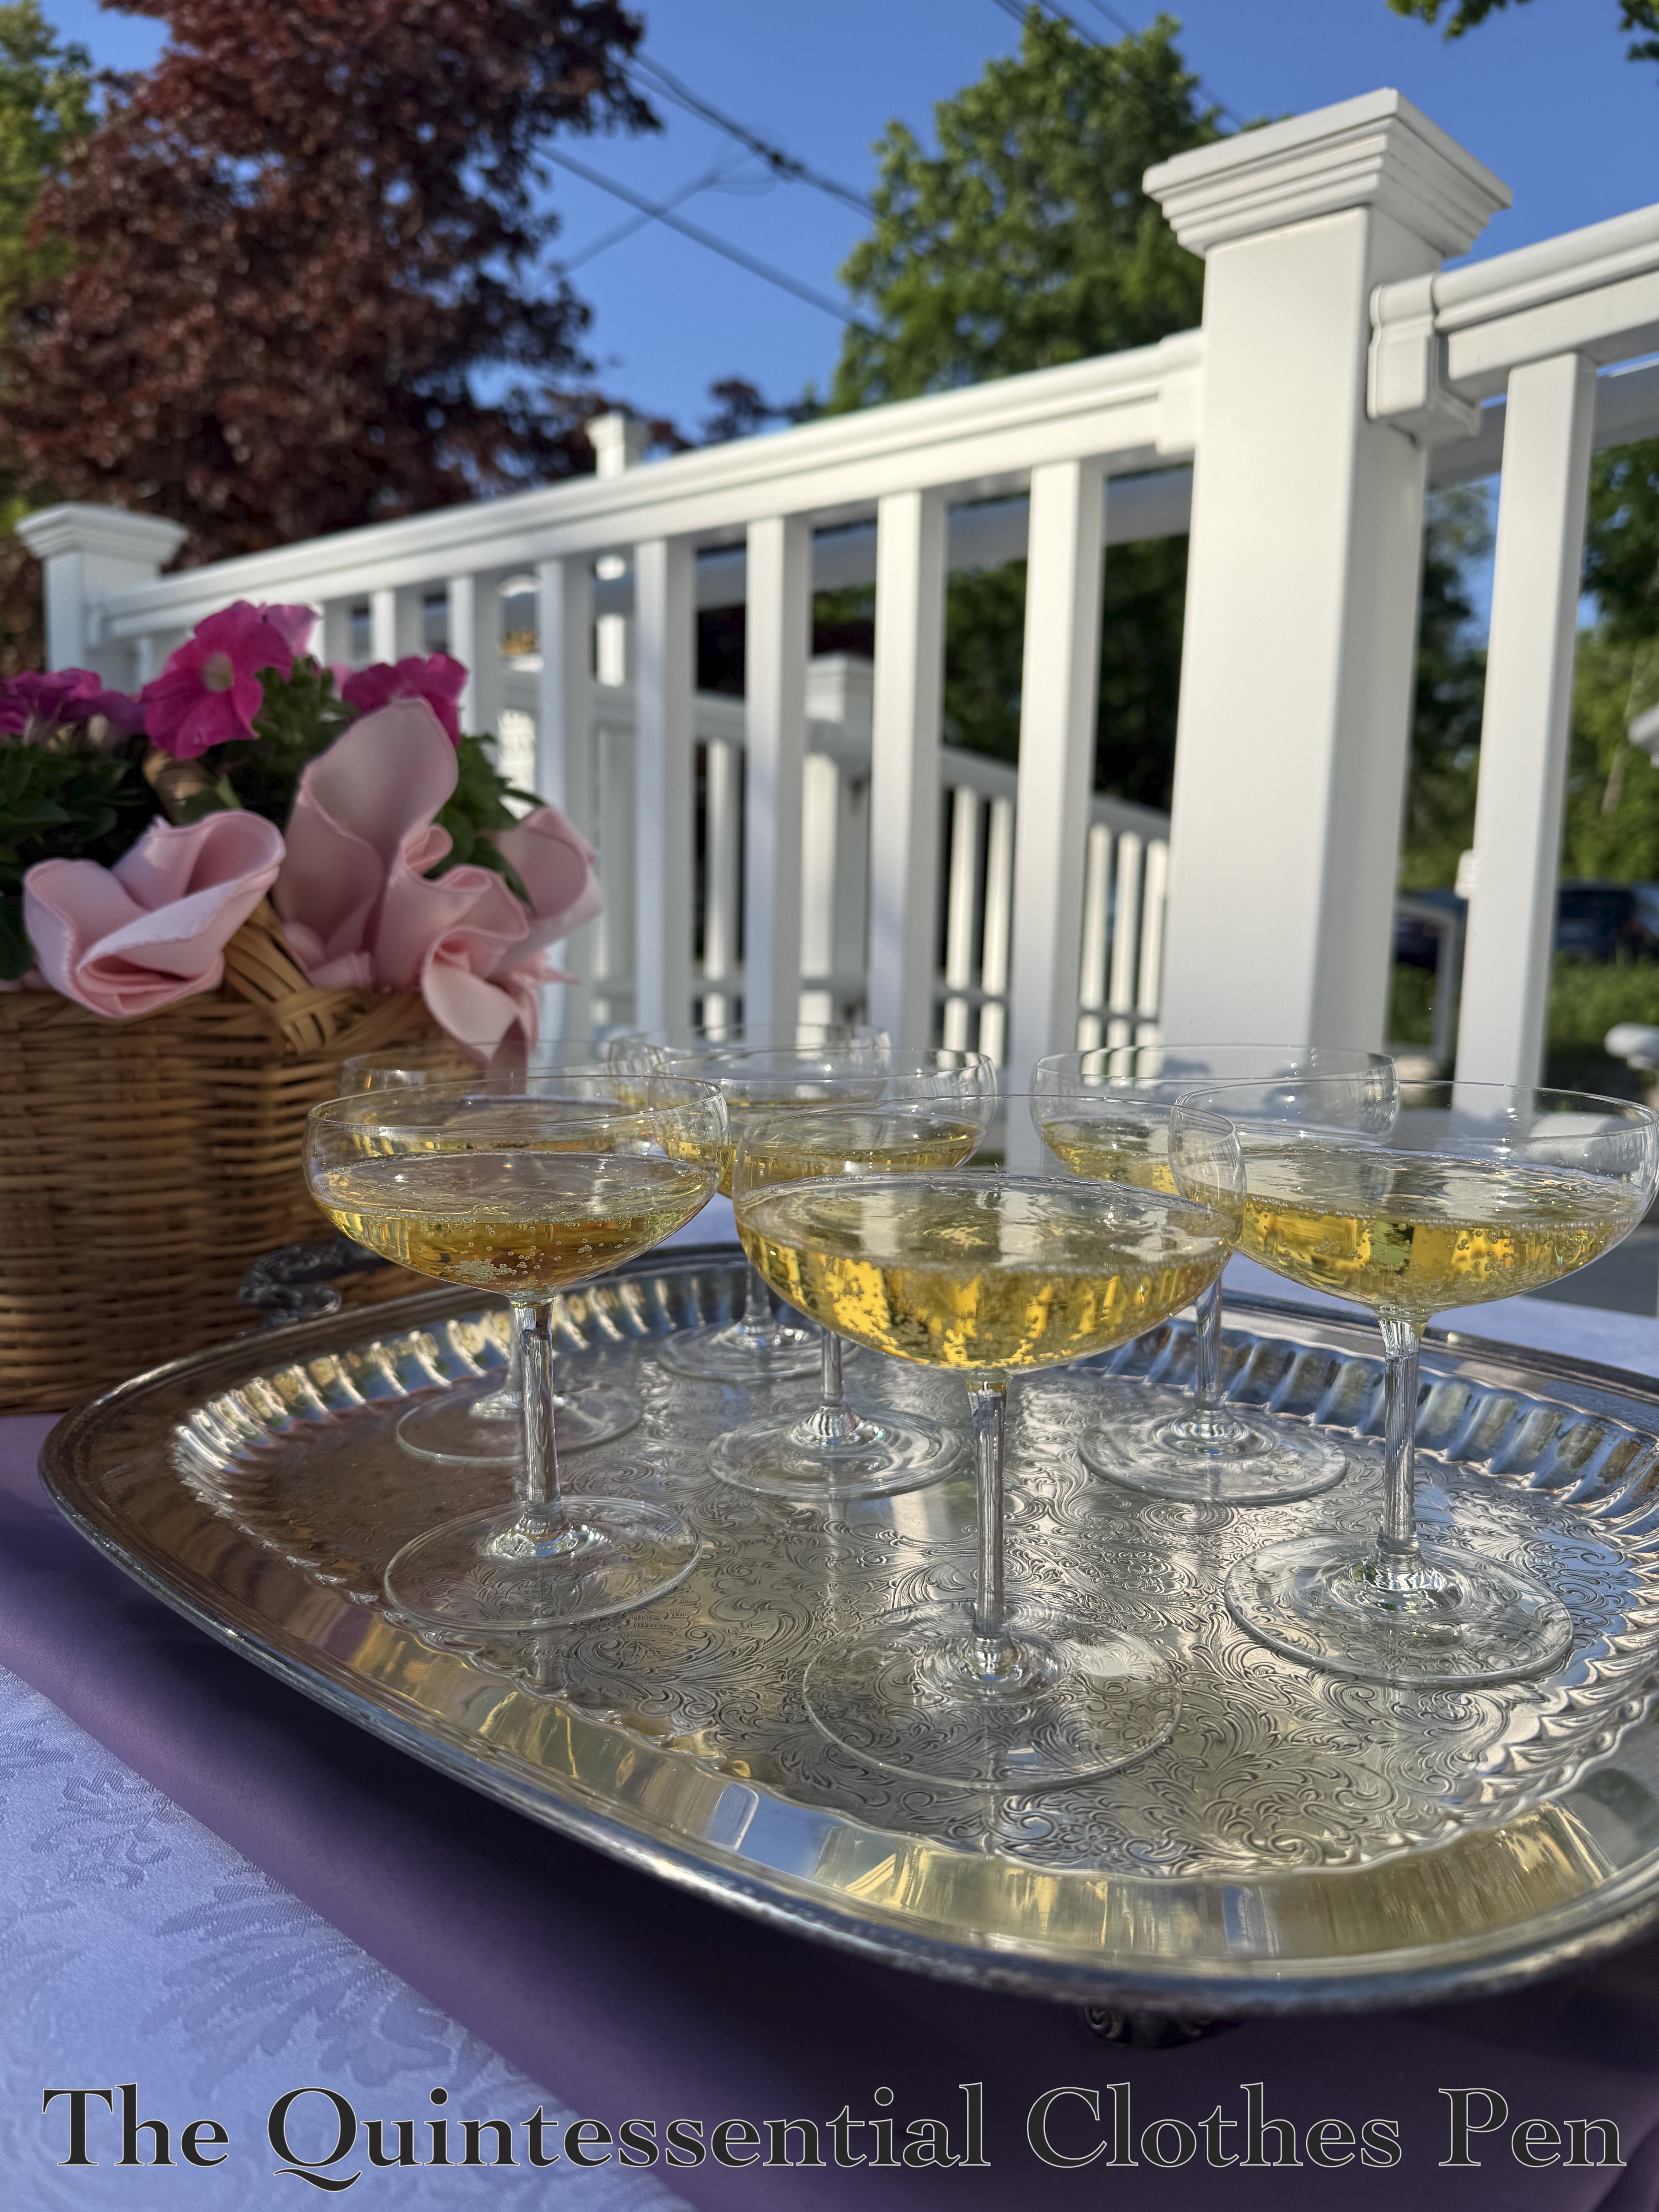
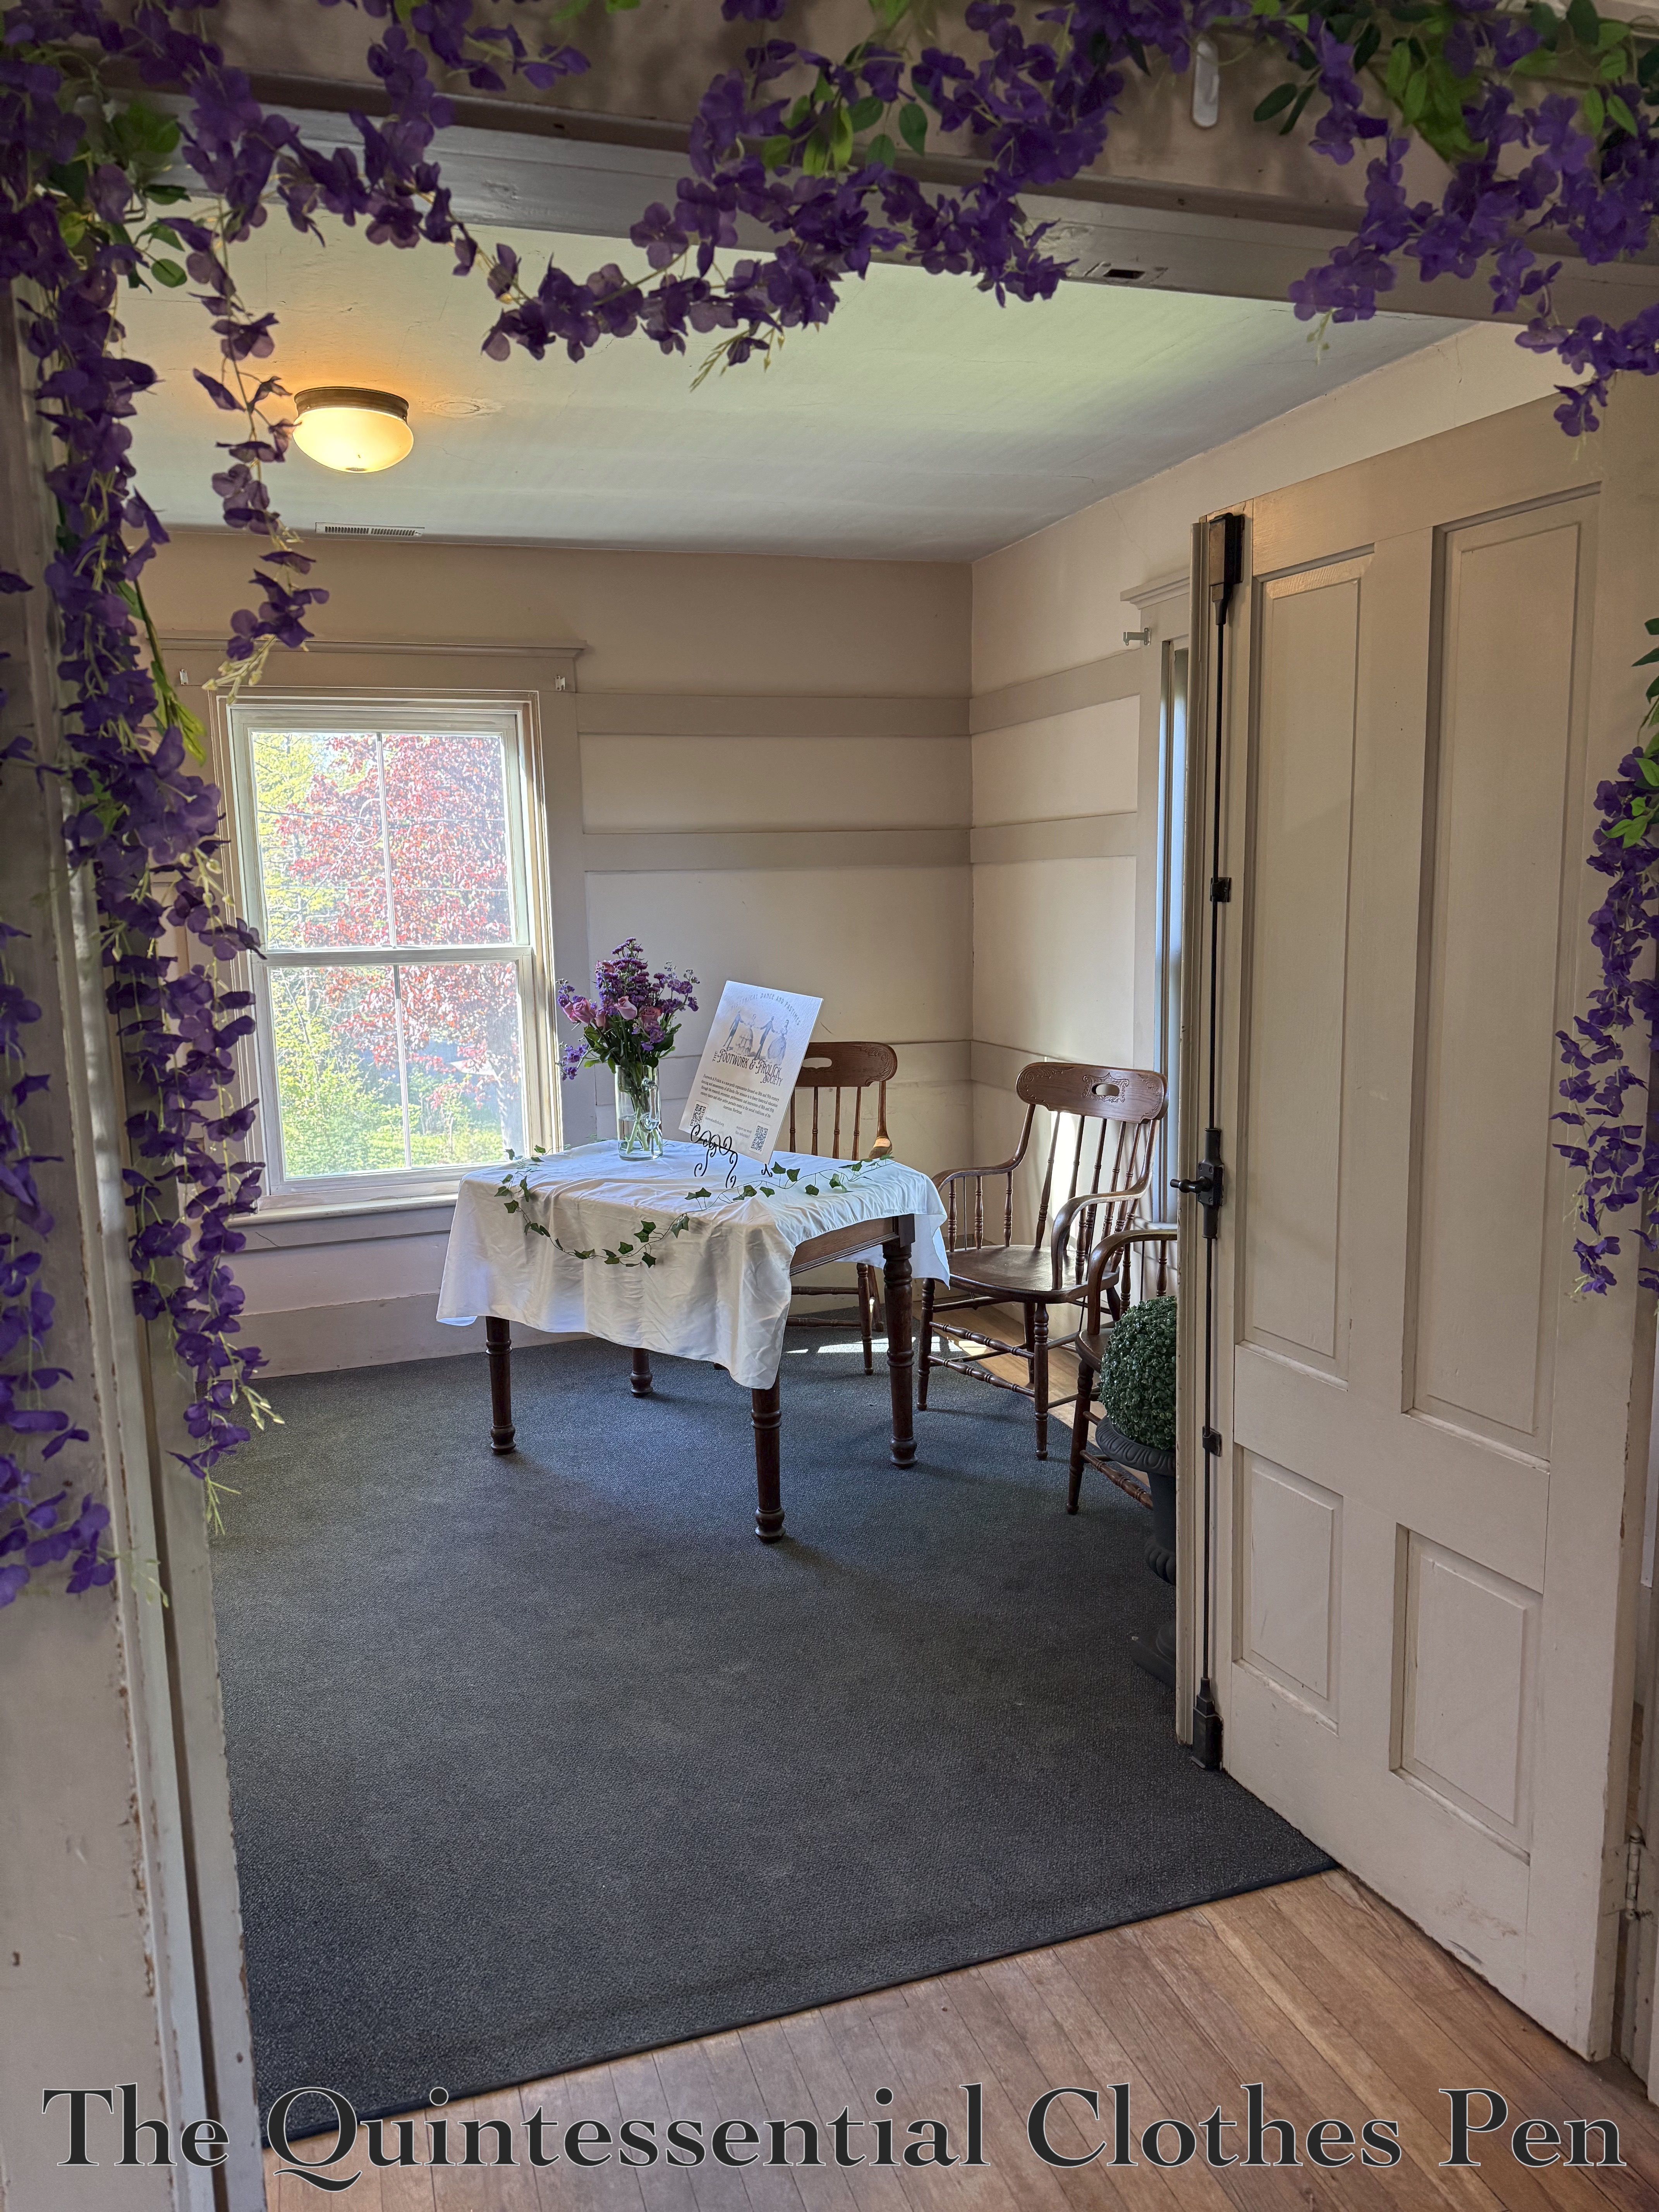
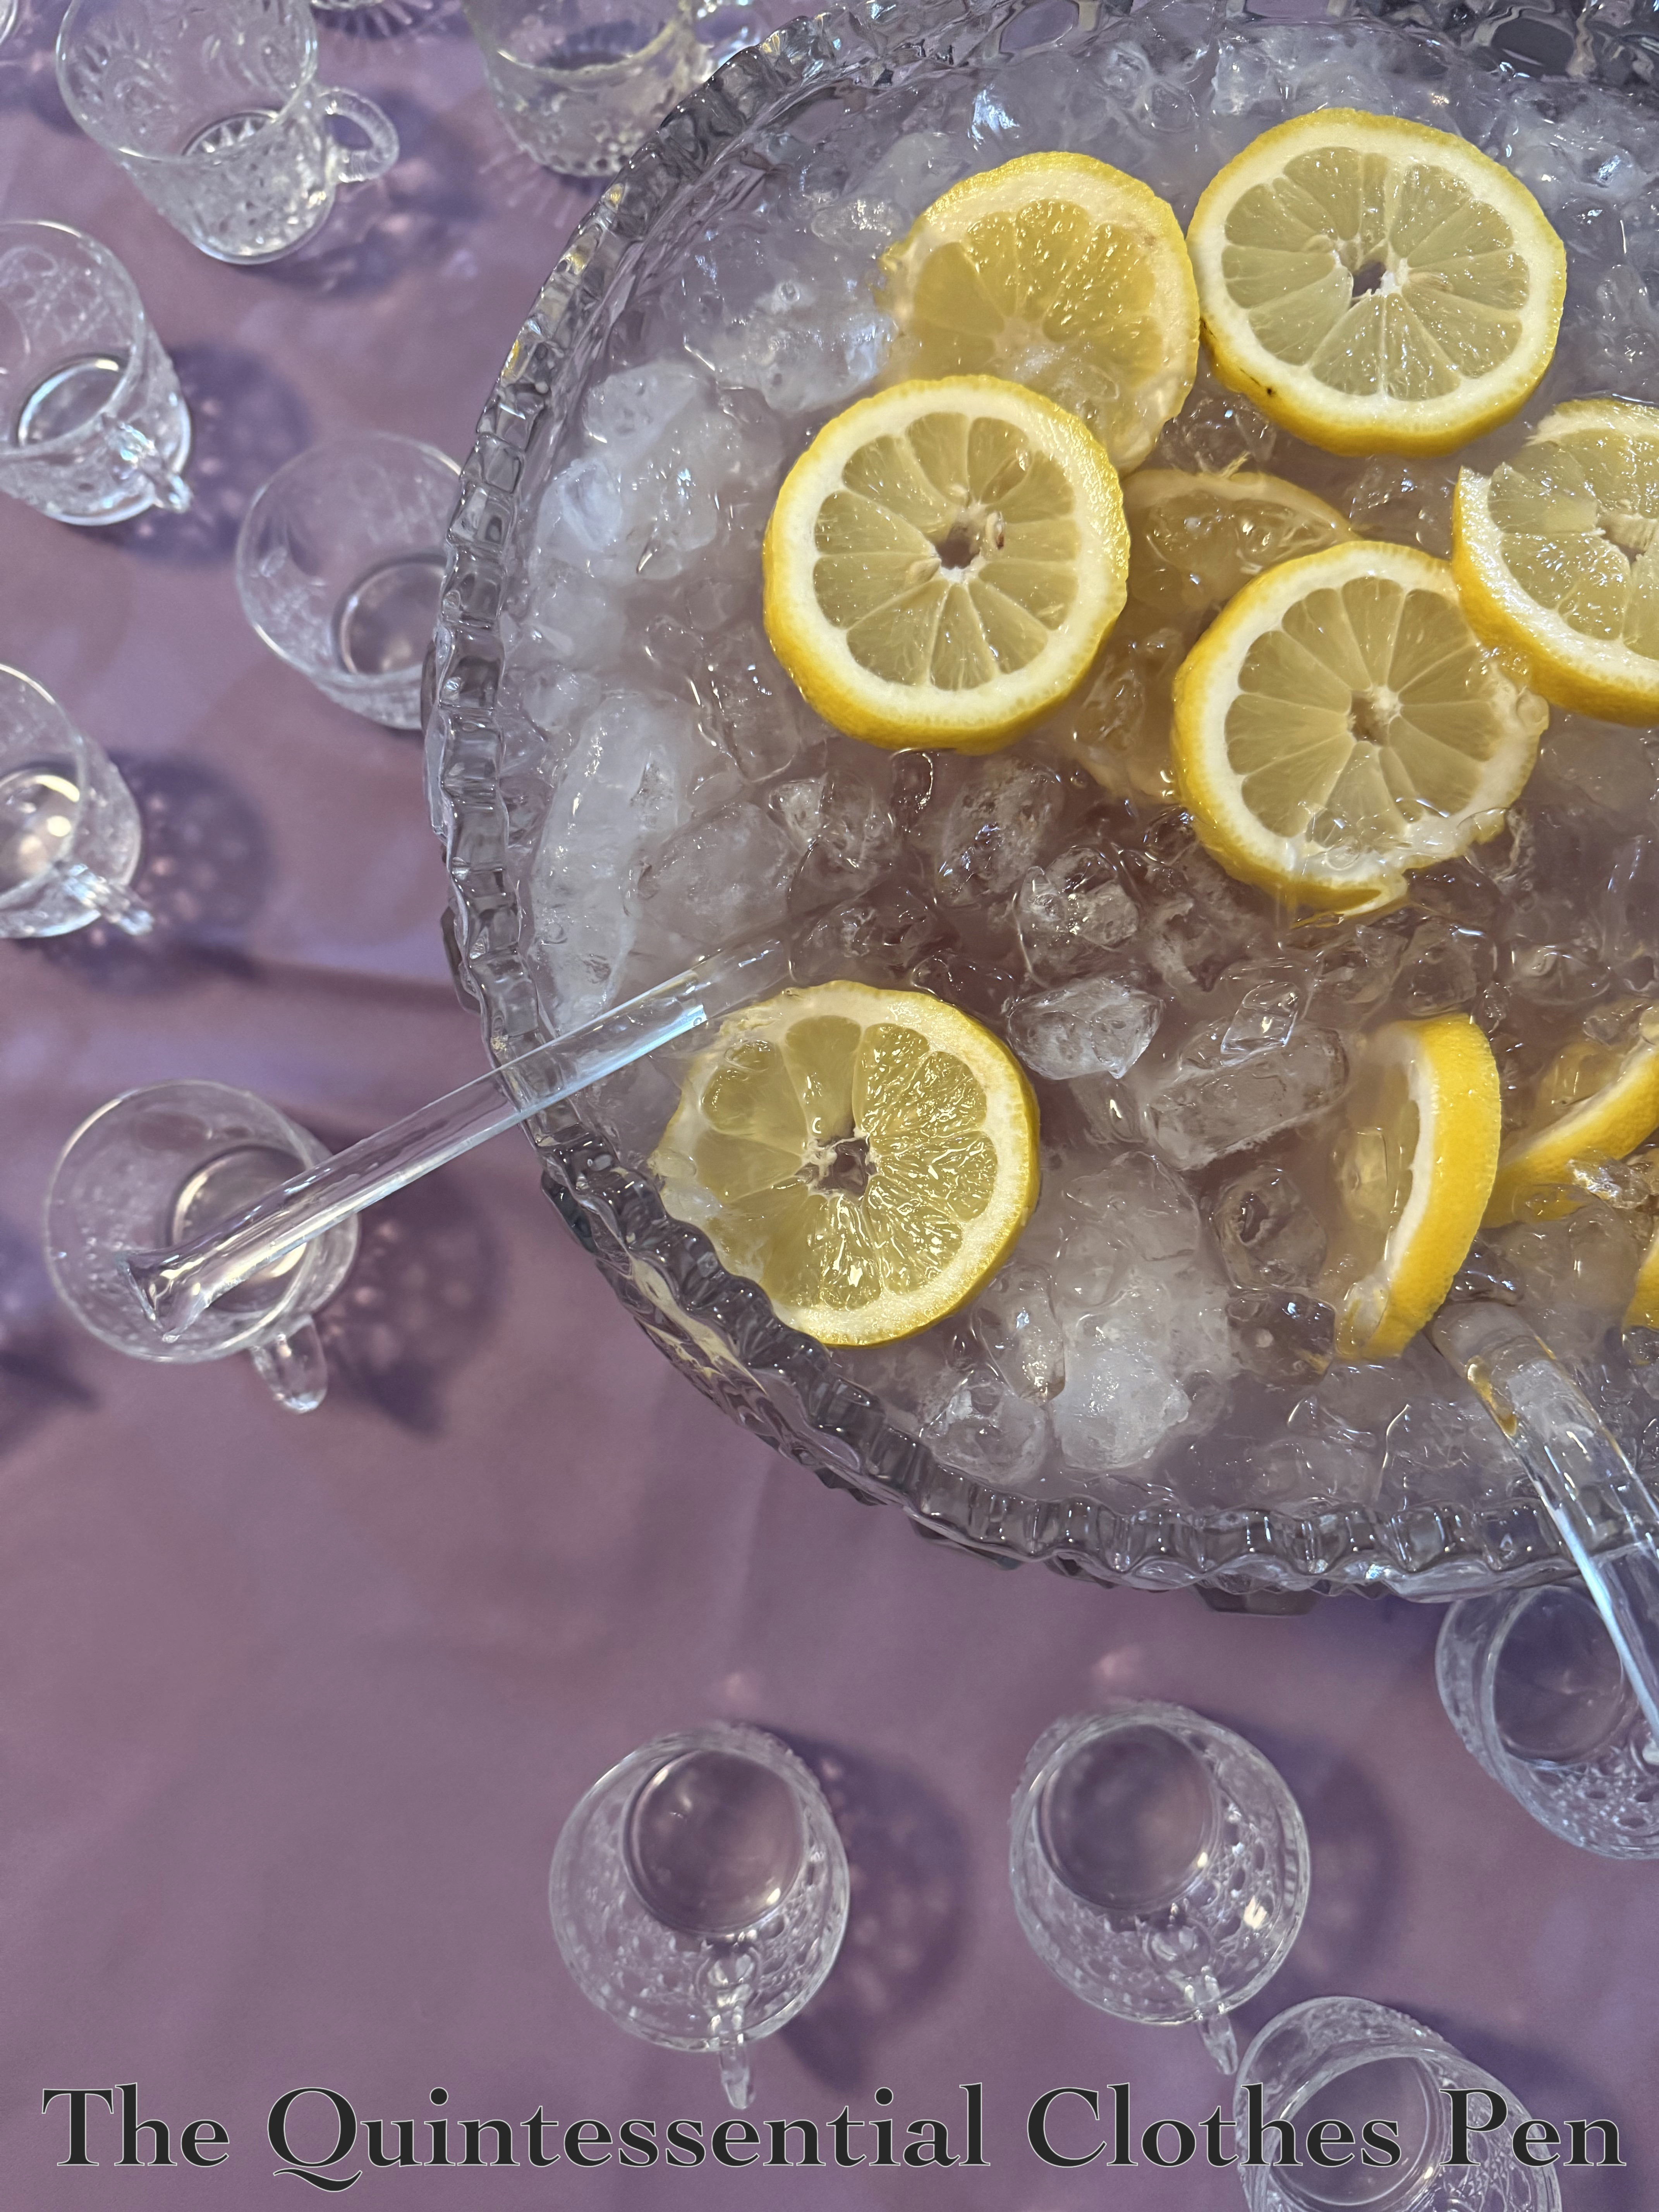
Both coiffures were worn for The Footwork and Frolick Society’s Blossoms Ball. Here are a few lovely photos from the ball to provide an even greater sense of the atmosphere.

Thanks for enjoying the scenery with me!

Project Journal: 1822-1824 Ensemble Part VIII: 1824 Dress Re-Imagined (HSM #1)

Sweeping views, a gold tinged sunset, lilacs in full bloom… and a re-work of an old dress!

Backstory

Back in 2014 I was on an 1820s kick, making undergarments and multiple outfits for dancing and staying warm while out in the winter. I shared about the design, construction process, and wearing of these garments in a Project Journal series of posts (hence the name of this blog post, which is installment VIII in this series). This link will take you to the full project journal. I wore these 1820s outfits over the next number of years, discovering different small details I wasn’t completely happy with and letting out this green dress in the sleeve circumference and back closure, in particular, to adapt to my size around 2015.

The small details that never quite made me happy included:

  • The way the skirt hung in the front with an outward fold rather than flat with a more exaggerated A-line silhouette.
  • The length, which was a little shorter than I liked the proportions of.
  • The fact that the appliquéd organza trim didn’t have quite the impact I was hoping for. I was actually a little bored with it.

Re-Imagining

I had an upcoming event to wear the updated dress to and theme was a “blossoms ball!” So as I was brainstorming about the trim I thought “perhaps I need to add more flowers!” Here is the finished result.
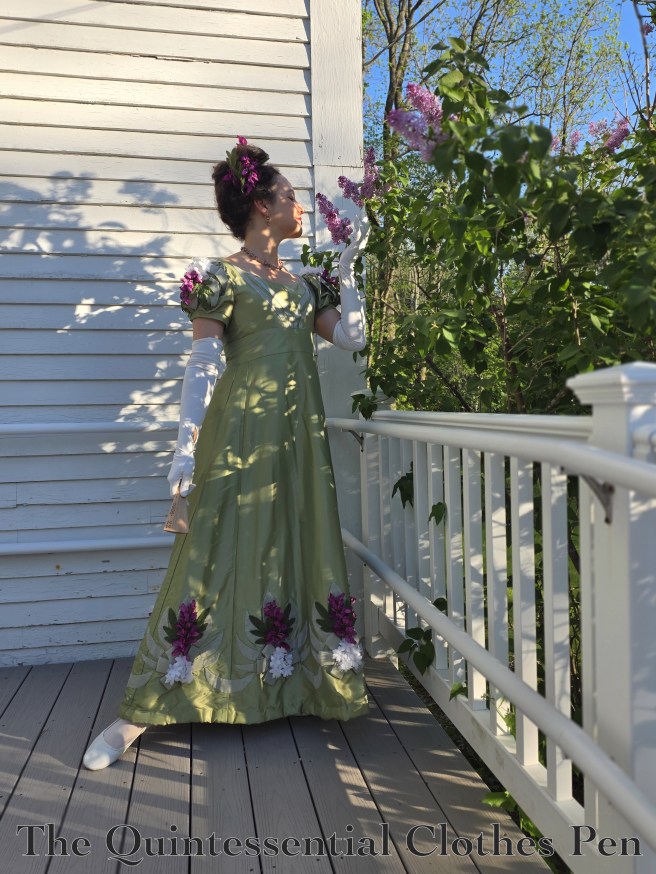
Let me explain the updates. The first goal was to lengthen the hem. I had actually left length on the bodice that could have been used to add overall length by resetting the waistband a lower position, but the silk fabric had permanent holes from the stitching that were quite visible, so this wasn’t a viable option. My solution was to make a new, wider waistband. This would drop the hem while also shifting the proportions just a bit to be more flattering. I still had a yard or so of this fabric carefully stashed away and cataloged (you can read about my stash system in this past post if you’re interested), so the materials part was easy.

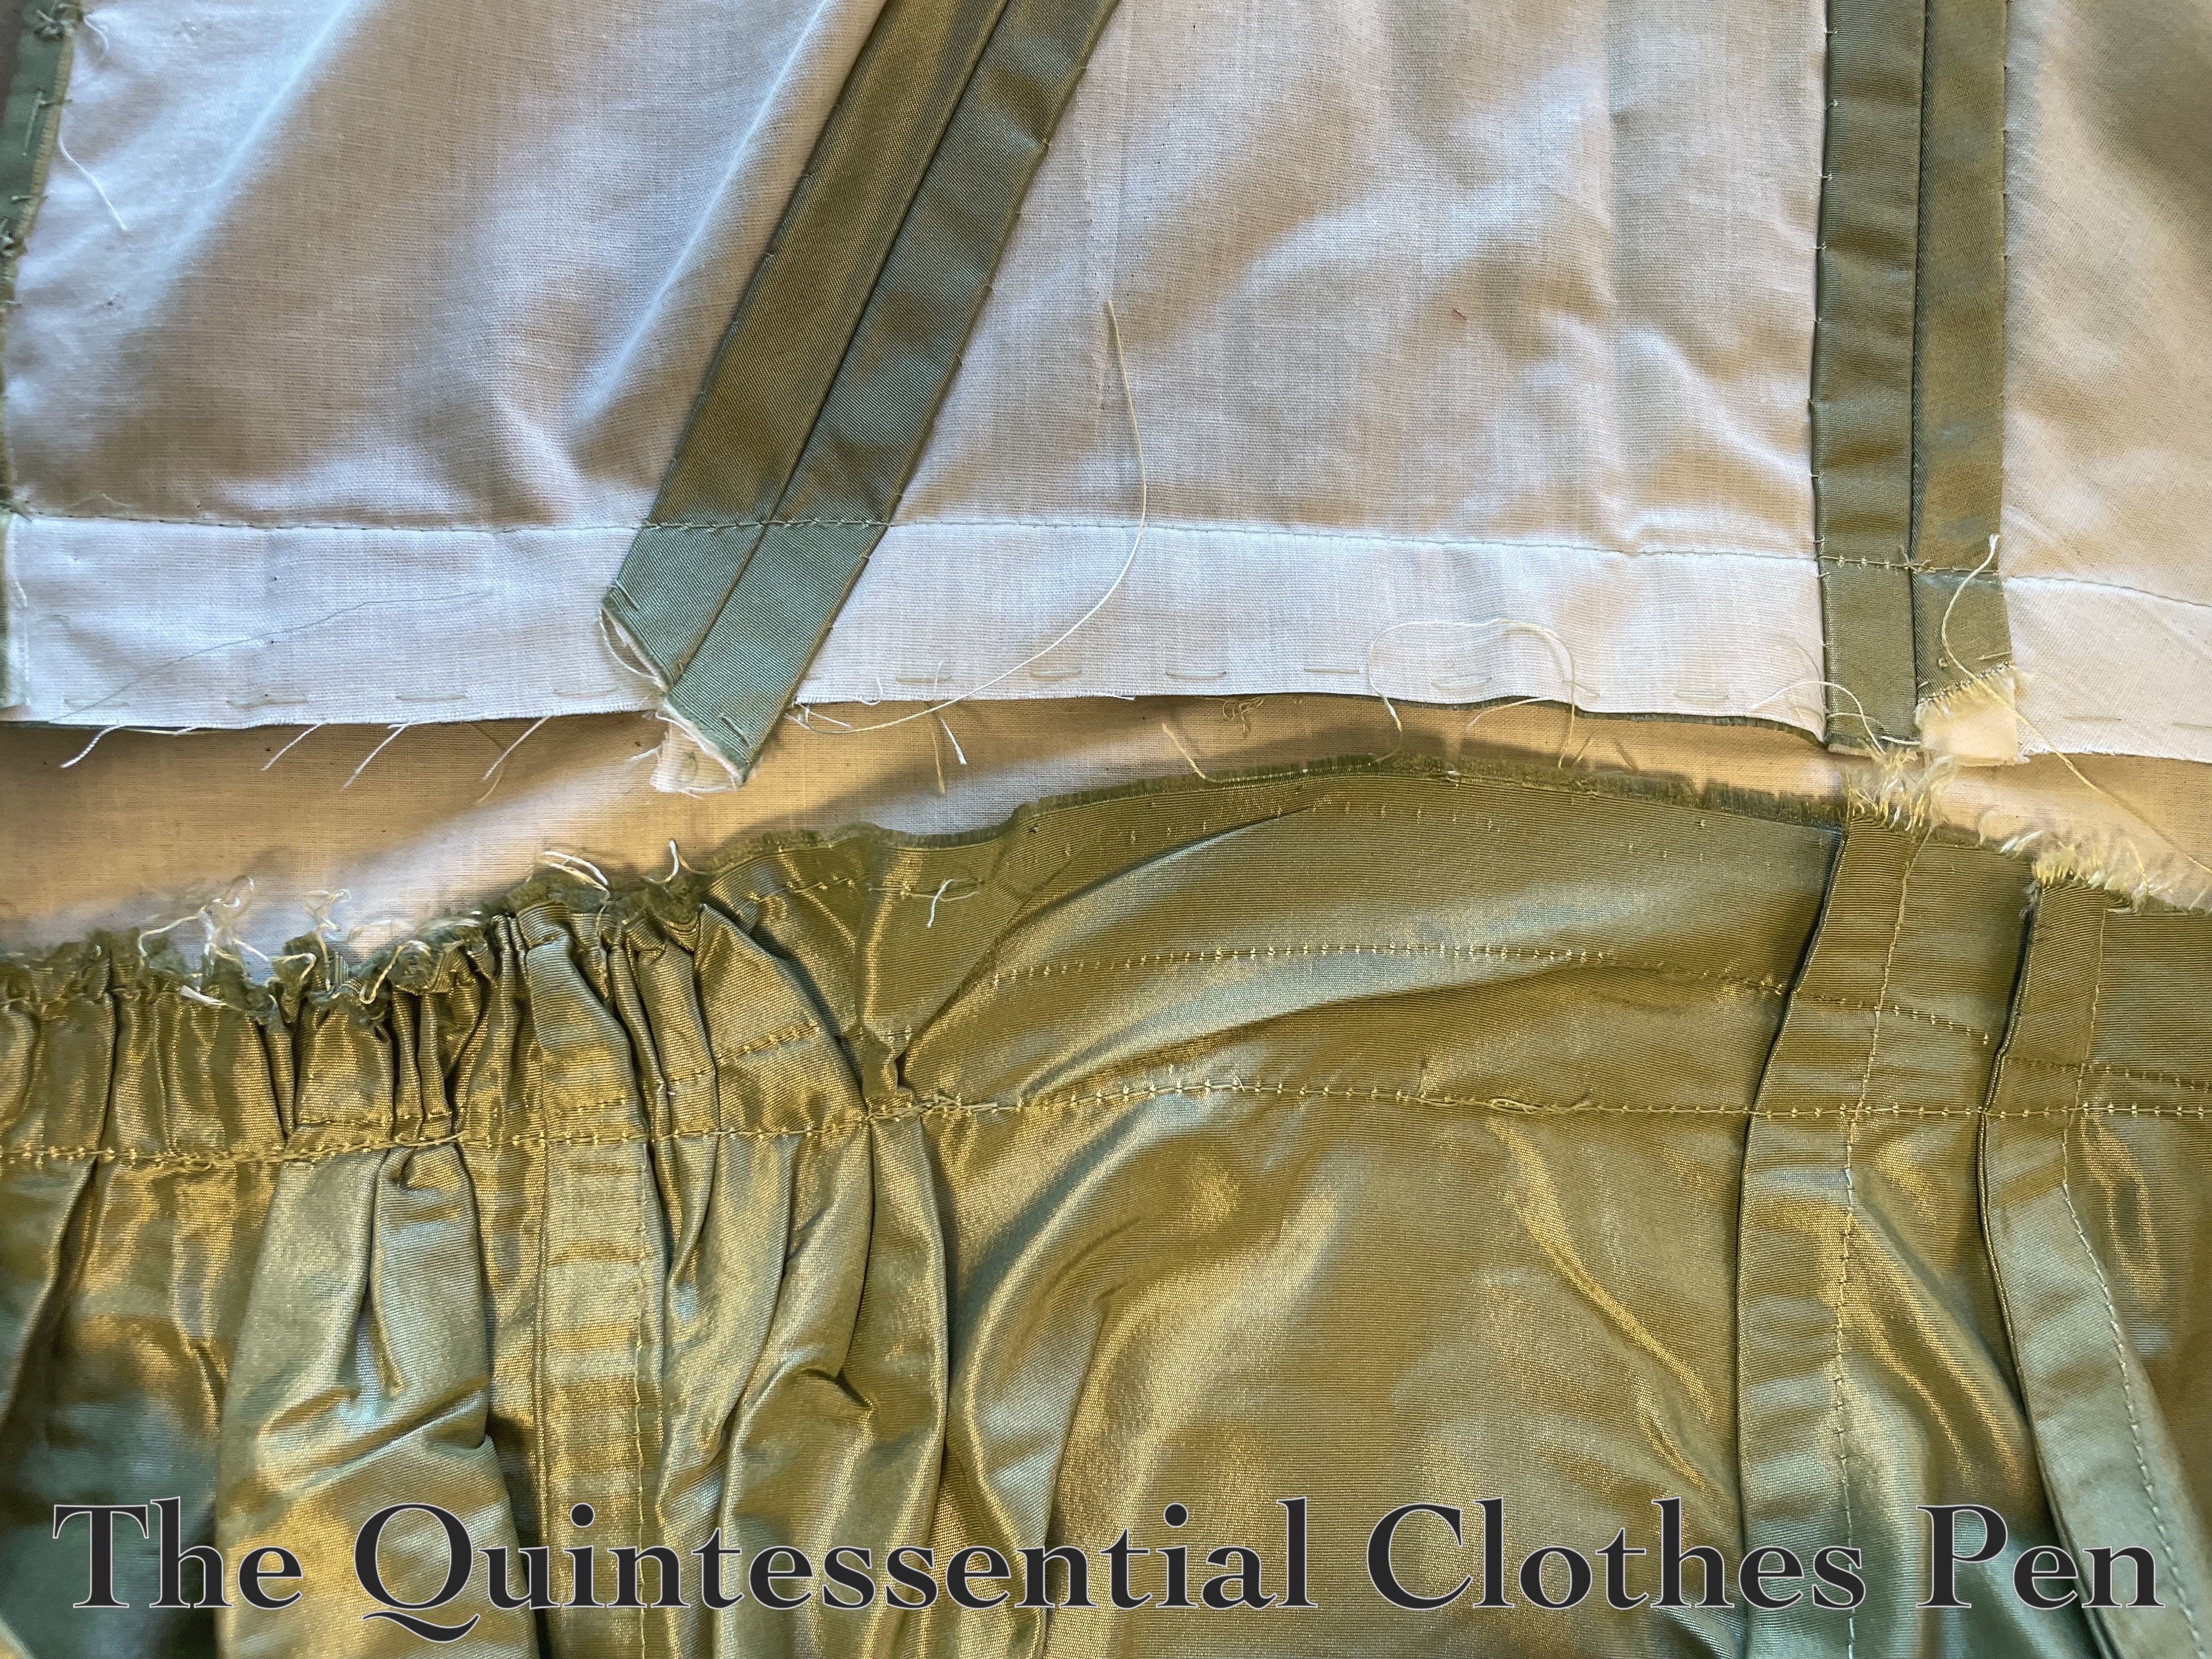
The second goal was addressed while the waistband was getting replaced. I shifted the skirt gathers to be a little wider across the back and better suit the overlap of the formerly-let-out back pieces. In the original iteration of this dress the gathers were concentrated in about half of the space that they are now, based on the historical pattern information I was using as a guide. But what I found while wearing the dress is that that placement of the gathers was eliminating some of the A-line shape that I was going for.

Additionally, I discovered that changing the waistline curve of the side skirt pieces would also help flatten the front of the skirt and kick out the sides to create the A-line shape I wanted. This makes sense from a patterning perspective, but was an update from the pattern pieces I had taken from Patterns of Fashion when I originally made the dress. I lowered the stitch line on the side skirt panel by about 1″ and tapered that towards center front and center. back. Below is a photo of the new waistband being attached, showing the old cut edge and stitch line very clearly above the new stitch line.

The bodice still fit in its let-out state (yay!), so it was easy to reattach it to the new waistband. I carefully followed the original stitch line to keep old stitch marks from showing! Those changes covered the first two goals of this re-imagining.

The last goal was to energize the trimming! I still remember the time consuming and finicky process of adding the appliqué silk organza motifs to the dress. I didn’t want to diminish that work! But it just doesn’t pop that much on its own… The fashion plate I was originally referencing can be seen here. It is partway down the page, labeled 1824 – Ackermann’s Repository Series 3 Vol 3 – May Issue.

When I looked at fashion plates from 1822-1824 again the 3D nature of the trimmings stood out to me and I thought “what if I add 3D flowers to the existing motifs?” There are multiple examples of evening gowns with this type of 3D trimming in this digitized volume of Ackerman’s The Repository of arts, literature, commerce, manufactures, fashions and politics. (The easiest way to find them is by looking at the thumbnails and quickly scrolling through all of the pages of text to look for the full page fashion plates scattered throughout.)

Off I went to my flower stash to see what I could find! I considered pink, yellow, and purple to complement the green of the dress. Given what I had available the purple was the winner. The color popped and brought energy to the whole dress without being garish and the flowers, which are silk but with plastic stems, didn’t appear too plastic-y to complement the silk dress. They needed a little bit of a transition, so I decided on adding some wired white silk millinery flowers as well. The fact that all of these flowers just exist in my stash in bulk was so helpful! And cost effective!

I had so much fun creating a hairstyle to go with this updated dress, too! More on that in my next post. For now, this re-make is my entry for the 2026 HSM Challenge #1 Joy For January:

Create an item that epitomises the joy you find in historical costuming – or simply something that would bring you joy at this time of year, whether it’s dark and cold, or sweltering hot where you are!

This dress fits the challenge because I find joy in:

  1. Re-making garments to fit better or have a more arresting design
  2. Re-wearing garments so I get more use out of my hard work
  3. Applying new knowledge to my projects

Just the facts:

Fabric/Materials: Leftover scraps of green silk.

Pattern: My own.

Year: 1824.

Notions: Thread and flowers.

How historically accurate is it?: 99%. Altering clothing to adjust for fit and shifting fashionable silhouettes is a documented historical method! A small bit off for not perfectly accurate flowers.

Hours to complete: I did not keep track. 6-8 is my guess. Most of that would have been hand sewing on the flowers.

First worn: May 16, 2026.

Total cost: $5. The fabric used was scraps from the original project. The flowers were purchased in bulk for a very low cost and stashed for years.

(Very Belated) Fezziwig’s Ball 2018

So, um, I’m about to attend this year’s Christmas ball… but I didn’t ever get around to posting about last year’s ball! So very belated-y, but in the spirit of getting ready for the holidays, here is a quick look at last year’s Fezziwig’s Ball, hosted by The Commonwealth Vintage Dancers.

Bedecked with garlands, the hall was ready for guests…

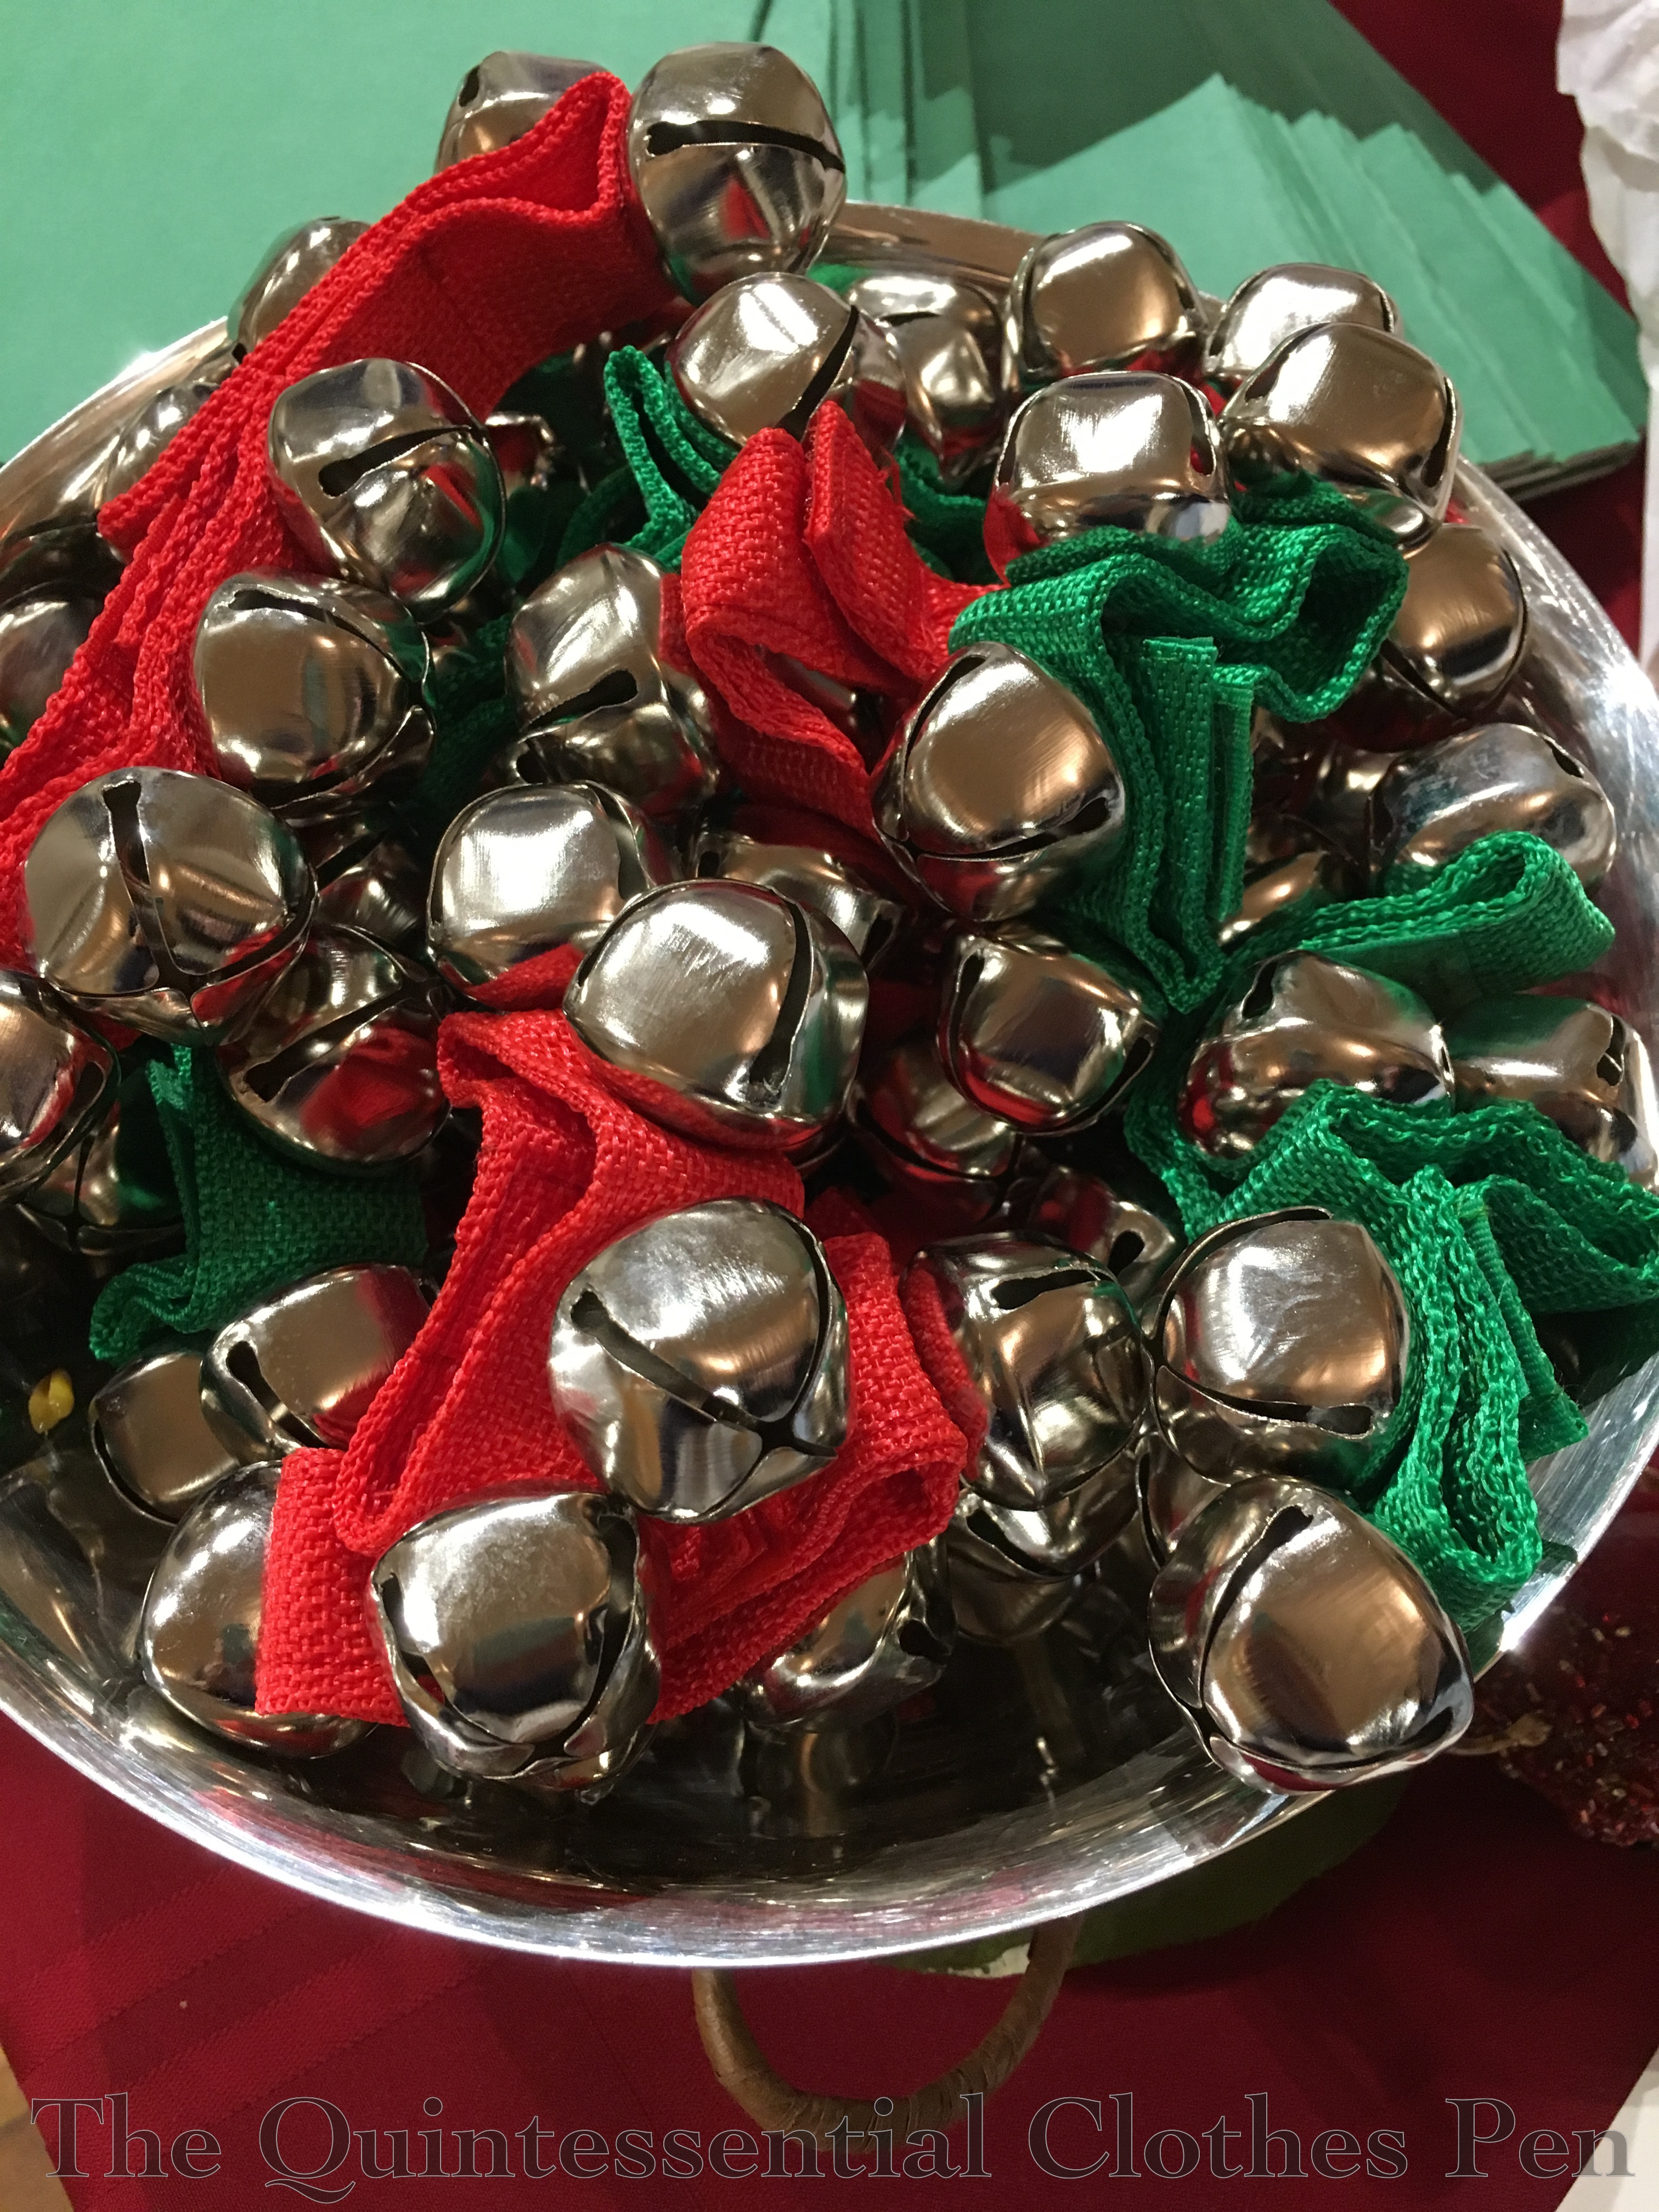
…while jingle bells waited for the arrival of eager carolers.

During this quiet lull, I was getting ready with other hosts.

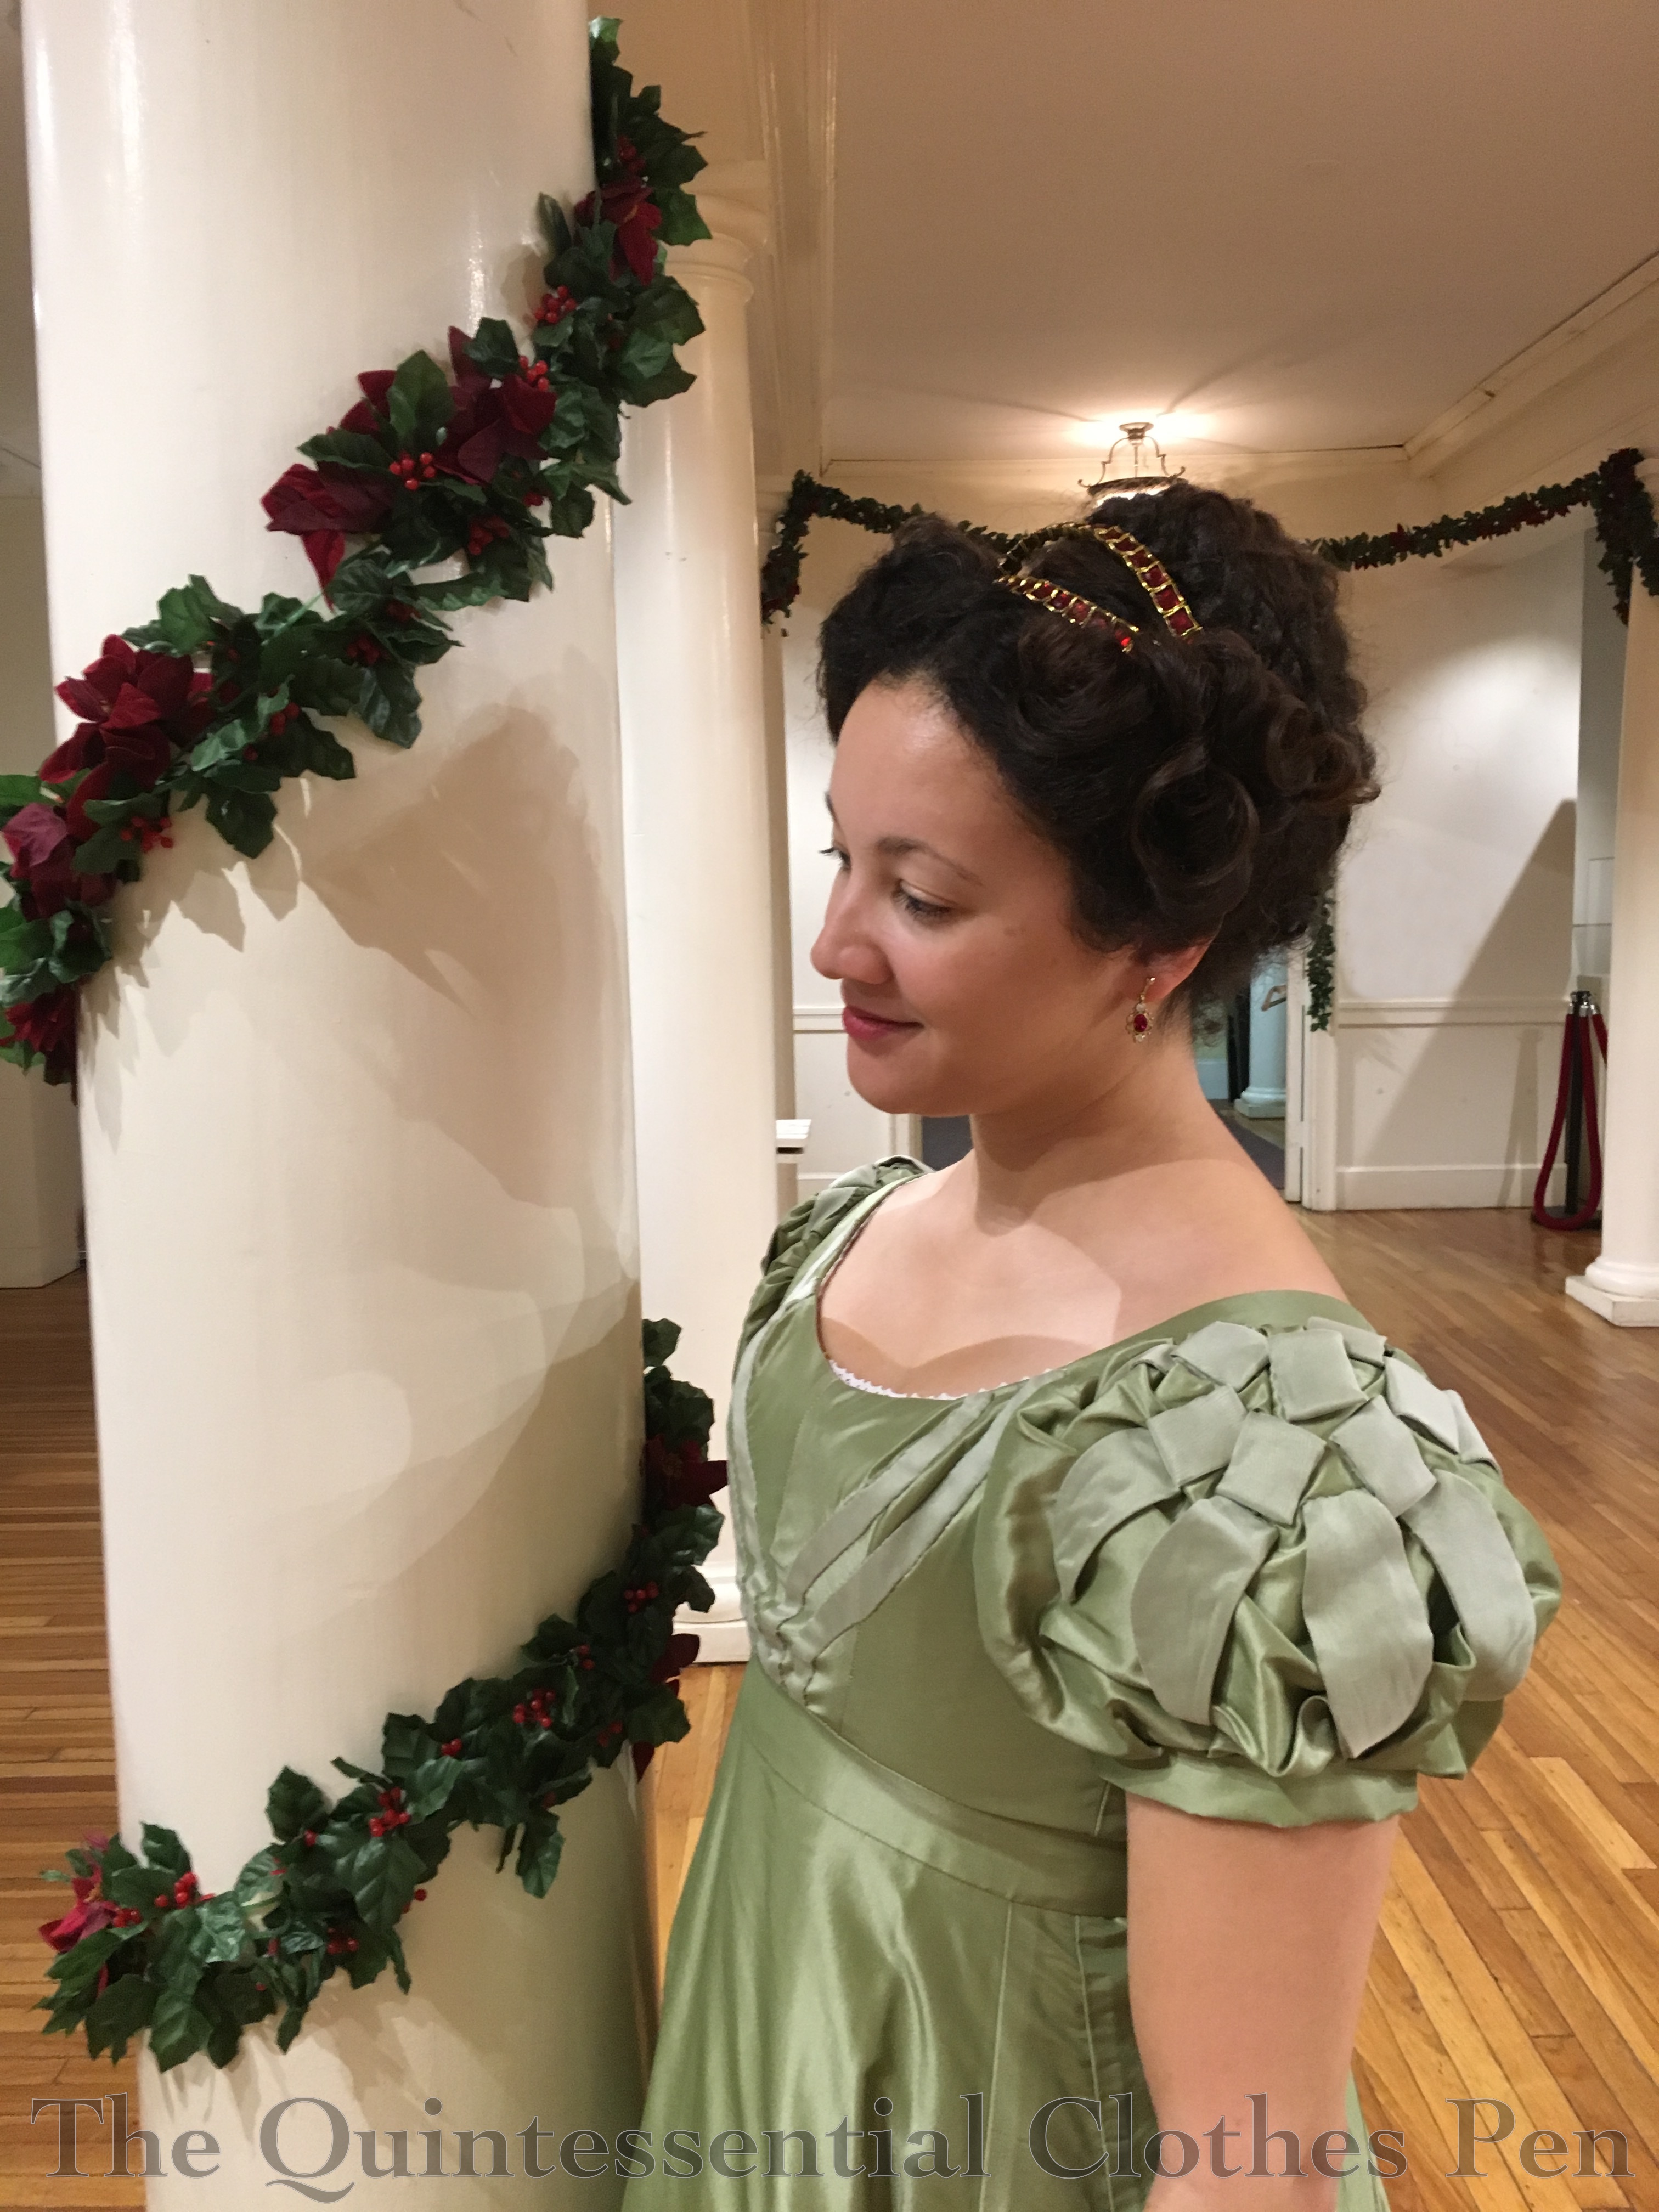
Fully dressed, I was ready to show off my hair. Braids, curls, puffs… it wasn’t huge in terms of size but it had a lot of parts despite that.

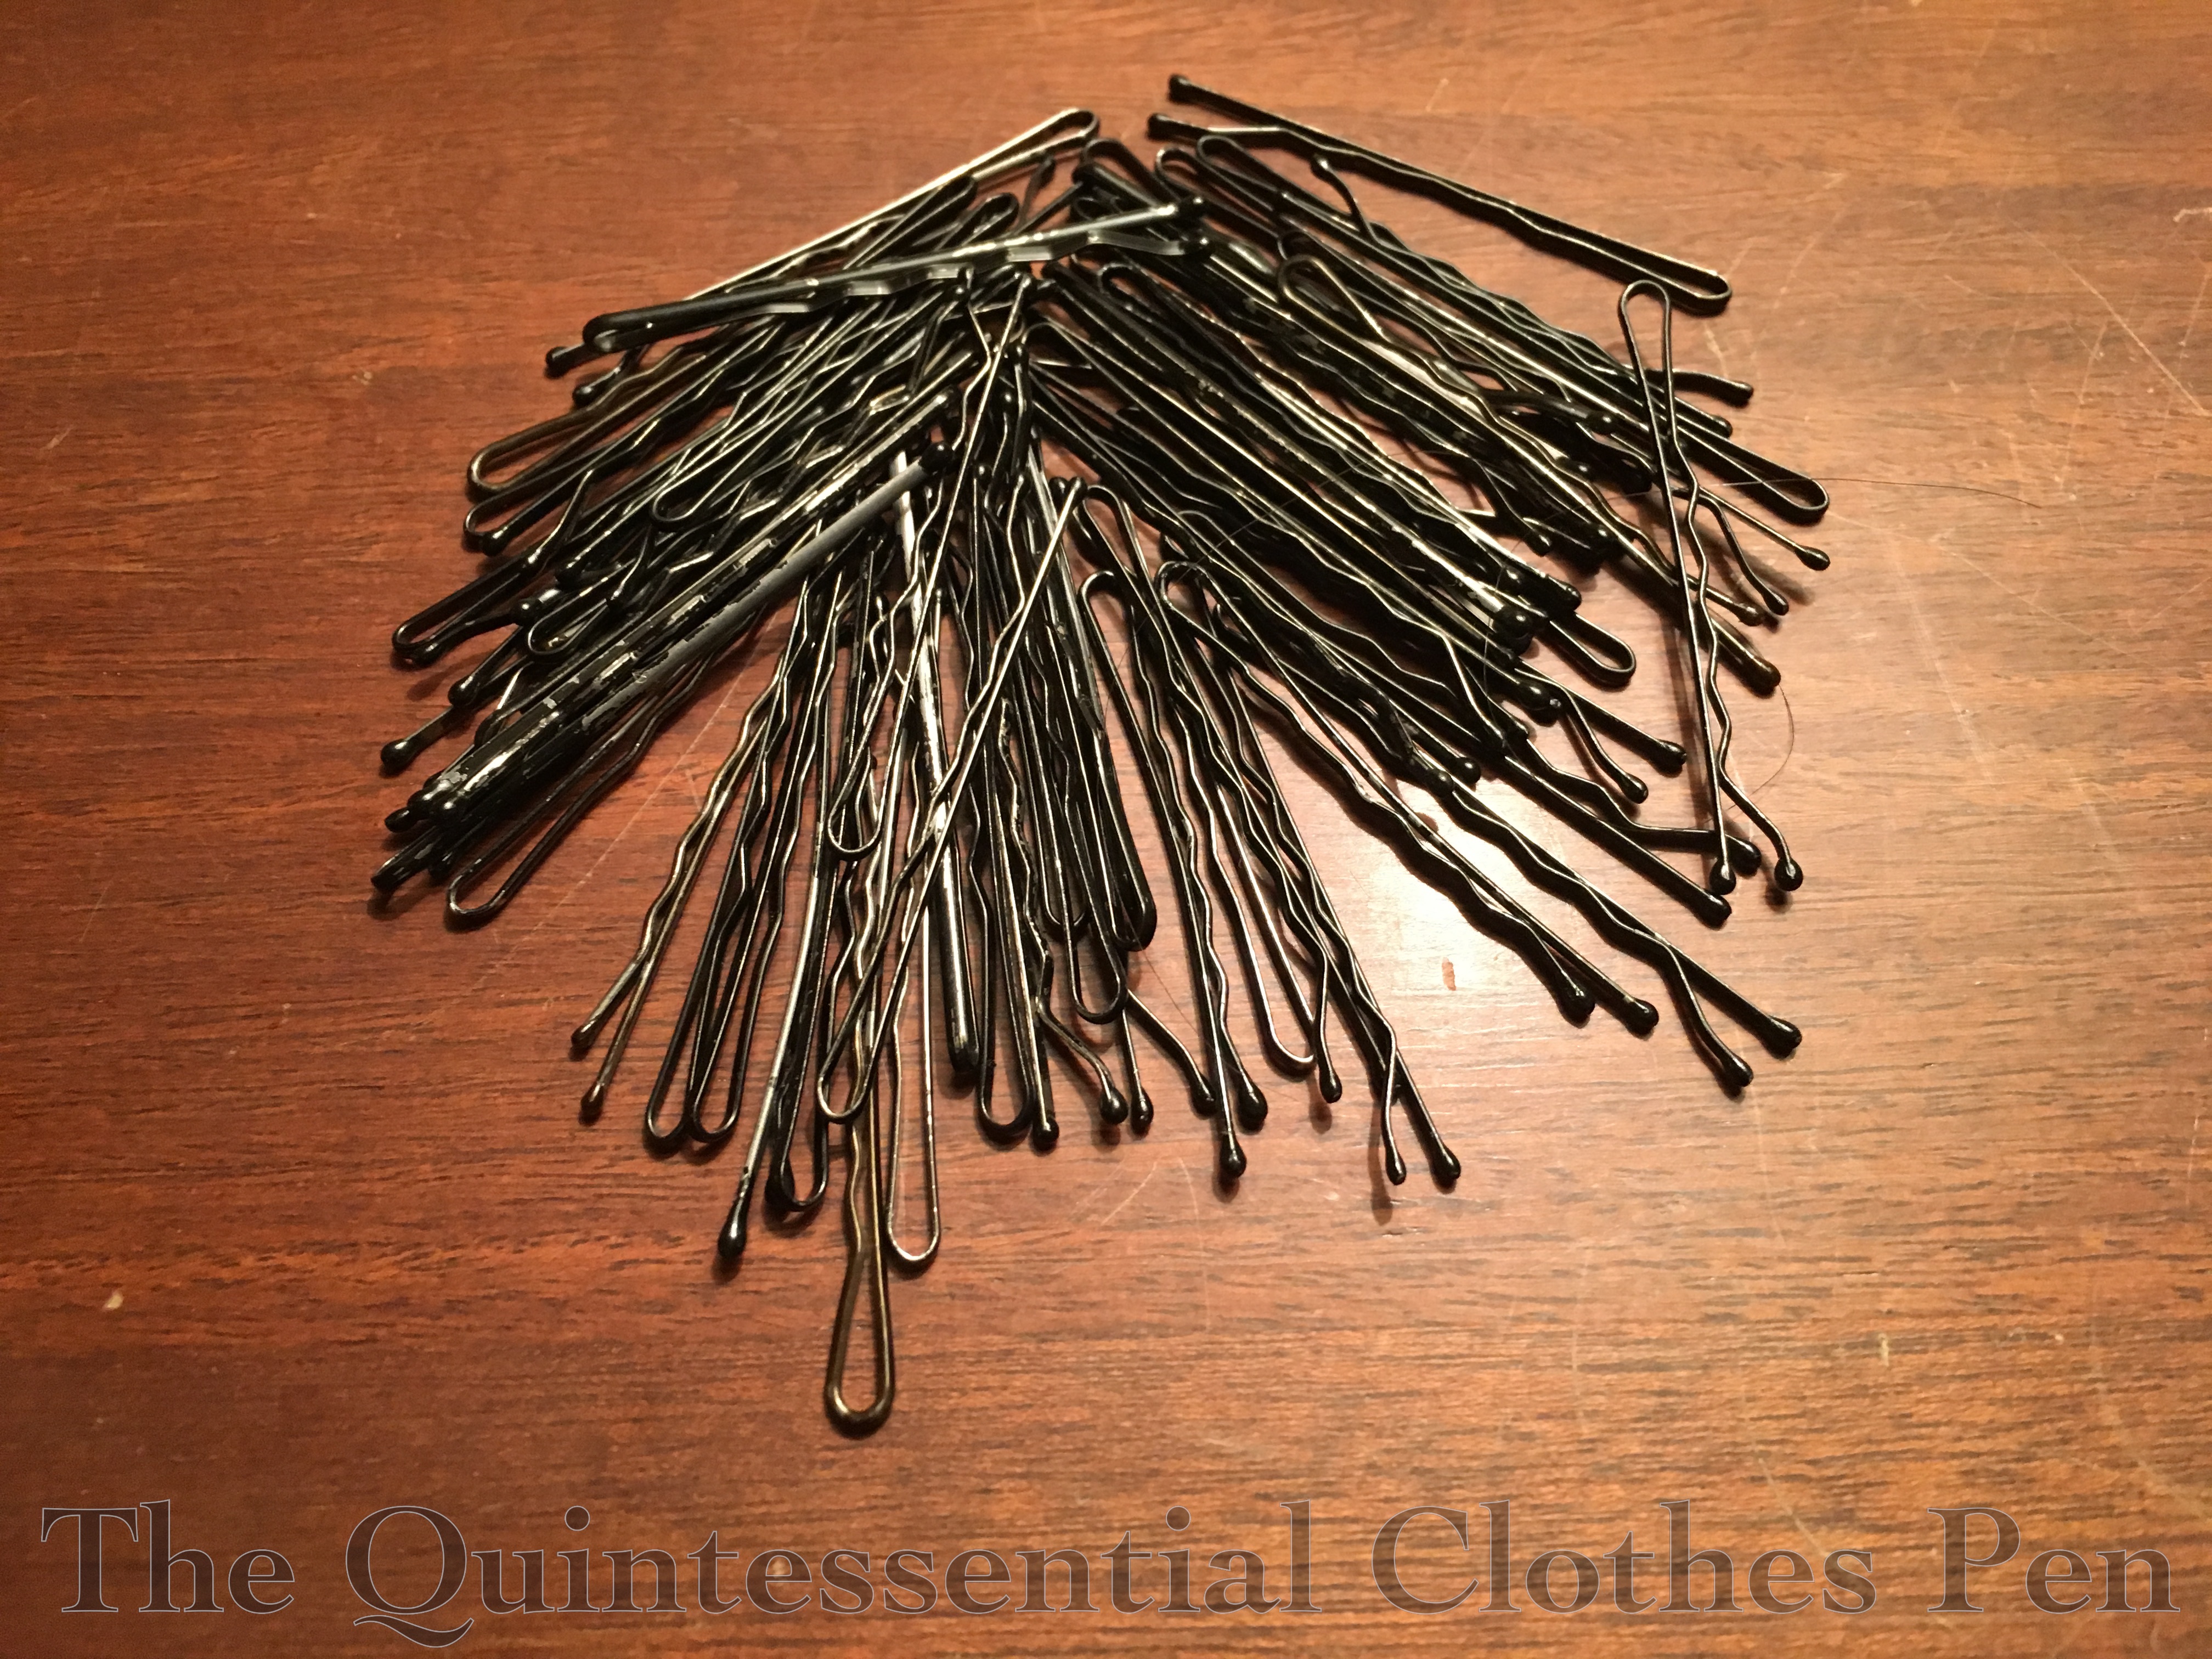
I counted the number of bobby pins it took to create this style at the end of the night when I took my hair down (and even kept the information in an easy to find spot for the last 12 months…).

The final count: 63 bobby pins.

The usual crew, fully outfitted for the early 19th century.

For the last few years I’ve worn my 1832 red velvet dress, so last year I changed it up and wore my 1824 green dress. I added a bit of holiday spirit with my red and gold tiara and other red and gold accessories.

This last one isn’t the best photo in some ways, but it captures the movement of my dress and the overall silhouette quite well!

This year it’s back to the 1830s with my red velvet dress. I’m looking forward to it after two years away! Maybe I’ll even post about before next December…!

Vernet Project: A Witzchoura Tangent

I started this post soon after joining the Vernet Project, so I think it must have been in my drafts for close to two years at this point. I didn’t want to leave it in the drafts folder forever, though, so I thought I’d include it as I’m wrapping up my Vernet posts.

Throughout my research, I’ve looked through many hundreds of pins on my Pinterest boards from the 1810s, 1820s, and 1830s and have found only a handful of plates that show outerwear specifically labeled as witzchouras (these can be seen in this past post showing examples). There are a much larger number of other, similar, types of outerwear.

(If you’ve missed out, this post explores the origins and qualities of a witzchoura, while this past post explores witzchouras in even more depth, with multiple excepts from the first part of the 19th century mentioning them.)

Examples of garments similar to witzchouras

Common garments in this category are labeled using words such as pelisse and pardessus. Then there are also carriage dresses (example), promenade dresses (example), and redingotes (example) trimmed in fur, but it seems clear in the fashion plate descriptions that these garments were not considered witzchouras.

ac27bb830f63f1673e45316d0e18f87d
Fashion plate showing a Pardessus from 1811.

Here is another similar garment, a Russian mantle, described in The Ladies Pocket Magazine in 1838 under the chapter English Fashions and Novelties: Remarks On The Prevailing London Fashions.

content

Descriptions of garments similar to witzchouras

In 1849, La Belle Assembleé addresses this for us (while also mentioning yet another type of outer wear, a burnous. The Dreamstress defines and explores this garment specifically as it relates to historical fashion, which is excellent and full of images!). The author of this reflection of fashion specifically mentions the weight of a witzchoura and how that compares to the weight of a pardessus, as well as the types of outings that these garments would have been worn for. Interesting that they would be worn for carriage dress, when, alternatively, one could also wear a ‘carriage dress’.

content

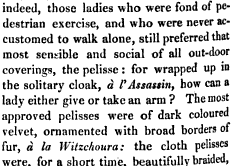
This next excerpt, from La Belle Assembleé in 1825, tells us one distinctive quality of a pelisse which is that the arms were not encased in the garment and could be freely moved about.

content-1

a94e6fc37e3582c81ab22797c3c06b78
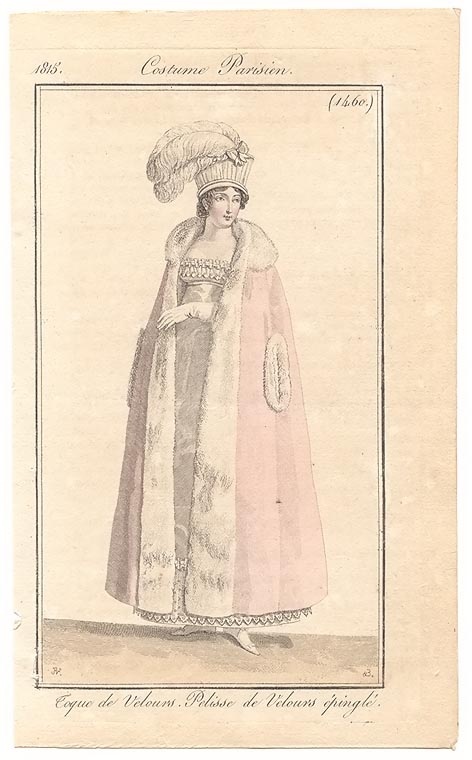
Example of a Pelisse from 1815, showing the armholes that would allow movement.
004c2dc3370c00425fcfd044369a9d53
A slightly later example of a Pelisse in a similar style. This is from 1821.

Examples of out of the ordinary witzchouras

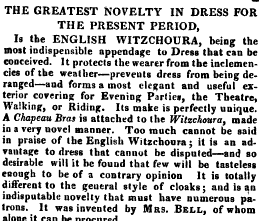
Then there are garments labeled as witzchouras, but which are odd in a variety of ways. For example, take a look at the interesting witzchoura mentioned in The Lady’s Monthly Museum in 1817, seen below.

content

I’m not really sure what qualities allow a witzchorua to keep one’s dress from being rumpled, but what strikes me as odd is that the witzchoura mention is lined with silk and that is has a chapeau bras attached! Also in 1817, La Belle Assembleé mentions this exact garment twice! The first is a description of the garment. The second is about the inventor, Mrs. Bell, who, if you care to read more, has a long list of other interesting things that she supplies.

content

content-1

In this next case, the witzchoura is described as being lined with sarsnet (a fine plain or sometimes twill weave usually silk fabric) and only trimmed with fur rather than being lined entirely with fur. Haven’t we seen conclusively that a witzchoura should be lined and trimmed in fur? This witzchoura is also interesting because of its colors. It is quite likely a garment made for the general mourning of the death of Queen Charlotte, who passed away in November 1818.

“For out-door costume nothing can be reckoned more completely elegant than the Witchoura pelisse of black velvet lined with white sarsnet, and trimmed with real ermine.”

La Belle Assembleé  in January 1818

Finally, there is this fashion plate at the LACMA which is labeled as being a witzchoura but with nothing witzchoura-like about it! A mistake perhaps? This looks like a summer garment, not a heavy winter garment.

What a rabbit hole of obscure information the witzchoura is. I’m rather glad to say that I’ve now exhausted my currnet list of historical references to the witzchoura!

Vernet Project: Witzchoura Images

As a quick recap, I started my witzchoura research journey here, being confused about how the word was spelled. After sharing that with you, I moved on to look at basic witzchoura definitions and then further witzchoura references, but I haven’t really shared images of witzchouras with you yet, so that’s what this post is going to focus on.

Out of the thousands of pins on my historic clothing Pinterest boards, the images below are the only ones I could find that specifically mention that they show a witzchoura. (Never fear, I’ll be looking at not-quite-witzchouras in a future post.)  If you know of any other images that specifically name the garment shown as being a witzchoura please let me know!

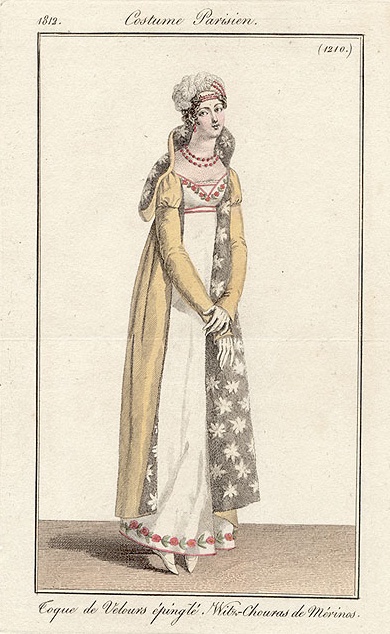
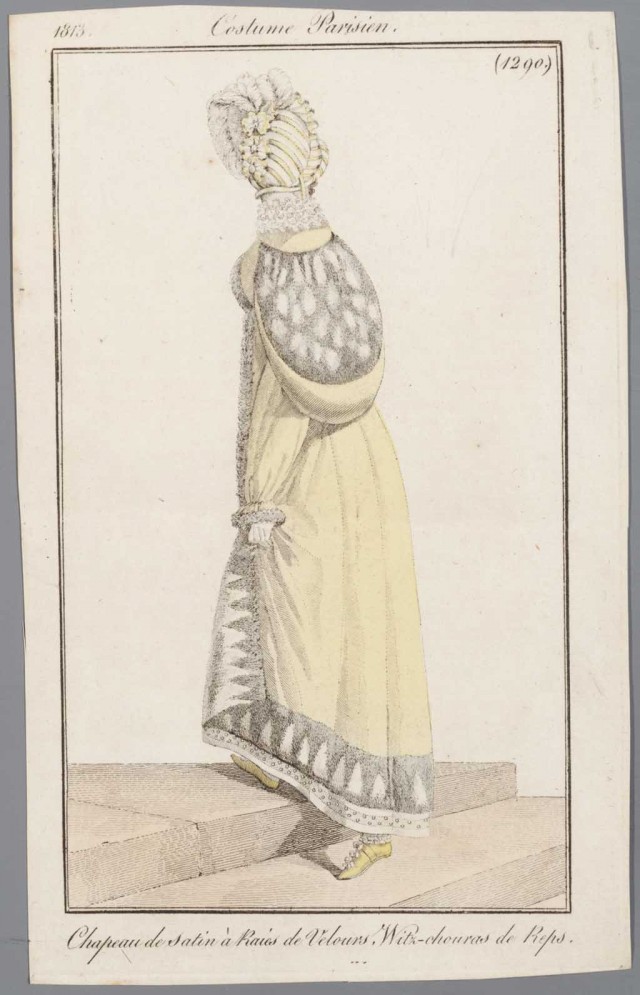
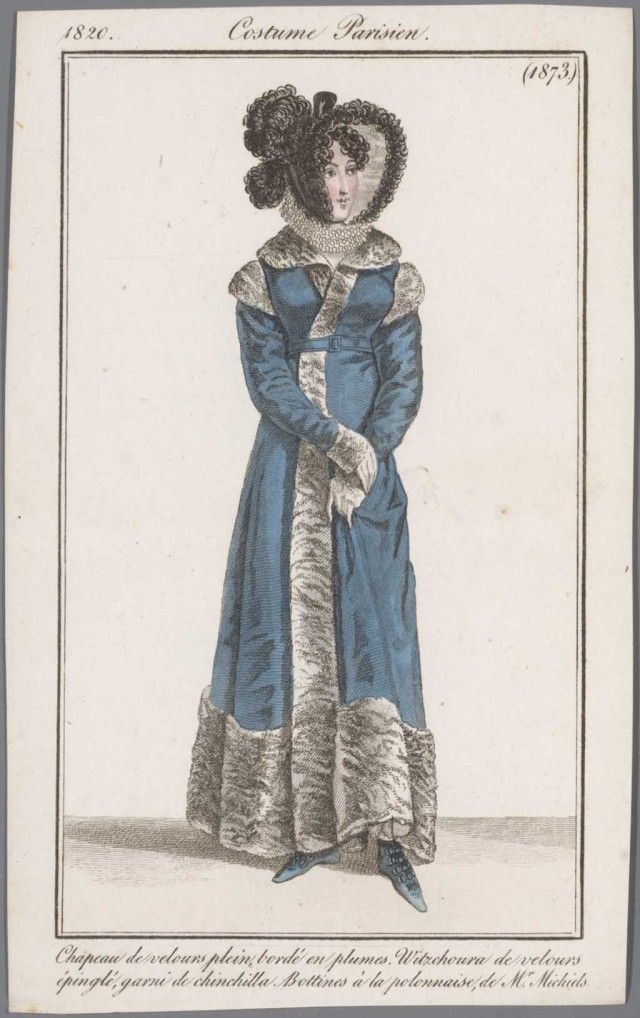
I find it interesting that two are yellow and two are blue. Also interesting that all the furs that are depicted are textured or downright weird (like the first one with the flower-fur… what is that?). However, in terms of materials there is variation: one of merino (wool), one of reps (could be wool, silk, or cotton, according to the OED), and two of velvet (fabric content unknown, though wool, silk, or cotton would seem to be likely).

b2e293cd8d6787e52979911acc6c3539
Costume Parisien, 1812
pictura2009%5Cs_a_55466_000
Costume Parisien, 1813
49a82ad6569f70e121aebe638e857efd
Costume Parisien, 1818
1ec484b324c9135cf9d6934f28eb8dfd
Costume Parisien, 1820

Belated Fezziwig’s Ball 2014

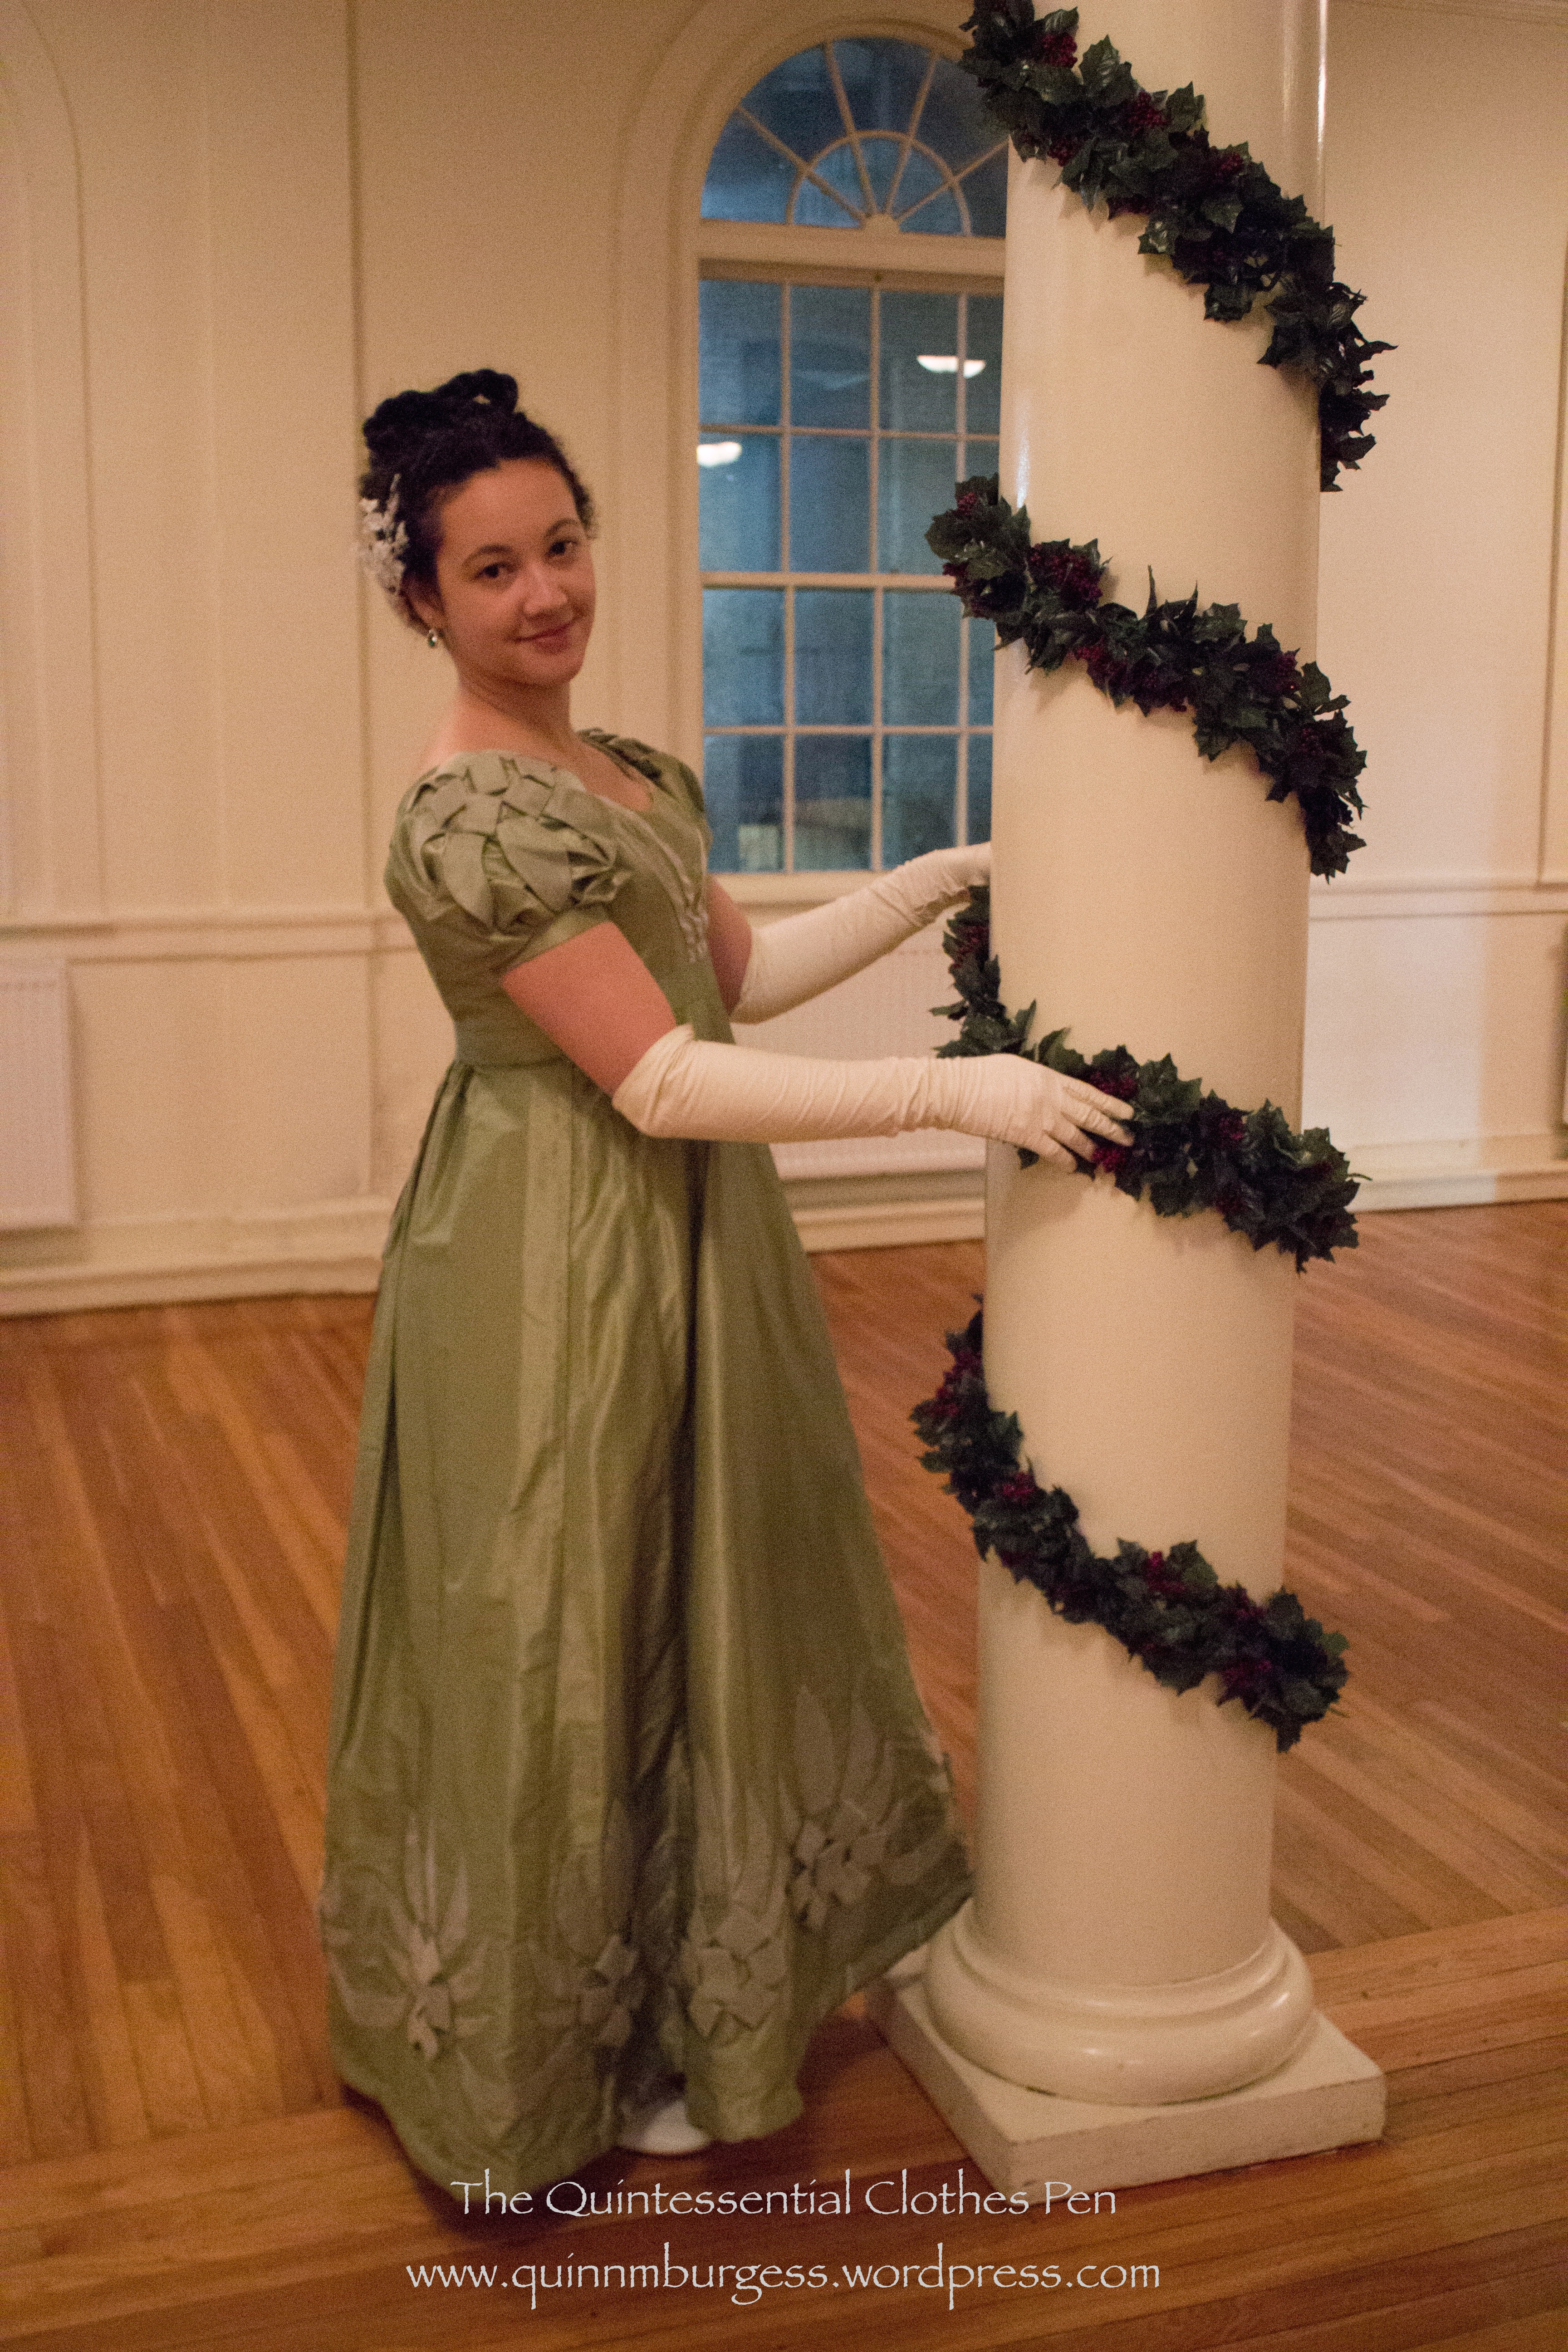
Last December, I had the opportunity to wear my green 1824 dress again at an annual holiday ball. It took a lot of time to sew all the trim on the dress (there are construction posts about this dress here) and I don’t get many opportunities to wear 1820s clothes, so it’s quite lovely to have a general “early 19th century” ball to wear this dress to.

This year we had new garland decorations and were able to get some adorable pictures! I was quite pleased with my silly figure eight braid hair style and my other accessories (the green earrings added a nice matching pop of color, the hair wreath worked well as it has in the past, and I like the white shoes with this dress). I’m behind sharing the photos, but pleased that they’re finally making it into a post.

IMG_9969

IMG_9935

IMG_9951

IMG_9986

IMG_9987

Don’t you want to jump out of your chair and join in the dancing?

Vernet Project: Basic Witzchoura Descriptions

It’s time for a little more information about witzchouras! Back in January, I shared my round-about journey to figure out what a witzchoura is. Now it’s time to look at witzchouras in more detail to determine what qualities define them.

In that last post, we left off with this enlightening sentence from the book Empire Fashions by Dover Publishers: “Around 1808, a high-waisted, fur-lined woman’s coat appeared, the witzchoura [wi choo ra].” Here is an example of what a witzchoura looks like.

e8e5aa673e63adffbf95754dc2b25ffe
Costume Parisien from 1813

My go-to source when I get geeky about word history is the Oxford English Dictionary, and lucky for me, it has an entry for witzchoura! The OED tells us it as an obsolete noun from the French vitchoura and the Polish wilczura (a wolf-skin coat) that is defined as “A style of lady’s mantle fashionable c. 1820-35.”  The OED also shares four uses of the word from period sources. Here they are, with slight edits:

1823 La Belle Assemblée Dec. Witzchoura pelisse of gros de Naples,..trimmed with a very broad border of swansdown.
1833 Ladies Pocket Mag. The witchoura is a very ample mantle, made with a very deep collar, and cape, and long, loose sleeves.
1835 Court Mag. [The mantle] is of the Witzchoura form, drawn close at the back, with large Turkish sleeves, and a deep falling collar.
[1898 M. Loyd tr. O. Uzanne Fashion in Paris Witzchouras had not yet [c1806] come into vogue.]

So far, our qualifications for a witzchoura include: a high waist for earlier witzchouras (to correspond with the fashionable silhouette), fur lining, fur trim, the fact that a witzchoura is a coat or mantle (for outerwear, with another garment worn underneath), that it was most popular c. 1820-1835, and that it had not yet become fashionable c. 1806. Other sources add to a witzchoura’s qualifications those of its being full length, having large sleeves and a wide collar (or sometimes hood or cape layers over the shoulders) especially in the 1830s when the silhouette changed, as well as the general period of the “early 19th century” for its popularity, which makes sense since we’ve just looked at sources that mention dates between 1806 and 1835.

There is some information telling us that the garment became popular after Napoleon gained a Polish mistress in 1808 and other information that tells us that the garment was Russian in origin and became popular after the Napoleonic Wars brought the style back to France and England. (For more information about these early witzchoura influences, check out this post at the Sewing Empire blog.)

I’m excited the word has Polish or Russian origins, because “witz” sounds Polish or German to me. Also, I love that the last quote from the OED tells us that witzchouras weren’t popular just a few years prior to the year 1814. Oh, how fashionable is a merveilleuse!

Project Journal: 1822-1824 Ensemble Part VII: Trimming Complete (Fezziwig’s Ball 2013)

I am very excited to share that I am finally done sewing the trim on my 1822 Walking Dress and 1824 Ball Gown. I actually finished sewing the trim on both garments about two months ago. Yay me, for being ready for a ball a full month ahead of time!

The walking dress has a previous post from when I completed sewing the trim. The ball gown has previous posts about being worn partially trimmed last year and about sewing on the hem appliques. Here is the link to the category that shows all the posts related to this ensemble.

I wore both garments this year at Fezziwig’s Ball, hosted by the Commonwealth Vintage Dancers, just as I did last year. Last year, however, I didn’t have enough time to trim them like I wanted to and I didn’t really have time to look into proper hair styles either. So this year, in addition to adding trim, I also decided to try out a different hair style that would be much more early 1820s.

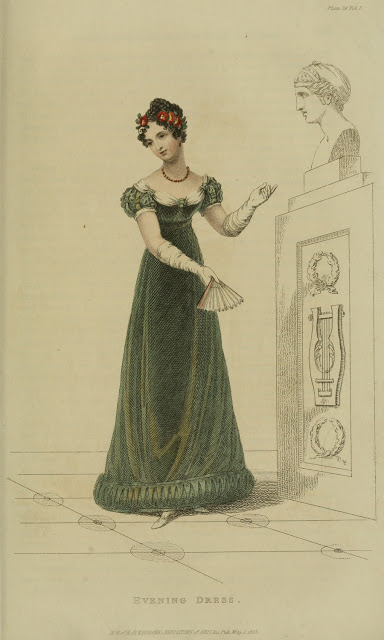
I looked at lots of fashion plates and noted what elements made the styles look 1820s. This is the look, from 1823 (also pictured a little farther down). The style required a new hair wreath, so that was the only last minute sewing for this year’s event. I did the same style as the fashion plated: crossed braids on top of my head and little curls around my hair line. When you have long hair and no bangs like me it’s quite a challenge to get curls around the hair line. I managed to make the little curls happen, but I still want to improve my methods. The hair wreath was essential for hiding my long hair and only showing the curly ends. It is made of wired millinery flowers sewn to a length of millinery wire. The front bits are small flower sprays and the back is velvet leaves.
IMG_3222
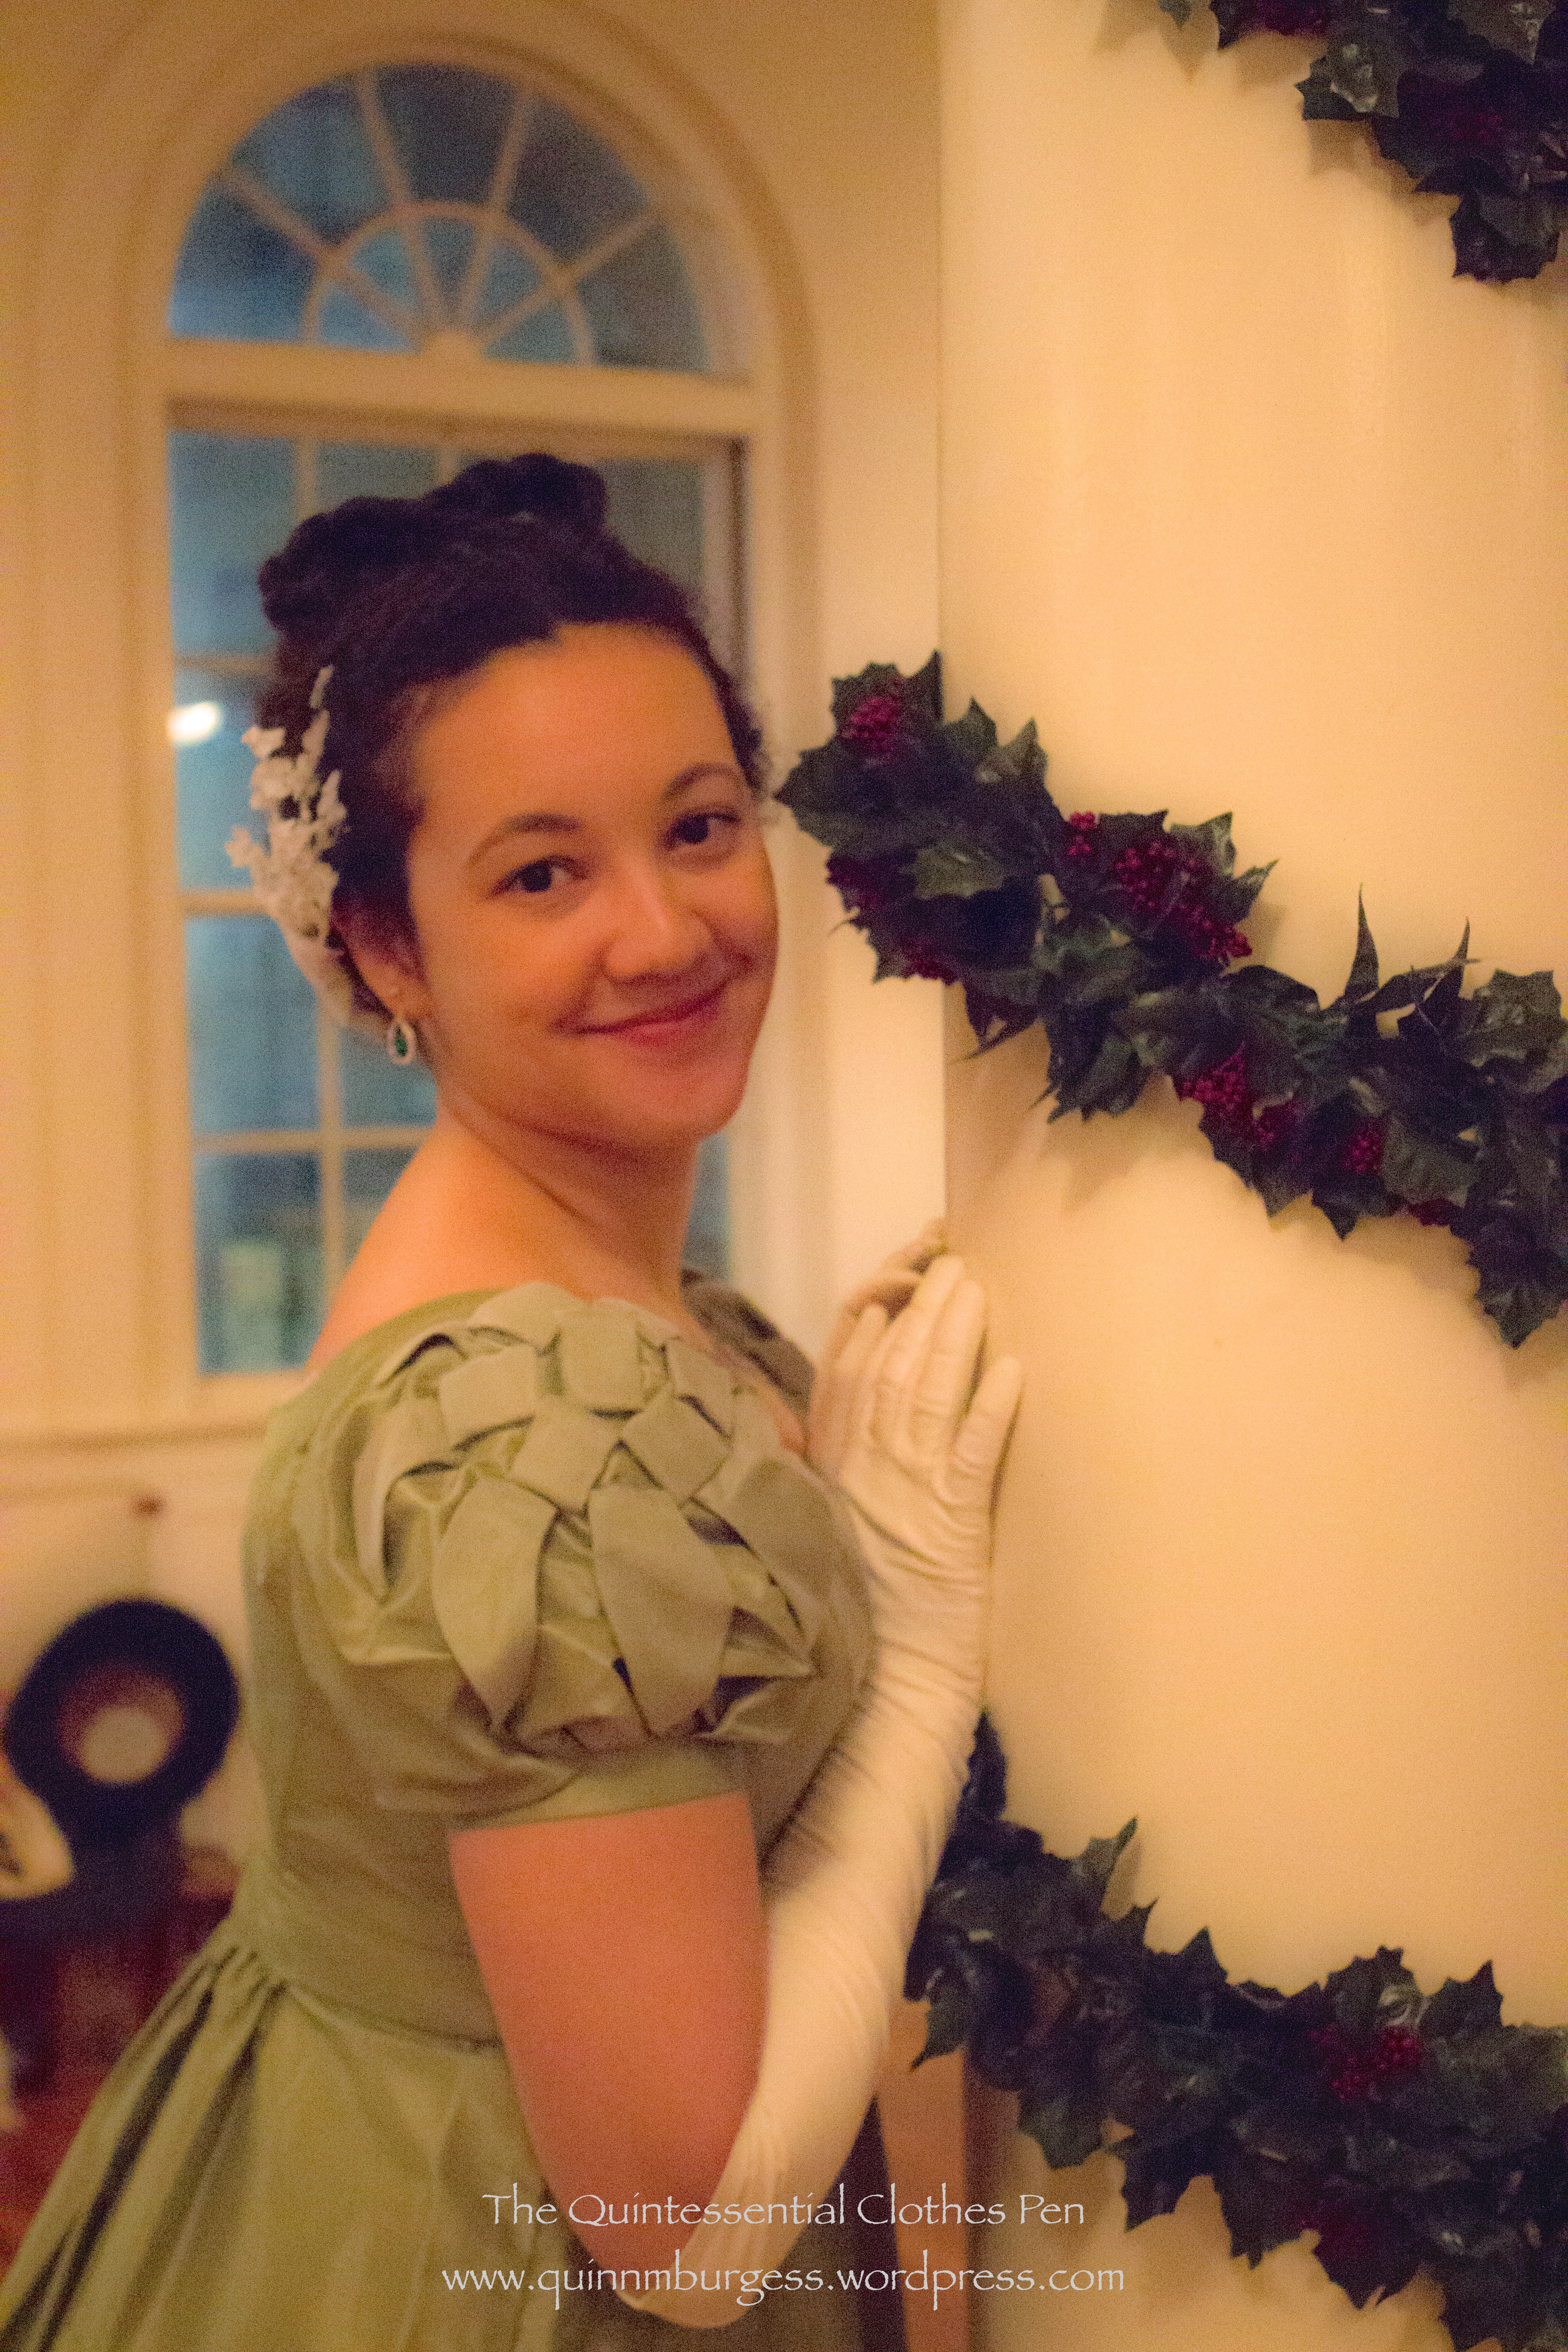
Caroling before the ball.
IMG_3213
This is a great view of the back of my walking dress and the back of my new hair wreath.
IMG_7406
Here we are: 1822 walking dress with trim, worn with a chemise, corset, corded petticoat, muff, tippet, gloves, and my new hair wreath. (If you want to see/read more details about these garments you can view the entire Project Journal for this ensemble.)
Ser3 v1 1823 Ackermann's fashion plate 29 - Evening Dress
1823 – Ackermann’s Repository Series 3 Vol 1 – May Issue (My inspiration for my hair wreath, hair style, and for the picture below.)
IMG_7416
Changed for the ball: 1824 ball gown with finished trim on the sleeves and front. Same undergarments with different accessories (long leather gloves with red stockings and burgundy shoes to be in the holiday spirit!).
IMG_3272
Lining up for a grand march during the ball. I loved the garlands hanging in the background.

I was amused throughout the night that people kept commenting on how much they liked the sleeve appliques on my green dress. I didn’t realize they were so exciting, but I do think they balance out the skirt nicely. By the end of the night my curls were looking a bit crazed… but it was fun, and I do enjoy wearing these garments and the style of the 1820s, in general. Oh, and I was able to wear my refreshing apron, too, though we were too busy refilling refreshments to take pictures. So yay for completion! It’s nice to get these things off the sewing list to make room for other fancily trimmed things!

HSF #20: Finally Finished 1822 Walking Dress

…It’s only been a year! Or pretty close to a year. I posted an overview of my early 1820s project last November. The project included a petticoat, 1824 ball gown, 1822 walking dress, muff, tippet, bonnet, and chemisette. Some of these things are still in the UFO pile or on the to do list, but I’m super pleased that this post is about the completion of the 1822 walking dress!

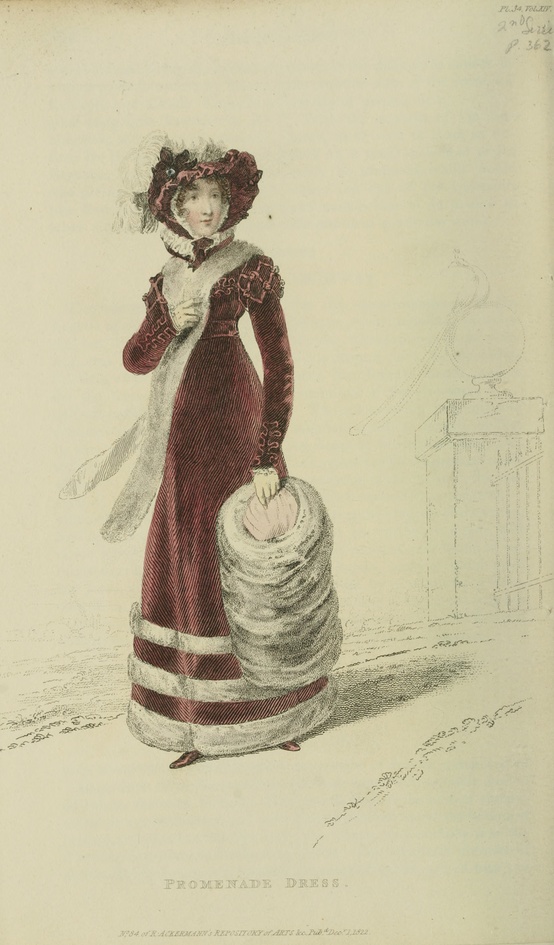
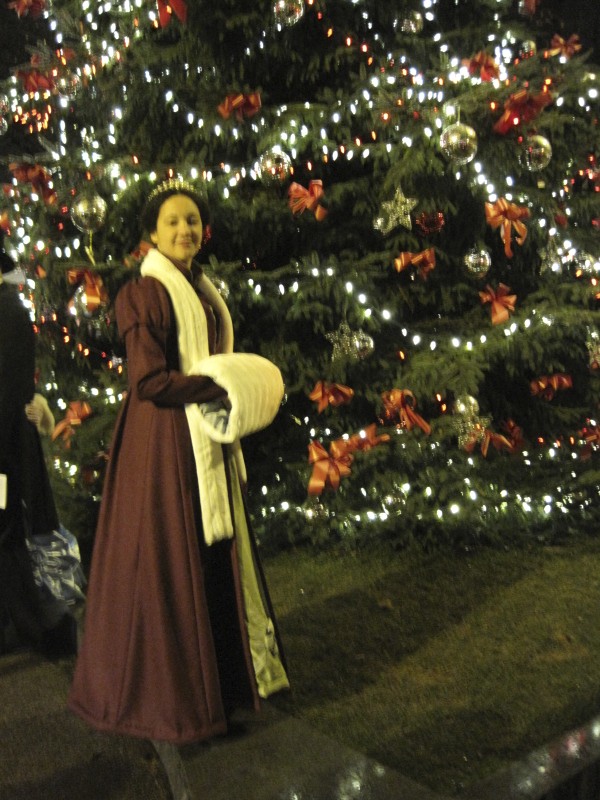
The image below is my inspiration for the now complete walking dress. I wore it last December to go caroling outside before Fezziwig’s Ball, but at that point my time had run out and though the construction was complete there was no trim. Below the image of my inspiration is an image of the walking dress as it looked last December with no trim. And below that is an image of the now completed walking dress with trim! It certainly fits me better than the hanger, but you’ll have to wait a few months to see it on me.

19562579602401776_TvaRkZoN_c
Promenade Dress. Ackerman’s Repository. December 1822.
IMG_4083
December 2012. Unfinished early 1820s ensemble.
IMG_4889
Yay! All the trim is on!

Before I share some close ups of the trim and construction, let me share the facts:

Fabric: 4-5 yds of dark pink wool, 4-5 yds of ivory super soft and thick cotton twill, 1/2 yd-ish of lavender polyester velvet, 1/2 yd-ish of lavender silk shantung,  and a bit of canvas for the collar.

Pattern: Adapted from my 1822 green ball gown pattern, I think. It’s pretty much exactly the same except that it has a higher back, collar, and sleeves. The ball gown pattern is based off of a pattern in Janet Arnold.

Year: 1822.

Notions: Pink and lavender thread, polyester batting in the hem, and hooks for the waist.

How historically accurate?: Very, having used modern materials and a few very nice looking modern fabrics . The pattern is from Janet Arnold, so you know it is good on accuracy and the trim scale and pattern is taken from a fashion plate from 1822. As a historic costume I give it 98%.

Hours to complete: Oh goodness… I’m sure the main construction took at least 40 hours and the trim took probably 50ish hours to cut, press, and hand sew. I didn’t keep track at all on this project.

First worn: To Fezziwig’s Ball in December 2012, though with trim it will debut at Fezziwig’s Ball in December 2013!

Total cost: $40 perhaps?

Ok, now for the trim and construction shots.

IMG_4892
Top of the sleeve. First I had to sew the bias into a tube so the raw edges would be finished and the bias could “float” without having to be sewn down all along the edges. Then I tacked the bias tubes in a zig zag then crossed and tied other zig zags to get the finished pattern.
IMG_4891
The front. The pattern looks very much like an oak leaf to me. The bias is stitched in a tube with the raw edges showing on the back, then the edges are stitched down all around to create the pattern.
IMG_4890
The sleeve. The bias is stitched on the same way as it is on the front. The motifs are sewn on the front of the arm rather than the outside.

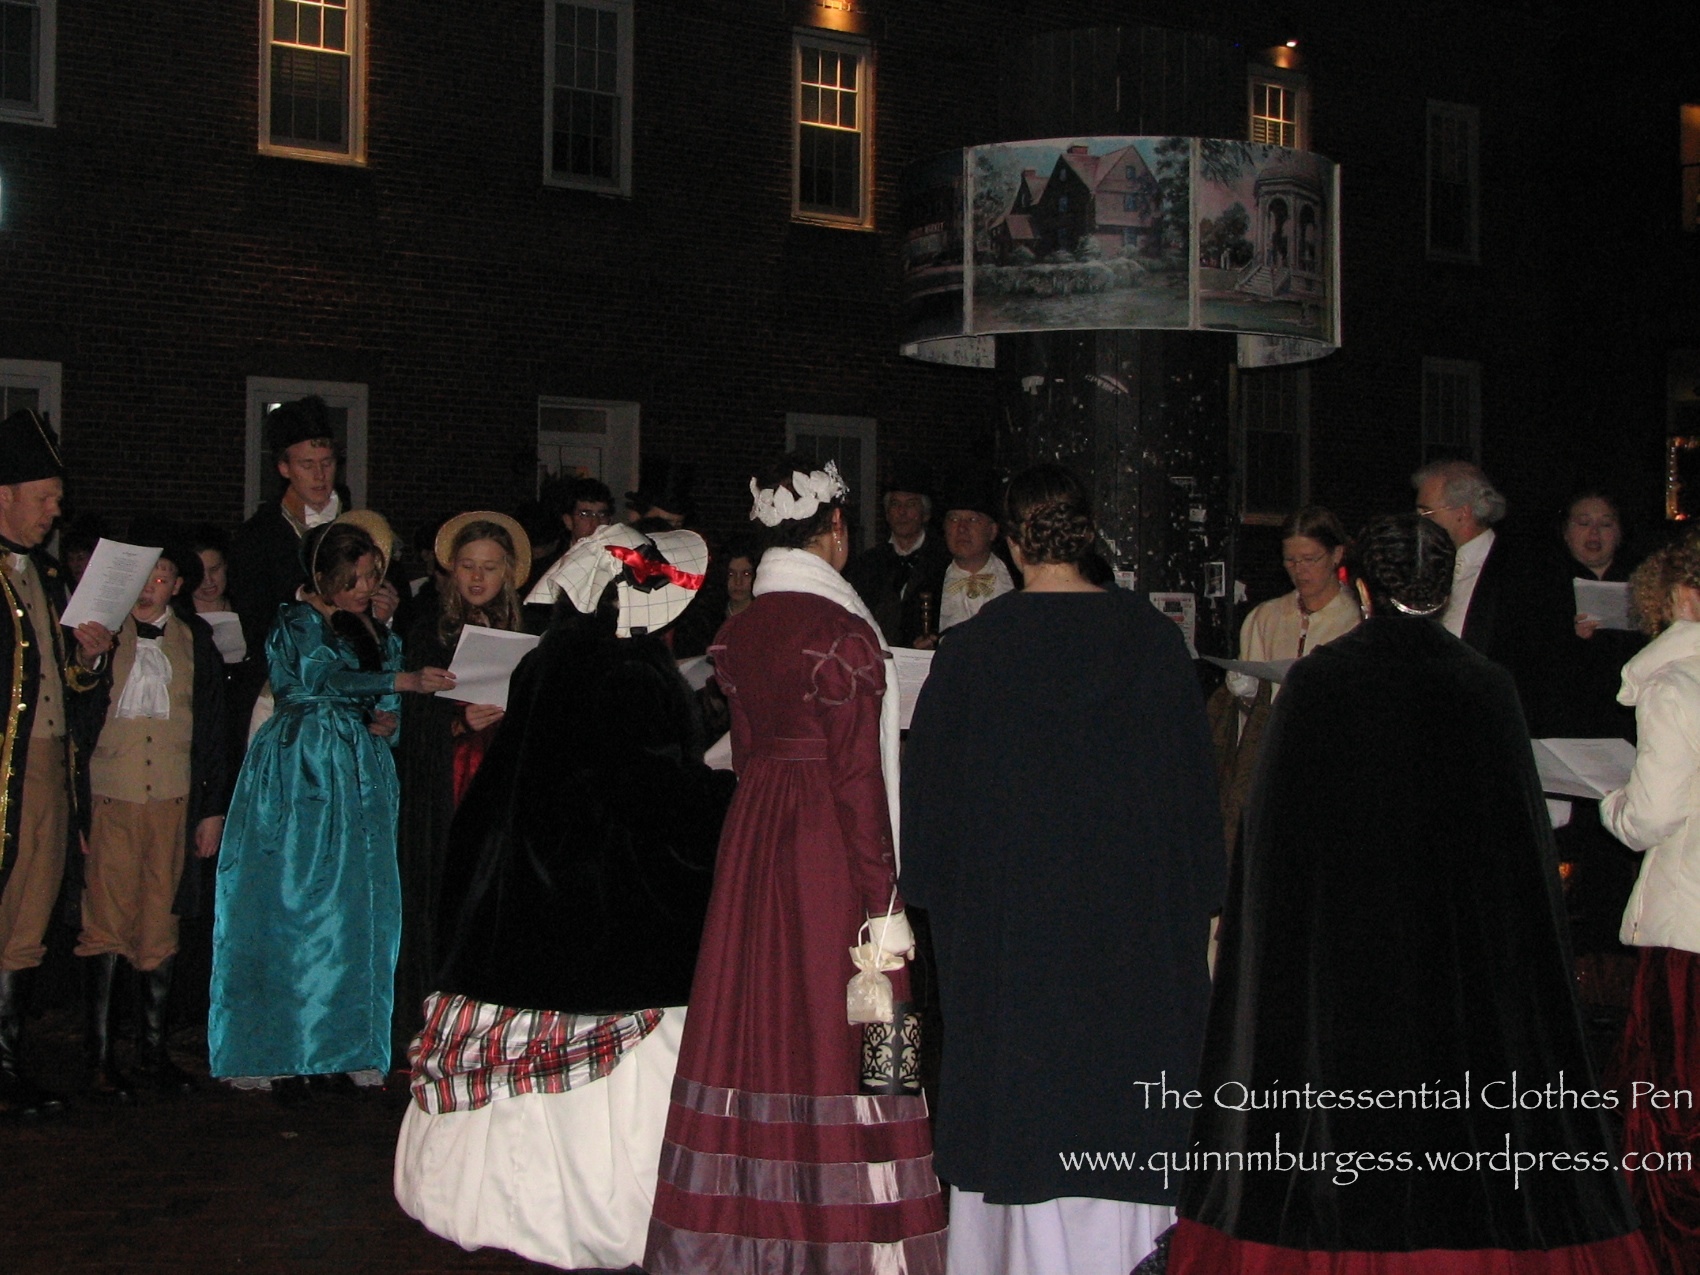
I actually had forgotten that I’d taken these construction shots. In fact, I had totally forgotten the method I had used to construct my sleeves until I saw the picture again! These pictures where the wool looks more pink than maroon show the color best. It’s really much more vibrant, and much less brownish, than some of the pictures make it look.
IMG_3946
The canvas pad stitched into the collar before sewing the pieces together.
IMG_3949
The top of the sleeve before the gathered sleeve top was sewn on. I didn’t want to waste wool where it wouldn’t be seen, so it stops part way up the lining, then the gathered cap is sewn on and hides the raw edge of the wool.
IMG_3951
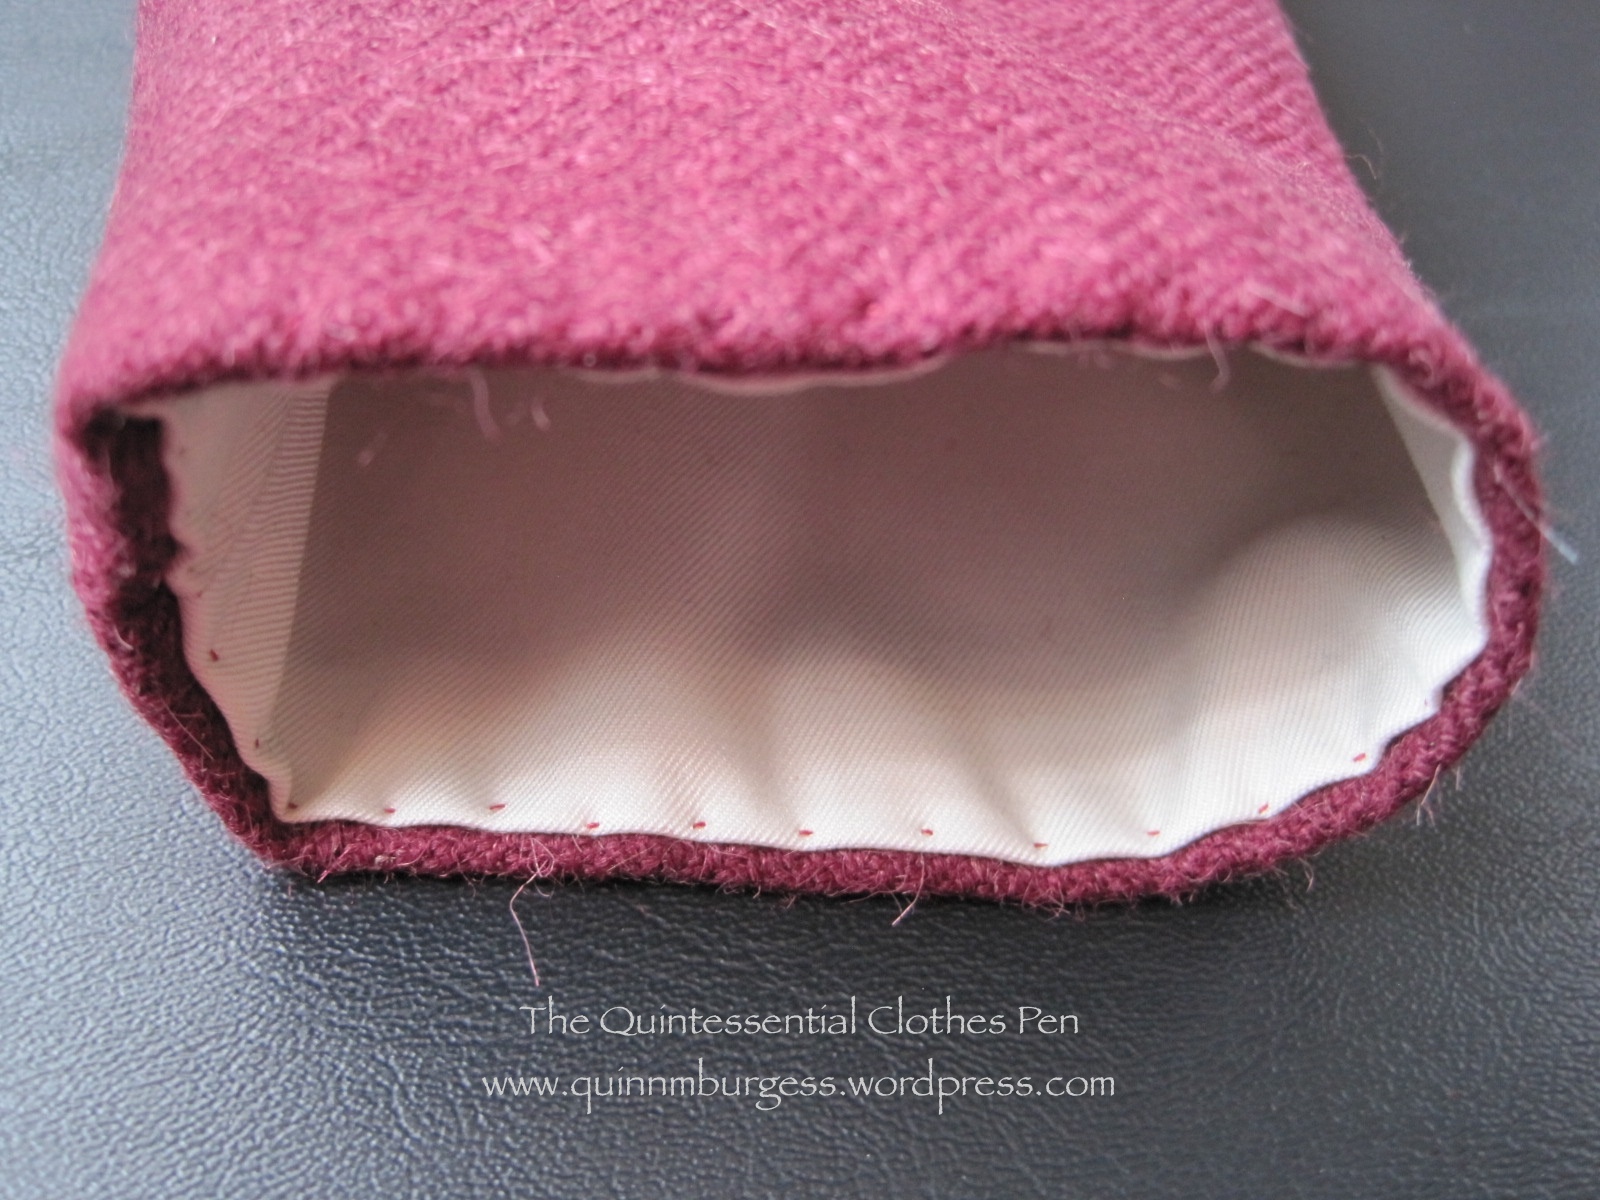
The lining is stab stitched to the wool at the cuff.

And just in case you want to read more about my entire project from the early 1820s, here’s a link to that category of entries on my blog. As I continue to finish up other bits and pieces I’ll keep adding them to that category, and it’s neat because the category filters only those posts so there’s a nice continuity.

HSF #2: UFO

Is there enough alphabet soup for you in the title of this post? In case you’re not familiar with those acronyms, it means that this is a post about the Historical Sew Fortnightly Challenge #2: Un-Finished Object. In this case, the UFO is my 1820s petticoat from the very end of 2012.

You’ll remember that I wore it to Fezziwig’s Ball in December, but that I hadn’t finished the neckline? I’m pleased to say that it is now entirely complete!

IMG_4187
Inside view. This petticoat has three ties at center back to keep it closed.
IMG_4188
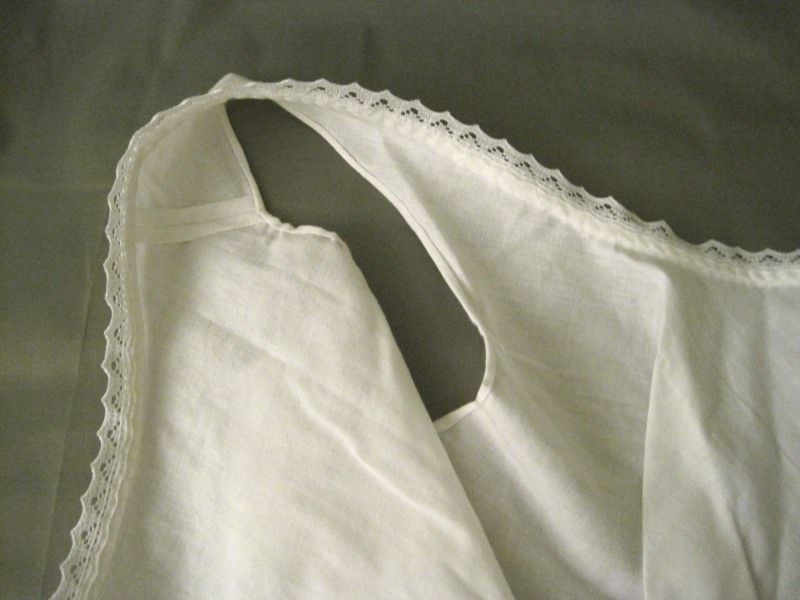
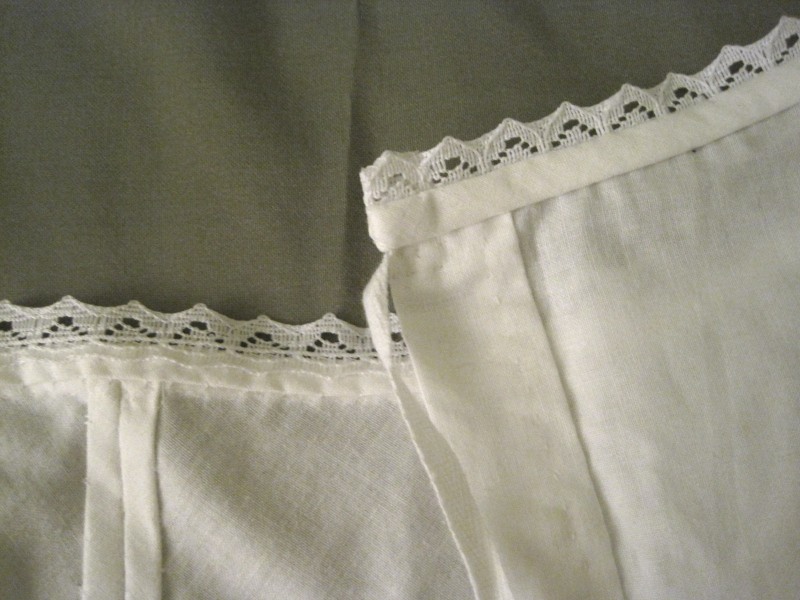
You know I like my insides to be pretty. This is a closeup of the arm hole and the neckline, which is bound with bias before having the lace sewn on.
IMG_4189
The double hem on the left is center front. Diagonally across the photo is the right side of the back.
IMG_4190
This cording was done last month, so it’s not really part of the UFO-ness, but it is still an accomplishment. 16 rows of hand sewn cording all around the hem.
IMG_4191
A close-up of the lace at the hem and my tiny stitches.

You can see some more detail shots in this past post.

And the facts?

Fabric: 3 1/2ish yds of white cotton

Pattern: Adapted from my 1822 green ball gown pattern. It’s pretty much exactly the same except that it doesn’t have sleeves. The ball gown pattern is based off of a pattern in Janet Arnold and styled as in the fashion plate you can see in this previous post.

Year: 1820s. The inspiration image is dated 1828-1835. You can see the inspiration image and my reasoning for it being more 1820s than 1830s here, in this past post.

Notions: About 1 1/2 yds of broderie anglaise trim, cut in half the long way to create double length; about 1 yd of white edging lace; and about 1 yd of 1/4″ cotton twill tape.

How historically accurate?: Very, having used modern materials. The pattern is from Janet Arnold, so you know it is good on accuracy. The entire petticoat is hand sewn and made of accurate fabric. The lace is machine made and the content is almost certainly not entirely accurate, but it is in the style of the early 19th century and the lace in the inspiration image. I’m not 100% sure that all of my seam finishes are perfectly accurate for this garment, but they are accurate for the period as a whole.

Hours to complete: I’m always bad at estimating this. Let’s say 120 hours.

First worn: To Fezziwig’s Ball in December 2012.

Total cost: Approzimately $13.