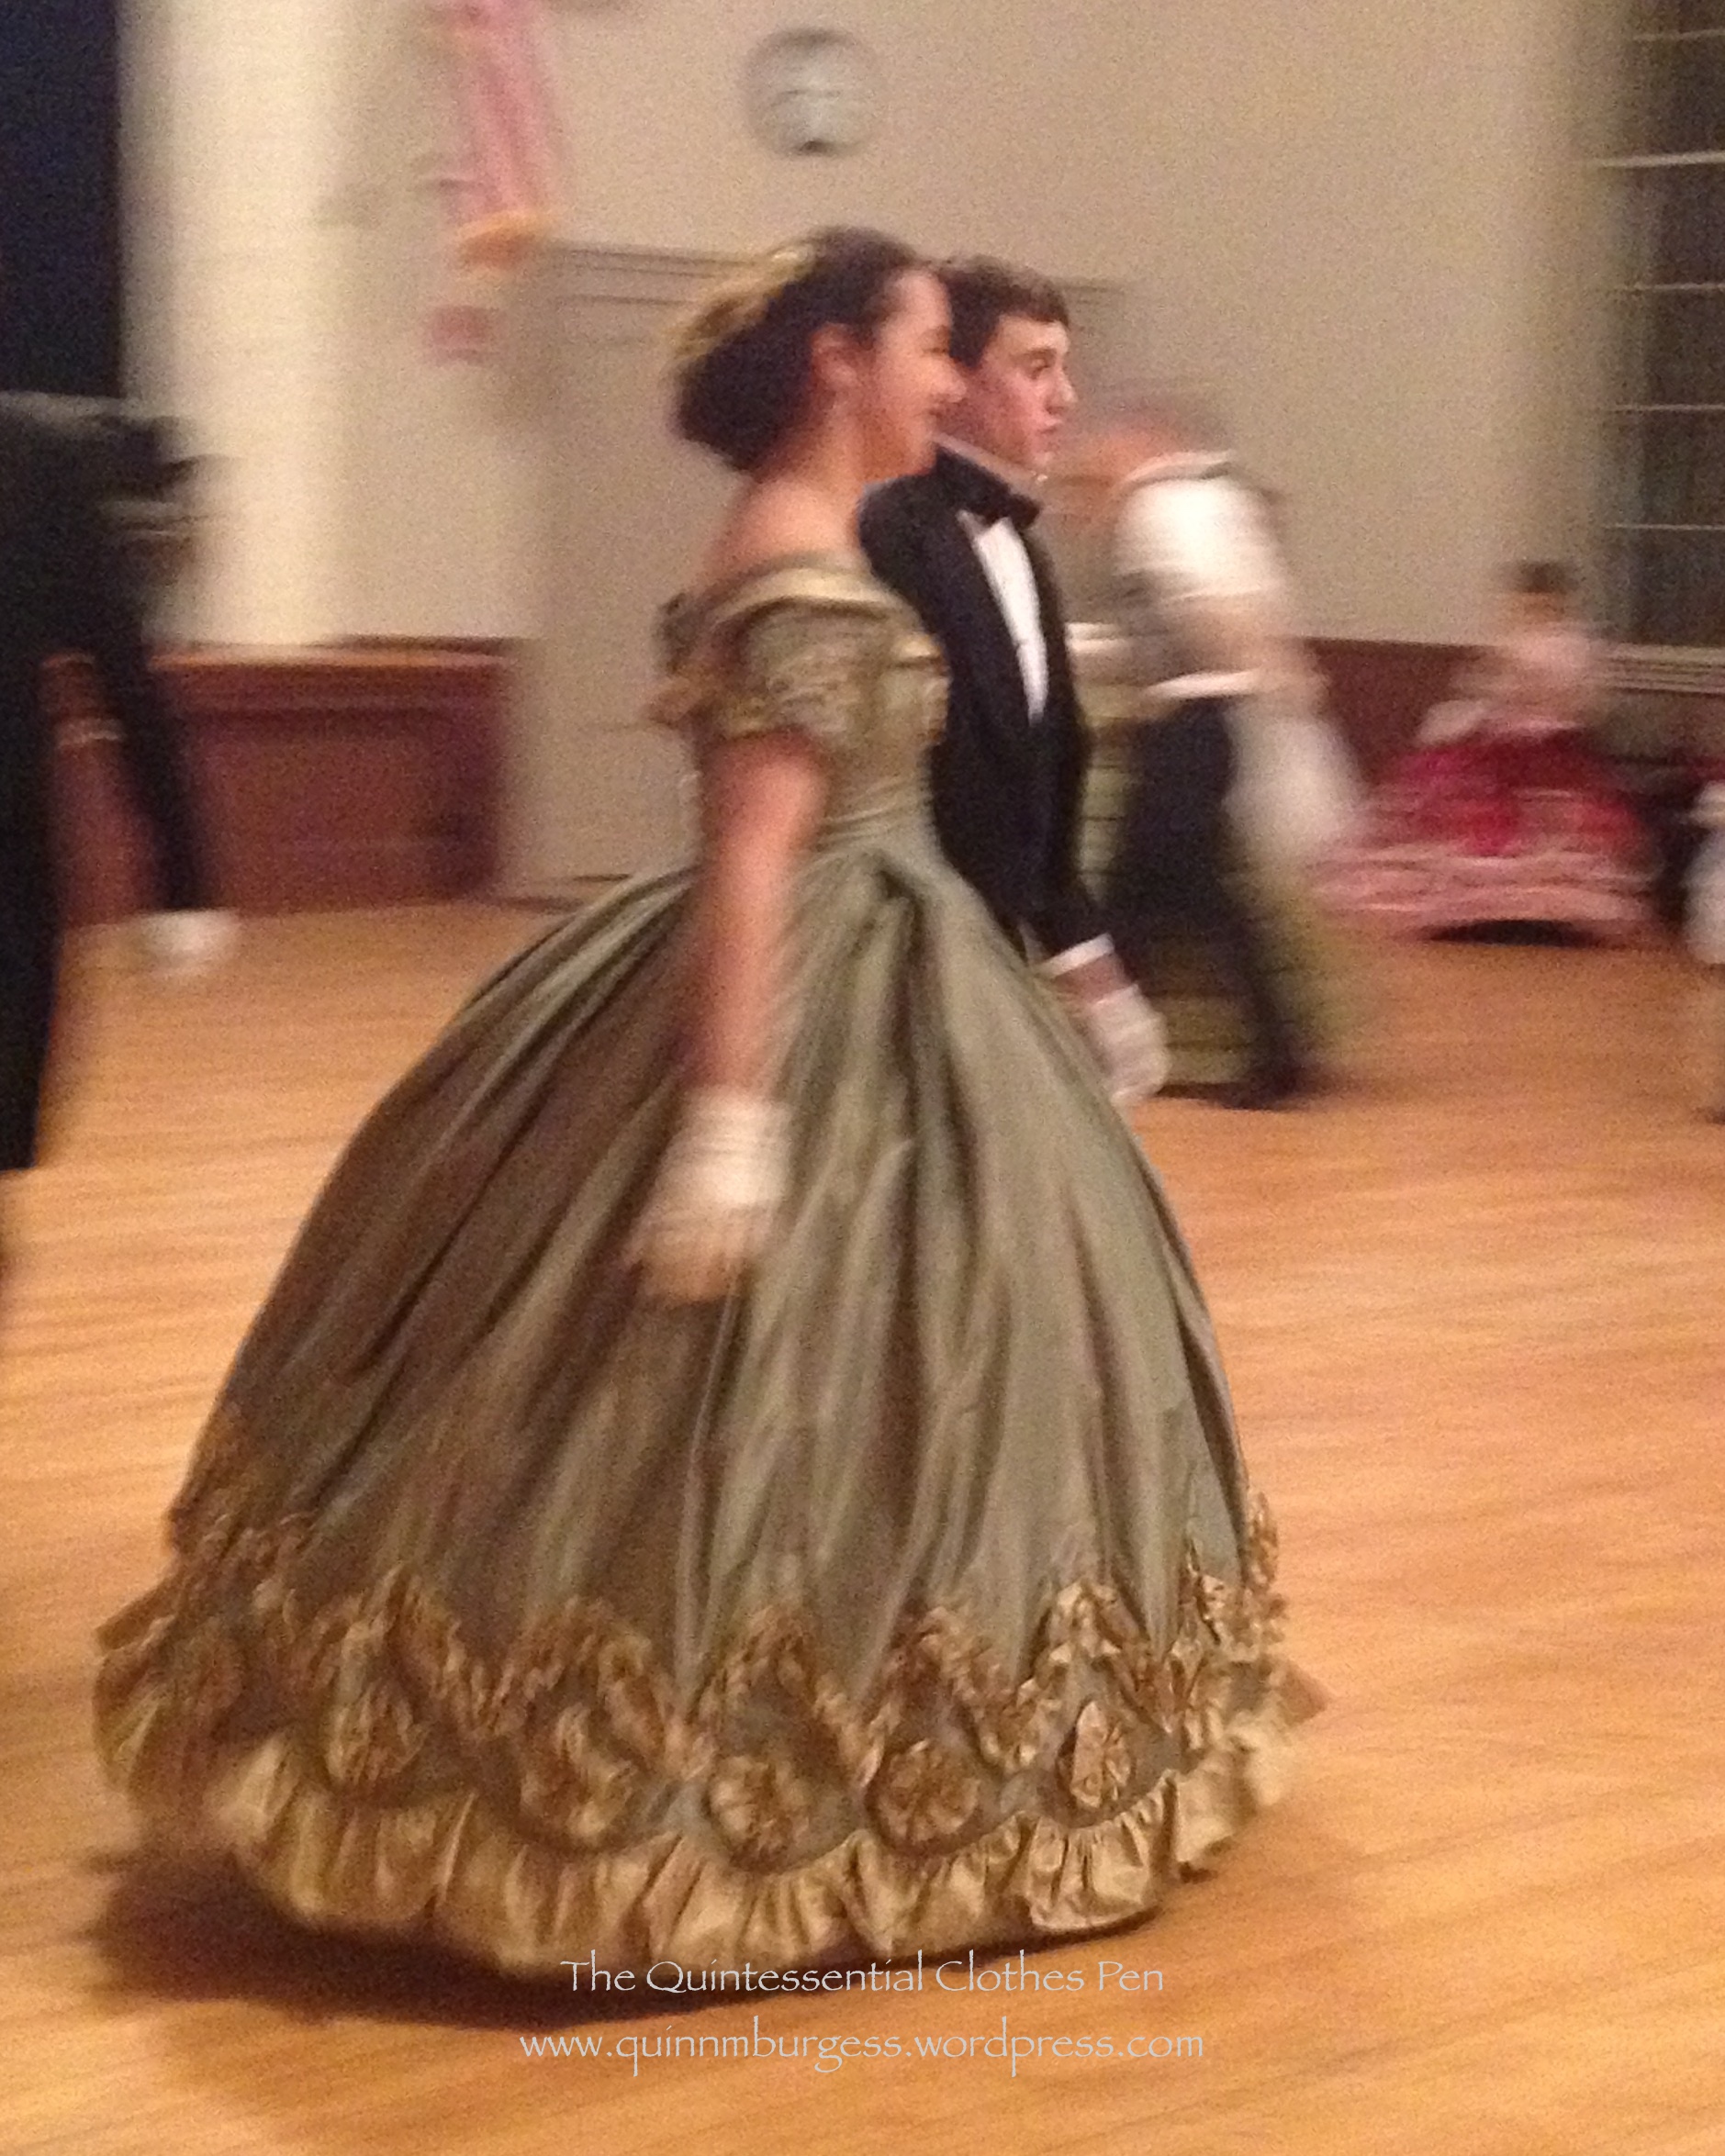
Back in March, I was again able to attend The Commonwealth Vintage Dancers‘ annual strictly-Civil-War ball (this is the 5th year I’ve been there, wow!). It’s been a joy every year I’ve attended and this year was no exception. Unfortunately, I only had my phone to document the evening, which means my pictures came out rather blurry. Here’s just a few.
Obviously, the most important thing to document was that I was able to wear my Refreshing Apron for the first time with a mid-century dress.Also, I danced. In this case, a schottische. (Other people danced, too, and looked quite elegant and lovely.)
Evie is always special to wear and was accompanied by the usual accessories and undergarments. The only thing I did when I came home was to mark front on the skirt, because every time I wear this gown I struggle to remember where front is! (It makes a difference when your skirt hooks to your bodice–without everything lined up properly it just doesn’t work!)
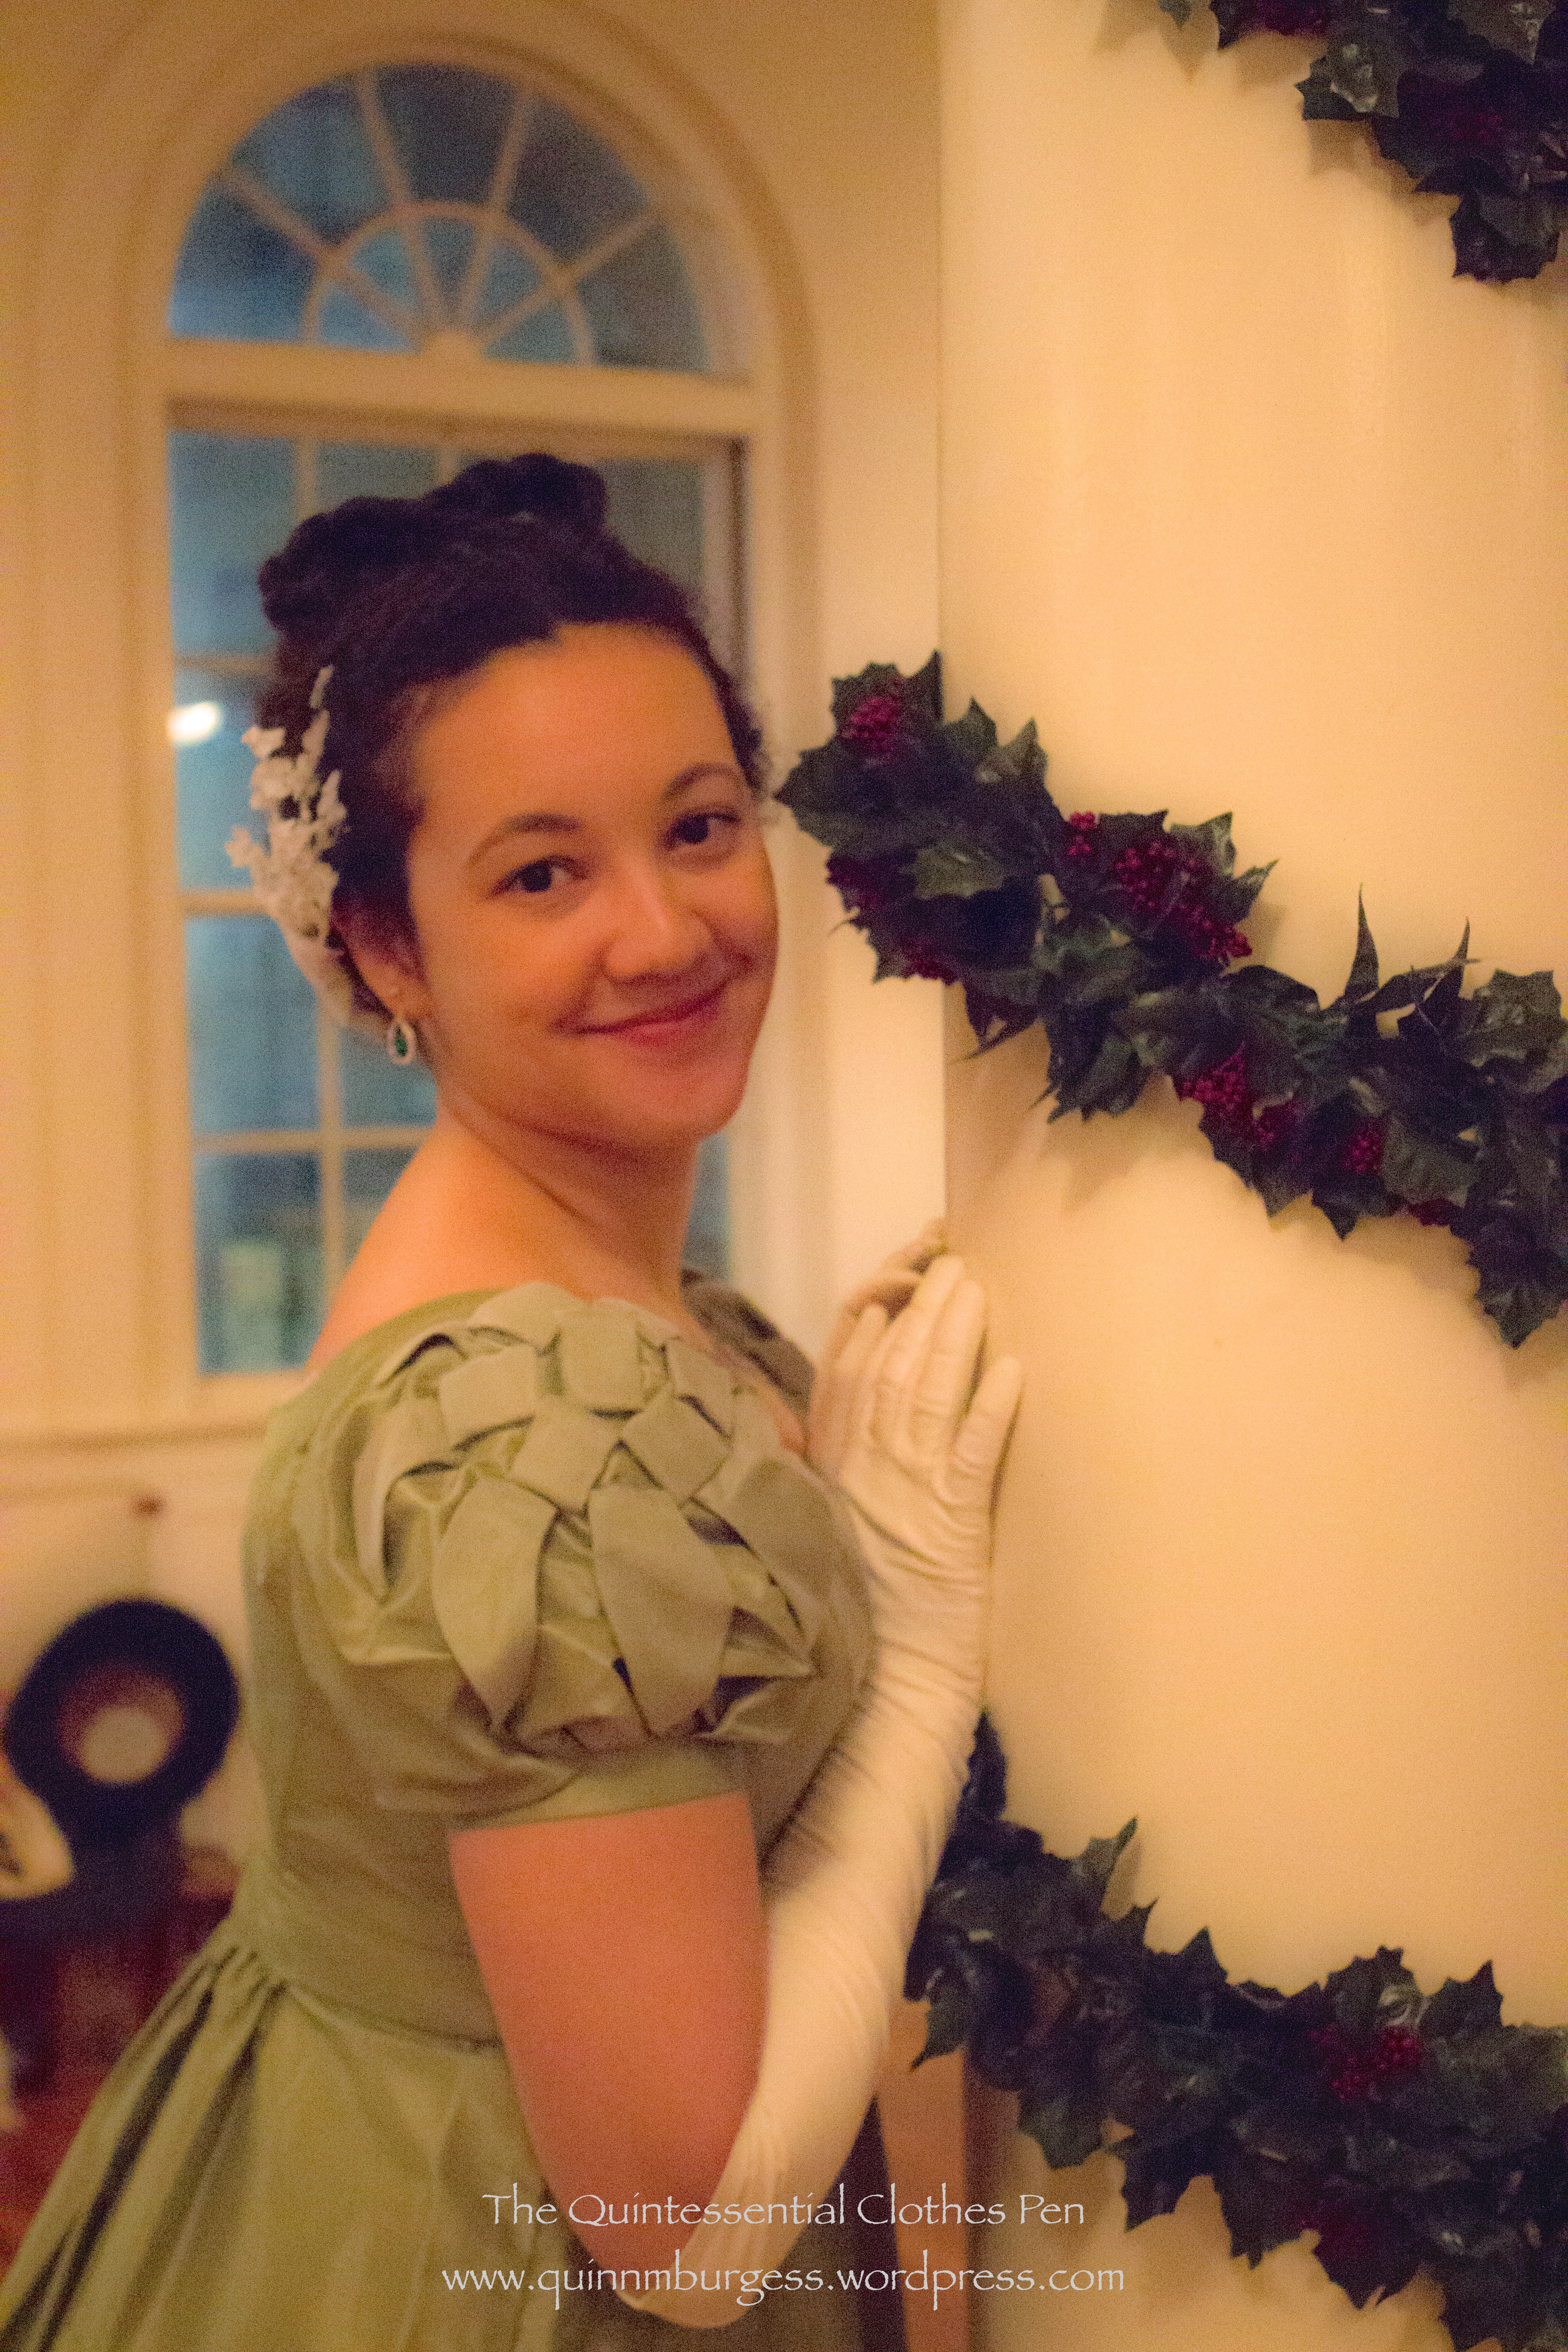
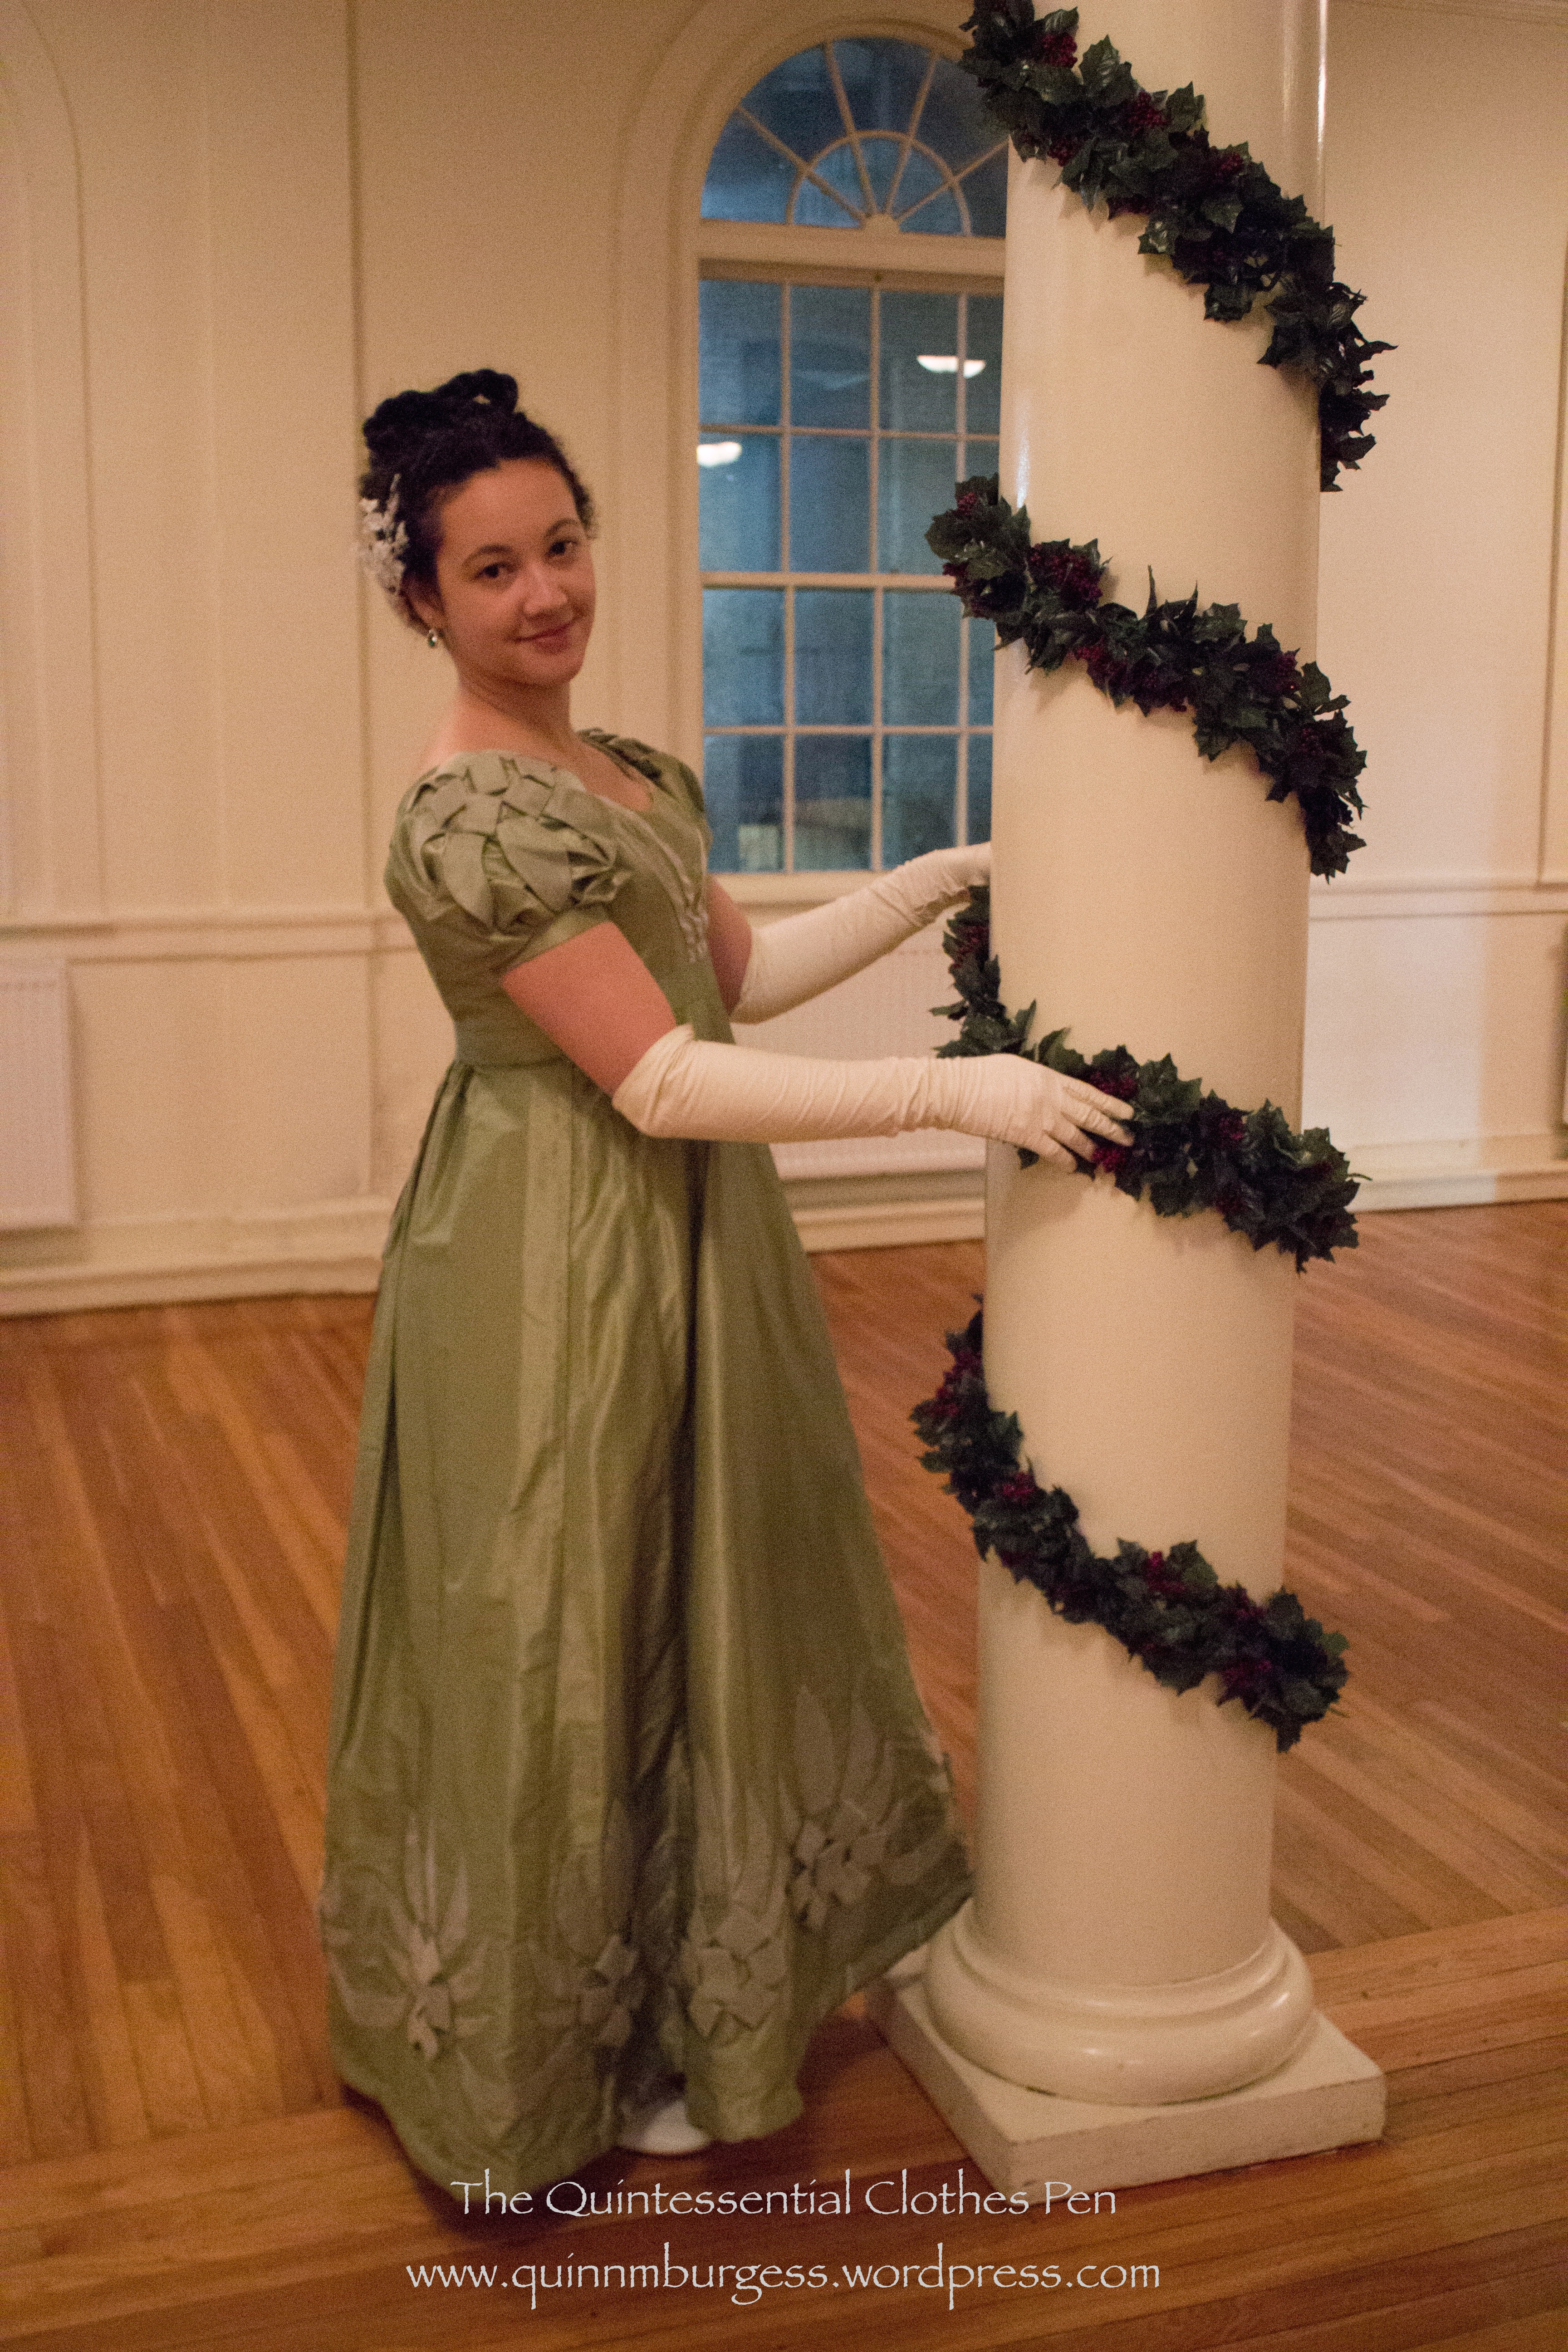
Last December, I had the opportunity to wear my green 1824 dress again at an annual holiday ball. It took a lot of time to sew all the trim on the dress (there are construction posts about this dress here) and I don’t get many opportunities to wear 1820s clothes, so it’s quite lovely to have a general “early 19th century” ball to wear this dress to.
This year we had new garland decorations and were able to get some adorable pictures! I was quite pleased with my silly figure eight braid hair style and my other accessories (the green earrings added a nice matching pop of color, the hair wreath worked well as it has in the past, and I like the white shoes with this dress). I’m behind sharing the photos, but pleased that they’re finally making it into a post.
Don’t you want to jump out of your chair and join in the dancing?
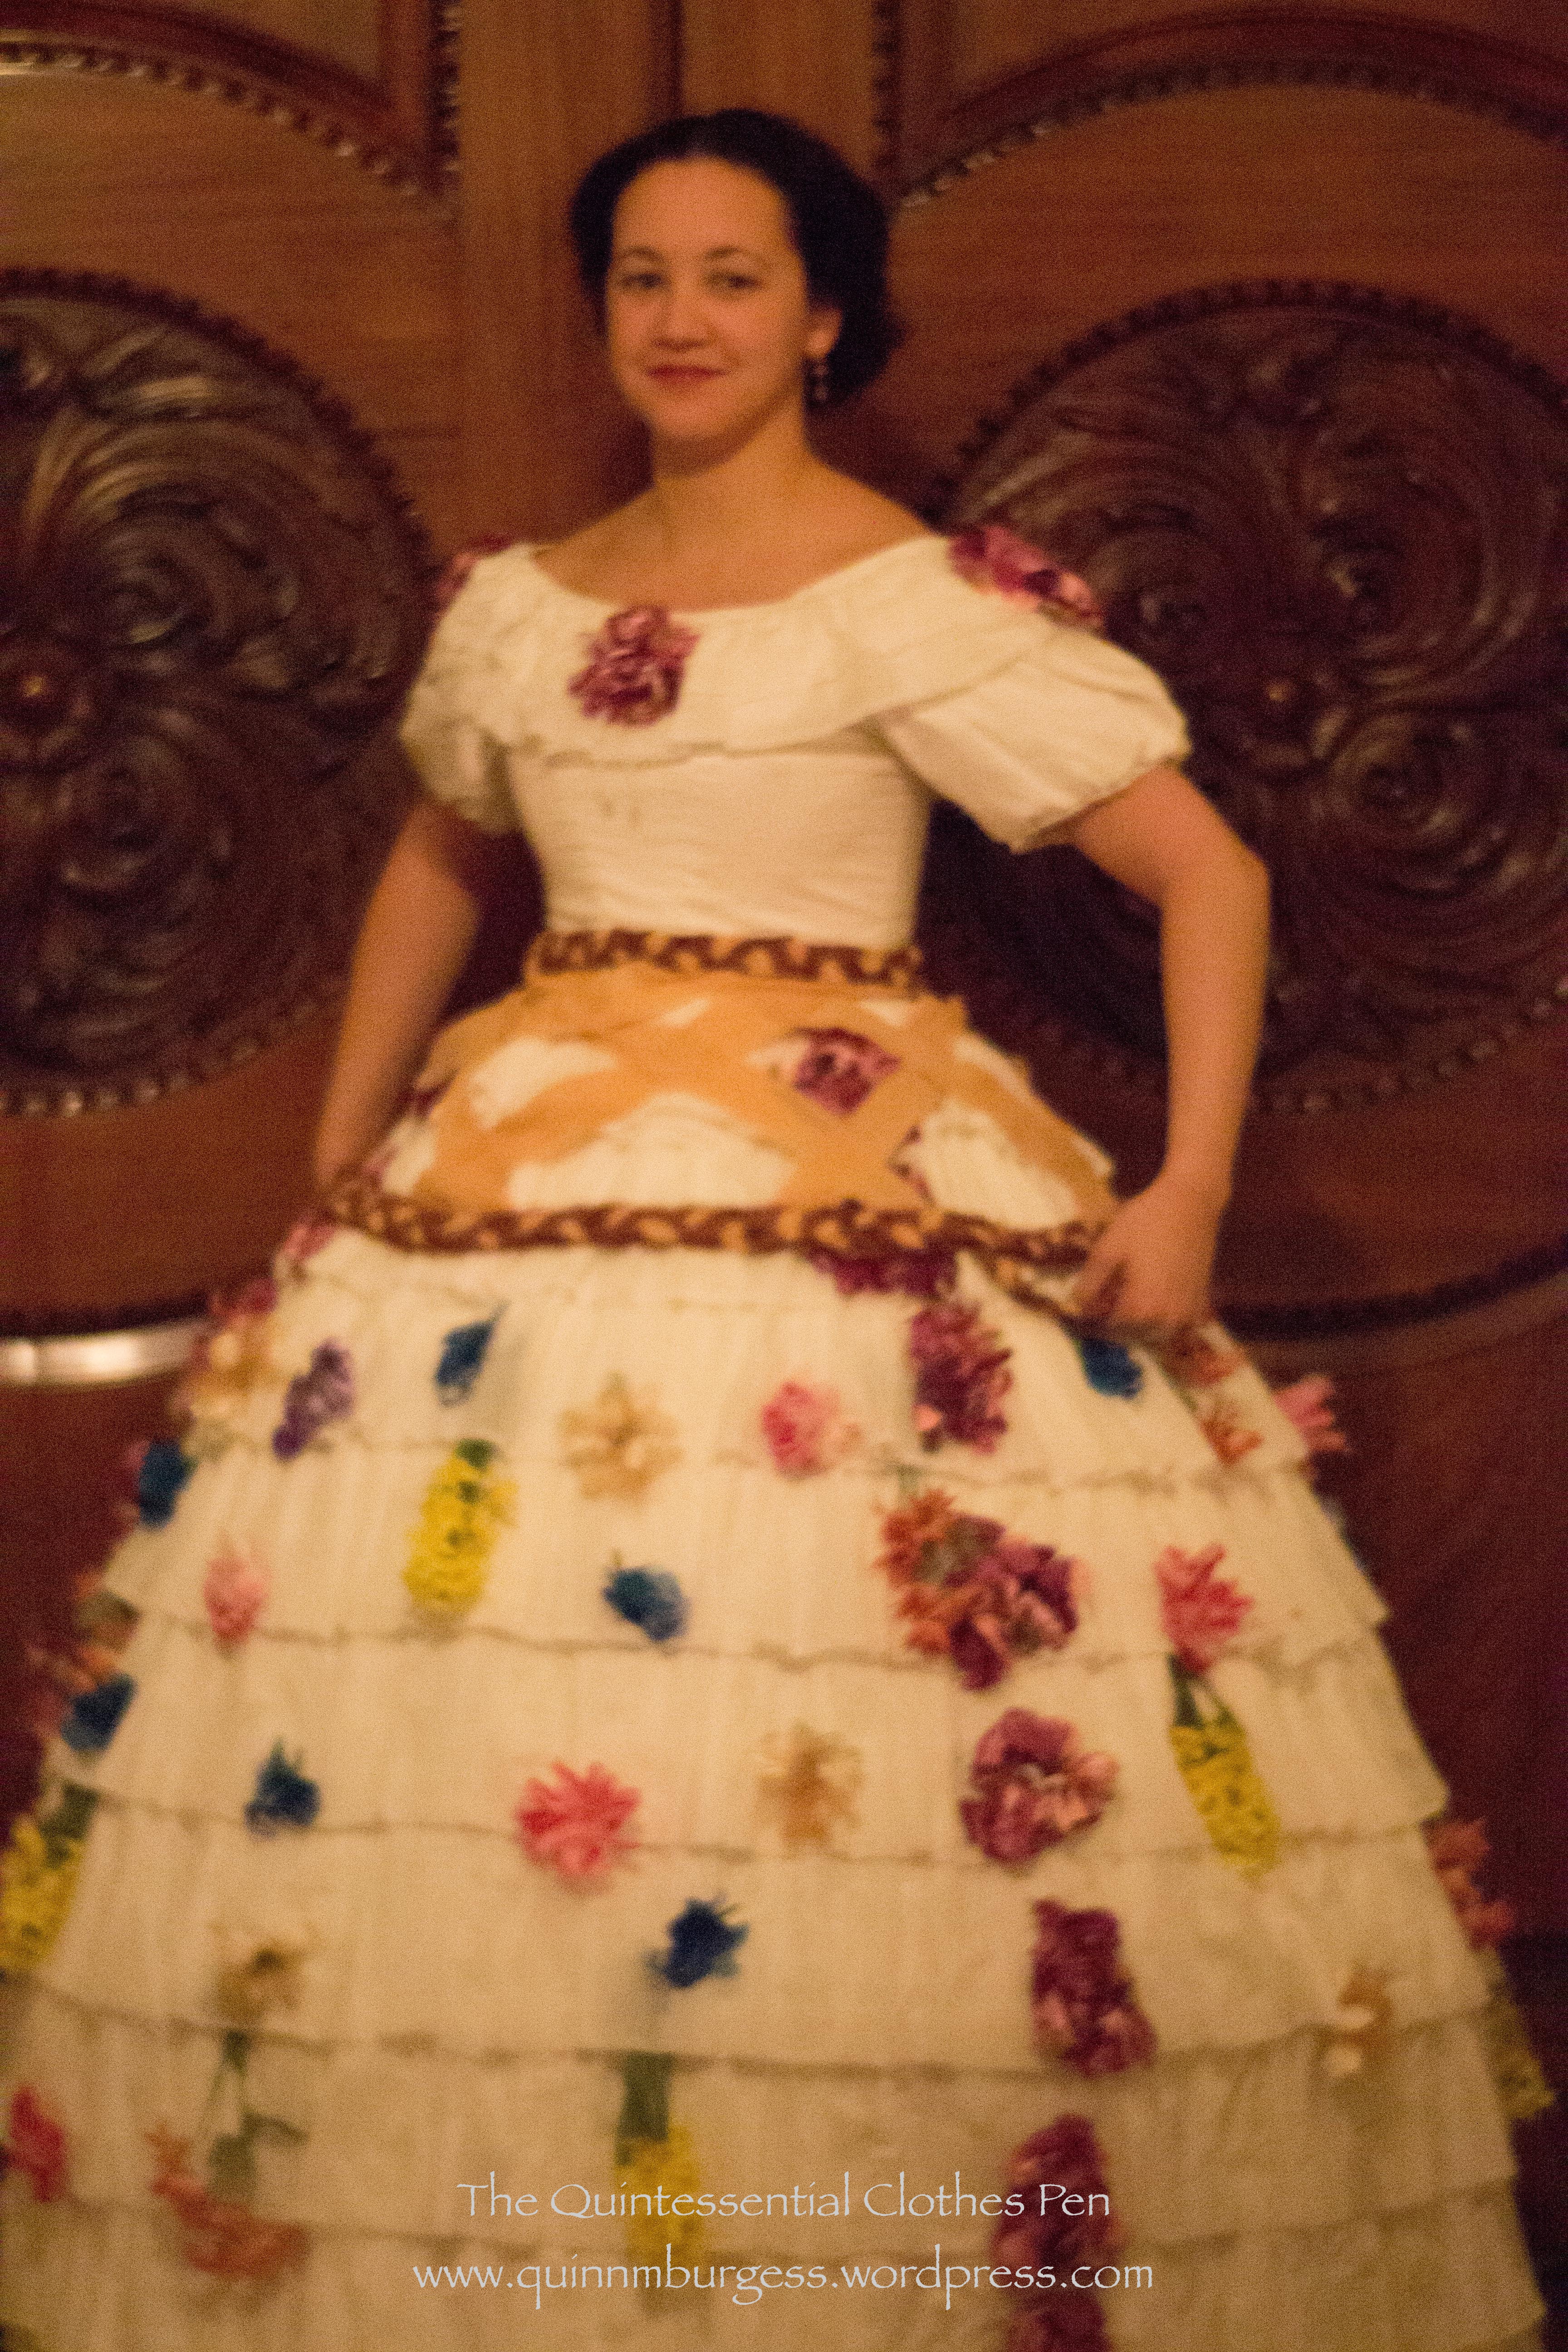
A few weekends ago now, I went to an event at The Down Town Association in New York. It was an event out of my usual ordinary line of events and so I took the opportunity to create something out of the ordinary to wear. The title of the post rather gives it away… but I only had a week to put my outfit together!
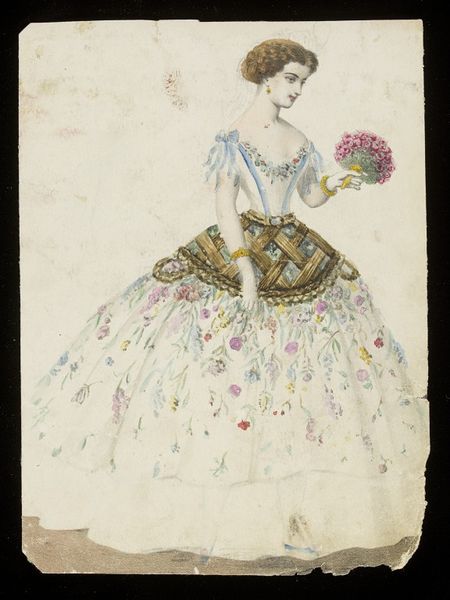
Flower Basket, 1860s. This design was created by Jules Helleu or Léon Sault, possibly for Charles Frederick Worth.
Using this image as my inspiration, I determined that I needed to make a flower basket, but that I could use Annabelle as the base for the floral dress. I also wanted to use only items from my stash, thus limiting my options a little bit. So I spent my weeknights creating a fabric basket that fit over my hoops and then furiously pinned flowers to my skirt the day we were leaving for New York in the hopes that they would look good and at least a little like my inspiration image…
(What does a flower basket do with her hands without a bouquet?)
In the end, I enjoyed my flower basket very much, but didn’t like the fact that my furious pinning job didn’t really achieve the cascading flower look I was going for and that Annabelle’s pre-existing flowers were rather heavier looking than I had hoped, also contributing to the lack of cascading flower look. Maybe someday I’ll try again with the same basket and a different, or differently modified dress, but it was fun to do something different even if the results were not as great as I hoped for.
I like the basket when you don’t see the skirt flowers.(Maybe a flower basket holds her handles?)
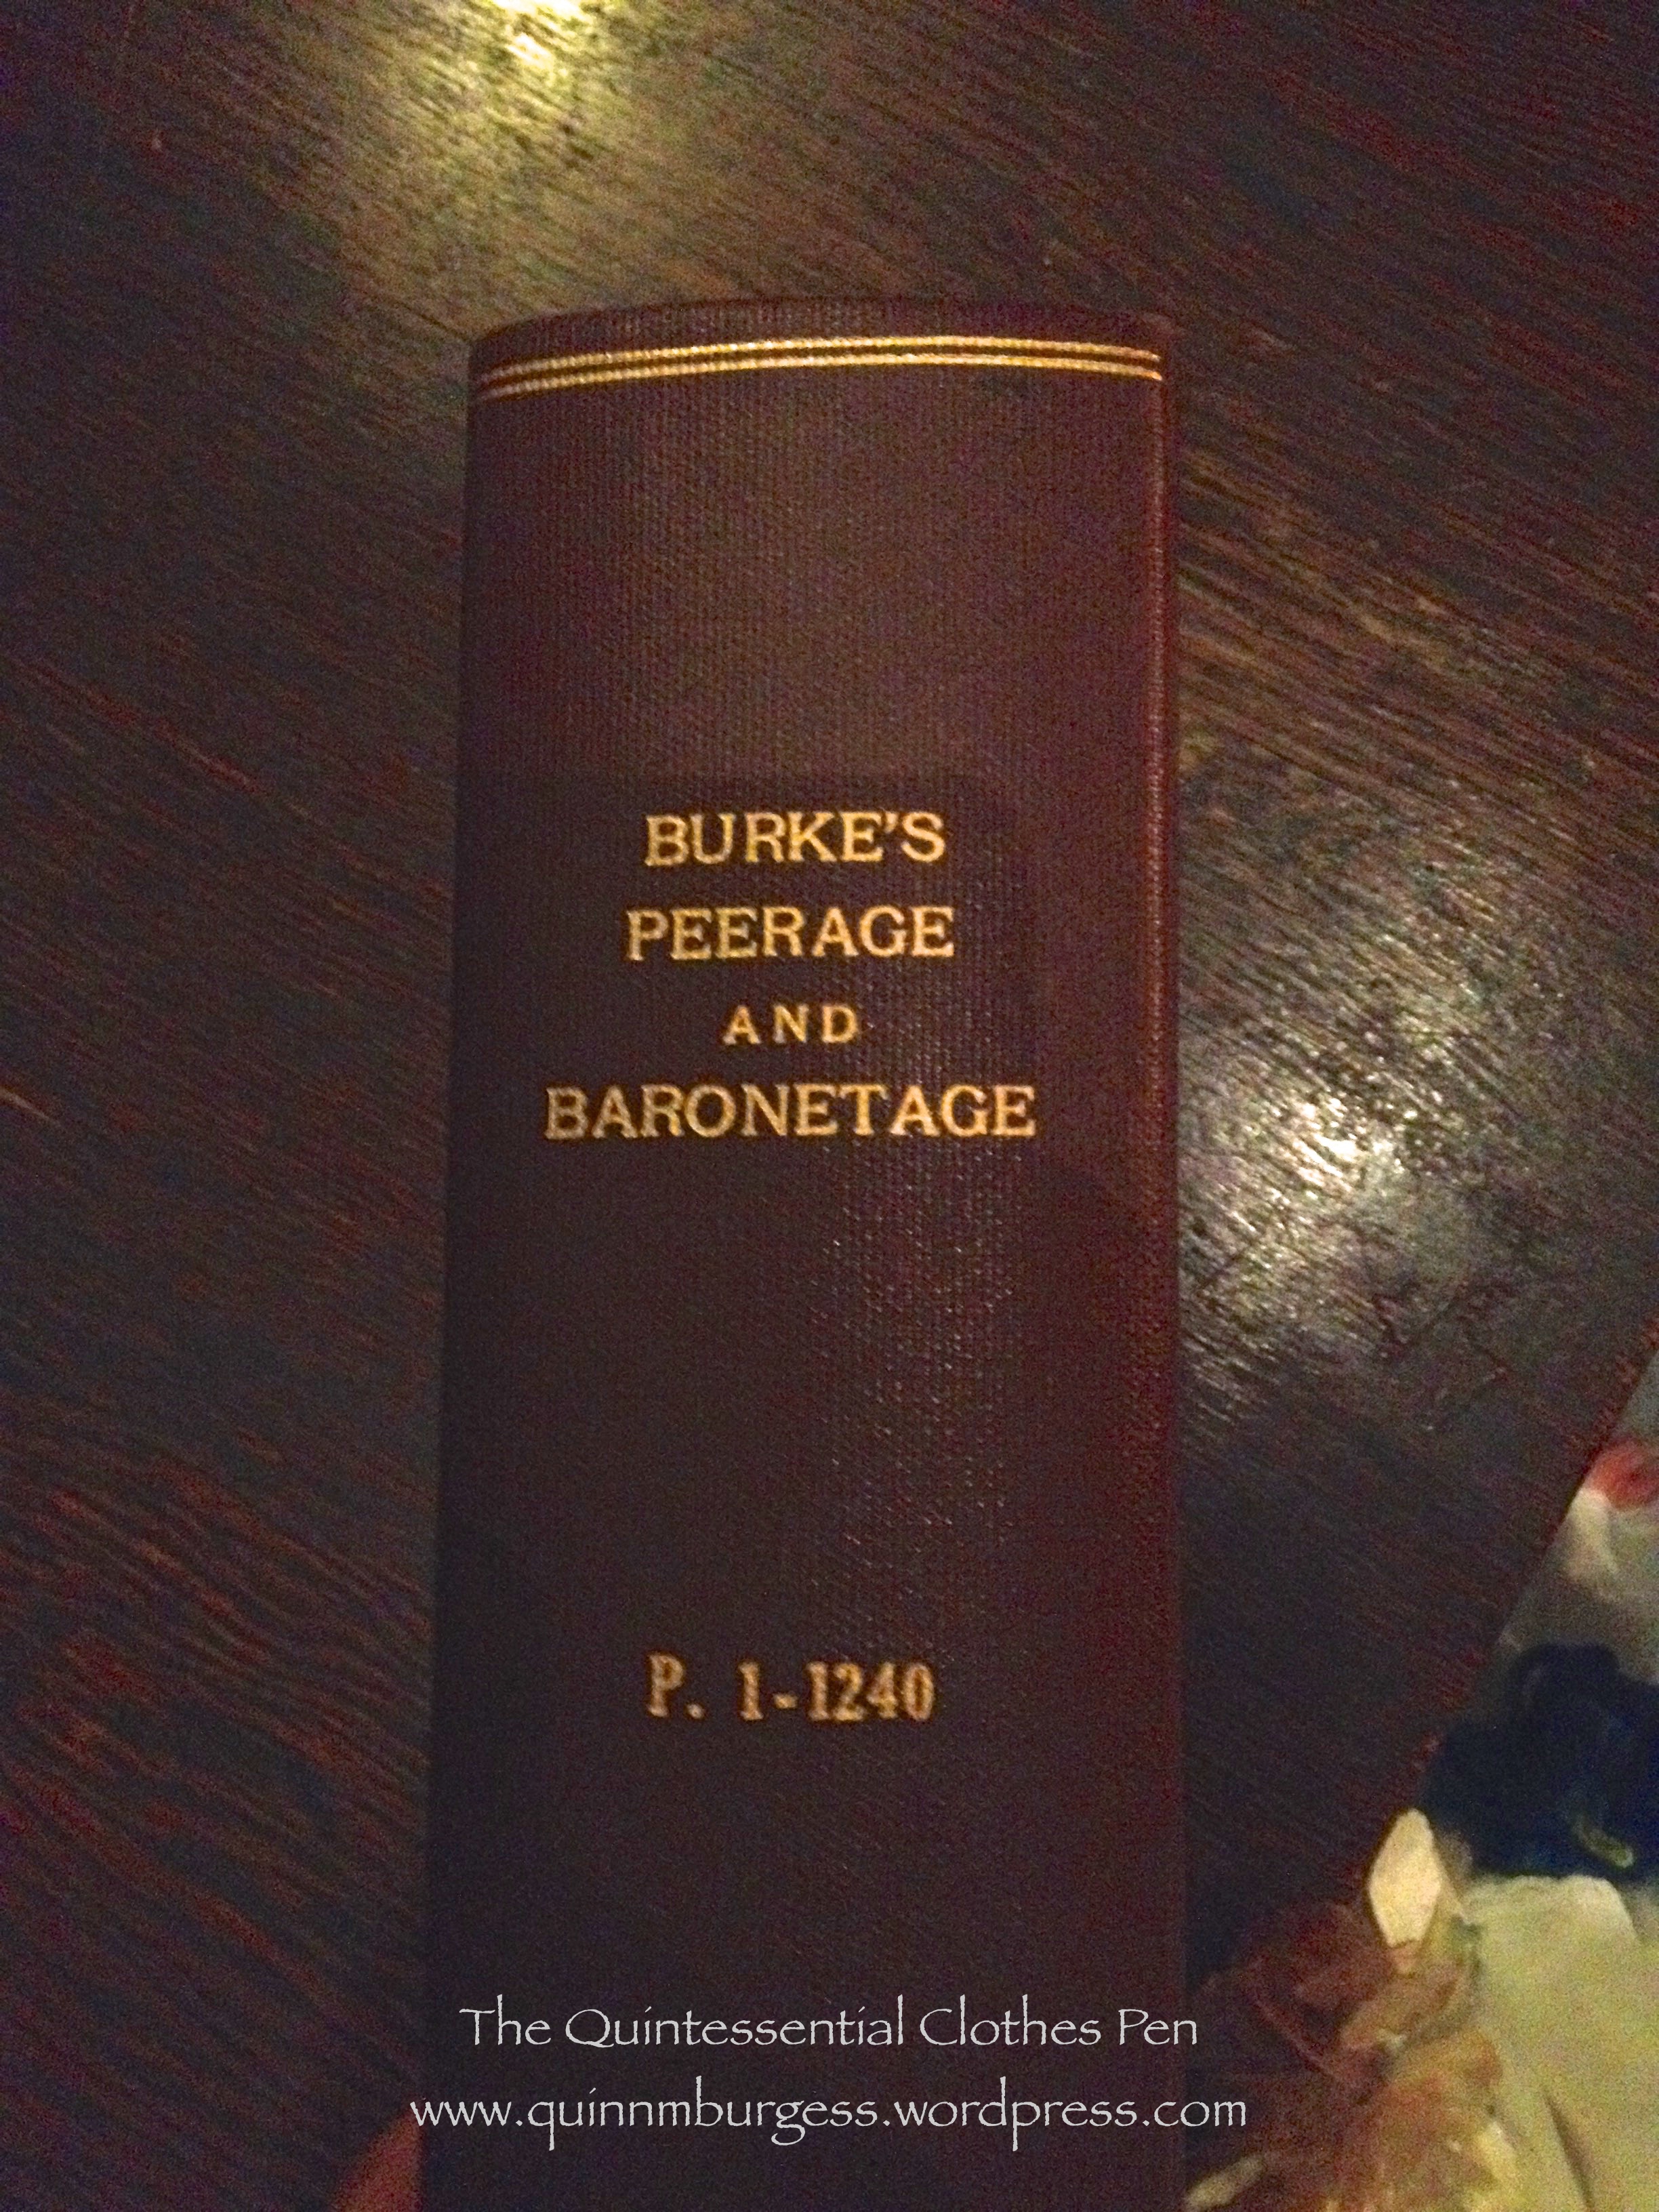
As I mentioned, this event was held at The Down Town Association in New York, which was established in 1860 (perfect for my fancy dress!). As far as I can tell the association is still housed in the same building they’ve been in since 1860. It was quite lovely inside, with detailed architecture and beautiful rooms. One room was a library full of a rather random collection of books. I enjoy perusing books and so proceeded to examine the titles closely. And guess what I found? A volume of Burke’s Peerage and Baronetage from 1912!
This excited me quite a bit, not only because it was from 1912, but I think also because it reminded me of Persuasion, in which Mr. Elliot is described as putting Burke’s Peerage in a position of honor in his estimation of important things in the world. Regardless, I got distracted and insisted that I needed to take pictures and look through.
Here I am, reading Burke’s Peerage!
Burke’s Peerage certainly is an undertaking, and this volume only covered the alphabet through letter L! Unfortunately, I didn’t spot a second volume in the library, but I hope it’s there somewhere.
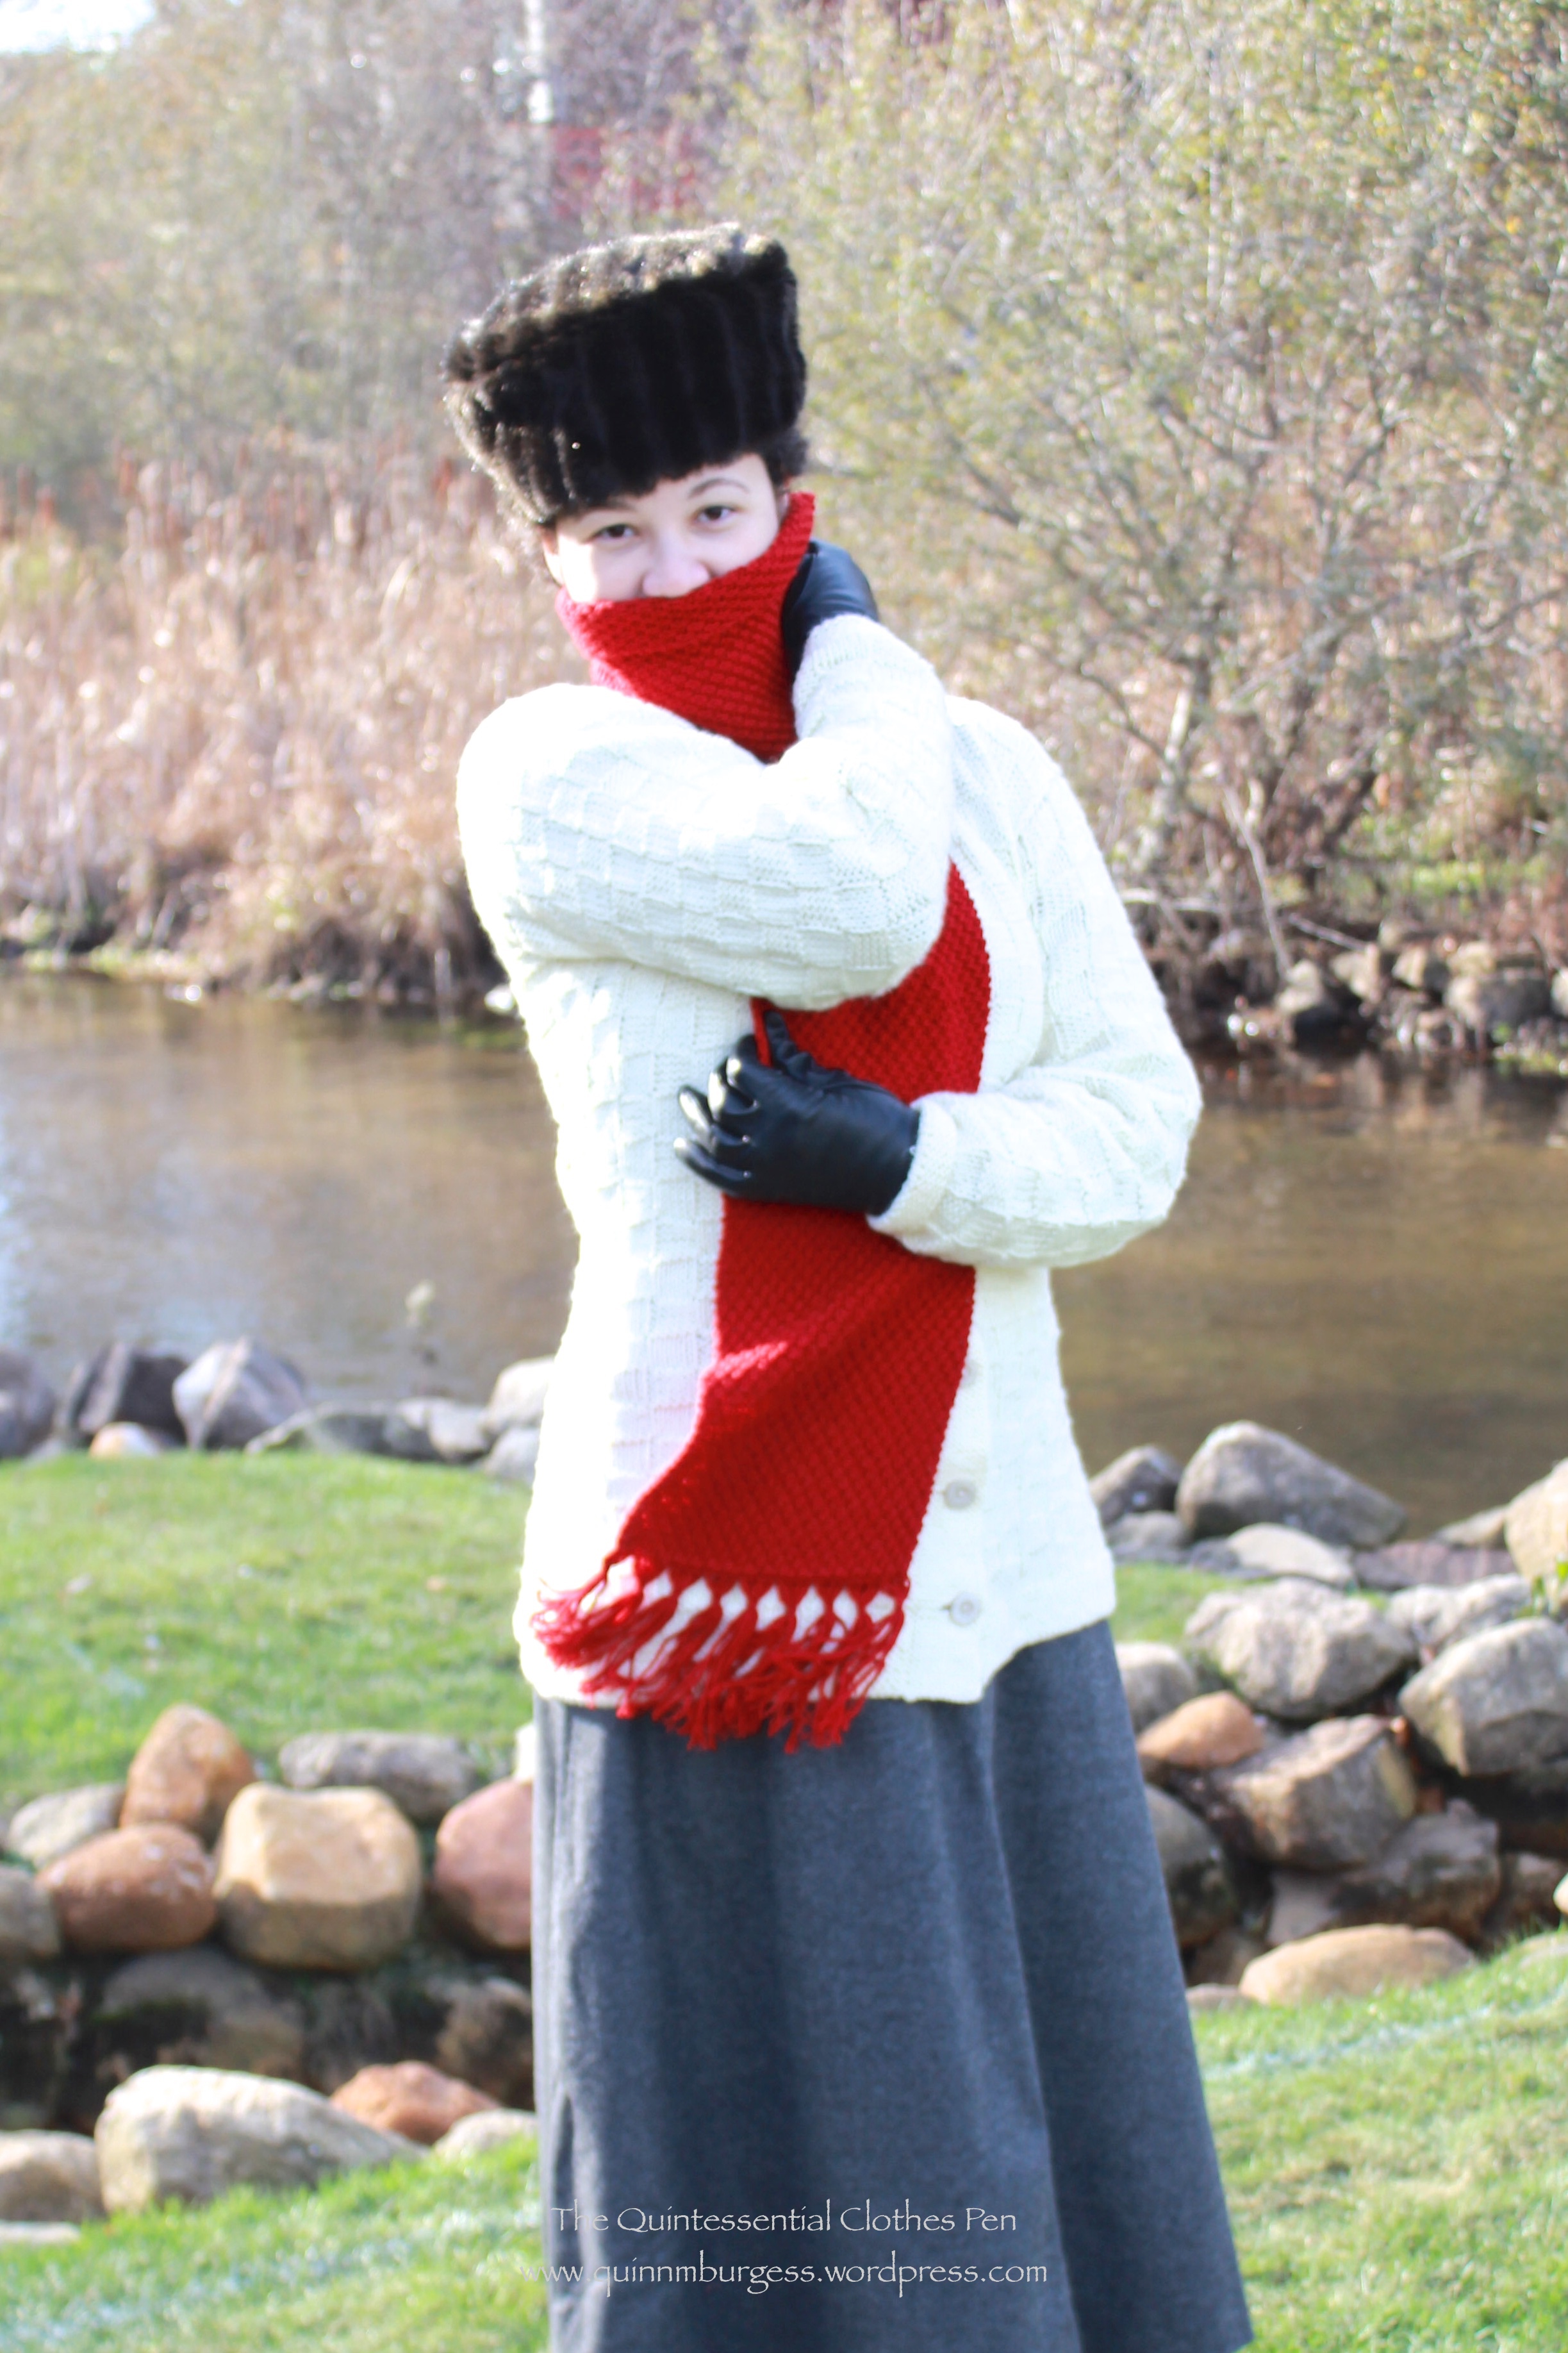
From the Cranberry Scarf post, proof that I was wearing my wool skirt, though all the layers cover up the changes I made that completed it.The new placket closes with hidden skirt hooks and bars.
While the side seams, hem, and waistband were totally finished for the first wearing, the skirt never had closures. It just sat in my closet taunting me with it’s almost-finished status. When I went to finish it I realized that a side closure would make it much easier to get dresses and be less gap-y than the center back closure I had originally intended. Moving the closure meant re-do-ing the waistband, so I also used the opportunity to change out the pockets.
As a side note, pockets on day wear are genius! They’re so useful when you’re the public eye and you need to keep things like your car key, phone, and ID on you but you don’t want to leave them lying around. They free your hands from any sort of bag and ensure that your sensitive modern items are not lost or stolen. GENIUS!
New (modern shaped) pocket.
The pockets I’d originally put in were rectangles set in vertically that extended both in front of and behind the pocket slit. They are just fine in skirts with more fullness, but for this period they were hard to get my hand in and out of. So when I was changing around the waistband, I cut out a new pocket shaped like what you would find in a modern garment. The new pocket has a facing piece of the skirt wool sewn over the muslin where it might show when I put my hand in (that’s the square set of stitching on the upper right). Because I added a side closure I only have one pocket on the other side, but it is easier to use than the old pocket style was. Both the pocket and the waistband facing are made from scrap muslin (not itchy, not slippery, and who doesn’t love using up scraps?!?).
Both sides of the skirt have four covered buttons on them. Buttons were often used in the 1910s to decorate skirts and blouses (take a look at my 1915-18 Pinterest board, for instance, and you’ll see lots of examples). These buttons are just for show, though, because the skirt closes with hidden skirt hooks and bars.
Braving the cold to show off my completed skirt placket.
I referenced Jennifer Rosbrugh’s great placket tutorial (I could remember all the directions exactly, but it’s so much easier to just take a quick look to remember which pieces to cut to different sizes and where to put them!) and this tutorial showing how to add hidden side pockets (Again, nice to to have to think very hard: easy directions and good illustrative photos!). And I’m super pleased that the skirt is complete! Yay!
In January, The Commonwealth Vintage Dancers hosted an 1890s weekend (the same weekend that included an ice skating party that I blogged about a few weeks ago). Despite some snow during the day and into the evening, people were not kept away and the ball on Saturday was packed with dancers. Please join me on a little jaunt back to a snowy evening in the 1890s.
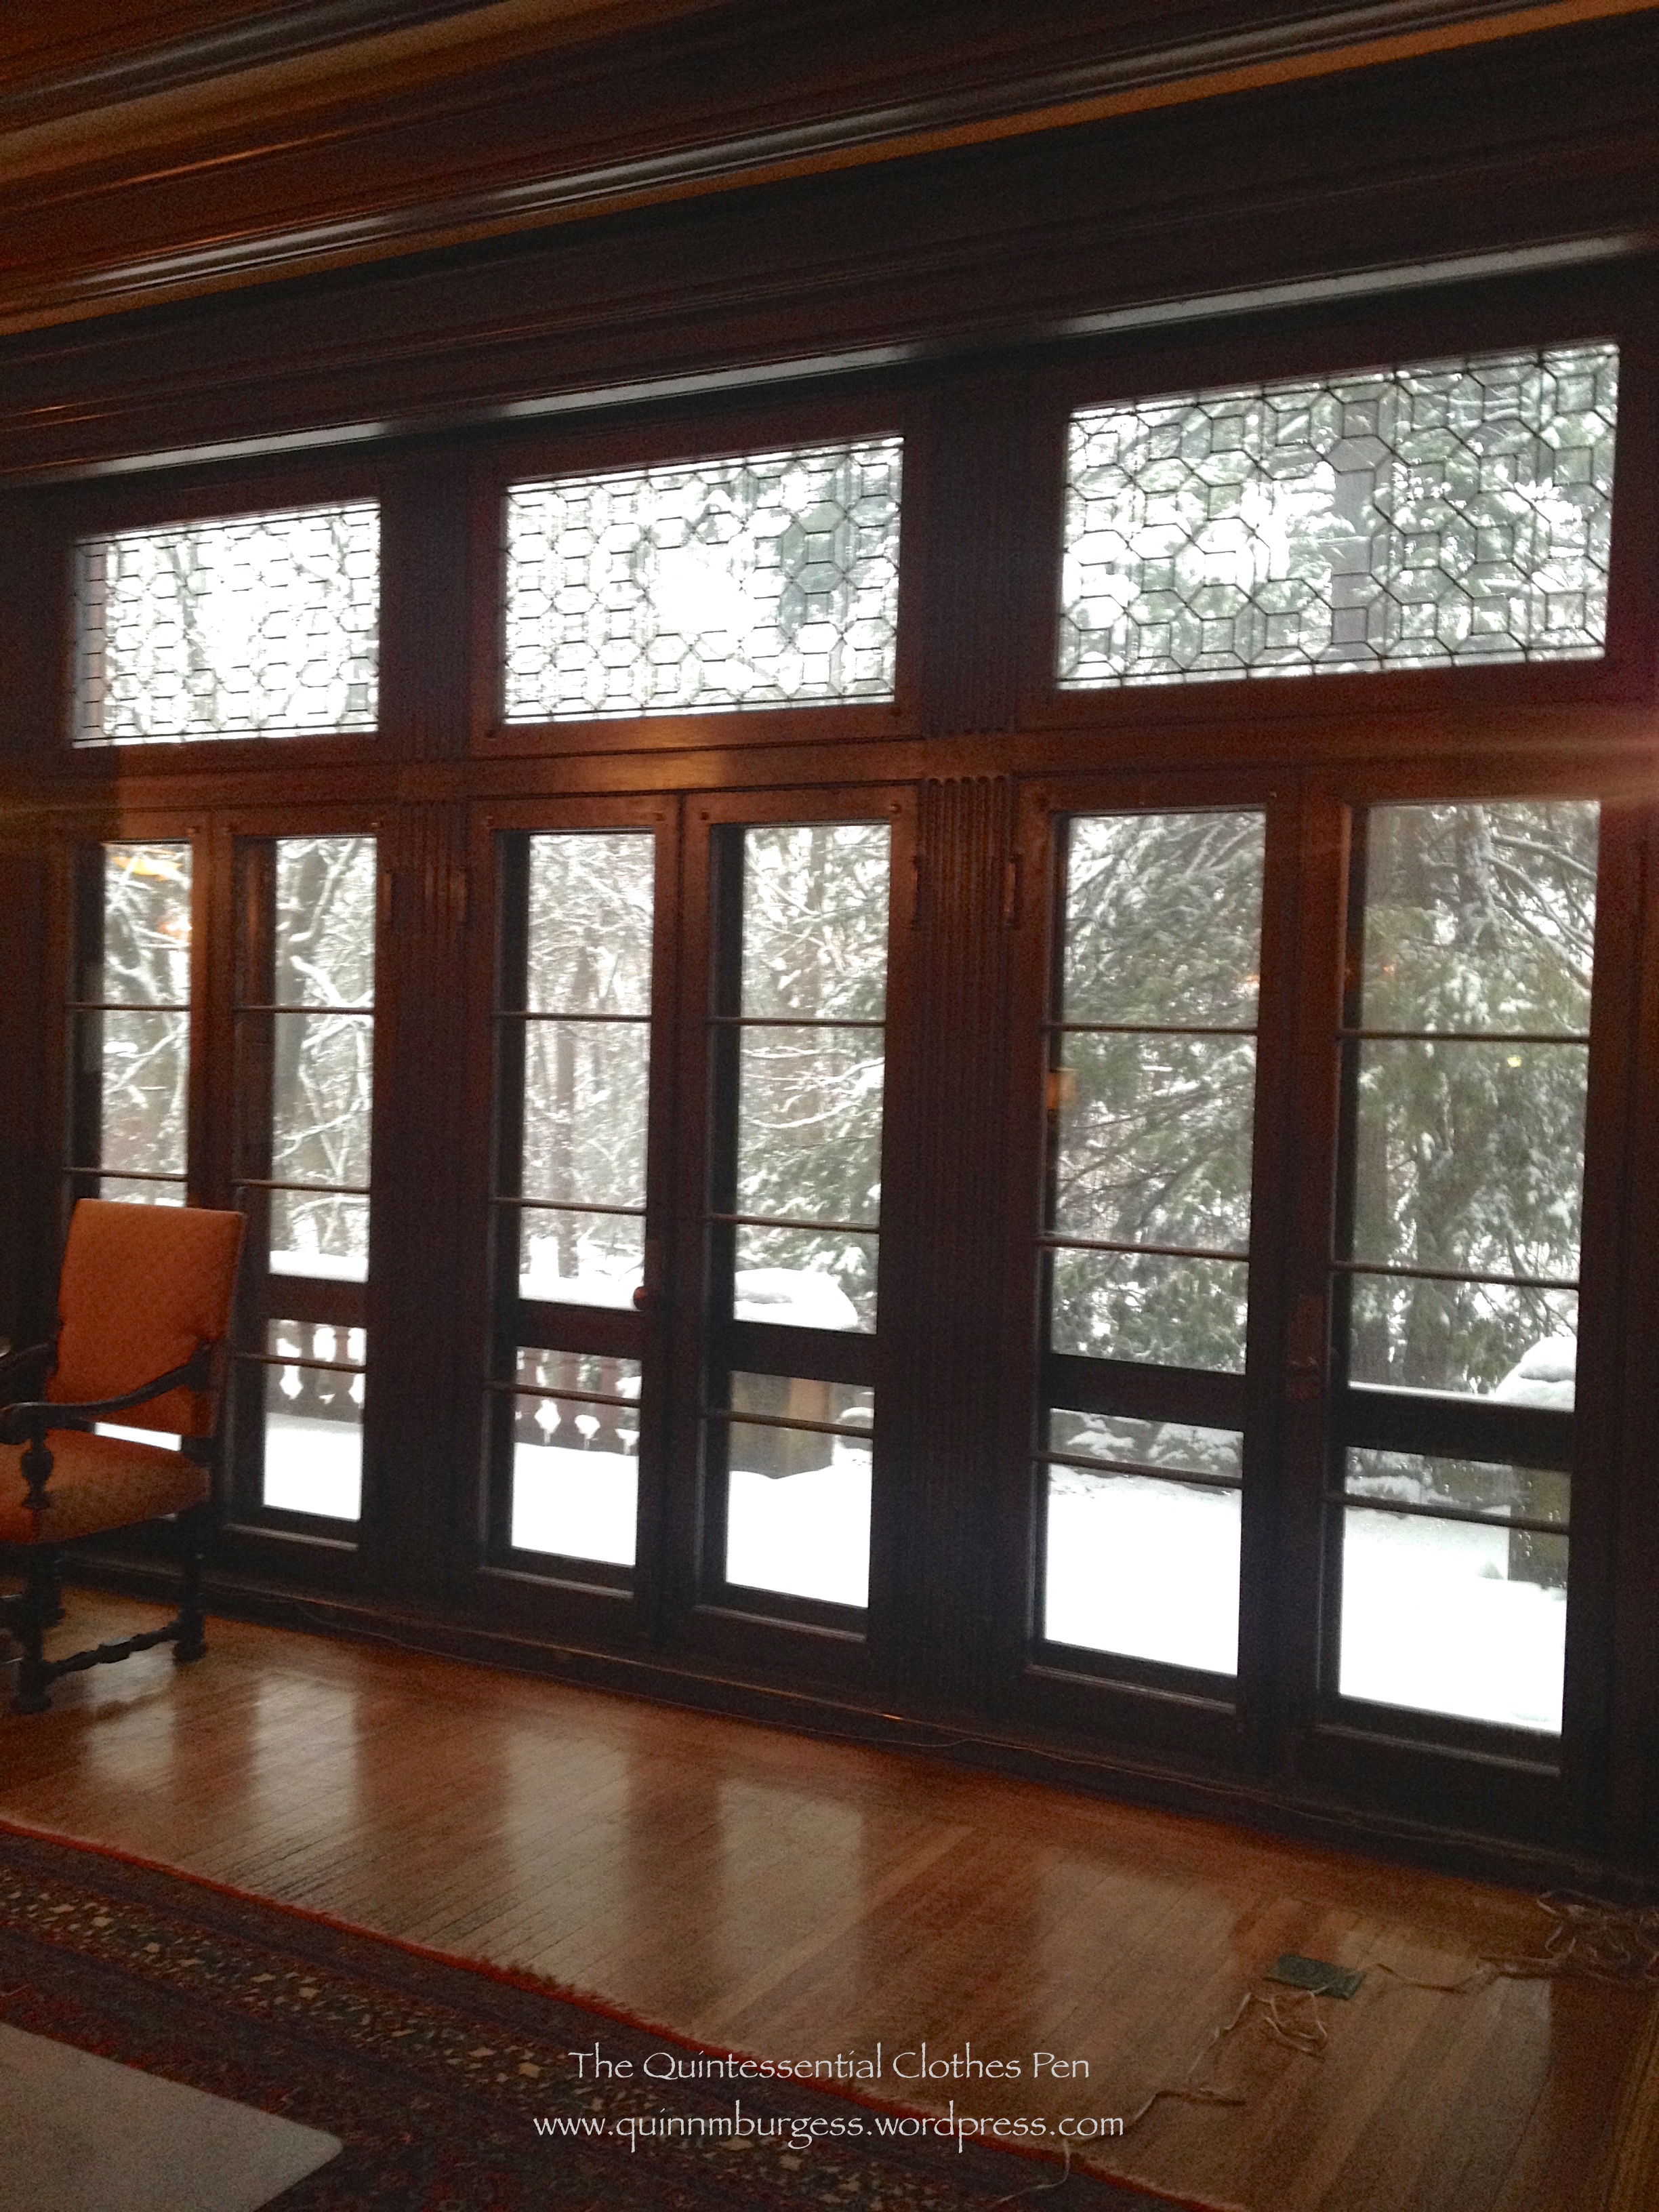
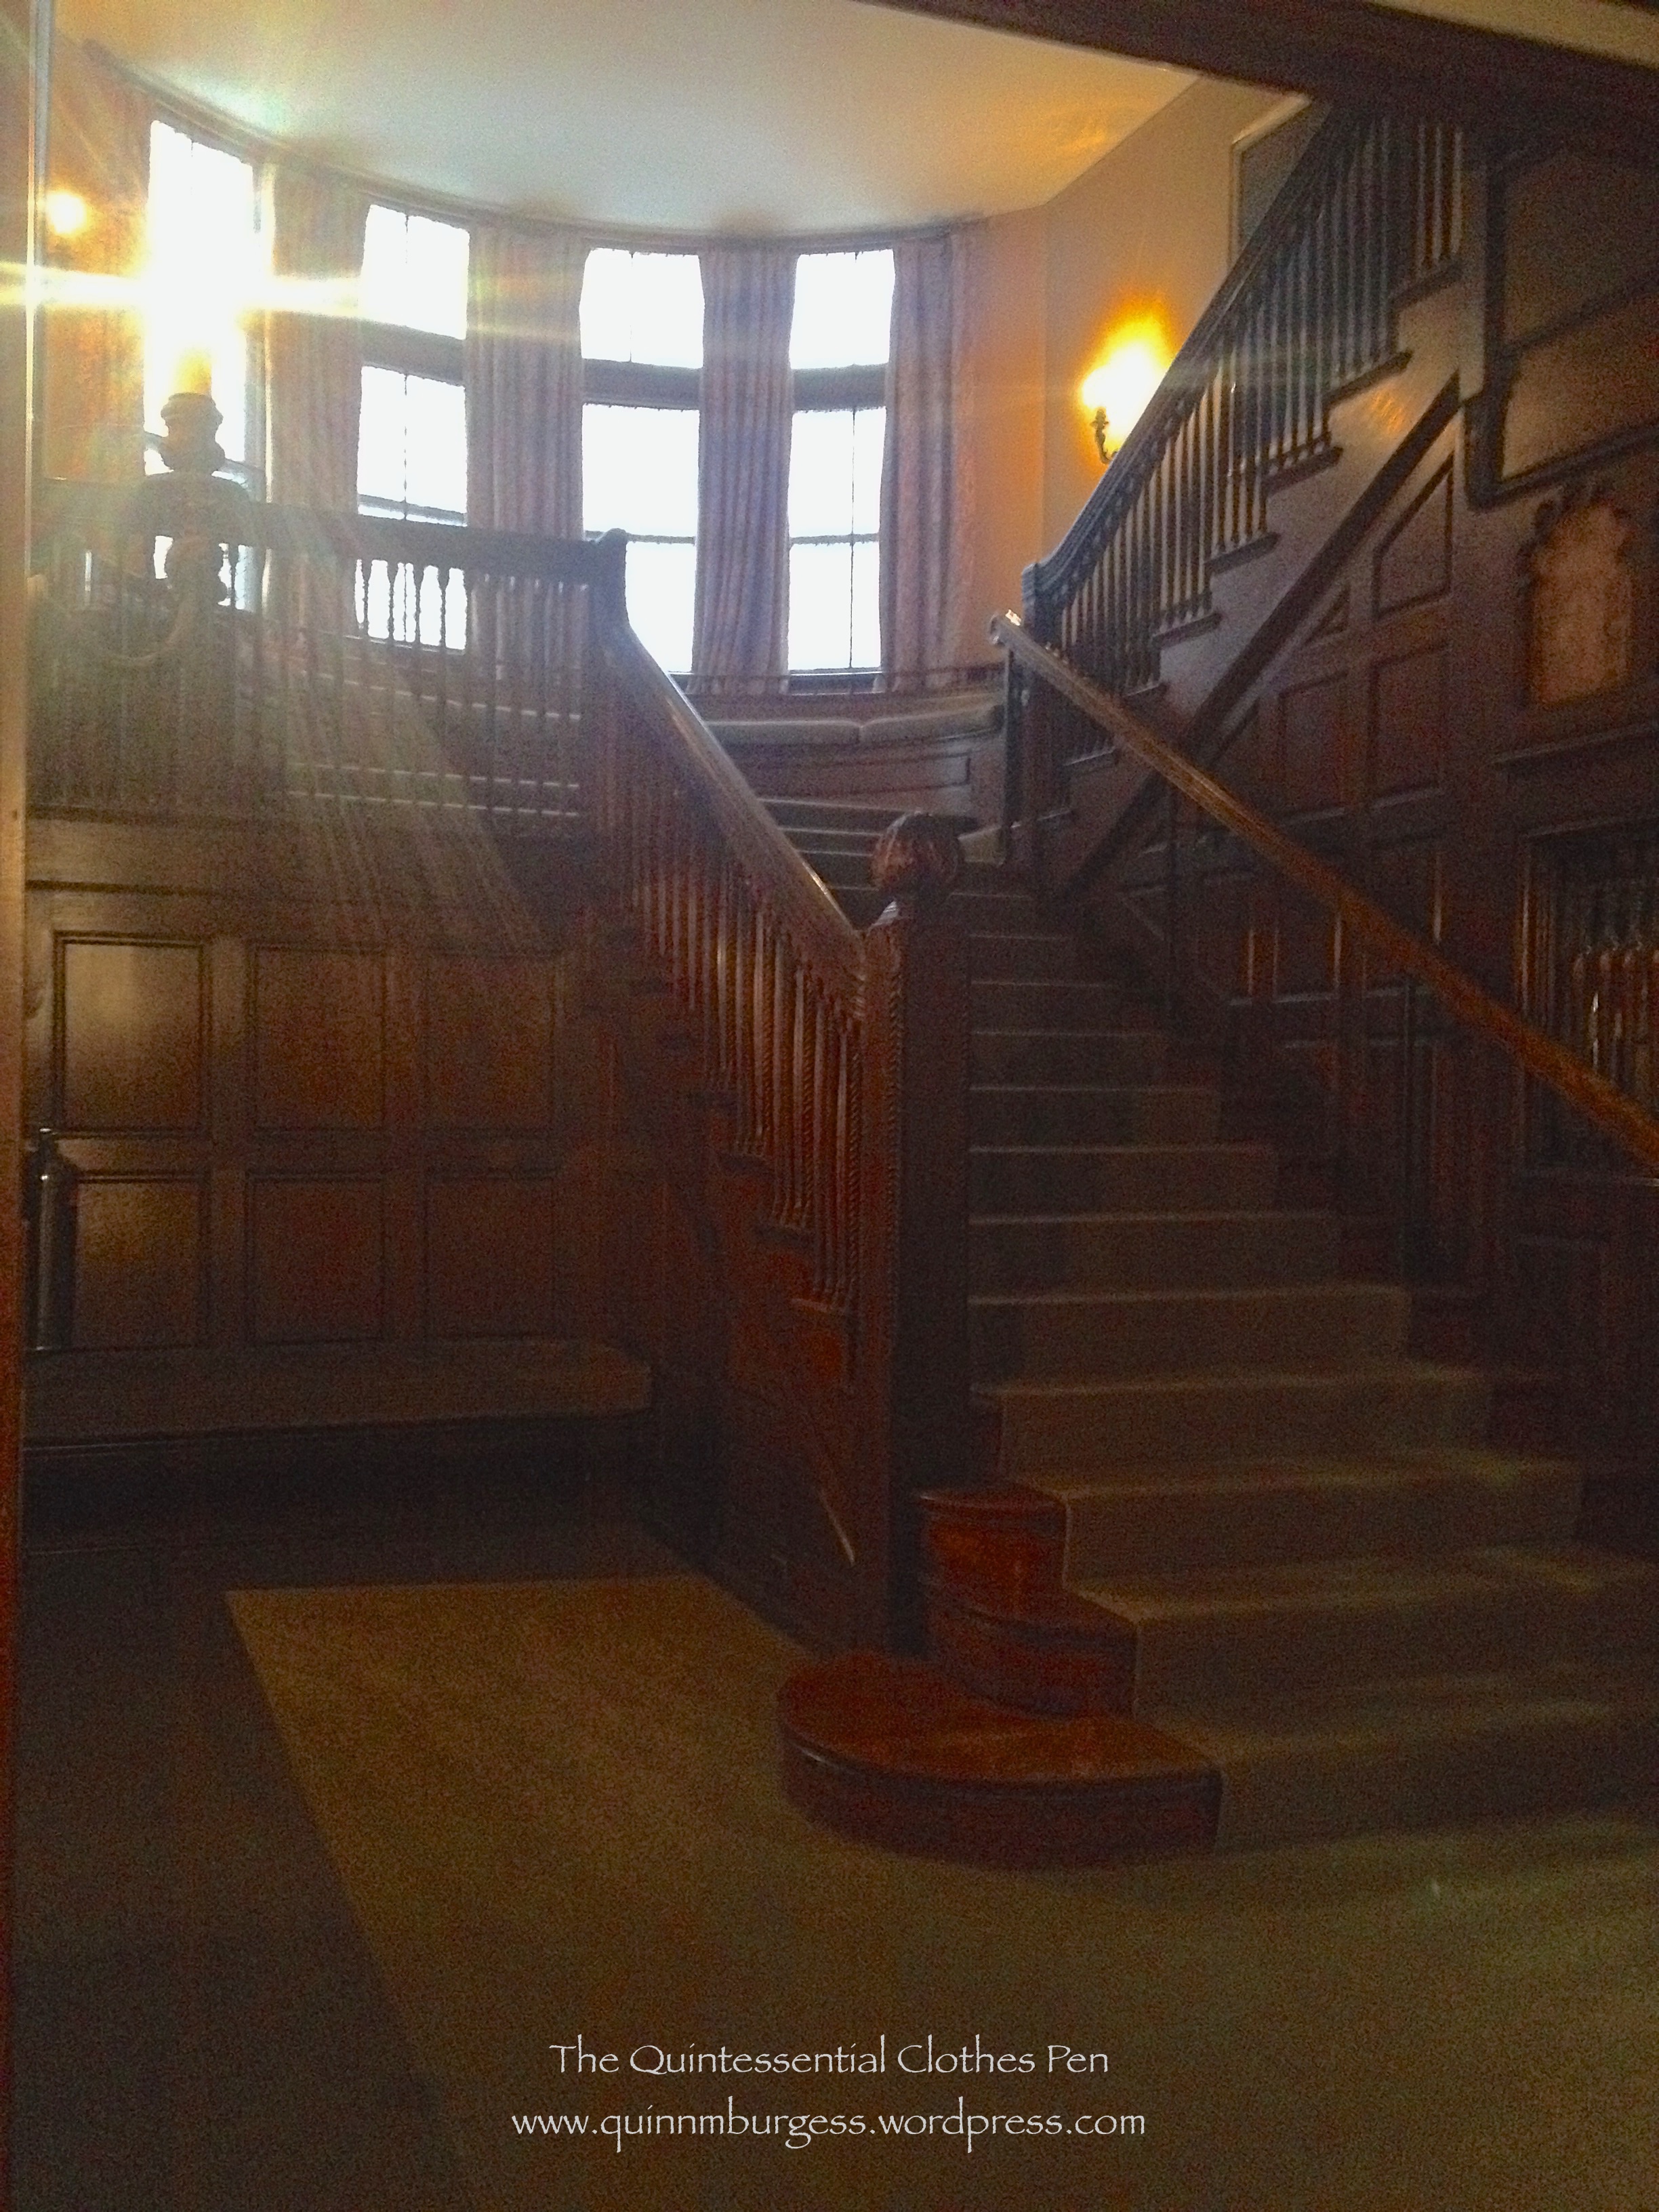
Arriving at the ball in the snow. (Well, sort of… I actually arrived in modern clothes, got dressed in my 1893 ball gown, borrowed a friend’s fur cape to keep the snow off my silk and the cold off my chest, and went back outside to take staged “arriving” photos.)The entrance hall’s view of the snow outside.The beautiful main staircase to the upper floors. There were lots of lovely sitting areas and nooks throughout the venue.There were also bookcases everywhere full of elegant hard cover books (my favorite!).In the ballroom, couples danced round dances including waltzes and polkas.What strikes me in this photograph are the black and white evening suits of the gentlemen. Everyone is nicely lined up to dance what I believe was the Opera Reel.
Videos are even more immersive than photos, and with this you can actually step into the ballroom that evening. Keep a look out for me partway through the video dancing a polka and then dancing a waltz at the end.
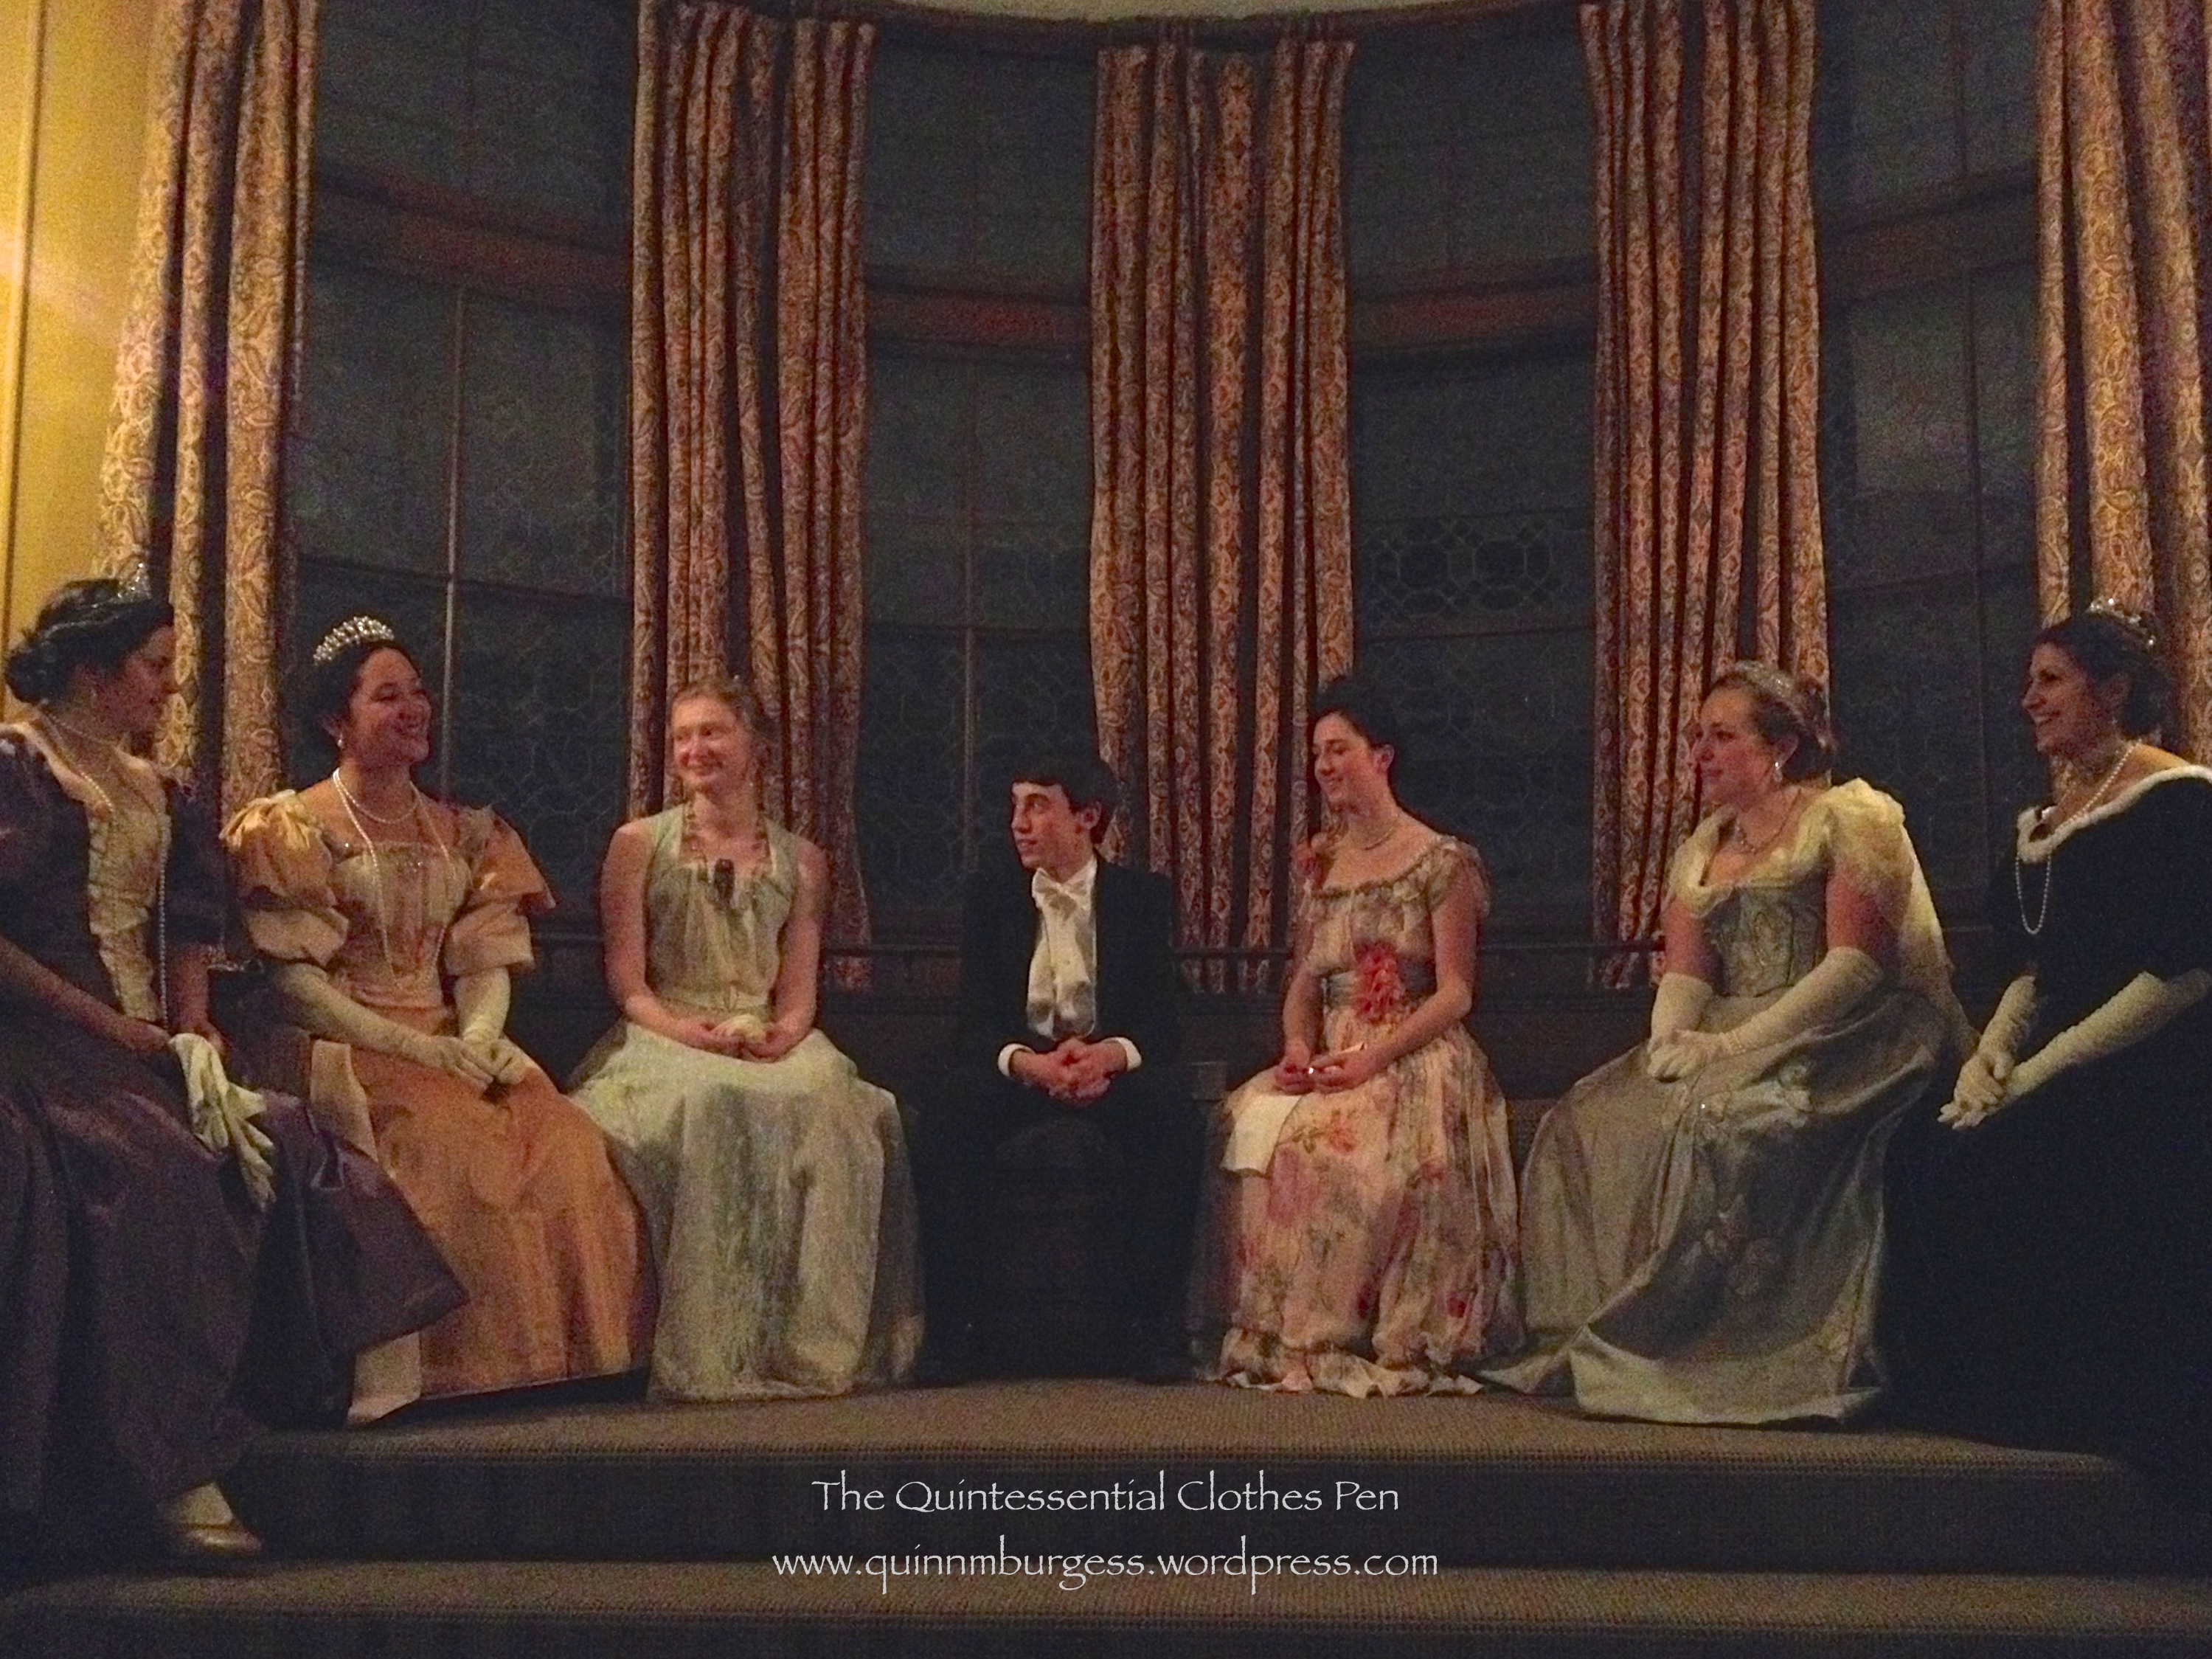
It became quite warm in the ballroom with all that dancing, so I stepped outside partway through to cool off and the snow had resumed in earnest!People spread through the house during the a break in the dancing. Here we are part way up the main staircase. Aren’t we well set up for a photo?And finally, being silly, because I blended very well with the curtains! Good night!
I attended a small Regency ball last weekend. It was charming and not nearly as packed full of people as I have grown accustomed to at these events in recent years. The smaller crowd made for a much more subdued (but still pleasant) evening than I was expecting.
The only downside was that the hall was exceptionally cold and not being full of people did not warm up very quickly! Few of us had planned for the situation and we were mostly scrambling to find any scarves or sweaters to wrap ourselves in. Many of us were resorting to items that we’d worn to keep ourselves warm outside, sacrificing fashion for warmth (it’s been below freezing here in Boston for at least the last three or four weeks consistently). I, for example, wrapped up in my pink cashmere scarf despite wearing a red dress. I thought it looked odd, though I was told that the colors looked good together. But there were a few lucky solutions that were both fashionable and warm: a large paisley shawl and a plaid scarf/wrap that looked very Scottish were the two most fashionable looks in my opinion. After some dancing and about midway through the evening, many had warmed up enough that scarves were being discarded, though I do believe I kept my scarf wrapped over my shoulders and chest throughout the entire evening.
Elegant, fashionable lounging during the refreshment break.Delicious refreshments alluringly laid out.
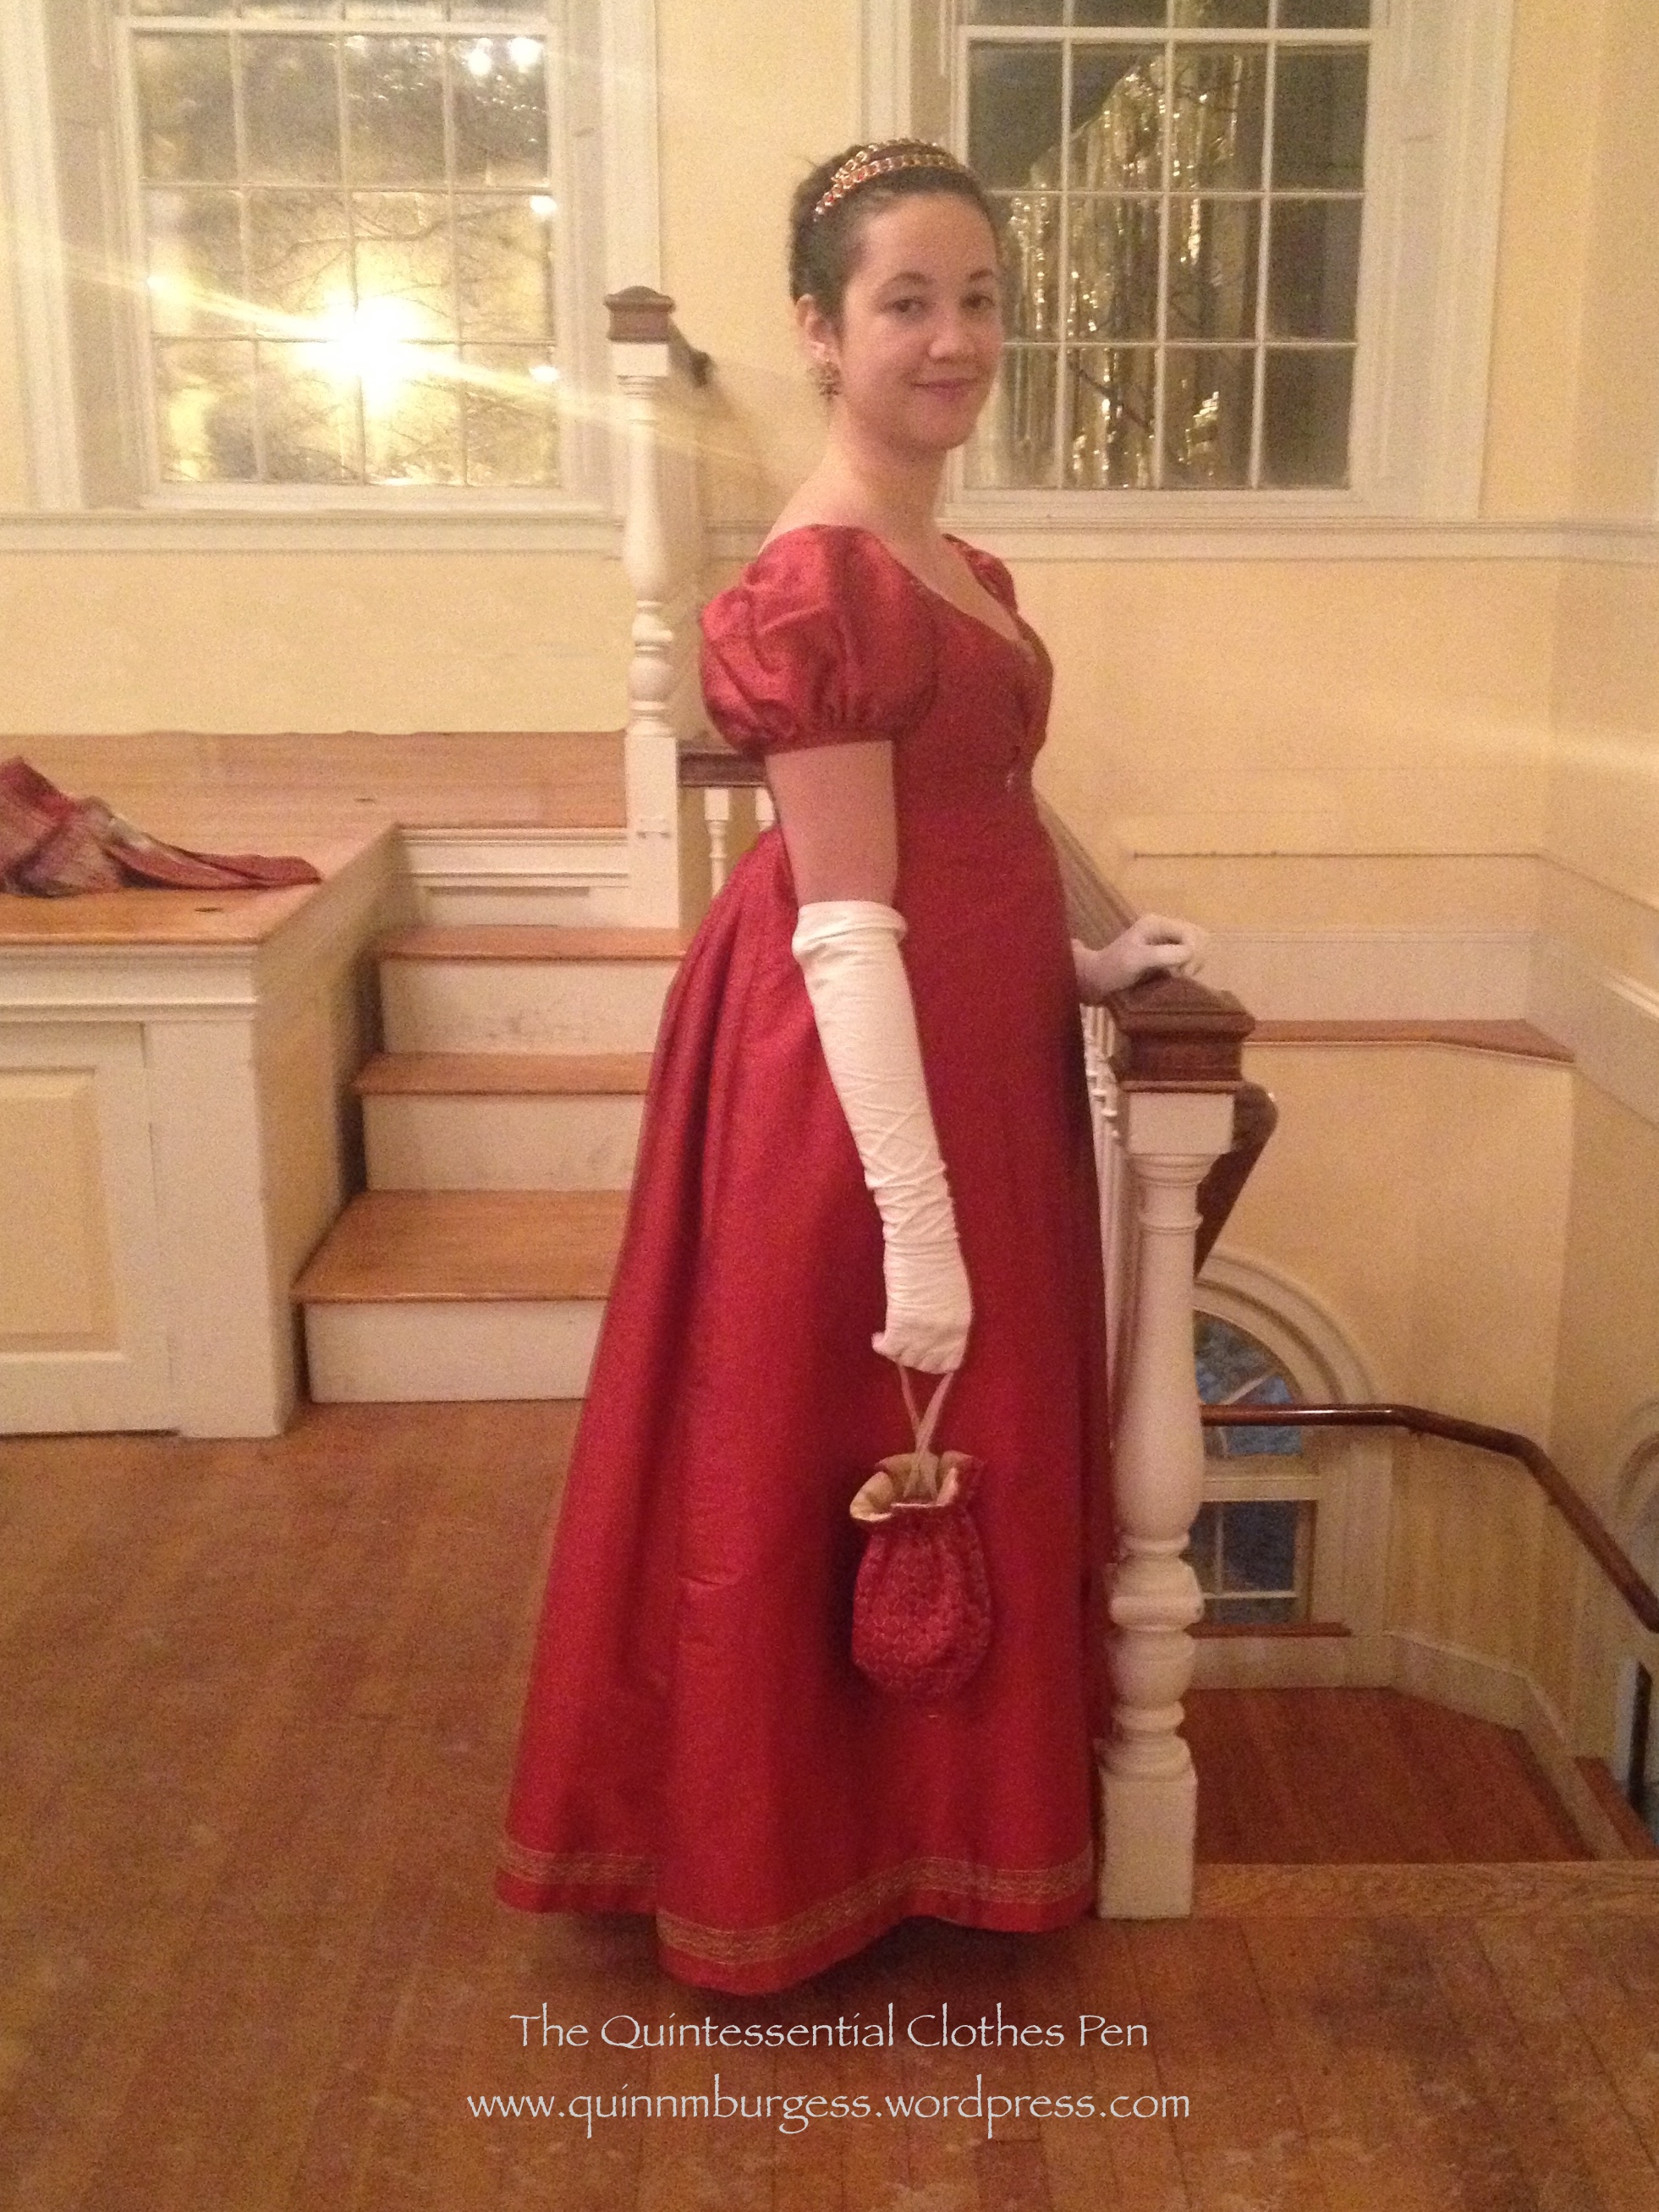
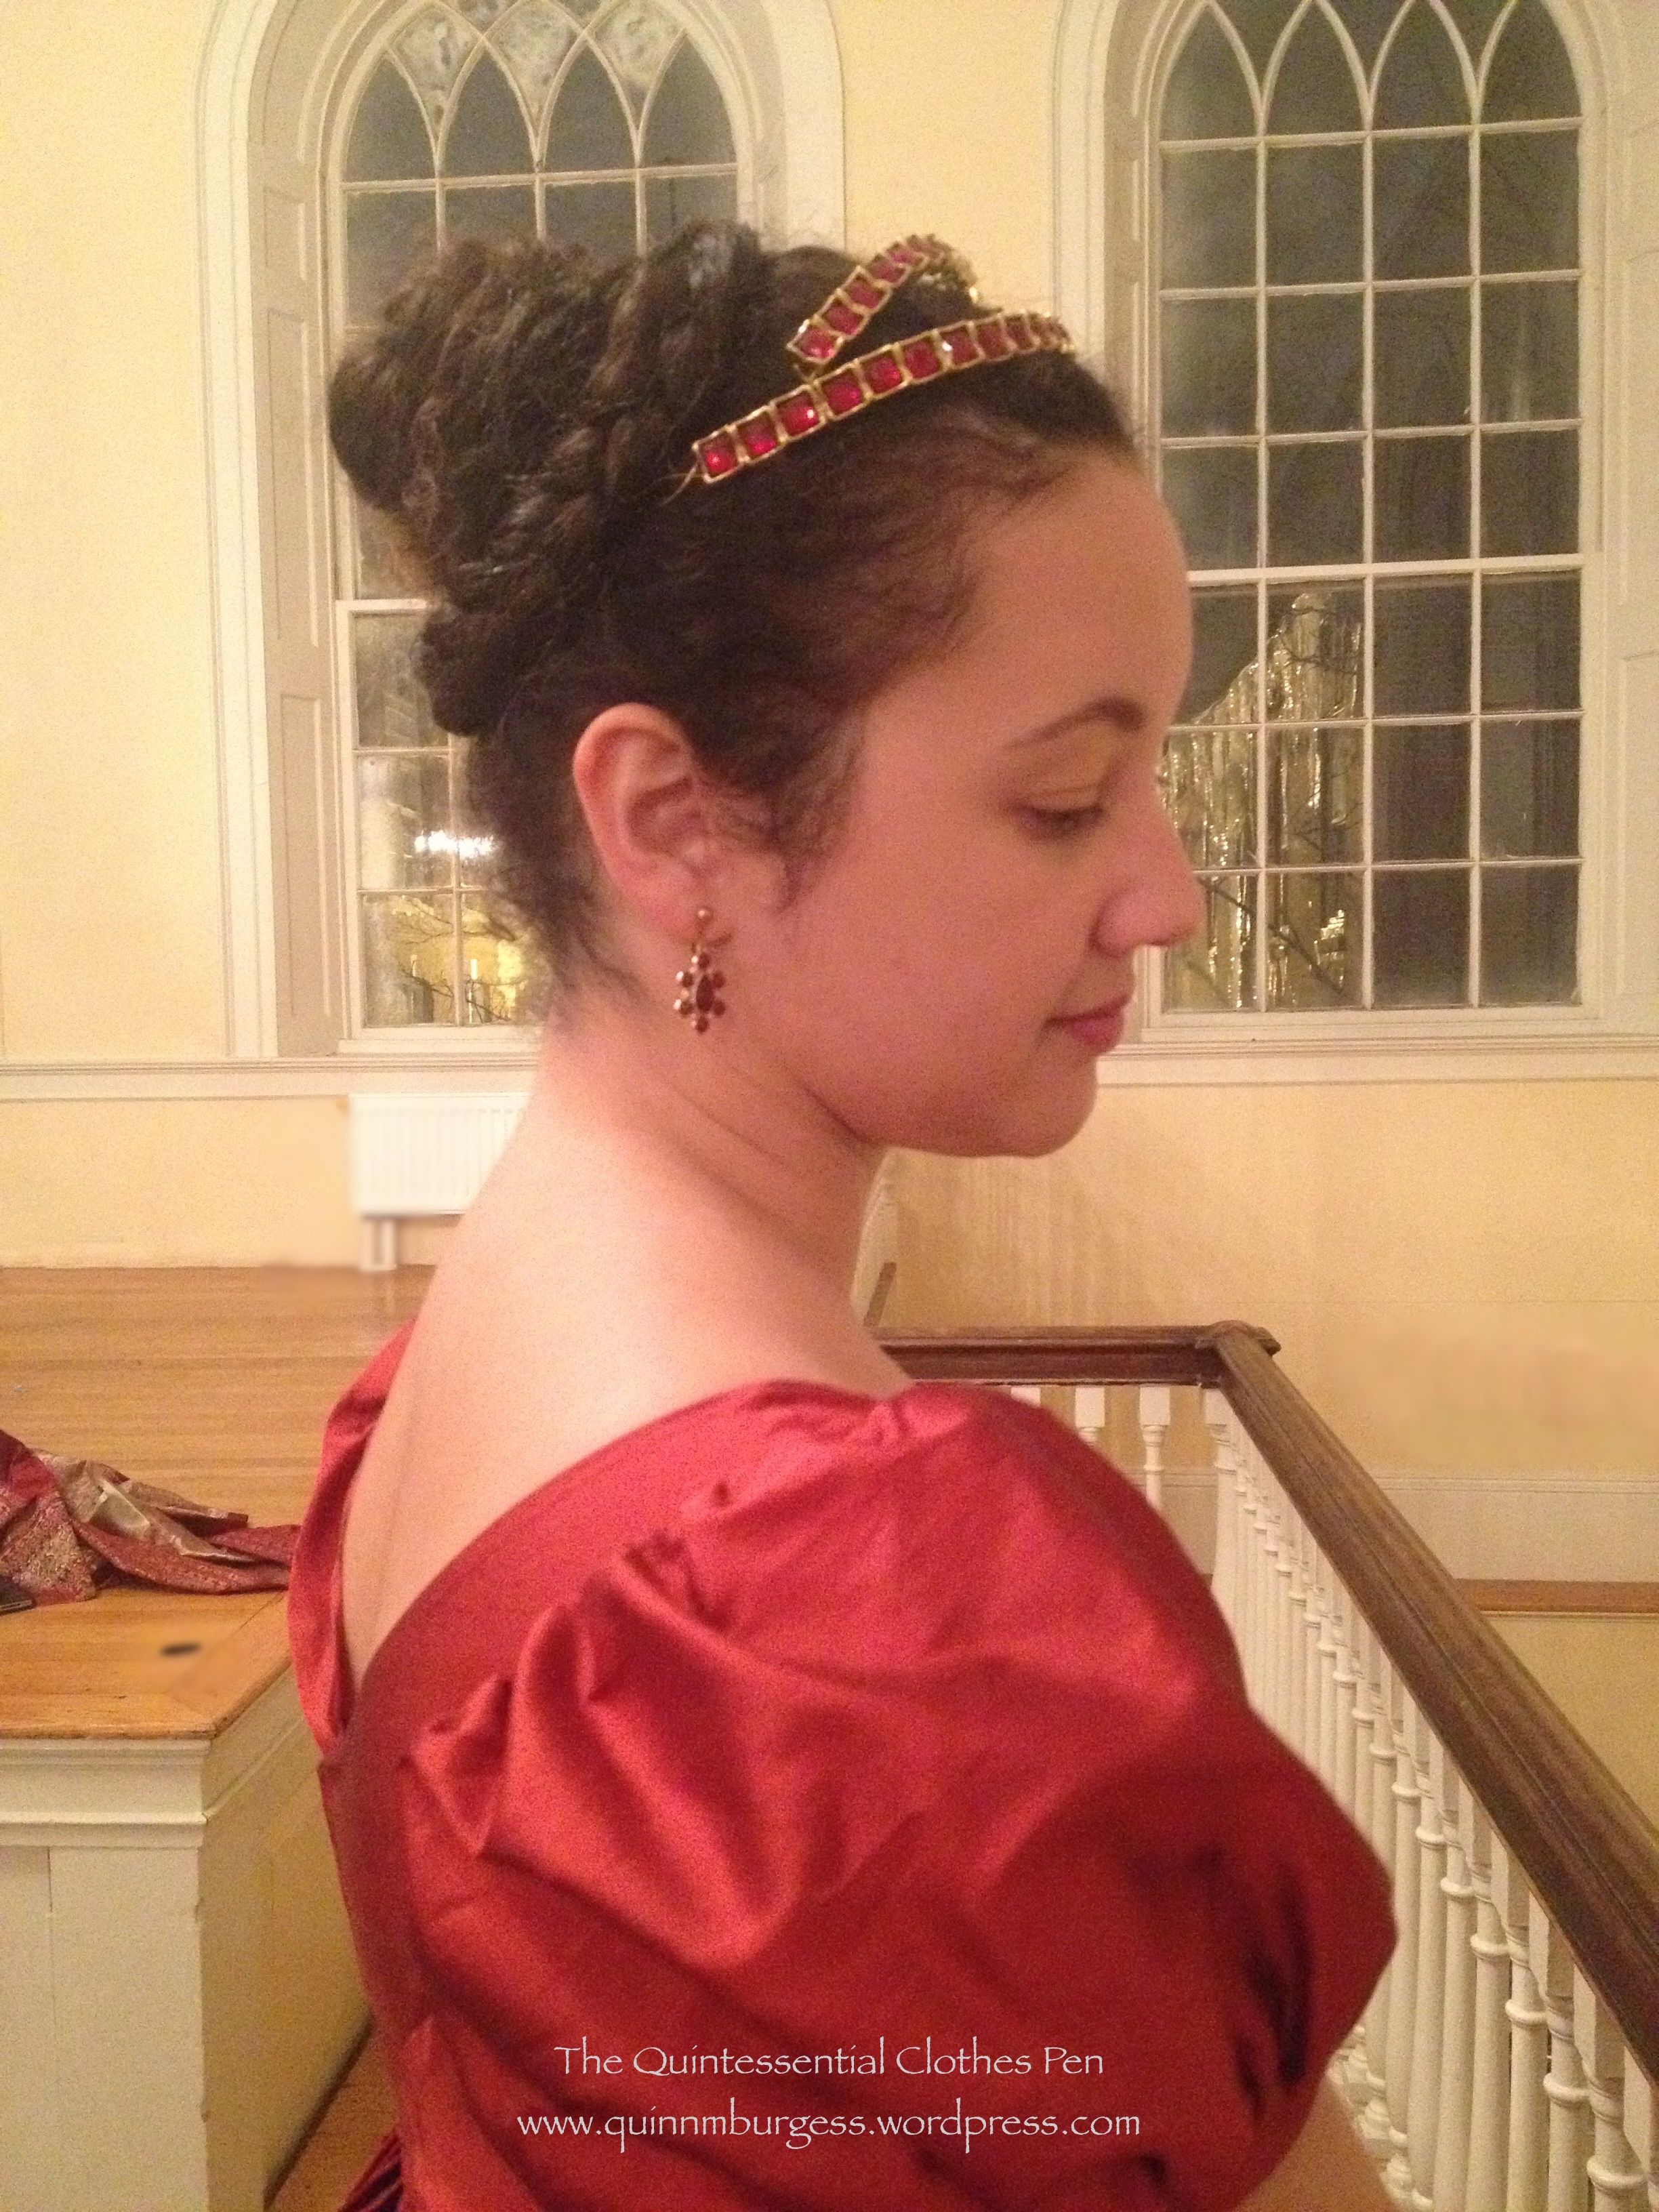
I wore my red 1813 evening gown and my homemade red and gold tiara. (I had hoped to finish and wear my 1811 elusive blue evening gown, but I would have had to do a lot of last minute sewing to finish it in time and after my recent skating costume last minute sewing adventure I was not inclined to do so again so soon. It is very satisfying to have a closet of options for an event, especially when plans to complete something new go awry.) I also brought along my red and gold reticule, because it matches the outfit so perfectly (although the only thing I kept in it was my phone… which is the reason for the slightly blurry, grainy photos).
All the red and gold Regency pieces in my wardrobe put together in one outfit!It was so cold getting dressed that I was not inclined to do a complicated hair style. Heeheehee, fake hair to the rescue! I just put my hair in a pony tail, braided it, and wrapped it around itself. Simple! The big braid is what makes it look complicated, but it is pre-braided fake hair. I think it completes the style perfectly and has a bit of a “chinoise” look to it, too.
What do I mean by “chinoise”? The word itself is from the French adjective meaning Chinese. In terms of fashion, there are scarce references to “chinoise” styles in Regency fashion plates (compared to the abundance of Regency fashion plates showing other styles). Here are a few examples. This Merveilleuse from 1814 has a “Coeffure Chinoise,” this lady from 1812 has a “Coeffure a la Chinoise,” and this fashion plate shows “La Toilette Chinoise.” (I do sort of wonder how some of these attributes, and the hairstyles in particular, said “Chinese” to people during the Regency, but of course the world was perceived very differently then and people had access to vastly different quantities and types of information than I do today.)
I’ve often noticed that “chinoise” hairstyles make use of braids that wrap around the head. In addition, there seems to often be a vertical emphasis to the hair and to a bun, if one is present in the style. It is these attributes that say “a la chinoise” when I look at my own coiffure from last weekend. Sometime, I’ll have to try to make a more exaggerated “chinoise” style with a very tall and flyaway bun such as the Merveilleuse from 1814 has. I’m pretty sure my hair will have no trouble with that since it is naturally curly and wanting to fly away!
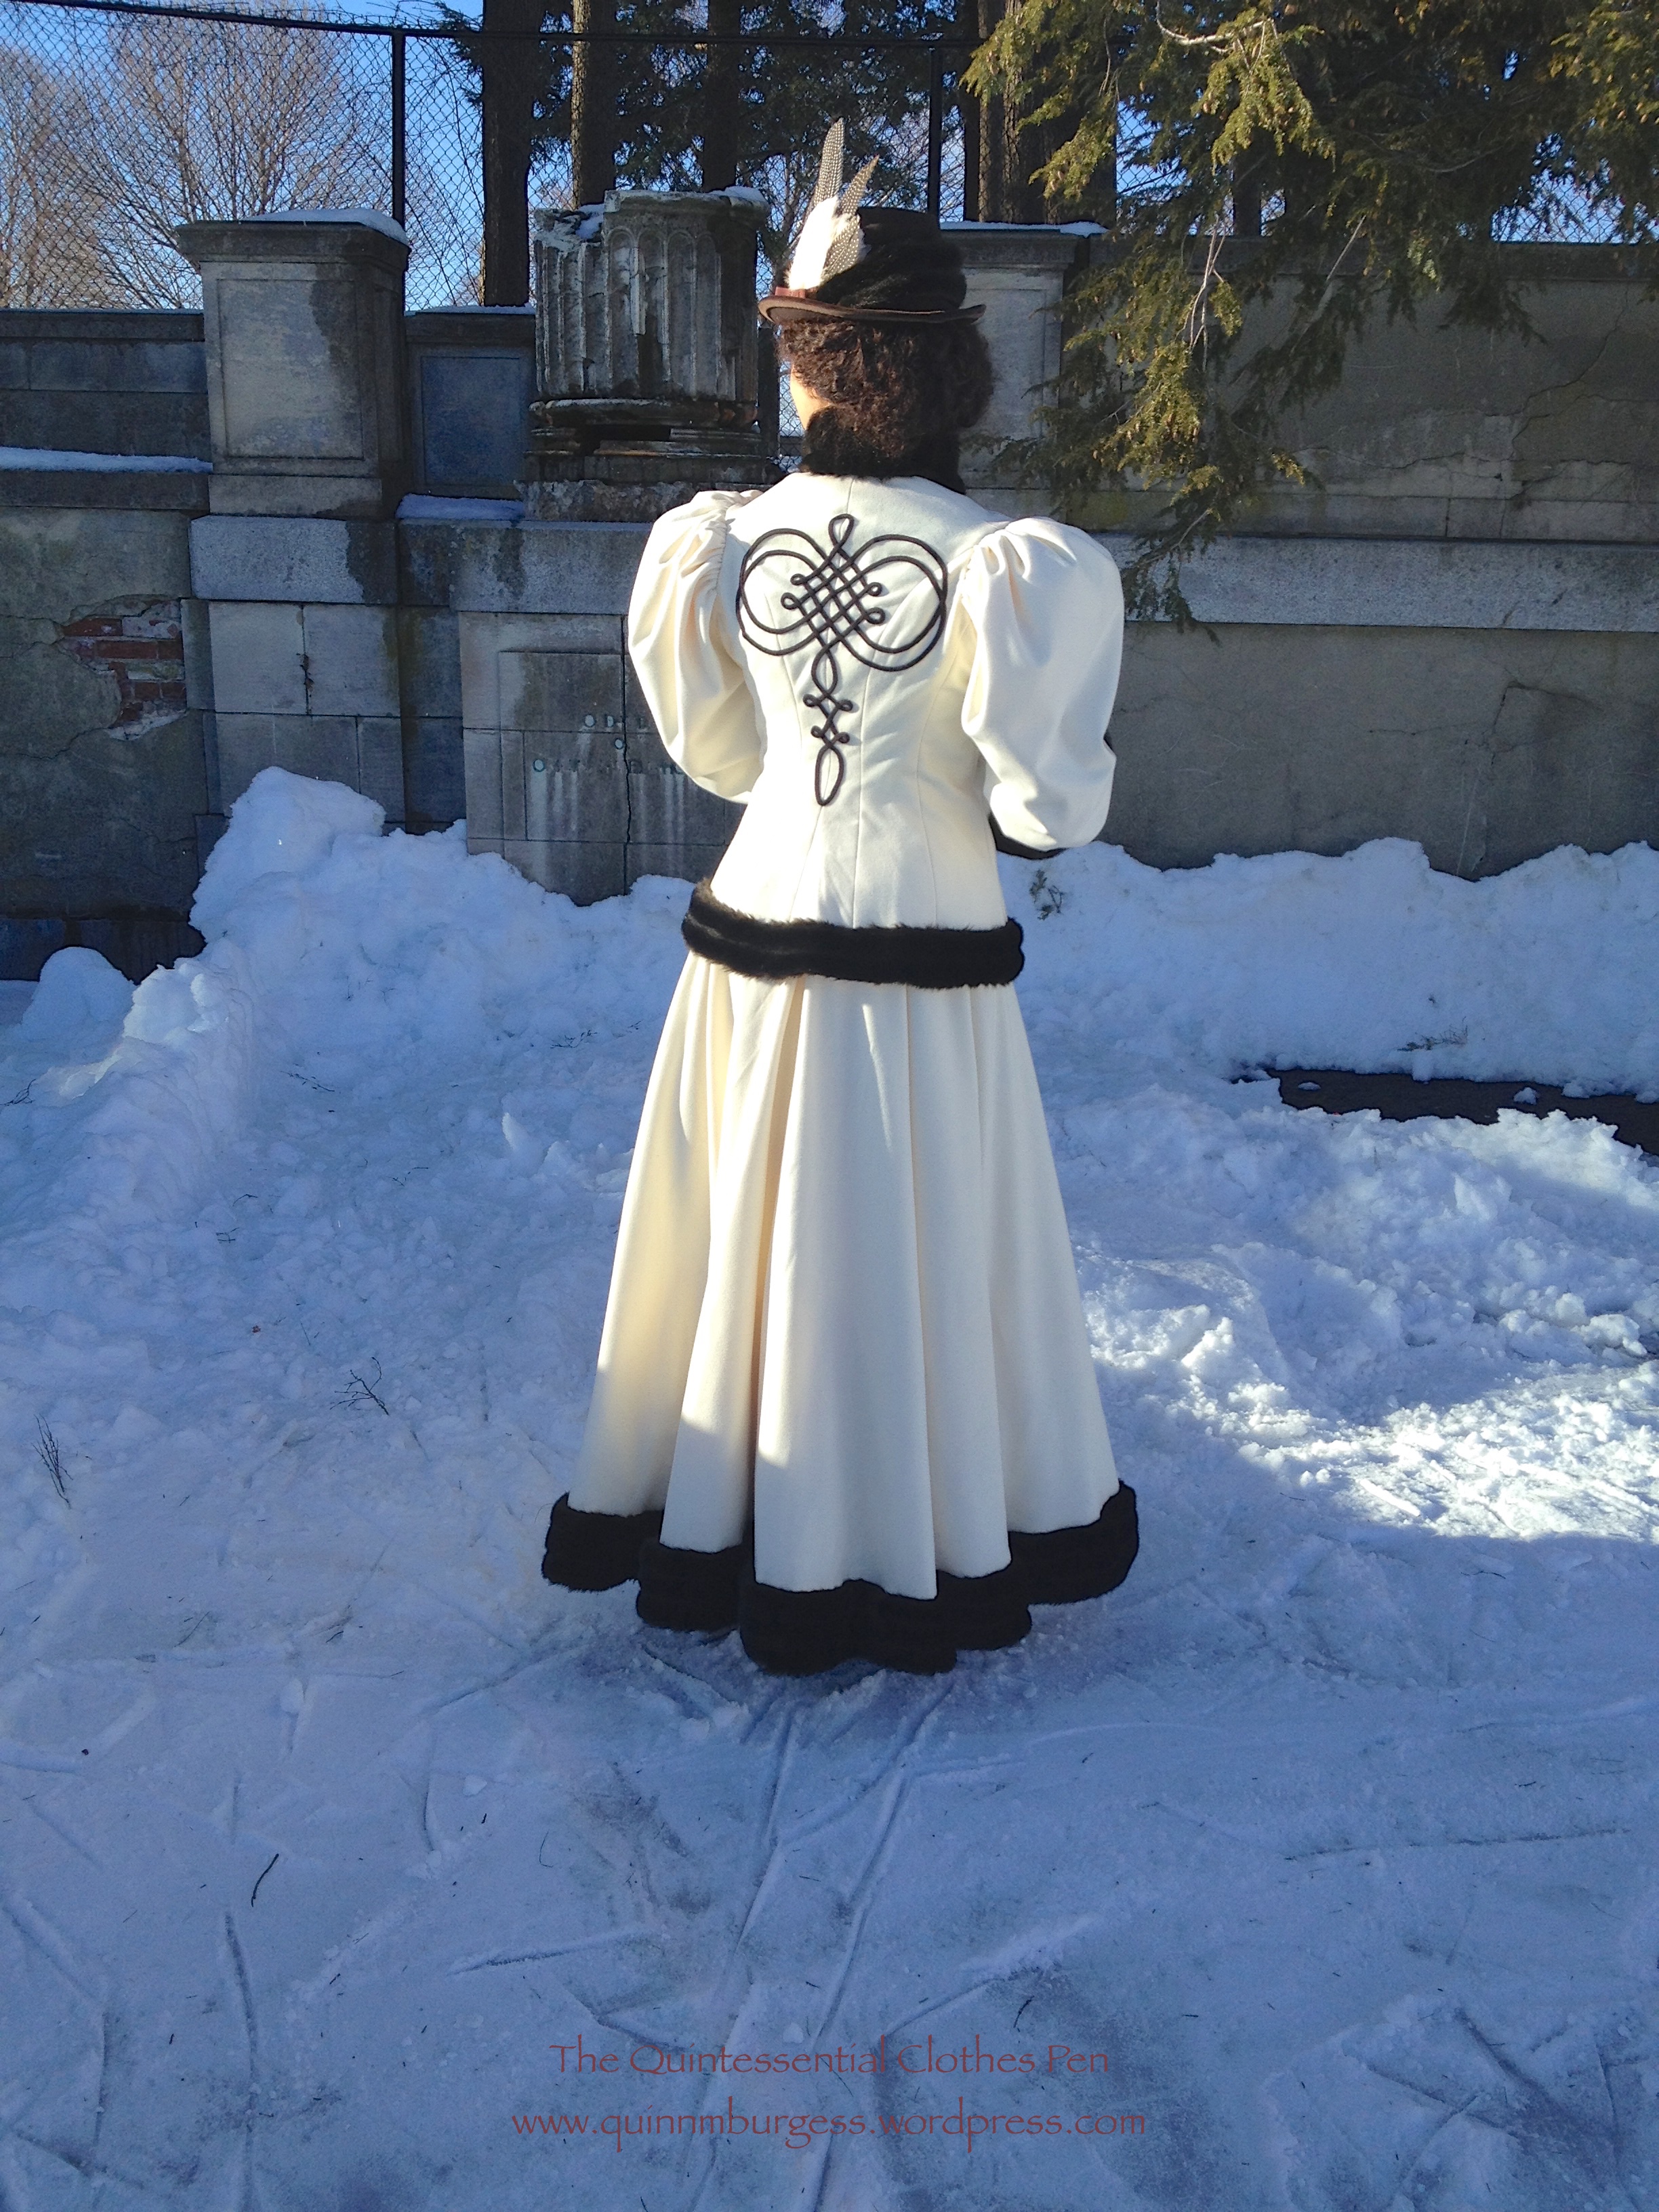
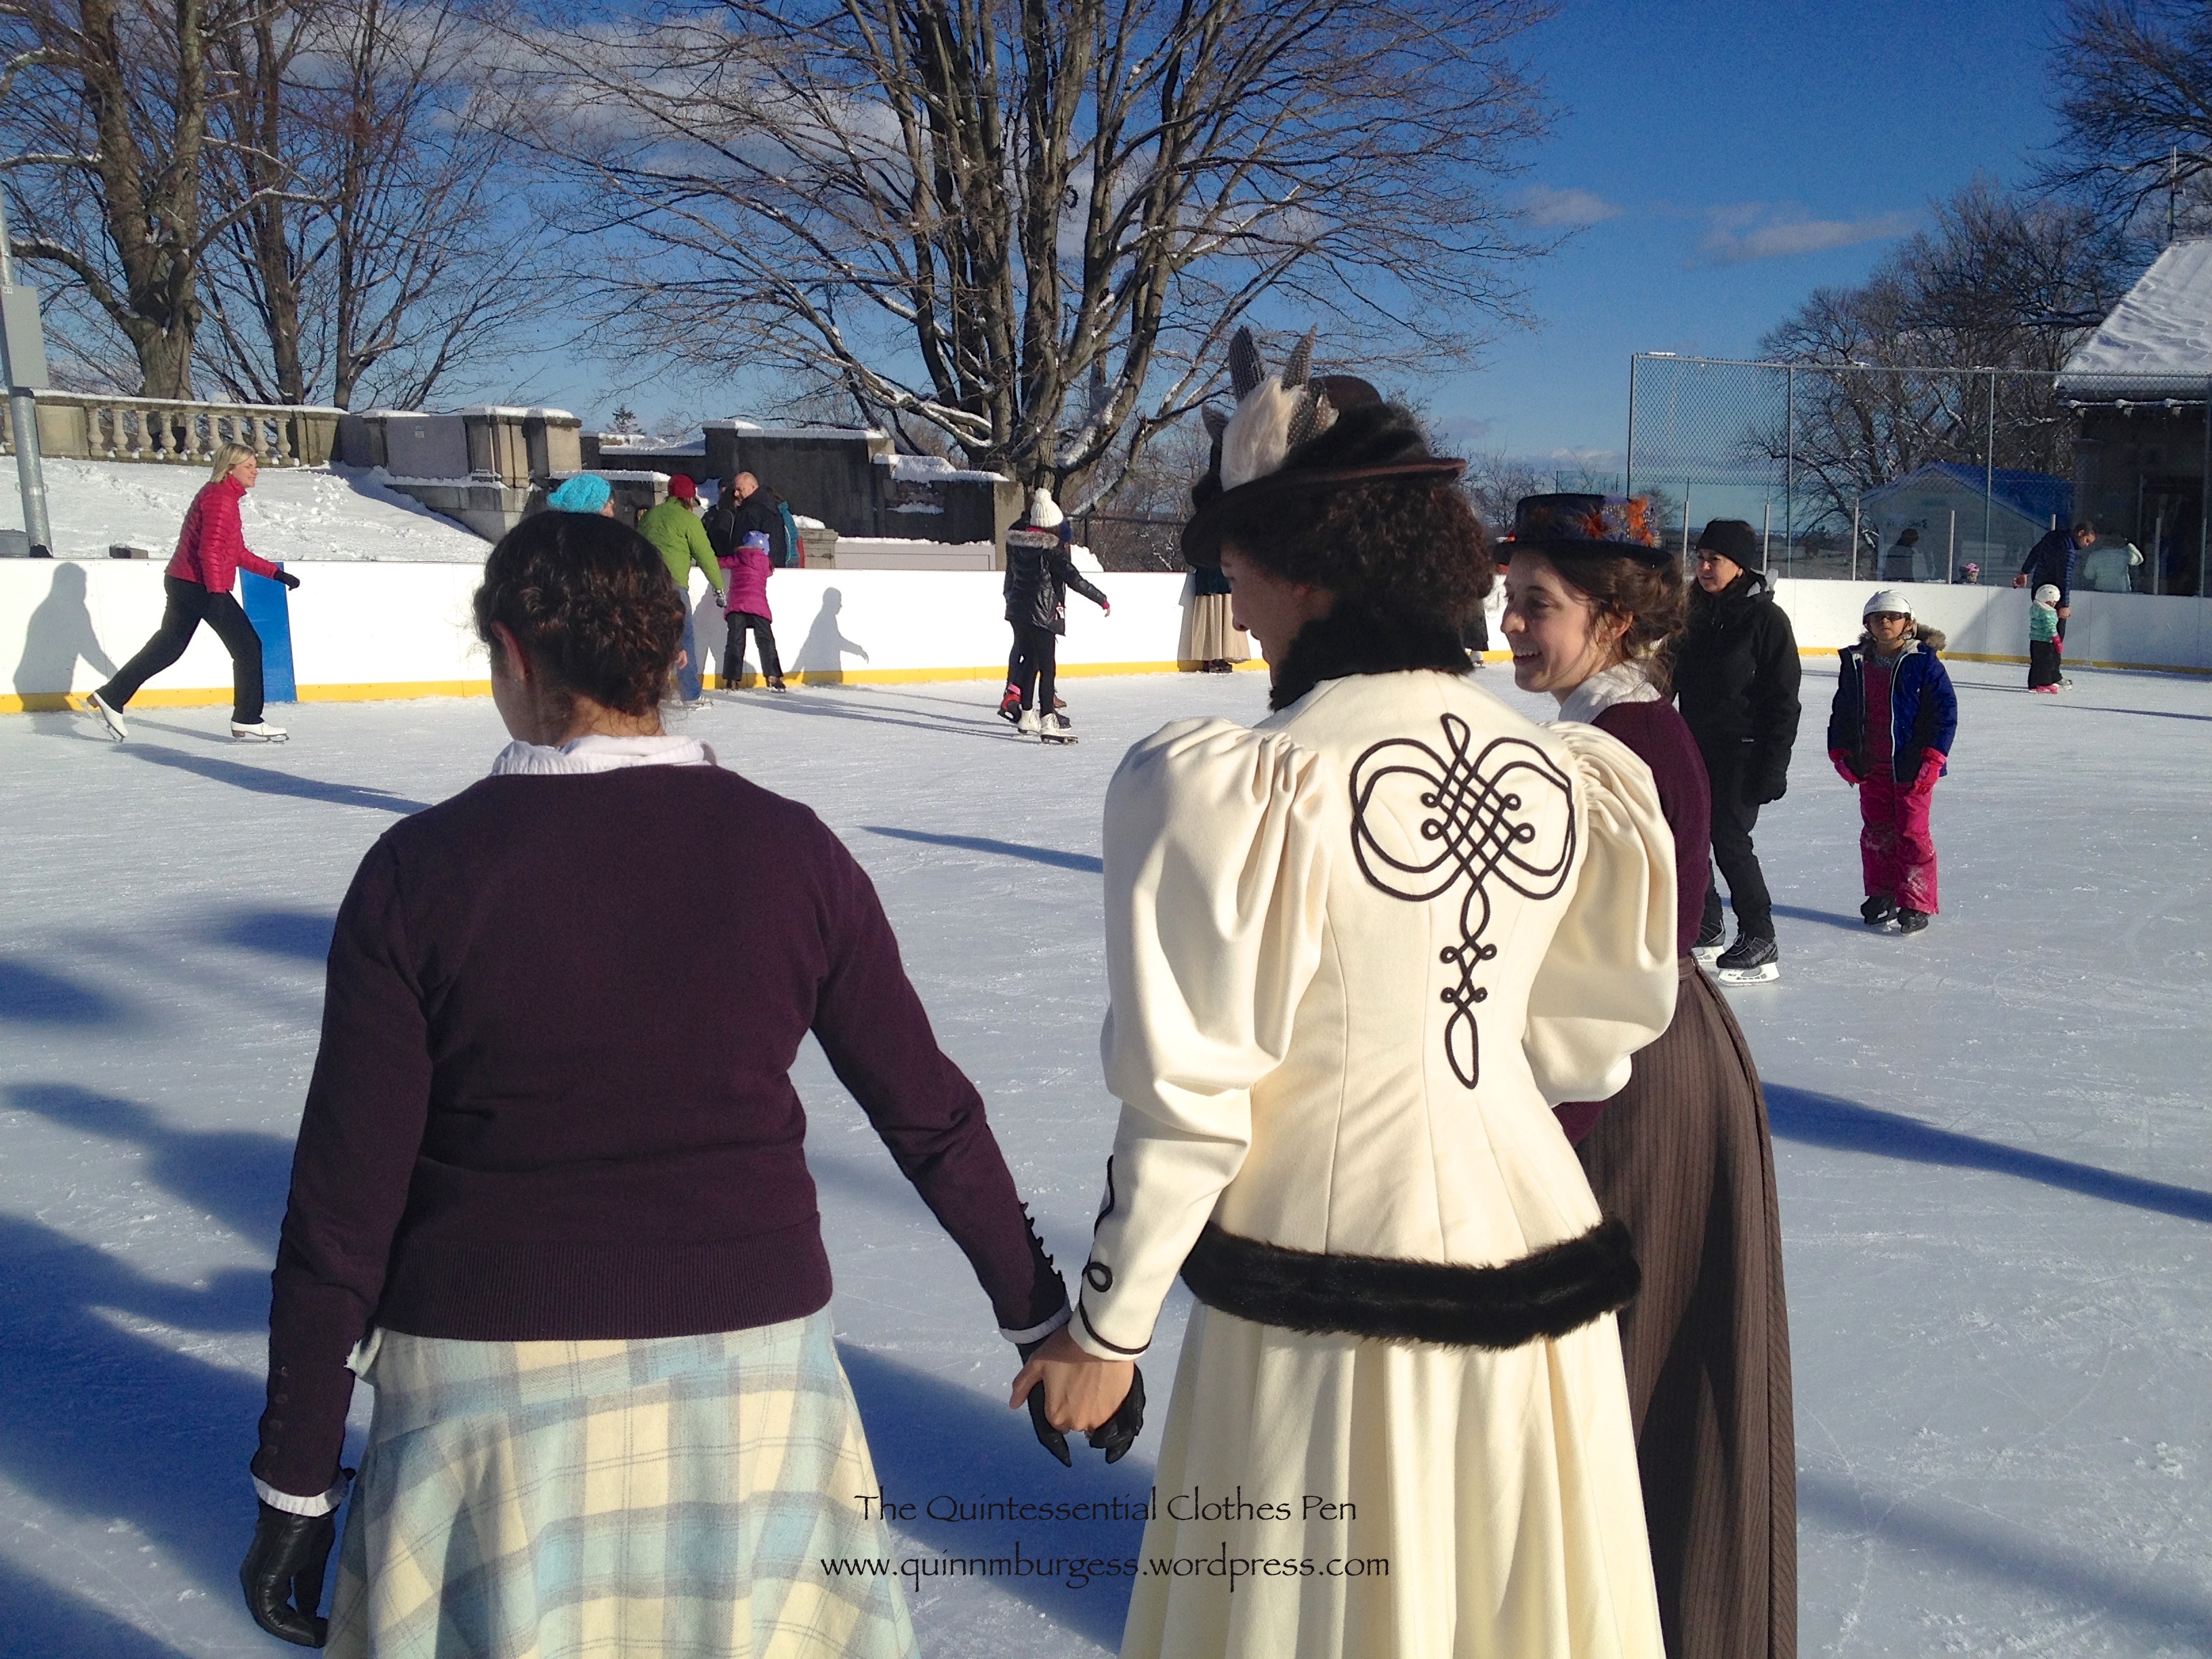
This is one of my favorite outfits of all time. I just want to hug myself, with all the fur, and I love the trim on the back! The whole thing is so cozy and so hug-able and the skirt has such a nice drape and the accessories work so well… and I actually got to go skating in it! I am just utterly chuffed (to use a British word) with the whole thing!
I was on the fence about whether this outfit would apply to the Historical Sew Fortnightly/MonthlyChallenge #1: Foundations, but then I read Leimomi’s teaser post about her foundation entry in which she reminds us about different interpretations of foundations and the intent of this challenge to create loose guidelines open to interpretation.
I was convinced (or pushed off the fence, if you prefer to think of it in that amusing way). I’m claiming my all new 1895 skating outfit for the first challenge of the new year! It does rather stretch the idea of foundations. Is the skirt a foundation because it is literally worn below the jacket, thus being a foundation as you would think of one in a building? Or is the bodice a foundation, because my direct inspiration is a lonely jacket without a skirt and therefore it is the foundation of the outfit because I wouldn’t have made the skirt without having the jacket? Either way, there is an element of a foundation in there.
Just the facts:
Fabric: 5 yds of ivory wool, about ⅓ to ½ yd of dark brown faux fur, probably about 3 yds of scrap muslin for flat lining the jacket, a bit of scrap canvas to stiffen the collar, and a bit of ivory flannel to line the inside of the collar.
Pattern: Made by me and based on my inspiration jacket as well as patterns published in Authentic Victorian Fashion Patterns (a Dover book).
Year: c. 1895.
Notions: 5 yds of brown braid, thread, a bit of high loft polyester batting to keep the sleeves puffed out, about 1 yd of ivory hug snug to finish the bottom of the jacket, hooks and bars for the skirt, and thread.
How historically accurate is it? Pretty darn good. Definitely recognizable by someone in the 1890s. The construction is accurate, aside from the use of hug snug instead of bias and faux fur instead of real fur. So, 95%.
Hours to complete: Um… As usual, I did not keep track. I definitely spent at least 15 hours the few days before the event sewing on my braid and fur trim… Plus full days of pattern making, fitting, cutting, and sewing. Maybe 30-40 hours? I care so much more about the finished project than the time it takes to get there! And I loved sewing this, so I didn’t mind that it took time!
Total cost: $75 for the wool, probably about $8 for the fur yardage I used for this project, $4 for the braid, and the rest from the stash = $87
My accessories were a matching fur muff that I made a few years ago and wore once for caroling (with my as-yet-undocumented 1860s winter cape) but more often with my 1917 winter ensemble and a revamp of my 1883 wool hat. I didn’t have time to make a new hat because of all the last minute fur and trim sewing, so I pinned a fur scrap around the 1883 hat and added some feathers to stand up a bit more like 1890s hats and called it good. My main inspiration (and the reason I feel it was an acceptable looking style to have the squashy fedora hat look in the 1890s) was this image.
For good measure, here’s my Pinterest board for the entire project. And here are pictures of us skating (with ice skates: all our snow and cold weather does occasionally come in handy here in Boston)!
Yes, we just crashed a local outdoor ice rink on a Sunday afternoon. One of the attendees even wore vintage skates! Turns out they can be hard to skate in because they’re not very supportive… but they looked fantastic! We got lots of comments from people asking what we were doing, why we were dressed up, and that we looked good. I was asked by multiple groups of young girls why I was dressed up and one group in particular asked what the swirly thing was that I had, which I got to explain was a muff to keep my hands warm!
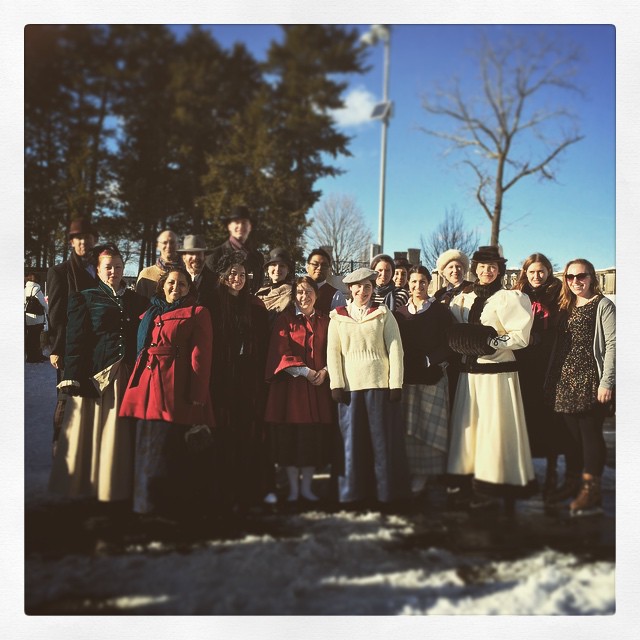
Here’s our skating group. People came in a variety of late 19th century and early 20th century winter outfits as well as modern clothes.
With my skating ensemble I wore fleece lined tights (modern, but warm so I didn’t care), knee high bamboo socks (modern again), my 1903 silk petticoat (super useful for the 1890s, also), a modern tank top (instead of combinations, because I needed to go to work later in the afternoon and change out of my outfit in the back seat of my car without being indecent…), my 1895 corset, and a long sleeve modern waffle tee (mostly to shield my skin against the wool seam allowances and also for warmth). And I was perfectly warm wearing this out for skating on a day that was sunny and right around freezing. In fact, with the muff and wool hat I actually was too warm at times.
Pleased, chuffed, and smiling all afternoon! So fun! Maybe we will get to go skating again this winter!
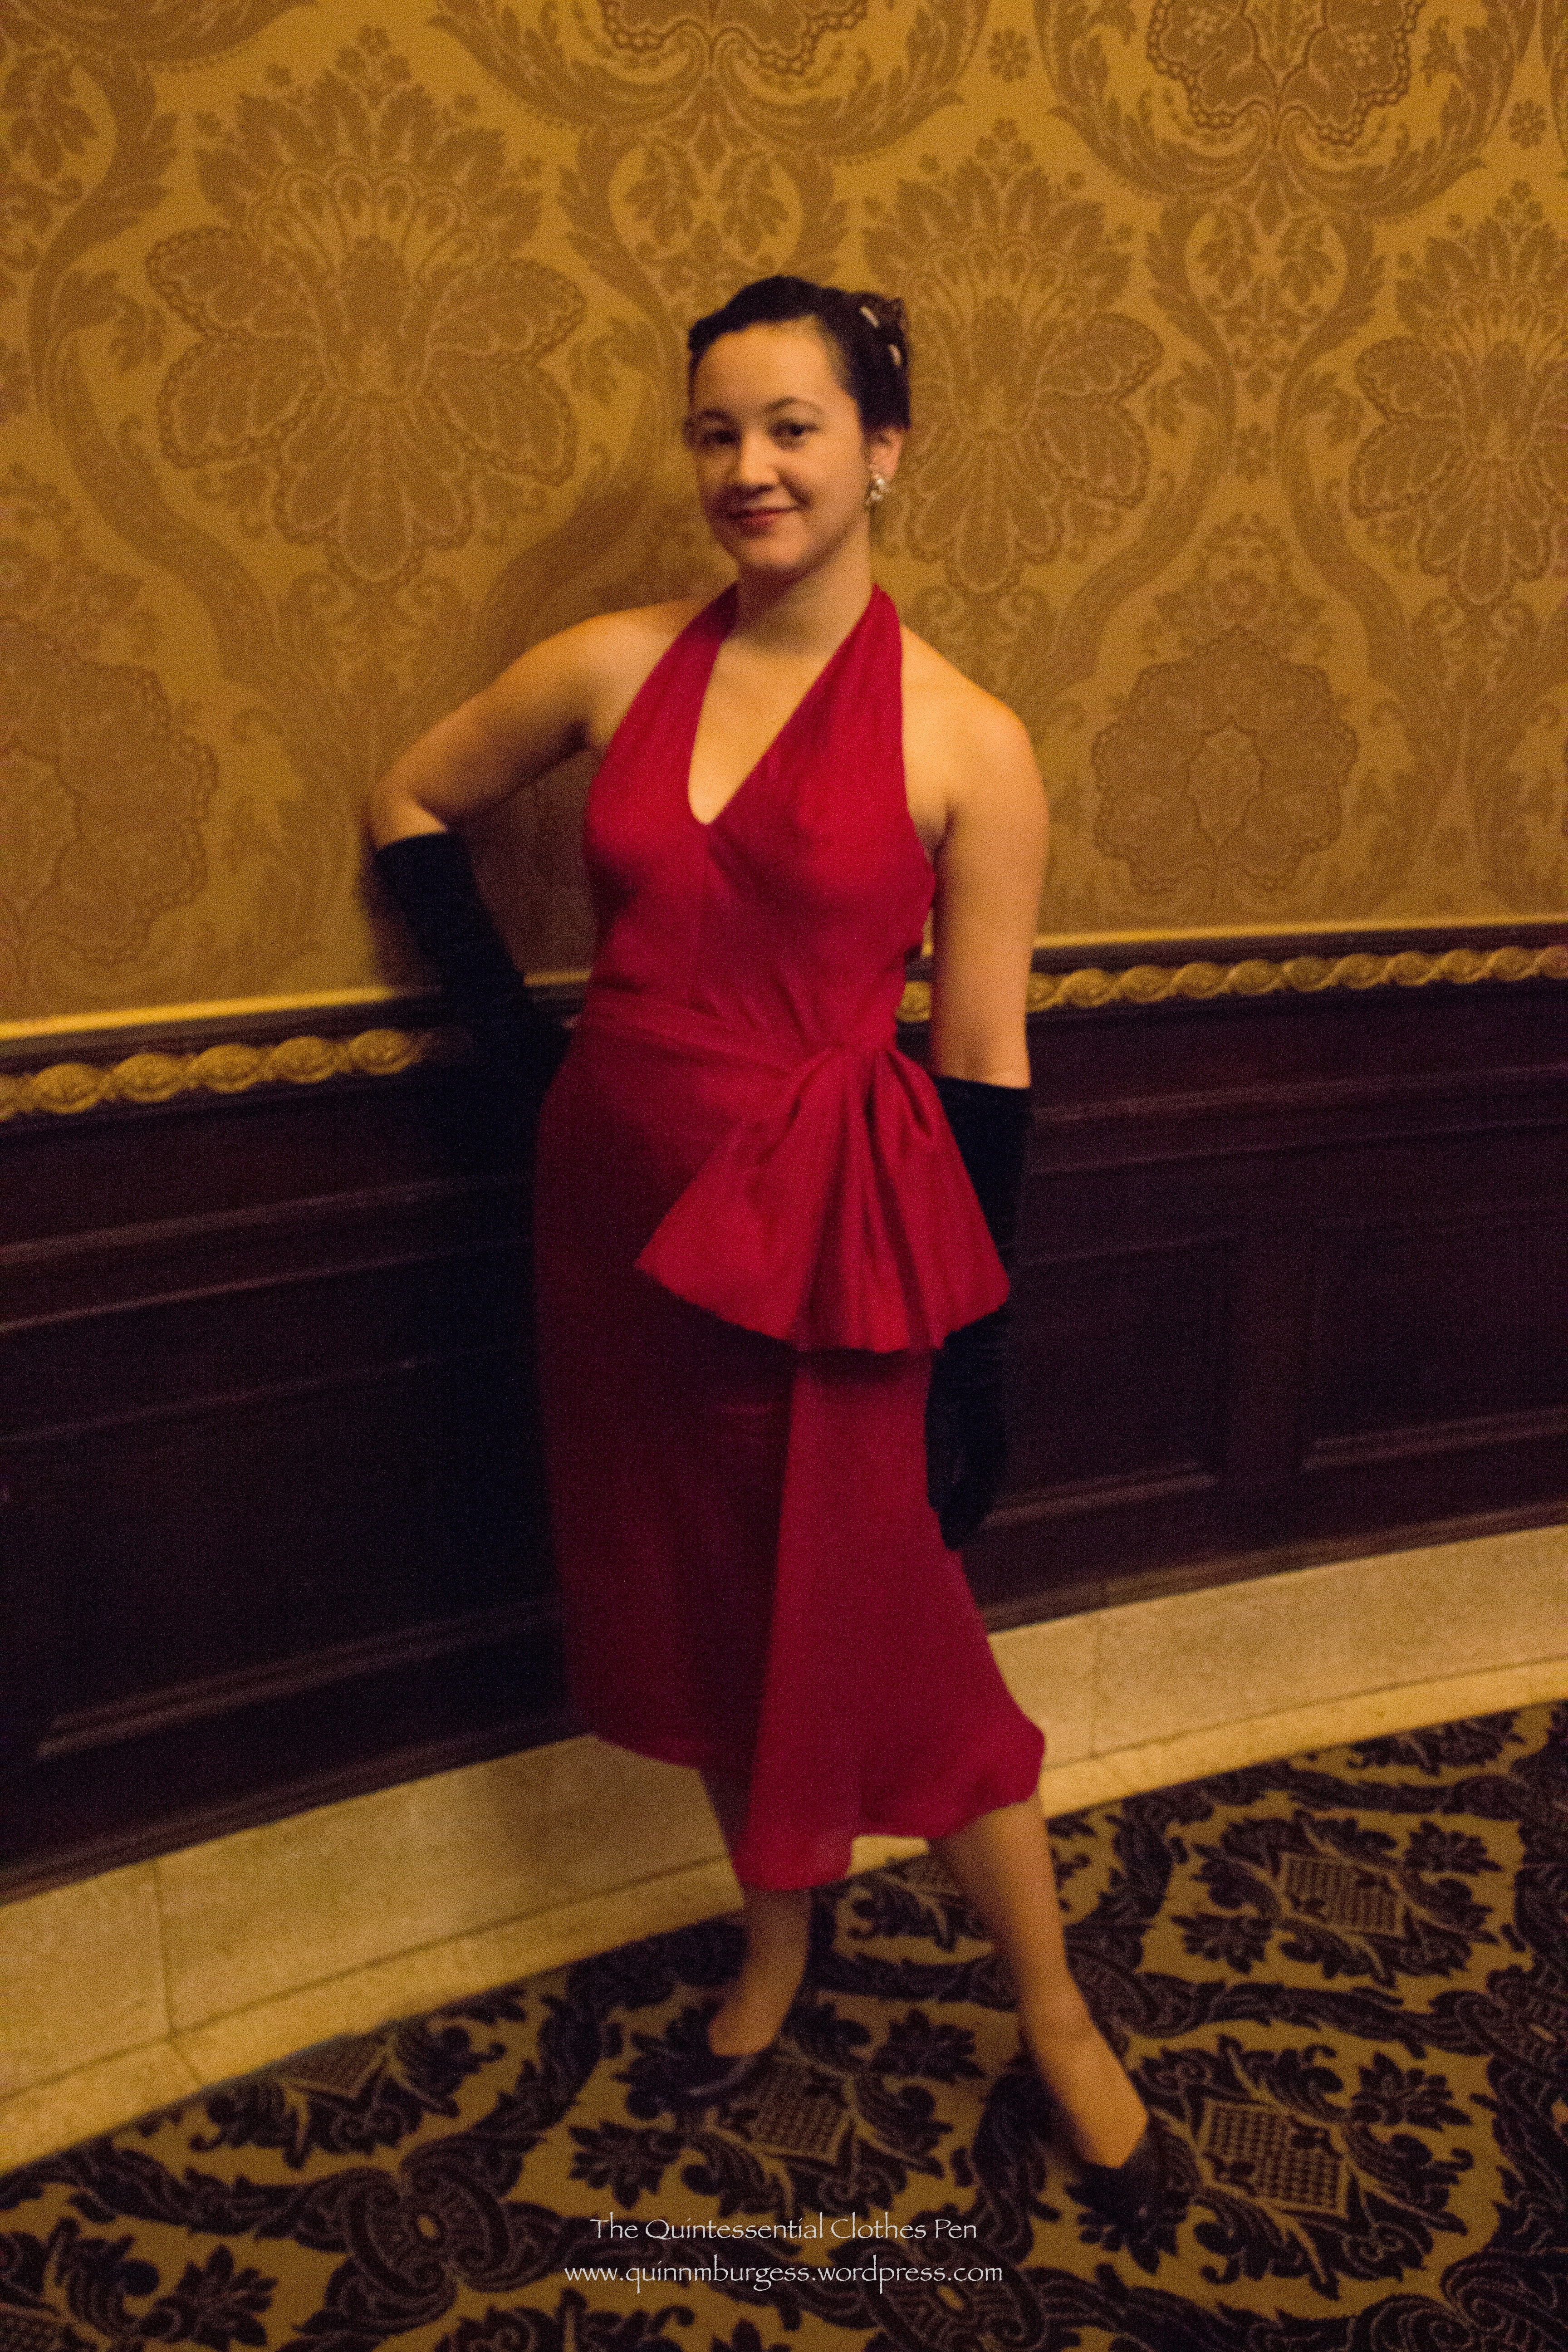
Success! I not only finished my 1950 Baroness Christmas dress the weekend after Thanksgiving, but we also managed to line up our schedules and go see The Boston Ballet’s Nutcracker at the beautiful Boston Opera House, where we took pictures! There were brass bands playing outside and carolers in silver down coats on our walk to the theatre. It was all very festive. And, of course, there was The Nutcracker with a live orchestra.
As you might be expecting, I wore my Christmas dress and took pictures for Edelweiss Patterns’ Virtual Christmas Dress Party. The original inspiration image is in this post. The dress is made from rayon and lined with polyester. I made an attempt to do a 50s stylized up-do, too, though I don’t have any close up head shots… but without further ado, here it is:
There were a few changes from the original, like adding a slit behind the front drape for ease of movement, adding a self fabric belt over the waist seam, and not quite making the pleats across the front deep enough to read once the bow was attached. I’m quite pleased, however, and love how festive the dress is! (And it’s quite formal, with that low back…)
Our group was very well balanced in having two greens and two reds, and three hats, and four gloves (two pairs, you know)… (It sounds like One Fish Two Fish Red Fish Blue Fish or The Twelve Days of Christmas, doesn’t it?)
3 hats!5 of us in 1950s inspired Christmas outfits!Merry Christmas!
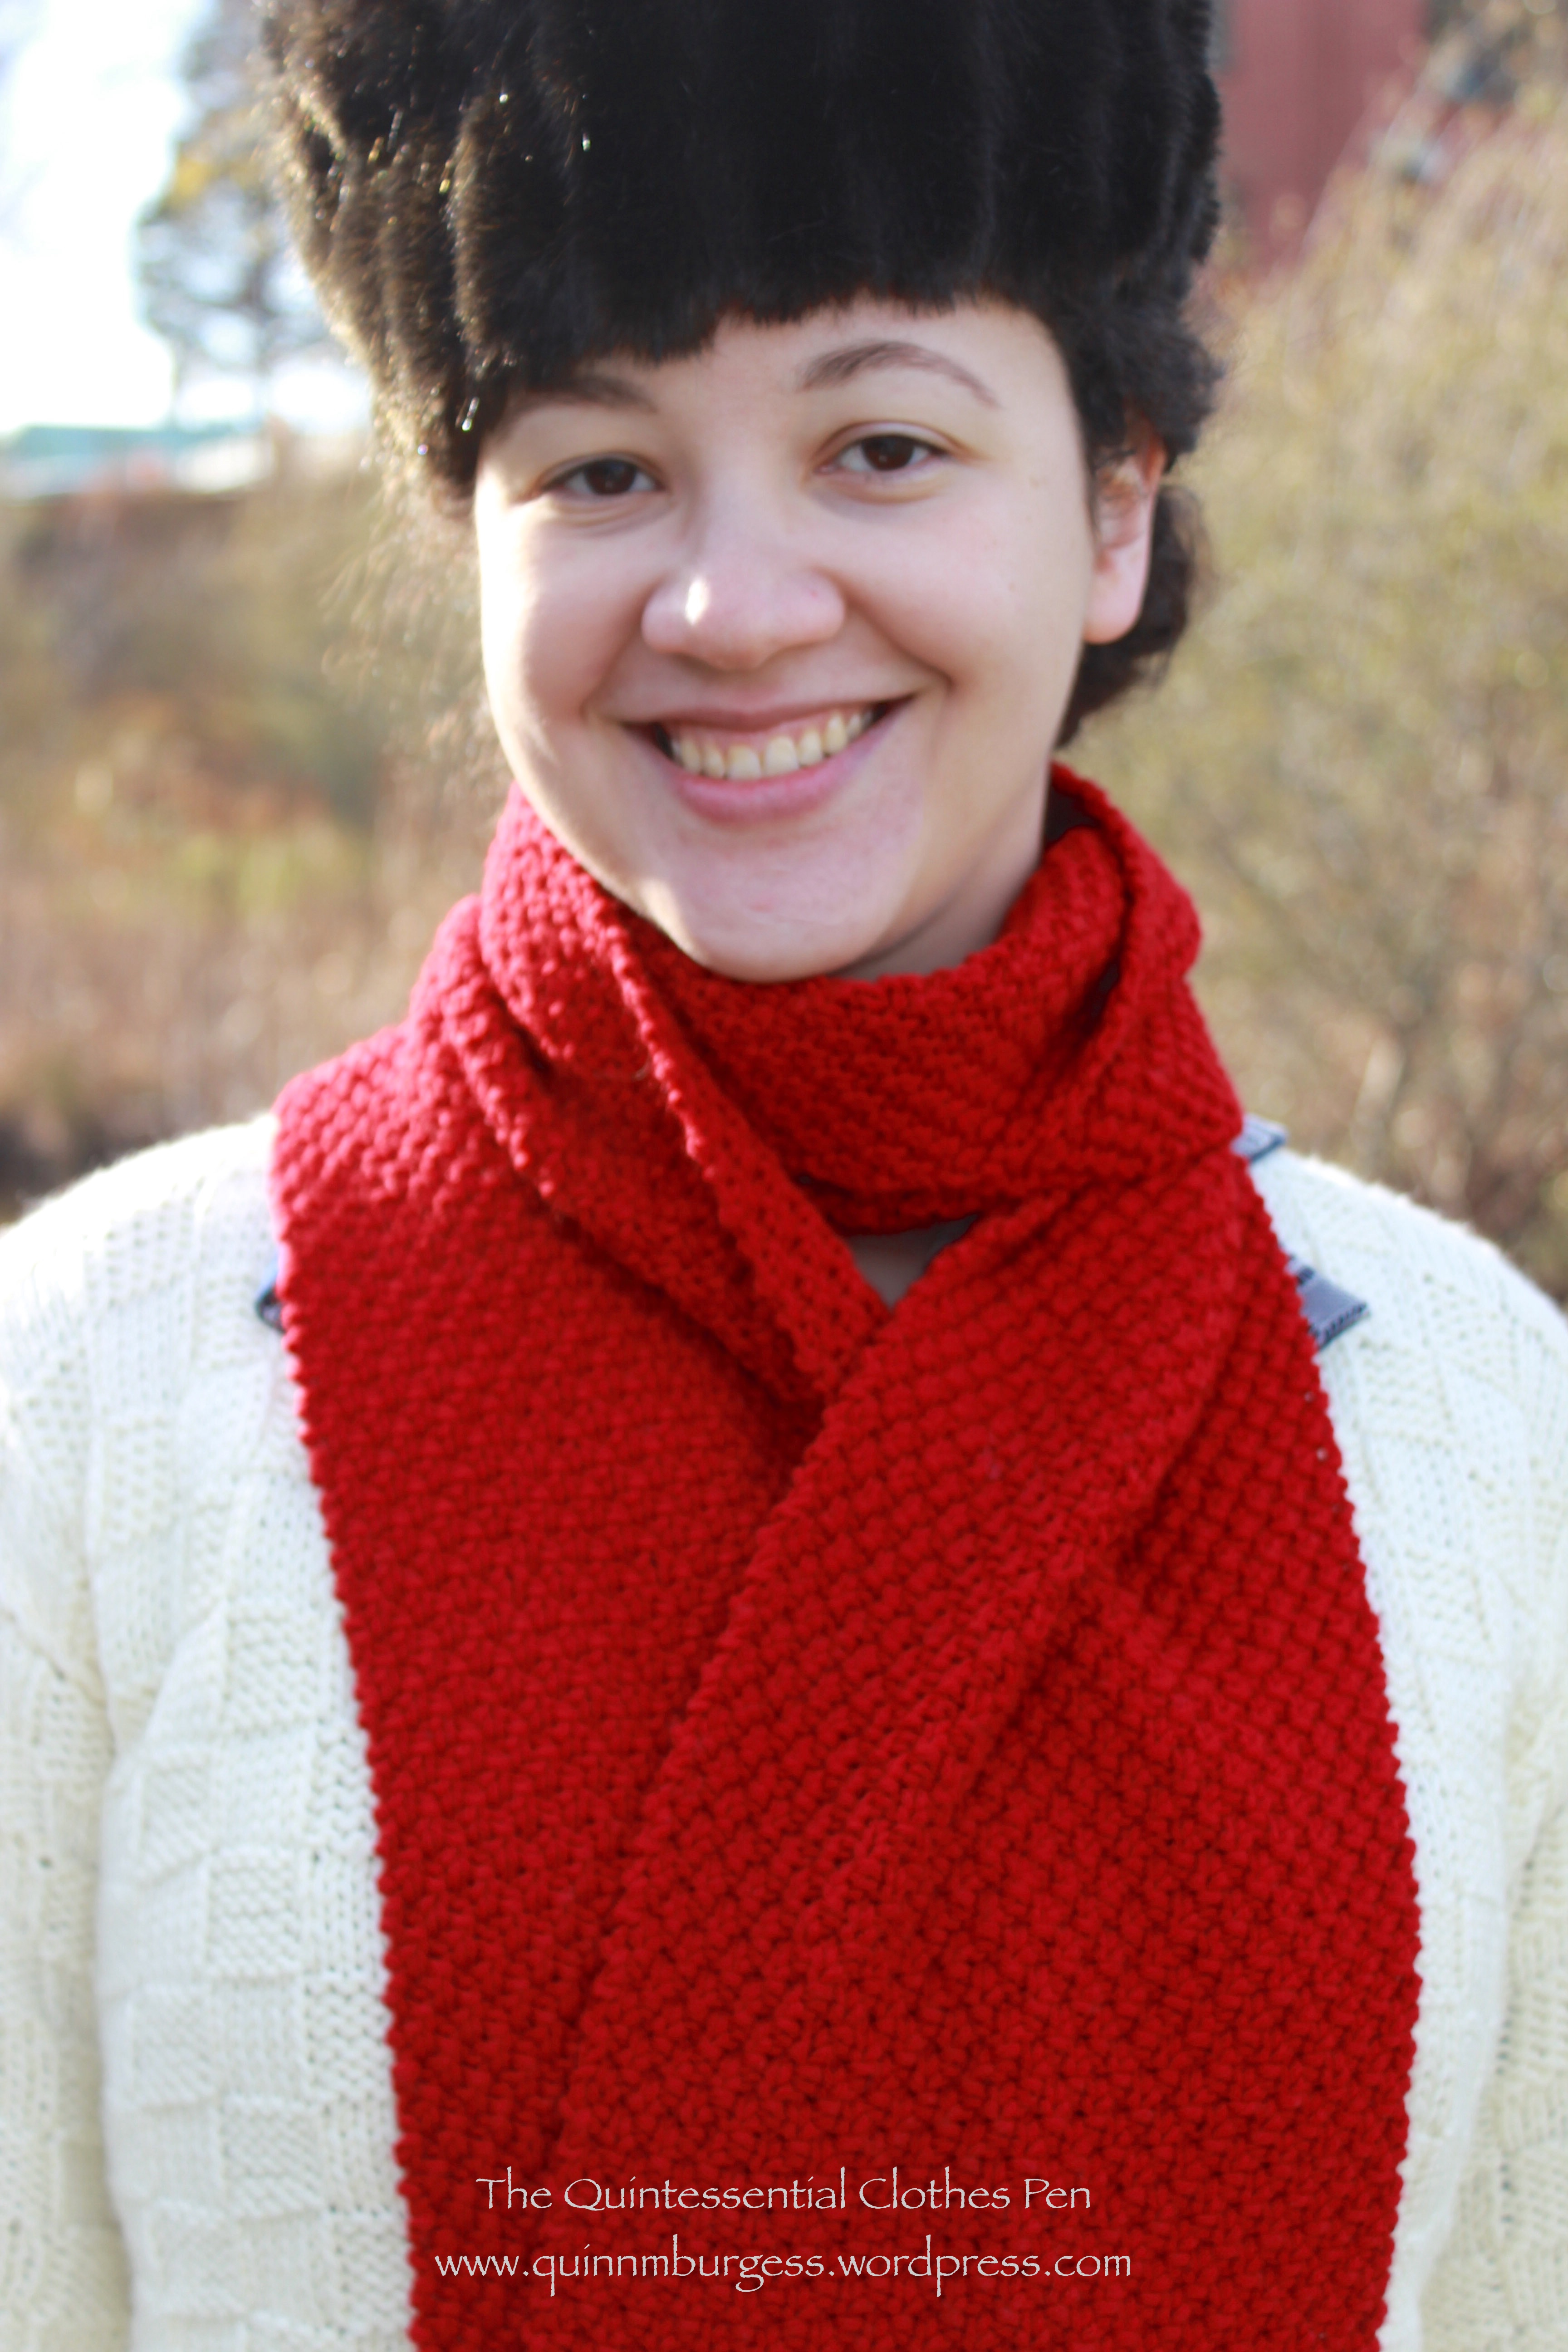
…and it qualifies for the HSF Challenge #23: Modern History! This particular challenge is to make something historical or historically inspired that is wearable in an everyday context. And a scarf like this: absolutely wearable in my modern life if I choose!
Just the facts:
Fabric: 2 skeins, of unknown length, of probably acrylic yarn.
Pattern: Made by me. (More details below.)
Year: 1910s. (More details below.)
Notions: None!
How historically accurate?: Ideally, it would have been made of angora yarn, but I had the acrylic on hand and didn’t want to spend extra money (angora yarn isn’t cheap, you know!). Acrylic wasn’t invented until 1941. However, the dimensions of the scarf are accurate, the pattern is entirely plausible for the 1910s, and the style is taken directly from an ad from the 1910s. So I’d say 90%.
Hours to complete: No idea. I knit while watching Netflix and didn’t pay any attention.
First worn: In Plymouth, MA the weekend before Thanksgiving while portraying a suffragette (as I did last year).
Total cost: $2.50 for the knitting needles and $1 for the yarn = $3.50.
The color is perfectly suited to the holiday season, being cranberry red just like the fresh berries I used to make homemade cranberry sauce last week. (That was really easy and tasty, by the way–I bought Ocean Spray cranberries and the recipe was on the bag!)
Cranberry red!
The pattern is moss stitch. I knit an extra row at the beginning and end just to provide some stability. Then, K2, P2 all the way across for two rows. P2, K2 all the way across for the next two rows. Repeat. Super easy. I keep track of what row I’m on in a little notebook with all my knitting patterns in it. That way I know where I’m at while I’m watching Netflix or when I’ve put it down and picked it up on a different day.
The dimensions are taken directly from a 1910s knitted wear ad that Lauren from Wearing History shared on her blog, here. I made my scarf 8” wide and 68″ long so it would provide maximum warmth while being worn. It also helps that it’s acrylic, which doesn’t breath and keeps you toasty. The fringe is about 6″ long and tied into 9 tassels, just as seen in the ad on a few of the scarves (turns out that I had the perfect number of fringe pieces to divide by 9 without planning!).
I had hoped to make these gloves from a 1910s pattern in matching yarn, but didn’t even start them. Perhaps it’s something that I can do next year! I’ve never knit gloves and I’ve only just taught myself to knit in the round, so while the cables in the pattern are not at all daunting, the simple idea of making gloves is. But challenges are fun sometimes! And I’m very pleased with the scarf.
First, you have to pretend it’s still summer and the air is still warm. Once you feel the warmth, come back with me to the Regency period with a performance by The Commonwealth Vintage Dancers at the Salem Maritime Festival back in August. The day was cloudy, but not too warm, and was interrupted mid-afternoon by a bit of strong rain (during which many of our dancers had wandered off and I sat under a tree and watched the rain fall).
Opening the gate to our own historic house front yard performing space.I brought along the kites I’d made in 2013 and though we didn’t fly them they looked nice on our picnic blankets. The strings had become all tangled over the last 18 months and thankfully some others found the untangling task rather enjoyable.We were pleasantly surprised to be provided with two live musicians who not only played for us, but also sang.While visiting a neighboring house we took the opportunity to peer at the modern visitors just as they peer at us!Another participant in the day’s events snapped a few sneaky photos of us through the window of the neighboring West India Goods Store where she was set up for the day. Photo by Sew 18th Century.

























 The Quintessential Clothes Pen