I used the deadline of the HSF/M Challenge #2: Blue to finish the nagging little things on my 1811 Elusive Blue evening gown that either didn’t make it to completion in time for the first wearing last April or that bothered me after wearing it that first time. The changes: lengthening the hem of the underdress, adding a drawstring below the bust to control where the fullness and folds will fall beneath the overdress, fixing a section of pearls on the back hem that had come loose, and creating trim to finish off the sleeve openings.
The trim on the sleeve openings is probably the most noticeable and interesting of the things that brought the dress to completion.
Just the facts:
Fabric: Scraps of elusive blue and dark blue fabric from the original dress.
Notions: Extra pearls, thin yarn for cording, and thread.
How historically accurate is it? The trim is directly inspired by this extant gown at the Met and is entirely hand sewn. I think it would be recognizable by someone in 1811, so the only points off would be for inaccurate fabric choice. Let’s say 90%.
Hours to complete: As usual, I did not keep track for the changes/finishing or for the original construction. I can safely say, “a lot.”
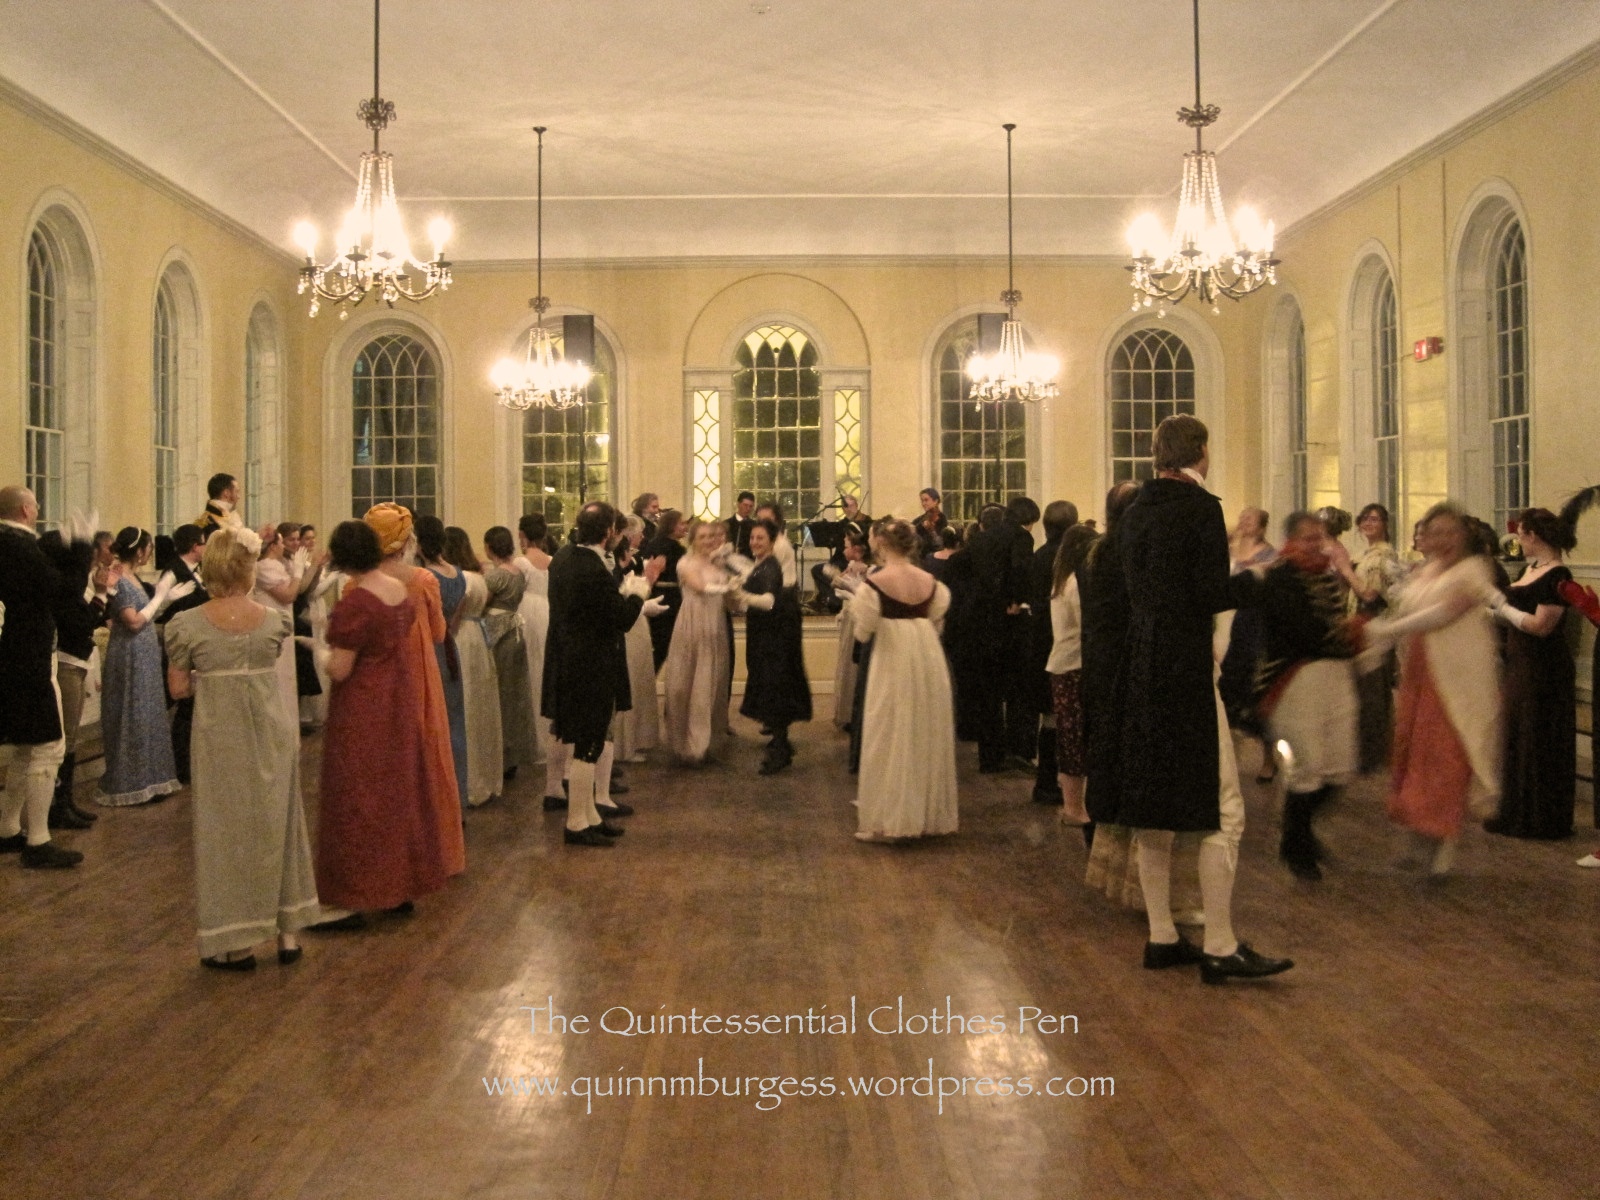
I attended a small Regency ball last weekend. It was charming and not nearly as packed full of people as I have grown accustomed to at these events in recent years. The smaller crowd made for a much more subdued (but still pleasant) evening than I was expecting.
The only downside was that the hall was exceptionally cold and not being full of people did not warm up very quickly! Few of us had planned for the situation and we were mostly scrambling to find any scarves or sweaters to wrap ourselves in. Many of us were resorting to items that we’d worn to keep ourselves warm outside, sacrificing fashion for warmth (it’s been below freezing here in Boston for at least the last three or four weeks consistently). I, for example, wrapped up in my pink cashmere scarf despite wearing a red dress. I thought it looked odd, though I was told that the colors looked good together. But there were a few lucky solutions that were both fashionable and warm: a large paisley shawl and a plaid scarf/wrap that looked very Scottish were the two most fashionable looks in my opinion. After some dancing and about midway through the evening, many had warmed up enough that scarves were being discarded, though I do believe I kept my scarf wrapped over my shoulders and chest throughout the entire evening.
Elegant, fashionable lounging during the refreshment break.Delicious refreshments alluringly laid out.
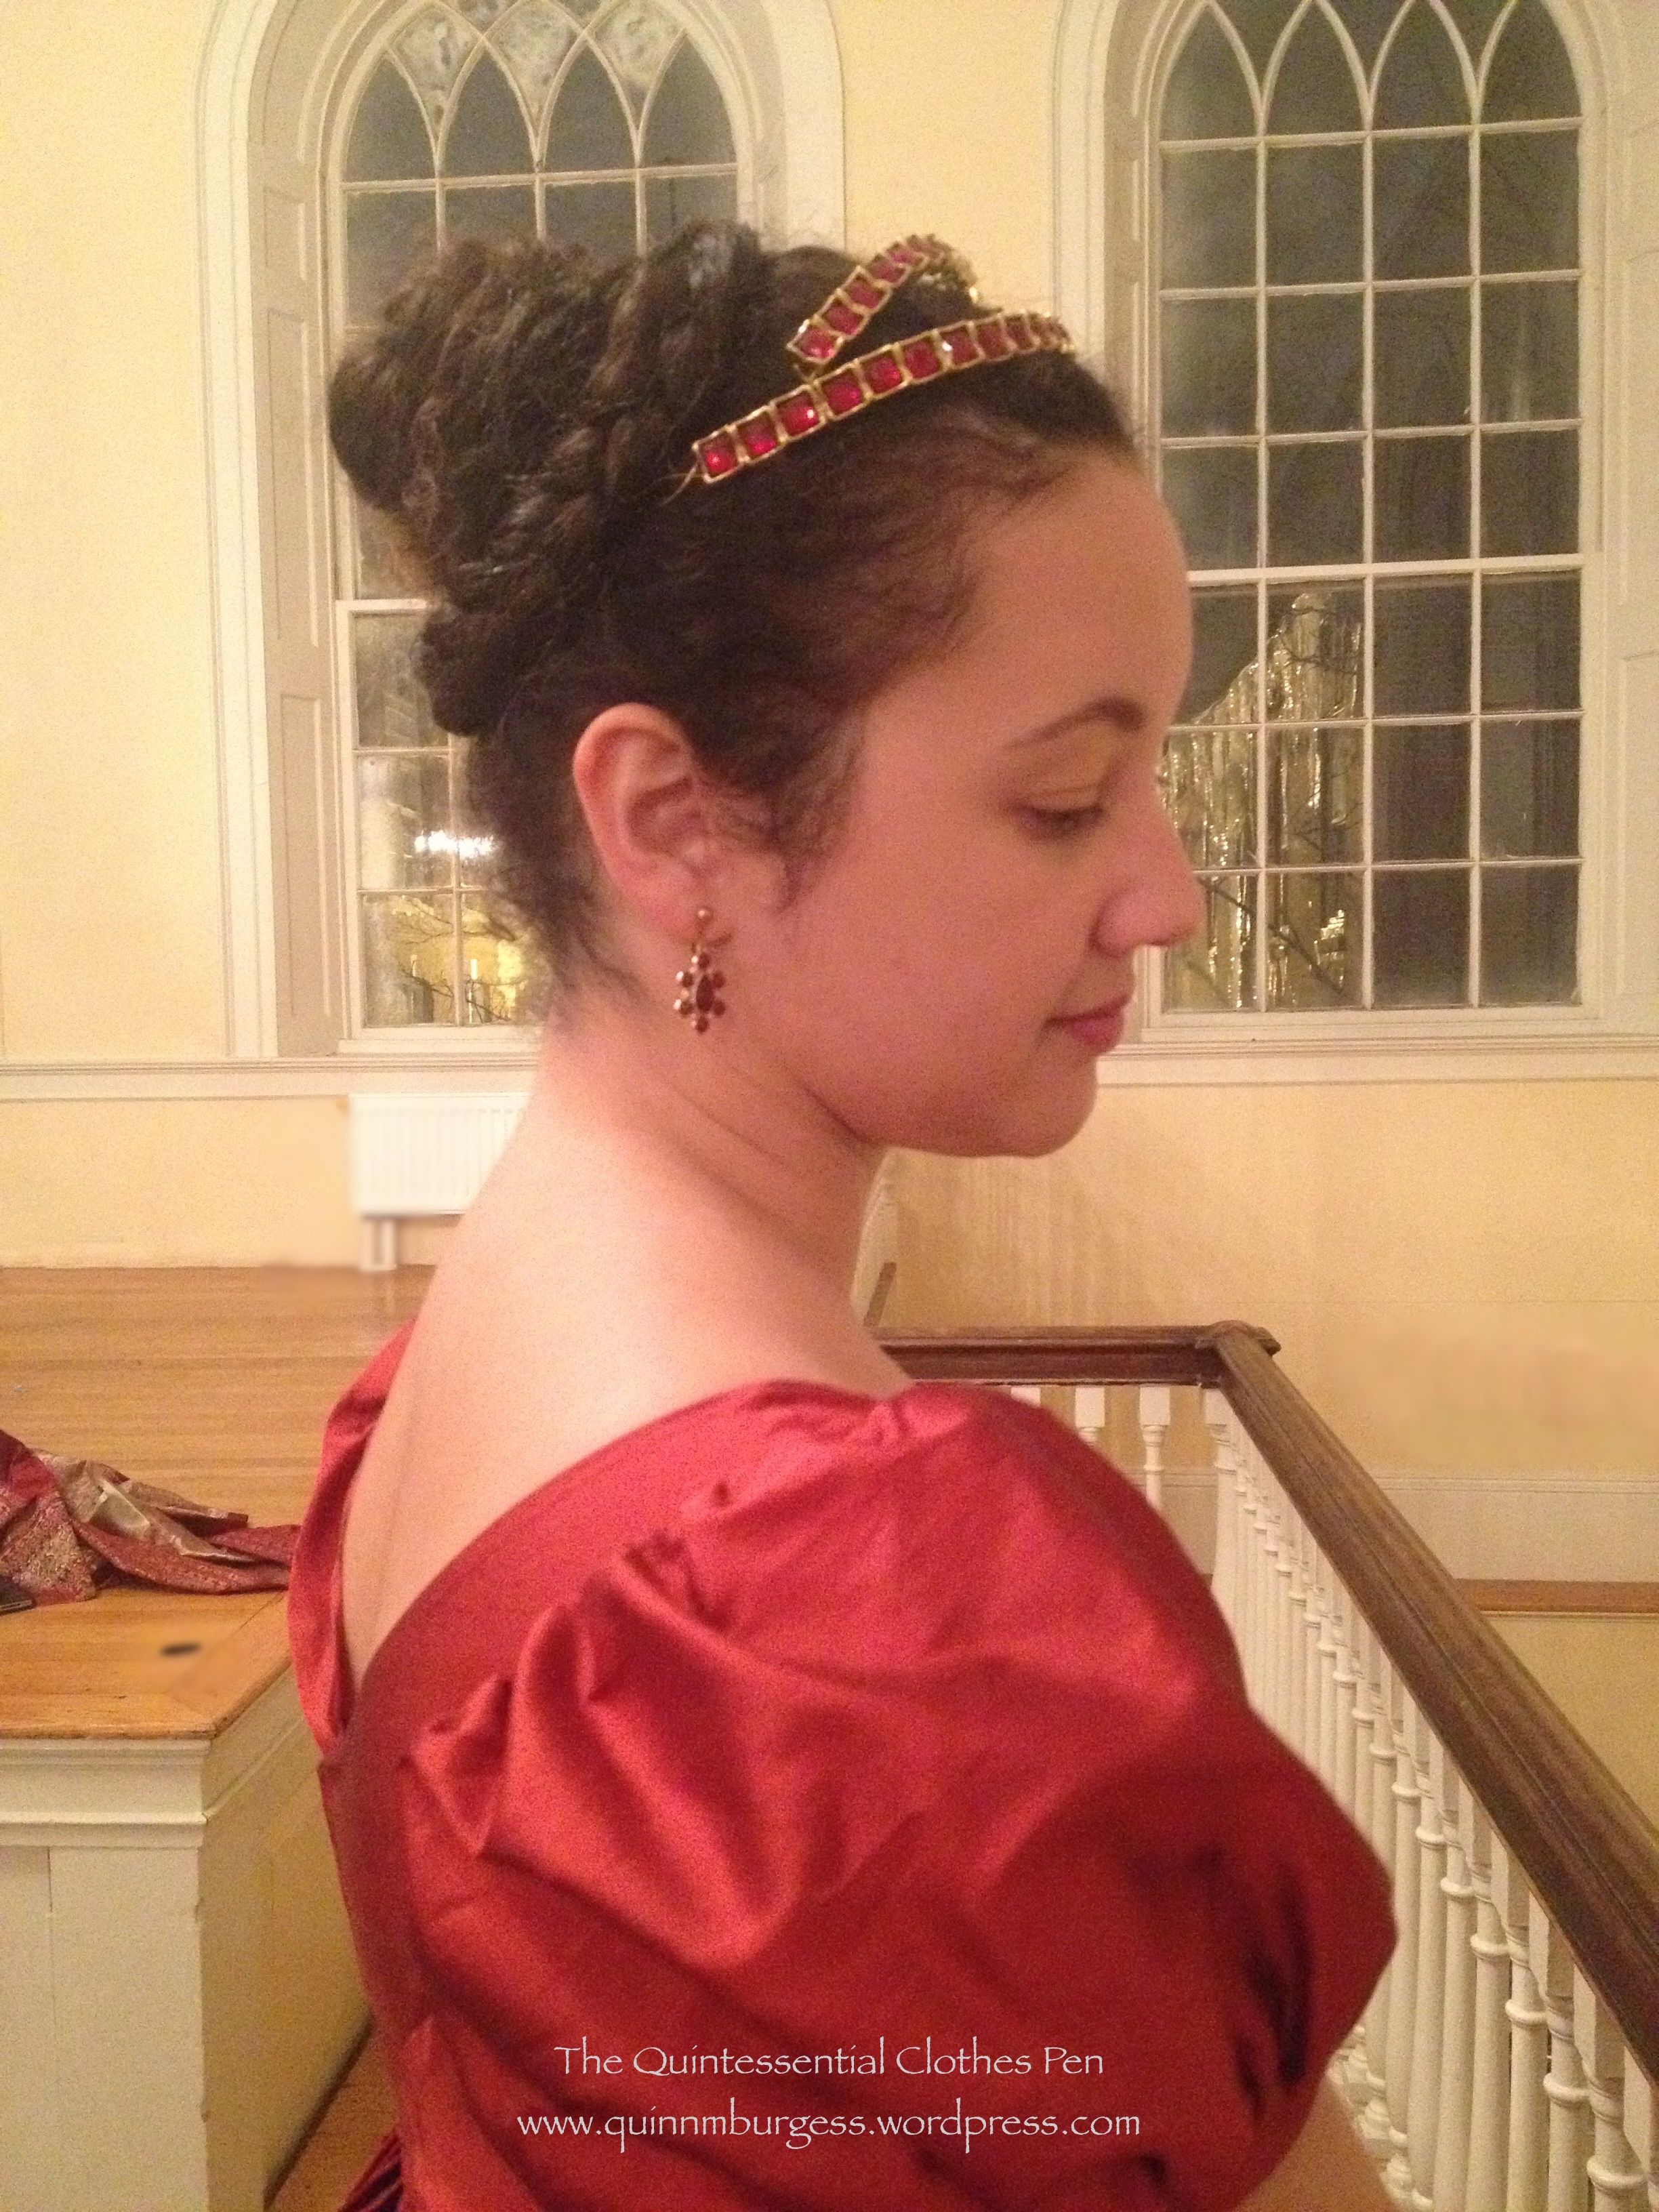
I wore my red 1813 evening gown and my homemade red and gold tiara. (I had hoped to finish and wear my 1811 elusive blue evening gown, but I would have had to do a lot of last minute sewing to finish it in time and after my recent skating costume last minute sewing adventure I was not inclined to do so again so soon. It is very satisfying to have a closet of options for an event, especially when plans to complete something new go awry.) I also brought along my red and gold reticule, because it matches the outfit so perfectly (although the only thing I kept in it was my phone… which is the reason for the slightly blurry, grainy photos).
All the red and gold Regency pieces in my wardrobe put together in one outfit!It was so cold getting dressed that I was not inclined to do a complicated hair style. Heeheehee, fake hair to the rescue! I just put my hair in a pony tail, braided it, and wrapped it around itself. Simple! The big braid is what makes it look complicated, but it is pre-braided fake hair. I think it completes the style perfectly and has a bit of a “chinoise” look to it, too.
What do I mean by “chinoise”? The word itself is from the French adjective meaning Chinese. In terms of fashion, there are scarce references to “chinoise” styles in Regency fashion plates (compared to the abundance of Regency fashion plates showing other styles). Here are a few examples. This Merveilleuse from 1814 has a “Coeffure Chinoise,” this lady from 1812 has a “Coeffure a la Chinoise,” and this fashion plate shows “La Toilette Chinoise.” (I do sort of wonder how some of these attributes, and the hairstyles in particular, said “Chinese” to people during the Regency, but of course the world was perceived very differently then and people had access to vastly different quantities and types of information than I do today.)
I’ve often noticed that “chinoise” hairstyles make use of braids that wrap around the head. In addition, there seems to often be a vertical emphasis to the hair and to a bun, if one is present in the style. It is these attributes that say “a la chinoise” when I look at my own coiffure from last weekend. Sometime, I’ll have to try to make a more exaggerated “chinoise” style with a very tall and flyaway bun such as the Merveilleuse from 1814 has. I’m pretty sure my hair will have no trouble with that since it is naturally curly and wanting to fly away!
The text reads: “Toque de Velours. Witz-choura de Satin.” I’ve looked at enough fashion plates to guess the meaning of most of the text. After some quick reference to translation programs, I confirmed my suspicions and translated the text as: “Hat of velvet. ____ of satin.” The question is, what does “Witz-choura” mean?
First, let me tell you that I originally read the plate as “Toque de Velours. With-choura de Satin.” That z looks remarkably like an h, despite the fact that I don’t think “with” is a word in French (also, I don’t really associate the letter z with French words, so I was happy to interpret it as an h). I followed this path for awhile, though, despite the fact that it didn’t quite make sense. Assuming “With” meant what it does in English, I proceeded to try to figure out what “choura” meant. I looked at English dictionaries, including the Oxford English Dictionary, with no luck. And in French dictionaries the closest thing I found is that “choura” is conjugation of “chouraver” or “chourer,” a verb which seems to mean “to steal” or “to rob” in English. But that didn’t make any sort of sense! The only other reference to the word “choura” I found was that it has a connection to an Arabic word relating to the parliament of an Islamic state. Again, no connection. So then I thought, what’s the word for shoes in French? Maybe “choura” is an older form of that word? Turns out that “les chaussures” means shoes in French.
I was about to pursue this train of thought, when Mr. Q interrupted me. When I complained about my lack of useful results he suggested I try, amongst other ideas, a search of Google Scholar. My initial search turned up lots of science related publications with authors whose last names were Choura. But then, when I added the word “fashion” to my search, I was returned one result which was to the point and clarified the whole business (at least a little bit!). Mr. Q broke the mystery wide open!
The clarification comes from the book Empire Fashions by Dover Publishers. The relevant sentence can be found here and reads: “Around 1808, a high-waisted, fur-lined woman’s coat appeared, the witzchoura [wi choo ra].” Ohhhh, I thought, that’s not an h it’s a z!
Upon searching for it with the now-corrected spelling I finally found relevant information! All that will be in future posts, though. I thought I’d break it up to avoid having one really long post. So you can look forward to a post with descriptions of witzchouras and then also a post with images of them. At least I was on the right track!
(Click here for my original post about the 1814 Vernet Project, to which this post refers.)
First, you have to pretend it’s still summer and the air is still warm. Once you feel the warmth, come back with me to the Regency period with a performance by The Commonwealth Vintage Dancers at the Salem Maritime Festival back in August. The day was cloudy, but not too warm, and was interrupted mid-afternoon by a bit of strong rain (during which many of our dancers had wandered off and I sat under a tree and watched the rain fall).
Opening the gate to our own historic house front yard performing space.I brought along the kites I’d made in 2013 and though we didn’t fly them they looked nice on our picnic blankets. The strings had become all tangled over the last 18 months and thankfully some others found the untangling task rather enjoyable.We were pleasantly surprised to be provided with two live musicians who not only played for us, but also sang.While visiting a neighboring house we took the opportunity to peer at the modern visitors just as they peer at us!Another participant in the day’s events snapped a few sneaky photos of us through the window of the neighboring West India Goods Store where she was set up for the day. Photo by Sew 18th Century.
I think these new Nankeen Regency boots from American Duchess are super cute! I love that the ankle looks like it would fit tightly and the toe is soft and rounded. And they’re dyeable! So tempting… If you haven’t seen them yet, you should check them out even if it’s only to window shop!
Portrait of Maria Theresa of Austria (1801–1855), 1817
You know those face framing curls that Regency women often sport in paintings and fashion plates? Modern ladies with bangs have it so much easier than those of us with all around long hair when creating this style! Unfortunately, I’m one of those modern ladies with long hair all around. The only short pieces I have are frizz! Nevertheless, I wanted to try to create this style at the Dolley Madison Ball hosted by the Commonwealth Vintage Dancers earlier this month.
I’ve been pondering how to fake these face framing curls with my long hair for awhile. I’ve contemplated hiding the bulk of my hair length under a turban and having the curly ends come out from under that (which I still think would work, though I haven’t tried it…yet). I had the fabric for the turban picked out from my stash, but then I decided to wear my 1819 ruffle dress and when I looked at images for turban inspiration I didn’t find anything similar to what I was envisioning for that particular period. But I did find a lot of cute buns with braids and flowers (like the painting at the beginning of this post, and this portrait from 1813, and this fashion plate from 1819, and this fashion plates from 1816). So I changed course and decided to go in that direction, instead.
Successful face framing curls surmounted by a braided bun and ornamented with a little flower bouquet!
All of the flowers and leaves used in my little bouquet are intended for millinery, meaning that each stem of blooms and individual leaf is wired. That makes it particularly moldable once it’s on my head! Originally, both flower sprays were bright white which I didn’t think would go with my ivory dress and lavender jewelry, so I decided to try dyeing the flowers to a more suitable color. After brainstorming for awhile I decided that going in a purple direction with the flowers would nicely complement the jewelry and make the entire ensemble look put together. So that’s what I did, using RIT. I wanted to be down and dirty about just getting the flowers dyed, so I used whatever colors I had (which included navy blue, wine, and purple). I made a few different cups of dye with different colors and then dipped the different stems in until I liked them, which also created variation within the sprays, which I think helps them look more lively. Unfortunately, some of the silk flowers lost their nicely cupped petal shapes after being soaked with dye, so the flowers do have a different style than before they were dyed. The more vertical sprays didn’t seem to droop at all after dyeing nor did they loose their shape. I’ll have to keep that in mind for next time!
A better view of the bouquet.
So, how did I do it? First, I separated the hair at the front crown of my head to save for later. Then I put the rest of my hair into a pony tail. I curled bits from the pony tail (about three per side) and then pinned them along the top/side of my head so they terminated right below the separated crown bit I held out from the beginning. That took a lot of bobby pins… Once I was satisfied (which took a long time and included a melt down… sigh, it happens to even the best of us sometimes!), I parted the separated crown bit and brought those pieces down over the side of my head to cover all my bobby pins. Then I wrapped the ends of those bits up into the bun. I also braided some parts of the bun, though it’s hard to see that detail in the pictures.
I had fun helping a friend make similar face framing curls for the ball, too. Here we are, being curly hair friends!
Note: My friend has shorter hair than I do–it’s maybe shoulder length (mine is at least 6-8″ longer than that)–so we were able to use the same method for her hair, but without the added extra effort of putting the front bits into the bun and then running them back to the front of the face. Basically, with my hair I had to zig zag back and forth to make the pieces short enough, but with her hair all she needed was a curling iron and the front parted bits to cover the bobby pins!
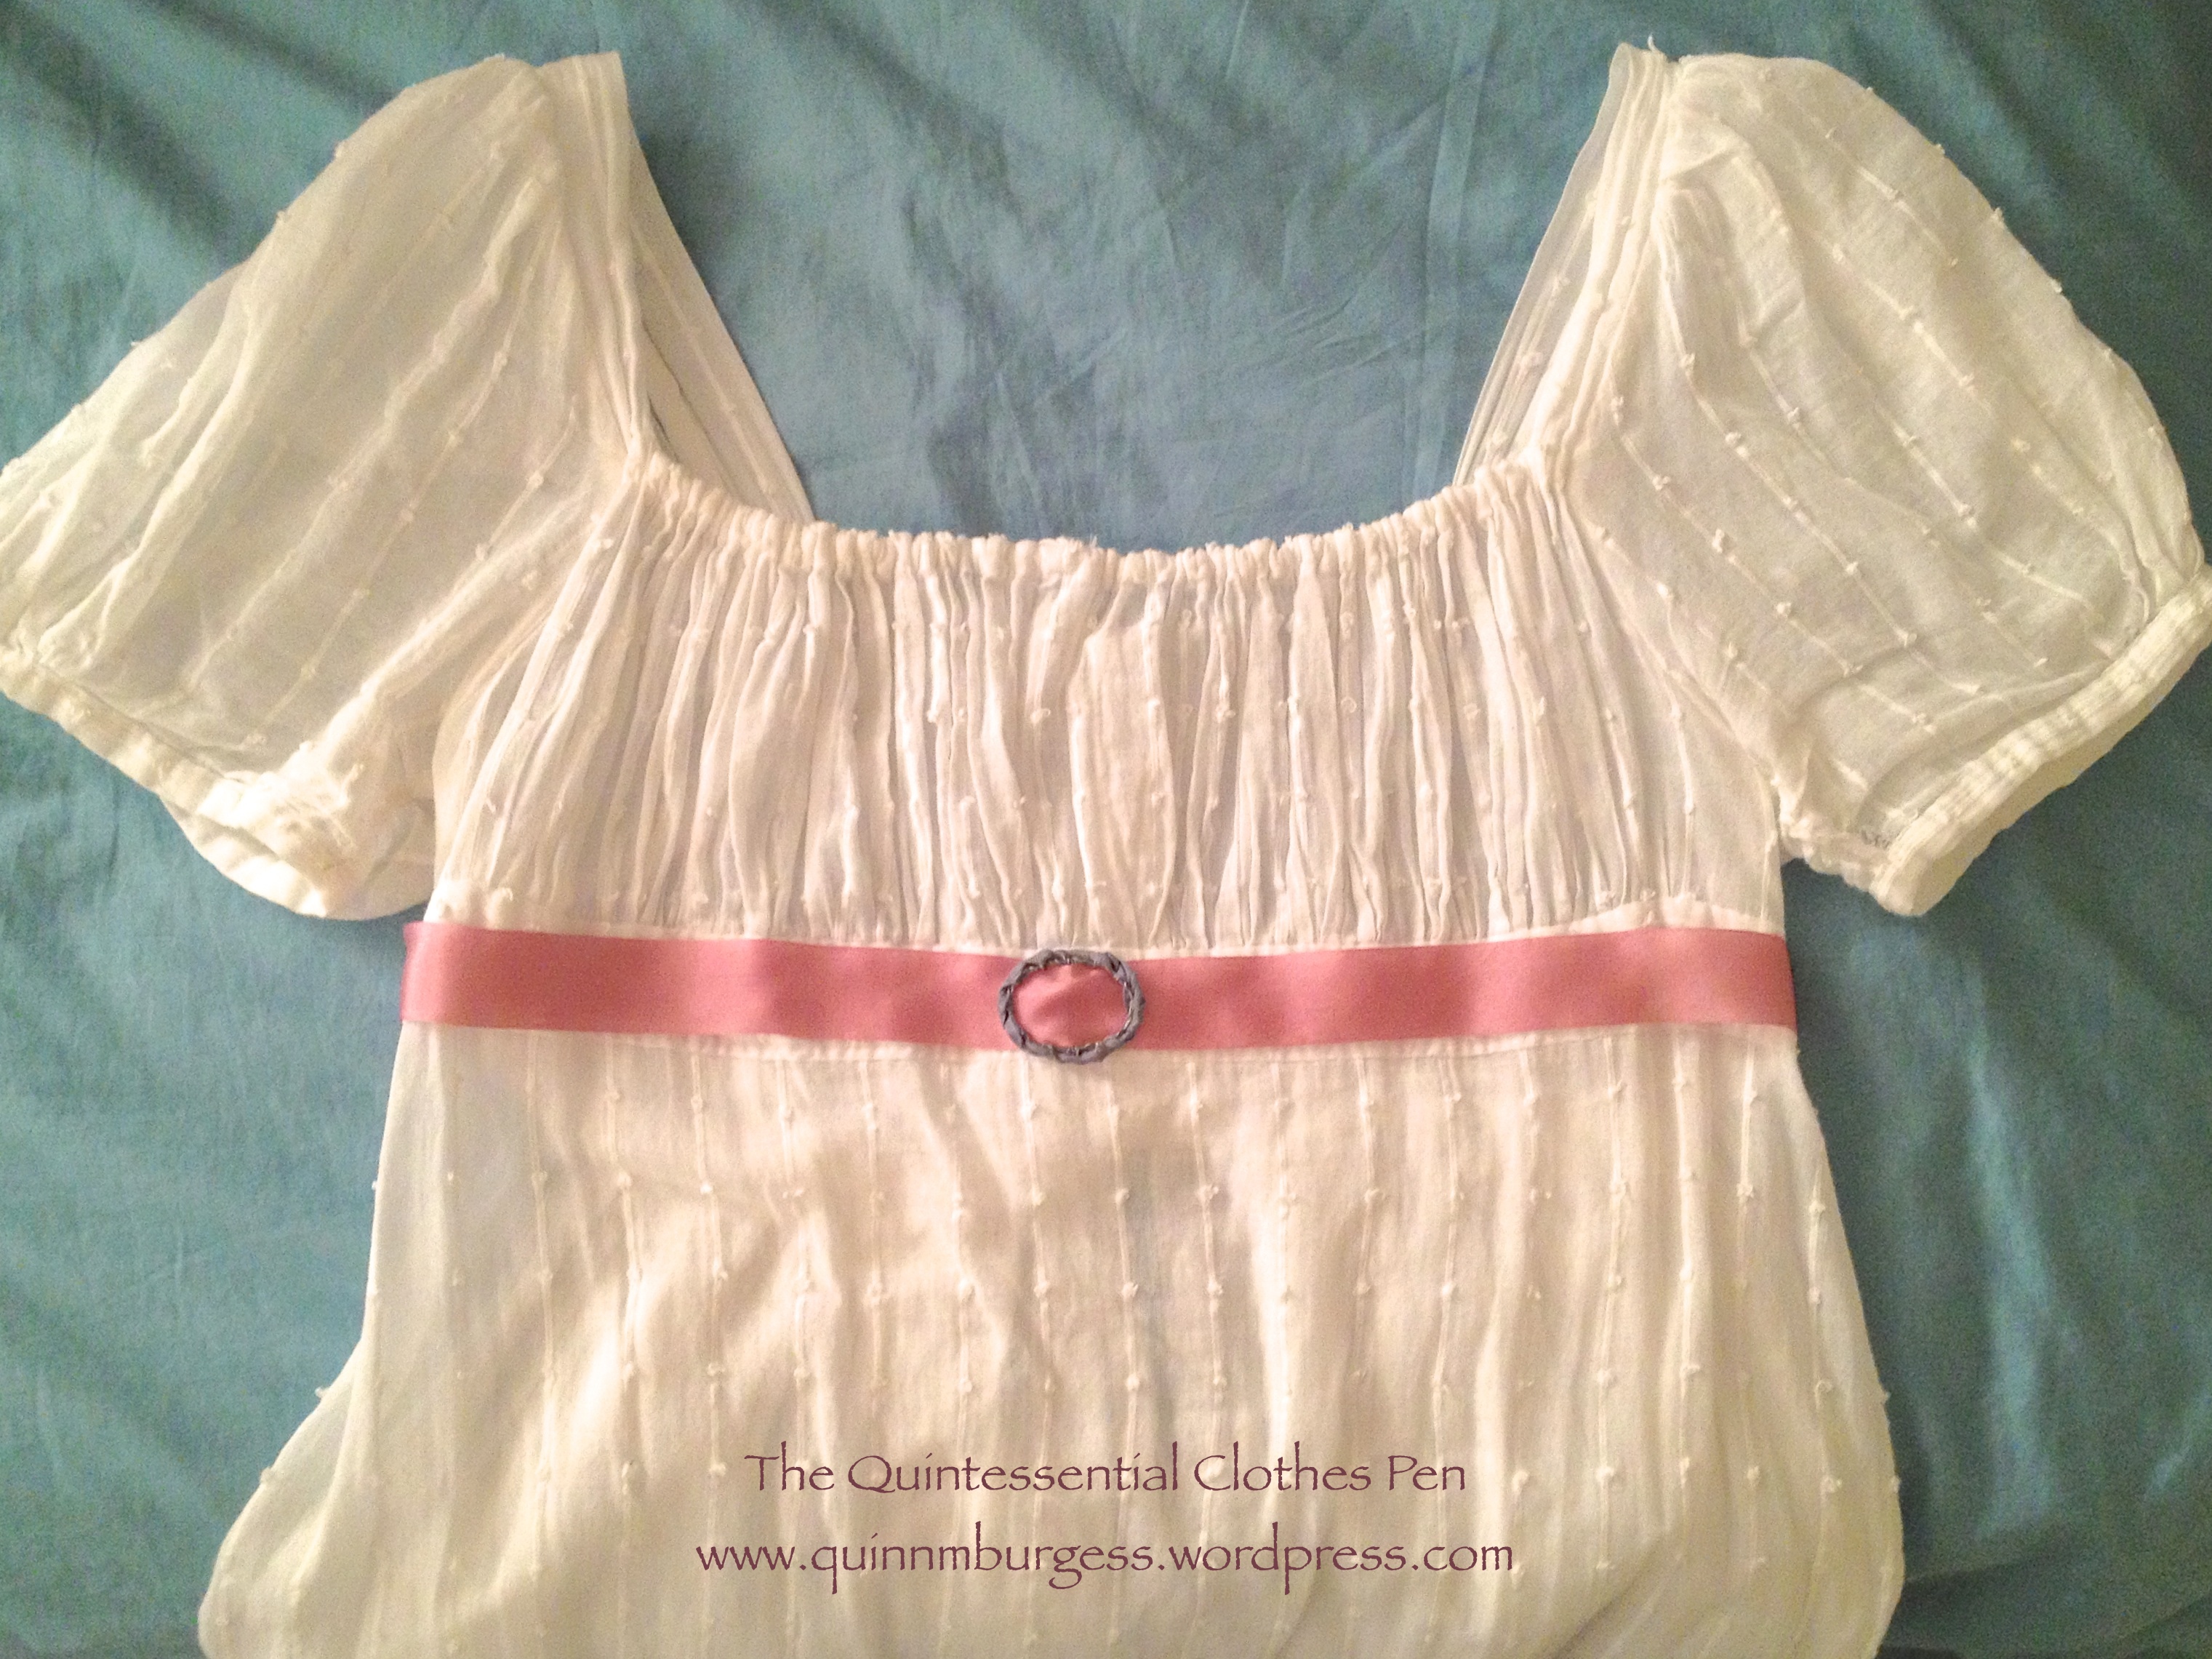
My project for the HSF Challenge #3: Pink is a silk belt style sash for my square neck 1812 gown. It’s a small project because I’m working on multiple other bigger projects (two different Regency dresses and a new 1850-1870 corset–more on those in the upcoming months) and I didn’t want to distract myself. Part of my decision to make a belt style sash came from the discussion with friends that led to my previous post on adding variety to Regency sash styles (this post explains what I mean by a belt style sash, in addition to explaining other Regency sash styles).
And now, as usual, on to the facts:
Fabric: None.
Pattern: None.
Year: c. 1810
Notions: About 1 yard pink silk ribbon, some unknown yards of 28 gauge wire, maybe 2 yards grayish blue hug snug, a hook and bar, and thread.
How historically accurate?: Silk is an accurate material, but nothing else is for this time frame. So… maybe 80% for looks and 40% for materials.
Hours to complete: More than it should have because I made the buckle from scratch. Let’s say 4.
First worn: To a vintage dance performance in January.
Total cost: Free (all stash materials)!
I didn’t have a non-sparkly buckle in the right size, so I decided to make one from wire. At first I thought that it might be cute with the scallops around it, but it didn’t look solid enough from a distance. So I experimented with weaving ribbons through and around the scallops. I tried gold silk ribbon first but it ended up looking like straw. In the end I decided on the hug snug because I liked the color.A closeup of the finished buckle. It wound up looking rather braided.The finished effect.
For the performance, I sewed the belt to the dress even though I also sewed a hook and bar to the belt. The idea is that I can wear it with another dress in the future if I want to!
In modern interpretations of Regency costume, there is a widespread use of what I am going to call the “ribbon sash.” By this I mean a length of ribbon, in a contrasting color to the dress and not used to trim any other part of the dress, tidily tied or sewn under the bust, and terminating with long hanging ends. I understand that this style provides an easy way to adorn a dress of any color or add color to a white dress, but I believe that the style is much too often used relative to the occurrences we see of them being worn in portraits, fashion plates, and built into extant gowns. I would like to encourage all of us to have variety in the ribbon sash styles we wear with Regency clothing.
When looking at portraits, fashion plates, and extant gowns, you do find the sort of ribbon sash I described in the beginning of this post, but you don’t find them in anywhere near the same proportion with which they are used today. You do see these types of sashes, but it is a small proportion of the styles worn and you see a variety of other sash styles, too. I would like to share a variety of ribbon sash styles with you and encourage you to pick one of these less used styles if you decide to wear a ribbon sash yourself or if you have the influence to encourage others in their own ribbon sash wearing. By expanding the styles of ribbon sashes worn, hopefully we can all more accurately represent clothing worn in the Regency period.
Generally speaking, there are 4 large categories of ribbon sash styles. I’ve included an example image of each style underneath the accompanying description and I’ve included links to other good examples (below the four sash style descriptions) so you can look at them for more ideas.
1: The Ribbon Sash (as described in the beginning of this post): a length of ribbon, in a contrasting color to the dress and not used to trim any other part of the dress, tidily sewn or tied under the bust, and terminating with long hanging ends approximately 24″-36″. It is very rare to see this style used in a fashion plate or painting with the termination of the sash in any location other than center back.
Henri François Mulard, Portrait of a lady, circa 1810
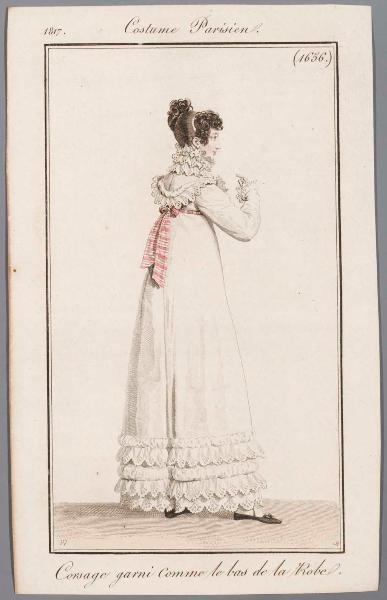
2: The Short Sash: a length of ribbon, in a contrasting color to the dress and not used to trim any other part of the dress, tidily sewn or tied under the bust, and terminating with short hanging ends approximately 6″-18″. I have seen this style with the termination of the sash in center back, center front, and occasionally off to one side of the front.
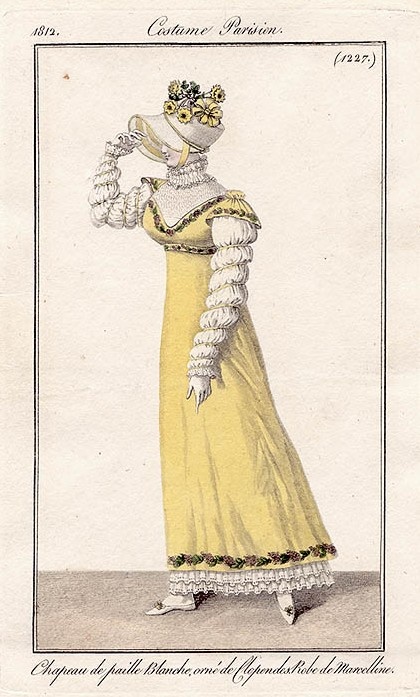
Costume Parisien, 1817
3: The Belt Sash: a length of ribbon, in a contrasting color to the dress and not used to trim any other part of the dress, tidily sewn or tied under the bust, and with very short hanging ends or without hanging ends at all. This style is sometimes plain or sometimes adorned with a buckle or bow. The buckle or bow with short ends is often at center front.
Portrait de Laure de Berny ca. 1810 by Henri-Nicolas Van Gorp
4: The Trim Sash: a much more common variant of any of the first three sash styles. Any of the first three sash styles can fall into this category if the sash matches and coordinates, in a harmonious fashion, with trim elsewhere on the dress (neckline, sleeve openings, or hem).
Costume Parisien, 1812
All of these sash styles are seen with different styles of termination. I’ve most often seen a variety of bows as well as tidy arrangement of loops. Often, the belt style seems as though the belt sash is actually sewn to the dress, but for the sake of options, I can easily see a ribbon sash made with a closure such as hook and eyes so the sash can be easily added or removed from any outfit. It’s worth noting that there are a substantial amount of images showing ladies from the front who appear to be wearing a ribbon sash of some sort. The trouble is that we often can’t see what’s going on in the back, so we can’t know with certainty what style of ribbon sash is actually being represented, though we can make educated guesses.
Here are more examples of each of the sash styles shown above:
Of course, these are only a starting point. My pinterest boards have hundreds of pins from the 1800s and 1810s that you are welcome to look at for other ideas. Keep the contrasting ribbon sashes in mind, but don’t forget that you can make sashes out of your dress fabric, too (see below). Sashes made from self fabric are quite common. Look around and see what you can find that inspires you. This Regency Portraits board has a lot of great images showing all sorts of sashes as well.
Here are some great examples of dresses with sashes made from self fabric (meaning that fabric used in the dress was also used to create a ribbon sash look):
In looking at my pinterest board covering 1800-1809, I do find that there are some very cute sashes then, too, that are relevant for a potential sash look. In this period it seems that most sashes match the trim used on the dress, though it is not an absolute rule. I’ll include a few examples of this sort below, so you can look if you’re curious.
For the record (and because I always forget!), the official “Regency” is referring to England during the years 1811-1820, following the Prince of Wales being named regent for George III in 1810. In France, the Napoleonic Empire spanned the years 1804-1814. So there is some overlap between Empire and Regency, but not a whole lot. (And just to add another date to the mix, the Federal period in America roughly spanned the years 1780-1830.) For the purposes of this post, I’m using the word Regency to specify the 1810s, but my points about variety in sash styles are relevant for the first decade of the 19th century as well.
As a final note, let me encourage you to use color in Regency dresses (color in trim as well as color in the fabric), especially in those dresses intended to represent the 1810s rather than 1800s. By the 1810s, not all dresses were in white tones, as they were much more predominantly in the first few years of the 19th century. Colors were used often, some of the colors even being rather vivid in tone (don’t get too carried away with very bright colors, though, because chemical dyes weren’t invented till the middle of the 19th century). Check out these great resources that describe and show colors used in the Regency:
Refreshing in a tiara and apron.While preparing the refreshments someone realized we didn’t have a knife to cut the pound cake. That didn’t stop us for long, though, because it’s entirely normal for the men in our group to have swords in the car. All that was required was a quick walk out to the car to get one, and just like that we were back in business!One of the pretty cards labeling the refreshments.
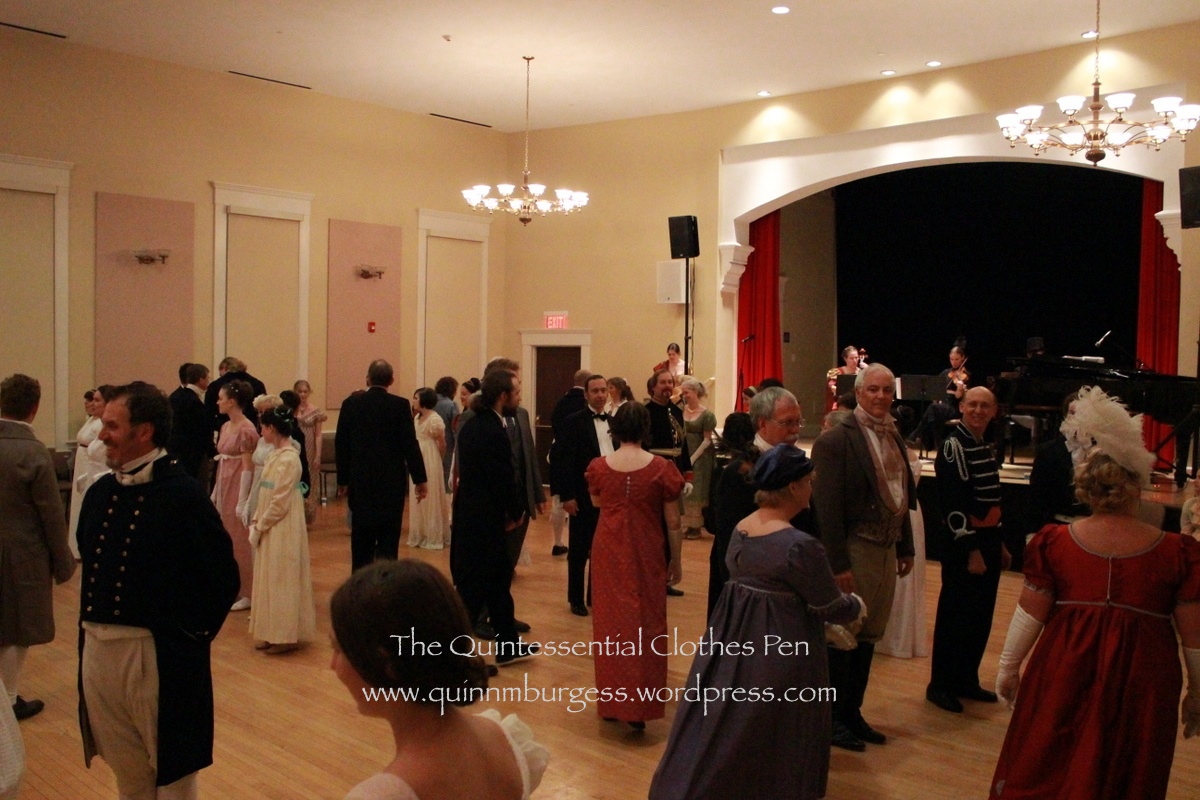
The ball was a huge success. I think there were about 70 attendees, which quite filled up the room we were in. There was live music played on a piano, cello, and violin. People seemed to really enjoy themselves.
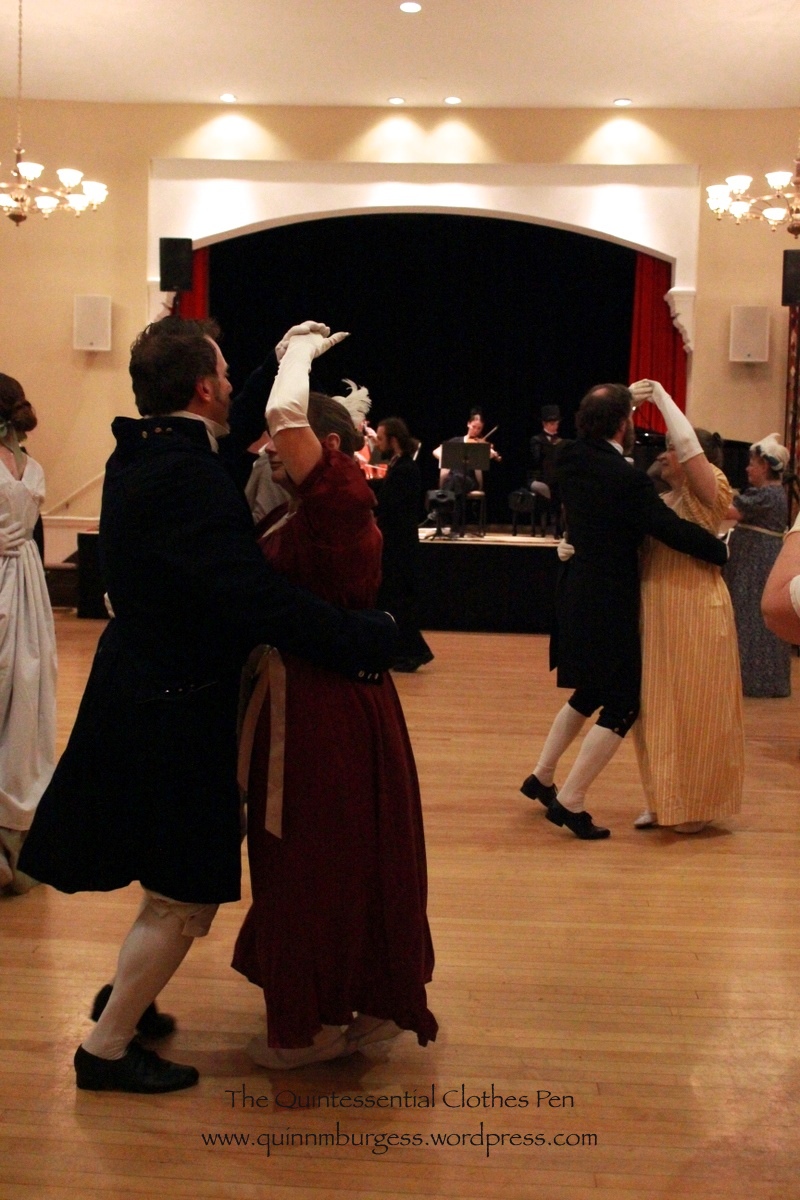
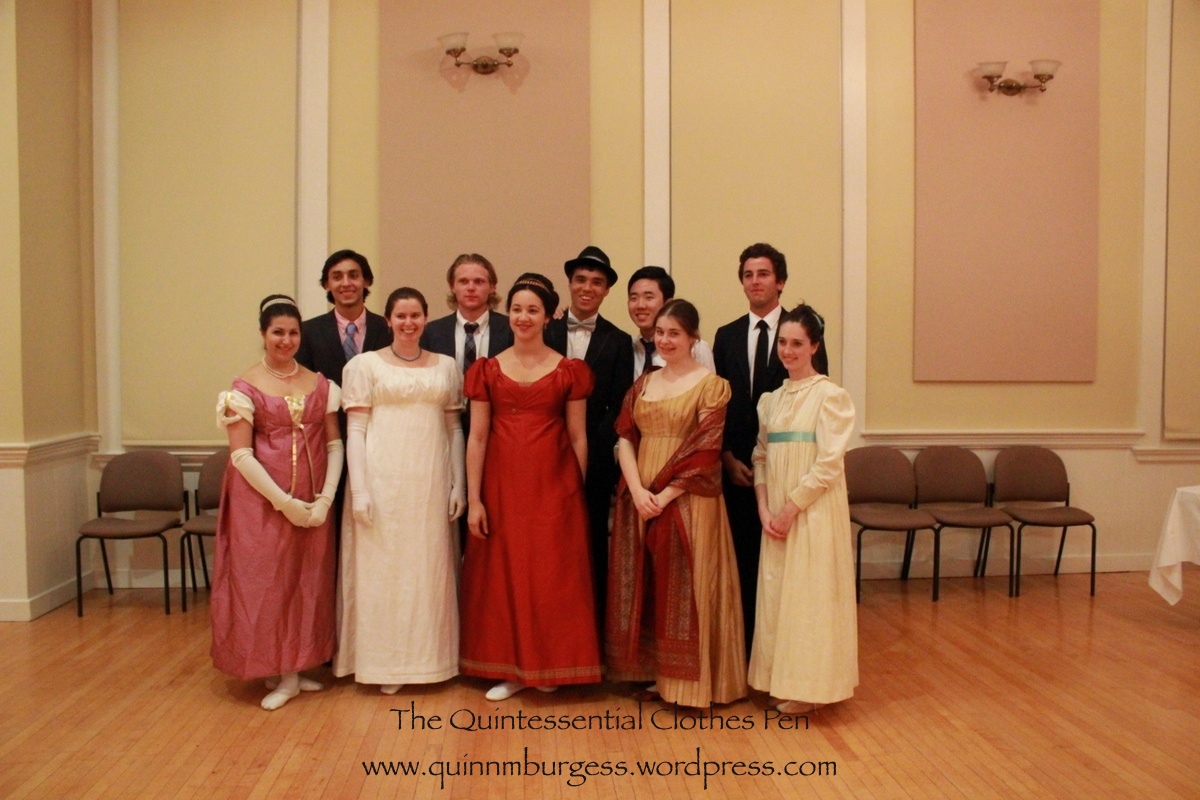
A view of the crowded room.Dancing a country dance.I was so busy dealing with refreshments I didn’t get to dance much, which was a little sad, but this was one of the dances I was able to dance.Couples dancing a Regency waltz.More waltzing.People were very well dressed and it’s always fun to look at the clothing people who are new to one’s acquaintance.One of our friends made a new dress for herself as well as a friend who was visiting and attending the ball. So kind!And there were a surprising number of new faces. This group of young men requested a picture with us, and we obliged.I’ll leave you with this further, slightly artsy, proof of my new tiara being worn.
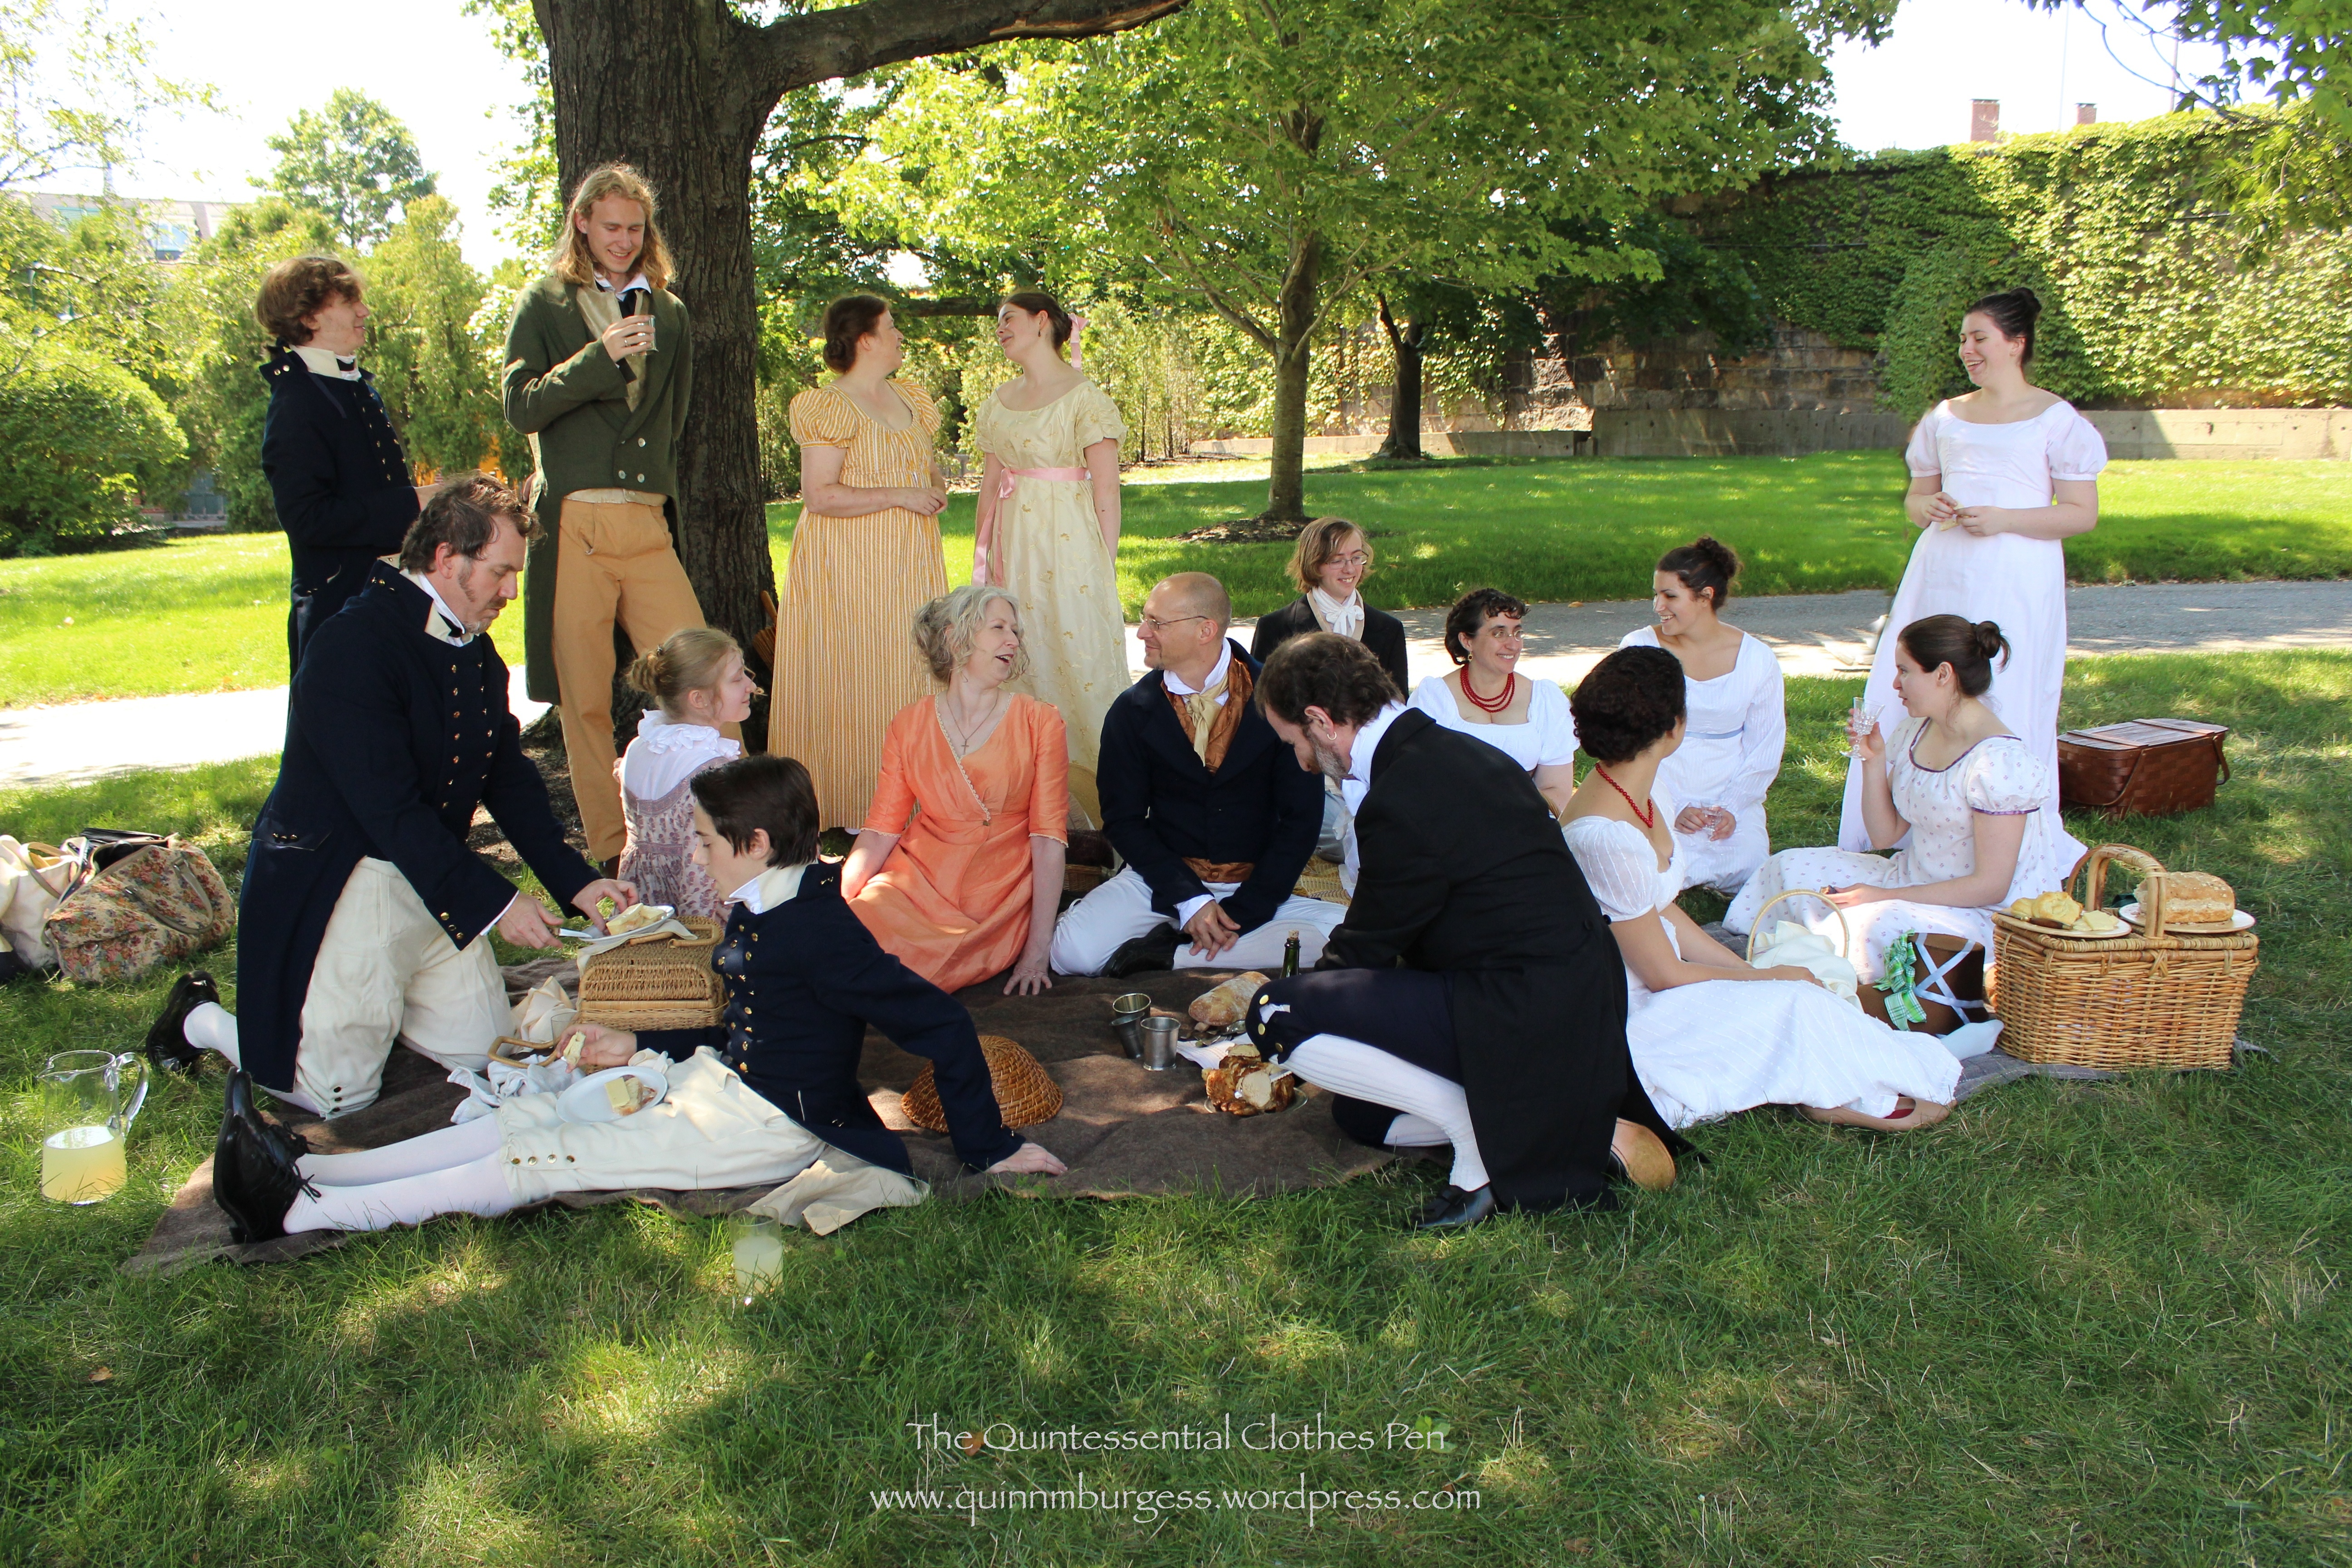
A few weekends ago I participated in a picnic and dance performance at the Commandant’s House. You might remember that we danced there last August? It was great fun last year and we were pleased to be able to participate in another event at this lovely location.
This time around we were there mostly to picnic, so that’s what the majority of my pictures are from. But we did dance a little in the house and lounged around to take a few pictures. Enjoy!
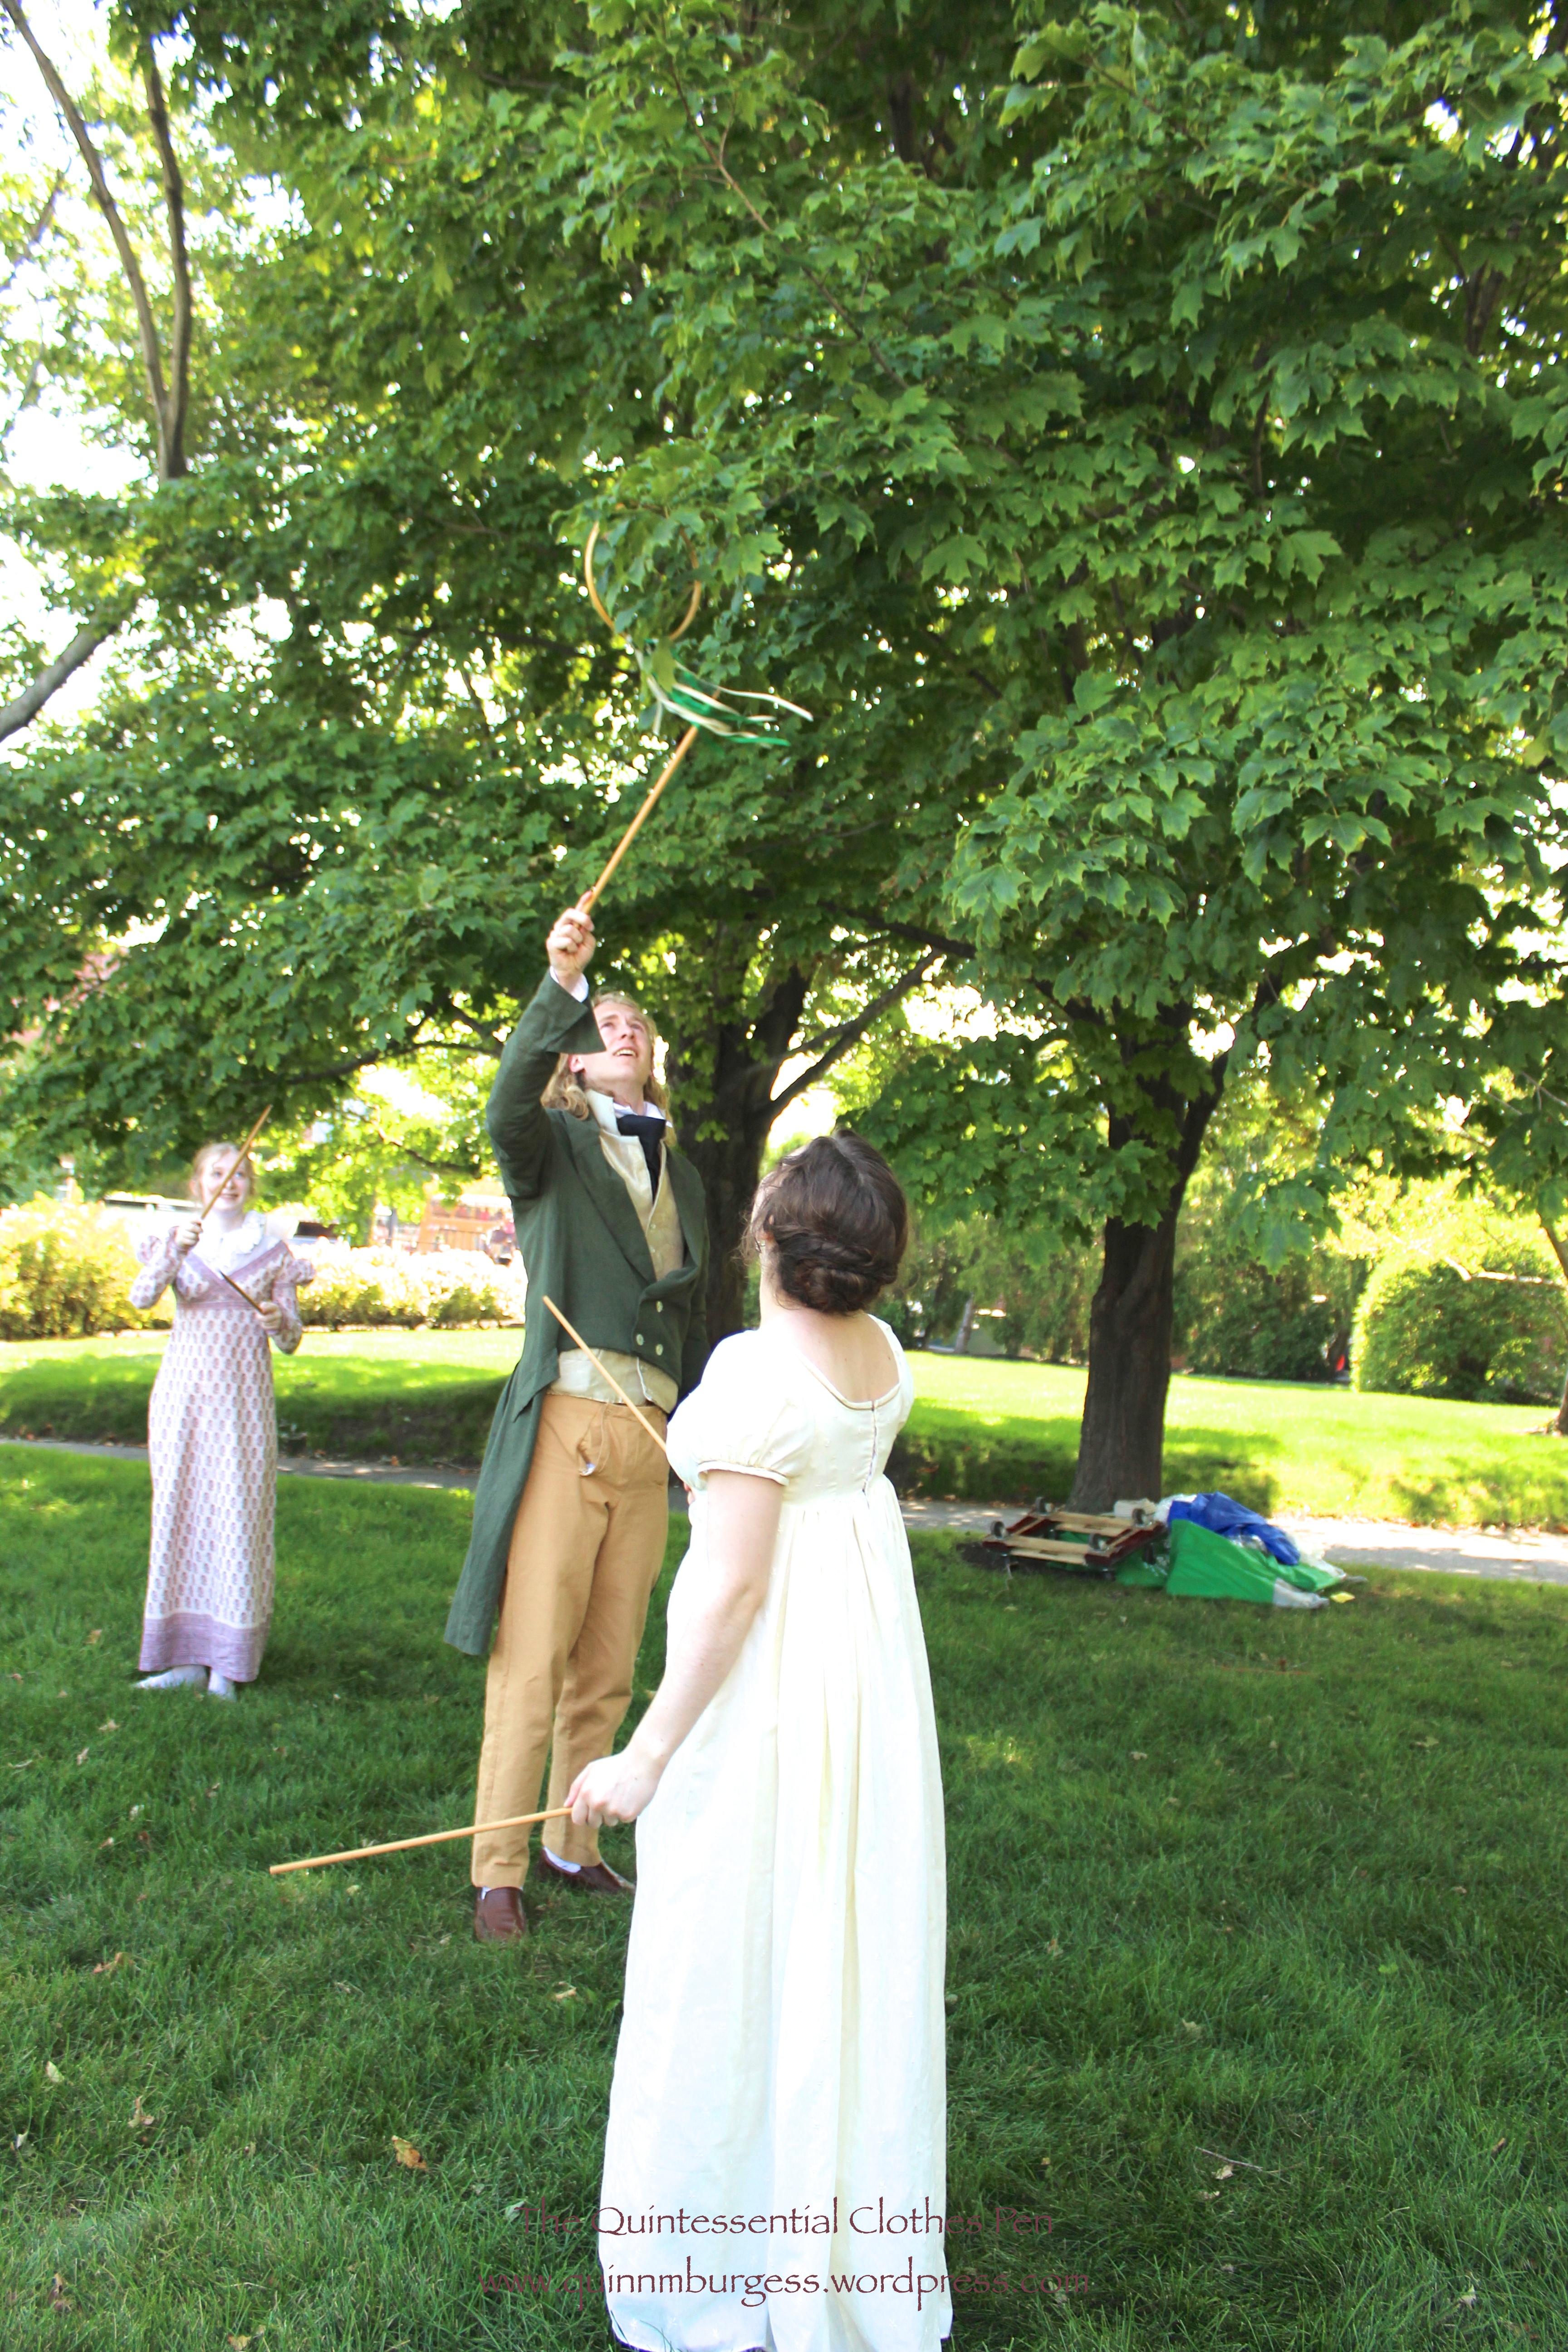
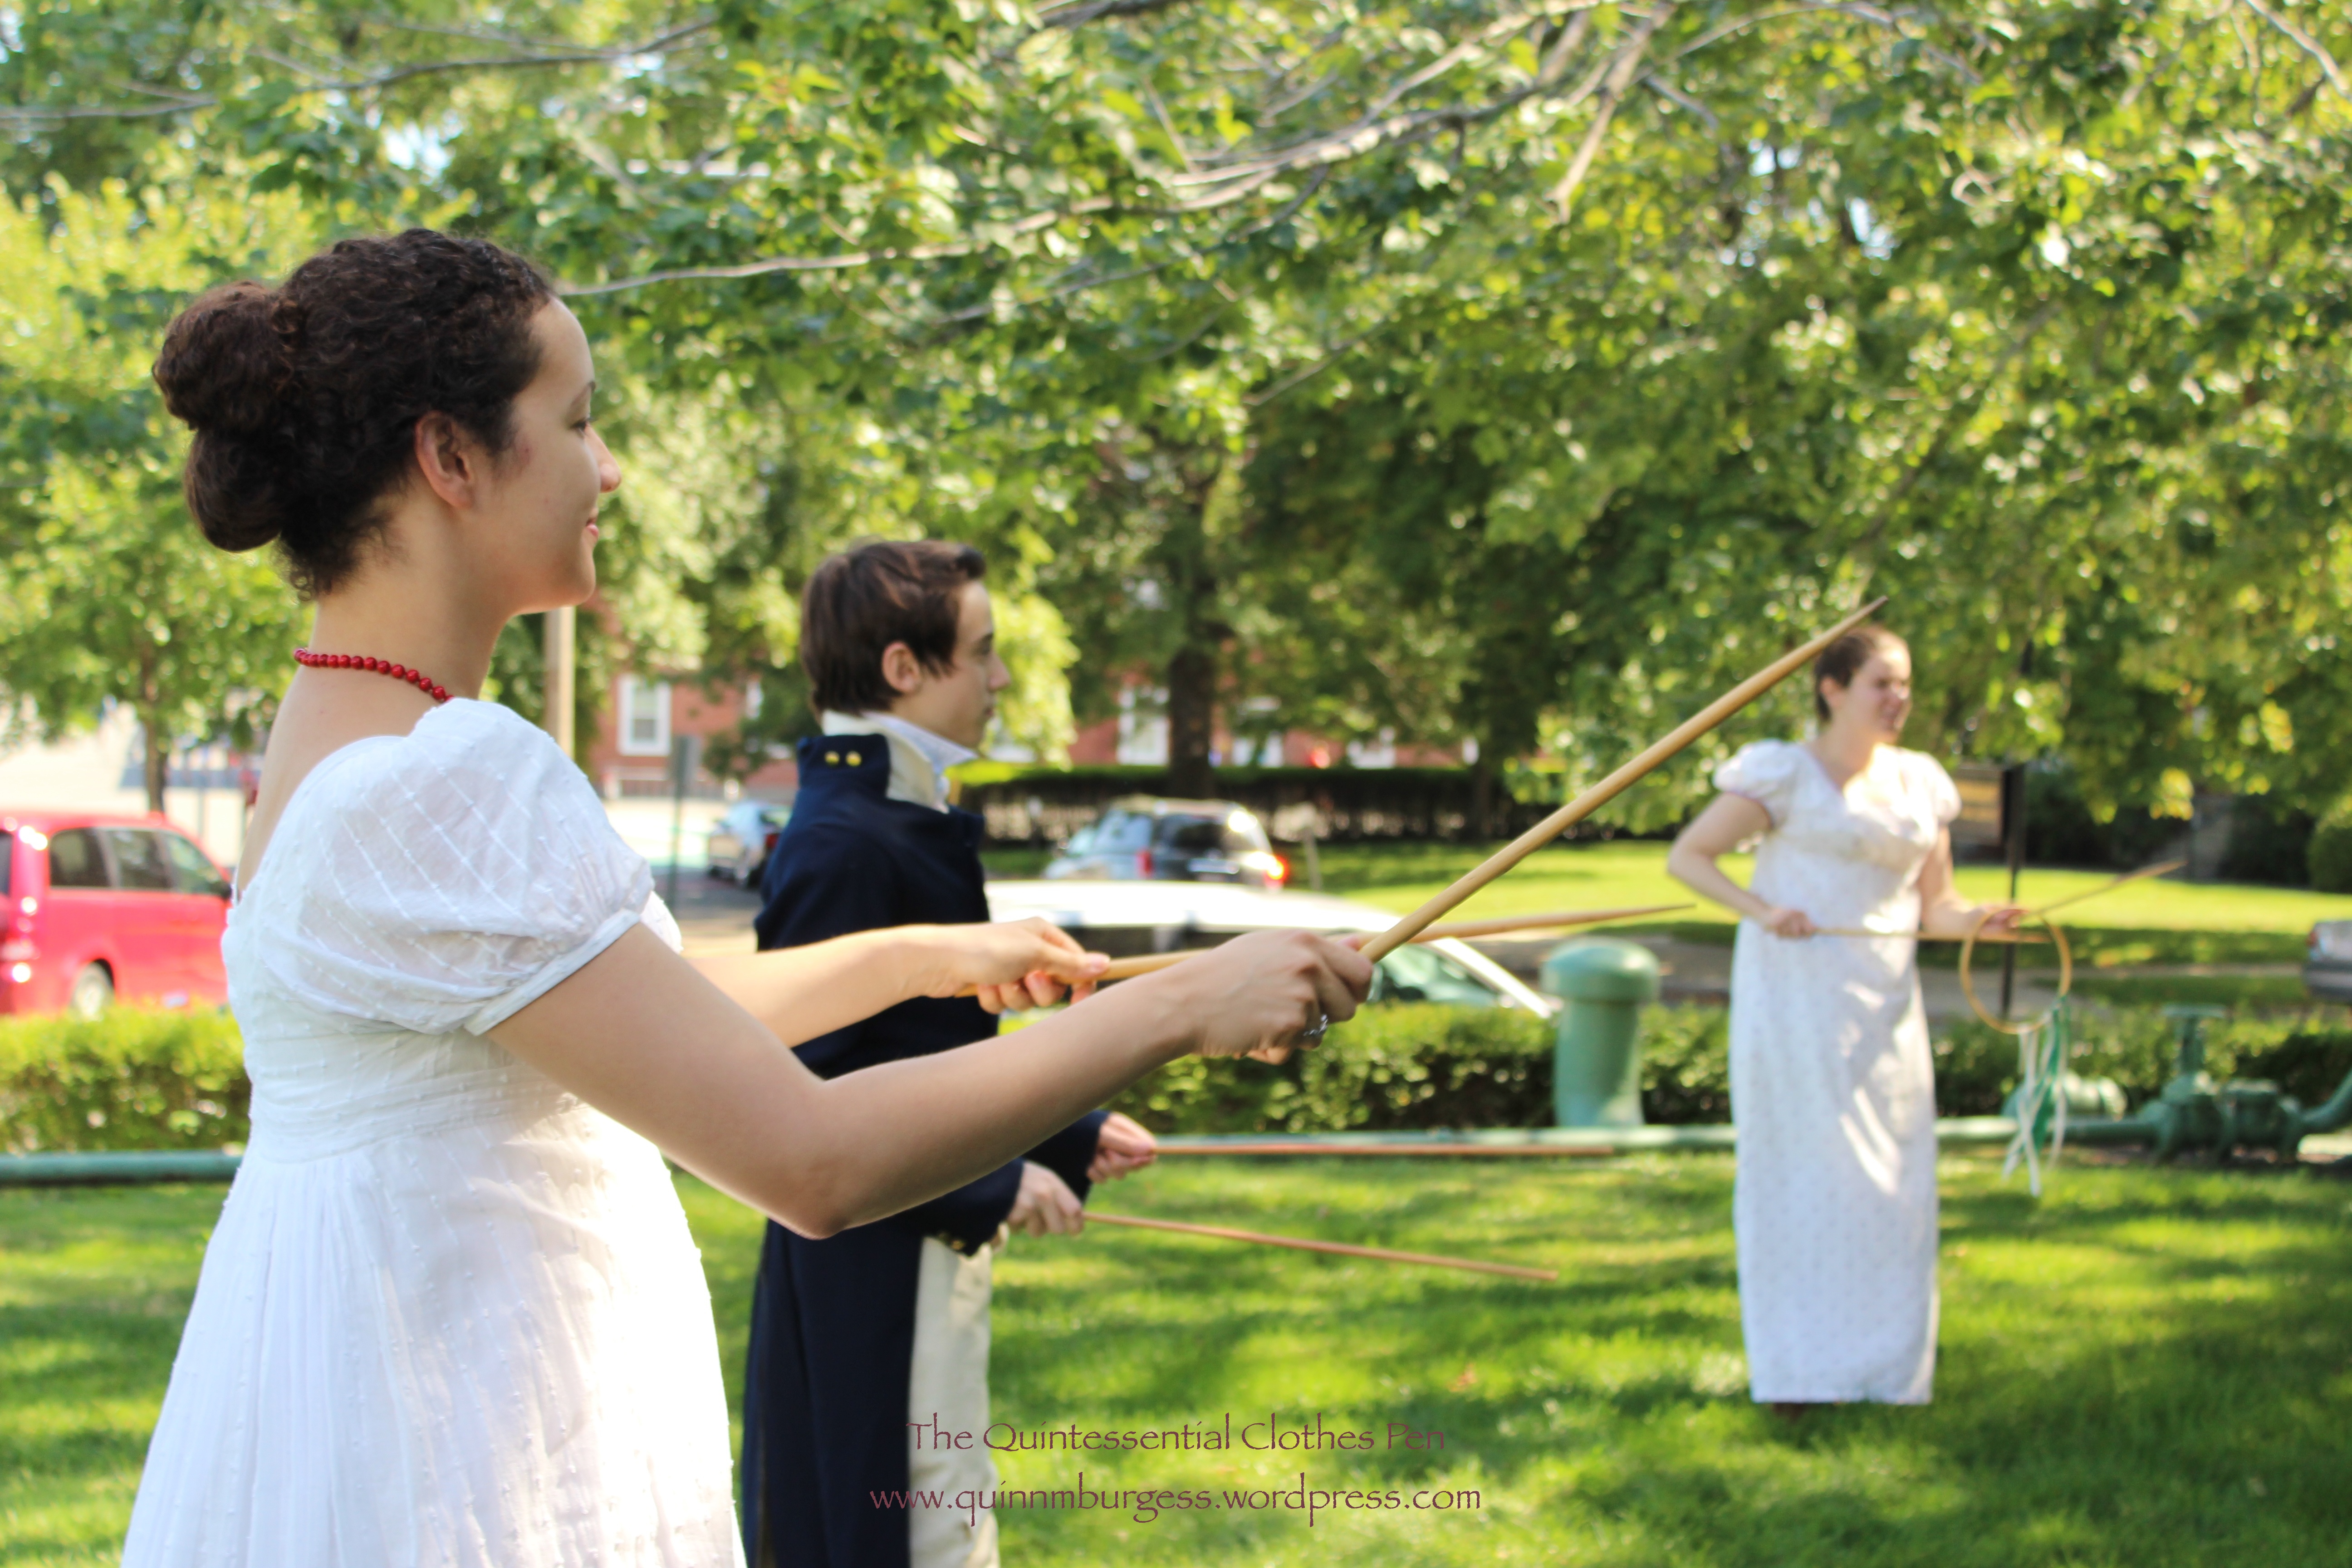
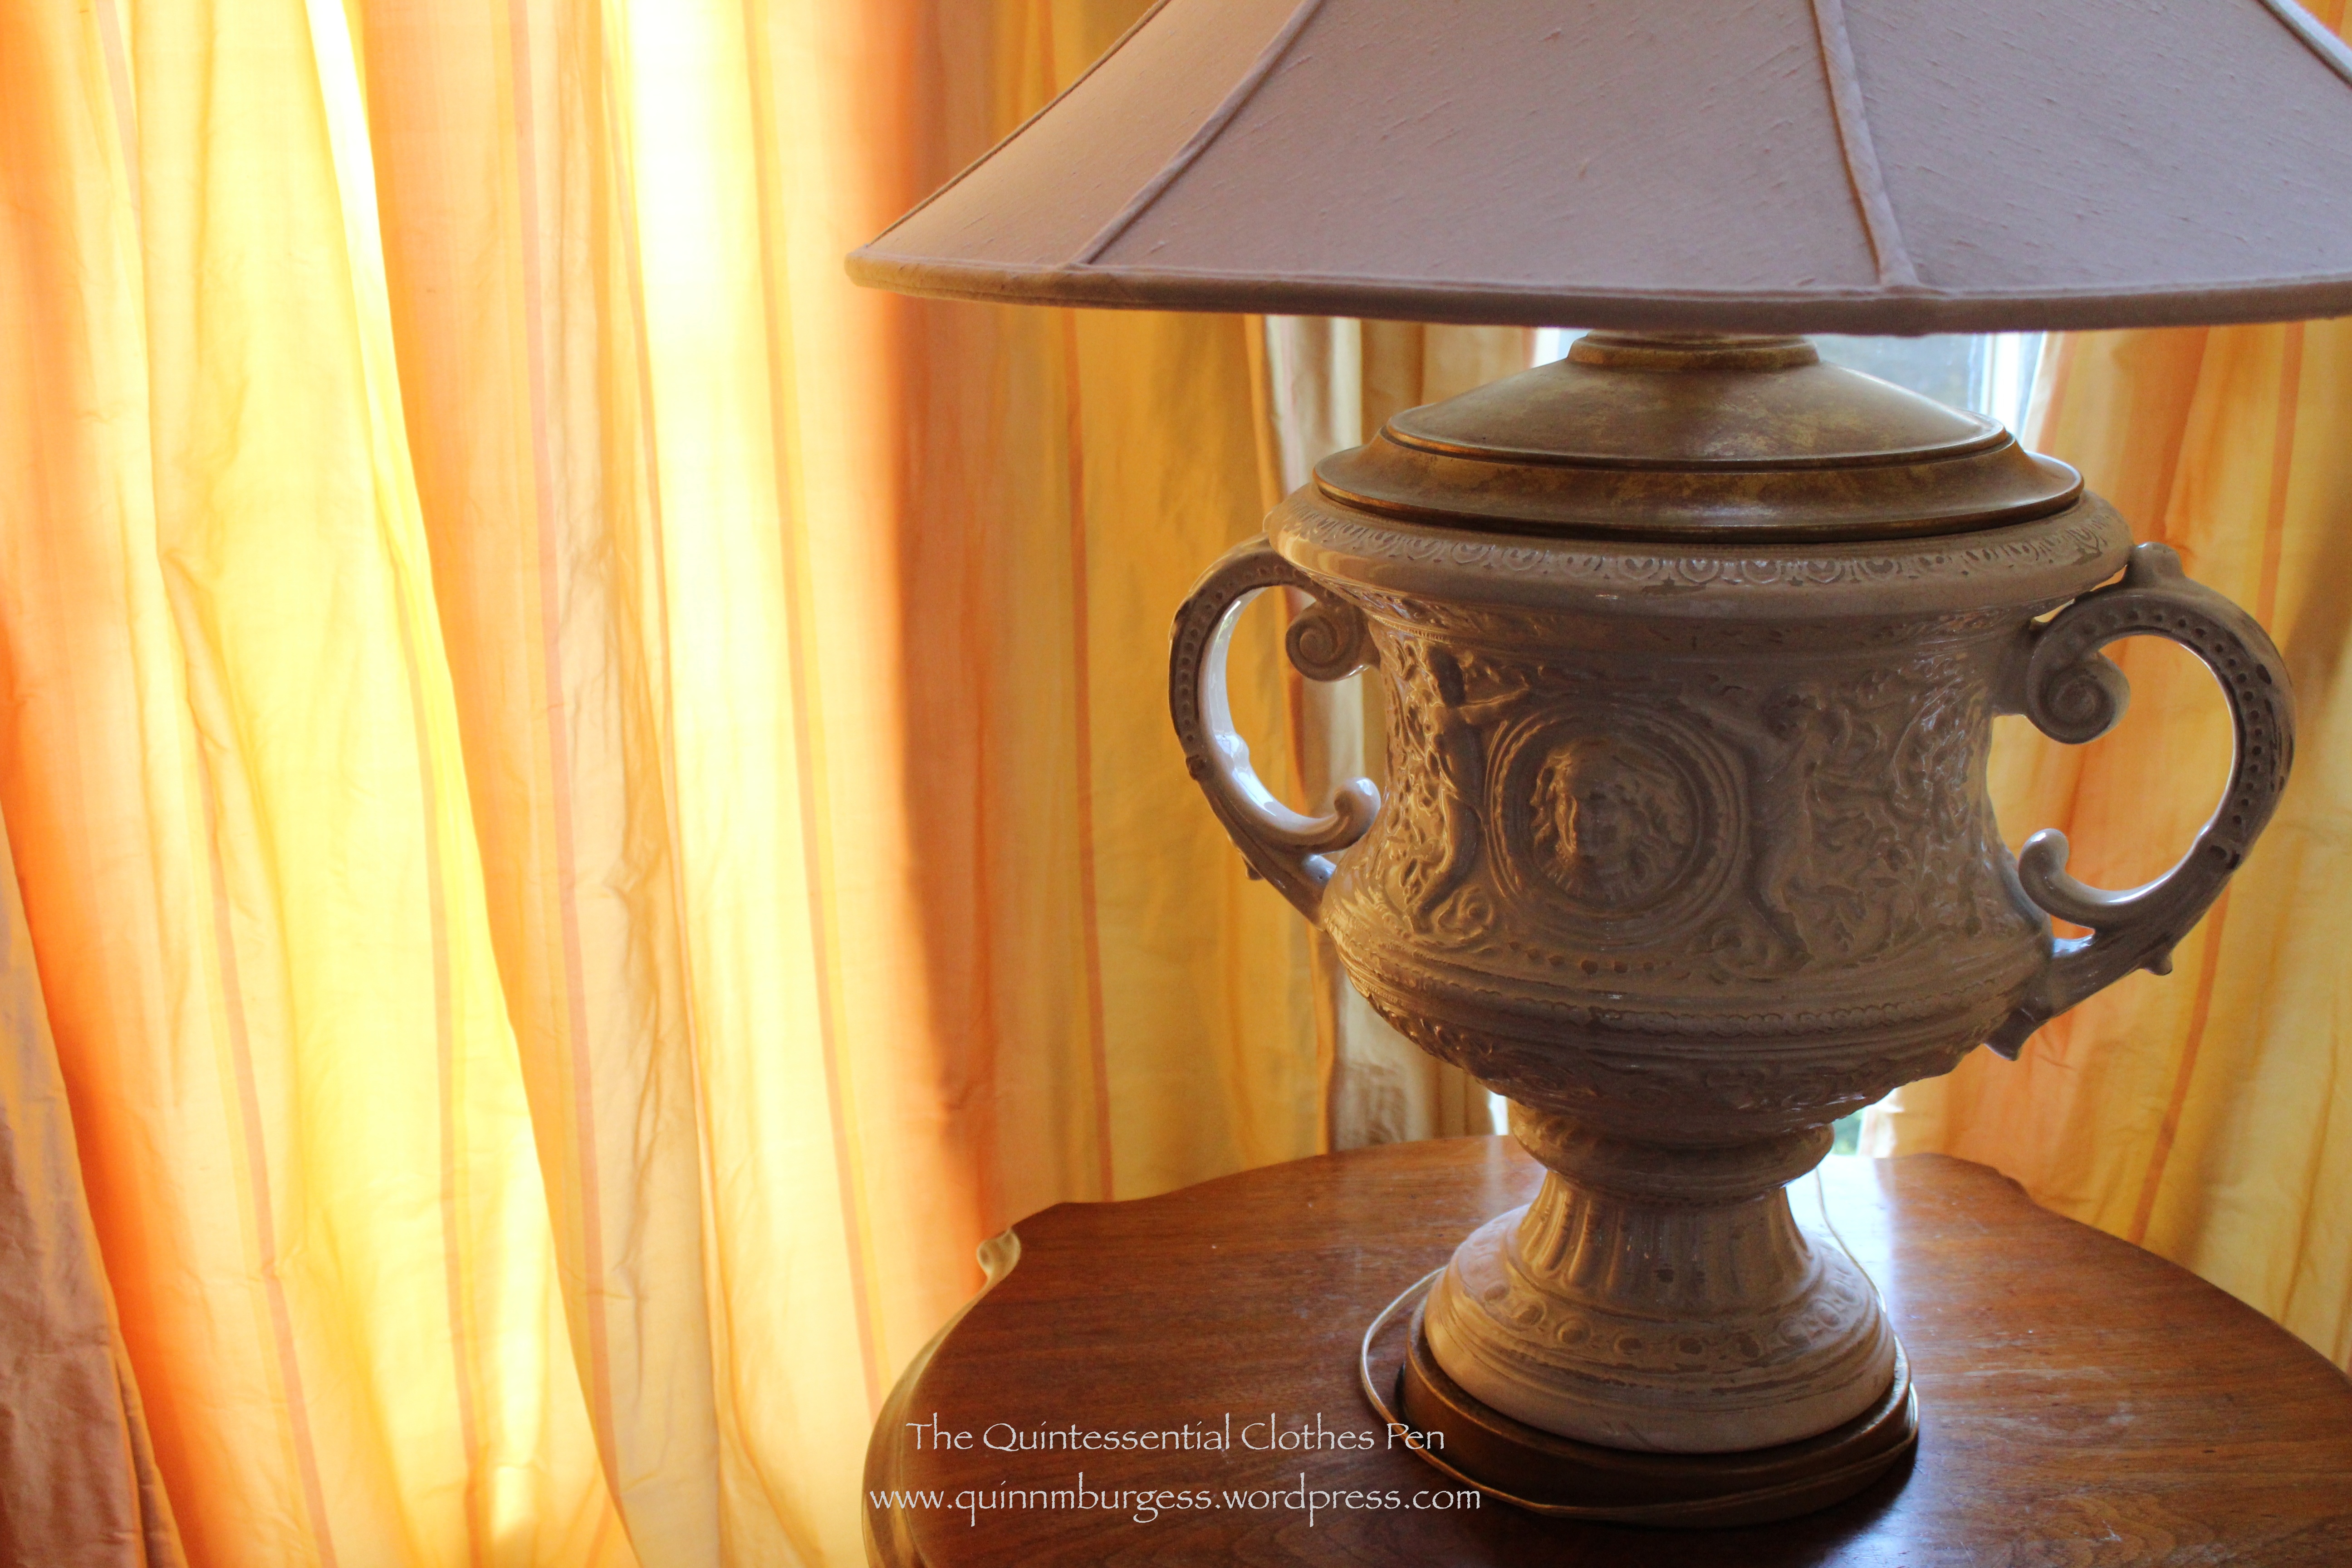
I love how picturesque we all look in this photo! It’s sort of funny how the white dresses all clumped on one side and the colored dresses on the other.After eating we played Graces.It’s much more fun with lots of people and lots of hoops!We played it in a big circle and would just call someone’s name to get their attention (hopefully) before flinging the hoops at them.There were some really good catches and really close misses.We had a great time and laughed a lot!With trees around, I’m sure you can guess what happened…I didn’t want to do a boring bun, so I opted for two rolls of hair instead.We were called from Graces to dance inside the house. I was particularly appreciative of this wallpaper this time around. It’s in the entry hallway. You can see other interior pictures of the house in this post from last year.The curtains in this room have a lovely glow when the sun shines on them.Looking for Mr. Darcy, perhaps? I just love the shadows and the glow.