Over the last few months, I’ve been chipping away at creating accessories for this weekend’s upcoming 1920s Lawn Party. Today, I’m going to show you how I turned a standard ebay Chinese parasol into a long handled parasol. I’m curious to know what you think about it!
I started with a child size parasol. I picked it because I really liked the design (gold flowers on orange). I didn’t really want a plain color and I didn’t like the other design options as much. I also didn’t mind the smaller canopy size (adult size parasols are about ⅓ larger across the canopy).
Parasol as I received it.
But… the handle was so short! And I really didn’t like the tassel on the end… but that was a small issue. “Haha,” I thought, “craft time! I’ll lengthen the handle!” First, I got Mr. Q to saw off the original orange handle. Turns out that the main part of the handle is actually bamboo, but I didn’t realize that at first, not that it matters. Second, I bought a new end piece and gold acrylic paint online for about $5 (I didn’t feel like driving around to craft stores and it fit in with other amazon things to make a full order with free shipping!). Then, I went to Home Depot and bought the supplies I didn’t already have at home. I already had Gorilla Glue, but I needed a dowel to make a longer handle and a piece of something to connect the two pieces. I also decided, while at the store, to get some wood stain to try to make my dowel look more like the bamboo of the original handle in terms of color.
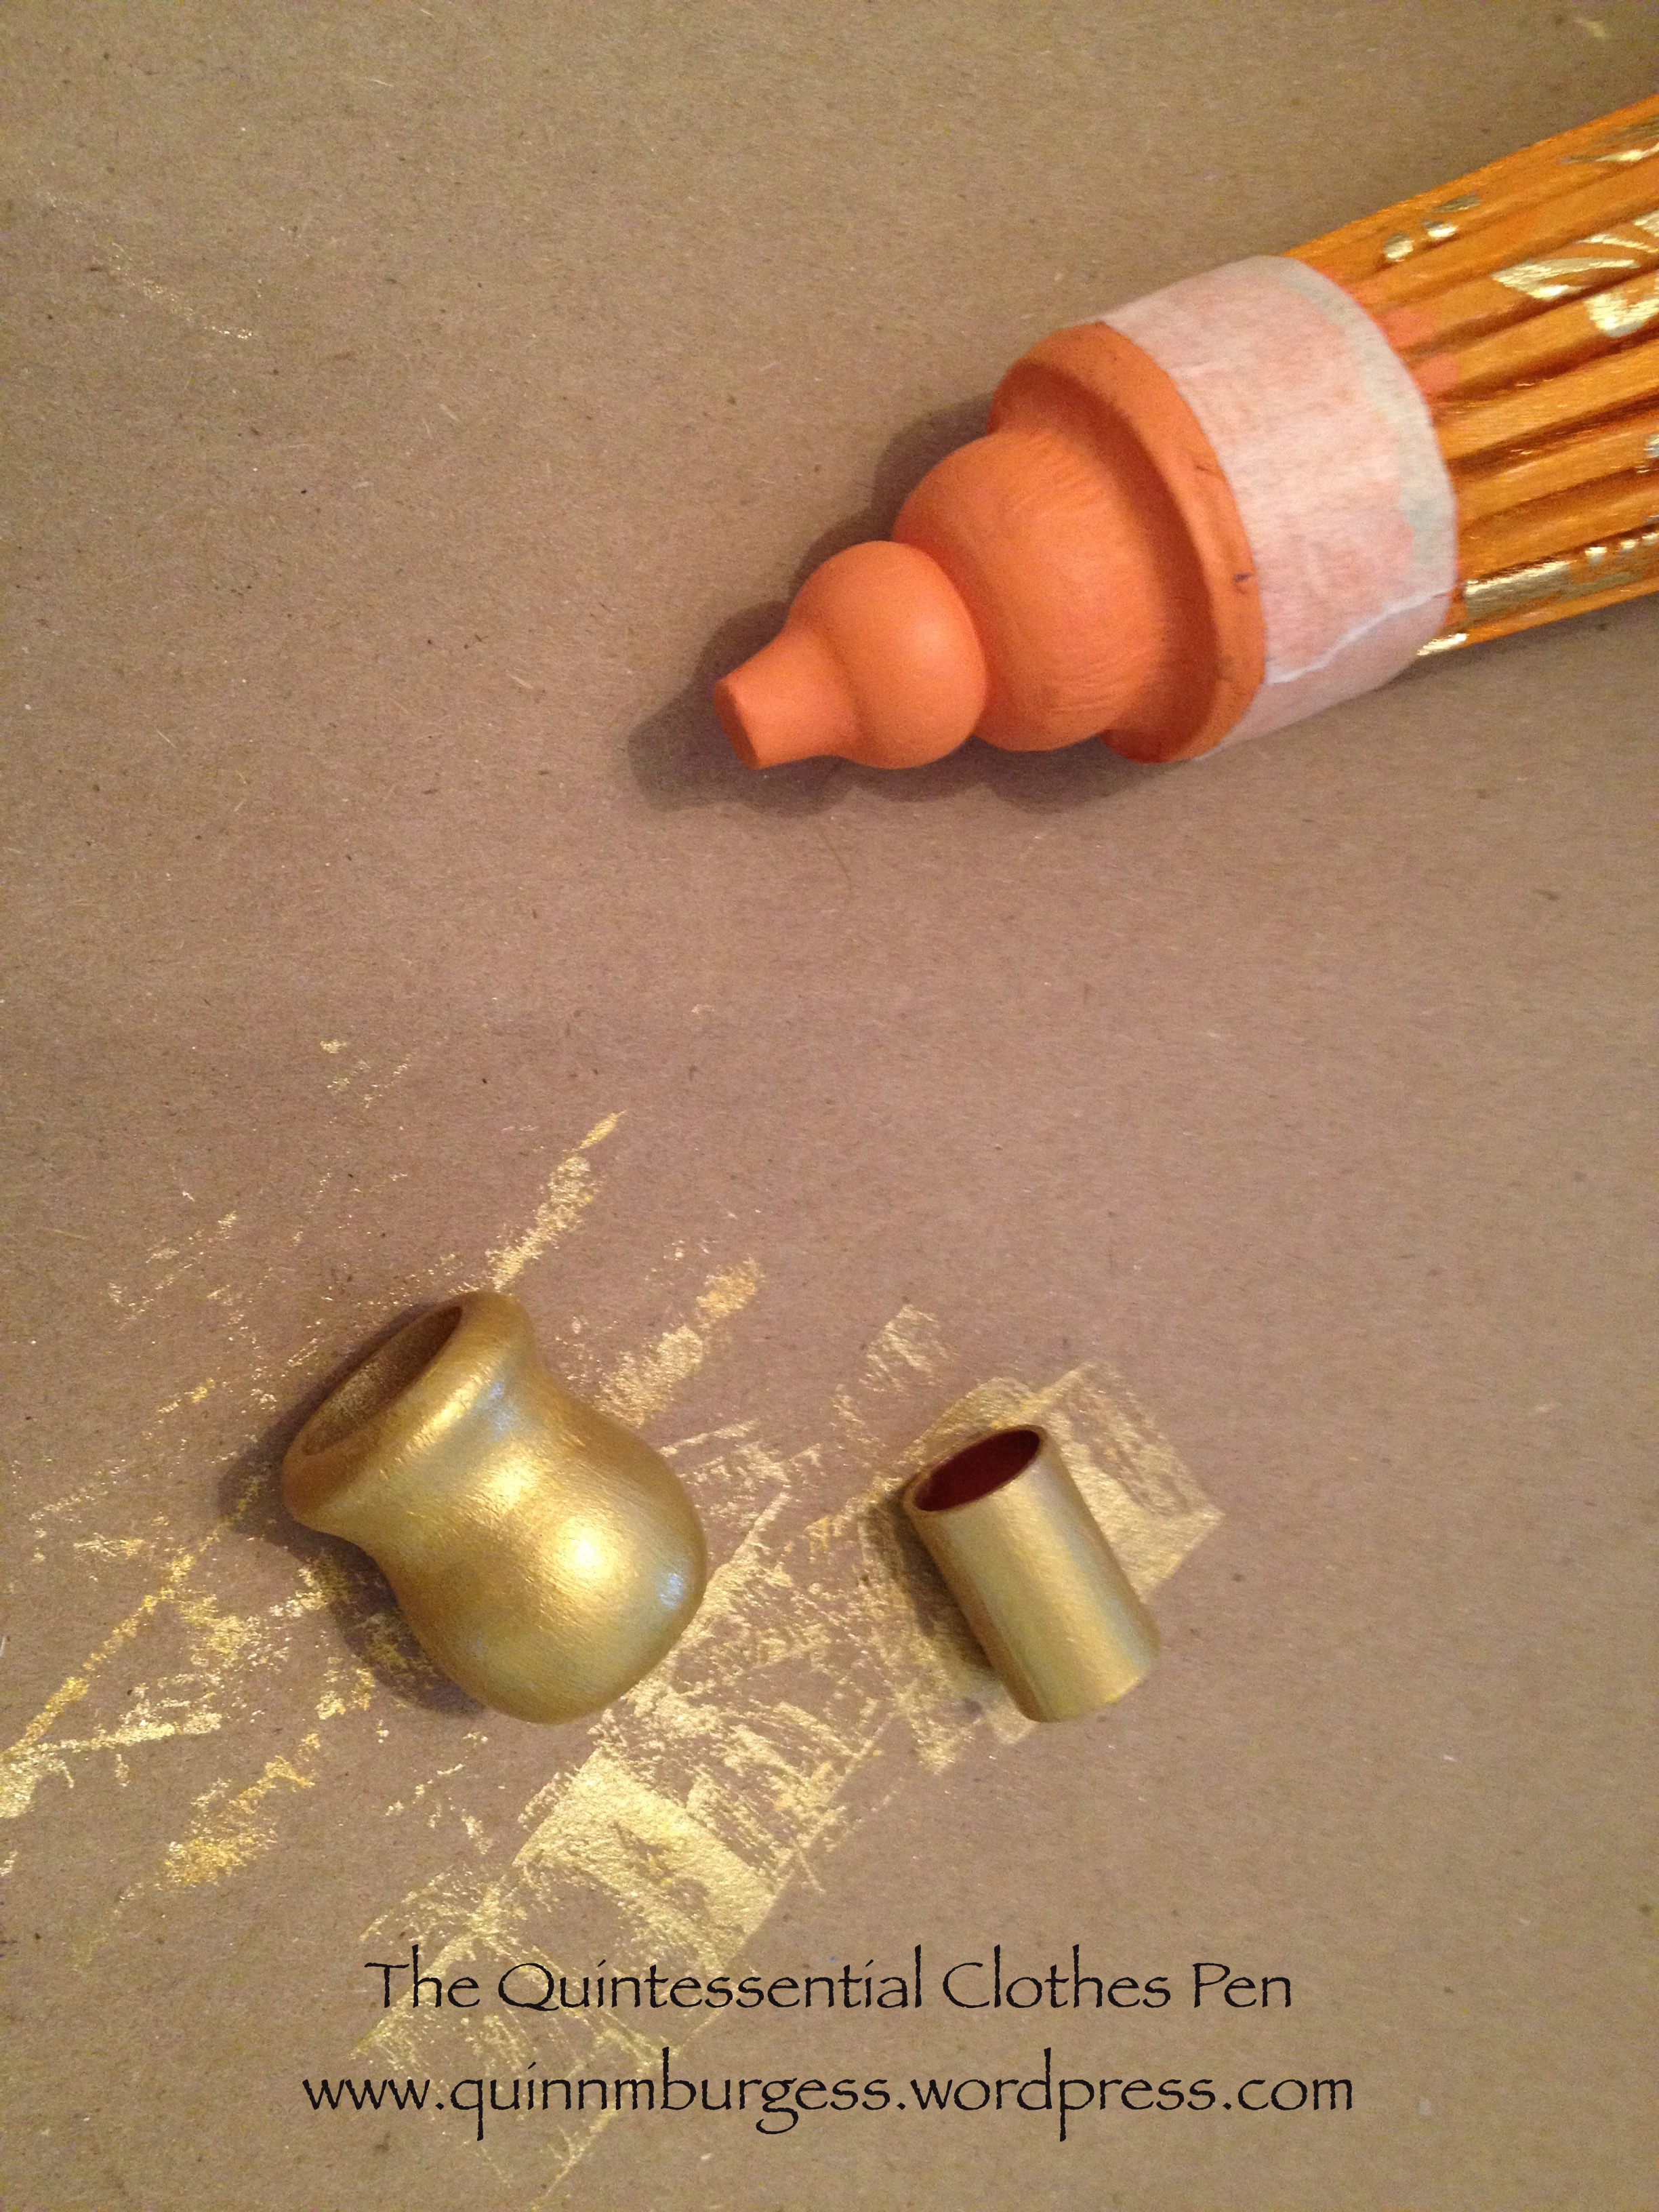
I bought two different gold paints because I wasn’t sure which I would like better in person and they were about $1 each. You can see how light colored the dowel was when I bought it (this is before I used any stain). It really looked different than the bamboo. The two little pieces in the middle are the new end piece and the copper pipe that I used to join the dowel to the bamboo parasol handle.
I laid out a paper bag for my work surface and started painting! First, I painted the end piece and copper piece gold. While those were drying, I started staining the dowel. I just used muslin scraps to apply the stain, which worked wonderfully. As I was going along, I decided to paint the top solid orange bit of the parasol gold, too, to match the other gold pieces and because the edges of it were starting to flake from when I opened the parasol all the way.
In order to keep the orange top part from continuing to flake off, I wrapped a piece of plain old masking tape right around the edge of the base before painting.
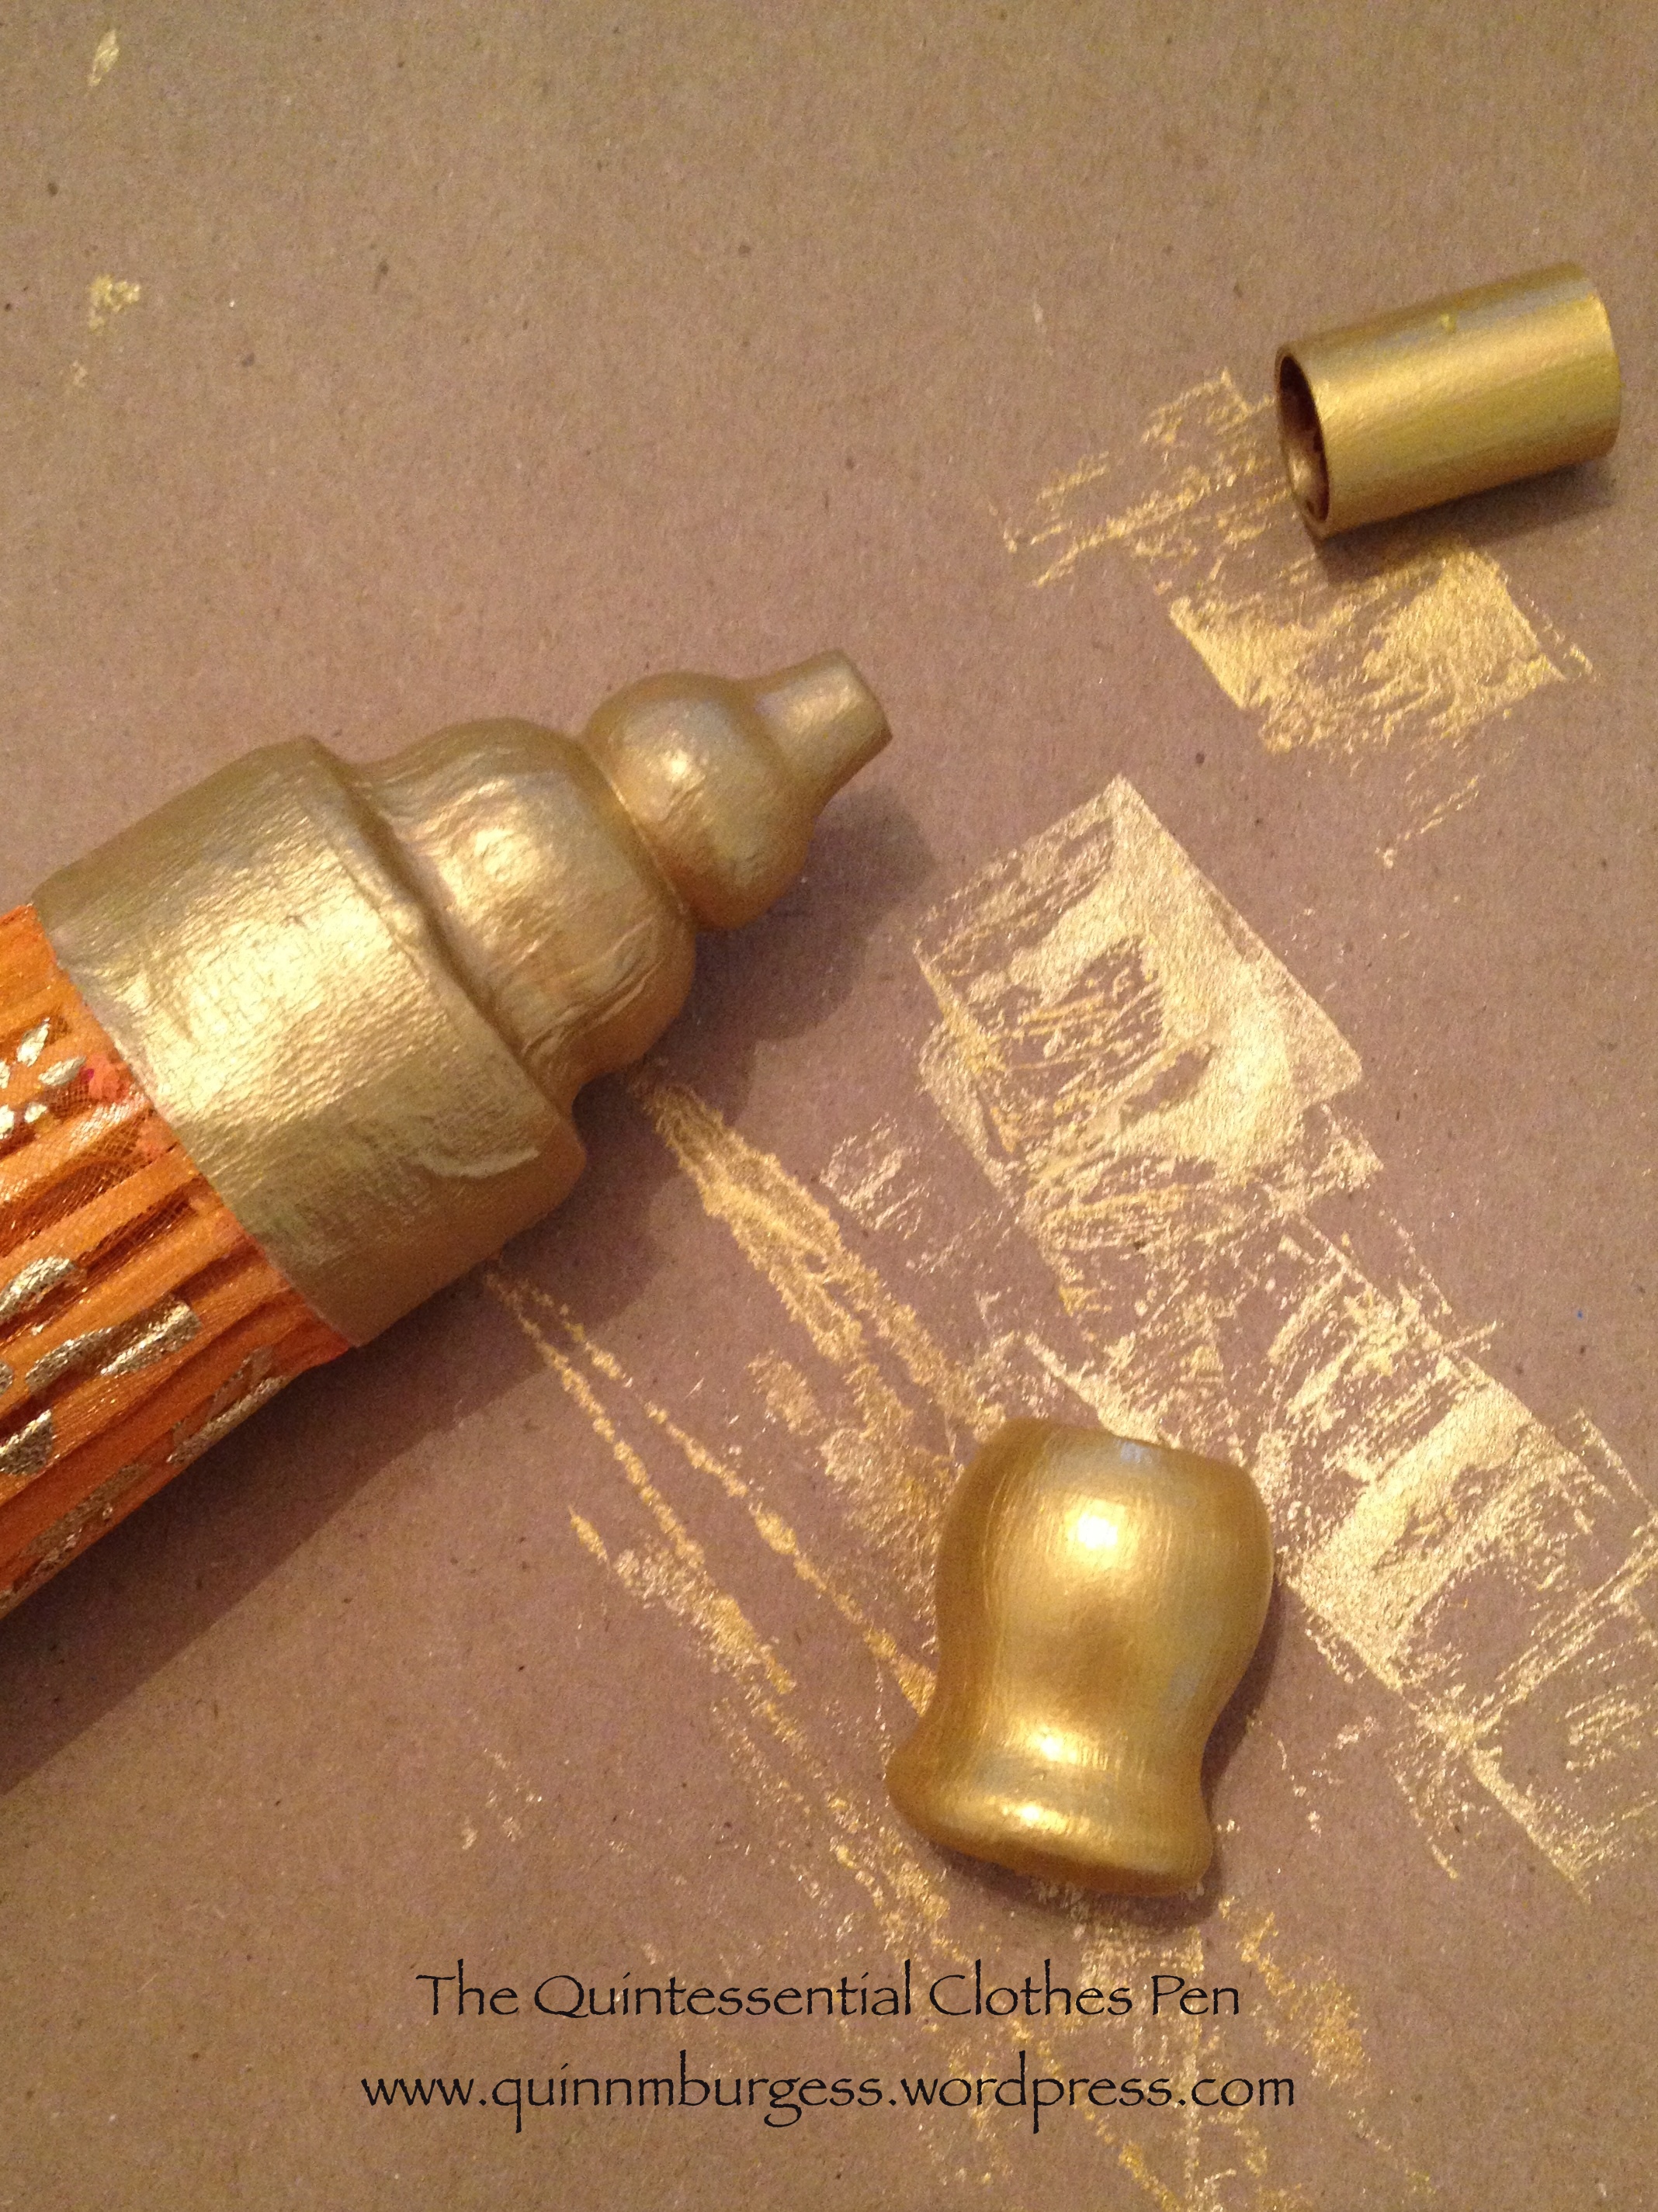
I decided to use both gold paints. First I used the more antique gold paint until I had a solid opaque surface, then I used the brighter gold paint lightly over top to really make the paint shine like the flowers on the parasol cover.
The three painted pieces after applying both shades of gold paint.
The final part was assembling the pieces. I used Gorilla Glue, which is super sturdy when dry. The thing to be aware of, though, is that Gorilla Glue bubbles and expands while it dries. In this case, that actually was very helpful. The first part I glued was the copper joiner onto the dowel. The copper piece was a bit roomy, so I put a ring of glue around the inside and let it partly dry so it had expanded, then added more glue and put the dowel in. It worked perfectly and when dry, the dowel had been solidly glued about to the halfway point of the joiner.
After that, I glued the end piece on the other end of the dowel. Turns out that the opening on the end piece is actually close to 1″ across but the dowel is more like ½” (you can see the difference in the picture with all the supplies laid out). I did a little bit of letting the glue expand, but I also took Mr. Q’s suggestion and stuck broken bits of yellow toothpicks (I only have colored ones in my house and yellow matched best…) on four sides of the dowel to keep it from wobbling in the hole. Again, it worked perfectly and once the glue dried it was super solid. I didn’t fill in around the toothpicks, actually, and if you look straight down the dowel you can see them, but one would assume that my hand would be there, or that whoever is looking at me is far enough away not to see such small details.
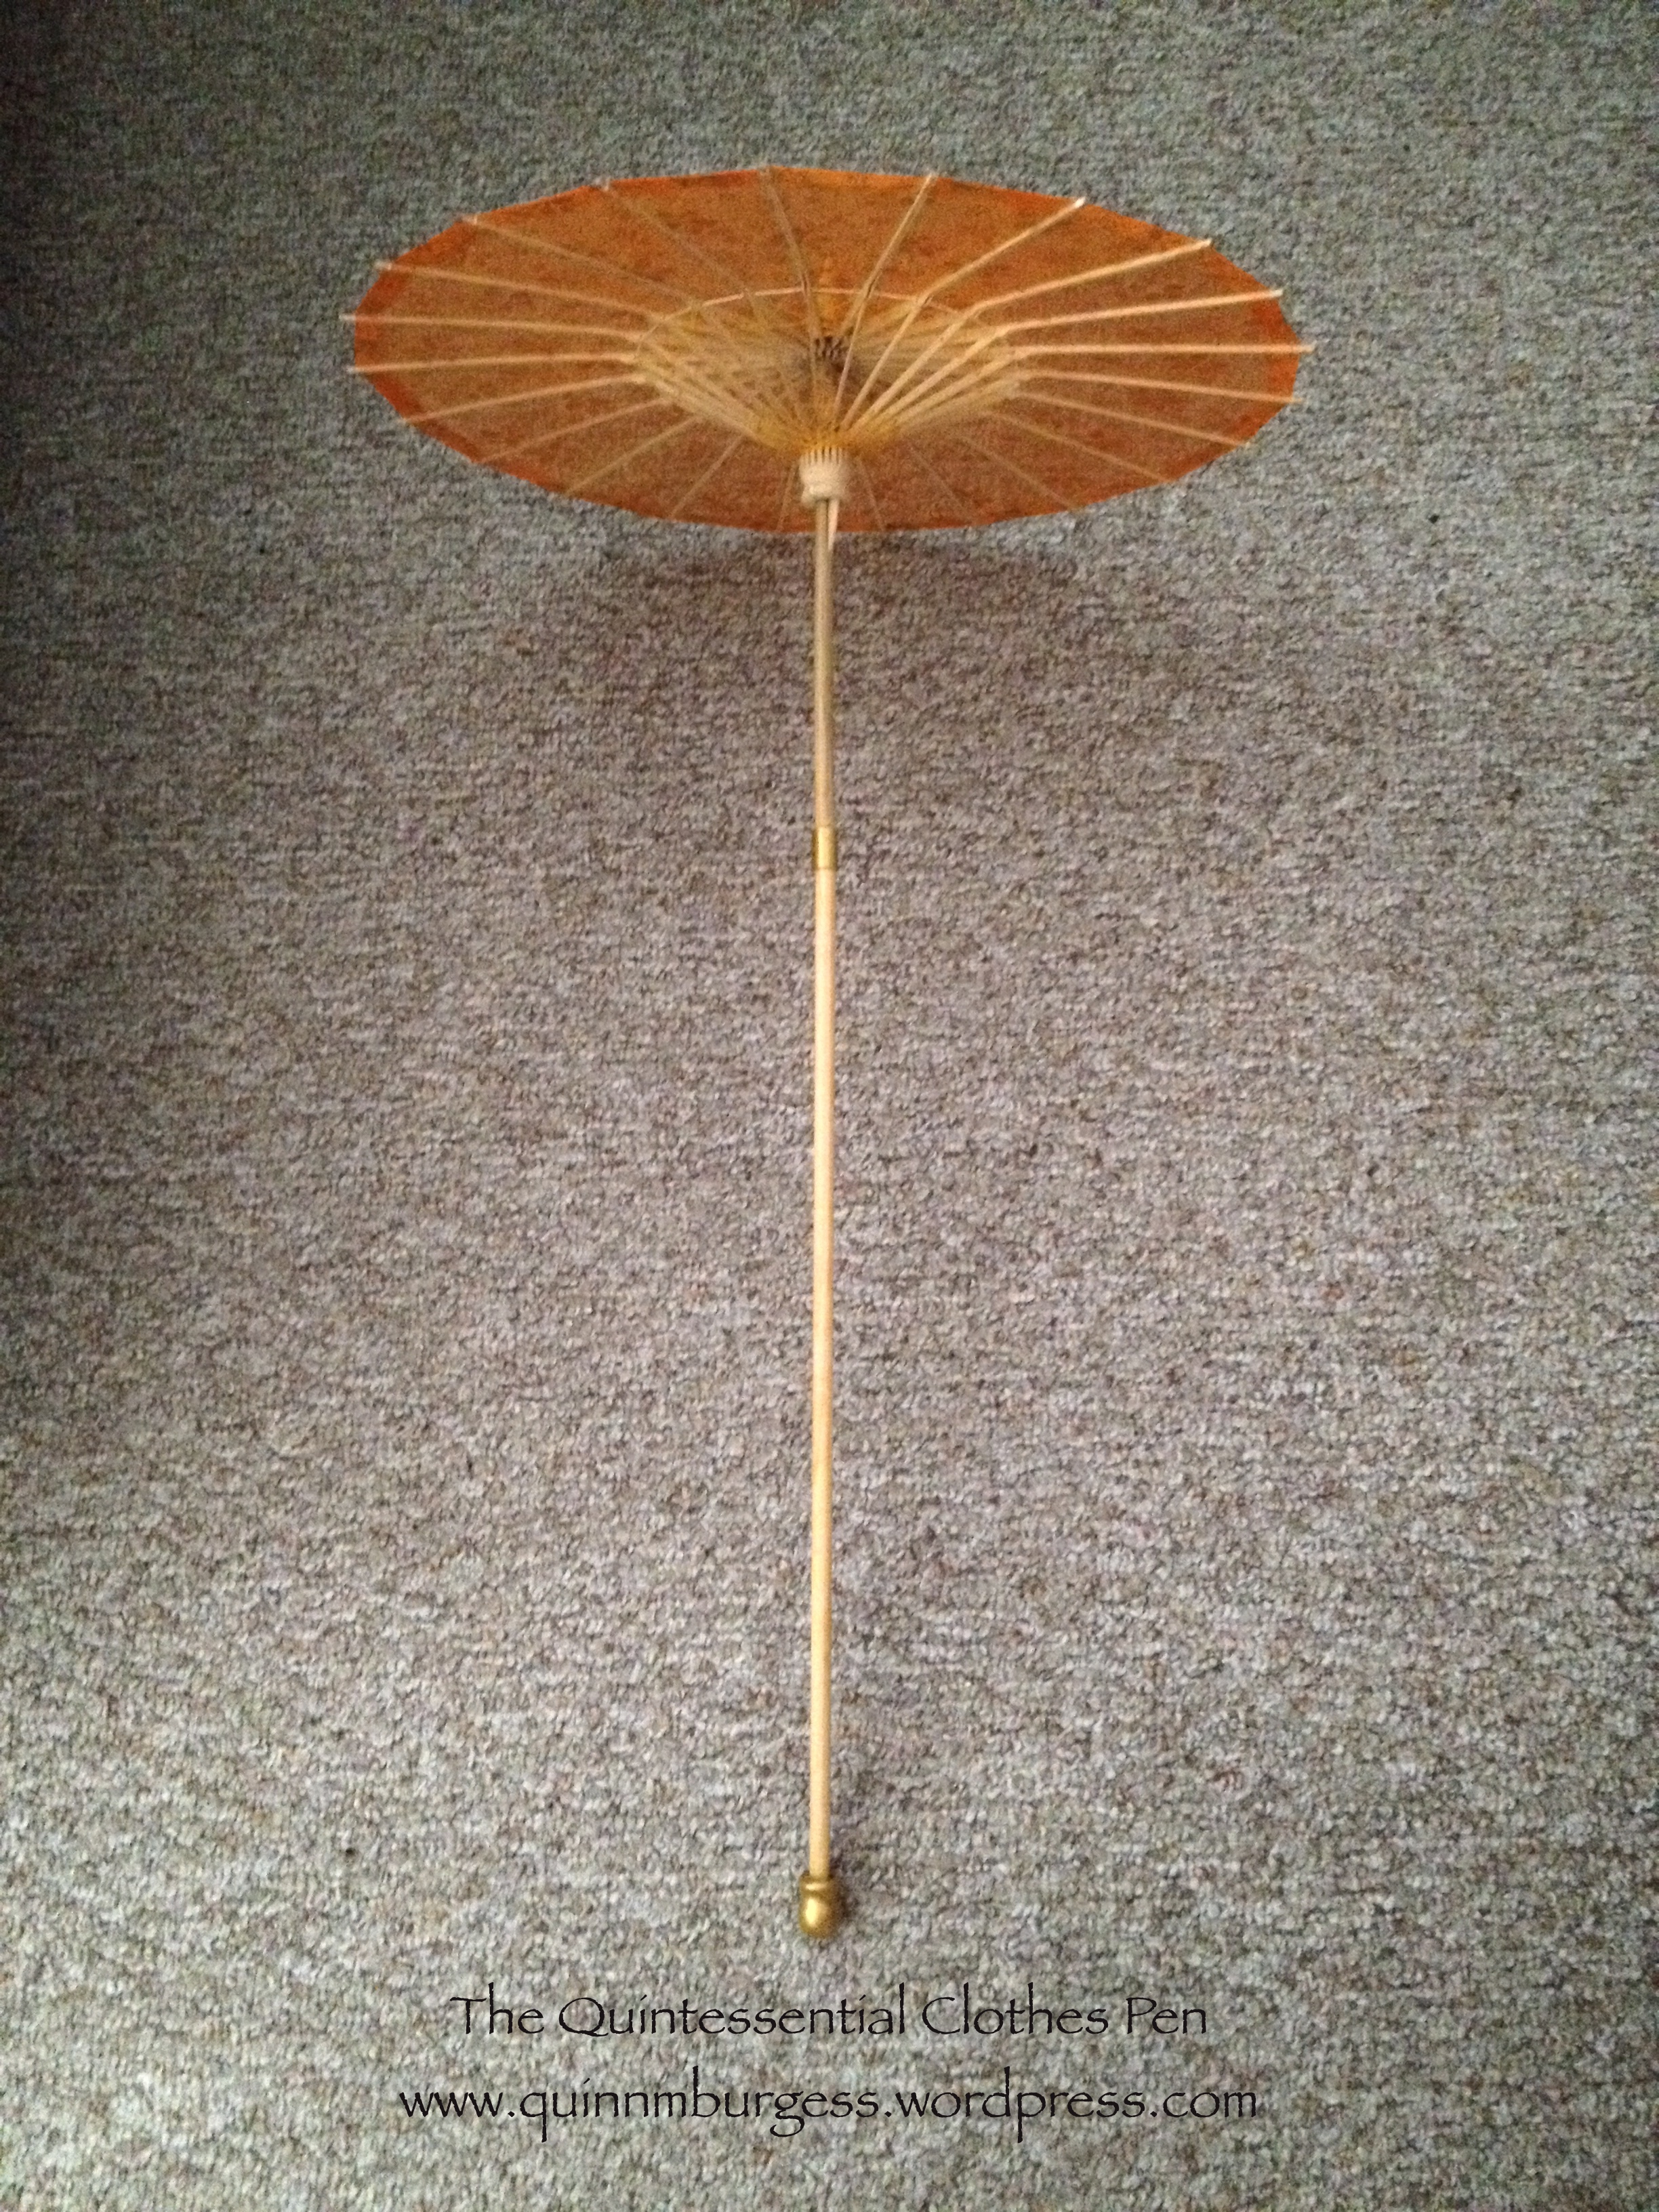
Finished!
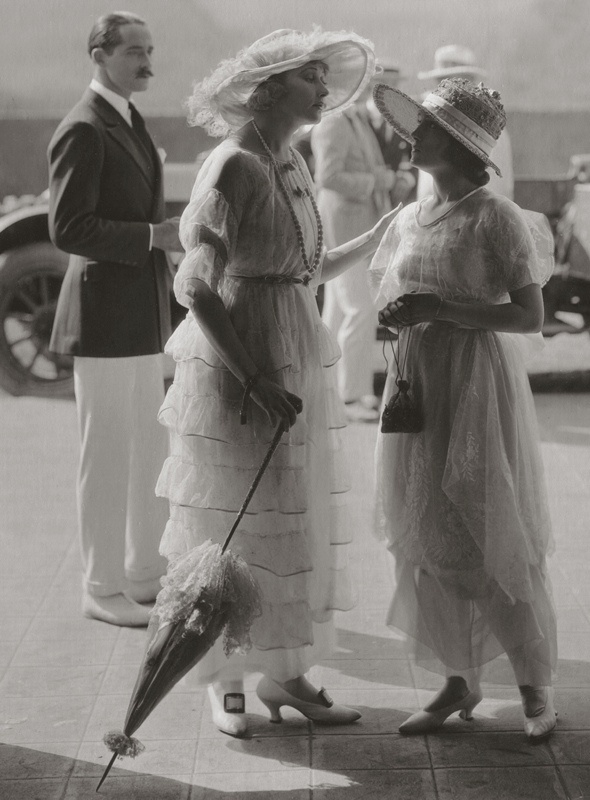
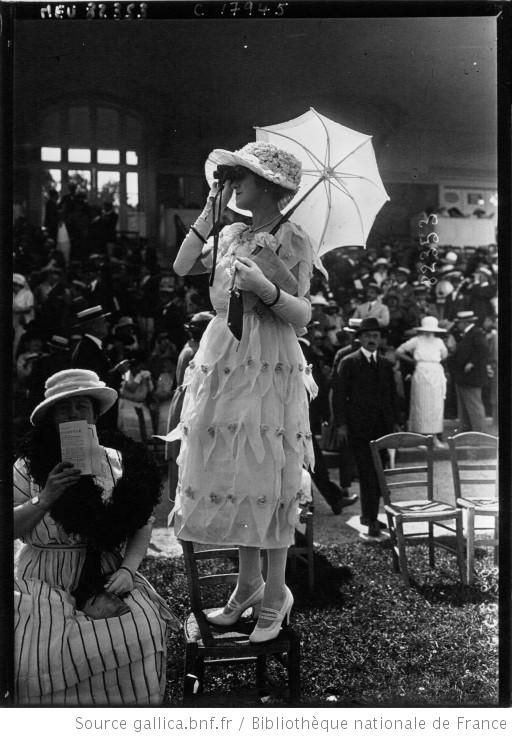
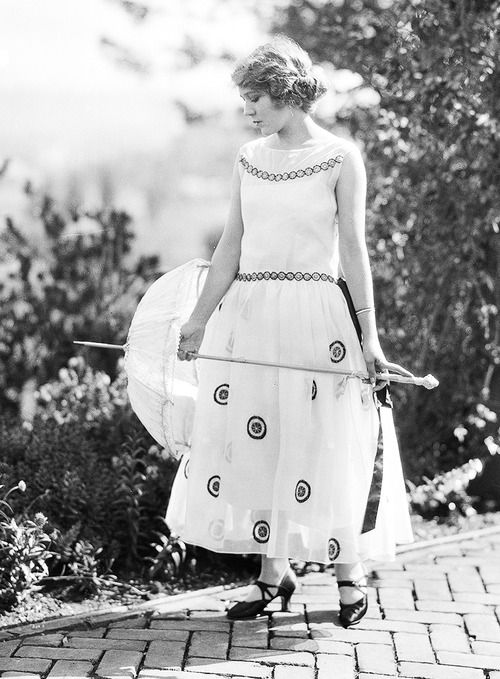
And this is the result. The dowel and bamboo don’t match perfectly, but I spent enough hours painting, staining, and glueing that I don’t really care. I plan to have more pictures of this in the next few days, so you’ll see it again soonish, and from more angles. In the meantime, here are some inspiration images of long handled parasols in and around the 1920s.
Anna Q. Nilsson and Ethel Clayton – 1919Josephine Dunn – c. 1920c. 1920Mary Pickford c. 1920Anna Pavlova, Ivy House, c. 1927
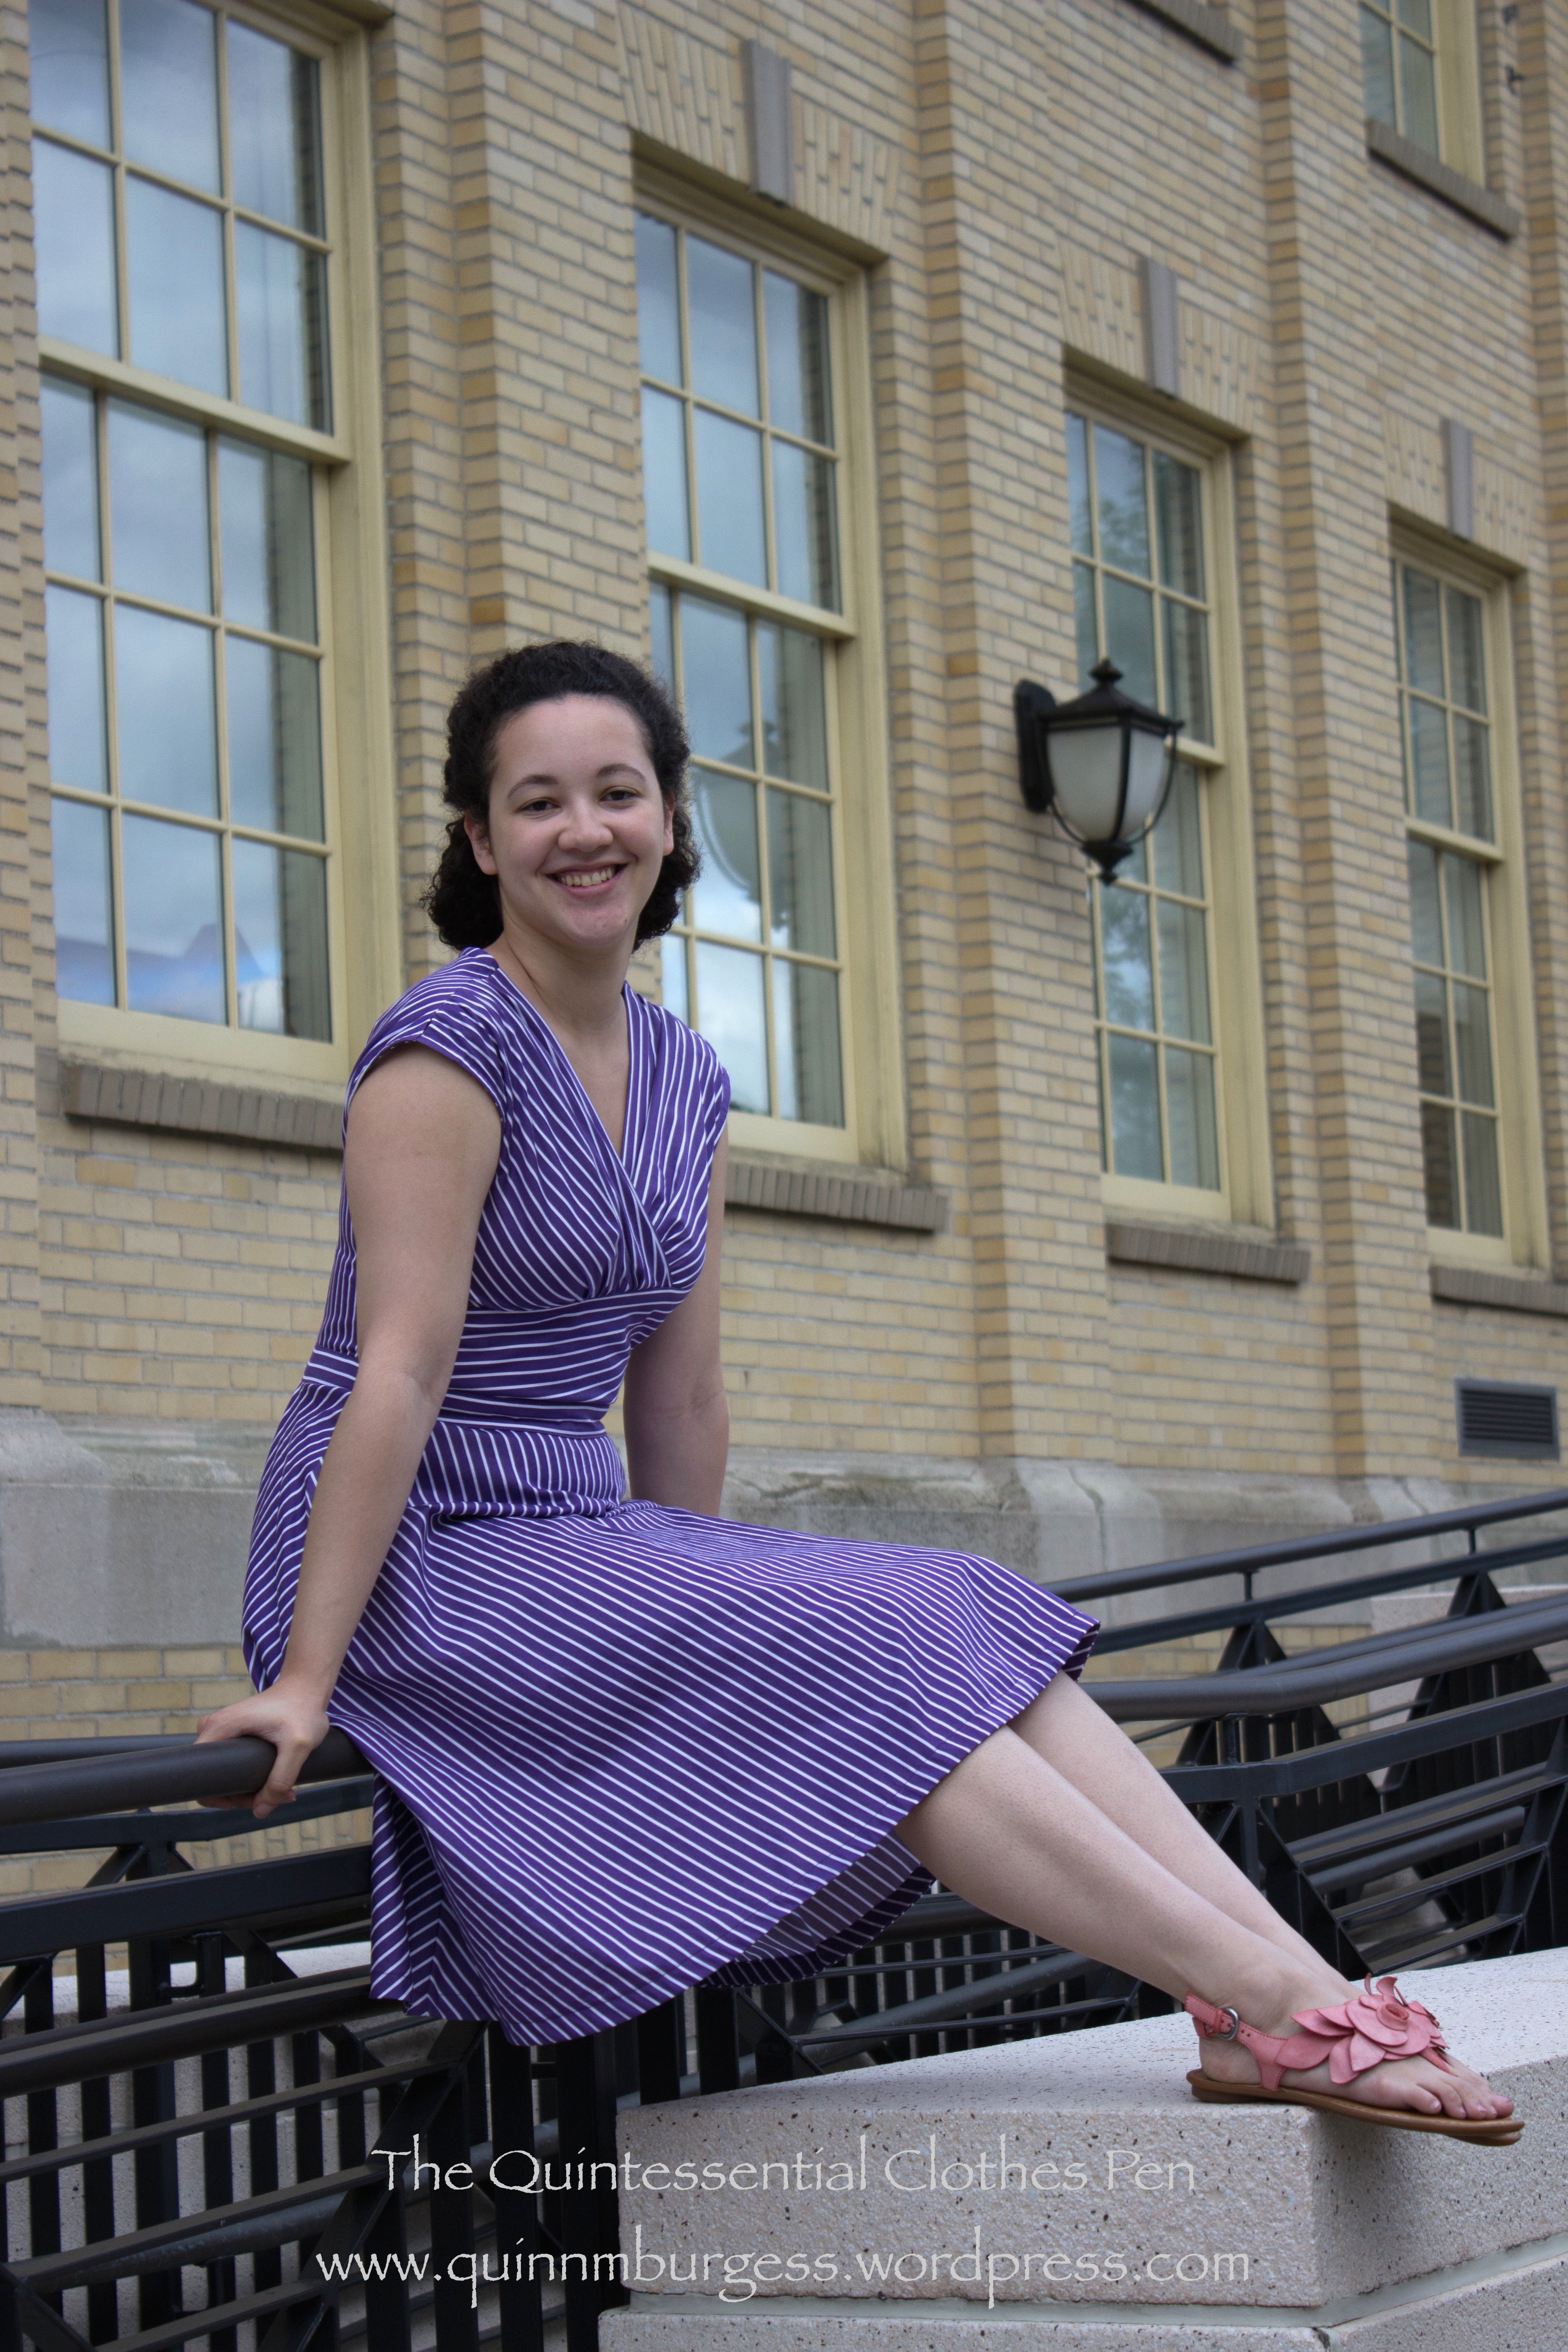
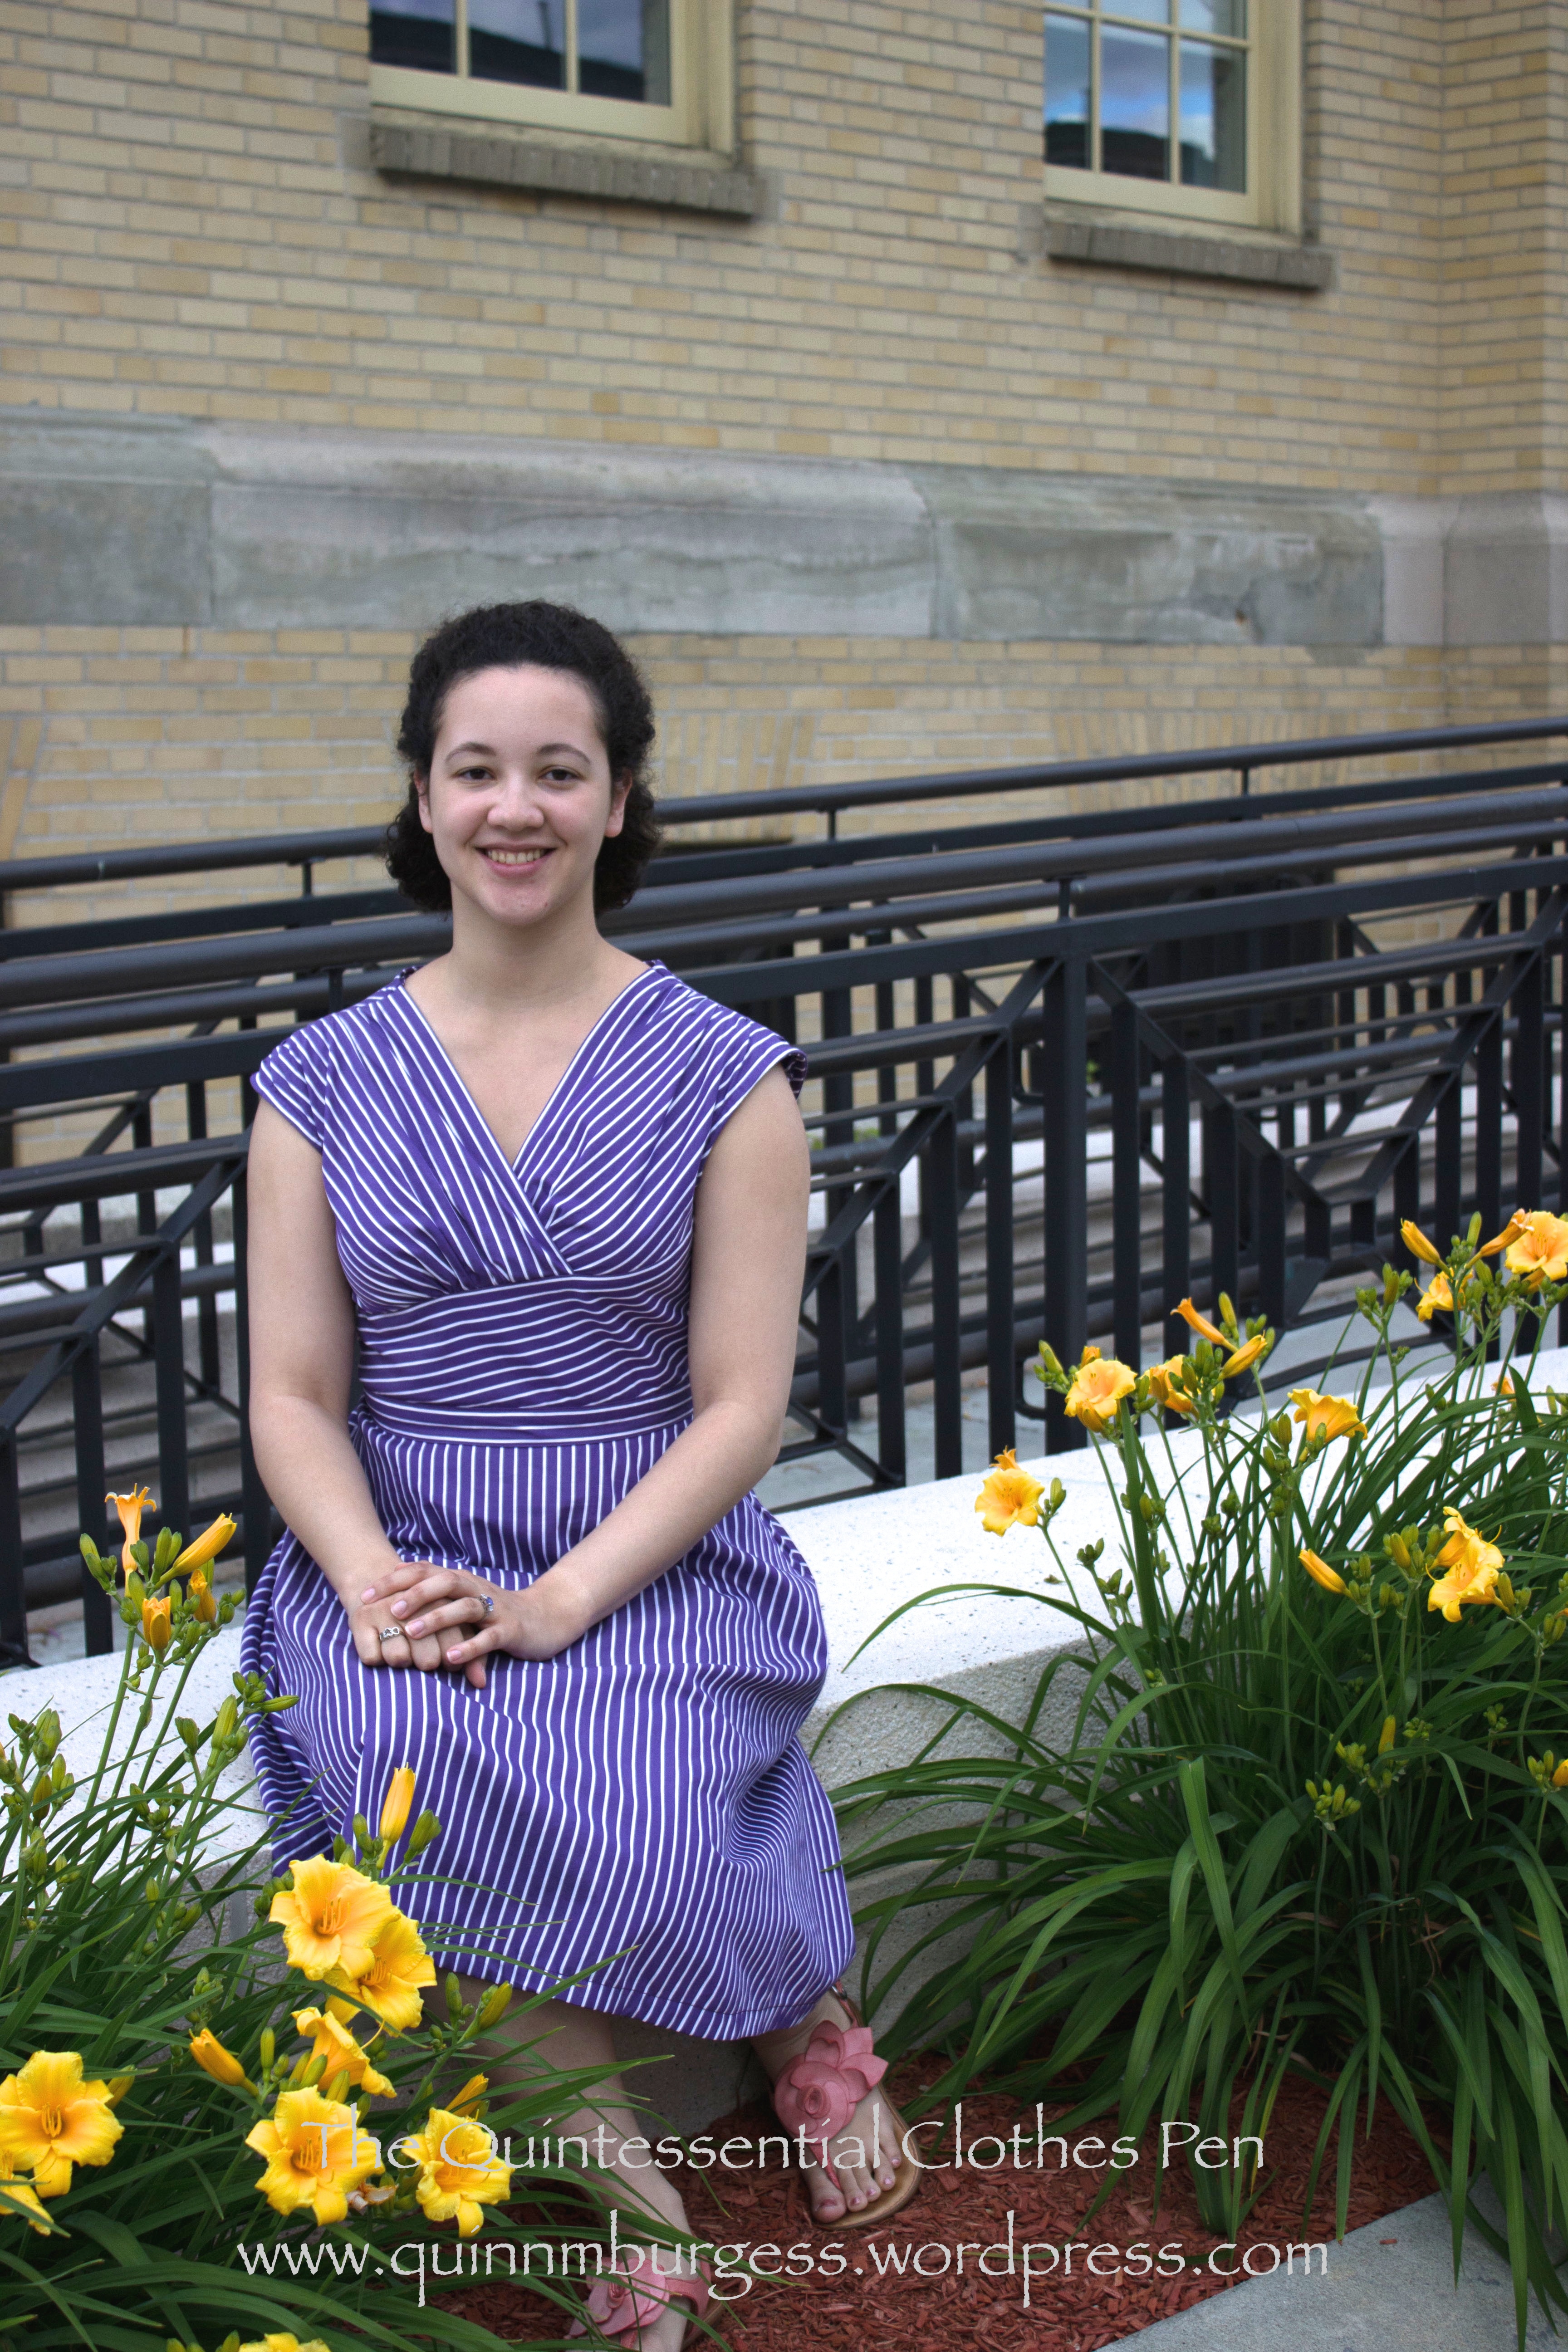
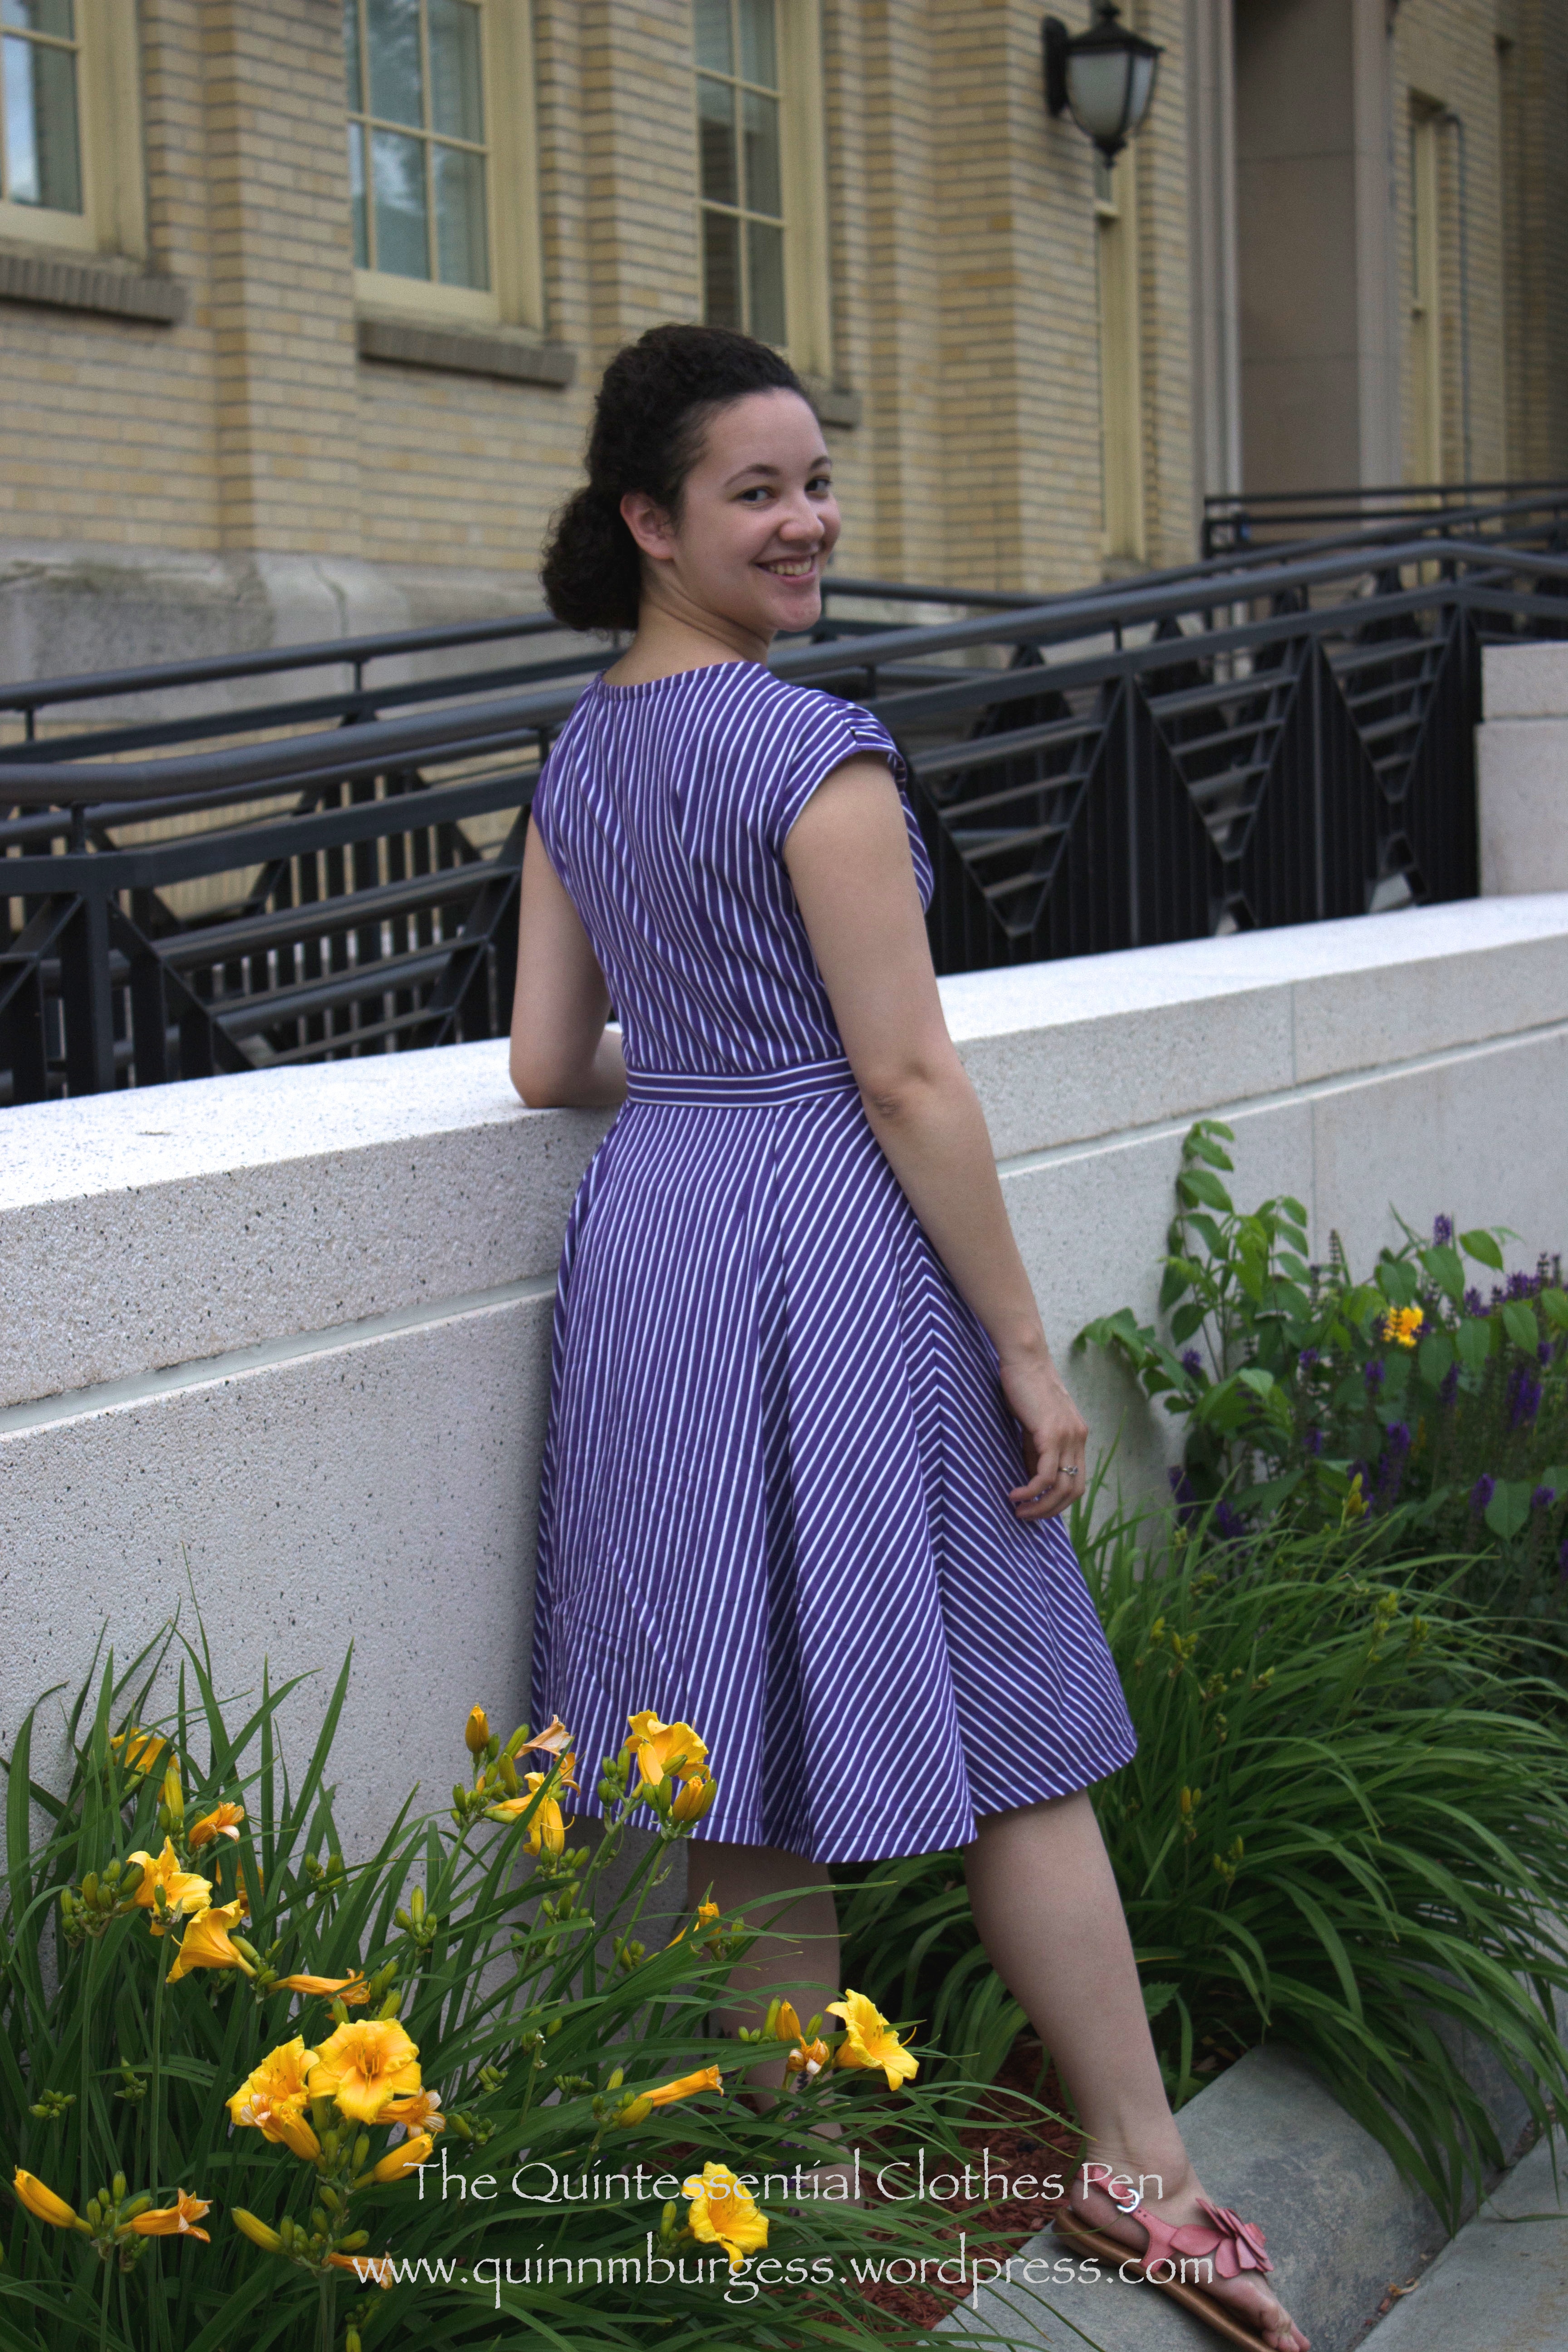
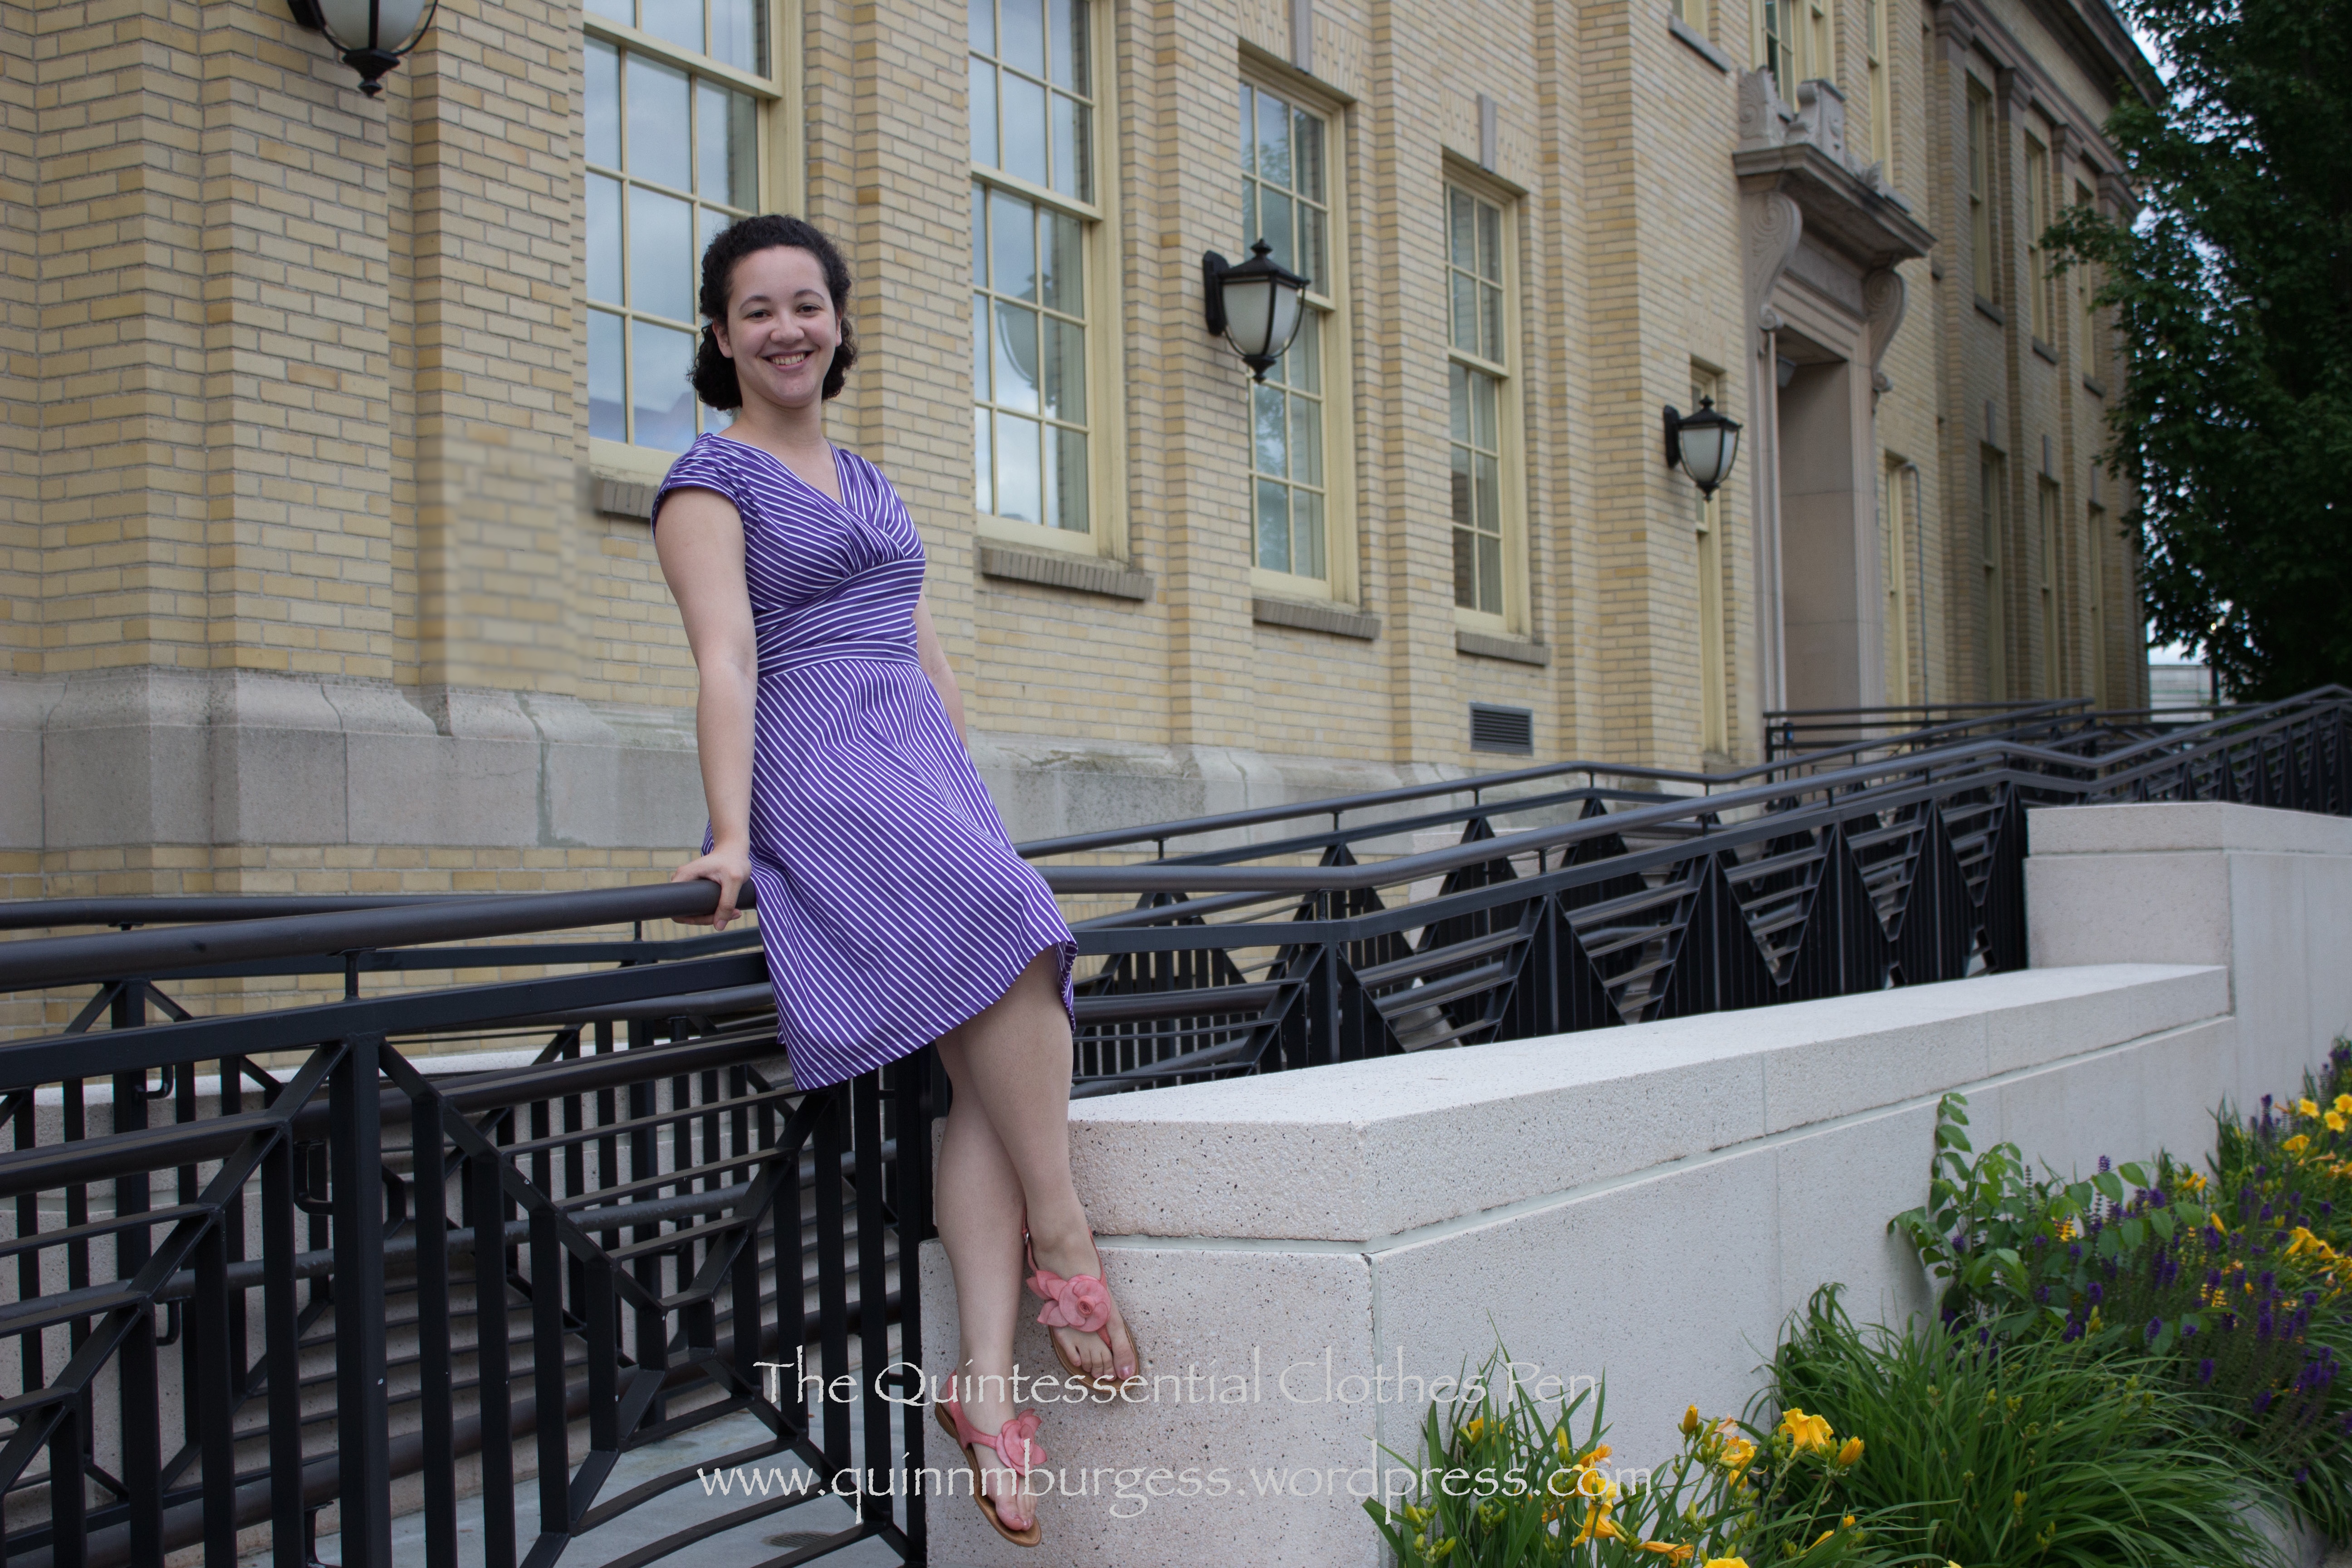
Summer is here, and I’ve been wearing dresses a lot lately. I’m trying to expand the number of dresses in my wardrobe and trying to incorporate more garments that make use of a pattern of some sort rather than just being a solid color. This new dress is… well, a dress, and it has a pattern! And, it’s purple with a wide skirt. What is not to like?
The inspiration is this Anne Adams dress pattern #4752 from the 1940s.
I love it, and really wanted to make a dress just like it. But then, I also wanted a nice full skirt just like another dress I bought from H & M years ago and wear often. Turns out that the full skirt made the angled stripes on the skirt totally impossible to pull off. I tried! It was sad looking, though, and in the end I decided I’d be much happier with the dress if I adjusted the design to accommodate my more-full-than-1940s skirt. Good decision, because I love the dress just as it is! I wouldn’t mind some day making the dress with a skirt that has less fullness and a more 1940s silhouette and trying the stripes as they are in the inspiration, but it wasn’t fated to be for this iteration.
See? Because the skirt is full it’s a curved piece, which meant that the striped panel had to have darts to fit, which wrecked the line of the stripes.
Once I decided to go for the Modern-Does-1940s look I also decided not to bother with the buttons on the bodice. My dress does have topstitching like the pattern image, though you can’t really see it with all the stripes going on.
The dress is constructed from a medium weight cotton I found on the remnant table at my local fabric store for $3ish/yard. Love that price! The armholes and hems are finished with self fabric bias. The dress closes up the left side with a purple lapped zipper. If you’re going to be purple, why not be PURPLE? (Maybe I should call this the Purple People Eater Dress?)
The bodice is a little different than the inspiration, because I wanted to make it fit my body. Thus, both sides of the bodice are gathered into the angled waist piece to create space for the bust (in the inspiration the dress is drawn with the proper left side being flat… but that would mean also being flat chested on that side…). The other thing is that I have a shoulder seam in my dress, and I wound up gathering the front pieces at the shoulders to make the whole thing sit correctly on my body. You can see in the picture with the dress on the mannequin that it started out with no gathers on the shoulders, but it wasn’t fitting me in a flattering way, so I gave up and altered it to be comfortable.
The back bodice has darts and corresponding tucks in the skirt. The tucks were unintentional, added only because the skirt had stretched out and was bigger than the waistband when I went to attach them. That’s what happens when you cut corners and don’t stay stitch… But see the perfect chevrons on the side seam? They make me happy!
I’m wearing modern summer sandals, but I did attempt to do a nod-at-the-1940s hair style for the photos. I don’t mind the style, but clearly I need some more practice (and likely a different hair type without so much frizz) to really get a 1940s style going.
Thanks so much to my wonderful friend photographer, who is so willing and excited to document the things I make so I can share them on my blog! Of course, the trade off is that she gets to practice photography skills on a willing model… Works out well for both of us!
I finally put finishing touches on the navy crepe waist I made last November! A few weeks ago, I was inspired at the very last minute to attend an early 20th century picnic and decided to wear my 1917 outfit because it was still a little chilly out and I wanted to wear something practical for walking around. So, literally the night before the picnic, I embarked on buttons and buttonholes because despite the best of intentions I hadn’t actually sewn them in the months since November. I also added a yoke around the bottom of the waist to keep it from untucking itself while being worn. It untucked itself often when I wore it November, but it didn’t matter because I was wearing my 1917 sweater of Angorina over it. But for the picnic I expected to be wearing the waist without the sweater and I didn’t want to worry about it staying tucked in.
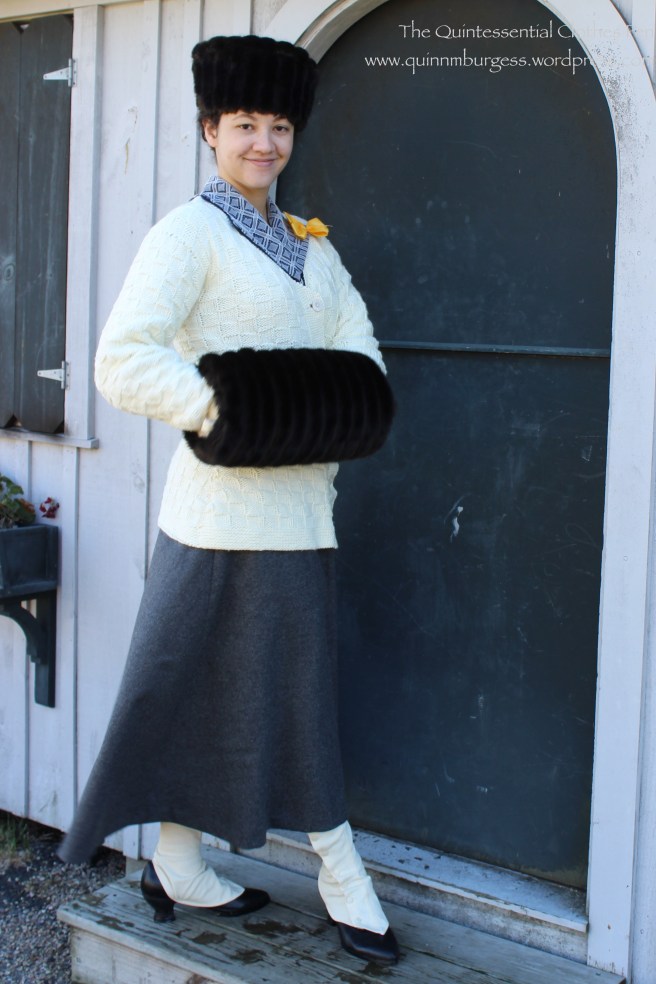
Wearing the waist and coordinating ensemble in November 2013.Same ensemble without the sweater and fur accessories.
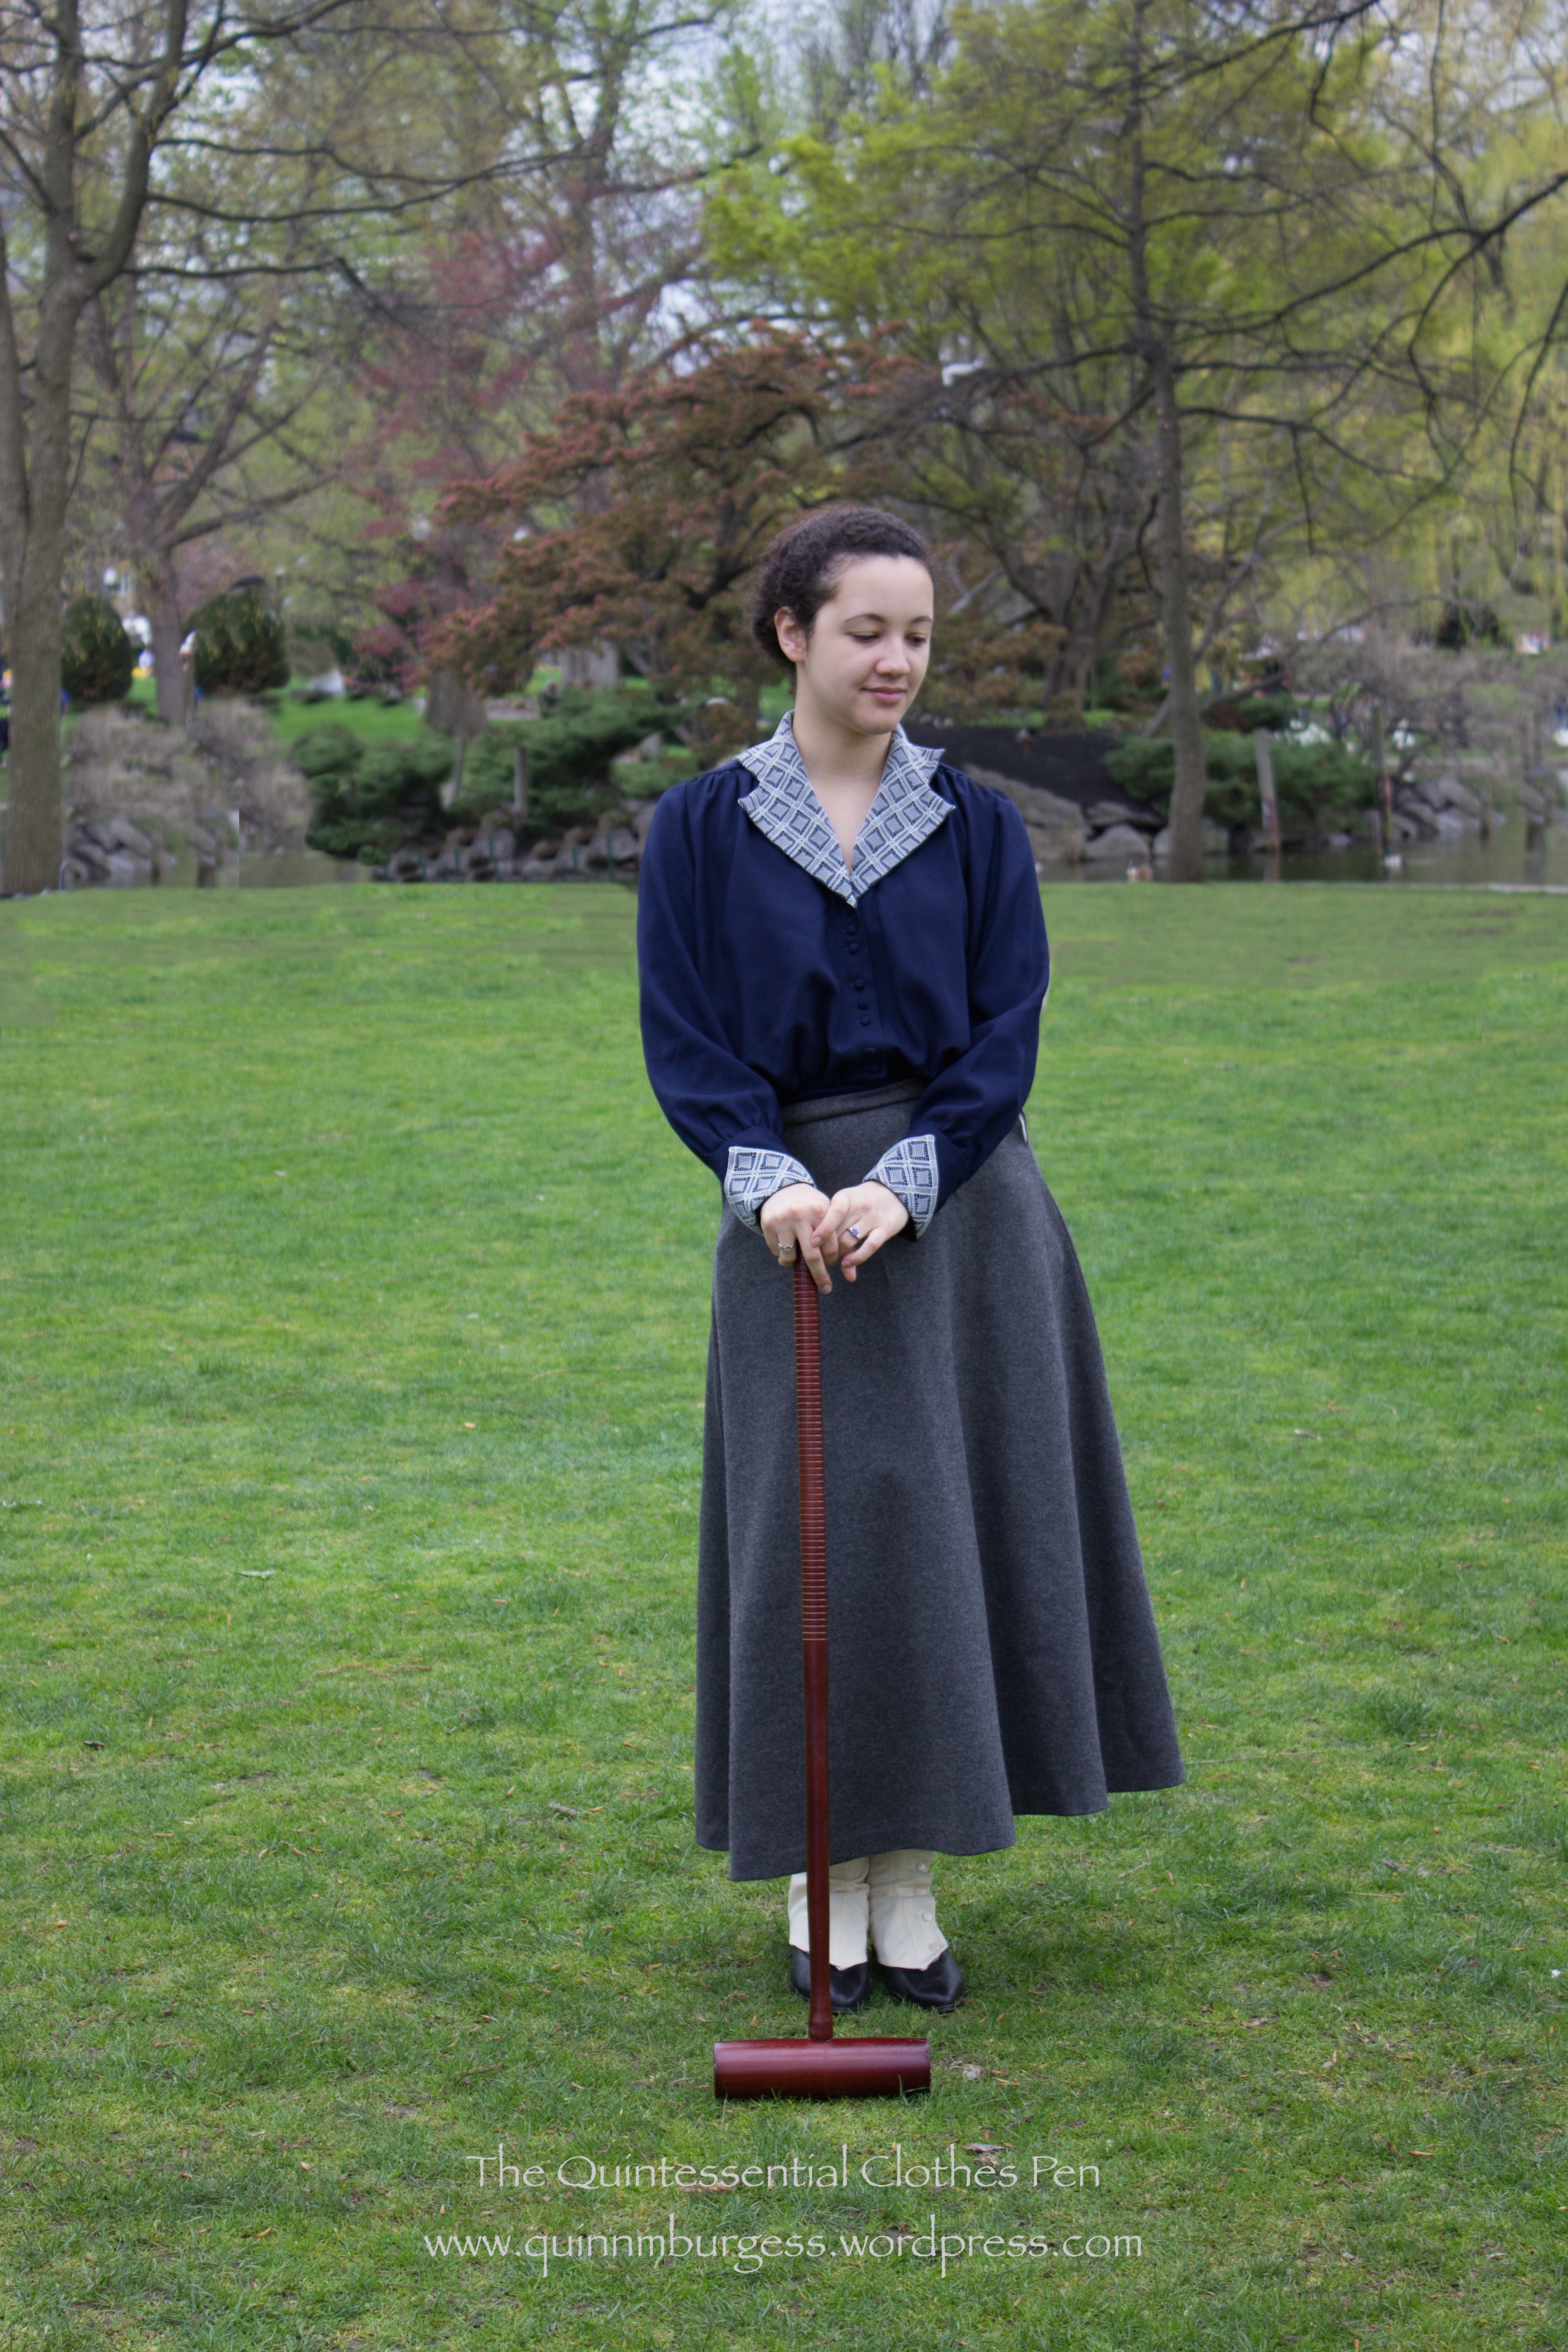
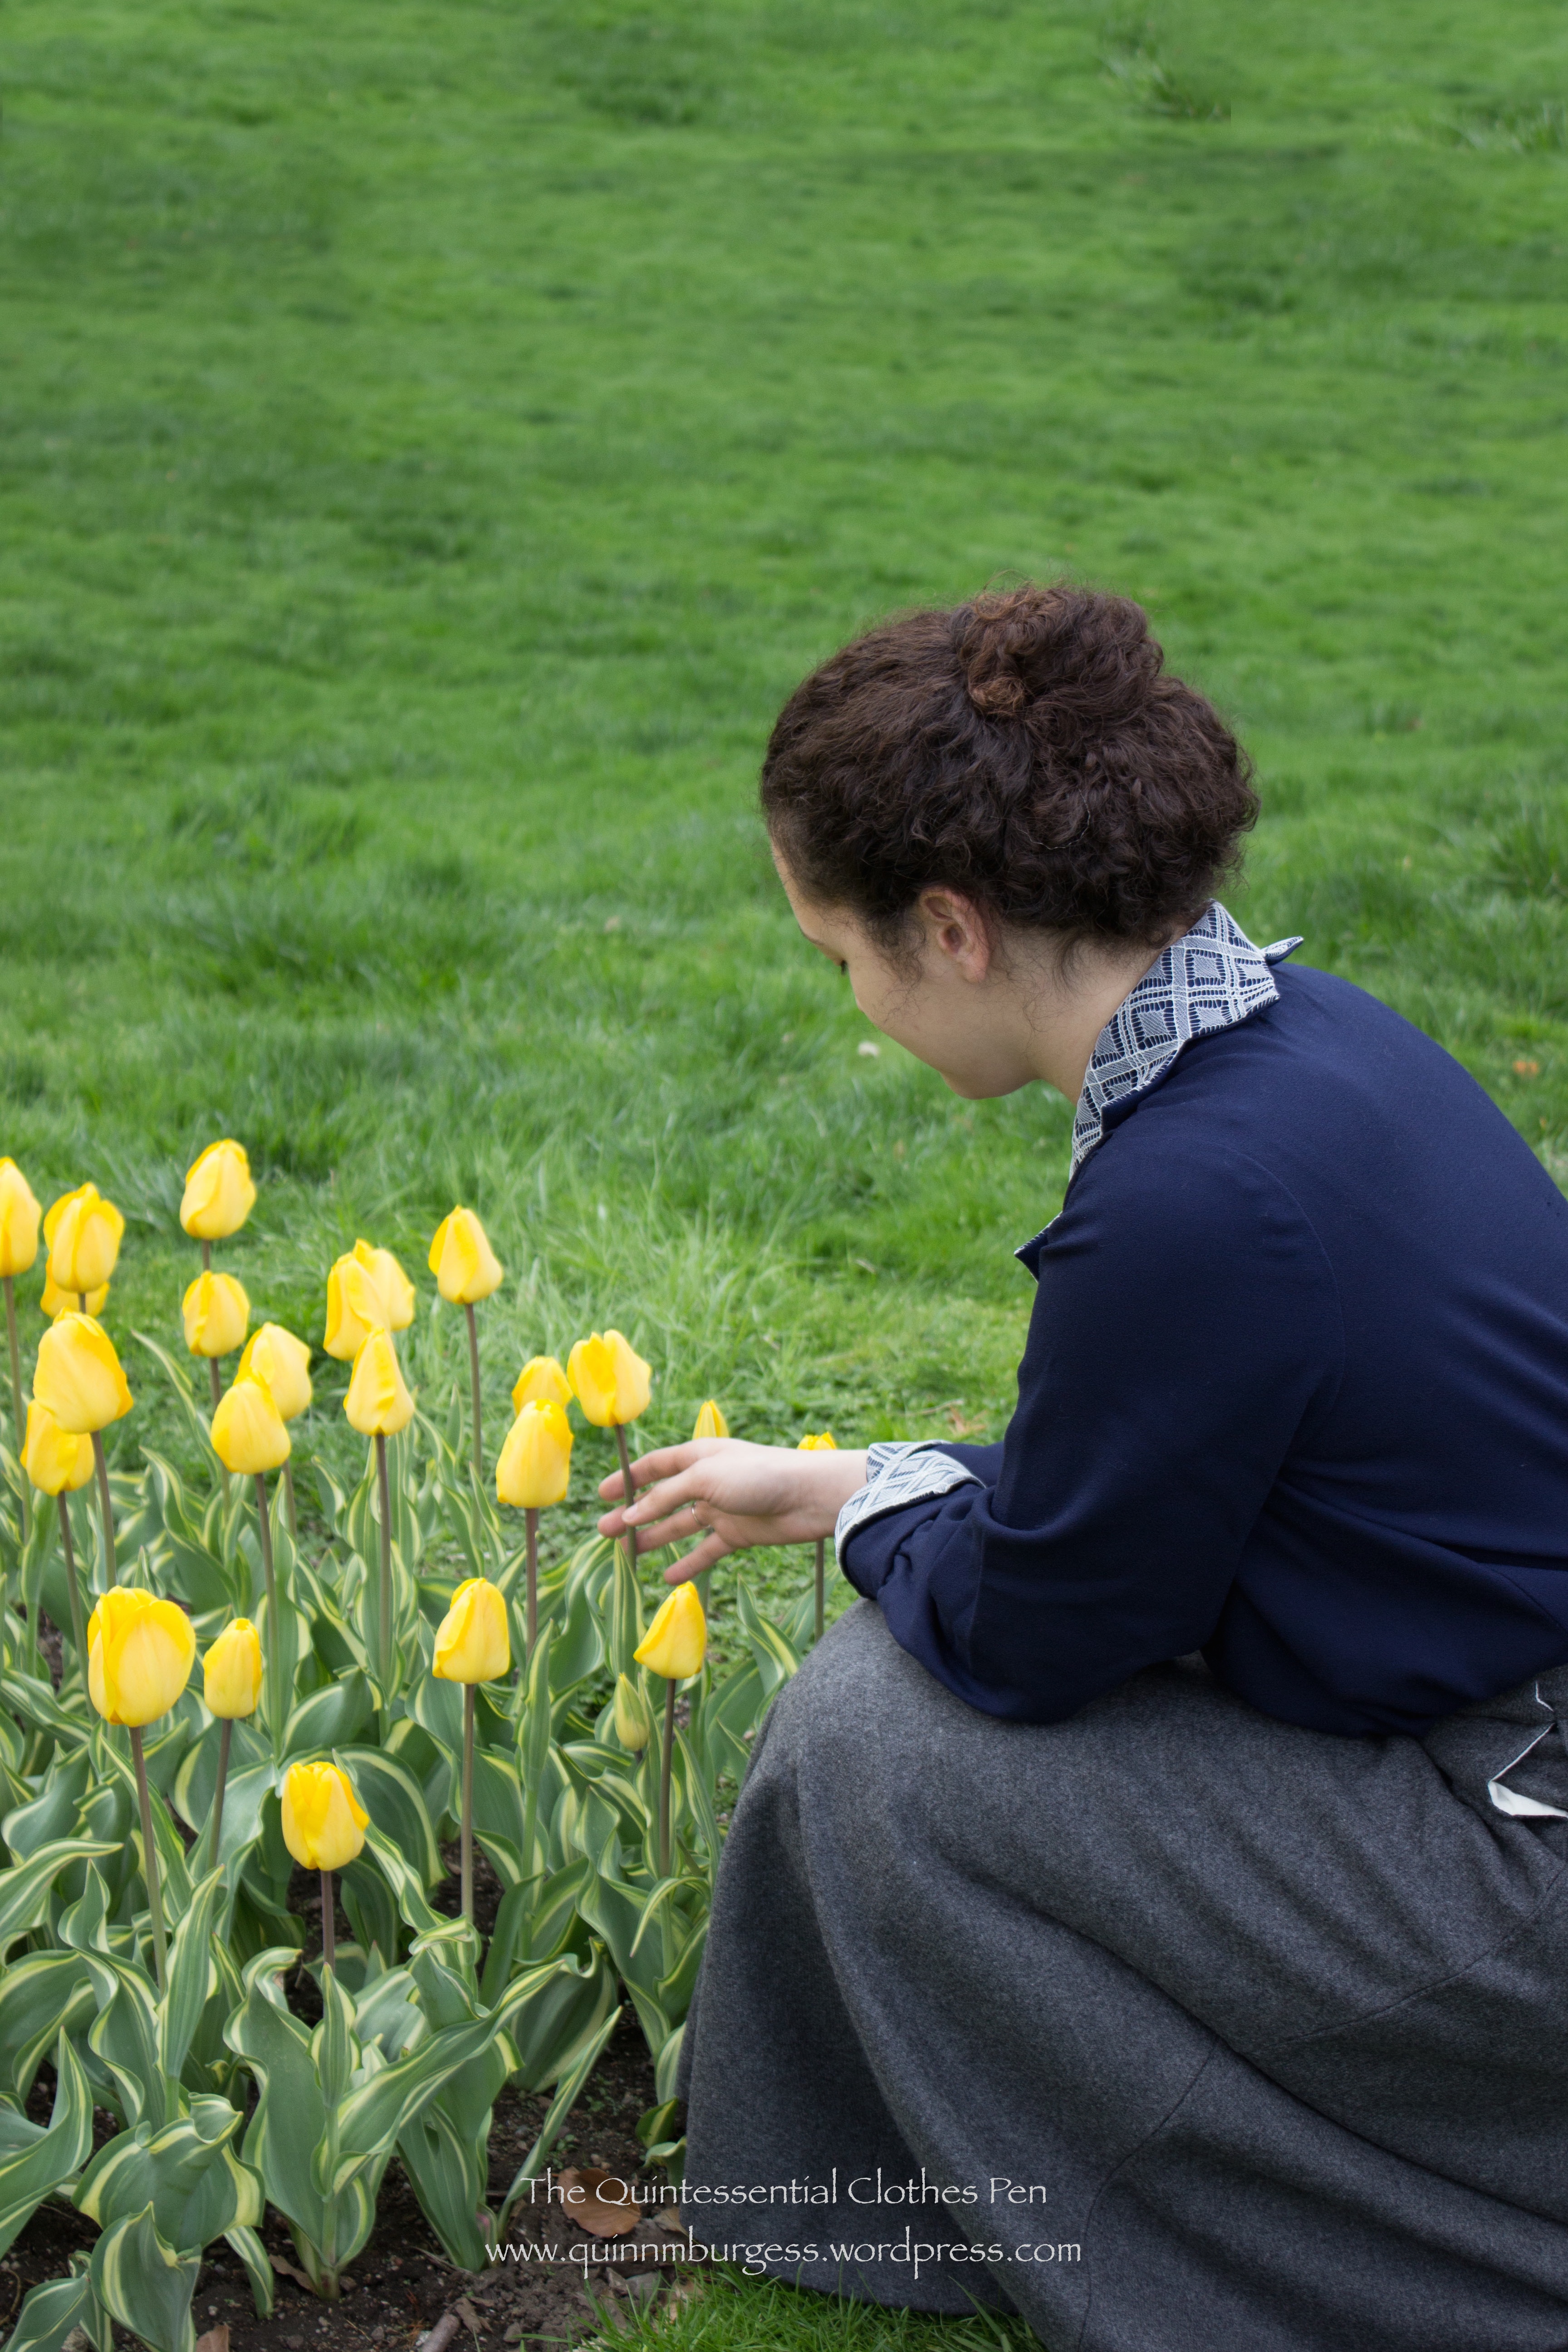
This is a candid shot, not posed, but I like how thoughtful it is, especially with the natural light filtered by the cloudy sky. You can see the collar with its interesting points which follow the diamond shapes on the lace, as well as the turn back points on the cuffs, which also follow the diamond shapes on the lace. If you look really closely you can also see the buttons down the front, clustered in groups of three rather than being evenly spaced (a detail I pulled from this 1916 image). (Oh, and I added little extensions to the back of my gaiters so that they would stop popping up over the back of my shoes! I didn’t get a picture, but the change made a huge difference in terms of ease of wearing!)
The points on the collar continue around the back neck, a detail which I love, because it makes an otherwise boring collar much more interesting! Also, my hair was surprisingly cooperative that day, and the natural highlights really stood out in the muted lighting!
The waist was made using Past Patterns #9025, which was originally published by The New Idea Pattern Company. “Waist” is the word that was used in the early 20th century to describe the garment we would now call a blouse. Past Patterns lists the date as c. 1915, but the pattern actually has a specific date stamp on it: ” Nov. 19, 1917.” How cool is that? It’s perfect for my 1917 outfit! You can see that I mixed and matched elements from both pattern views, and that I adapted the collar shape to suit the lace that I used for it. The pattern is intended for at 36″ bust (which I am) but it’s pretty roomy. I wouldn’t mind the front being a little bit less full if I decided to make another similar garment one day.
Past Patterns #9025: Ladies’ Waist c. 1915
As a bonus, here are some other picturesque images from the picnic.
As usual, playing croquet caused lots of onlookers to stop and watch our fabulous picturesque-ness. I suppose I might stop, too, if I was totally unused to seeing us…We couldn’t resist taking this perfectly un-posed shot!Bunny ears! Hee hee hee…
The skirt isn’t quite finished yet, as I still have closures and some decorative buttons to sew on. So for now I’ll leave off posting details about it. Hopefully, I’ll finish it soon and get pictures… sometime? It’s going to be too warm to wear a wool skirt soon!
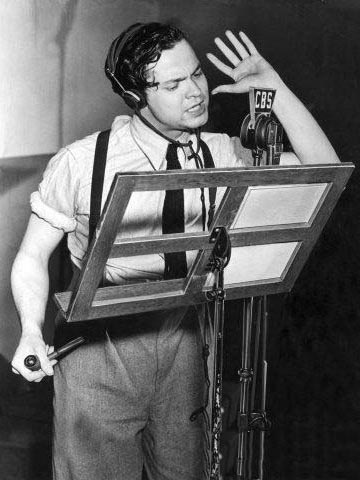
On October 30, 1938, Orson Welles broadcasted a radio adaptation of War of the Worlds. “In a 40 minute show, Welles and other actors from his Mercury Theater company recreated what was supposed to be an alien invasion from the planet Mars. Thousands of radio listeners thought it was true and a wave of mass hysteria seized New York. For many, that night was hell on earth, but for one man, it was heaven.”
Orson Welles broadcasting War of the Worlds in 1938.
Intrigued? This is the plot of a short film titled “10·38: A Broadcasted Dream,” a project which is currently in the funding stage.
The goal is $20,000 and the campaign is about half way funded on kickstarter, but it’s all or nothing and the funding won’t go through unless the end goal is reached in the next two weeks. And if the project is fully funded and all everything gets approved, I will be designing the costumes (and I’m hoping that includes building a few of them)!
So, throw in some old time radio (which I actually do listen to, it’s fabulous!), some historic fashions from 1938 (obviously, you know I love historic clothing), and some monsters (ok, maybe I’m not such a fan of monsters!)… and you can help support the production of a film that can transport viewers to another time and place, just as old time radio broadcasts like War of the Worlds used to do. So please, if you’re at all interested this supporting this project, consider sharing it with others and supporting it!
It’s time for the details about my entry for HSF challenge #25: One Metre. I prefer saying I’m wearing “spat-boots” though the actual items I’m really wearing are shoes and “gaiters.” Spat-boots has more of a ring to it, I think.
Close up of my spat-boot look.
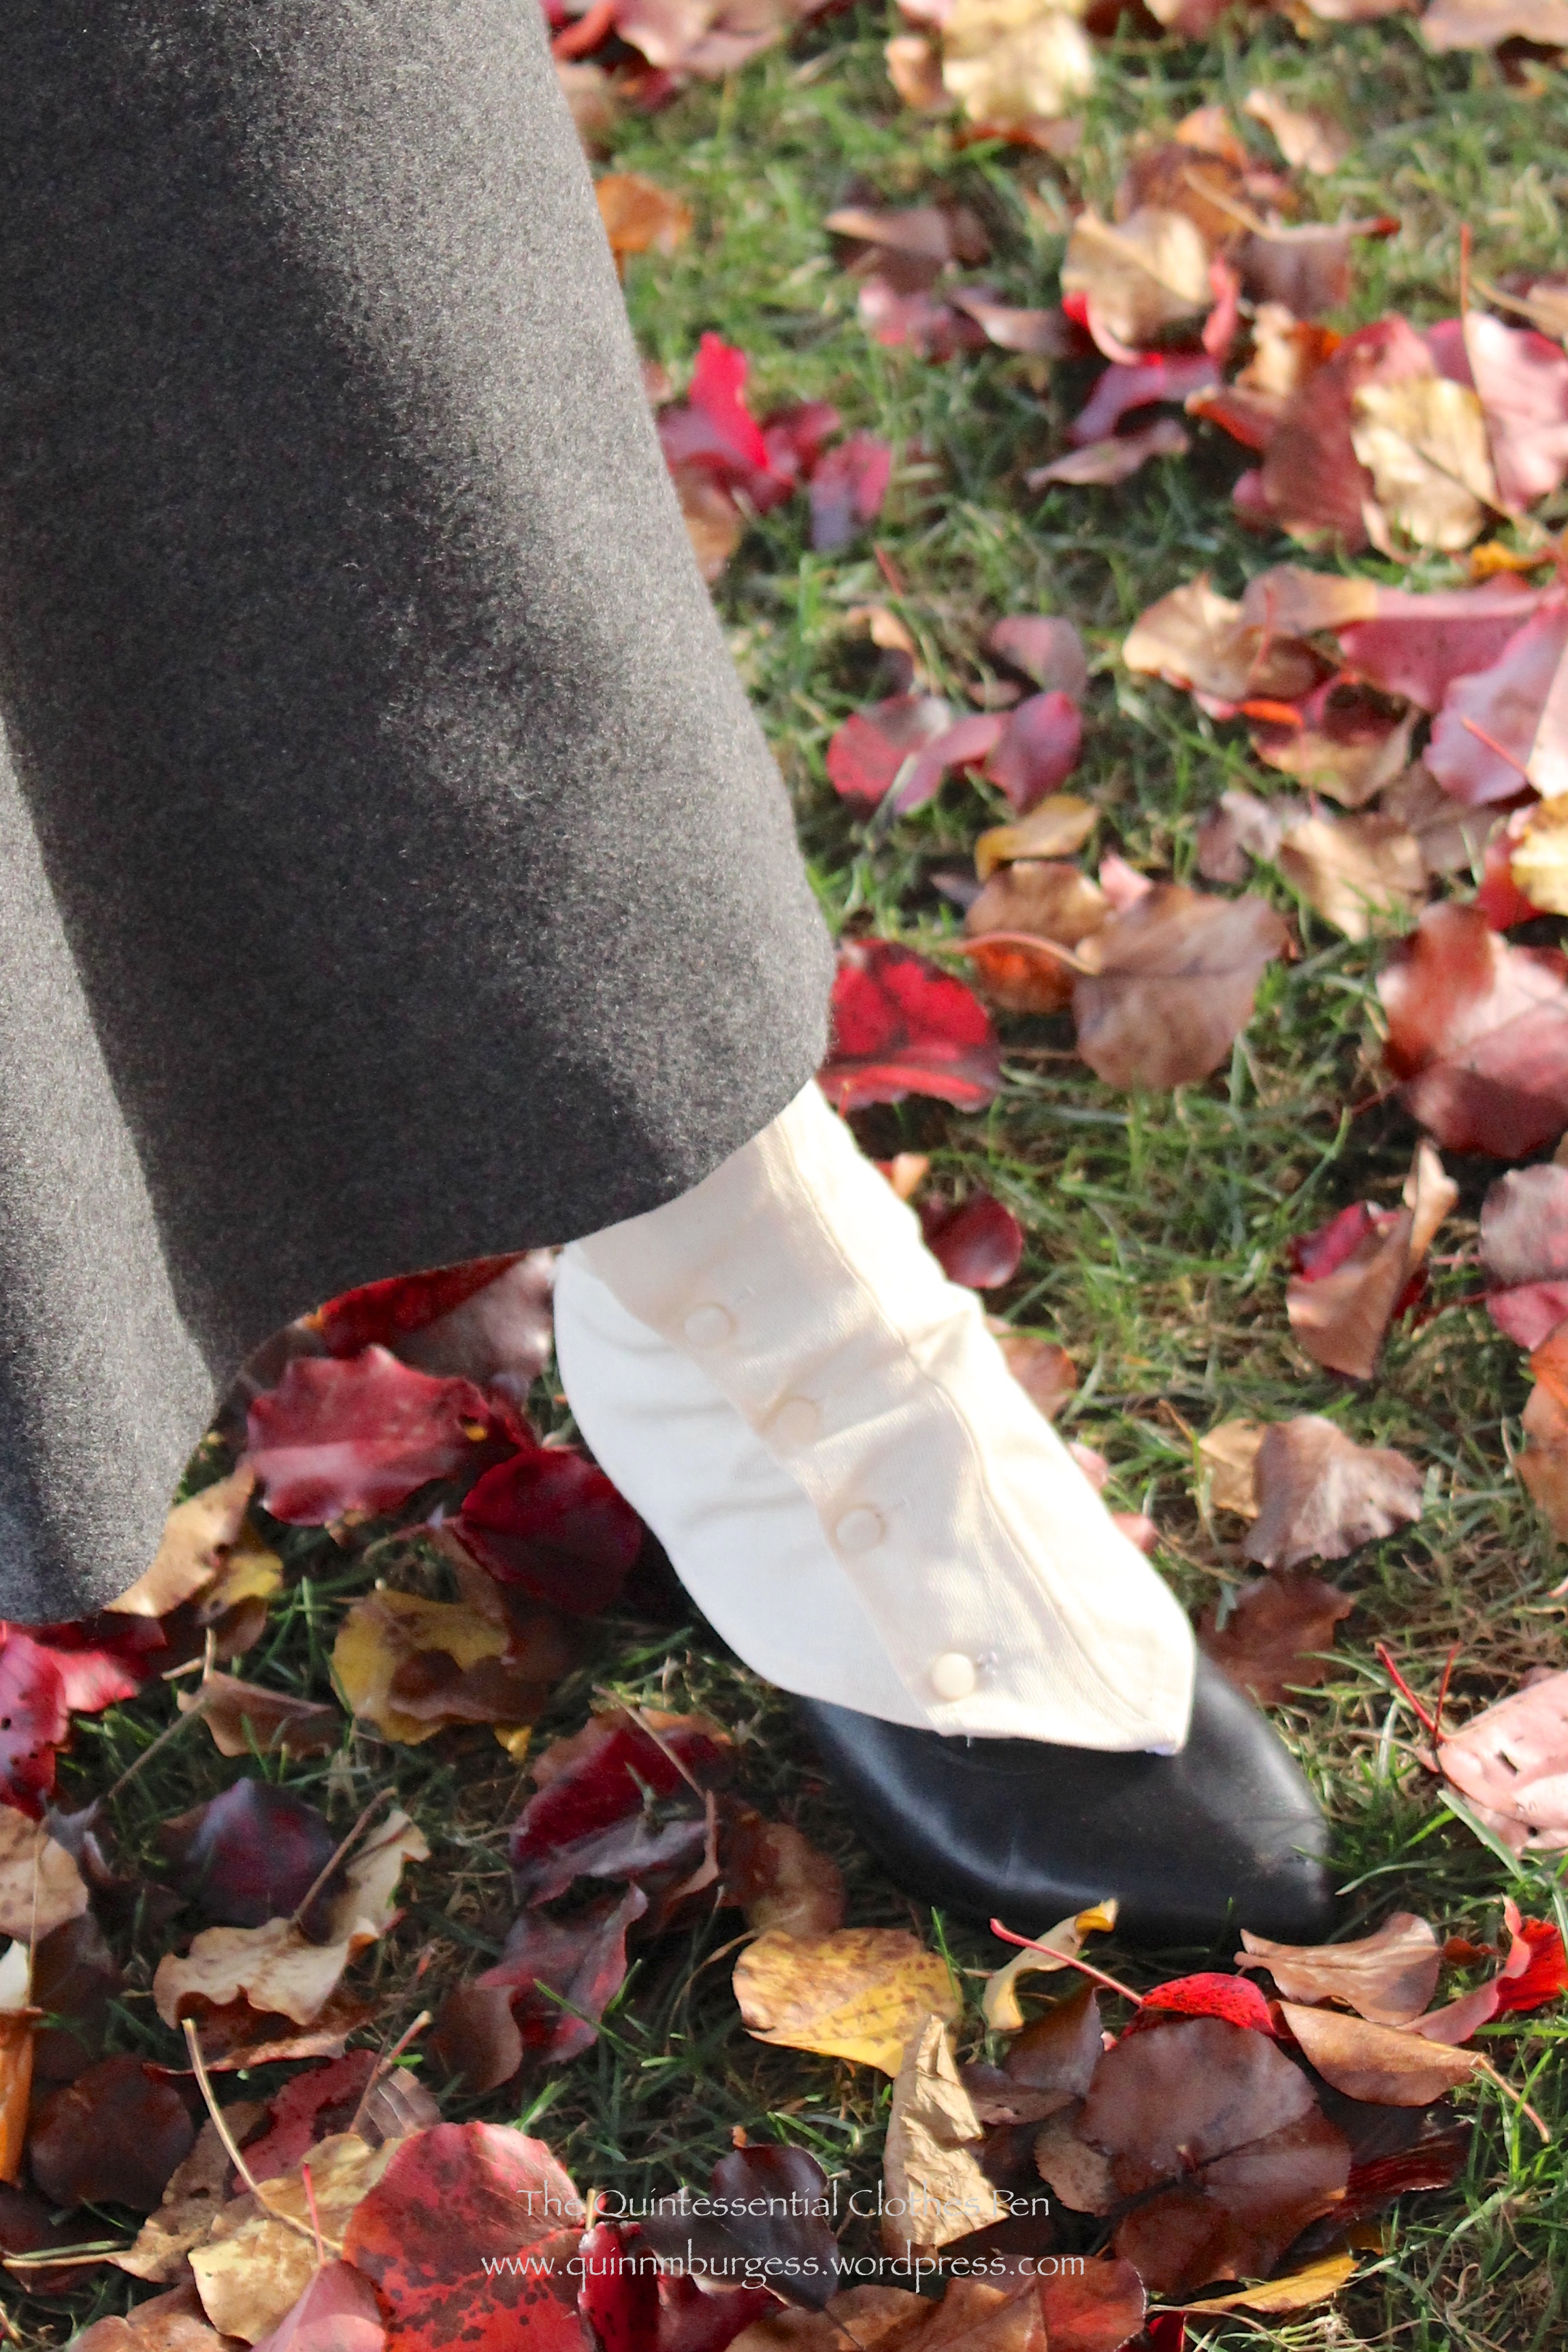
The gaiters very effectively turn my sort-of-1910s-but-more-1920s American Duchess Gibsons into very 19-teens spat-boots! If you look at the first black and white image of suffragists in this previous post you can clearly see some similar spat-boot styles. And if you look at the images on my Sewing Project: 1917 Blouse and Accessories Pinterest board you can see multiple examples of the spat-boot style. Some boots, like these from 1917 at the Met, were made in two different colors of leather. That’s the look I was trying to imitate, except that I was doing it with a separate garment rather than as a part of my shoe. The Met actually has quite a number of early 20th century gaiters, made out of leather and cotton. If you’d like to see these examples, I’ve pinned many of them to my Early 20th Century Accessories Pinterest board.
The facts, you ask?
Fabric: Scraps of heavy unbleached cotton.
Pattern: Created by me.
Year: 1917.
Notions: Thread, black elastic, cotton twill tape in various widths, and plastic buttons.
How historically accurate?: 90%. The look is right but the materials are a mix and match of right and modern.
Hours to complete: 6-8? Took a few fittings to get them ready to sew. Then finishing and sewing on buttons took awhile.
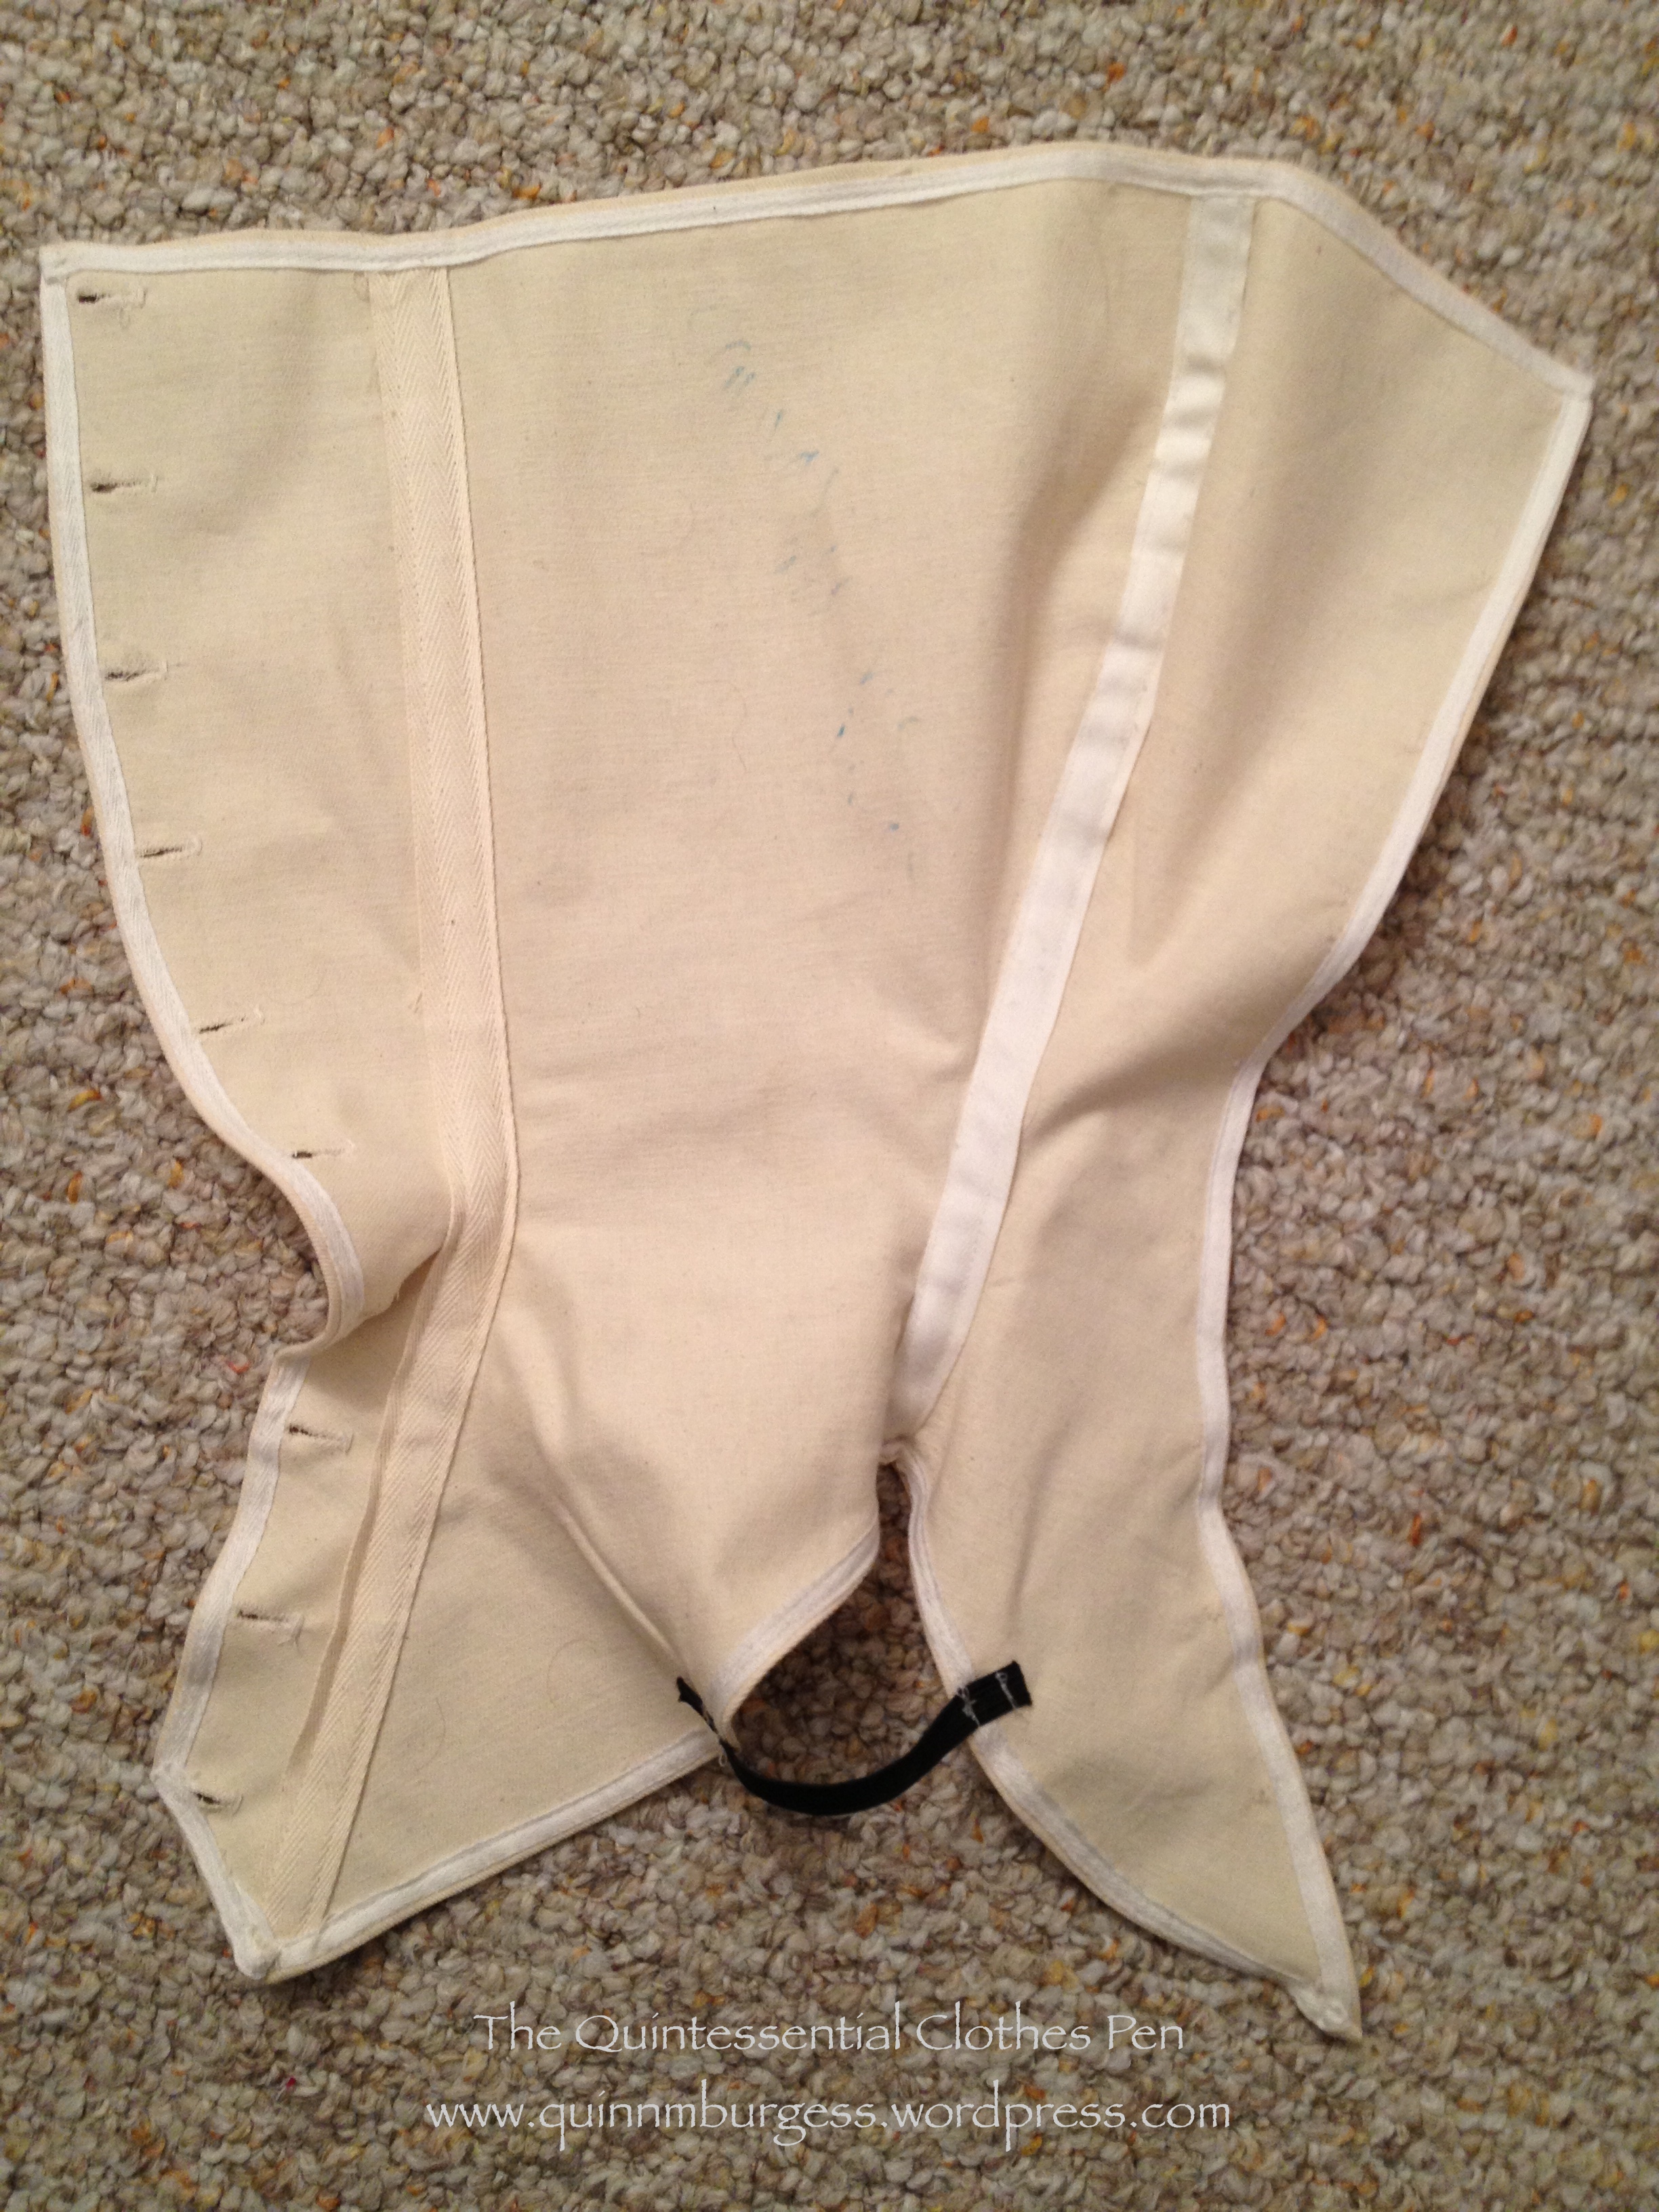
Total cost: None. The fabric was left over from a grad school mock up and the notions were all from my stash. (See that odd marking in the middle of the center piece? That’s blue sharpie that soaked onto this part of the fabric from notes I wrote on the mock up… There was a lot of blue sharpie, and I couldn’t cut around it and still have enough fabric. Doesn’t show on the outside though!)
Here’s an inside view of one of the gaiters. You can see that I’ve used three different kinds of twill tape to bind the seams and the edges. All of the sewing was done by machine except sewing on the buttons.
There are a few things that I would change consider changing if I made these again in some other reality. #1: Having my buttons spaced closer together, as the extant gaiters and boots do. But in this case I only had a limited number of buttons to work with! #2: Potentially putting a strap with a buckle to go under the foot rather than elastic, since the buckle method is what extant gaiters have. But the elastic worked so well and you really couldn’t see it… so I probably wouldn’t actually change this, especially since I don’t have the right sort of buckles in my stash. #3: Making the back part that comes down over my heel longer. I was aiming for a nice swoop up from the part held down by the elastic, but the back of the gaiters kept popping up over the edge of my shoes, which was a little uncomfortable. I spent a lot of time during the day I wore these pulling the back of the gaiters down.
Like a flamengo, I’m standing on one leg and pulling down the back of my gaiter, which had popped up over the back of my shoe.Overall, I’m super pleased. These were quite successful. You should try some yourself!
Product links in this post contain an affiliate code, which provides a small benefit to my shoe fund. This does not affect my impressions and reviews of this product.
The theme of this HSF challenge is Re-Do, in which you re-do a previous challenge for a second time or you re-do a challenge you didn’t complete the first time around.
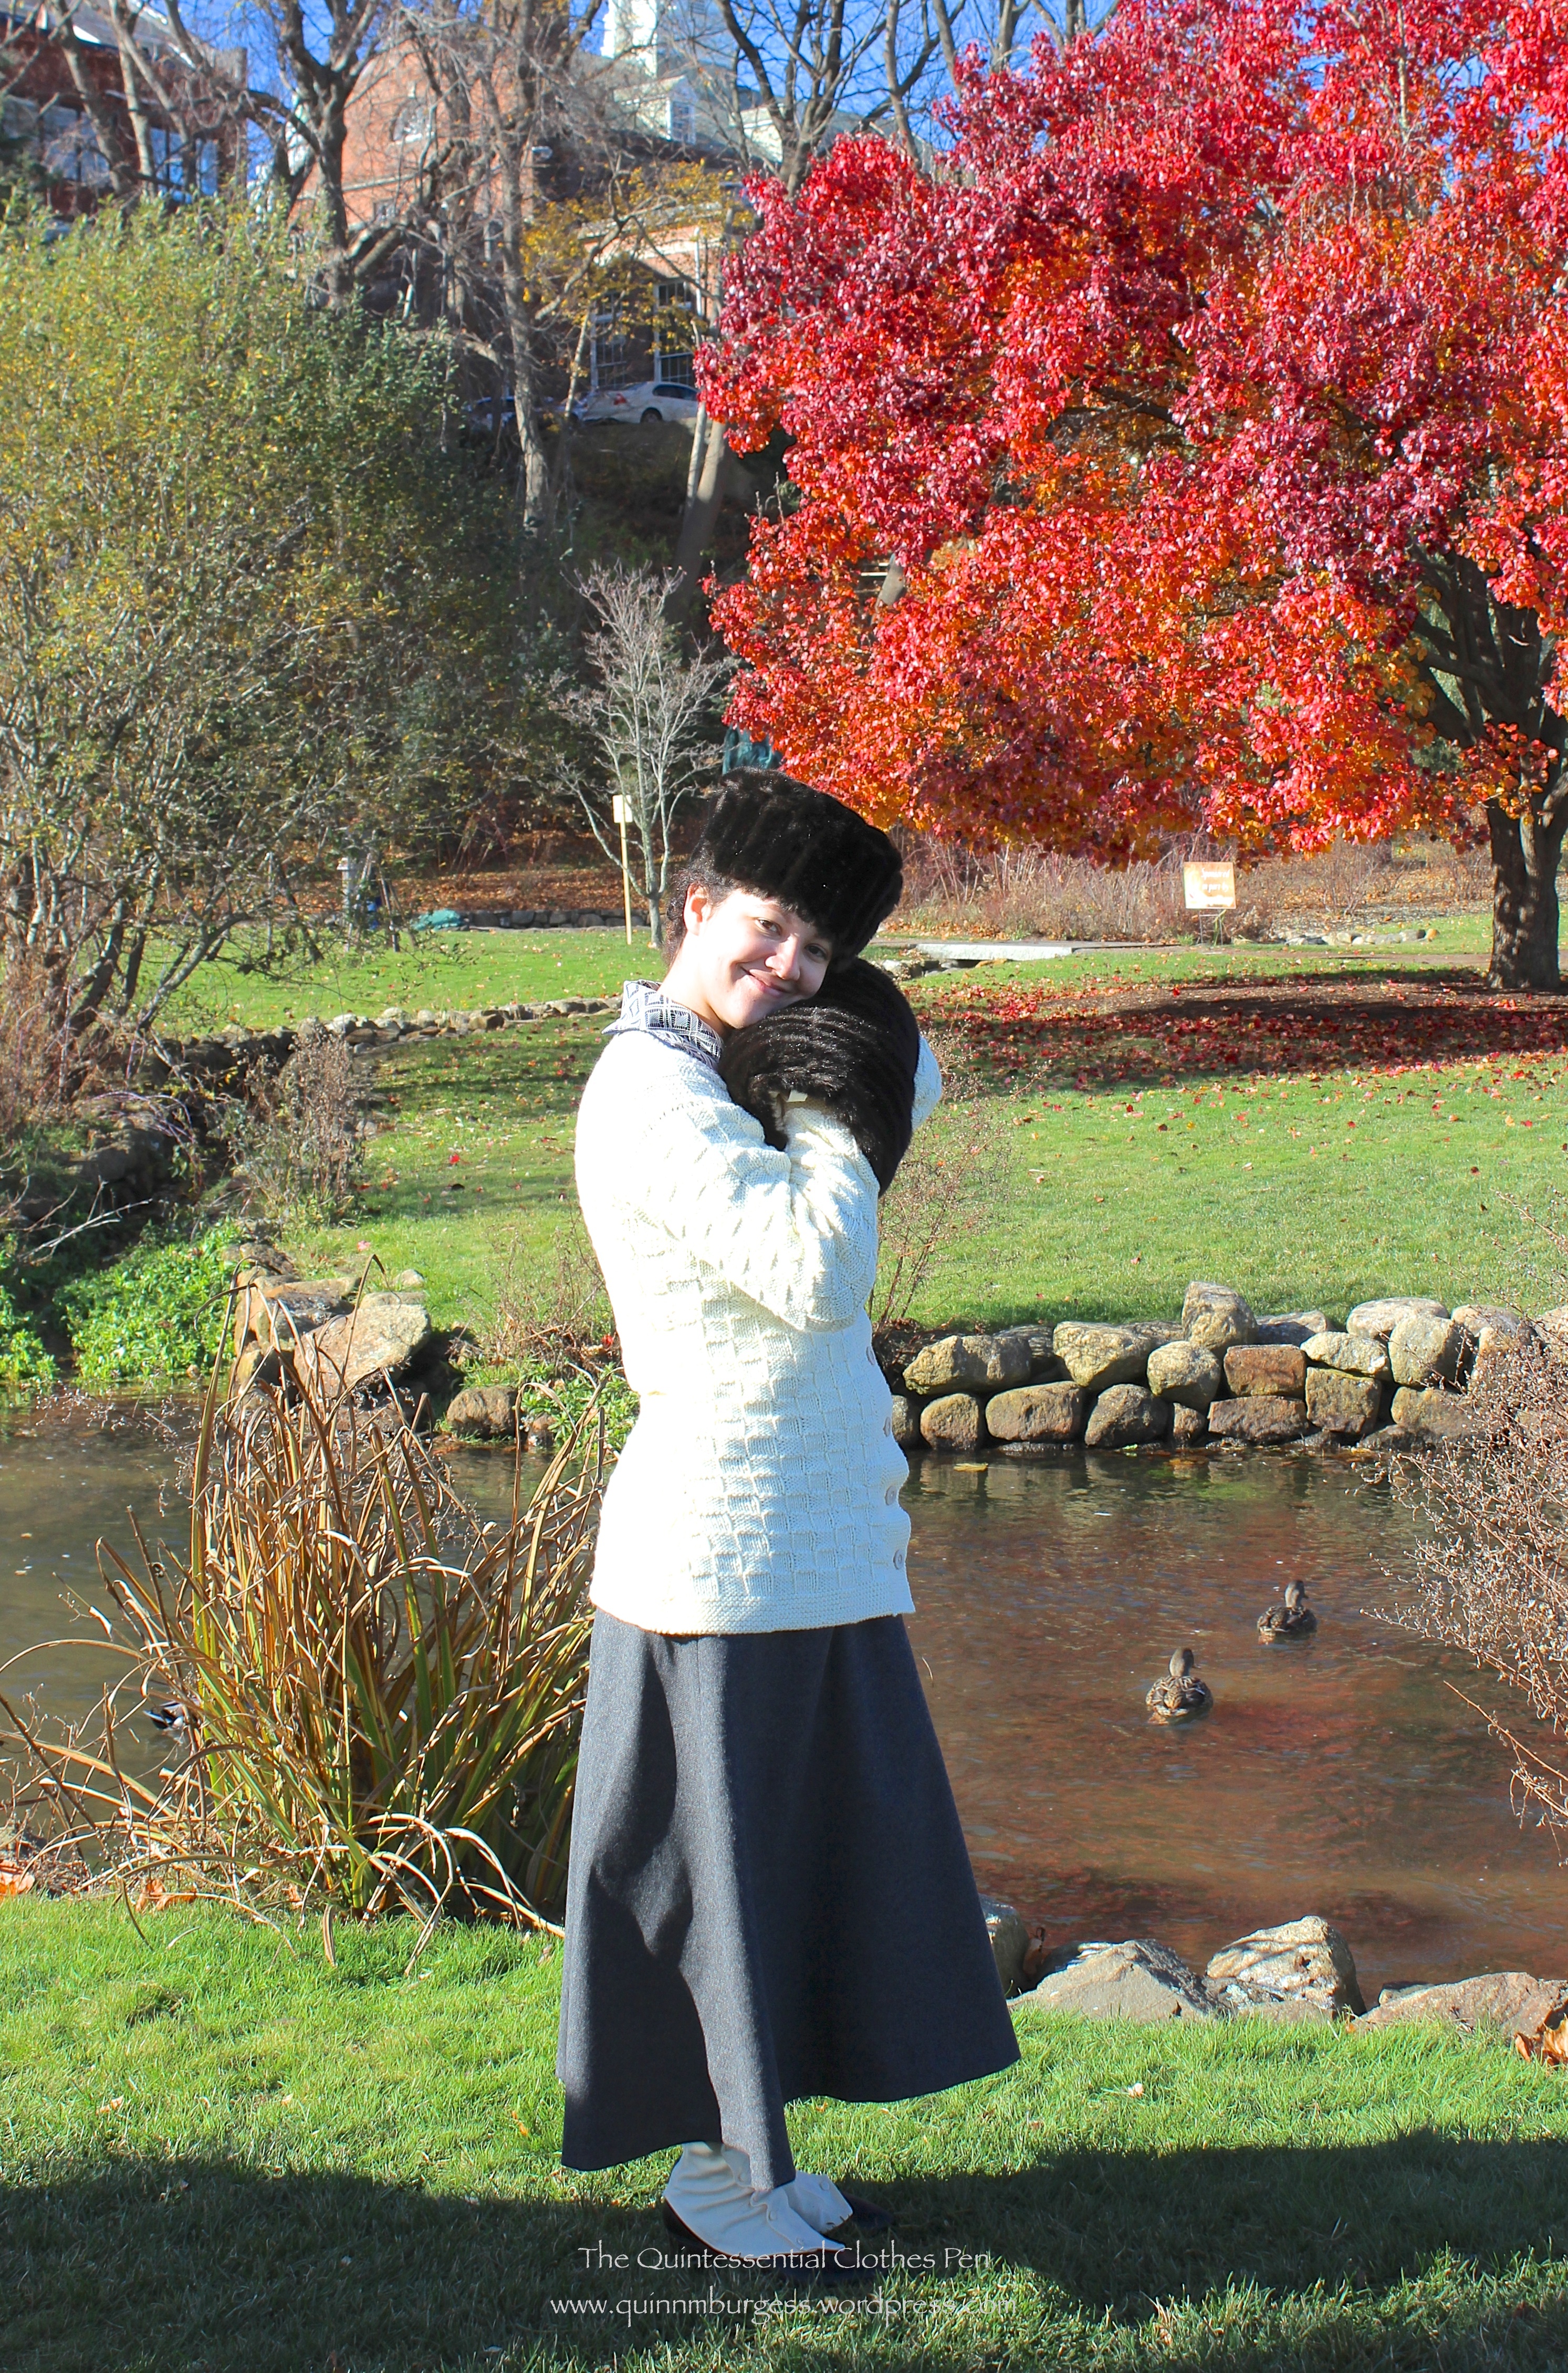
The muff and hat are super soft. In addition to keeping my hands in the muff, I also spent a fair amount of time hugging and patting it.
I’m using my recently completed 1917 fur hat and recently revised matching muff as my entry for this challenge. I think the hat and muff best qualify for a re-do of Challenge #20: Outerwear, which I did complete with my 1822 Walking Dress (so this would be a re-do of a challenge I already completed). So, the facts:
Fabric: About 1/4 yd of faux fur and about 1/4 yd cotton flannel.
Pattern: Created by me.
Year: 1917.
Notions: Thread, polyester batting.
How historically accurate?: 90%. Tall round hats of this sort were popular in 1917, though they were likely made of real fur rather than faux fur. The revised muff has a great shape for lots of periods, including this one, and is pretty accurate, aside from the fact that it is also faux fur. Oh, and neither hats nor muffs were insulated with poly batting… but it is so warm! And no one will know except me, and those of you reading this!
Hours to complete: Unknown. I was pretty tired while working on the hat, so I know it took longer than it should have. The muff was quick (like 2 hours) but that’s just the revision. I don’t remember how long it took to make it originally.
Total cost: None, since I bought the fur and the flannel specifically for the muff over two years ago I count it as a stash project.
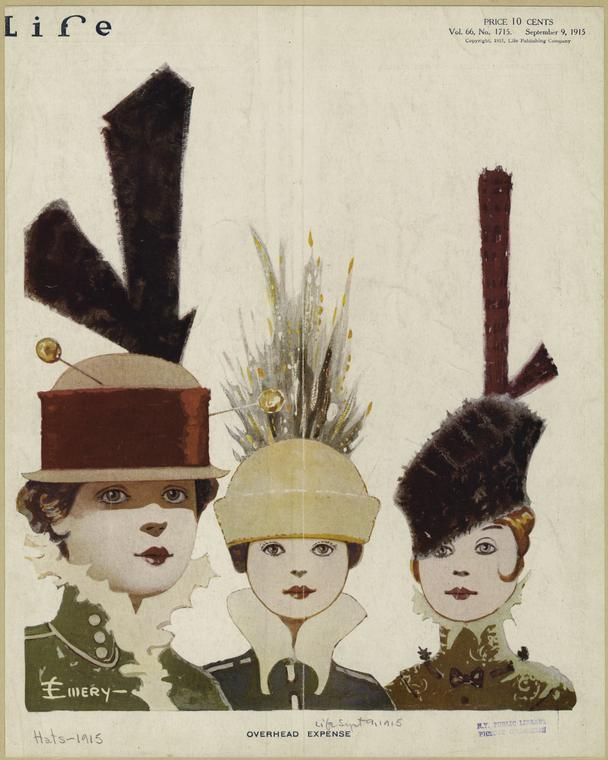
Here’s my inspiration for the hat. I was aiming for the exaggerated shape on the right. I don’t think I quite achieved that, unfortunately. I did actually spend a lot of time patterning the hat so it would look right sitting at an angle rather than straight. I think I was so cold when I was wearing it that I pulled it down to cover more of my head and thus pulled it off of its angle. Sad! But also, the thick fur rather obscures the shape anyway. I chose not to do the sticky-up bit, partly because I ran out of time, and partly because I just didn’t know what to make it out of, since the hat was already fur. Oh well. I really like that middle hat, too…
1915. In the collection of the NYPL.
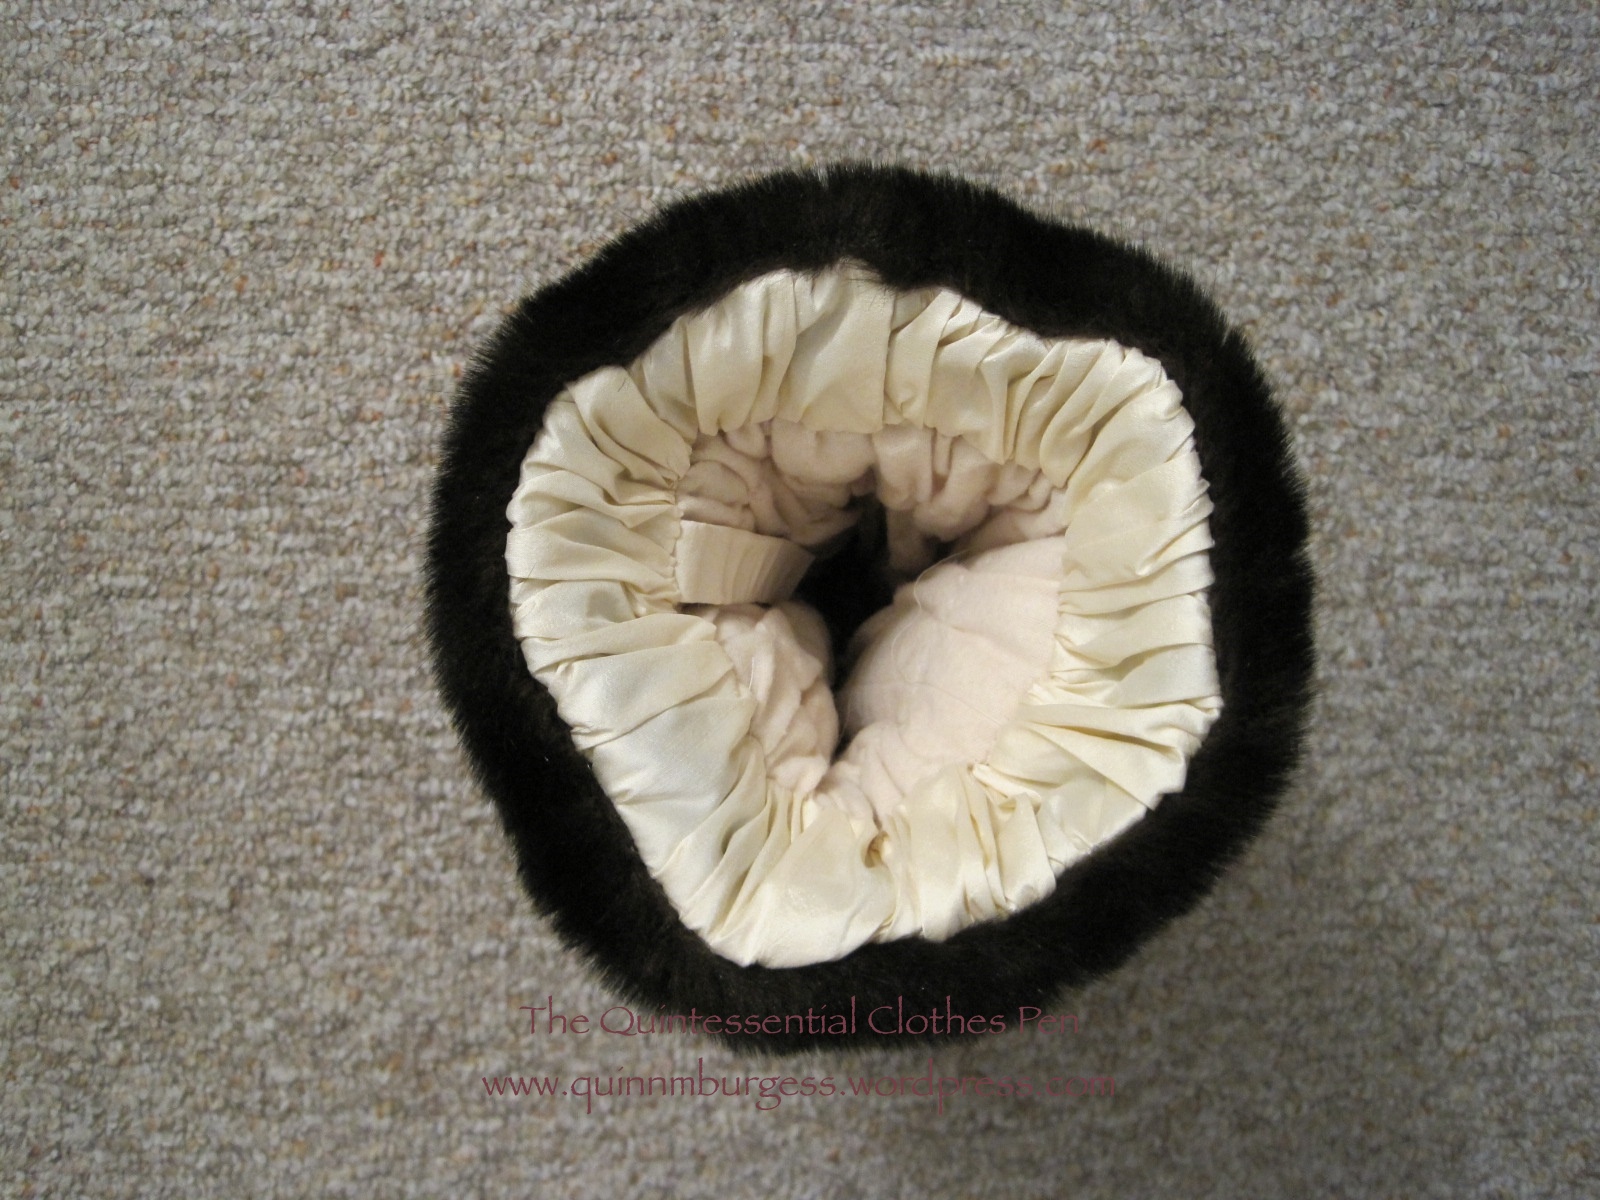
I originally made the muff for an 1860s event a few years ago. I had a plan to use gathered silk for the two ends, but it turns out it looked cooler in my head than when I executed the plan. Also, the muff was a little longer than I liked, so I decided that for this event I would shorten the muff by taking off the silk ends and folding the fur over to cover the ends. Here’s my Pinterest board of inspiration for this project. You’ll see that there are various shapes and sizes of muffs c. 1917. Mine is somewhere in the middle in terms of size and shape.
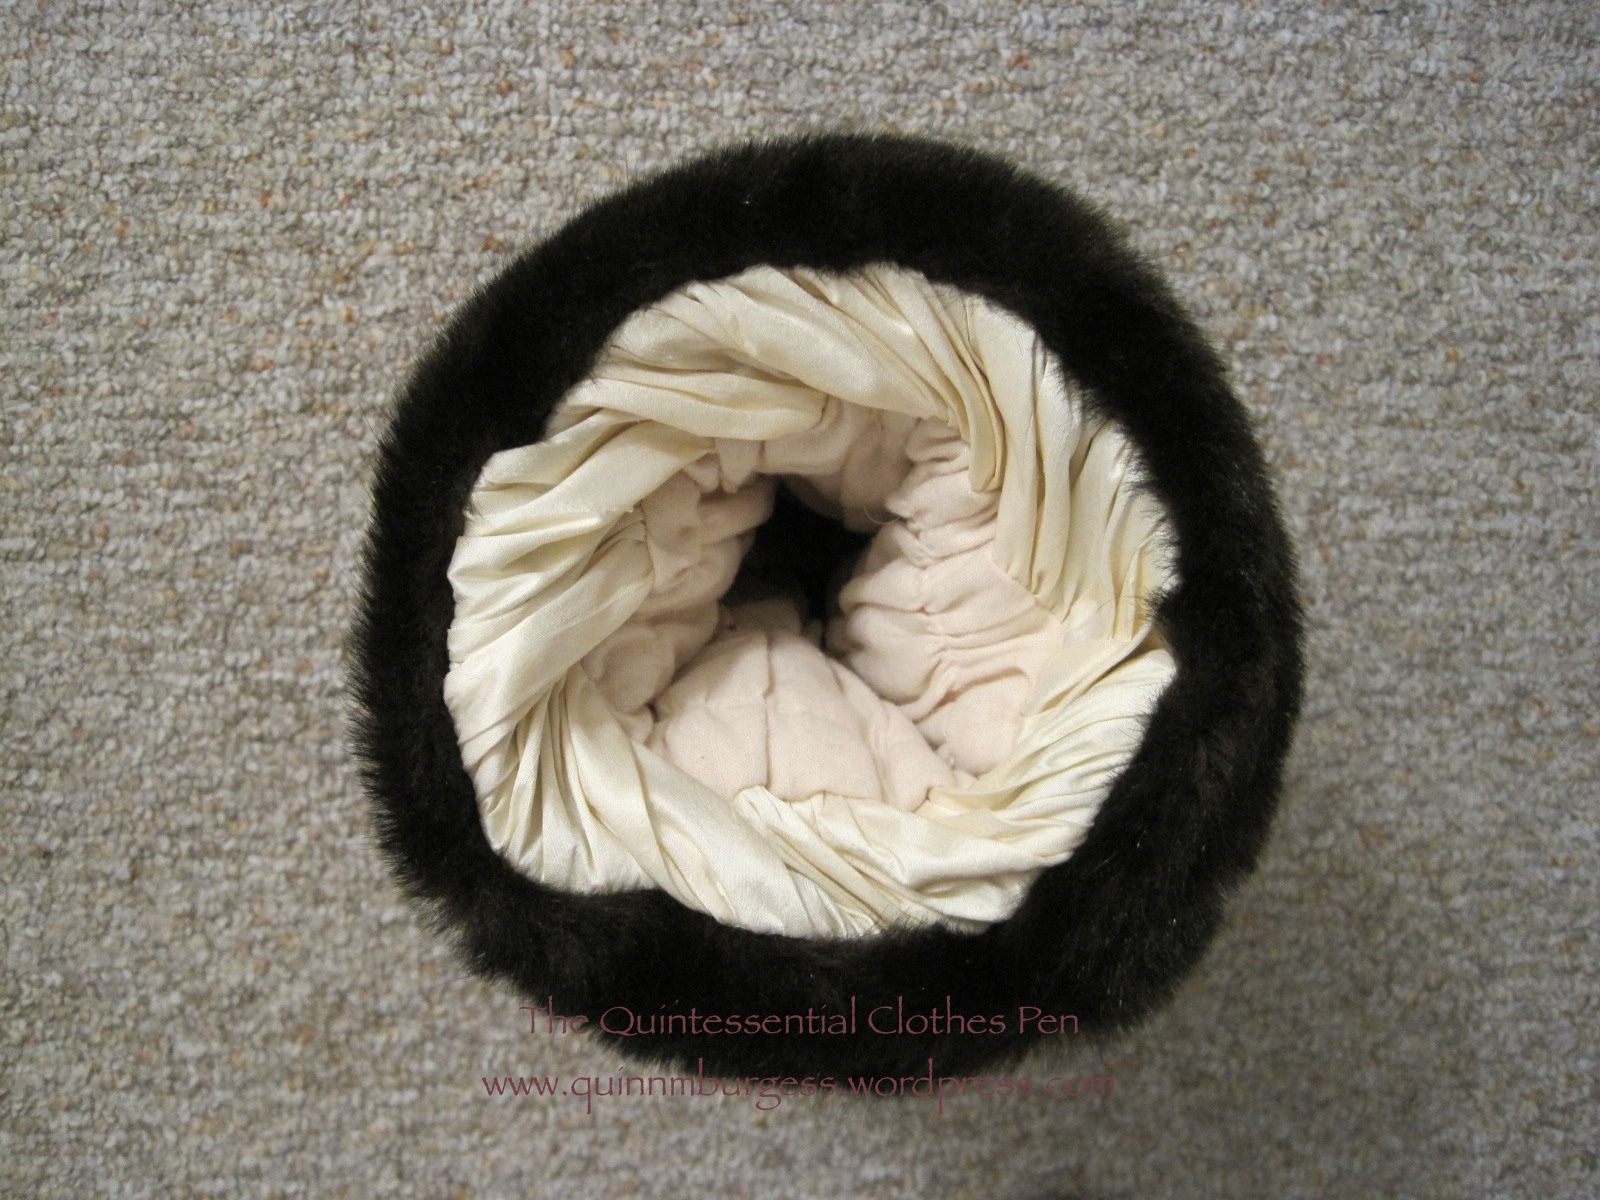
This is sort of what I was envisioning with the silk on the ends, but it is a little underwhelming. You can see the cotton flannel lining in the middle. It holds body heat, so it doesn’t feel cold when you put your hands in!This is the other side. It’s pretty twisty and sad.
But as I said, I took the silk off, folded the fur down over the ends, and sewed it directly to the flannel. (I have plans to use the silk for a Regency reticule at some point in the future… yay recycling!) You can see the results in these next few pictures. I’m quite happy with the results! The muff is about 3″ shorter and I like the look of the fur on the sides.
See the fur on the sides? That used to be the silk part.This was our silly shot and it shows off the new muff end well.Another silly shot, just for fun. I think maybe I was trying to keep my face warm?
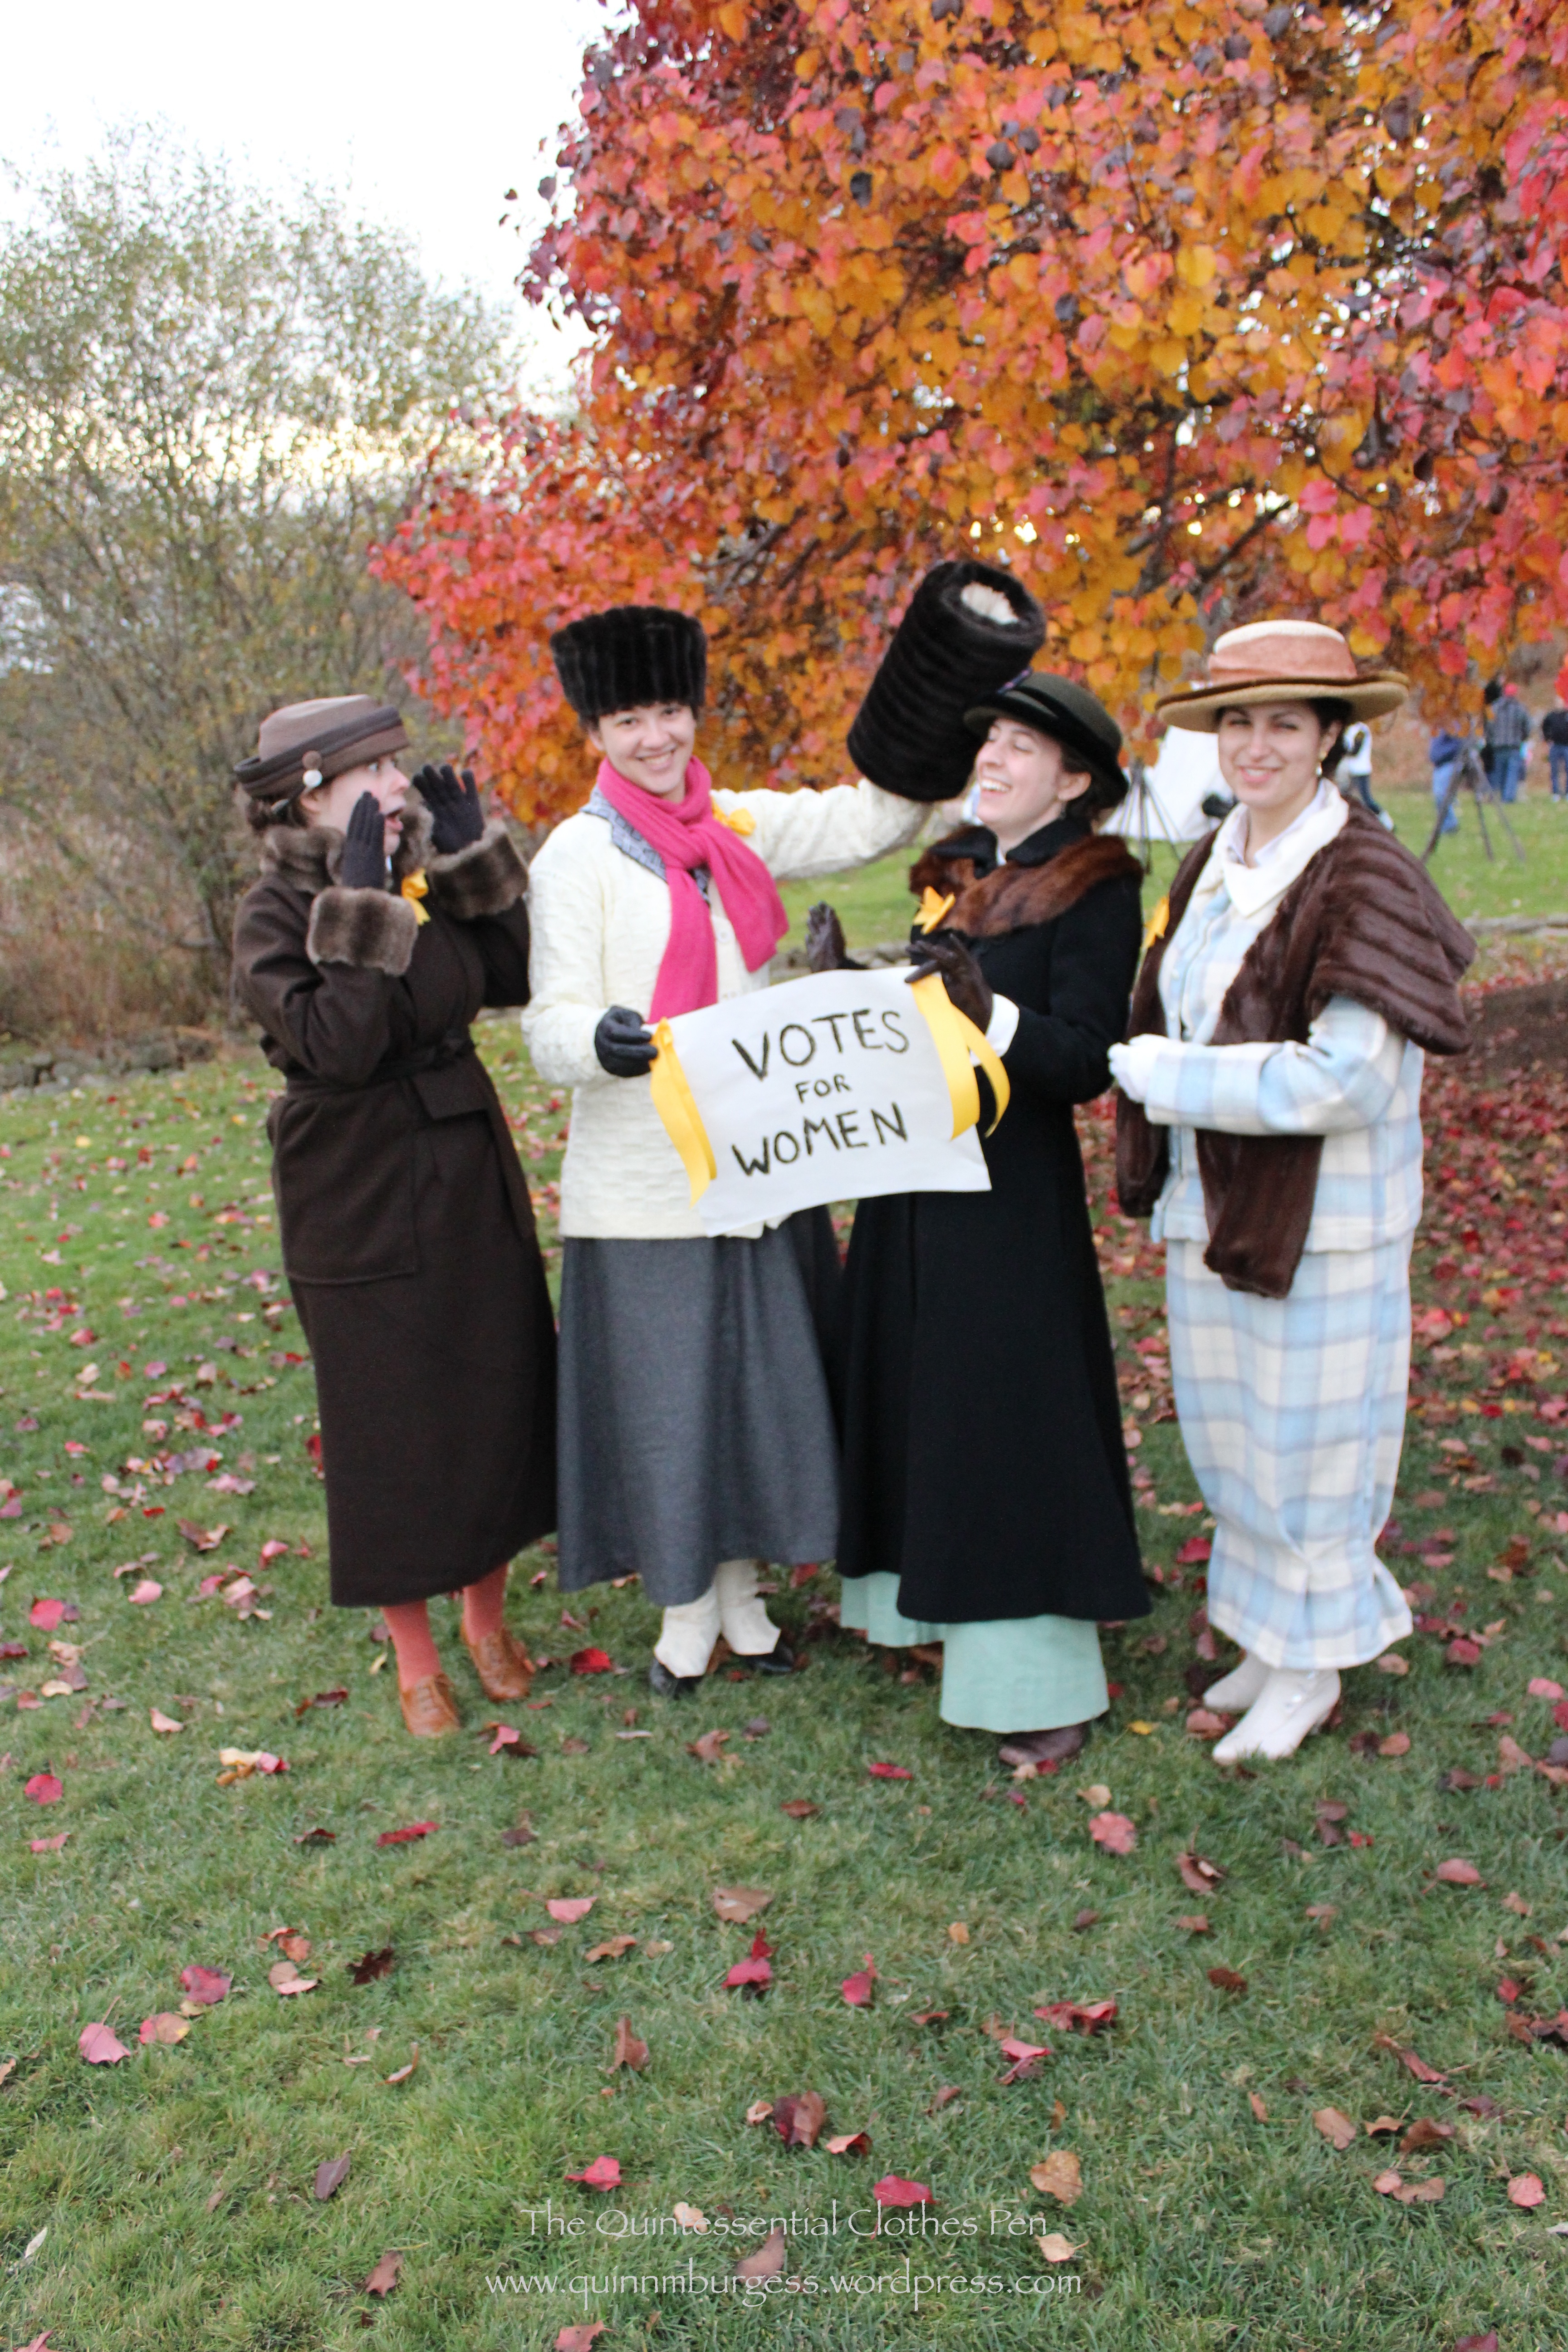
If you saw my last post, you were left guessing as to what event I was furiously sewing for. I think most you guessed that it had to do with women’s suffrage… Yay you! The entire event wasn’t really about suffrage, but suffrage was a part of it. We went down to Plymouth, MA to be a part of a historic village event that was linked to the main Thanksgiving parade in town.
The historic village contained various groups from the early 17th century, groups from the 18th century, Marines from 1812, a unit from the Civil War, my usual dancing friends and I representing women’s suffrage c. 1914, and paratroopers from the 1940s. The parade was…a parade. There were historic groups in it (including some of the military groups I just mentioned), there were marching bands, there were floats, there were unicycles, and there were horses doing various things.
And I’ve got pictures! To start, here are some images of the parade:
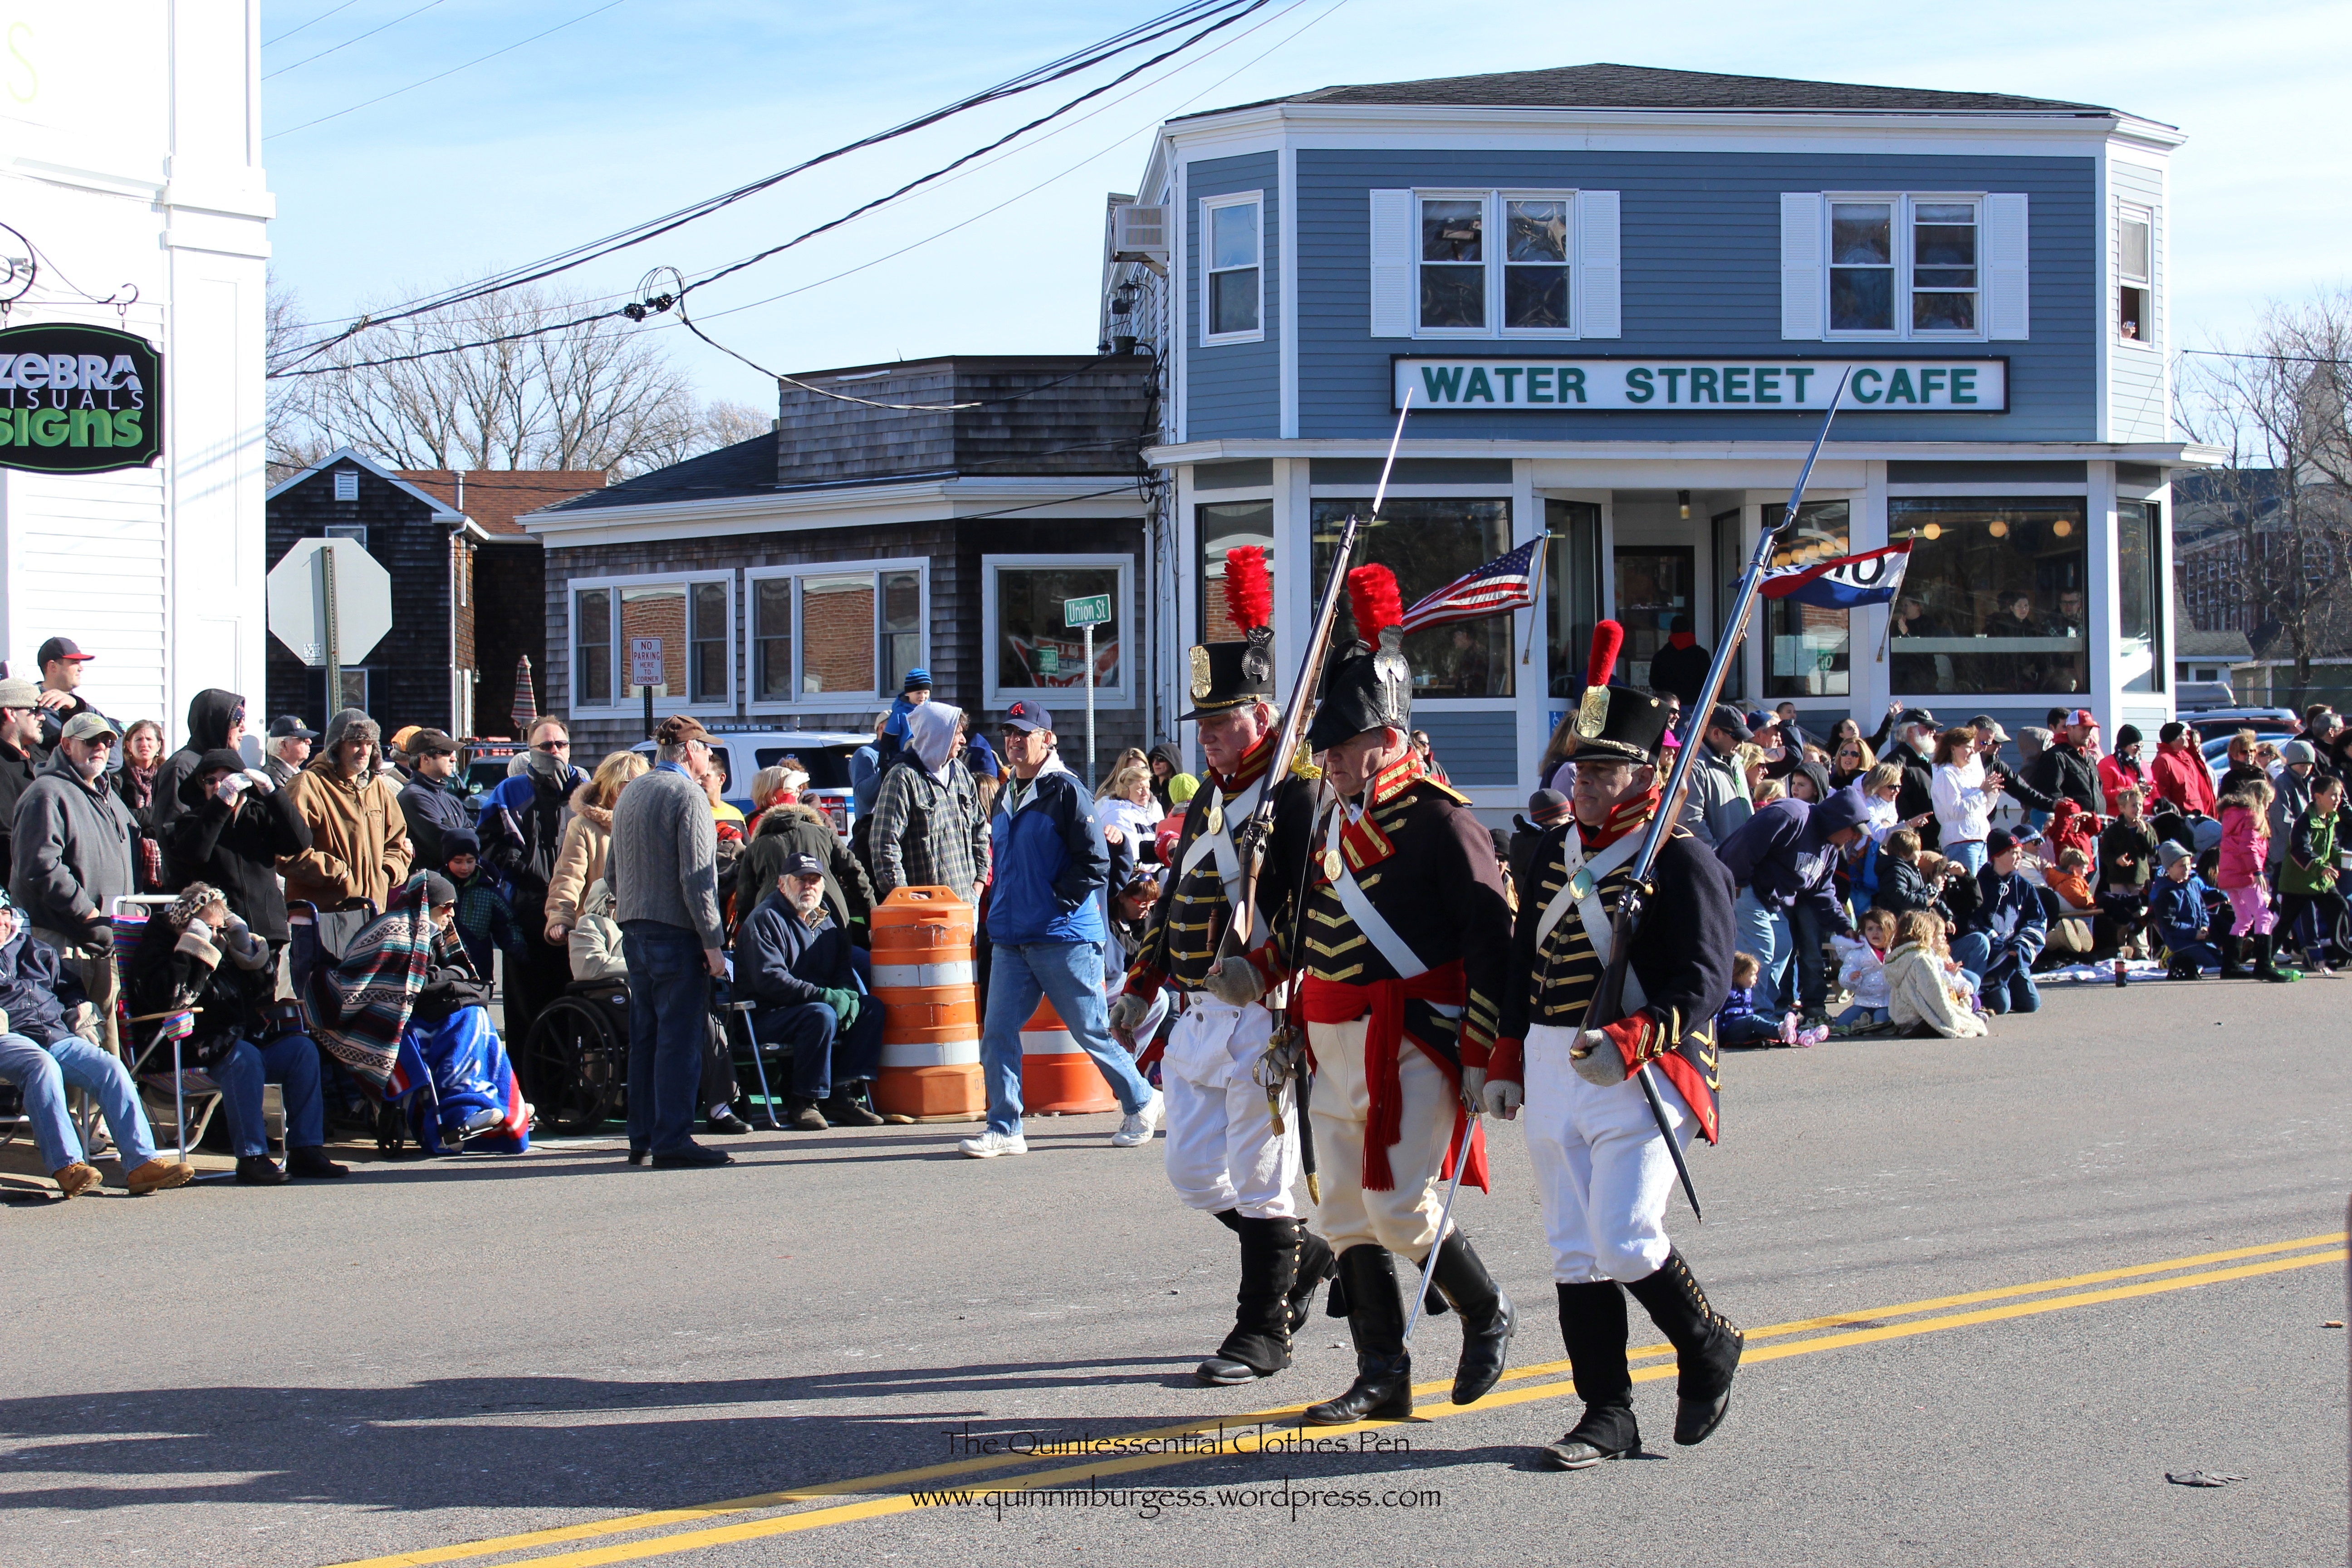
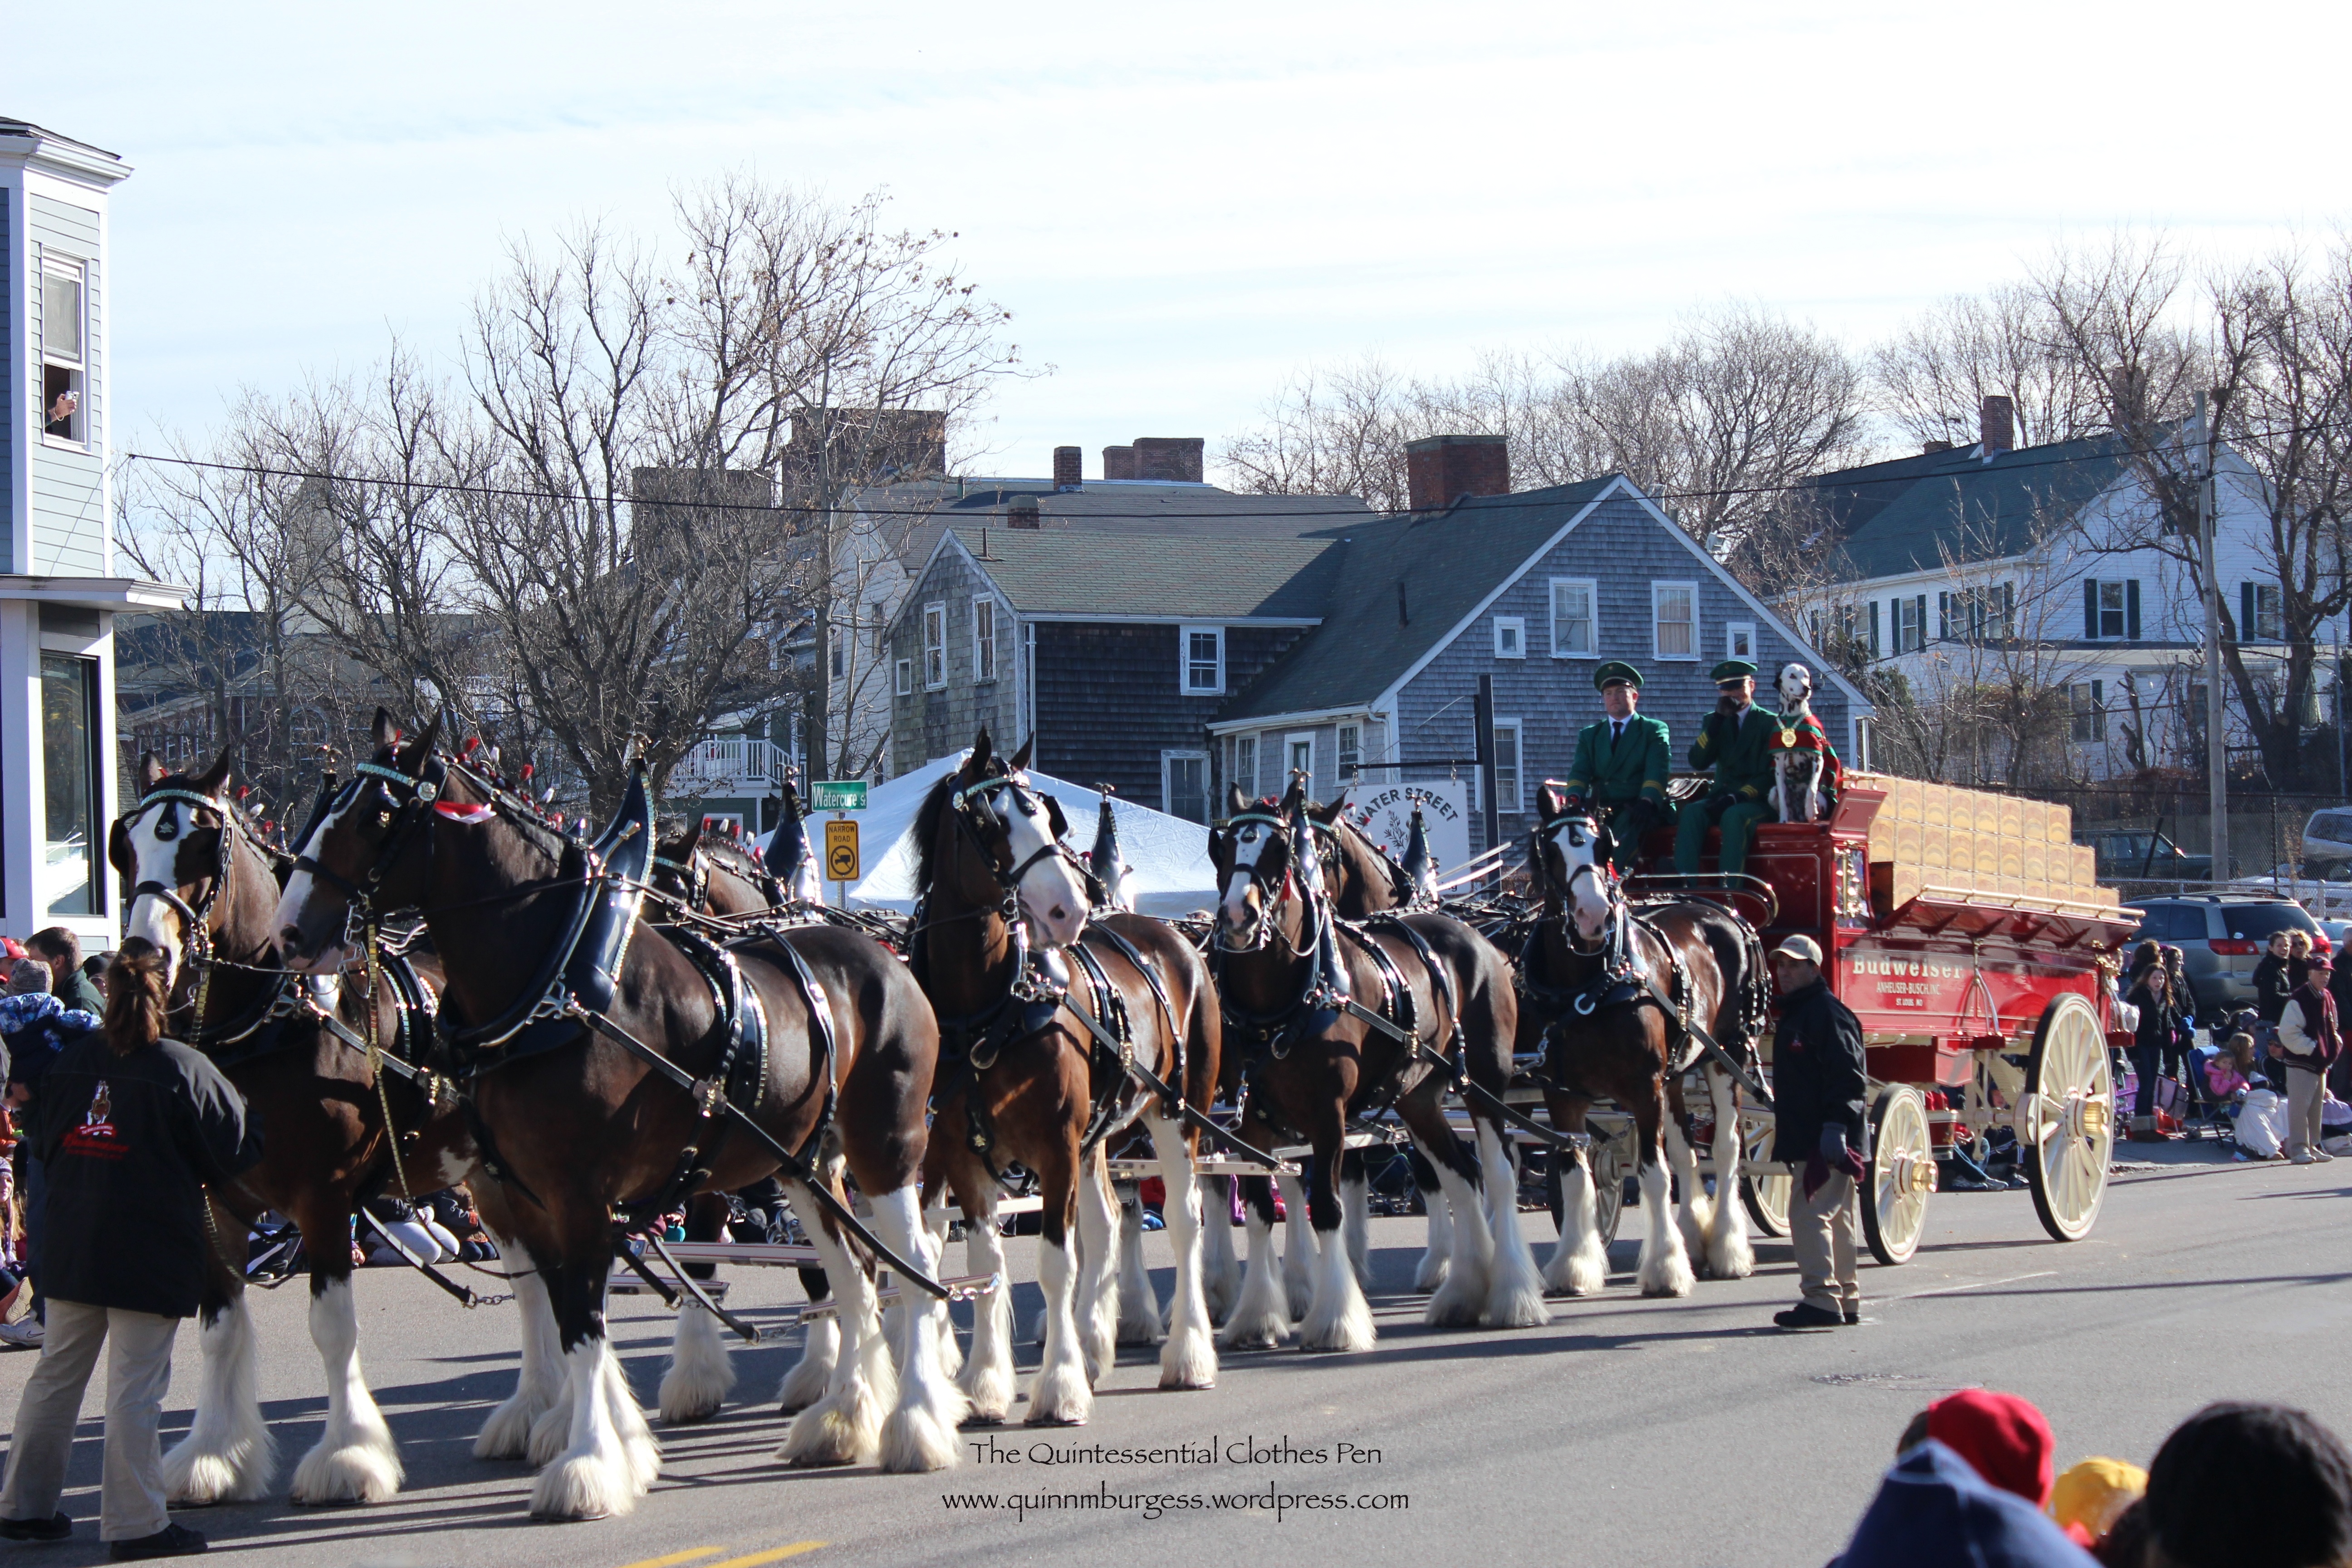
Happy Thanksgiving! The giant inflatable turkey was pretty amusing, especially when he had to slightly deflate to get his head under the power lines!Often these guys are dancing with us, but at this event they were hanging out in the 1630s as the Salem Trayned Band.Some of our other friends: 1812 Marines.8 beautiful (and large!) Budweiser Clydesdales.4 spirited horses pulling…A fancy Wells Fargo stage coach!A super snazzy green car, with bright green trim!Red, white, and blue confetti in the cold, clear air near the end of the parade route.
Next, here are some images of our representation of Suffragists and our setup in the historic village:
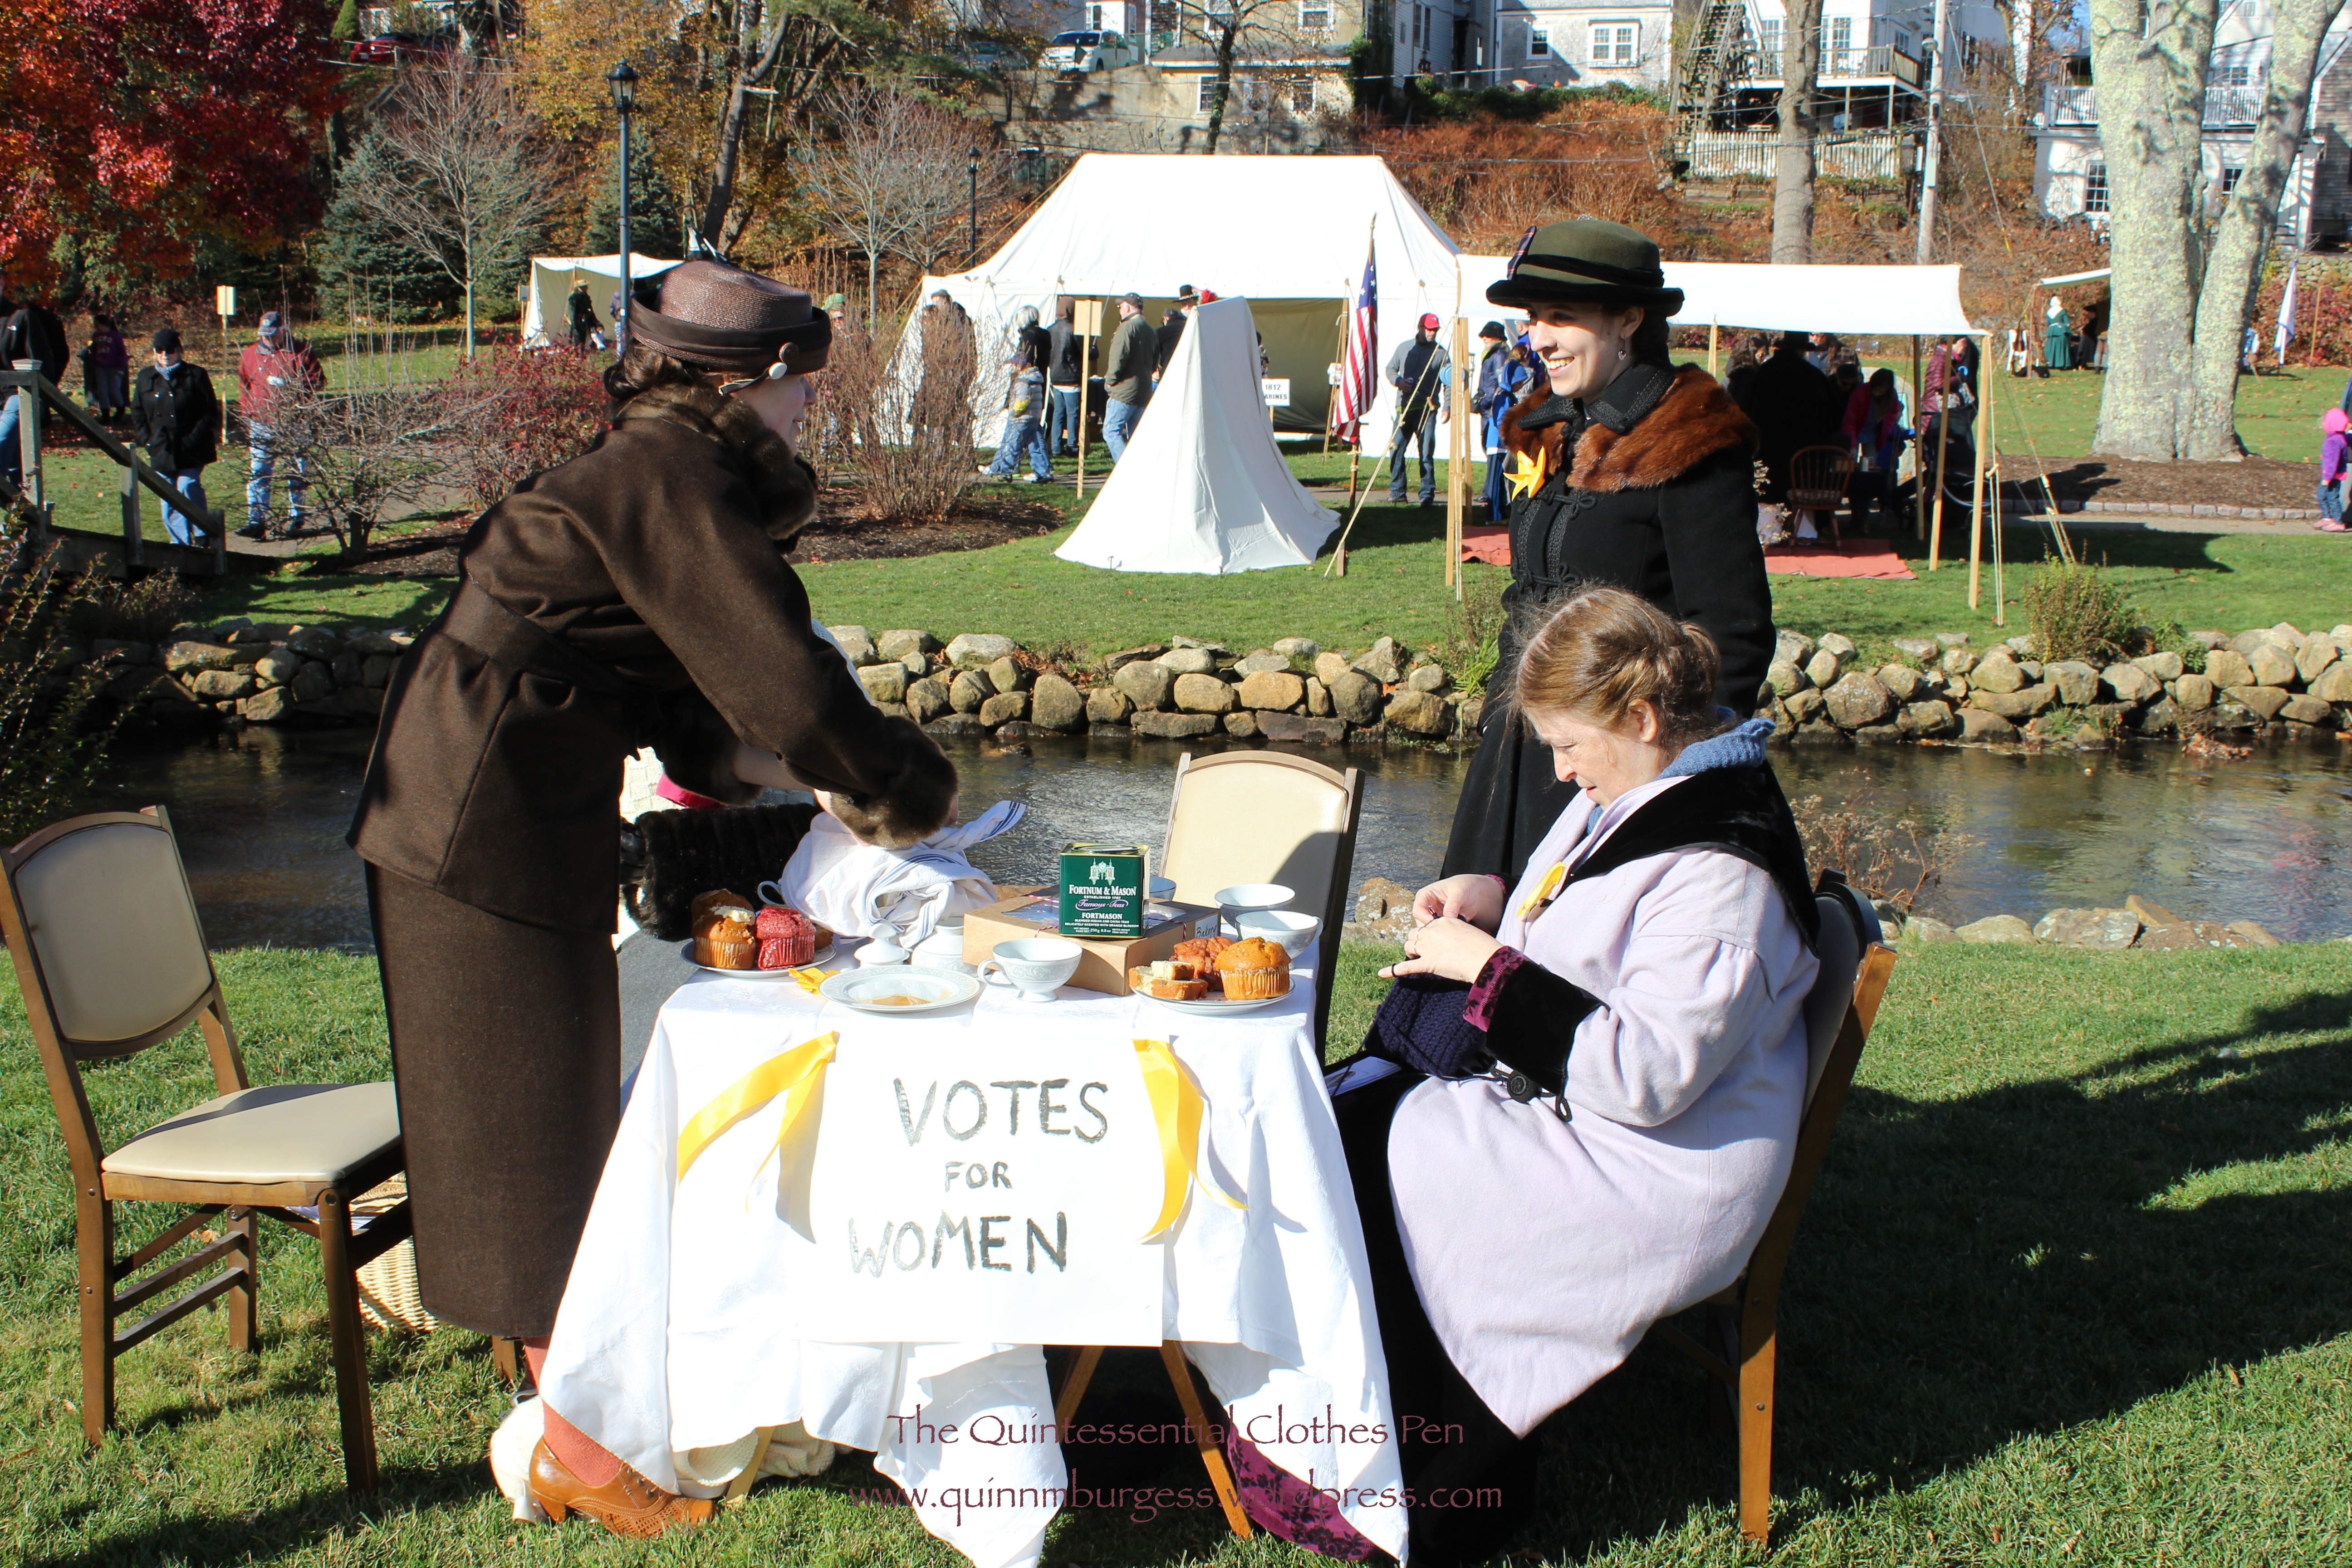
Setting up our tea table. Other setups included tents and smoking fires (it had rained the day before and everything was damp and mushy, so the fires didn’t really work…).Yes, we really did drink tea. In china cups. It actually was very nice to have hot beverages throughout the day given how cold it was outside!See, we’re drinking our tea!We didn’t march in the parade or parade around the historic village, but we did serenade the ducks in the creek behind us (and visitors walking by) with suffrage songs.Here we are making “serious suffrage” faces.Ok, smile for the camera.
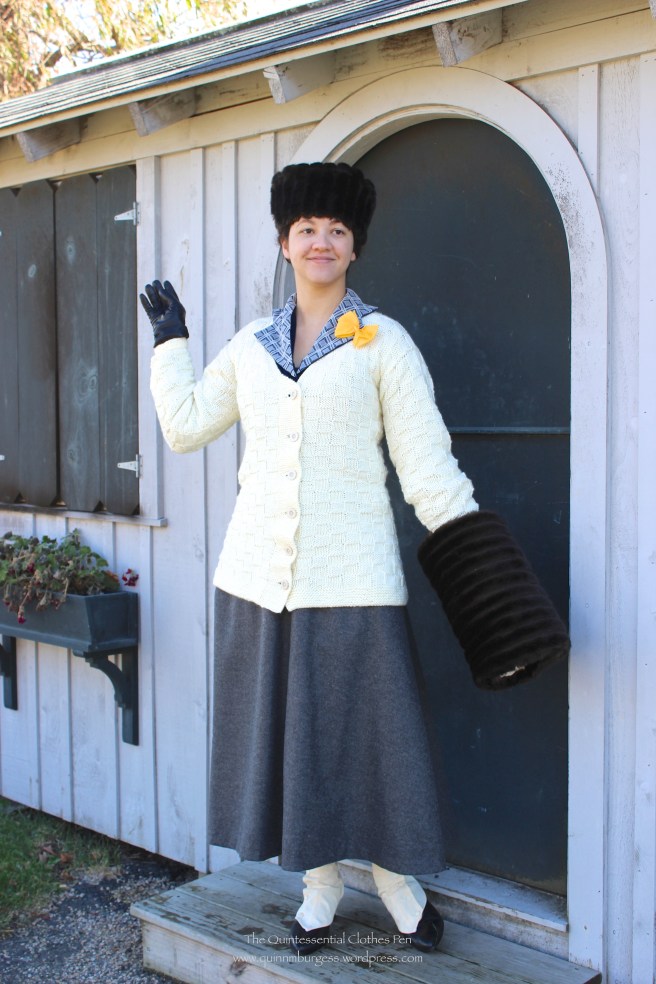
The best part is that in addition to sharing a little bit about history with the public and getting to watch the Thanksgiving parade in all its glory, I was able to use this opportunity to build and wear an outfit showing off my recently completed 1917 Knitted Sweater of Angorina. I had to plan for cold weather, but I didn’t want to cover up my sweater! So I planned a faux fur hat to match an existing muff, a wool skirt, a polyester crepe blouse (in this case, the polyester was a great choice, because the fact that it wouldn’t breathe would help me stay warm and use up a random bit of fabric in my stash that had no other project in its future!), and did a mostly unnoticeable revamp on my 1860s/can-look-like-other-decades fur muff (which was essential, it turned out, for keeping my hands warm!). And to look stylish, I made gaiters to turn my 1920s American Duchess Gibsons into 19-teens looking spat-boots. And all of the fabrics were from my stash! The gaiters might just be my favorite part of the outfit, and both they and my fur hat will qualify for the next two HSF challenges, so you’ll see more detailed information on those soon! All in all, I managed to stay warm, except for my feet! I wore thick tights, but I didn’t think to wear extra socks, and my toes and feet were SO cold! Note to self: wear thick socks next time an all day outside event in the cold is on the horizon…
And here is my brand new 1917 outfit:
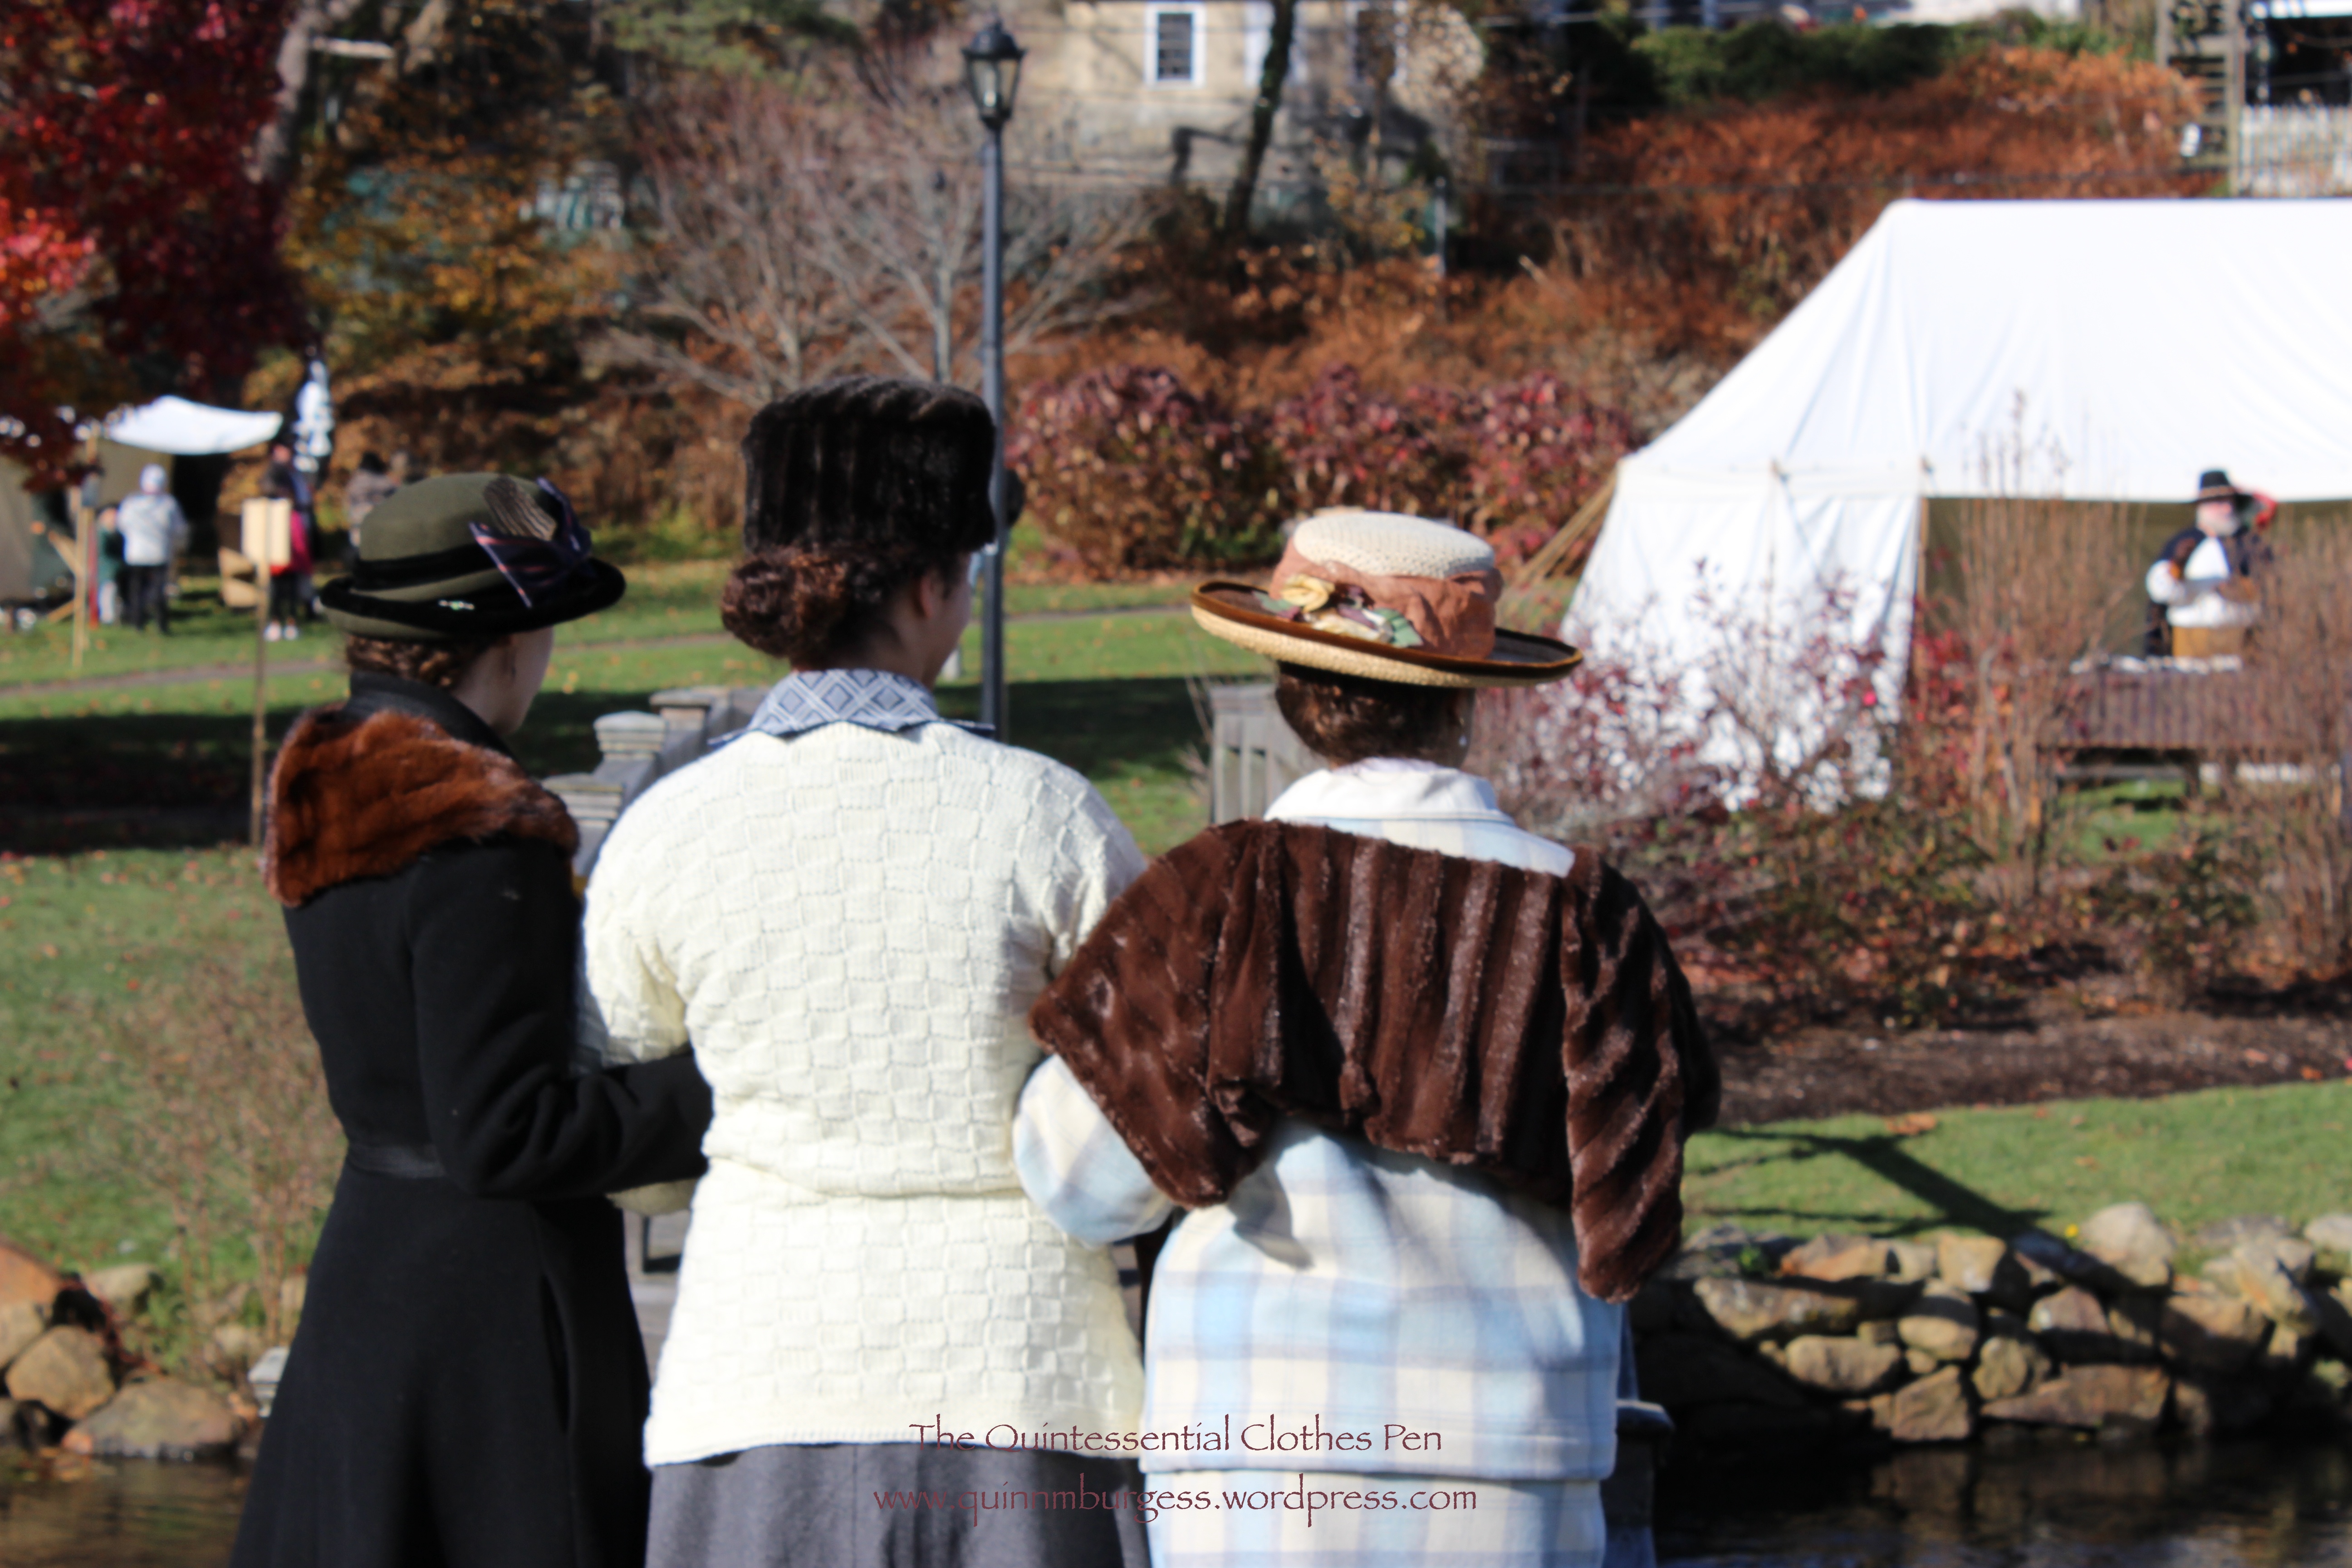
Yay! New hat, revised muff, new blouse, hand knit sweater, new skirt, and new gaiters, worn with my Gibsons, my modern cashmere lined leather gloves, my 1913 petticoat pinned up to shorten its length, and a golden yellow ribbon in support of women’s suffrage. I was able to completely finish my accessories, but the blouse and skirt didn’t get as far as closures. You can’t tell of course, but safety pins are great sometimes. These two garments now live in the “need to be finished” section of my sewing list.One of the only back views. The blouse has neat collar details (see those cute points?) and neat cuff details you obviously can’t see. When I eventually finish the blouse and skirt I’ll post more details about their design and construction.
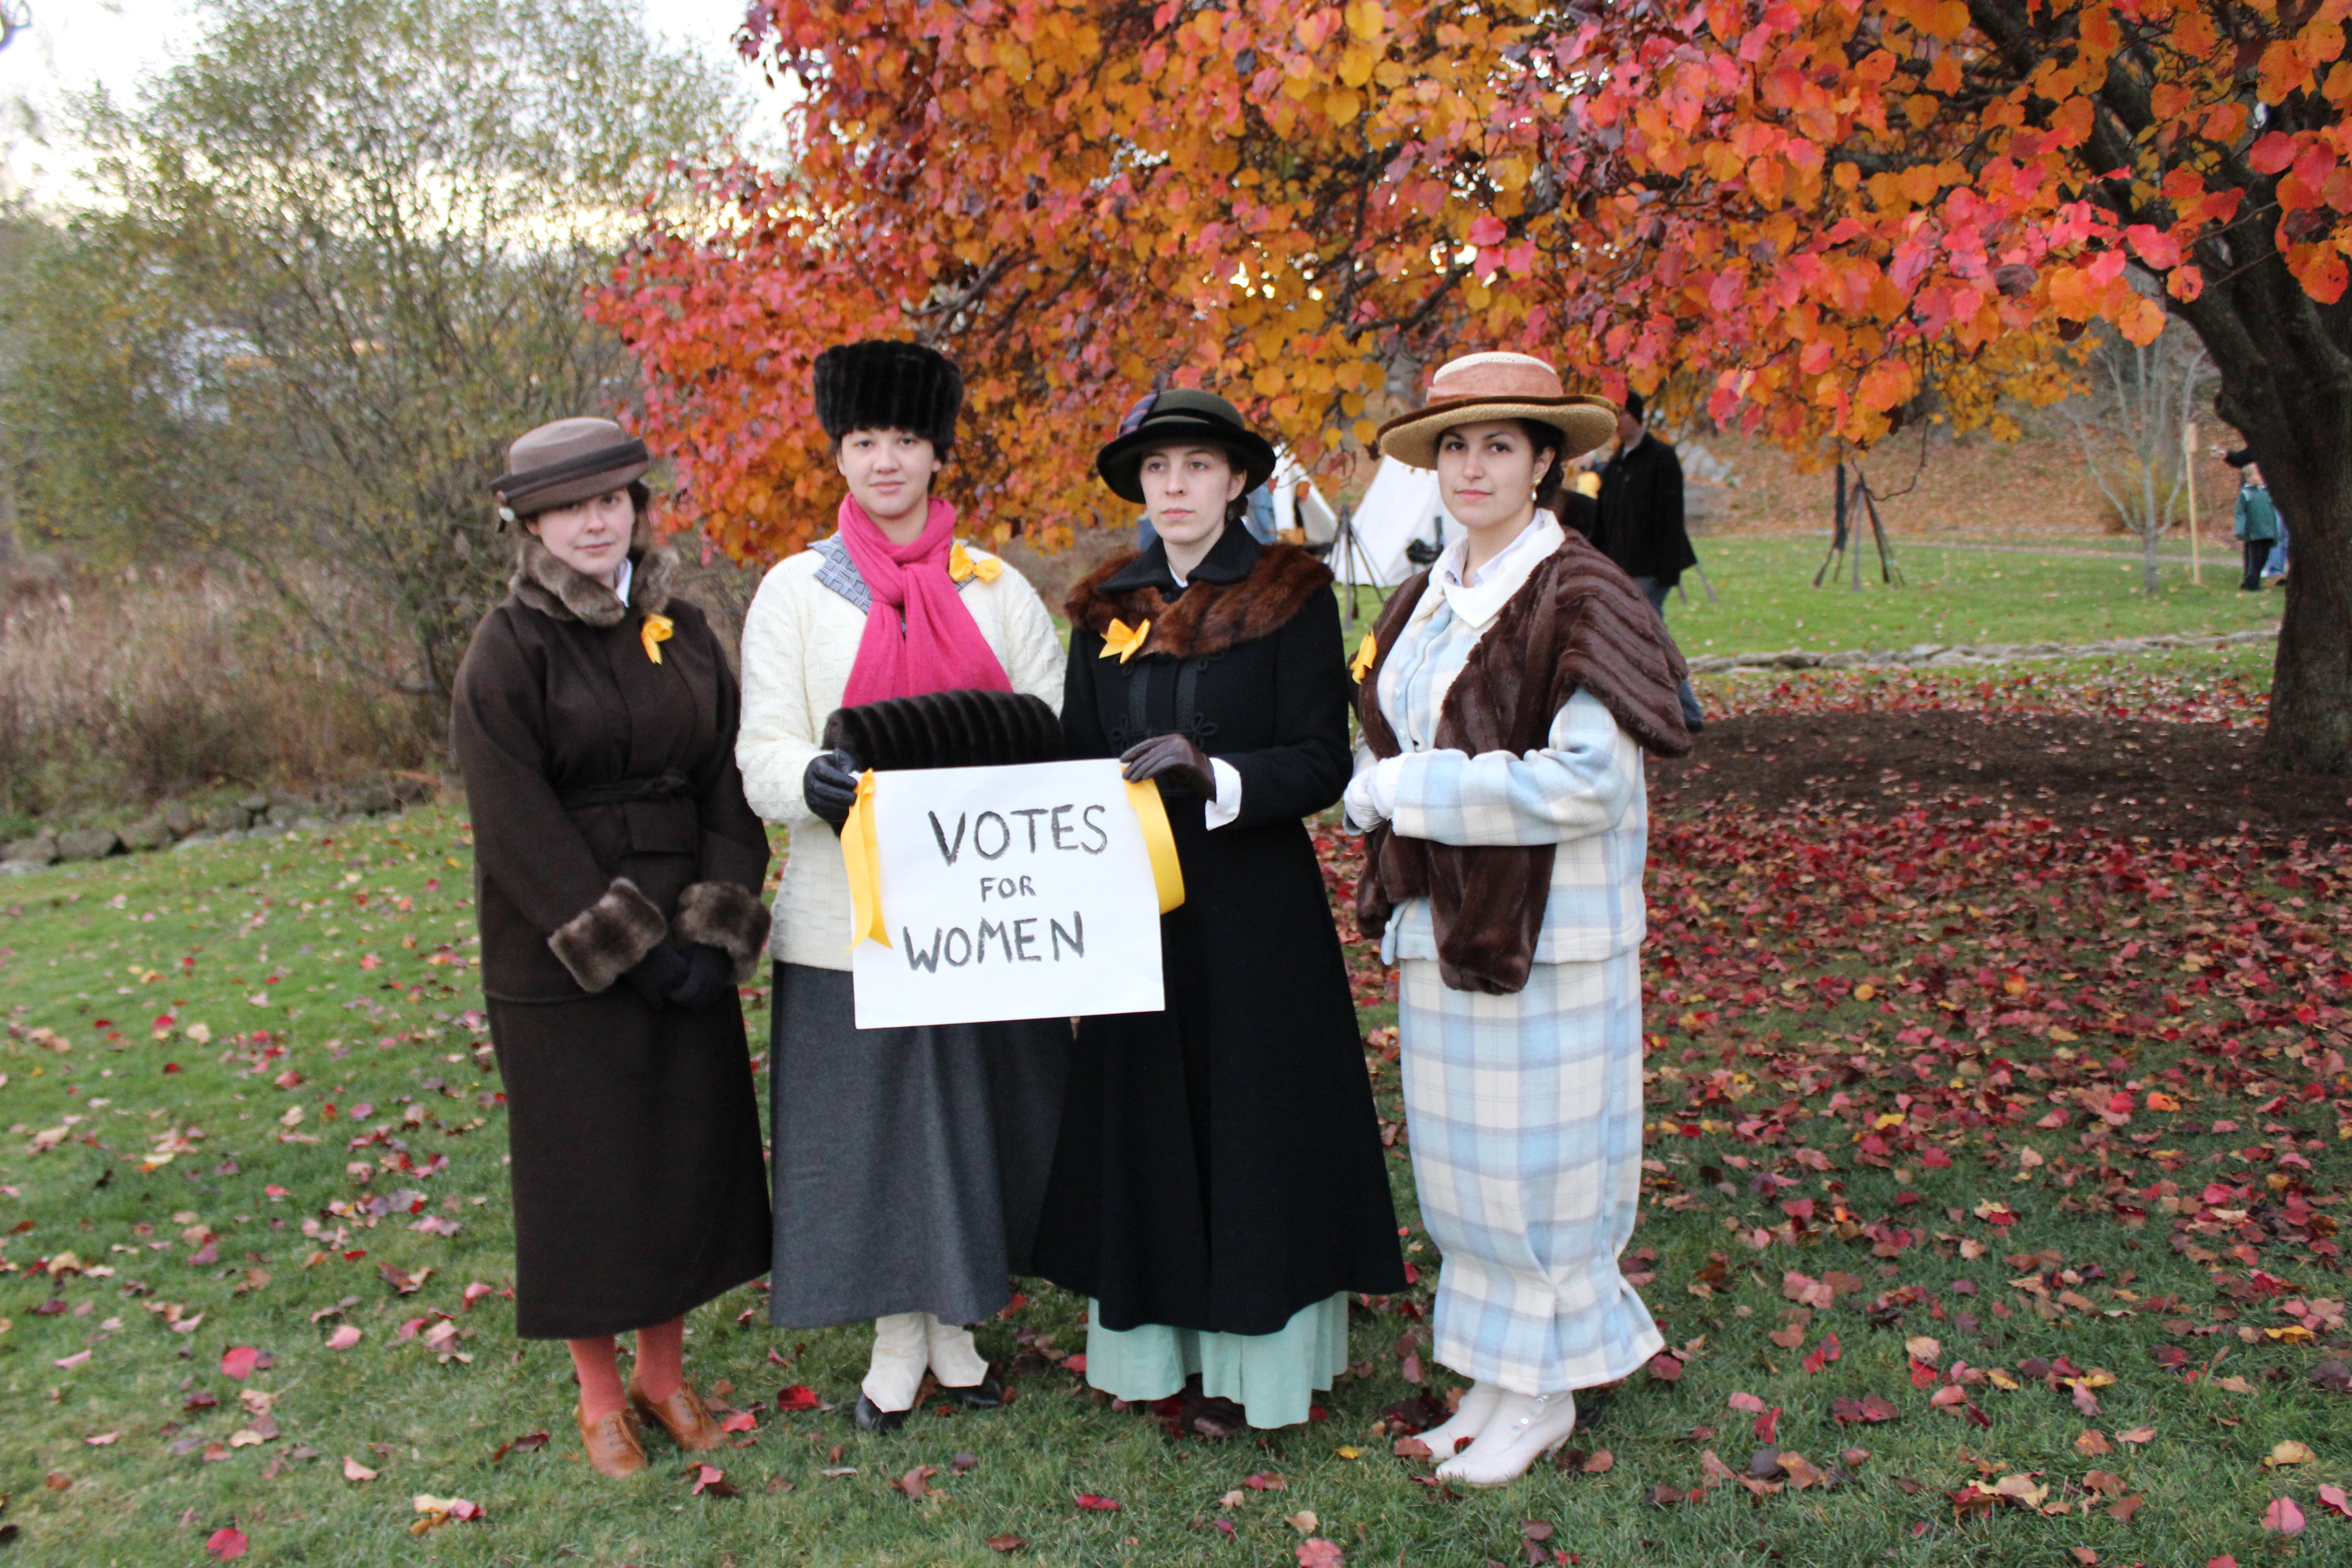
Despite last minute sewing for all of us, we all looked good and had fun wearing clothes from the 1910s while sharing a bit of important history with the public:
The 19th Amendment, which gave women the right to vote in the US, was ratified in 1920, after over 70 years of struggle. I think it’s fitting that Thanksgiving and women’s suffrage were related events for us ladies this year. In addition to many other things, we’re thankful for those who fought to get women the right to vote!
Product links in this post contain an affiliate code, which provides a small benefit to my shoe fund. This does not affect my impressions and reviews of this product.
I’m sewing away furiously on an outfit for an event tomorrow. My head and feet accessories are complete, but I still need the important things like a skirt and blouse… So while I don’t have time for sewing pictures or completed garment pictures today, I thought I’d share a bit of visual research related to the event tomorrow. It’s up to you to imagine what sort of event I might be attending, and what sort of clothes I might be wearing…
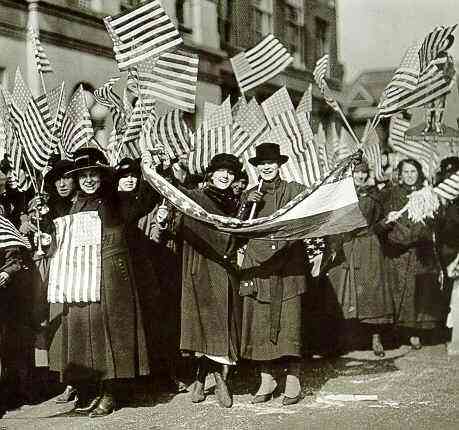
SourceSourceSourceSuffragists “march in October 1917, displaying placards containing the signatures of over one million New York women demanding to vote.” Source
In the spirit of the HSF #23: Generosity and Gratitude, I thought I’d share an annotated version of my altered 1917 Knitted Sweater Of Angorina pattern. Who knows, maybe you’re thinking of knitting this sweater or something similar right now, and this version of the pattern and these notes will come in super handy as you knit your own sweater?
“Knitted Sweater of Angorina” from the Star Needlework Journal 1917.
My version:
“Knitted Sweater of Angorina”
Here’s the pattern. I’ve put original directions in [brackets] if I’ve changed them, and included my version before the original version, so you can compare. My version of the pattern and any notes that I have added are in italics.
One of the major reasons I adjusted the pattern in places was in attempt to make it to my measurements (40″ hips, 30″ waist, and 36″ bust). On size 5 needles I was knitting 10 stitches in 2.5″, which was 2 squares of the pattern, and knitting 1″ vertically every 6 rows, which was 1 square of the pattern. If I had knit the sweater with this gauge and the original directions I would have had a sweater body that would be too big: about 12″ too big around and 3″-5″ too long in length.
ABBREVIATIONS: K – knit, P – purl.
MATERIALS: 6 skeins of probably acrylic yarn (of medium weight and unknown length, though on the smallish side, as modern skeins go (and I could have used 7!)); 5mm and 3mm knitting needles; 6 plastic buttons.
[17 balls of THE AMERICAN THREAD COMPANY’S Article 200 “Angorina” Fluffed Cotton, size 4; two long celluloid knitting needles No. 5 and two shorter celluloid knitting needles No. 3; 6 buttons.]
DIRECTIONS:
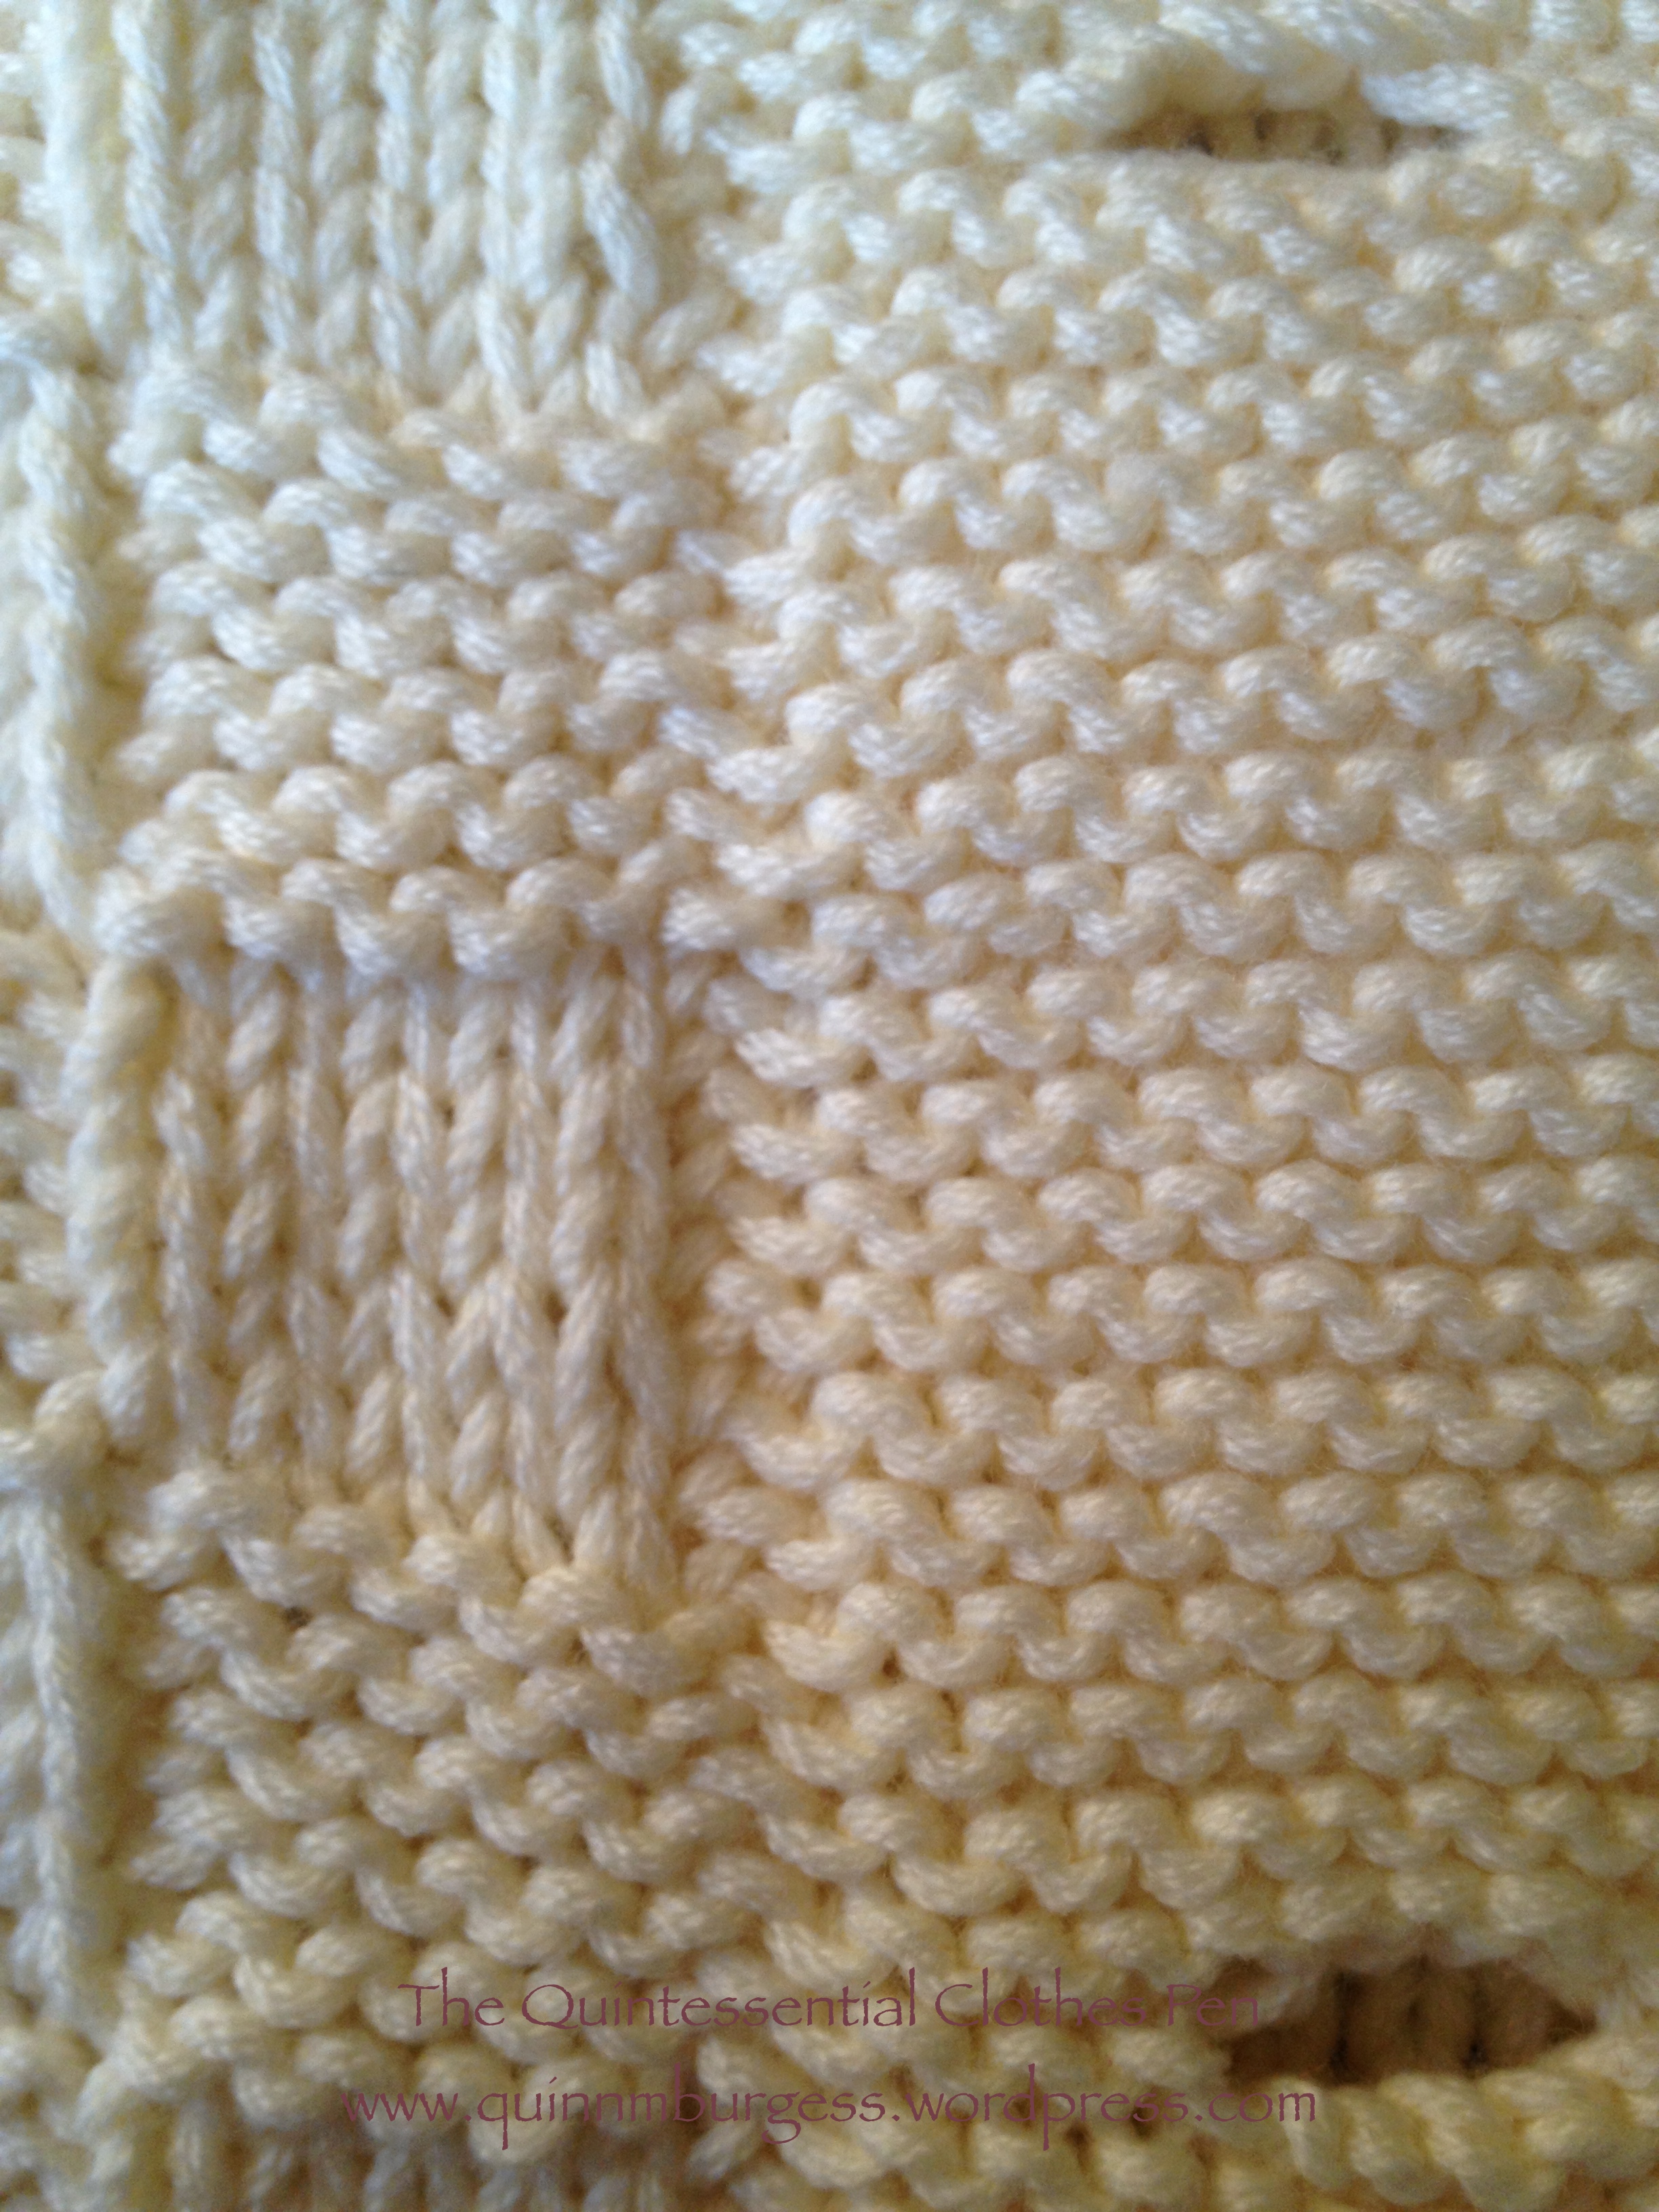
For the Basket Stitch pattern: Cast on a number of stitches divisible by 10 and 2 over for the edge stitches. (So the 10 is the repeat of two squares of the pattern, and the 2 extra are for the edges.)
lst Row: Slip the first stitch (this is the edge stitch) , * then knit 5, and purl 5, repeat from * to the end of row ending with P 6, turn (the last stitch is the edge stitch).
2nd, 3rd, 4th, 5th and 6th rows: Same as first Row.
7th Row: Slip the first stitch, * then P 5, and knit 5, repeat from * to the end of Row, ending with K 6, turn.
8th, 9th, 10th, 11th and 12th Rows: Same as 7th Row.
These twelve rows form the pattern, which is knit throughout the sweater.
Sweater
Cast on 82 [112] stitches on the long celluloid needles No. 5 and begin to K at the bottom of the sweater,
FOR THE BORDER: K plain back and forth for 14 rows or 7 ridges (2 rows of plain knitting back and forth form a ridge).
Now begin to knit the pattern as directed above.
K 12 [14] rows, then begin to decrease 1 St at the beginning and end of every third row until 10 stitches have been decreased at each end.
There are now 62 [92] stitches left in the row and 42 rows of pattern K.
Continue knitting the pattern for 120 [138] more rows or until 15 patterns or 180 patterns are K in all. (That last section of directions about 15 patters and 180 patterns confused me, so I just sort of ignored it…)
This completes the length of the back.
Next Row: Slip the first stitch, then knit 5, and P5 for 21 [31] stitches (this is for the right shoulder), bind off 20 [28] stitches for the back of the neck, the next 21 [32] stitches left on the needle are for the left shoulder.
Now put the first 21 [32] stitches on to a spare needle or thread (and I added one stitch to make it 22, so I would have a 20 stitches for the repeat of the pattern and one for each end), and continue knitting the left front as follows: K the pattern for 8 rows pattern (this is for the shoulder), then begin to increase 1 stitch at the beginning of every second row, this is at the neck – until 20 stitches have been increased.
There are now 42 [52] stitches in the row.
K the pattern without increasing for 84 [104] rows, then begin to increase 1 stitch every 3rd [7th] row at the outer edge (the outer edge was the end of each 2nd row for me) (the front edge must be straight) for 10 [5] times (that means I knitted in this fashion until I had increased 20 stitches), then K 12 more rows without increasing. (I chose not to knit the final 12 rows: I just ignored that direction.)
16 patterns of 192 pattern rows are now K for the length of, the front. (Again, I was confused by this direction and just ignored it.)
K 7 ridges plain back and forth for the border. (7 ridges equals 14 rows.)
Bind off loosely, break the thread. Now K the right front to correspond with the left front, then sew up the underarm seams (this is the length of 10 ½ patterns or 126 pattern rows from the bottom of the sweater up). (I waited to sew up my seams until I was entirely finished knitting the sweater. As before, I ignored the confusing direction about the number of patterns and pattern rows.)
Repeat the directions from right after “This completes the length of the back…” for the right front of the sweater. I’ve repeated them here, with the changes I made for knitting the right side instead of the left.
Next Row: Slip the first stitch, then knit 5, and P5 for 21 [31] stitches (this is for the right shoulder), bind off 20 [28] stitches for the back of the neck, the next 21 [32] stitches left on the needle are for the left shoulder.
Now put the first 21 [32] stitches on to a spare needle or thread (and I added one stitch to make it 22, so I would have a 20 stitches for the repeat of the pattern and one for each end), and continue knitting the left front as follows: K the pattern for 8 rows pattern (this is for the shoulder), then begin to increase 1 stitch at the beginning of every second row, this is at the neck – until 20 stitches have been increased.
There are now 42 [52] stitches in the row.
K the pattern without increasing for 84 [104] rows, then begin to increase 1 stitch every 3rd [7th] row at the outer edge (the outer edge was the beginning of each 2nd row for me) (the front edge must be straight) for 10 [5] times (that means I knitted in this fashion until I had increased 20 stitches), then K 12 more rows without increasing. (I chose not to knit the final 12 rows: I just ignored that direction.)
16 patterns of 192 pattern rows are now K for the length of, the front. (Again, I was confused by this direction and just ignored it.)
K 7 ridges plain back and forth for the border. (7 ridges equals 14 rows.)
Bind off loosely, break the thread.
FOR THE SLEEVES (The following directions are what I used for my first attempt at a sleeve for this sweater… I didn’t like the resulting sleeve and chose to take it apart and try again. I’ll include my revised sleeve pattern following these directions for the sleeve I didn’t like. You can read more about why I changed my sleeve pattern and see pictures of the before and after, in this previous post.):
Cast on 72 stitches, and K the pattern for 3 rows, then begin to decrease 1 stitch at the beginning and end of every second row until 5 stitches have been decreased at each end.
There are now 62 stitches left in the Row.
Knit 120 rows of pattern. [K 9½ patterns or 114 rows without decreasing.]
Now slip the stitches on to the No. 3 needles, and K plain back and forth for 18 ridges for the cuff, bind off, and sew up the seam.
Place the sleeve in the armhole, so that the sleeve seam and underarm seam meet. (I waited until all of my pieces were knit before sewing any seams.)
(So now, here is my revised sleeve pattern):
Cast on 72 stitches (I added a single plain knit row, as a transition), and K the pattern for 3 rows, then begin to decrease 1 stitch at the beginning and end of every second row until 5 stitches have been decreased at each end.
There are now 62 stitches left in the Row.
Knit 60 rows of pattern without decreasing. Knit 60 rows, decreasing 1 stitch at the beginning and end of every 4th row. [K 9½ patterns or 114 rows without decreasing.] (Again, I ignored the first part because it is confusing.)
Now slip the stitches on to the No. 3 needles, and K plain back and forth for 10 [18] ridges for the cuff, bind off, and sew up the seam.
Place the sleeve in the armhole, so that the sleeve seam and underarm seam meet. (I waited until all of my pieces were knit before sewing any seams.)
This second sleeve pattern worked much better for me, so I repeated it for my second sleeve.
FOR THE BANDS: Cast on 12 [16] stitches on the No. 3 needles. K plain back and forth for 2 1/2 [4] inches (25 rows), then make a buttonhole as follows: K 4 [7] stitches. bind off 4 [6] stitches, K 4 stitches (this leaves 4 [5] stitches at each side of the 4 [6] stitches bound off).
In the next Row cast on the 4 [6] stitches bound off, thus forming a buttonhole.
K back and forth for 3 1/2 [3] inches (35 rows), then make the next buttonhole.
Continue knitting plain back and forth making 4 more buttonholes so that there are 6 in all, always leaving an interval of 3 1/2 [3] inches (35 rows) between each buttonhole.
(I calculated these measurements and row lengths between buttonholes to fit into the length of the front of the sweater before the V neck starts… in my case, that length was 21″. If your gauge is different you might want to consider changing these directions to suit you.)
(At this point I became very worried about running out of yarn. I wish I would have had enough to make the bands as wide as the original pattern called for… but I had to make them narrower, so my revised pattern will reflect that. If you have enough yarn you should keep the band wide and only adjust for length.)
K 1/2 [1] inch (5 rows) after the sixth buttonhole then begin to decrease 1 stitch at the beginning of every second row until 8 stitches have been decreased.
There are now 8 stitches in the row. Knit for awhile… turns out I knit plain for 45 rows. Begin to increase 1 stitch at the end of every 2nd row until 8 stitches have been increased… in theory that was my plan, but since I was running out of yarn, I just slowly decreased until I ran out of yarn. [K plain for 18 inches or long enough to go around the neck, then increase 1 stitch at the beginning of every second Row until 16 stitches are on the needle again.]
K plain for 21 inches or as long as the wider part of the band with the buttonholes, bind off loosely.
Sew the buttonhole part of the band on to the right front, the narrow part around the neck and the plain wider part to the left front, this should be done very carefully, then sew on the buttons.
Whew! At this point I just need to sew up my seams and sew on the buttons. Yay!
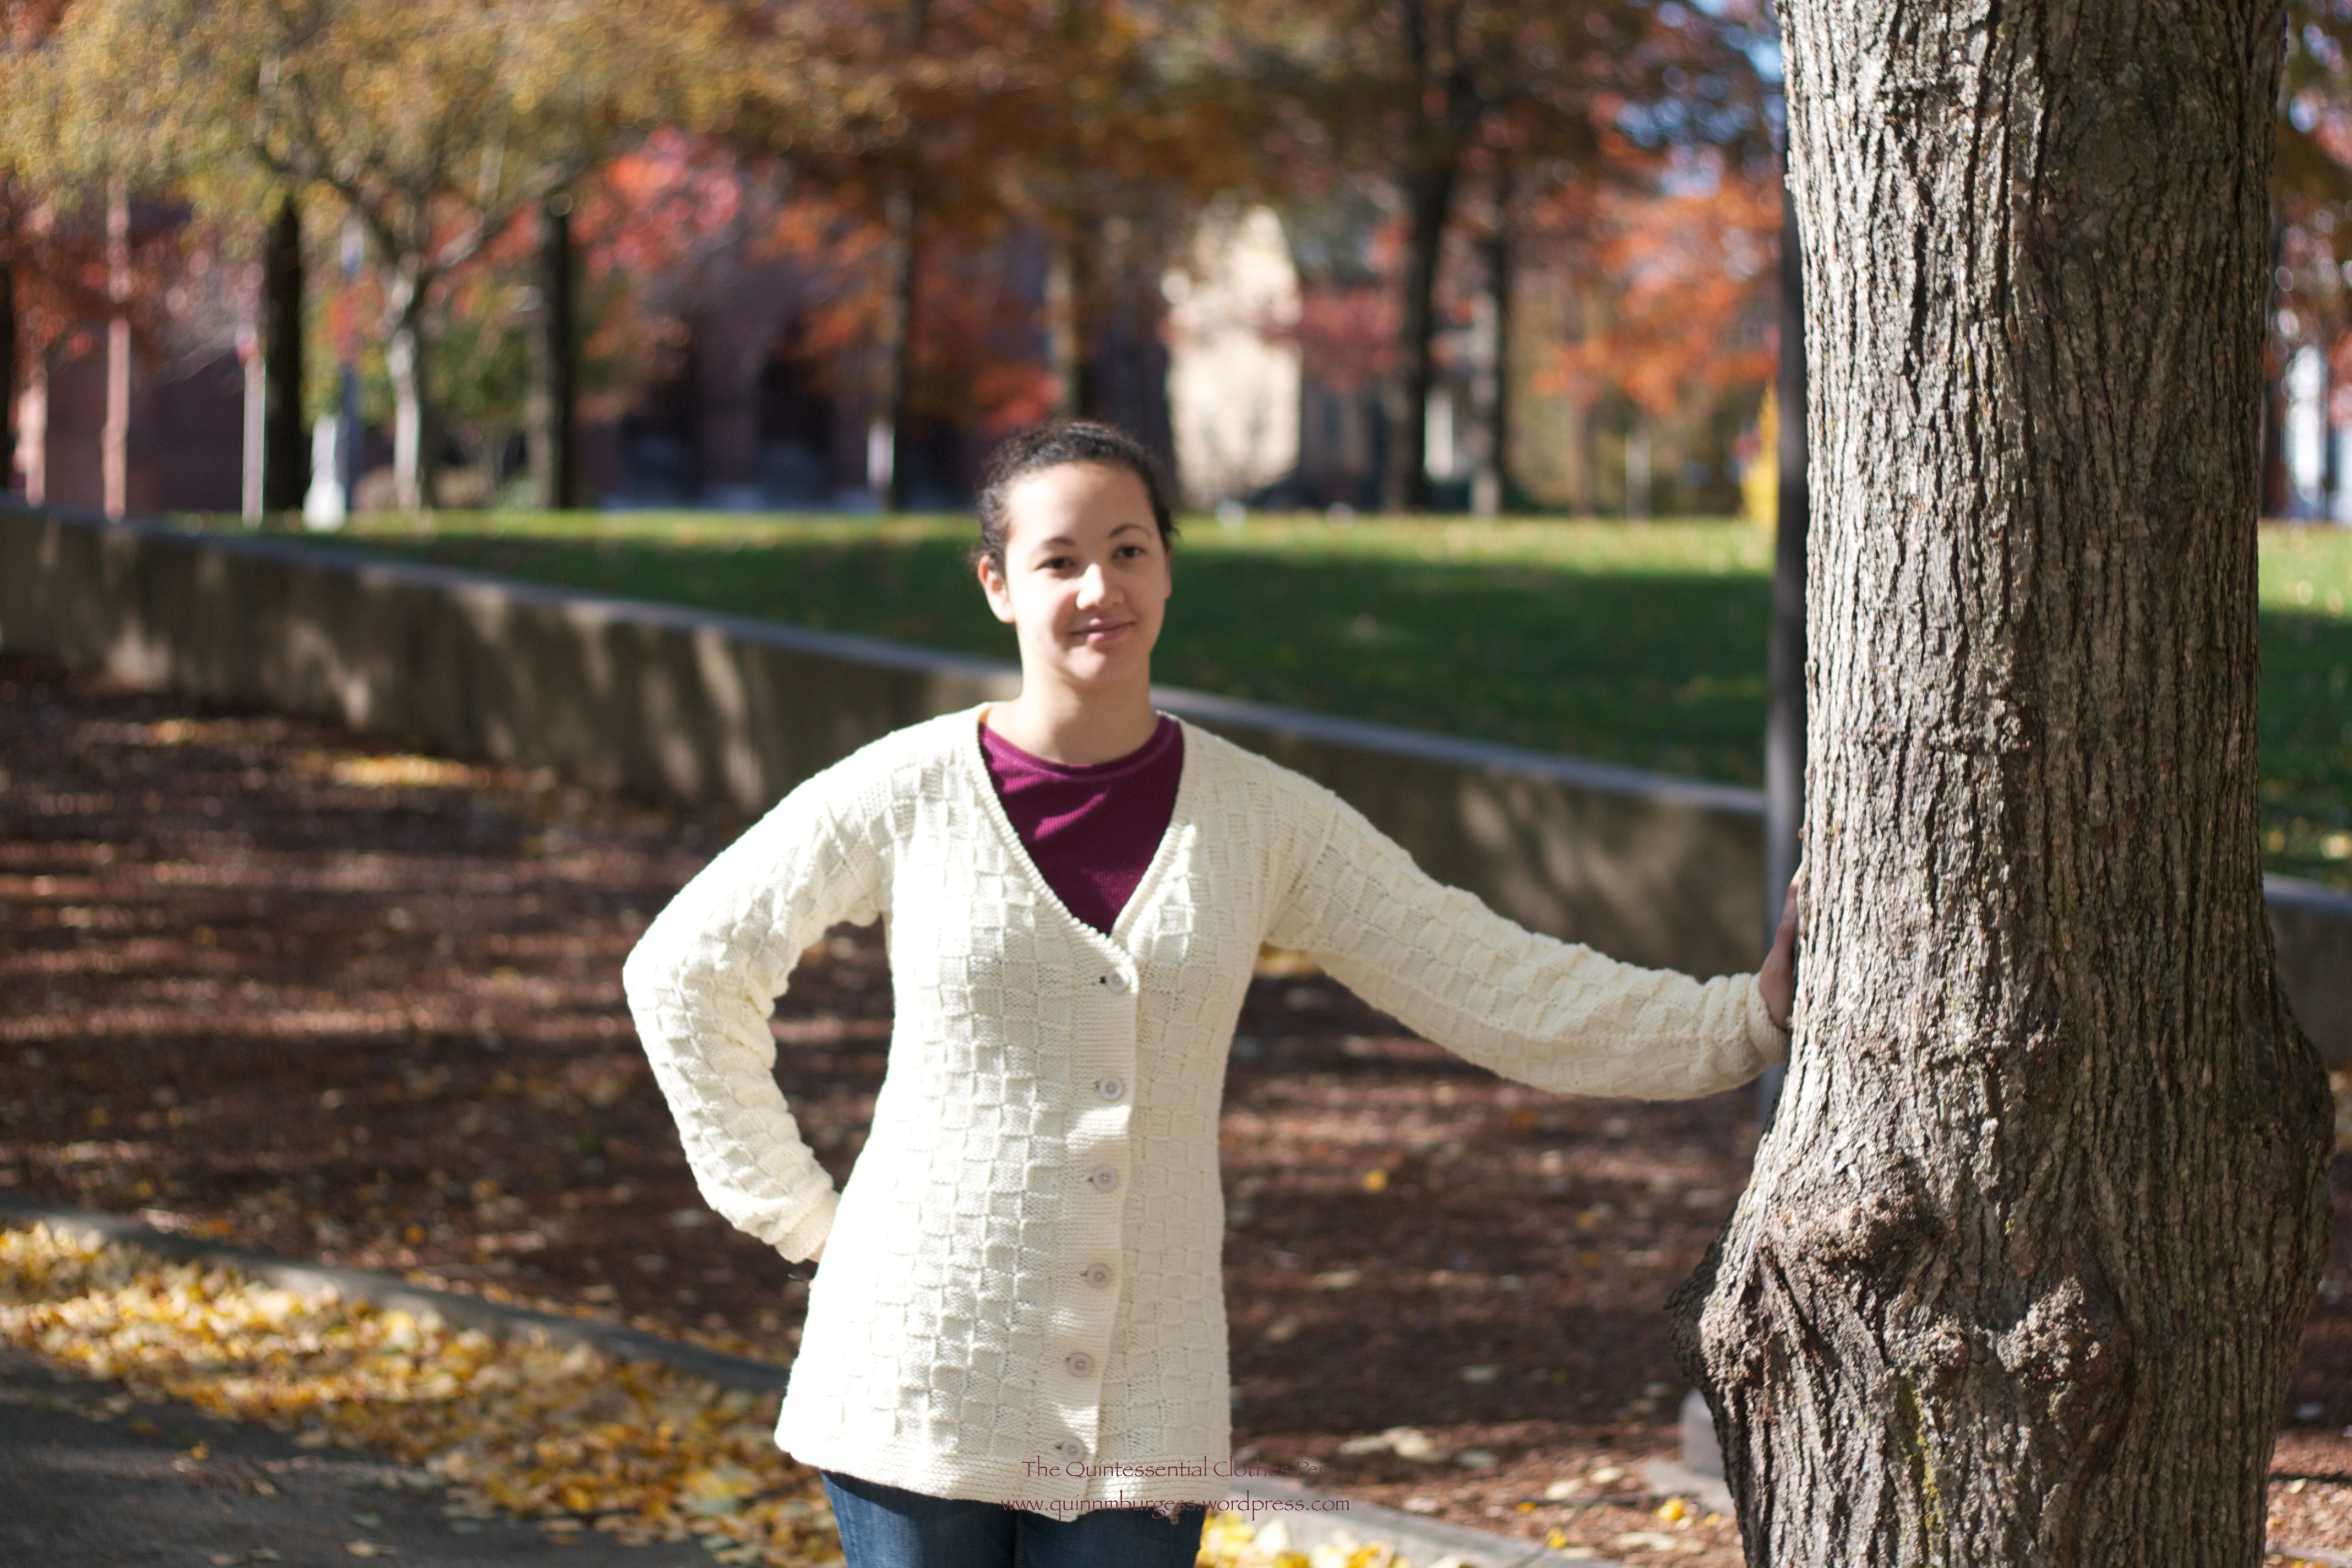
My “knitted sweater of Angorina.” (Thanks to Mr. Q, who consented to take pictures of me with no hassle on my first ask!)
And here’s the image from the pattern, for comparison.
“Knitted sweater of Angorina” from the Star Needlework Journal 1917.
This is my entry for the HSF Challenge #23: Generosity and Gratitude. This challenge “is not about a particular item or aesthetic, it’s about celebrating the generosity of spirit and willingness to help others that makes the historical sewing community great, and giving credit and thanks to those who have contributed to our collective knowledge without expecting payment in return.”
My special thanks goes out to the person, or people, who took the time to put this knitting pattern out there on the internet, for free! I wouldn’t have been able to complete this project with the pattern, obviously. Thanks!
As it is, I’m really pleased to be done knitting and putting together this sweater. I’ve been using my sew time to knit, which has been a nice change and fun, but I do miss sewing! So now it will be back to sewing, which is good, because I have a lot of projects I’m working on!
Also, this sweater was a bit stressful… It started out on a relaxing note, but after completing the front, back, and one sleeve, I realized that it was taking way more yarn than I expected and I started to get worried I might run out before finishing the sweater! So as I was knitting my brain kept trying to think of ways to conserve yarn and wondering if there would be enough. I actually wound up completing unraveling one sleeve in order to knit it with less yarn… and thank goodness I did, because I barely had enough yarn to get as far as I did, and that was still with alterations to the original pattern to accommodate my dwindling yarn pile. You see, after knitting the front, back, and the two sleeves, there’s still the buttonhole/neck/button band to be knit, and you need enough yarn to stitch the seams! The sweater is quite long, so these things take more yarn than you might think. I used up literally almost all of the yarn I had…
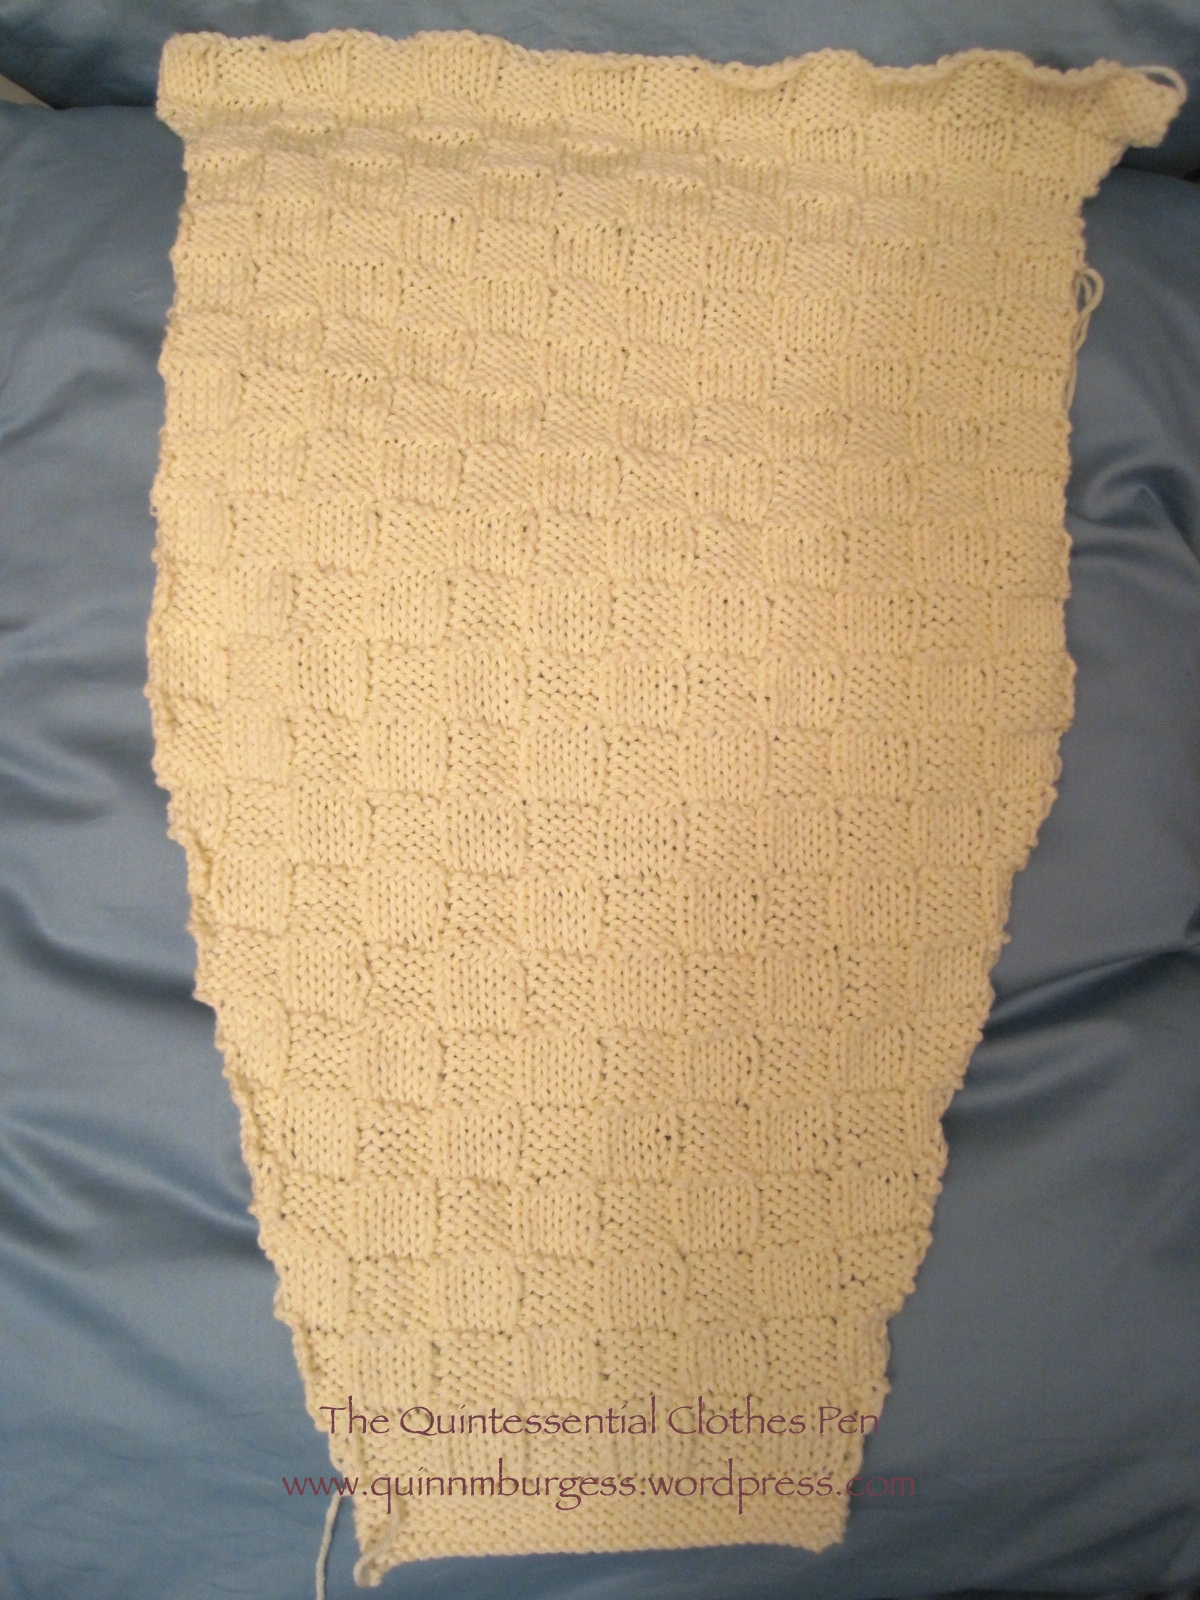
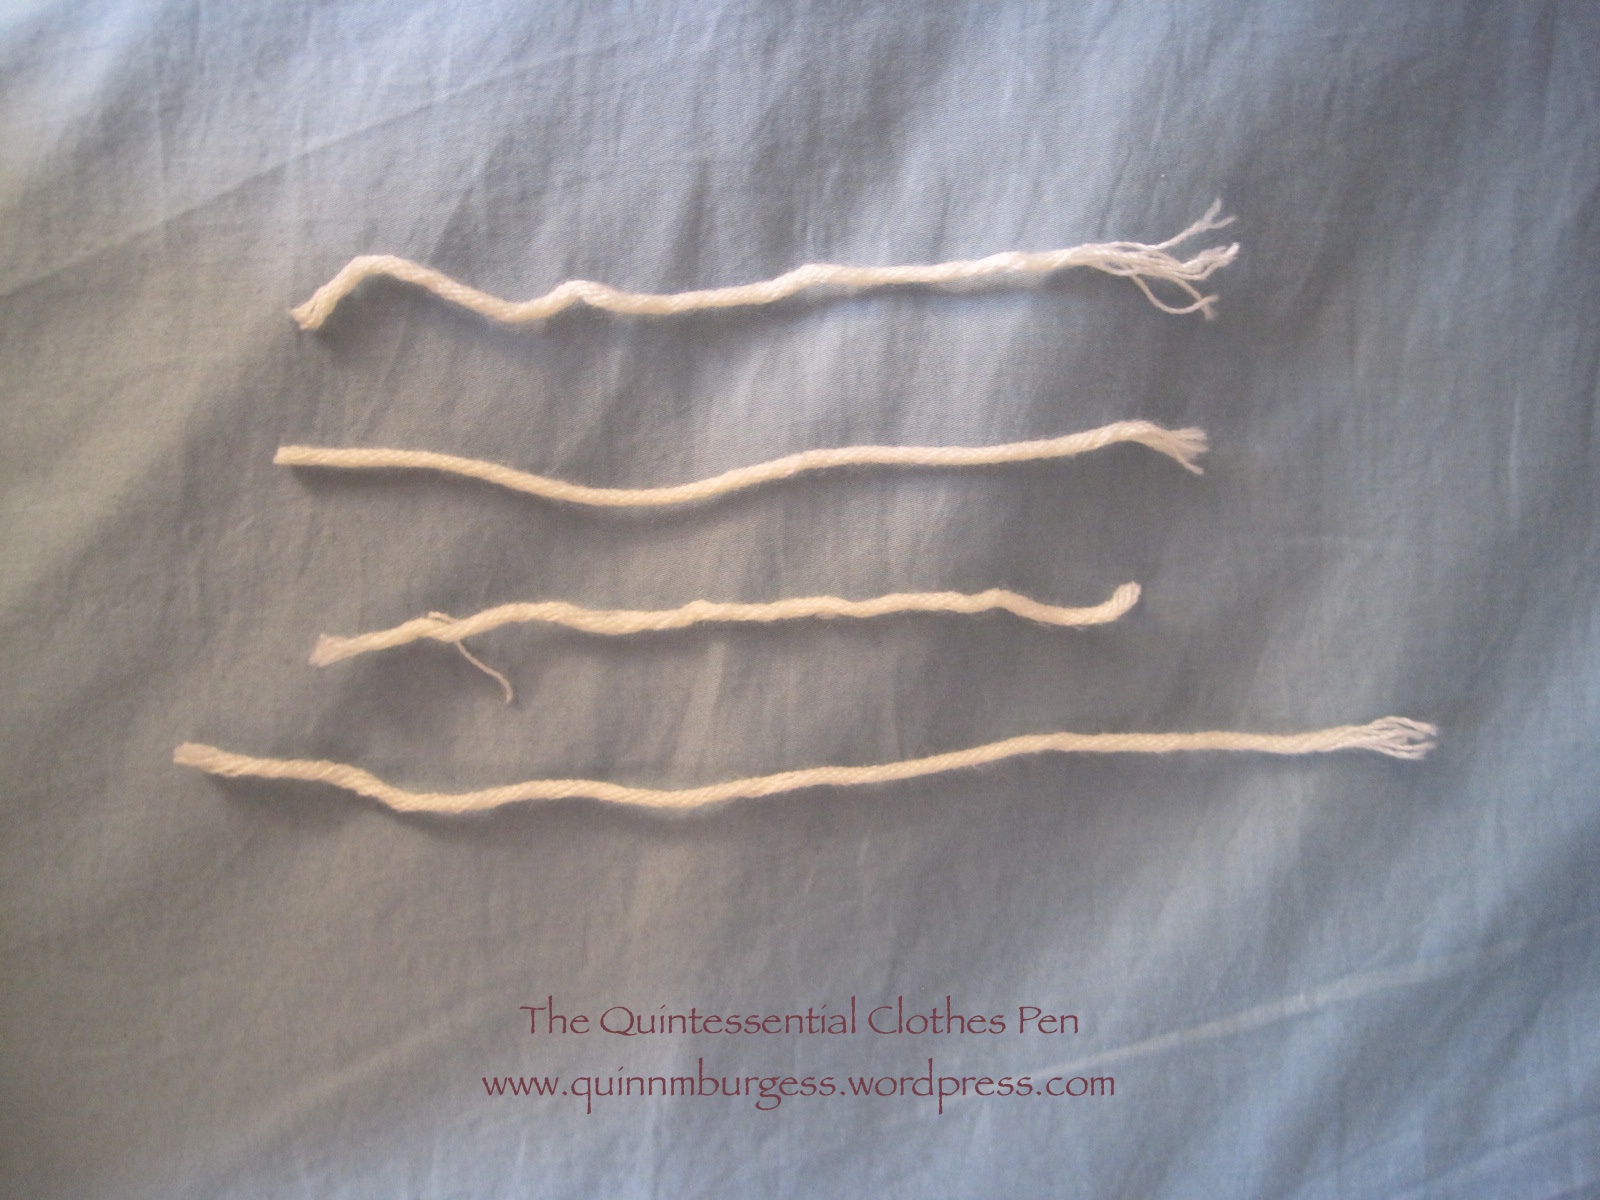
The first sleeve before it was unraveled and re-knit.The new sleeve shape with alterations to the pattern.Sewing up a side seam. The front, back, sleeves, and band are all knit separately, and flat, and then seamed together, creating side seams, armsceye seams, underarm seams, and a seam to join the band to the front/neck opening.These are literally the only pieces of yarn I have left… The longest is about 6″!
Here are the facts:
Fabric: 6 skeins, of unknown length, of probably acrylic yarn.
Notions: Heavy thread to sew on the buttons, and 6 plastic buttons.
How historically accurate?: Acrylic wasn’t invented until 1941 and as fas as I know plastic buttons of the sort I used weren’t in use in 1917, but as a historic costume I’d give myself 95% on looking right, even if the materials aren’t 100% historically accurate.
Hours to complete: Oh goodness… mounds. It took me the entire month of October, and that was working on the sweater for 2-4 hours almost every day.
First worn: For pictures! Hopefully I’ll get to wear it later this month for an event.
Total cost: $2.50 for the knitting needles, $3 for the yarn, $1.50 for the buttons… total = $7! Now that is a project total I’d love to have more often!
Things I’m proud of in this sweater? #1: It’s the first sweater I’ve ever knit! #2: I was really careful to keep the pattern perfectly knit, sometimes taking out 5-10 rows after noticing I had made a mistake, so I could go back and fix it (let me just say that un-knitting, like seam ripping, is not nearly as exciting as knitting or sewing!). The end result is that the pattern is perfect everywhere… yes, I’m a perfectionist. #3: I did a really good job sewing up the seams, especially on the front band. #4: I learned out to knit a button hole! It’s not that hard, really, just casting off one row and on the next, but it does take your brain a little bit to figure it out. As I went along my button holes became neater and neater, as you would expect. #5: The band fits nicely around the neck opening and is a lovely way to finish off the sweater edge.
Where front meets front band. See that seam? Nope, you don’t, because it looks like I knit it all at once! (ooo, and see my button holes?)
Things that make me call this sweater “wonky” or “original” or perhaps just simply “hand knit”? #1: That I had to cut corners because I was running out of yarn. The part of the band that goes around the neck is not as wide as the pattern calls for. And the part of the band that should have the buttons sewn to it is, well, non-existent. I literally ran out of yarn. #2: Because the button part of the band is non-existent, the neckline isn’t actually symmetrical… the side with the buttons doesn’t widen to be the same width at the button hole side. So the neck V doesn’t quite want to center, and the buttons/button holes wind up being slightly off center, too. (Honestly, though, I don’t think other people would notice those things if I didn’t point them out…) #3: Even with my sleeve alts, the sleeve is still rather large around (can you imagine if I hadn’t re-knitted them?!?) and they are a little long, even with a cuff. #4: Now that it’s finished, the sweater is rather heavy and prone to sagging some in places like the sleeves. Oh well!
See the side with the buttons? Yup, no band there!Looking at my slightly loose, and rather long, sleeve.
For a first try at knitting a sweater, and using a historic pattern, I’m calling this one a success!