Finally Finished: 1917 Wool Skirt

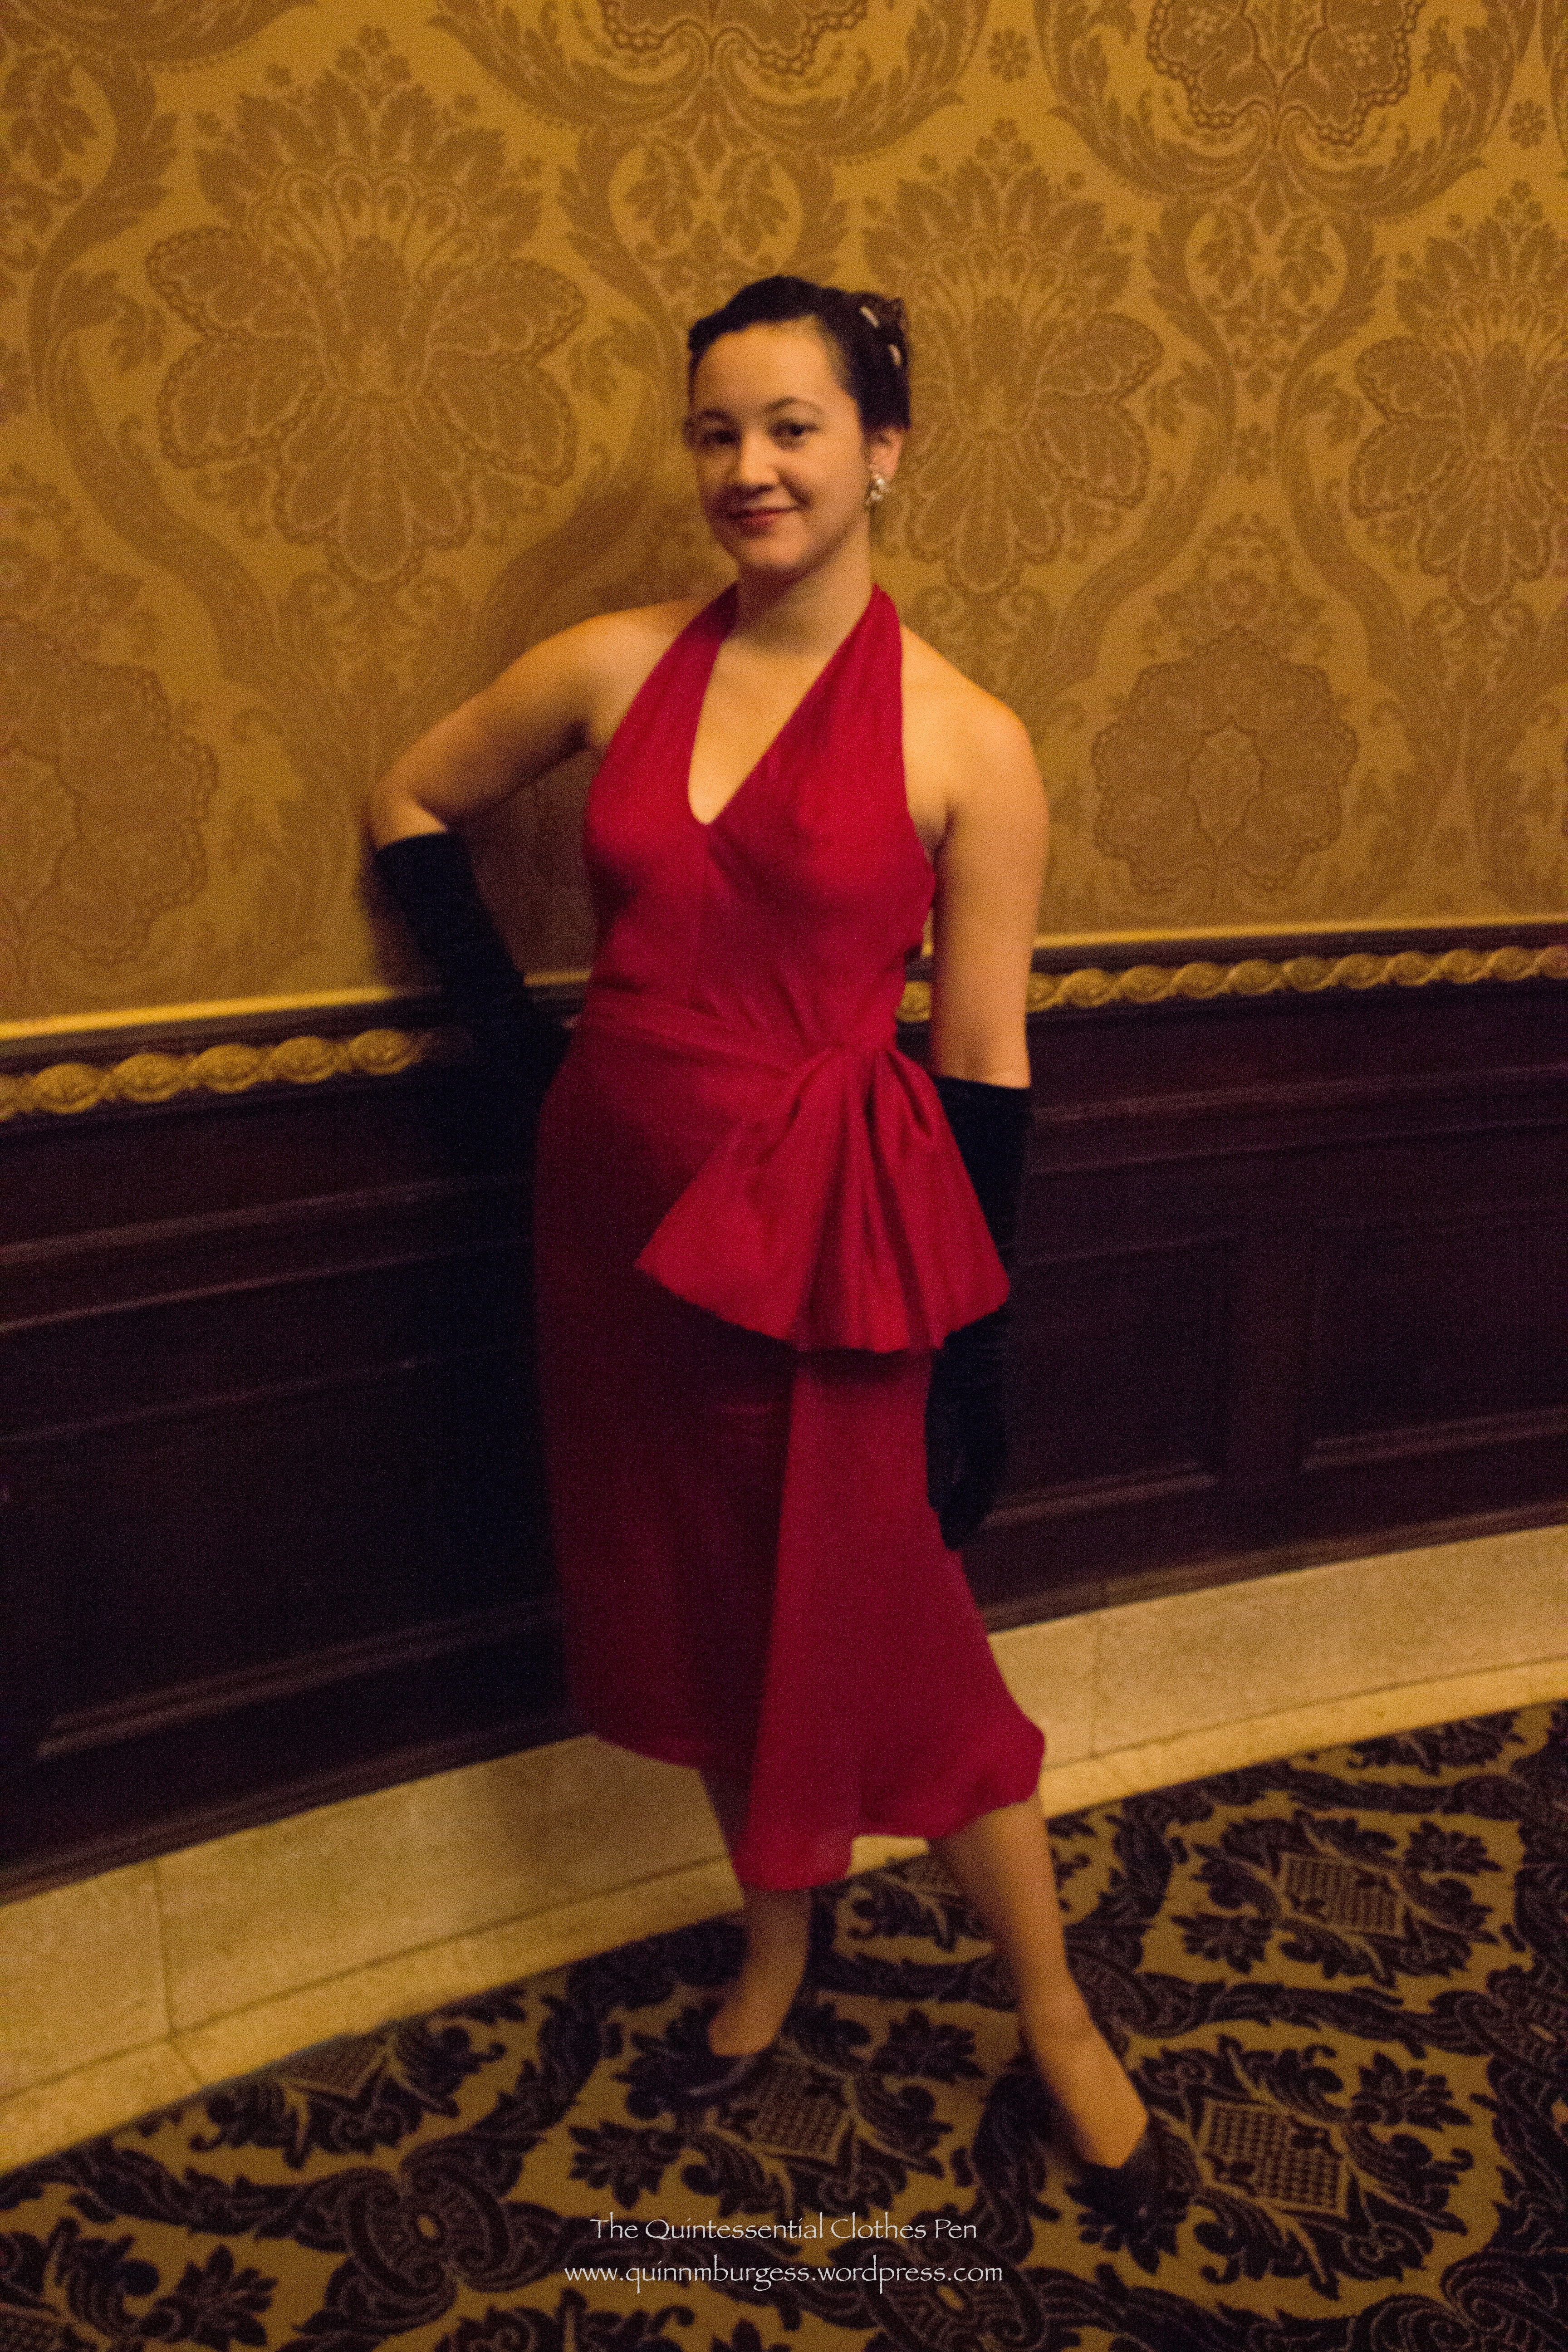
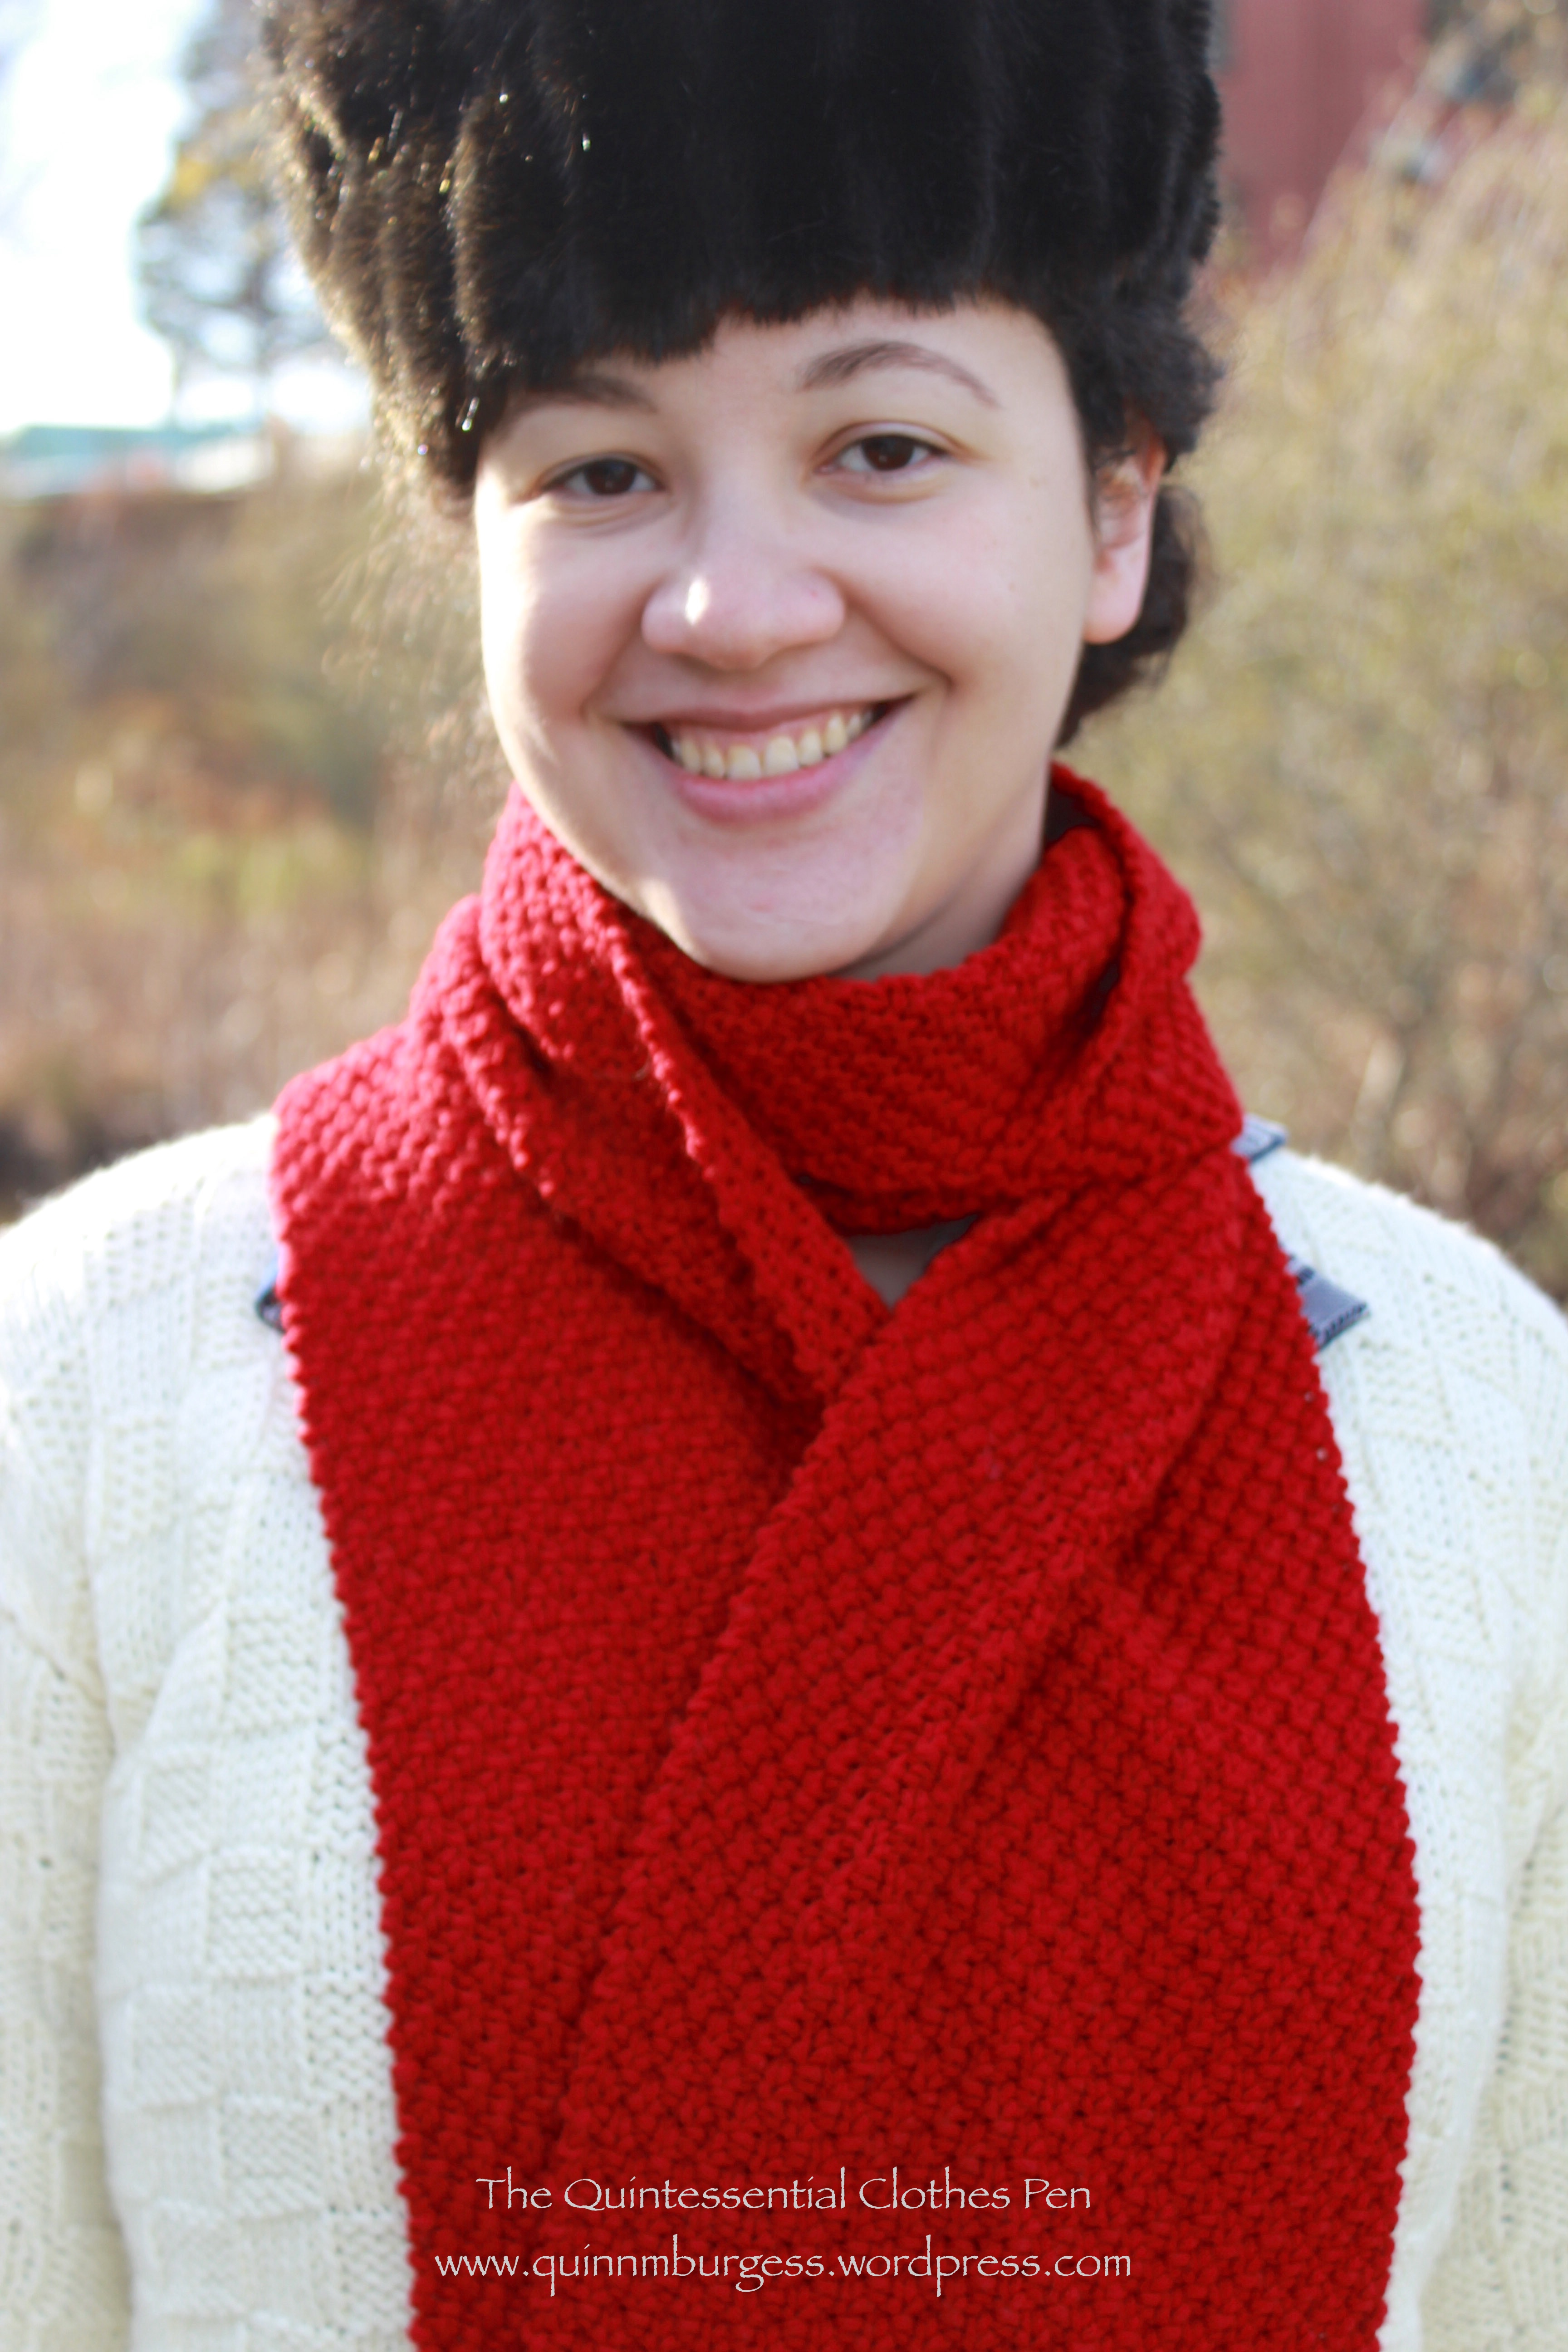
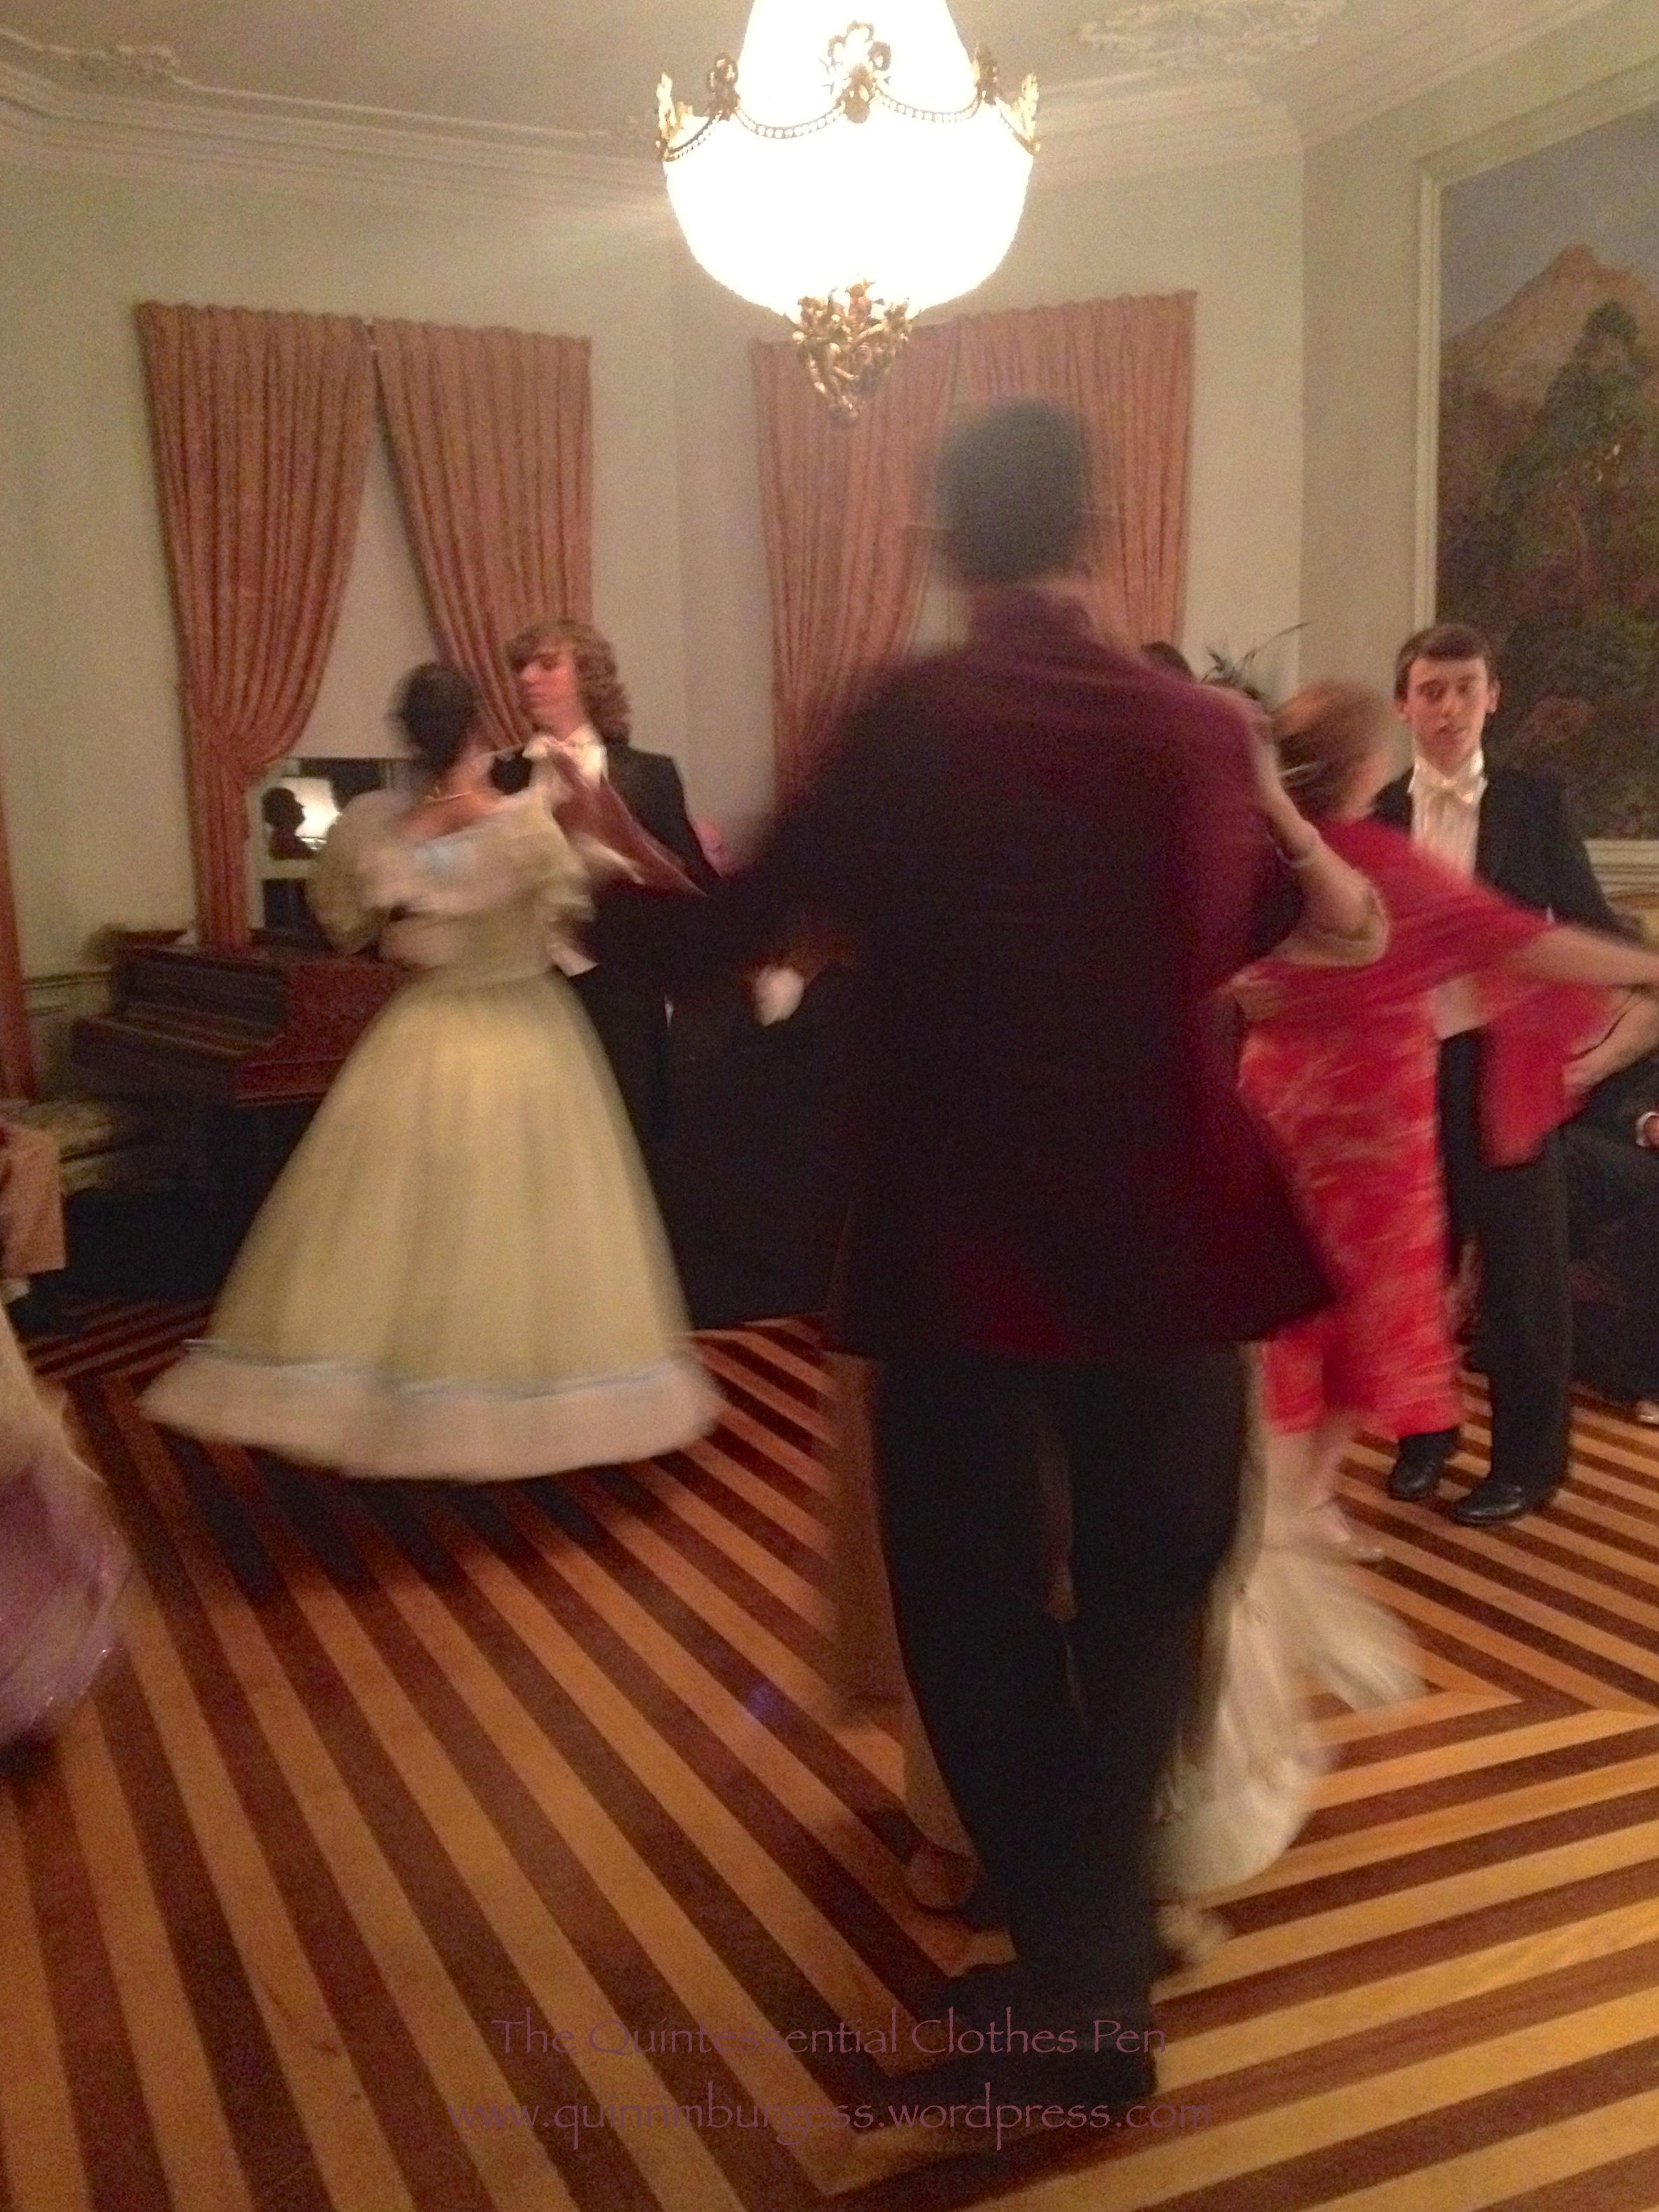
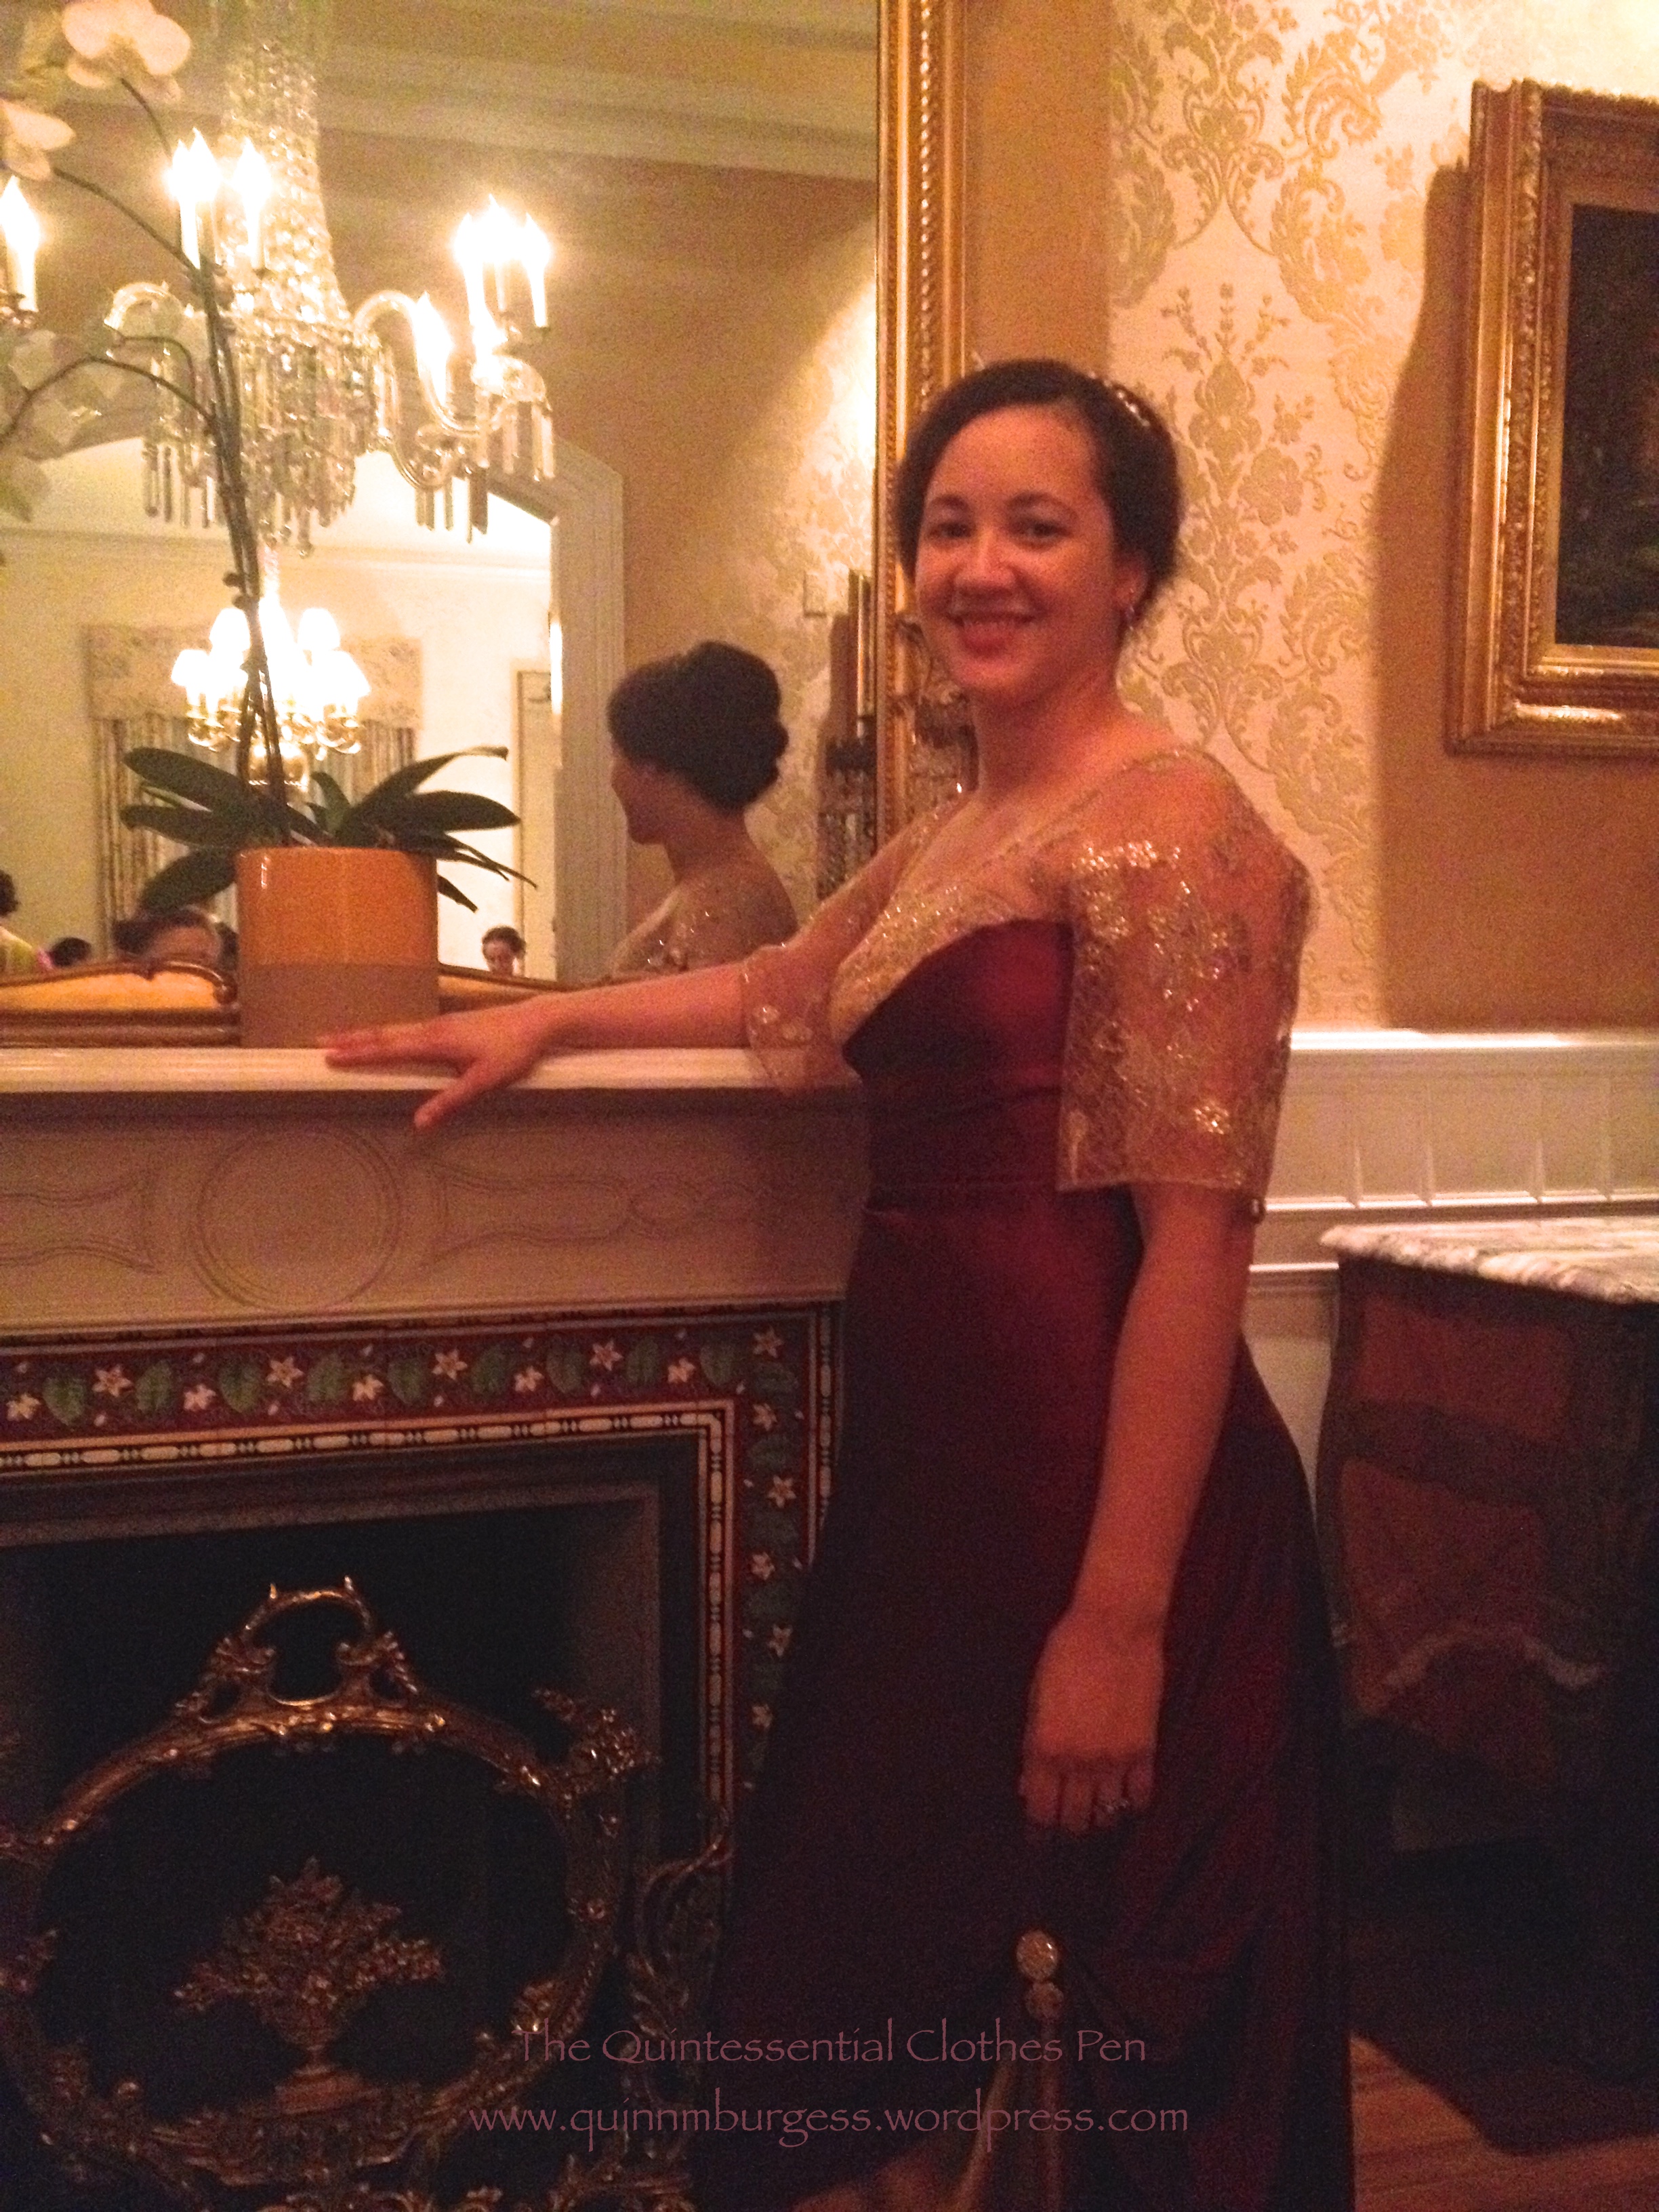
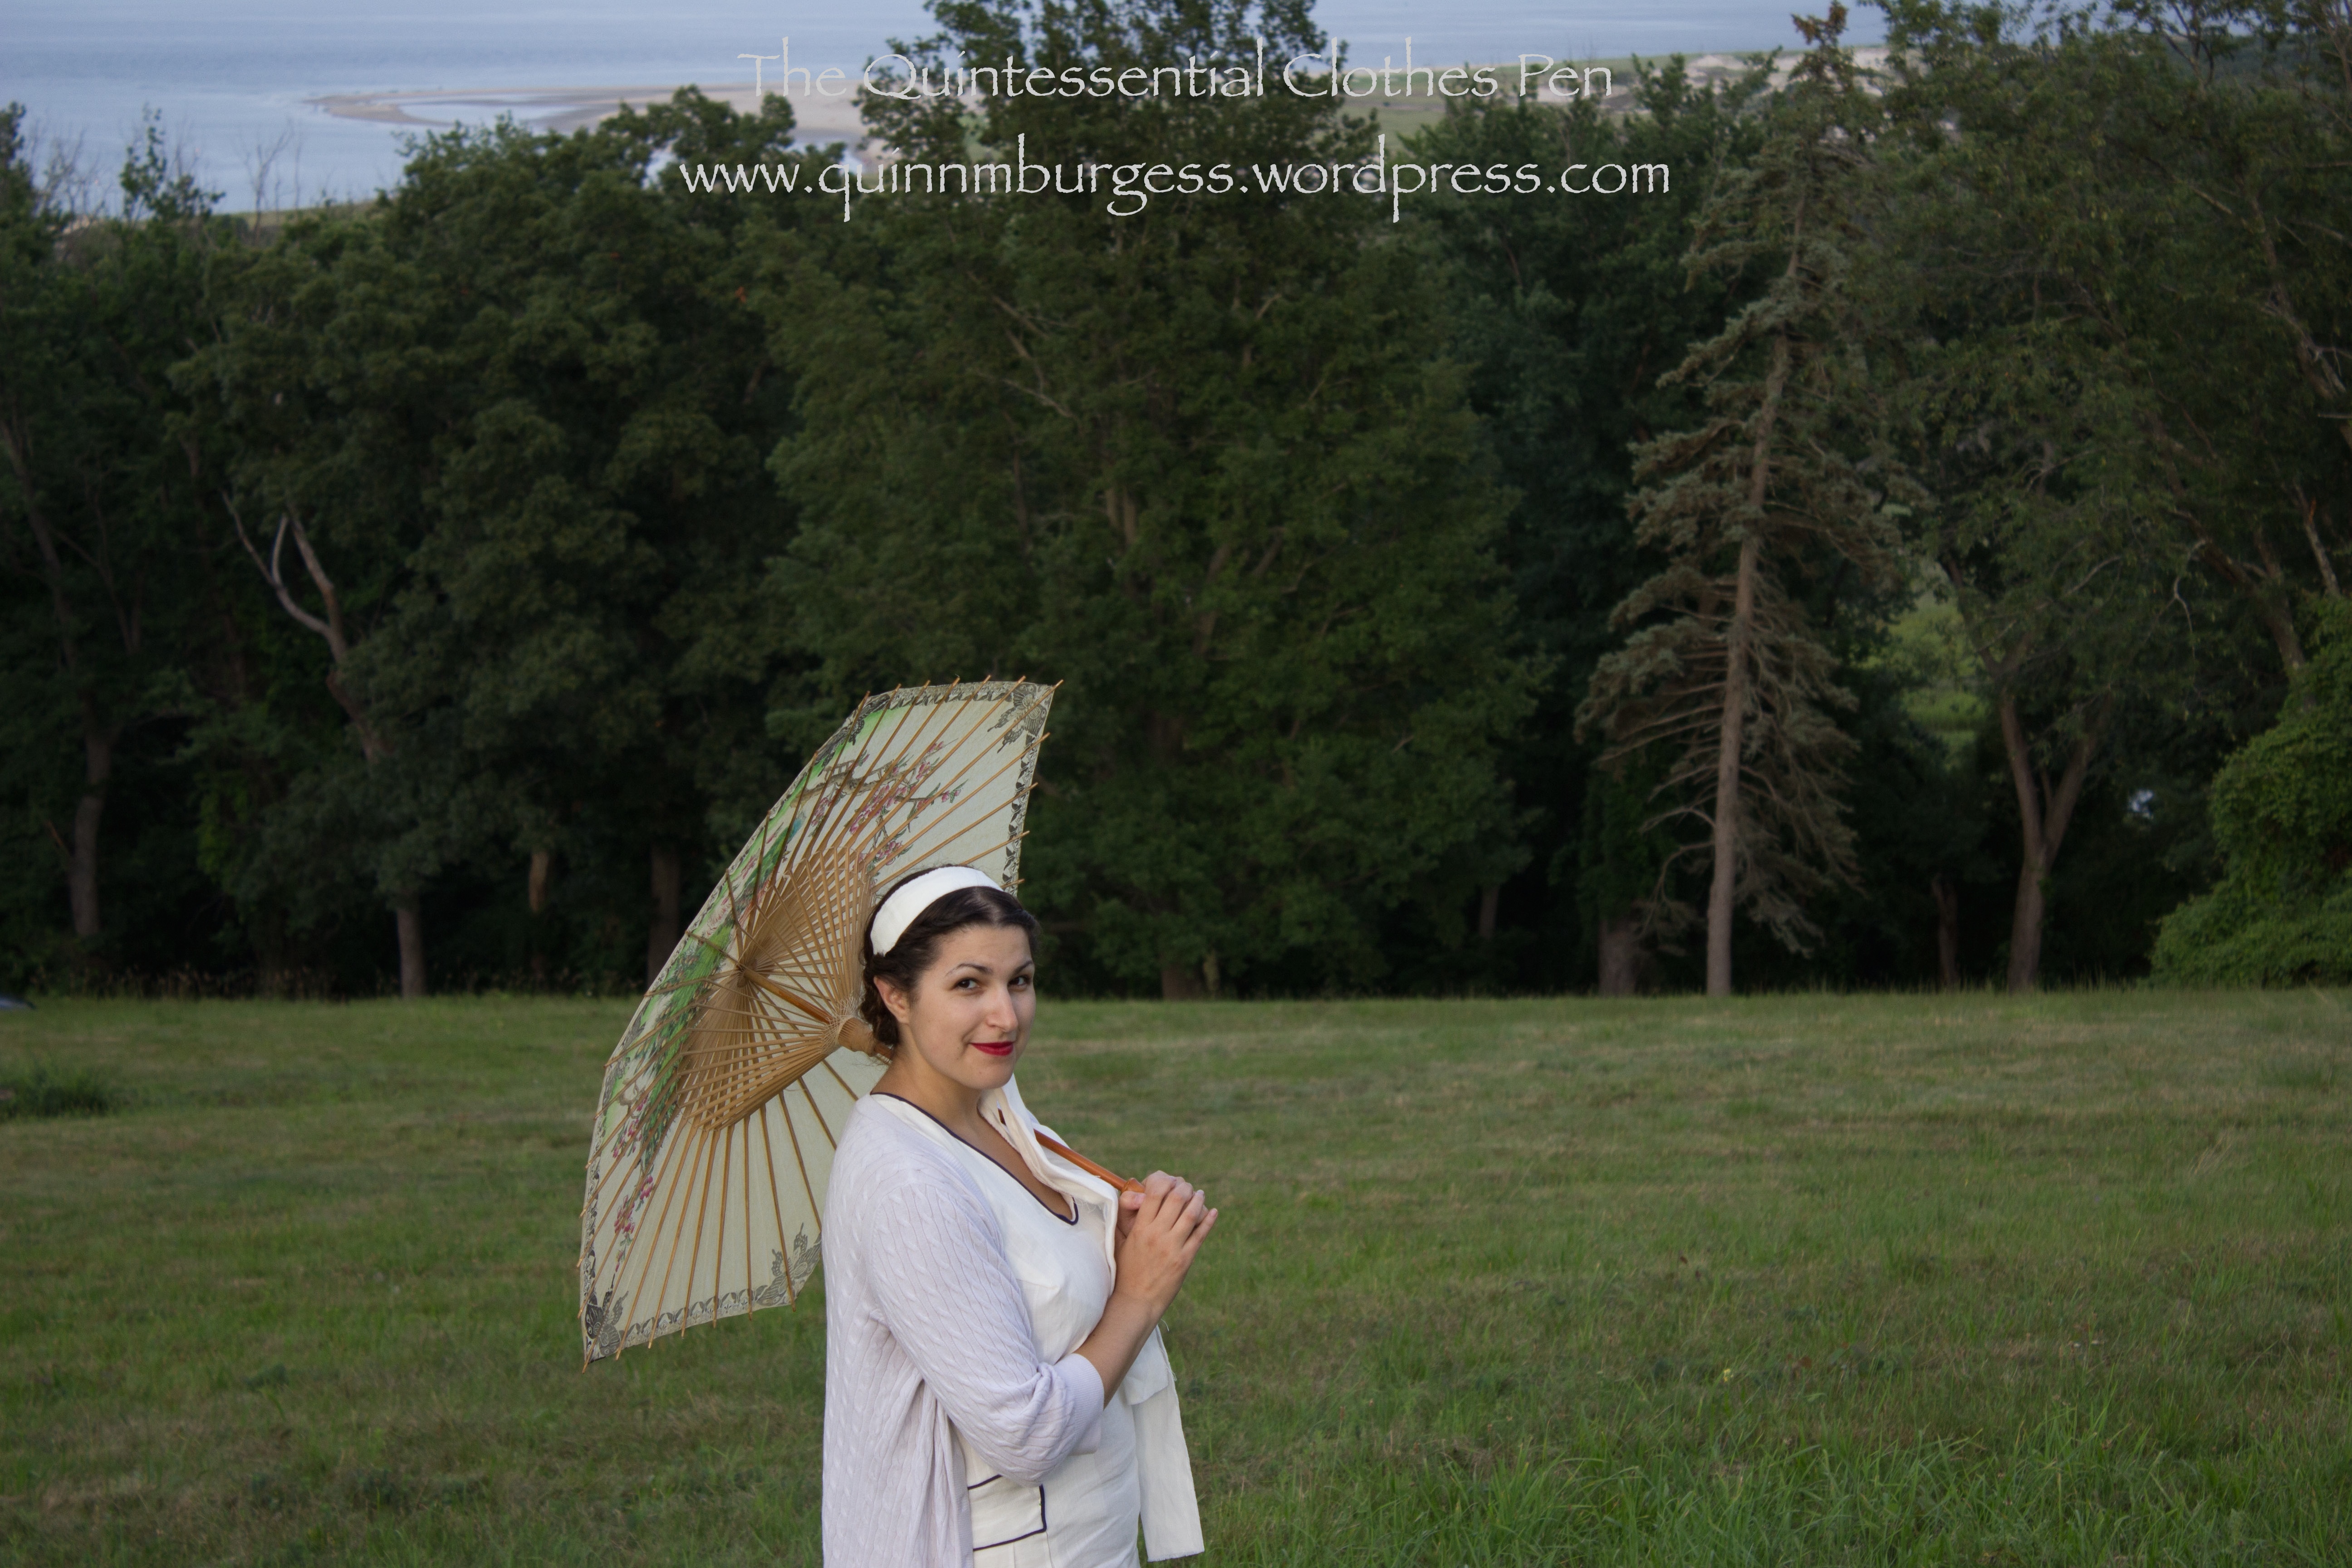
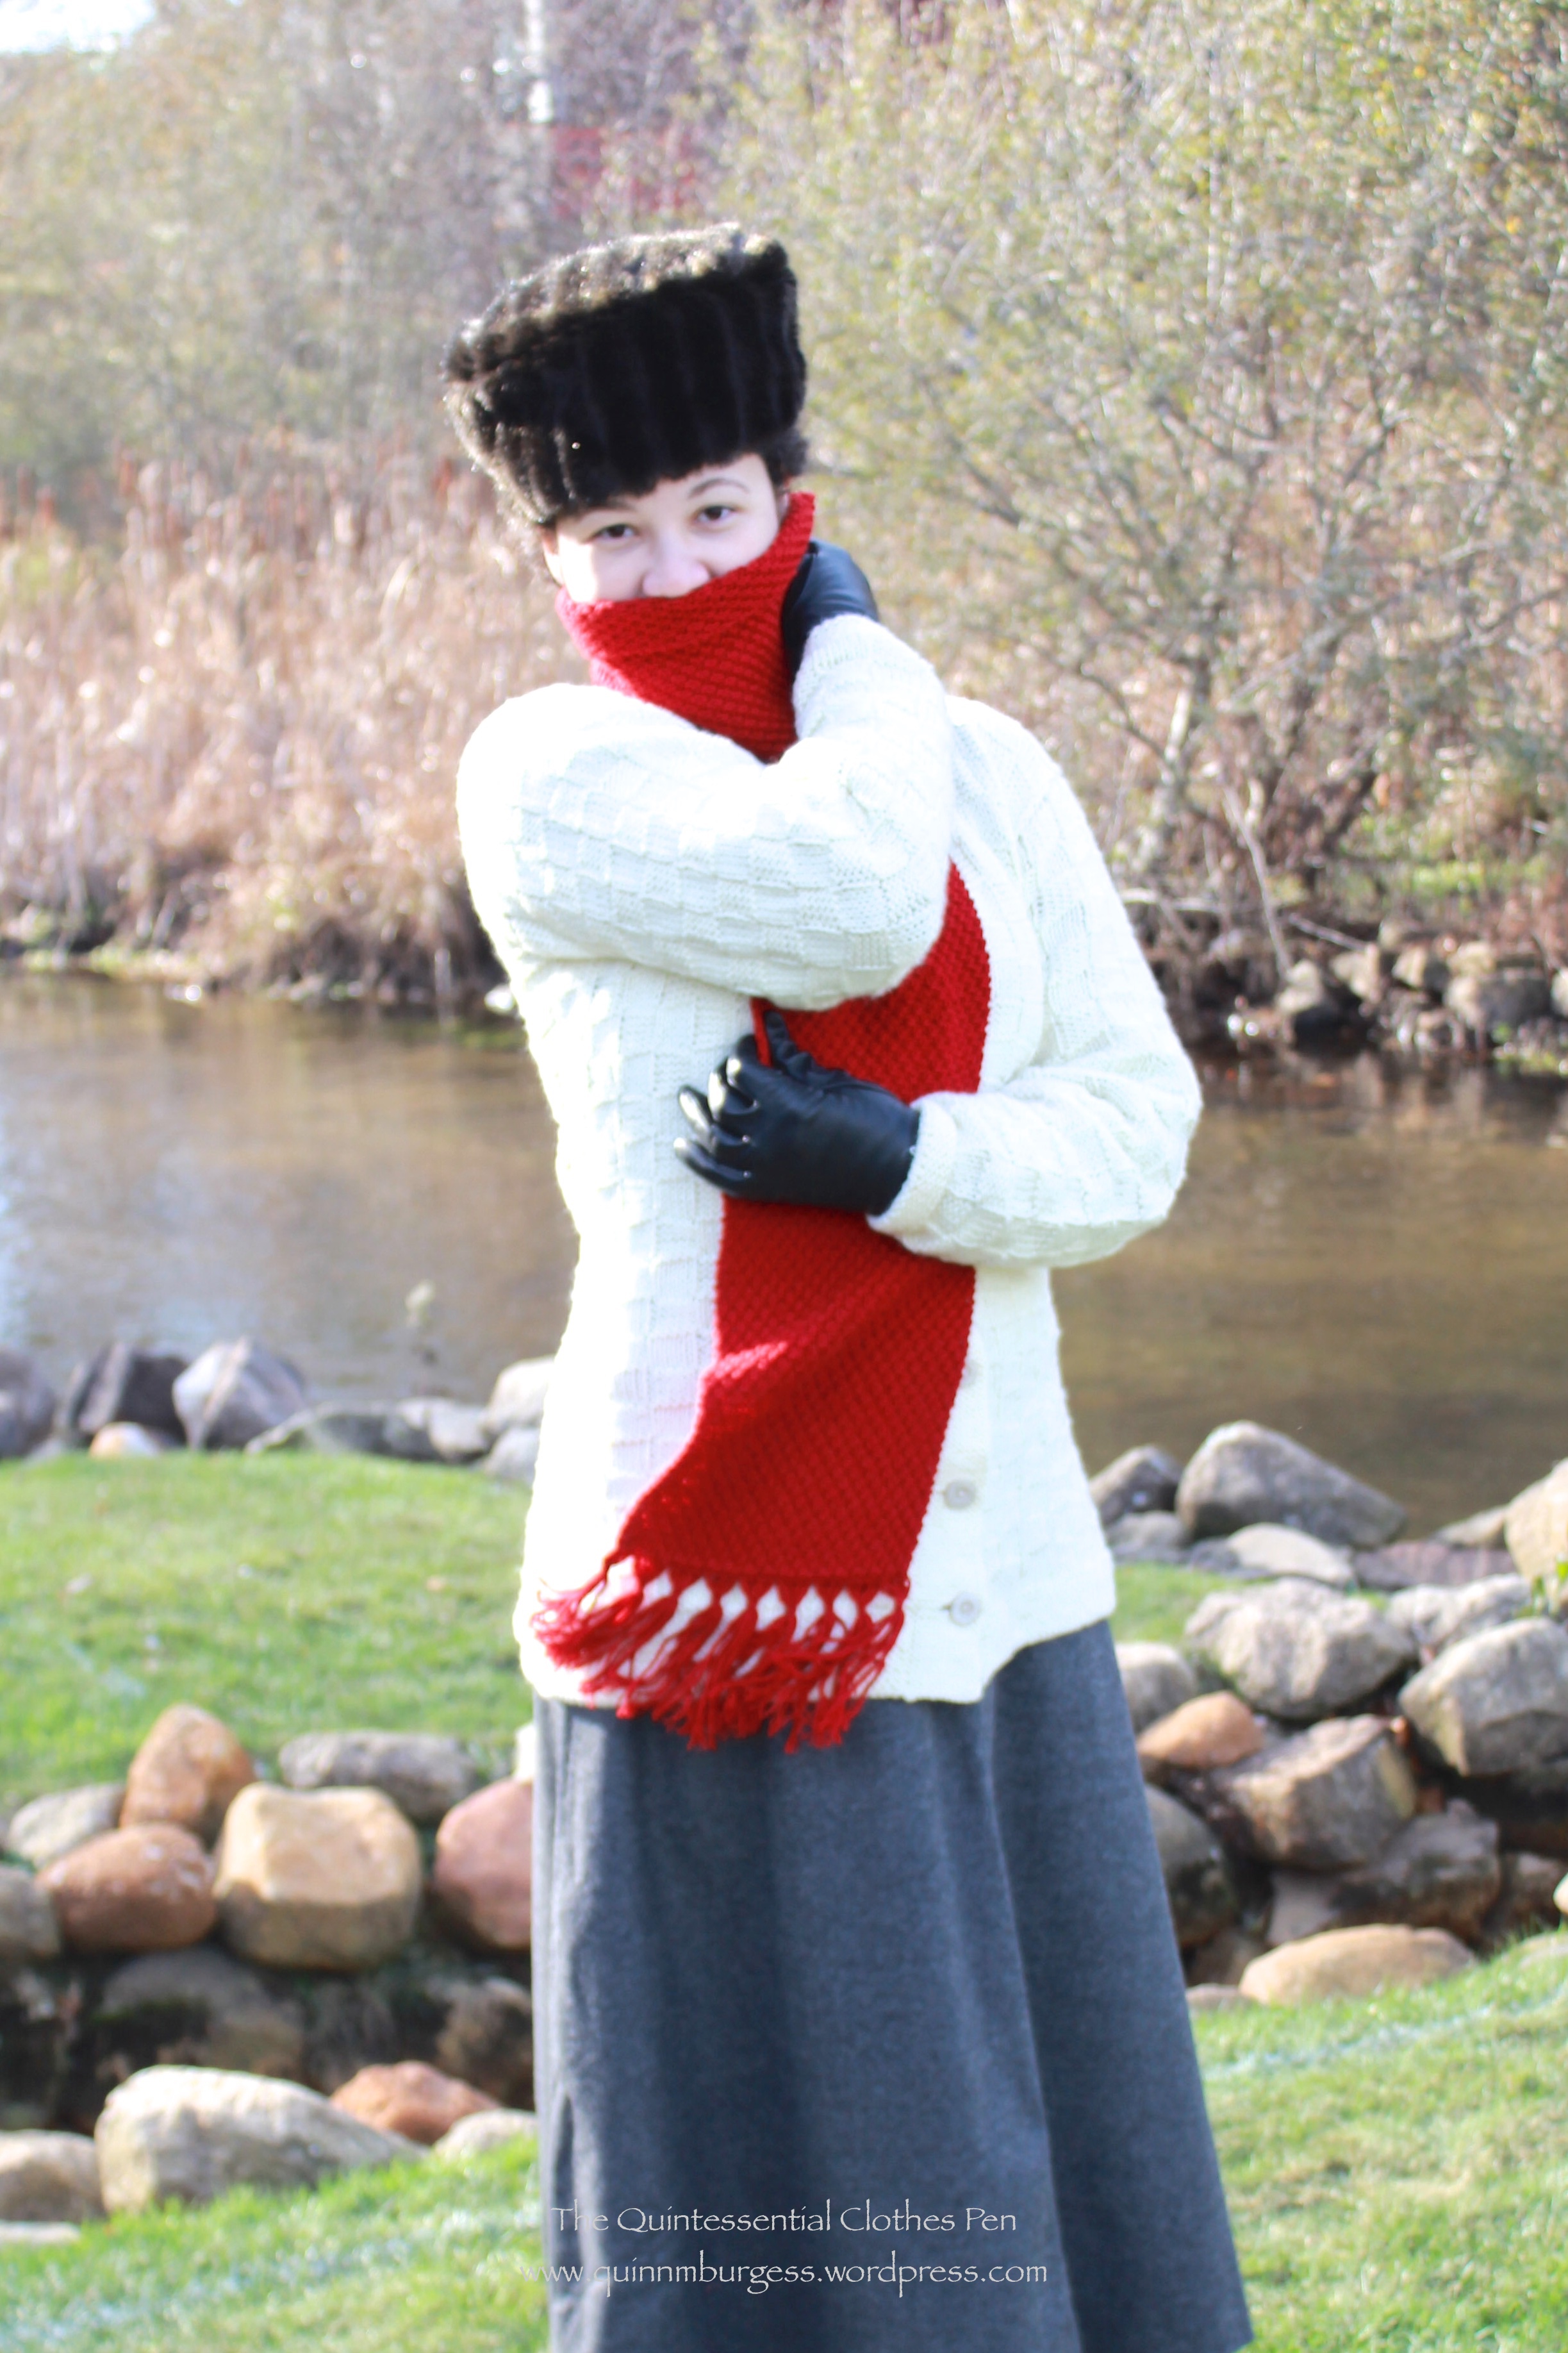
Last fall, in November I believe, I actually finished the 1917 wool skirt I’d made in 2013 as part of my 1917 Ensemble. Of course, it was wearable prior to being completed–I’d worn it for it’s original purpose and for a picnic in May 2013. But it wasn’t actually completed until I wore it last November when I also wore my 1917 Cranberry Red Scarf.

IMG_9658
From the Cranberry Scarf post, proof that I was wearing my wool skirt, though all the layers cover up the changes I made that completed it.
IMG_1561
The new placket closes with hidden skirt hooks and bars.

While the side seams, hem, and waistband were totally finished for the first wearing, the skirt never had closures. It just sat in my closet taunting me with it’s almost-finished status. When I went to finish it I realized that a side closure would make it much easier to get dresses and be less gap-y than the center back closure I had originally intended. Moving the closure meant re-do-ing the waistband, so I also used the opportunity to change out the pockets.

As a side note, pockets on day wear are genius! They’re so useful when you’re the public eye and you need to keep things like your car key, phone, and ID on you but you don’t want to leave them lying around. They free your hands from any sort of bag and ensure that your sensitive modern items are not lost or stolen. GENIUS!

IMG_1562
New (modern shaped) pocket.

The pockets I’d originally put in were rectangles set in vertically that extended both in front of and behind the pocket slit. They are just fine in skirts with more fullness, but for this period they were hard to get my hand in and out of. So when I was changing around the waistband, I cut out a new pocket shaped like what you would find in a modern garment. The new pocket has a facing piece of the skirt wool sewn over the muslin where it might show when I put my hand in (that’s the square set of stitching on the upper right). Because I added a side closure I only have one pocket on the other side, but it is easier to use than the old pocket style was. Both the pocket and the waistband facing are made from scrap muslin (not itchy, not slippery, and who doesn’t love using up scraps?!?).

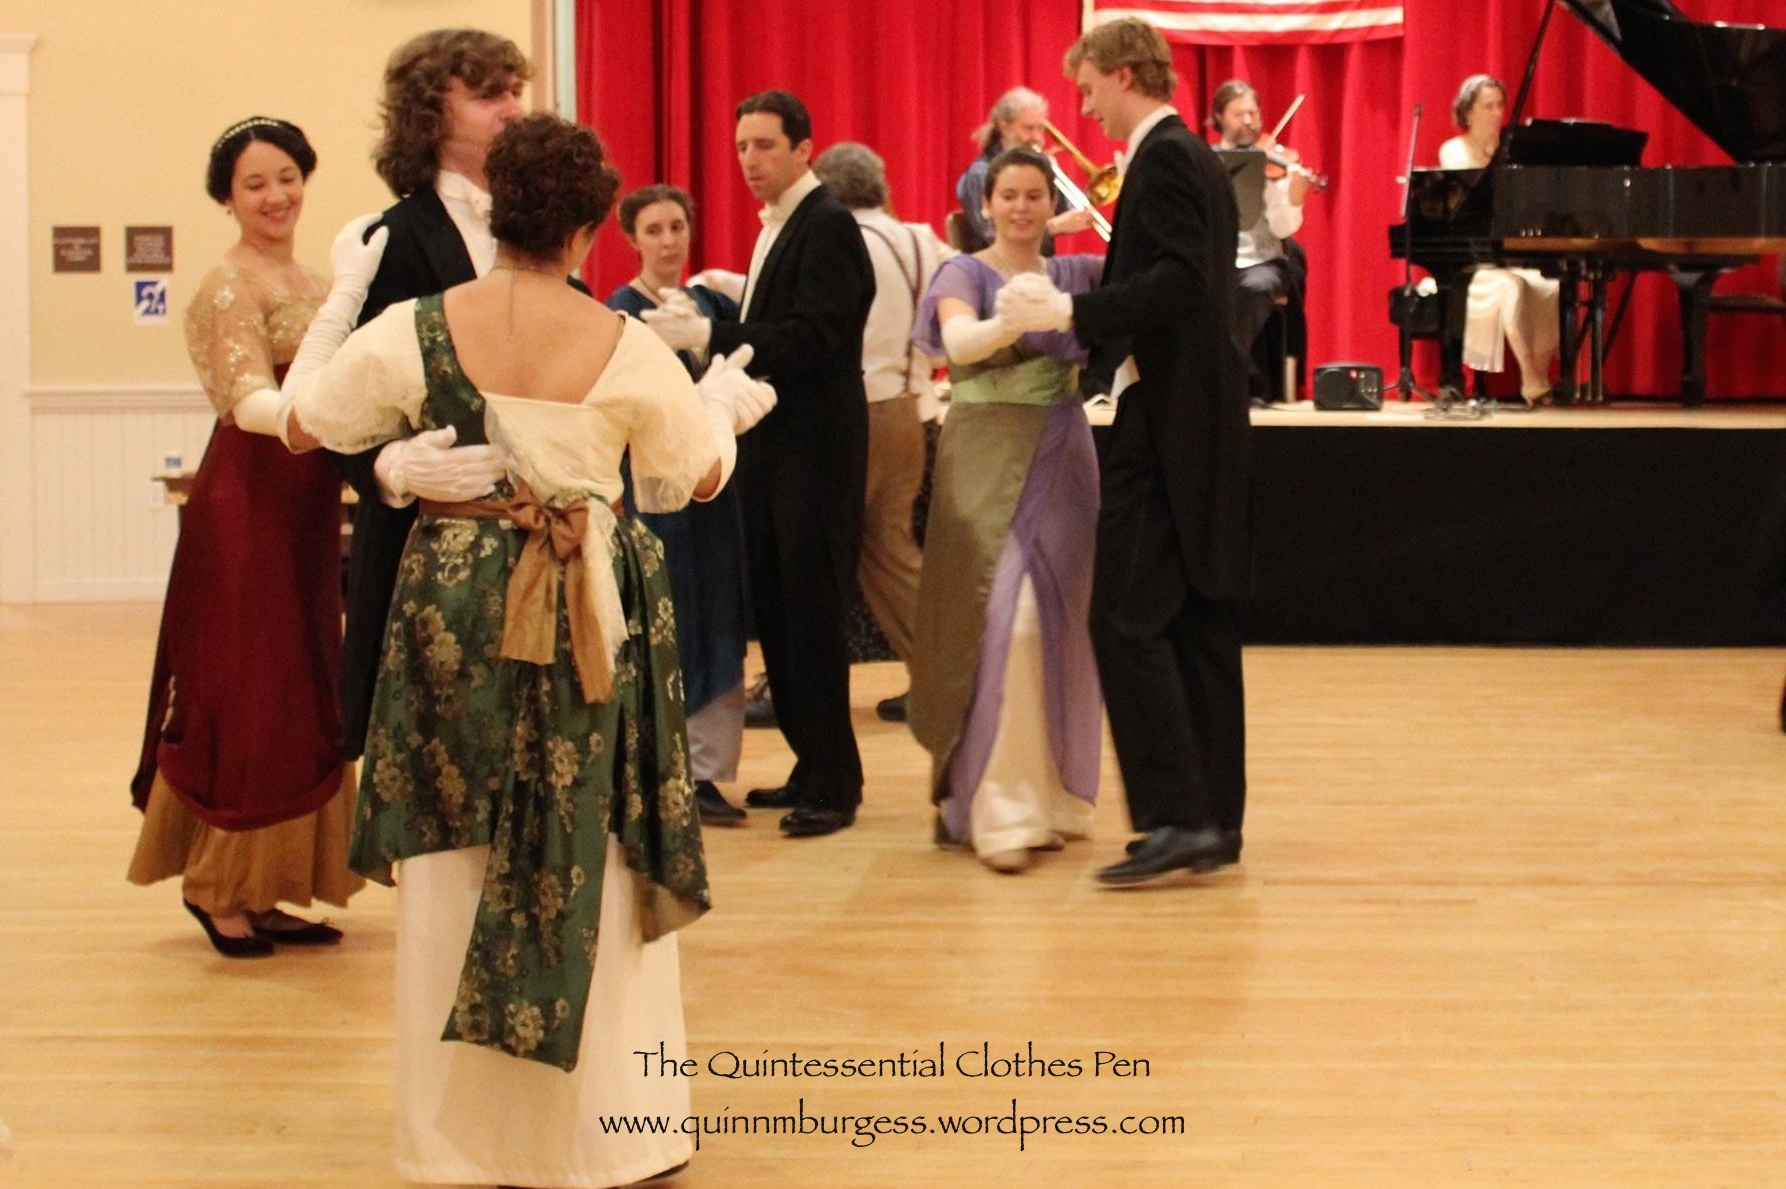
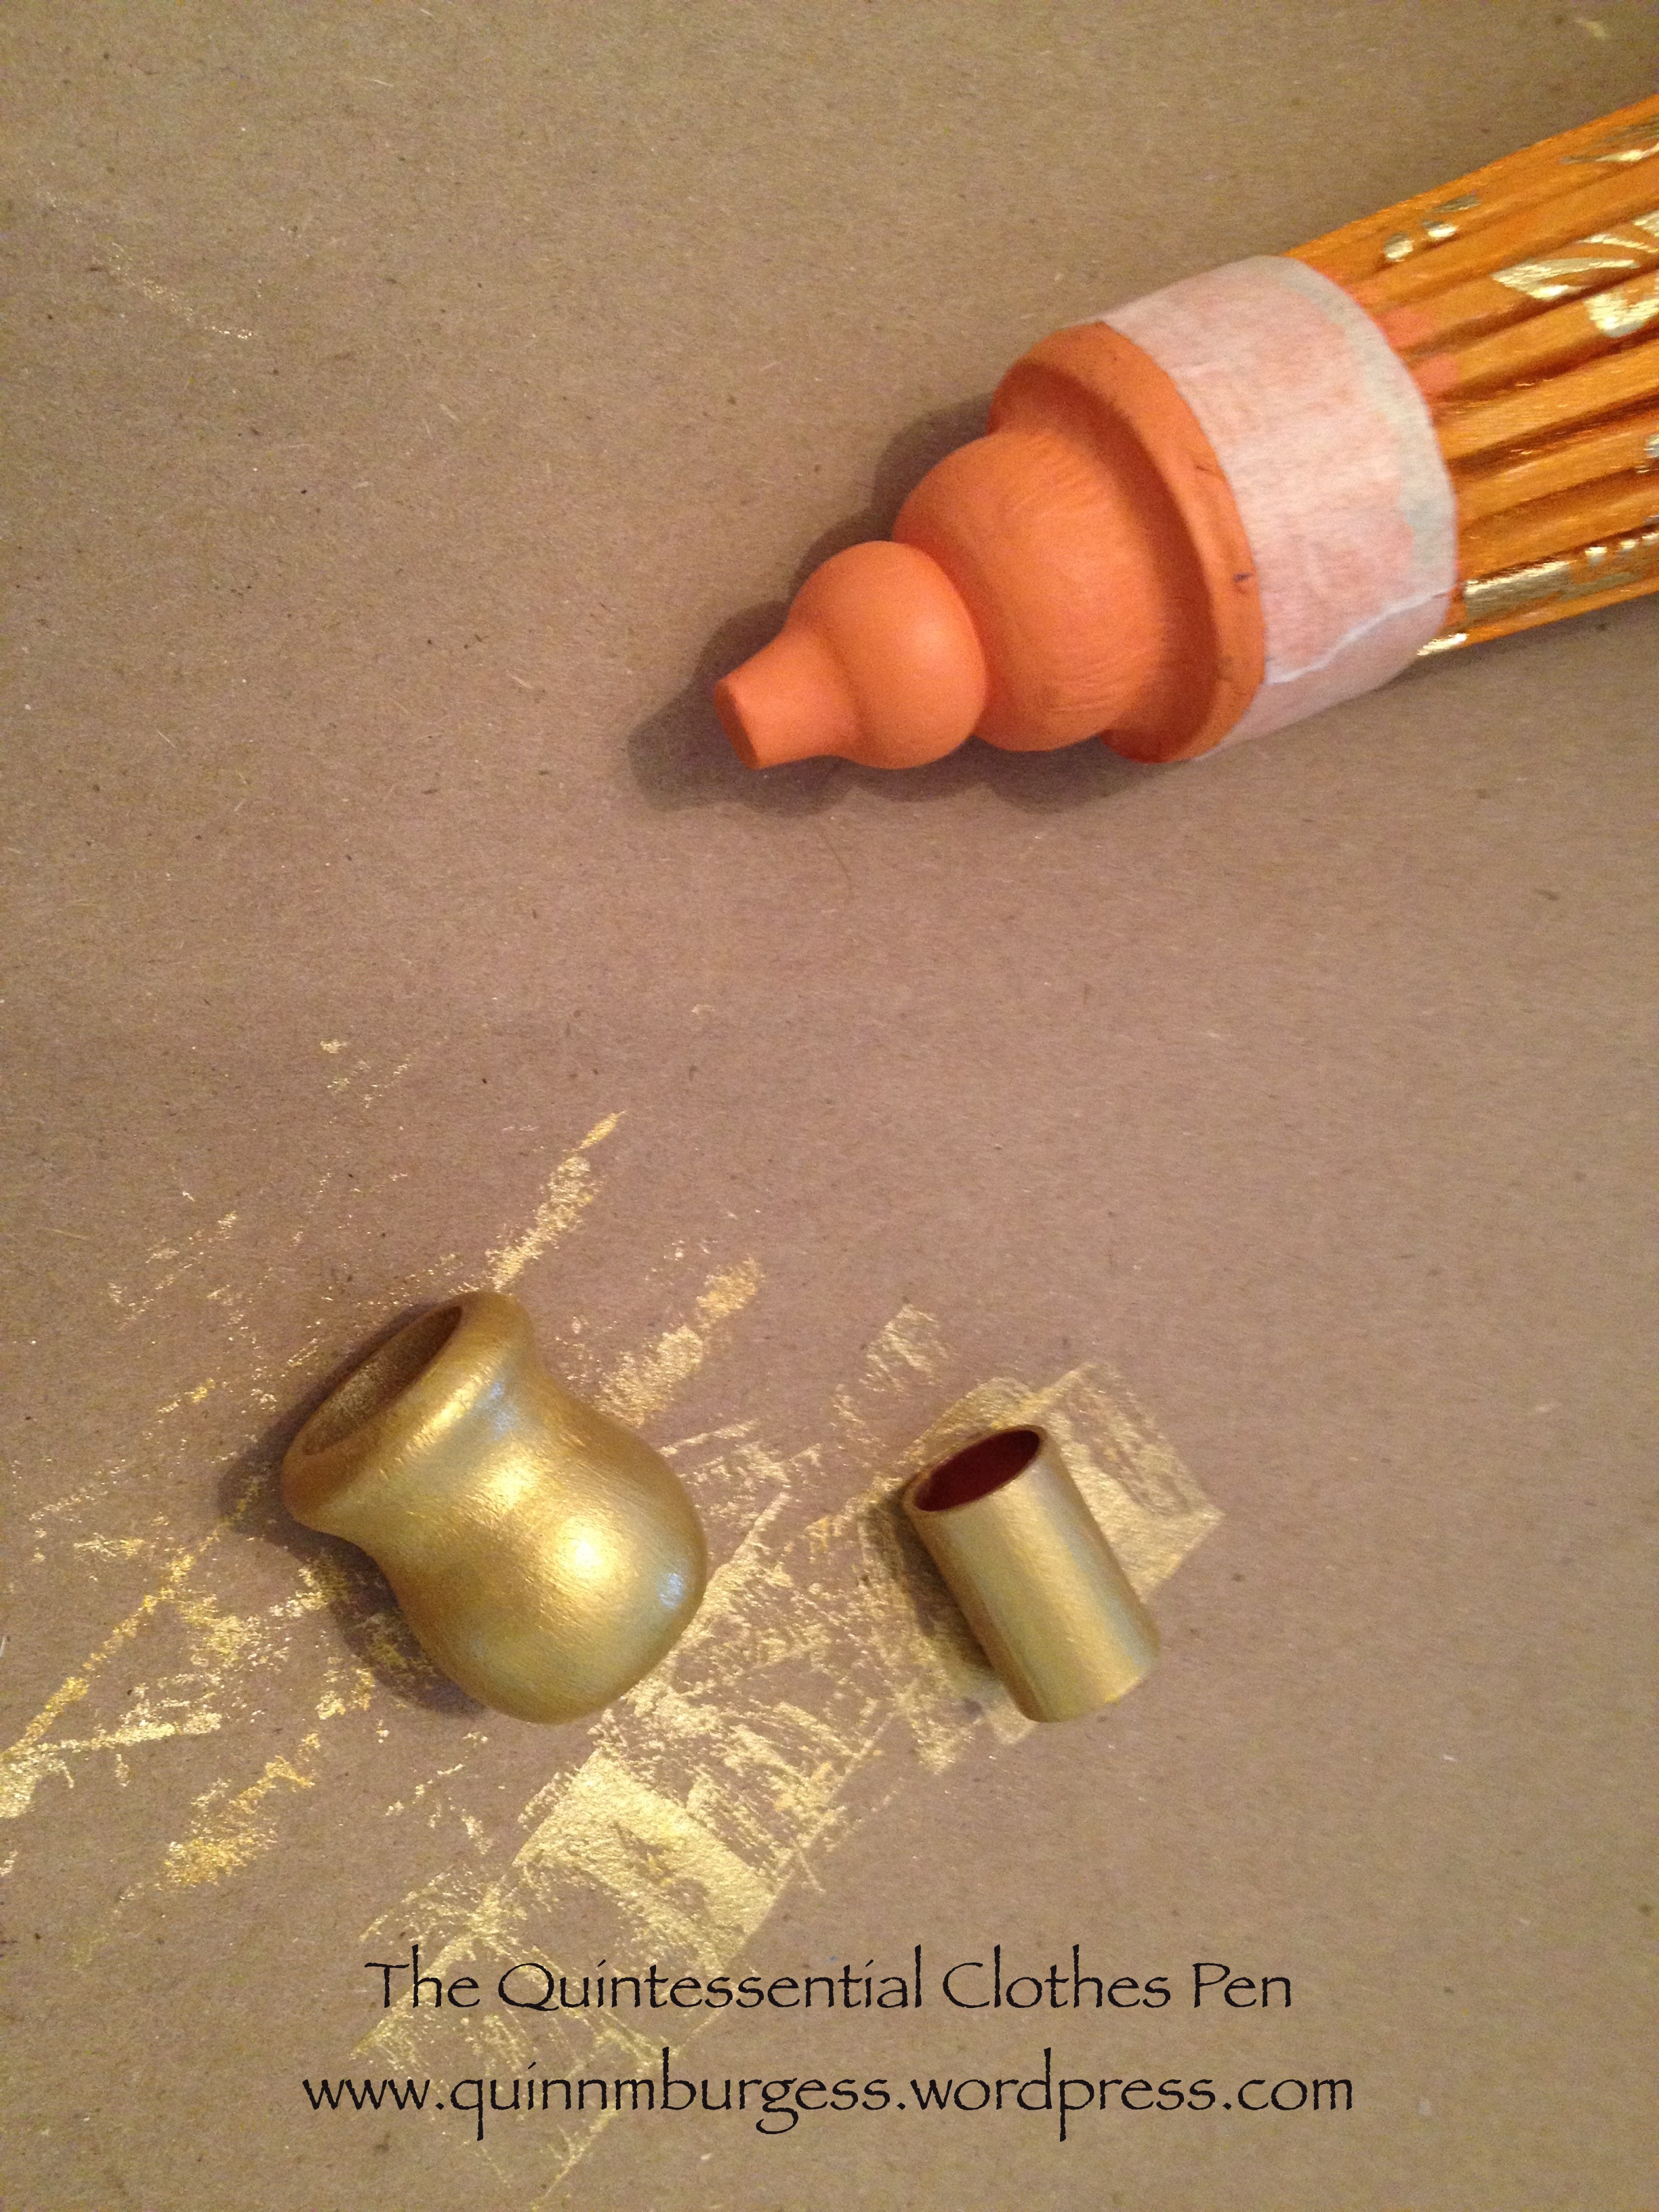
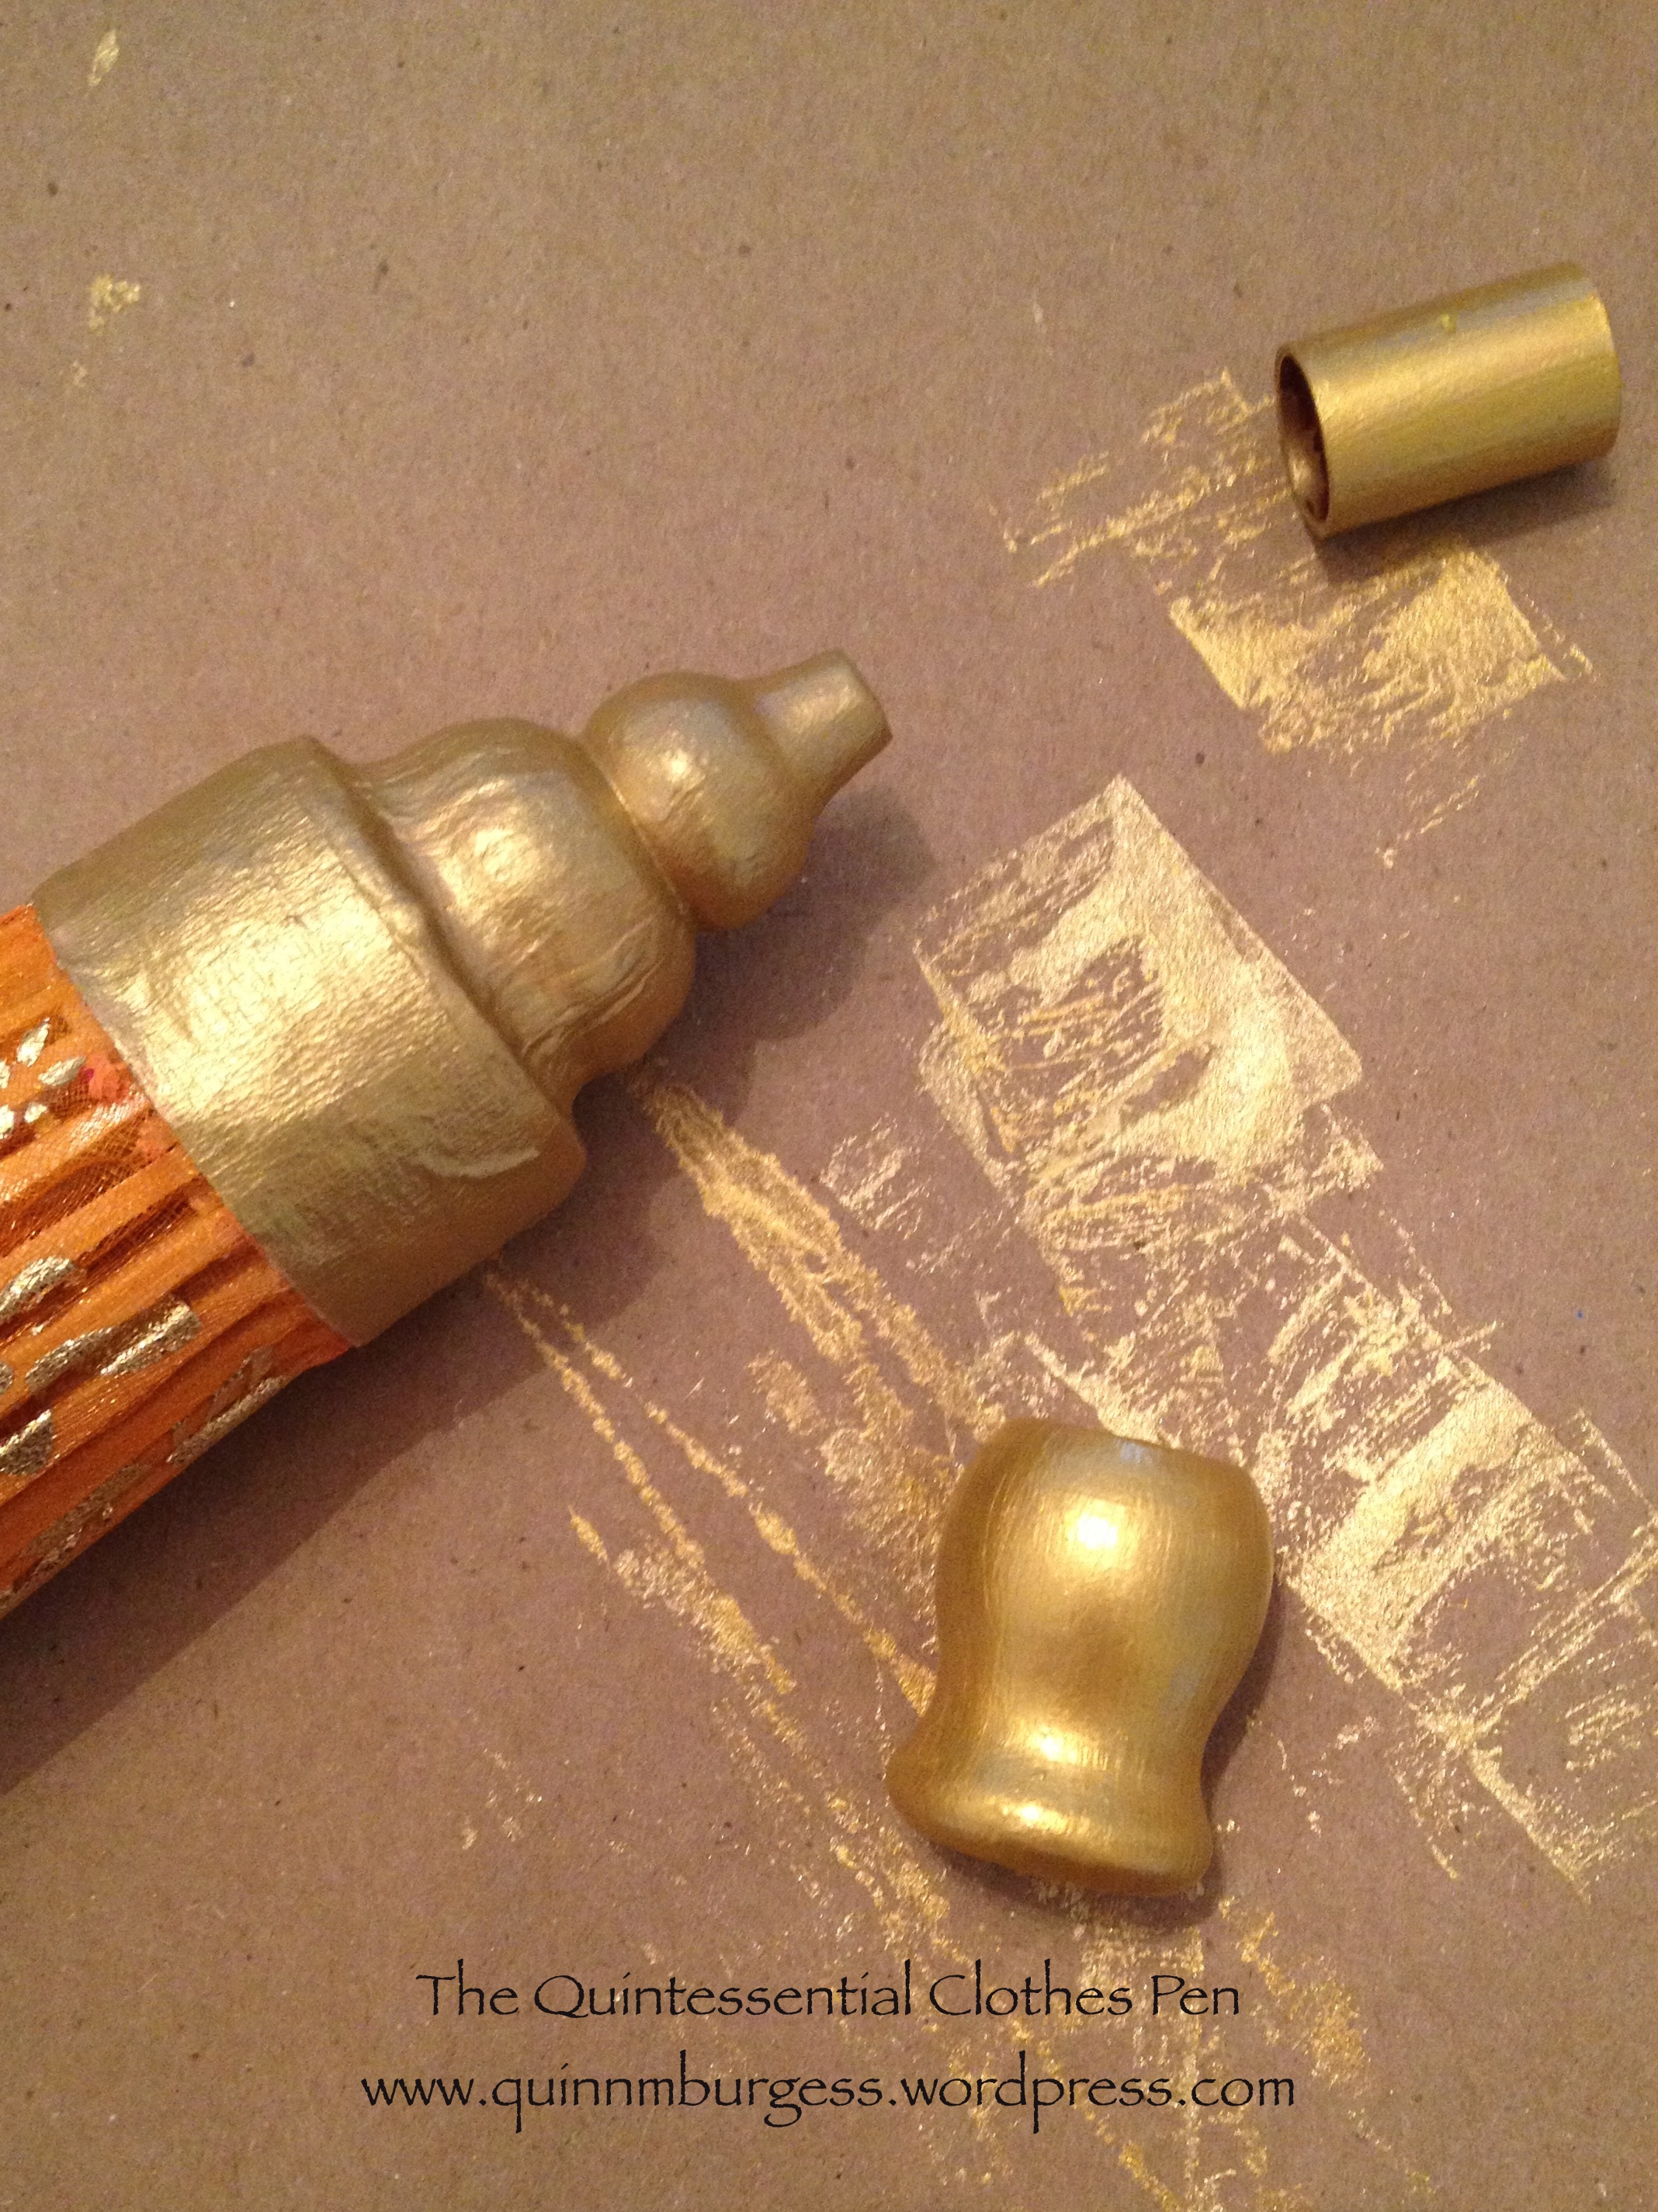
Both sides of the skirt have four covered buttons on them. Buttons were often used in the 1910s to decorate skirts and blouses (take a look at my 1915-18 Pinterest board, for instance, and you’ll see lots of examples). These buttons are just for show, though, because the skirt closes with hidden skirt hooks and bars.

IMG_9664
Braving the cold to show off my completed skirt placket.

I referenced Jennifer Rosbrugh’s great placket tutorial (I could remember all the directions exactly, but it’s so much easier to just take a quick look to remember which pieces to cut to different sizes and where to put them!) and this tutorial showing how to add hidden side pockets (Again, nice to to have to think very hard: easy directions and good illustrative photos!). And I’m super pleased that the skirt is complete! Yay!

1950 Baroness Christmas Dress!

Success! I not only finished my 1950 Baroness Christmas dress the weekend after Thanksgiving, but we also managed to line up our schedules and go see The Boston Ballet’s Nutcracker at the beautiful Boston Opera House, where we took pictures! There were brass bands playing outside and carolers in silver down coats on our walk to the theatre. It was all very festive. And, of course, there was The Nutcracker with a live orchestra.

As you might be expecting, I wore my Christmas dress and took pictures for Edelweiss Patterns’ Virtual Christmas Dress Party. The original inspiration image is in this post. The dress is made from rayon and lined with polyester. I made an attempt to do a 50s stylized up-do, too, though I don’t have any close up head shots… but without further ado, here it is:

IMG_0025

IMG_0026

There were a few changes from the original, like adding a slit behind the front drape for ease of movement, adding a self fabric belt over the waist seam, and not quite making the pleats across the front deep enough to read once the bow was attached. I’m quite pleased, however, and love how festive the dress is! (And it’s quite formal, with that low back…)

Our group was very well balanced in having two greens and two reds, and three hats, and four  gloves (two pairs, you know)… (It sounds like One Fish Two Fish Red Fish Blue Fish or The Twelve Days of Christmas, doesn’t it?)

IMG_0033
3 hats!
IMG_0024
5 of us in 1950s inspired Christmas outfits!
IMG_0038
Merry Christmas!


HSF #23: 1917 Cranberry Red Scarf

IMG_9660
Look, I made my scarf!

…and it qualifies for the HSF Challenge #23: Modern History! This particular challenge is to make something historical or historically inspired that is wearable in an everyday context. And a scarf like this: absolutely wearable in my modern life if I choose!

Just the facts:

Fabric: 2 skeins, of unknown length, of probably acrylic yarn.

Pattern: Made by me. (More details below.)

Year: 1910s. (More details below.)

Notions: None!

How historically accurate?: Ideally, it would have been made of angora yarn, but I had the acrylic on hand and didn’t want to spend extra money (angora yarn isn’t cheap, you know!). Acrylic wasn’t invented until 1941. However, the dimensions of the scarf are accurate, the pattern is entirely plausible for the 1910s, and the style is taken directly from an ad from the 1910s. So I’d say 90%.

Hours to complete: No idea. I knit while watching Netflix and didn’t pay any attention.

First worn: In Plymouth, MA the weekend before Thanksgiving while portraying a suffragette (as I did last year).

Total cost: $2.50 for the knitting needles and $1 for the yarn = $3.50.

The color is perfectly suited to the holiday season, being cranberry red just like the fresh berries I used to make homemade cranberry sauce last week. (That was really easy and tasty, by the way–I bought Ocean Spray cranberries and the recipe was on the bag!)

IMG_9662
Cranberry red!

The pattern is moss stitch. I knit an extra row at the beginning and end just to provide some stability. Then, K2, P2 all the way across for two rows. P2, K2 all the way across for the next two rows. Repeat. Super easy. I keep track of what row I’m on in a little notebook with all my knitting patterns in it. That way I know where I’m at while I’m watching Netflix or when I’ve put it down and picked it up on a different day.

The dimensions are taken directly from a 1910s knitted wear ad that Lauren from Wearing History shared on her blog, here. I made my scarf 8” wide and 68″ long so it would provide maximum warmth while being worn. It also helps that it’s acrylic, which doesn’t breath and keeps you toasty. The fringe is about 6″ long and tied into 9 tassels, just as seen in the ad on a few of the scarves (turns out that I had the perfect number of fringe pieces to divide by 9 without planning!).

I had hoped to make these gloves from a 1910s pattern in matching yarn, but didn’t even start them. Perhaps it’s something that I can do next year! I’ve never knit gloves and I’ve only just taught myself to knit in the round, so while the cables in the pattern are not at all daunting, the simple idea of making gloves is. But challenges are fun sometimes! And I’m very pleased with the scarf.

IMG_9658
It was breezy and cold!

Virtual Christmas Dress Party

Katrina, of the blog Edelweiss Patterns, has put together a Christmas Dress Blog Party. The short version is that anyone who wants to make a holiday dress and participate can share pictures and links on Katrina’s blog right before Christmas at the online party. Here’s the link to the full description.

blog-button-christmas

I have to say that I’m not a make-a-dress-every-holiday sort of person. I’m also not a wear-a-fancy-dress-for-Christmas-dinner kind of person. I don’t go to many holiday parties except historically clothed ones and for Christmas dinner I wear something nice, but then soon change into comfy clothes for lounging in front of the fire and playing board games (mmm, favorite holiday pastimes!).

This year, however, I’ve already started a dress that I’d been intending to wear to a Christmas party, which works out wonderfully! Unfortunately, the party I’d been planning to attend changed locations, making it impossible for me and my friends to be there, so we’re trying to find a date to do our own holiday-themed outing instead (if it works out there will definitely be pictures!). Regardless, my dress is well on its way to completion–hopefully I can finish it off over this Thanksgiving weekend–and I will get pictures somewhere even if our holiday outing doesn’t work out. It will be perfect for the Christmas Dress Blog Party!

ac5152046d7bb775df36e790f930178c
Here’s my inspiration: Vogue #588 from 1950, in the COPA at URI. (Click through to COPA to see an image of the pattern pieces.)

My dress is red sheer rayon with a slight textured stripe. I call it the Baroness dress because it reminds me of a mashup of the style of dresses worn by the Baroness in The Sound of Music (see below), despite the fact that the inspiration pattern is a bit later than the movie. It’s a fun coincidence, because Katrina particularly loves The Sound of Music, as you might guess by the title of her blog and pattern line, but I promise, it was the Baroness dress in my head long before Katrina posted about the virtual dress party!

80f92ea70326c7c748878446bbca69cf
The Baroness by the lake. Hip bow inspiration. And red.
877ee41611b9579fef0a00dc0ce84c5a-1
The Baroness in an evening gown. Evening dress inspiration in general.

And, happy Thanksgiving!

Les Petites Dames de Mode

I was recently reminded of a really fabulous subject I’ve been thinking of sharing on the blog for years now (actually, a draft of this post with just bits of information was started four years ago!).  The subject is the amazing collection of 19th and early 20th century historically clothed dolls that form the collection Les Petites Dames de Mode.

Created by John Burbridge, these dolls are not your average dolls. The dolls and their clothes are to-scale recreations of historic clothing, even down to the trims! I got to see these in person back in 2007 or 2008 when they were on display at Ventfort Hall and let me tell you how stunning it was to see a whole room full of beautifully clothed dolls who were about ⅔ my height! This is some serious attention to detail!

Here are some examples:

cd45d113b1d9d7ef1537895a45adcf6f

241856bc9bd0e5a3ecd37d12ba0fa135

98aa61ae92cfde5af68f0747d098924c


Stunning, right?!? They’re really awesome. There’s a book about them that is widely available. Here’s a link to it on amazon. I believe these dolls are currently privately owned by Mr. Burbridge, but that he is looking for a permeant museum home for them. I hope he is successful so that they are preserved and others will also get to view and appreciate them.

Come Visit Egg Rock With Me

Early in August, I was able to attend two events that were part of Vintage Victorian’s Nahant Vintage Dance Weekend. The first was a lovely late 19th/early 20th century soiree at Egg Rock, a lovely historic house with beautiful furnishings built in 1864 right on the cliffs overlooking the ocean (the second was the Grand Ball, but I’ll save that for another post). The event was quite elegant and included catered food and drinks. I’d like to take you with me to wander around the house, if you’re inclined. (I apologize for the slightly blurry pictures, the phone camera didn’t like the lighting much.)

IMG_1114
A lovely staircase in the front hall greets us, as is is typical of a mid-19 century home.
IMG_1110
Beautiful architectural details grace all aspects of the house: see the lovely gold damask wallpaper and the decorative woodwork along the stair moulding?
IMG_1106
At the top of the stairs there is another split set of stairs leading up to a cute balcony and bedrooms overlooking the ocean.
IMG_1105
Standing at the top of the balcony we can look into the fabulous tall mirror down the stairs into the hallway below.
IMG_1115
Back downstairs in the entrance hall we can appreciate another lovely mirror, beautiful fireplace, and elegant grandfather clock.
IMG_1109
Off to the opposite side of the hall from the fireplace is a small ballroom with a distinctive wood floor. Dancers whirled in small circles here all evening to the tune of live music.
IMG_1123
The ballroom’s walls were adorned with large pastoral paintings which sadly were peeling and in need of conservation. There was also this elegant sofa on one side. I love that the colors in these dresses complement each other so well and that the attitudes of each person are so distinctive and pretty.
IMG_1120
And here I am, wearing my burgundy and gold 1912 evening gown, which harmonized beautifully with the colors in the entry hall. See that wallpaper? I love it!

I was rather undecided about attending this event until the last moment, so I did a reprise of my hair style from July using the beaded gold necklace as a headband, but did it hastily and without a curling iron, so the texture was my normal wavy frizz rather than defined waves and curls. I’m glad I attended, though, because I had a lovely time and really enjoyed the house. I hope you also enjoyed this short visit to Egg Rock!

Waves, Curls, Earrings… And Dancing From The 1910s

It’s been over a month now, but back in July I attended a Ragtime ball that proved to be great fun. I wore my tried-and-true 1912 burgundy and gold evening gown (while it’s nice to have new things, it’s also nice to pull beautiful things out of the closet, too!). Despite wearing a dress I’ve worn before, I tried a new style with my hair, including a repurposed (and therefore new-feeling) accessory.

I was inspired by hairstyles like these from the early 1910s. There are more examples on my Hair: 1900-1920 Pinterest board as well, if you’re interested. What I took away from these images was the use of a headband of some sort, the rather large airy shape, and the defined waves and curls.

0c0e215c3be944fb58d21d7f619134bb
c. 1912 Lily Elsie
8e434c58c92e68411501faa48e82f690
La coiffure française illustrée. (1910)

Of course, I decided to try this out the afternoon of the event so I hadn’t thought ahead in terms of what to use for a headband. After casting around a bit I thought of a bead necklace I’d purchased a few years ago that ties with a ribbon. Why not use that as a headband? In addition to the bead-necklace-as-headband, I wore my Downton Abbey Collection earrings, which are quite lovely and matched my dress very well in color and style.

Quinn M. Burgess
It took rather a lot of time to create the front waves with my curling iron. The back loopy curls were time consuming, too, though fun until my arms started to hurt from being held up for extended periods of time.
Quinn M. Burgess (1)
I love how defined the curls came out, though, and while I do think there’s a slightly flat spot at the back of my head I generally think the silhouette is what I was aiming for.
Quinn M. Burgess (2)
Waves, curls, and earrings!

And here is the dancing in action! People were very well dressed and enthusastic at this event and really seemed to have a good time. For most dances there was hardly anyone sitting out! That’s great, especially when the crowd is a mix of ages.

Quinn M. Burgess

Quinn M. Burgess (1)

Quinn M. Burgess (2)

1922 Lawn Party Ensemble

Remember my Sort-of 1920s Long Handled Parasol and my 1920s Wide Brim Hat? I was able to wear/use both of these at the recent 1920s Crane Estate Lawn Party event. I attended the event last year as well, which you can check out to see more pictures of the venue than I’ve included in this post.

This year, I paired my new parasol and hat with a pleated skirt from ebay (it was one of those things you gamble on when you order, and while I don’t like it for modern wear I think it worked perfectly for an early 20s look!), a new silk blouse c. 1922, my 1917 Knitted Sweater of Angorina (because I’m sure people didn’t wear their clothing only during one year!), and my American Duchess Astorias. It’s wonderful to have accessories and pieces like sweaters in the closet that can fill out an outfit without having to always create an entirely new ensemble.

My goal was an early 1920s look, when the skirts were still long and the clothes weren’t quite such bags. In terms of overall clothing style, I was aiming for the yellow lady in the image below. In terms of accessories, I was aiming for some of the looks which you can see in this past post about making my parasol.

80f48de904eecb22b43fff925ffe081c
The Delineator Magazine 1923

The blouse I made from white silk crepe the afternoon before the event. It’s all one piece, with the gathered sections on the sides. I used short sleeves, as in view A, but omitted the bow, as in view C. This was partially due to fabric restrictions, as I used fabric left over from another project and I only had an odd shaped piece to work with. I’m not entirely pleased with it, because, being 20s, it is rather a bag, but it was very comfortable, which I did like. I think I would like it better if it was an off white rather than a bright white, because it would have complimented my outfit better. But my hand knitted sweater is ivory and I was really pleased to wear it over the blouse, because I liked the color and the length better. It has such nice proportions with the skirt!

sample_show.php
My inspiration for the blouse. Butterick pattern #3779 from 1922 at COPA. I used the pattern layout as a general guide for creating my blouse.
IMG_0033 (1 of 1)
My 1922 blouse. (…that is a bag!)

In no particular order, here are a variety of pictures taken around the estate of the entire ensemble. There were quite a few that I liked, for the movement of the fabrics, or the pose, or the background. The wide hat brim was great for hiding my face. Useful, since I am really good at making weird faces and not always the best at making good picture faces.

IMG_0083 (1 of 1)
Looking out over the ocean.
IMG_0119 (1 of 1)
In the sunken garden.
IMG_0133 (1 of 1)
At the gate to the secret garden.
IMG_0141 (1 of 1)
At the beginning of the wooded path.
IMG_0145 (1 of 1)
Exploring the wooded path.
IMG_0151 (1 of 1)
Appreciating the gnarly trees.
IMG_0165 (1 of 1)
Ascending the path.

Of course, sometimes I was the person behind the camera as well (it’s only fair that if I want lots of pictures of my outfits that I also reciprocate!). Here are a few other pictures just for fun. I took all of these except the last one.

IMG_0095 (1 of 1)
Capturing the ocean and the lovely parasol.
IMG_0108 (1 of 1)
The house is surrounded by a lovely terrace with stone walls.
IMG_0137 (1 of 1)
Through the gate to the secret garden was distant view of marshes.

And, lastly, a bit of humor to end the parade of pictures.

IMG_0110 (1 of 1)
One section of the lawn had a great bootlegger setup and I was particularly amused to see the (modern) police hanging out right next to it.

And there we are! All of my recent 1920s accessories have been worn/used and documented in my complex photography files. That’s it for 1920s for awhile.

HSF #15: 1920s Wide Brim Hat

One of my recent projects lined up with an HSF challenge! I’m excited! My new hat qualifies for the HSF #15: The Great Outdoors. I enjoy making hats, partially because it is always nice to keep my hat making skills in use so I don’t forget them and also because I like putting those skills I’m practicing and remembering to use. The more you do things, the better you do them and the easier it is to remember how to do them!

IMG_0129 (1 of 1)
c. 1920 wide brim sinamay hat

The crown of this hat was pulled over a wooden form and then liberally brushed with sizing multiple times before being removed. The brim is a circle, wired on the outside edge, covers with French elastic to keep the poky edge bits from being poky and then bound in bias cut sinamay. The brim is also well sized. There is an inner millinery grosgrain hat band which covers the join between the crown and brim. The exterior hat band is made from bias cut cotton scraps from my stash. The flowers are some of those I purchased awhile ago for super cheap.

IMG_0905 (1 of 1)
Here is my only in progress picture, of the crown just after being removed from the hat block. The bottom edge was eventually trimmed off to make it even.

Fabric: ½ yd or so of sinamay* yardage.

Pattern: None.

Year: c. 1920.

Notions: Millinery wire, French elastic (½” wide bias cut tricot), millinery grosgrain, cotton scraps, faux flowers, and thread.

How historically accurate?: Let’s go with 90%. Sinamay has been produced for hundreds of years and was certainly known and used in America by the early 20th century. I don’t know for certain that it was used for hats at that point, but I have encountered images and extant examples of hats which certainly look like they could have been made from sinamay or some other similar looking material. The style of the brim and trimmings are consistent with the variety I’ve found in 1920s hats.

Hours to complete: 5ish, spread over about 3 months.

First worn: To the Crane Estate Lawn Party in Ipswich, MA at the beginning of August.

Total cost: Entirely a stash project, which makes it free! I probably paid about $5 for the amount of sinamay I used about six years ago when I bought it, but I used such small bits of all of the other materials that it is pretty hard to estimate how much they cost.

* Sinamay is a natural fiber woven from the processed stalks of the abaca tree, a banana palm native to the Philippines. It is woven in a variety of weights which produce a variety of qualities from rough to very fine, but regardless of the weight and quality it is always very strong. Historically, it was used to make twine, rope, and cordage because of its strength and resistance to salt water. More recently, it has been used for specialty items such as the production of tea bags, floor mats, and furniture, as well as for clothing, and hats!

IMG_0024 (1 of 1)
This picture was taken using a Petzval lens, which produces the unique blurred effect.
IMG_0122 (1 of 1)
I shaped the wire to create the slight curve down on the sides which I’ve often seen in 1920s hats.

You can see some inspiration here, in this post about making my long handled parasol. And here are some more examples: c. 1920c. 1925, and 1927. I’ve got more pictures of my whole ensemble, including my new long handled parasol, which will be coming soon!

Making A Sort-Of 1920s Long Handled Parasol

Over the last few months, I’ve been chipping away at creating accessories for this weekend’s upcoming 1920s Lawn Party. Today, I’m going to show you how I turned a standard ebay Chinese parasol into a long handled parasol. I’m curious to know what you think about it!

I started with a child size parasol. I picked it because I really liked the design (gold flowers on orange). I didn’t really want a plain color and I didn’t like the other design options as much. I also didn’t mind the smaller canopy size (adult size parasols are about ⅓ larger across the canopy).

IMG_1063 (1 of 1)
Parasol as I received it.

But… the handle was so short! And I really didn’t like the tassel on the end… but that was a small issue. “Haha,” I thought, “craft time! I’ll lengthen the handle!” First, I got Mr. Q to saw off the original orange handle. Turns out that the main part of the handle is actually bamboo, but I didn’t realize that at first, not that it matters. Second, I bought a new end piece and gold acrylic paint online for about $5 (I didn’t feel like driving around to craft stores and it fit in with other amazon things to make a full order with free shipping!). Then, I went to Home Depot and bought the supplies I didn’t already have at home. I already had Gorilla Glue, but I needed a dowel to make a longer handle and a piece of something to connect the two pieces. I also decided, while at the store, to get some wood stain to try to make my dowel look more like the bamboo of the original handle in terms of color.

IMG_1065 (1 of 1)
I bought two different gold paints because I wasn’t sure which I would like better in person and they were about $1 each. You can see how light colored the dowel was when I bought it (this is before I used any stain). It really looked different than the bamboo. The two little pieces in the middle are the new end piece and the copper pipe that I used to join the dowel to the bamboo parasol handle.

 I laid out a paper bag for my work surface and started painting! First, I painted the end piece and copper piece gold. While those were drying, I started staining the dowel. I just used muslin scraps to apply the stain, which worked wonderfully. As I was going along, I decided to paint the top solid orange bit of the parasol gold, too, to match the other gold pieces and because the edges of it were starting to flake from when I opened the parasol all the way.

IMG_1067 (1 of 1)
In order to keep the orange top part from continuing to flake off, I wrapped a piece of plain old masking tape right around the edge of the base before painting.

I decided to use both gold paints. First I used the more antique gold paint until I had a solid opaque surface, then I used the brighter gold paint lightly over top to really make the paint shine like the flowers on the parasol cover.

IMG_1069 (1 of 1)
The three painted pieces after applying both shades of gold paint.

The final part was assembling the pieces. I used Gorilla Glue, which is super sturdy when dry. The thing to be aware of, though, is that Gorilla Glue bubbles and expands while it dries. In this case, that actually was very helpful. The first part I glued was the copper joiner onto the dowel. The copper piece was a bit roomy, so I put a ring of glue around the inside and let it partly dry so it had expanded, then added more glue and put the dowel in. It worked perfectly and when dry, the dowel had been solidly glued about to the halfway point of the joiner.

After that, I glued the end piece on the other end of the dowel. Turns out that the opening on the end piece is actually close to 1″ across but the dowel is more like ½” (you can see the difference in the picture with all the supplies laid out). I did a little bit of letting the glue expand, but I also took Mr. Q’s suggestion and stuck broken bits of yellow toothpicks (I only have colored ones in my house and yellow matched best…) on four sides of the dowel to keep it from wobbling in the hole. Again, it worked perfectly and once the glue dried it was super solid. I didn’t fill in around the toothpicks, actually, and if you look straight down the dowel you can see them, but one would assume that my hand would be there, or that whoever is looking at me is far enough away not to see such small details.

IMG_1075 (1 of 1)
Finished!

And this is the result. The dowel and bamboo don’t match perfectly, but I spent enough hours painting, staining, and glueing that I don’t really care. I plan to have more pictures of this in the next few days, so you’ll see it again soonish, and from more angles. In the meantime, here are some inspiration images of long handled parasols in and around the 1920s.

106ac7ba5520adf117bebc98368877ab
Anna Q. Nilsson and Ethel Clayton – 1919
b7e1109a237d7462c47c7f0250b4cb0a
Josephine Dunn – c. 1920
8aebea18ffca641970afdfbfe40d0868
c. 1920
662e7ae366c72704007a4df3bcdf6191
Mary Pickford c. 1920
b7f9da3c1ee084e606c3b8898d4d451c
Anna Pavlova, Ivy House, c. 1927