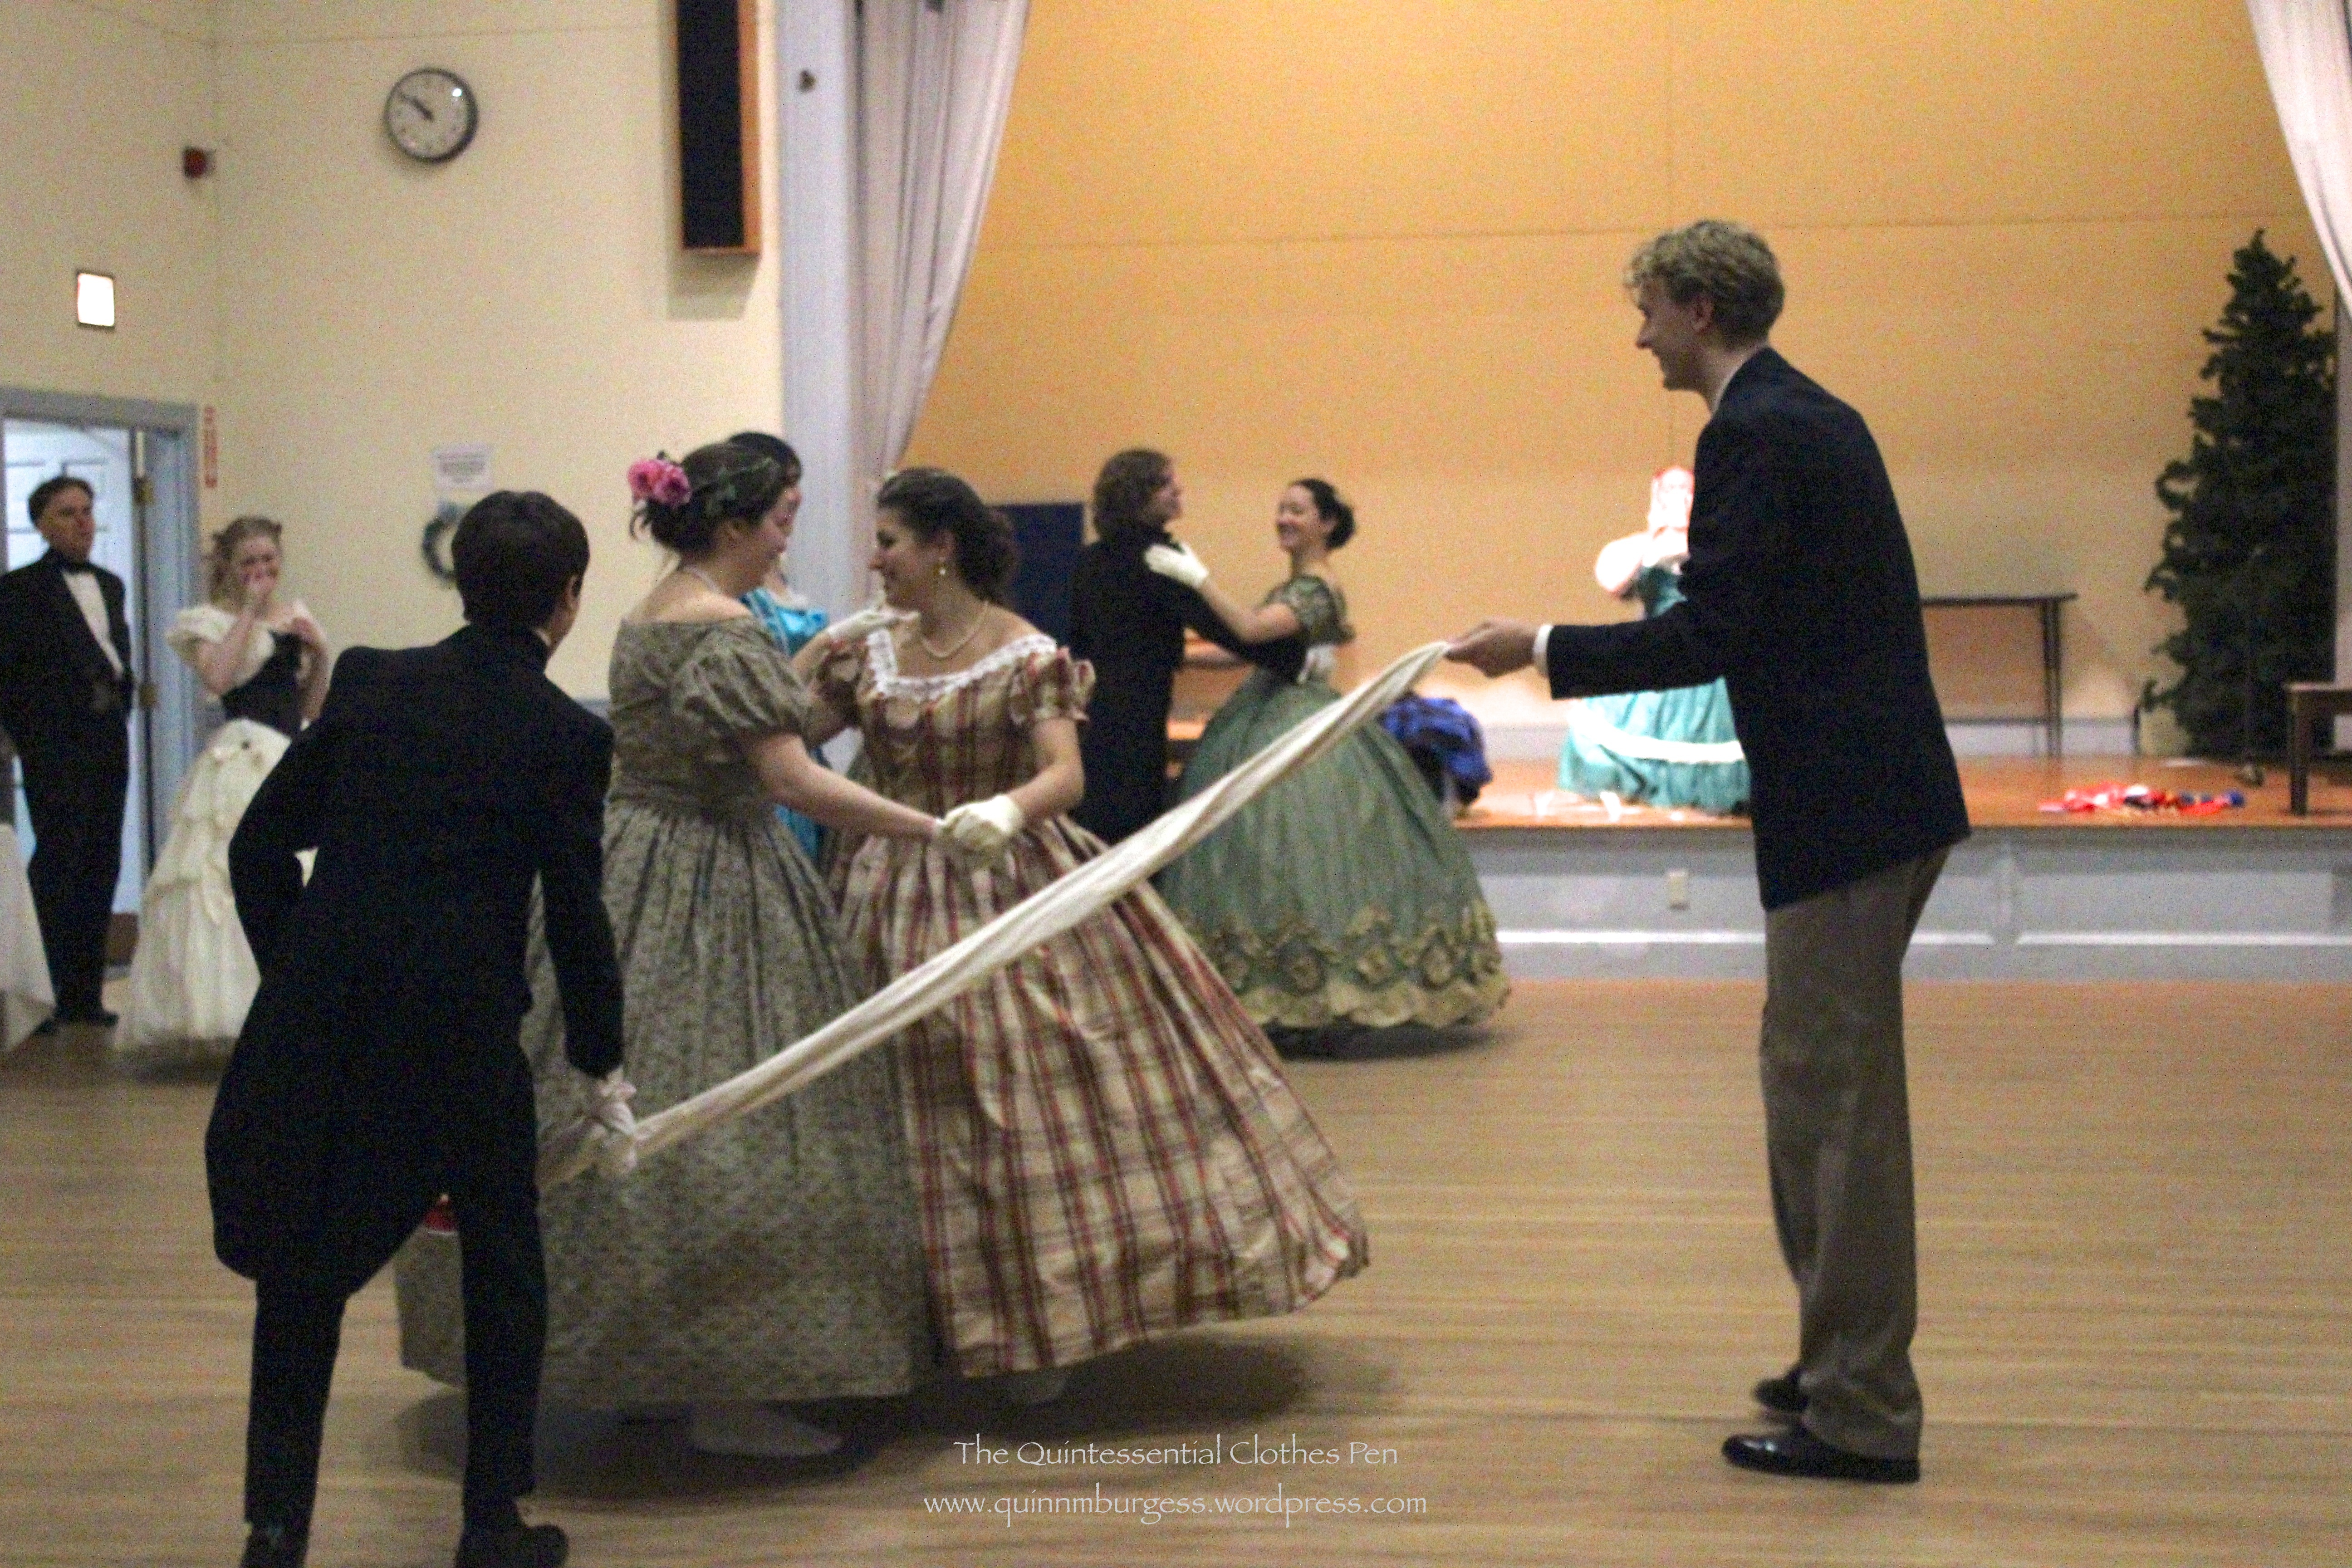
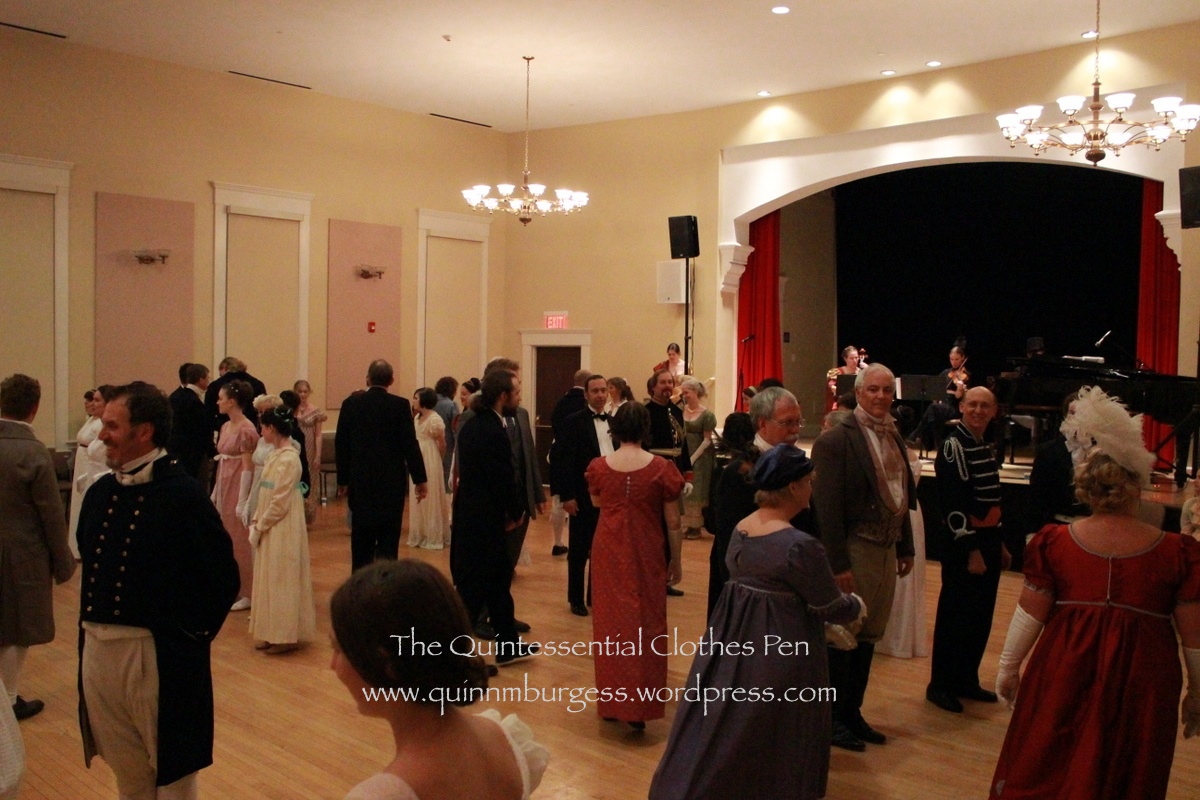
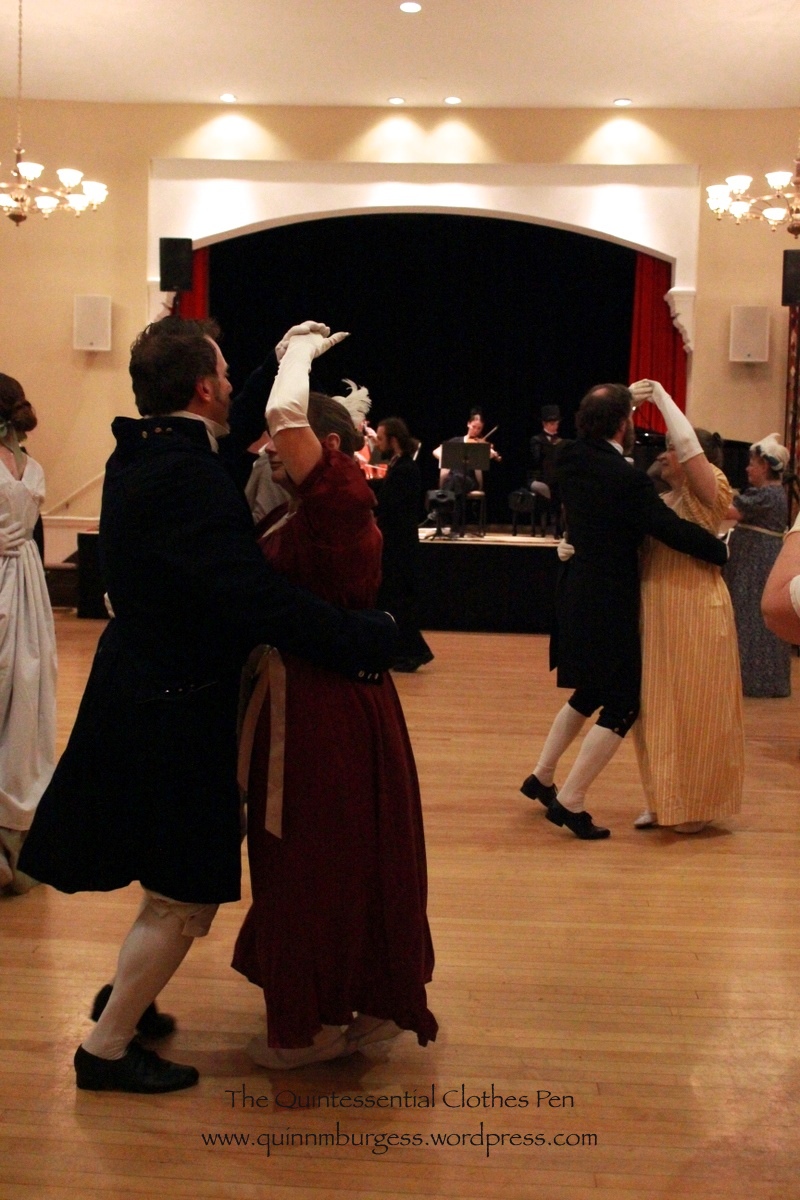
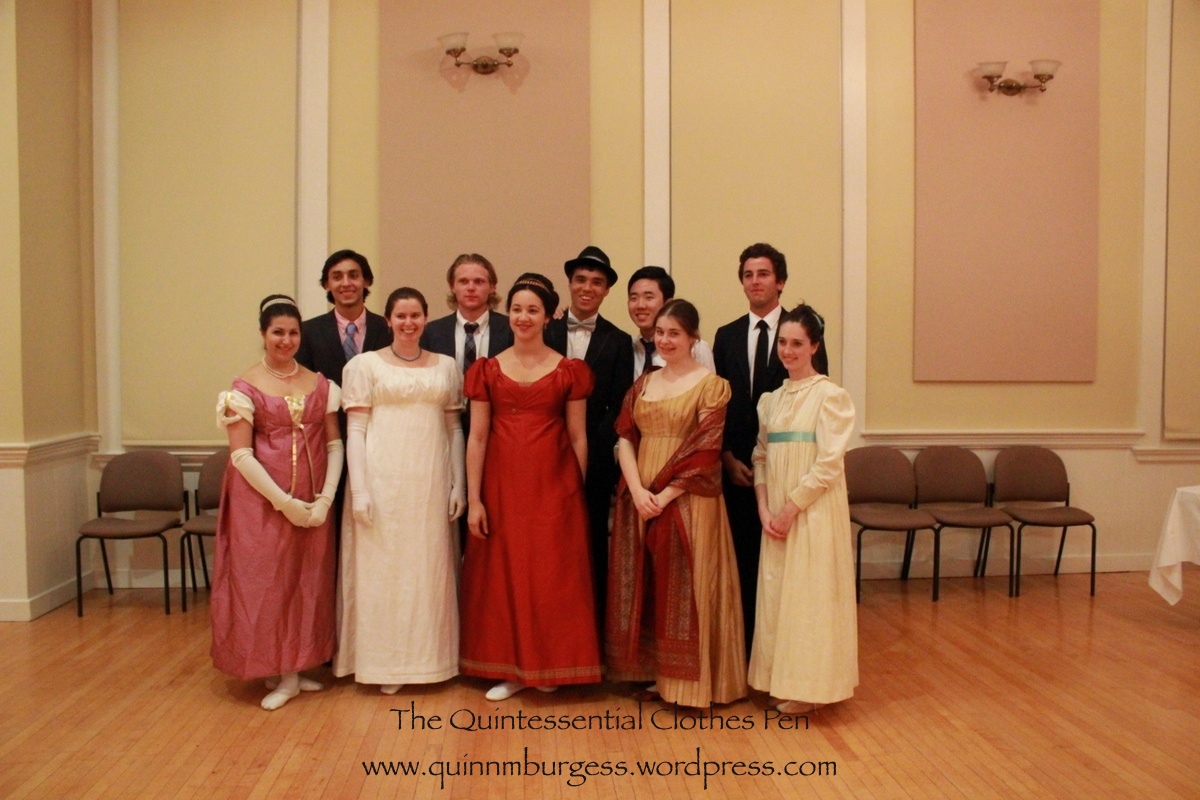
In modern interpretations of Regency costume, there is a widespread use of what I am going to call the “ribbon sash.” By this I mean a length of ribbon, in a contrasting color to the dress and not used to trim any other part of the dress, tidily tied or sewn under the bust, and terminating with long hanging ends. I understand that this style provides an easy way to adorn a dress of any color or add color to a white dress, but I believe that the style is much too often used relative to the occurrences we see of them being worn in portraits, fashion plates, and built into extant gowns. I would like to encourage all of us to have variety in the ribbon sash styles we wear with Regency clothing.
When looking at portraits, fashion plates, and extant gowns, you do find the sort of ribbon sash I described in the beginning of this post, but you don’t find them in anywhere near the same proportion with which they are used today. You do see these types of sashes, but it is a small proportion of the styles worn and you see a variety of other sash styles, too. I would like to share a variety of ribbon sash styles with you and encourage you to pick one of these less used styles if you decide to wear a ribbon sash yourself or if you have the influence to encourage others in their own ribbon sash wearing. By expanding the styles of ribbon sashes worn, hopefully we can all more accurately represent clothing worn in the Regency period.
Generally speaking, there are 4 large categories of ribbon sash styles. I’ve included an example image of each style underneath the accompanying description and I’ve included links to other good examples (below the four sash style descriptions) so you can look at them for more ideas.
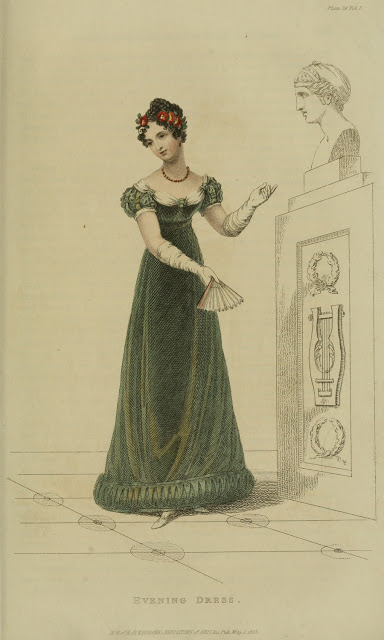
1: The Ribbon Sash (as described in the beginning of this post): a length of ribbon, in a contrasting color to the dress and not used to trim any other part of the dress, tidily sewn or tied under the bust, and terminating with long hanging ends approximately 24″-36″. It is very rare to see this style used in a fashion plate or painting with the termination of the sash in any location other than center back.

2: The Short Sash: a length of ribbon, in a contrasting color to the dress and not used to trim any other part of the dress, tidily sewn or tied under the bust, and terminating with short hanging ends approximately 6″-18″. I have seen this style with the termination of the sash in center back, center front, and occasionally off to one side of the front.
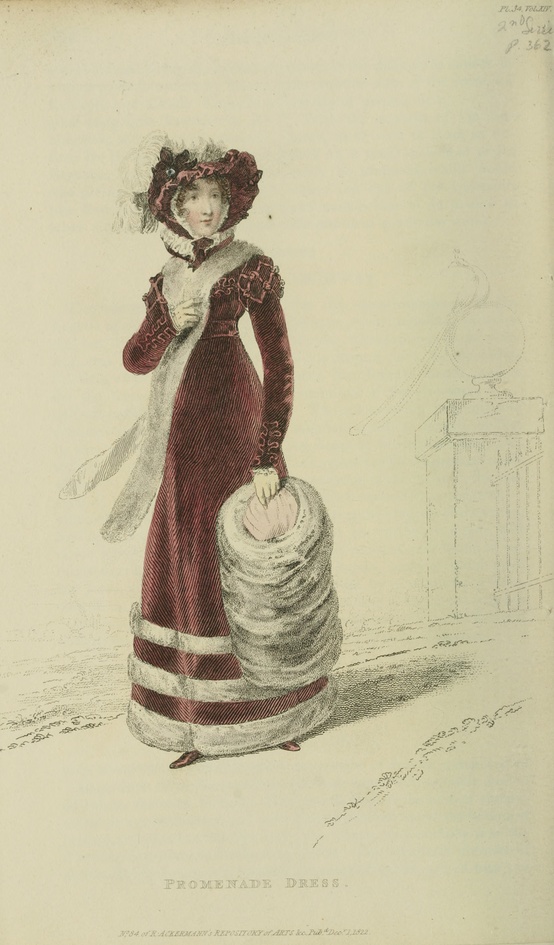
3: The Belt Sash: a length of ribbon, in a contrasting color to the dress and not used to trim any other part of the dress, tidily sewn or tied under the bust, and with very short hanging ends or without hanging ends at all. This style is sometimes plain or sometimes adorned with a buckle or bow. The buckle or bow with short ends is often at center front.

4: The Trim Sash: a much more common variant of any of the first three sash styles. Any of the first three sash styles can fall into this category if the sash matches and coordinates, in a harmonious fashion, with trim elsewhere on the dress (neckline, sleeve openings, or hem).
All of these sash styles are seen with different styles of termination. I’ve most often seen a variety of bows as well as tidy arrangement of loops. Often, the belt style seems as though the belt sash is actually sewn to the dress, but for the sake of options, I can easily see a ribbon sash made with a closure such as hook and eyes so the sash can be easily added or removed from any outfit. It’s worth noting that there are a substantial amount of images showing ladies from the front who appear to be wearing a ribbon sash of some sort. The trouble is that we often can’t see what’s going on in the back, so we can’t know with certainty what style of ribbon sash is actually being represented, though we can make educated guesses.
Here are more examples of each of the sash styles shown above:
1: The Ribbon Sash
Portrait of a lady, ca. 1810: ribbon sash on a white dress (ties in back)
Costume Parisien, 1813: ribbon sash on a white dress (ties in back)
2: The Short Sash
Auguste-Amalie de Baviere, ca. 1815: short sash (ties in front)
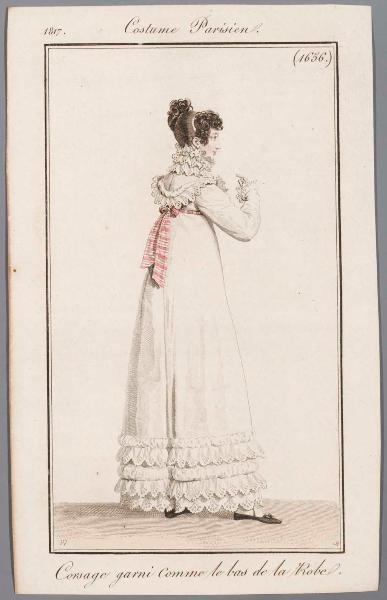
Costume Parisien, 1817: short sash (ties in back)
3: The Belt Sash
Laure de Berny, ca. 1810 (bow in front)
A young woman wearing gloves in a park, 1813
Anna Maria Magnani, 1814 (bow in front)
Woman knitting in a blue dress, ca. 1819 (bow in front)
4: The Trim Sash
Dress, ca. 1810, The Met: belt sash
Dress, ca. 1810-1811, Gemeentemuseum Den Haag: belt sash
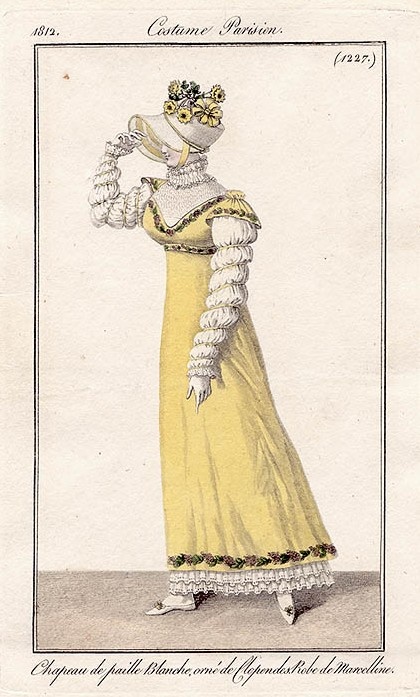
Costume Parisien, 1812: belt sash
Costume Parisien, 1812: belt sash
Dress, ca. 1810-1815, Rijksmuseum: belt sash
Family Portrait, 1813: short sash (ties in front)
Of course, these are only a starting point. My pinterest boards have hundreds of pins from the 1800s and 1810s that you are welcome to look at for other ideas. Keep the contrasting ribbon sashes in mind, but don’t forget that you can make sashes out of your dress fabric, too (see below). Sashes made from self fabric are quite common. Look around and see what you can find that inspires you. This Regency Portraits board has a lot of great images showing all sorts of sashes as well.
Here are some great examples of dresses with sashes made from self fabric (meaning that fabric used in the dress was also used to create a ribbon sash look):
Désirée Bernadine Eugénie Clary, ca. 1810: long sash
Costume Parisien, 1810 short sash (ties in front)
Costume Parisien, 1811: short sash (ties in front)
Costume Parisien, 1811: short sash (ties in front)
Costume Parisien, 1812: short sash (ties in front)
Costume Parisien, 1814: short sash (ties in back)
Costume Parisien, 1817: short sash (ties in back)
In looking at my pinterest board covering 1800-1809, I do find that there are some very cute sashes then, too, that are relevant for a potential sash look. In this period it seems that most sashes match the trim used on the dress, though it is not an absolute rule. I’ll include a few examples of this sort below, so you can look if you’re curious.
Costume Parisien, 1799: short sash (ties in front)
Costume Parisien, 1800: short sash: (ties in front)
Costume Parisien, 1800: trim ribbon sash with long ends
Young Woman Drawing, 1801: short sash (ties in back)
La Belle Assemblee, 1807: trim ribbon sash with long ends
Costume Parisien, 1808: belt sash
Felicite de Durfort von Merry, 1808: belt sash
Charlotte Bonaparte, 1808: belt sash
For the record (and because I always forget!), the official “Regency” is referring to England during the years 1811-1820, following the Prince of Wales being named regent for George III in 1810. In France, the Napoleonic Empire spanned the years 1804-1814. So there is some overlap between Empire and Regency, but not a whole lot. (And just to add another date to the mix, the Federal period in America roughly spanned the years 1780-1830.) For the purposes of this post, I’m using the word Regency to specify the 1810s, but my points about variety in sash styles are relevant for the first decade of the 19th century as well.
As a final note, let me encourage you to use color in Regency dresses (color in trim as well as color in the fabric), especially in those dresses intended to represent the 1810s rather than 1800s. By the 1810s, not all dresses were in white tones, as they were much more predominantly in the first few years of the 19th century. Colors were used often, some of the colors even being rather vivid in tone (don’t get too carried away with very bright colors, though, because chemical dyes weren’t invented till the middle of the 19th century). Check out these great resources that describe and show colors used in the Regency: