I am finally ready to share a full set of photos of the new Yellow Sacque and its friend, my older Versailles sacque (all of the construction details for these dresses can be found by clicking the links)! The two dresses had a joyful outing together at an event last year. This post is going to share about the event itself as well as photos and recollections.
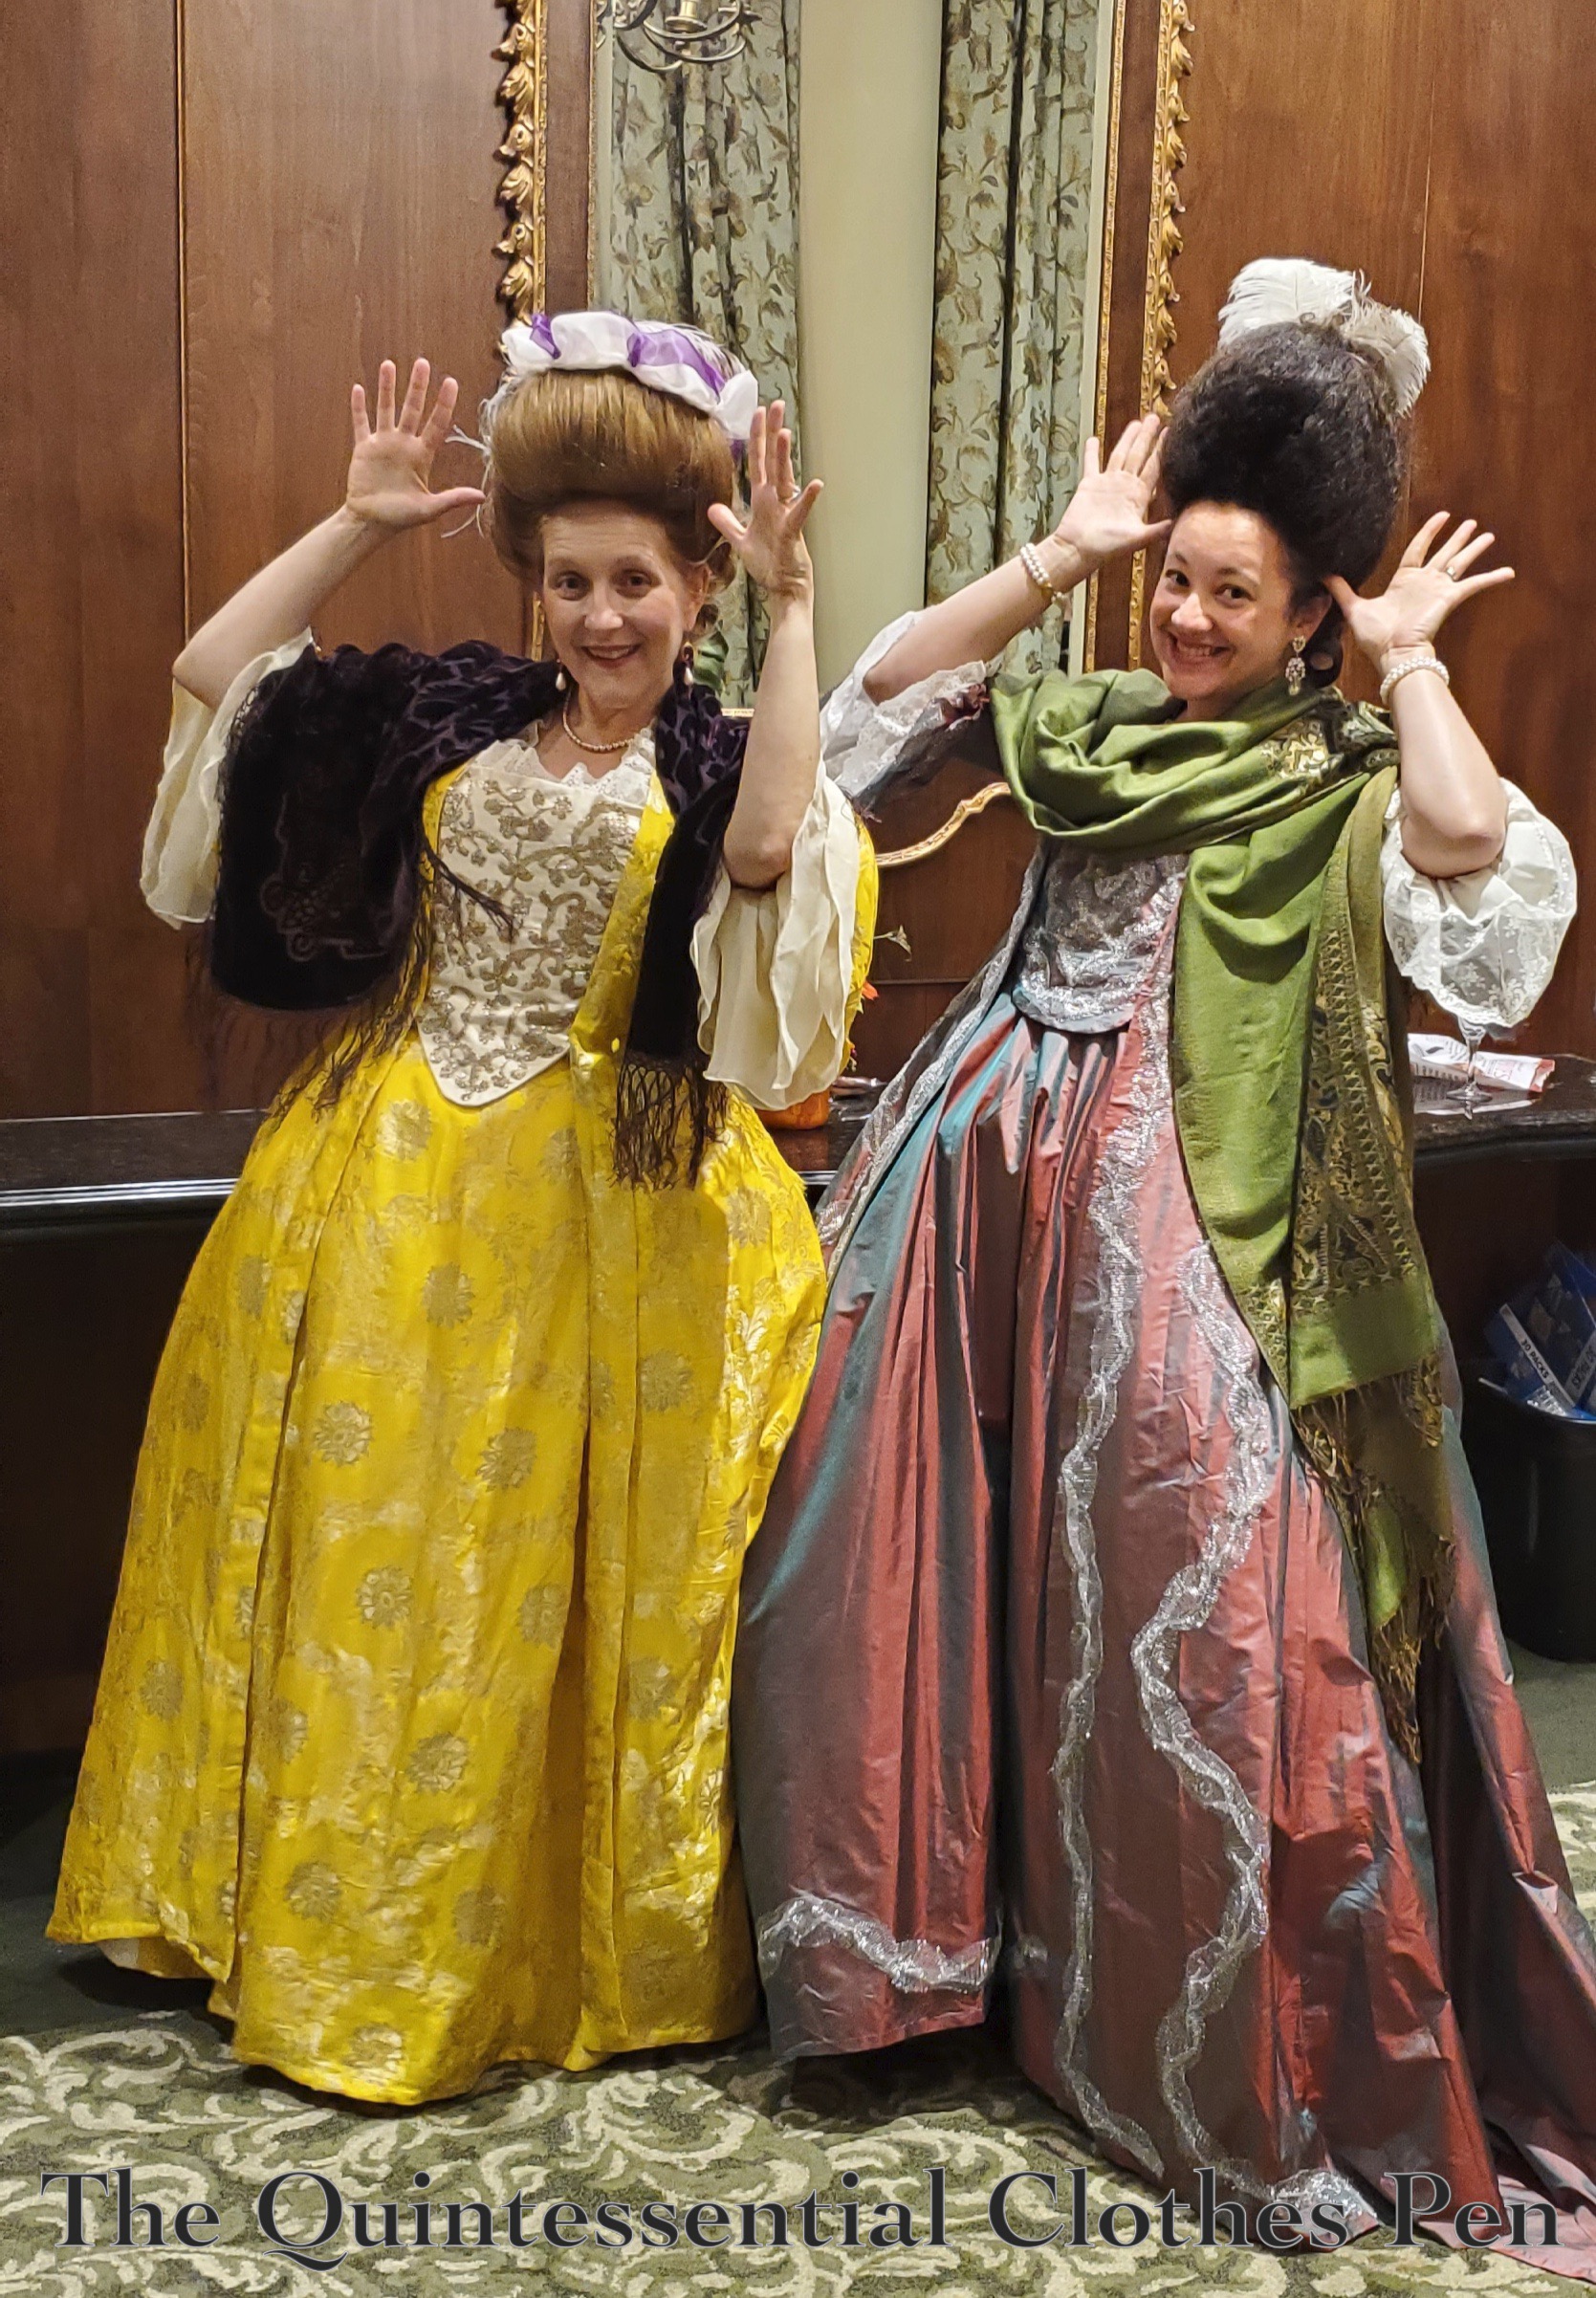
Below, a photo of the Versailles Sacque and new Yellow Sacque next to each other!
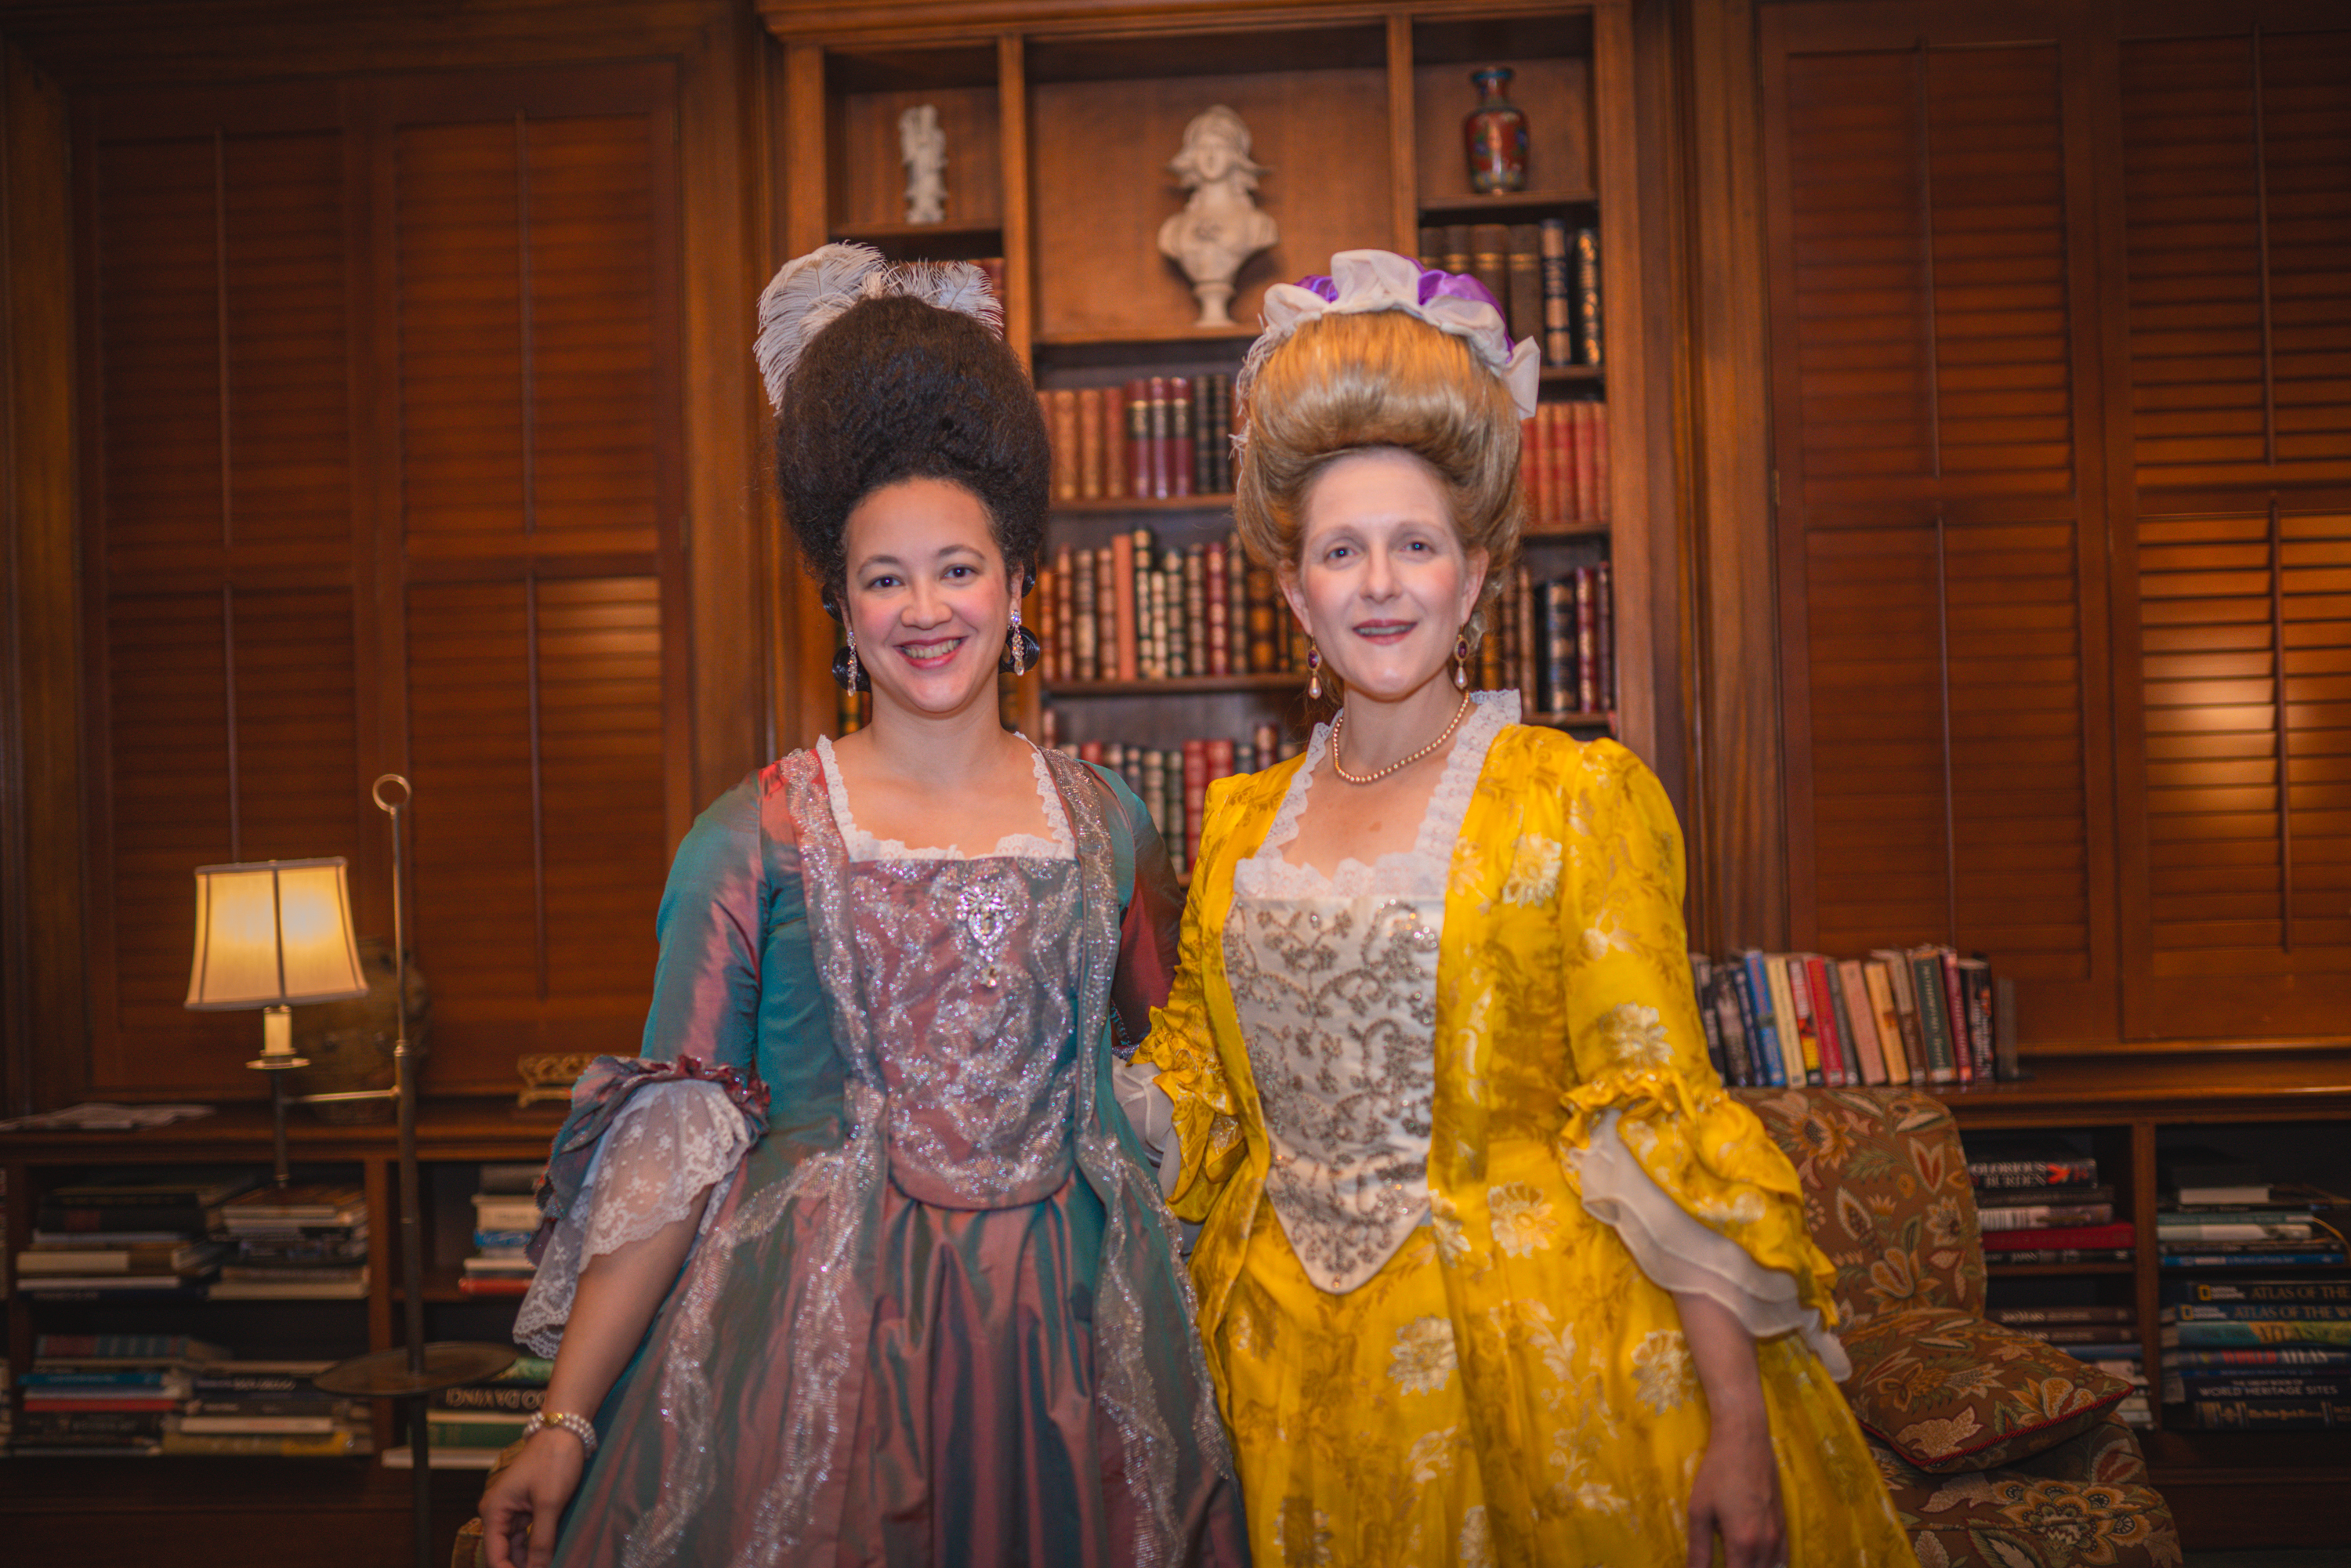
Photo courtesy of Aleks Vu
About The Event
In October 2024, I had the great joy of attending the ‘Salon at Palais-Royal: An 18th-Century Chevalier Experience’ weekend hosted by Costumers of Color. The program included educational lectures, a violin concert, historical activity discussions and demonstrations, dancing, and more, with the goal of providing an inclusive environment for people of color both in terms of attendance and in terms of the educational theme of the event.
It was a success! Costumers of Color shared on the page for the event that “over 40 of the 140 attendees were POC (people of color).” That’s pretty amazing, and special! (If you go to the linked page, you can see group photos, one of which is of all the people at the event who identify as people of color.) I enjoyed that aspect of the event, as well as the educational theme that centered Joseph Bologne, Chevalier de Saint Georges, an 18th century Black “scholar, a fencer, a virtuoso violinist and a famous and sought-after composer.” (This quote is from the Costumers of Color blog post about Joseph Bologne. Please go give it a read if you would like to learn more! Bologne’s achievements are impressive!) In addition to these elements, I also enjoyed the combination of learning and participating that was incorporated into the weekend.
What Was Worn
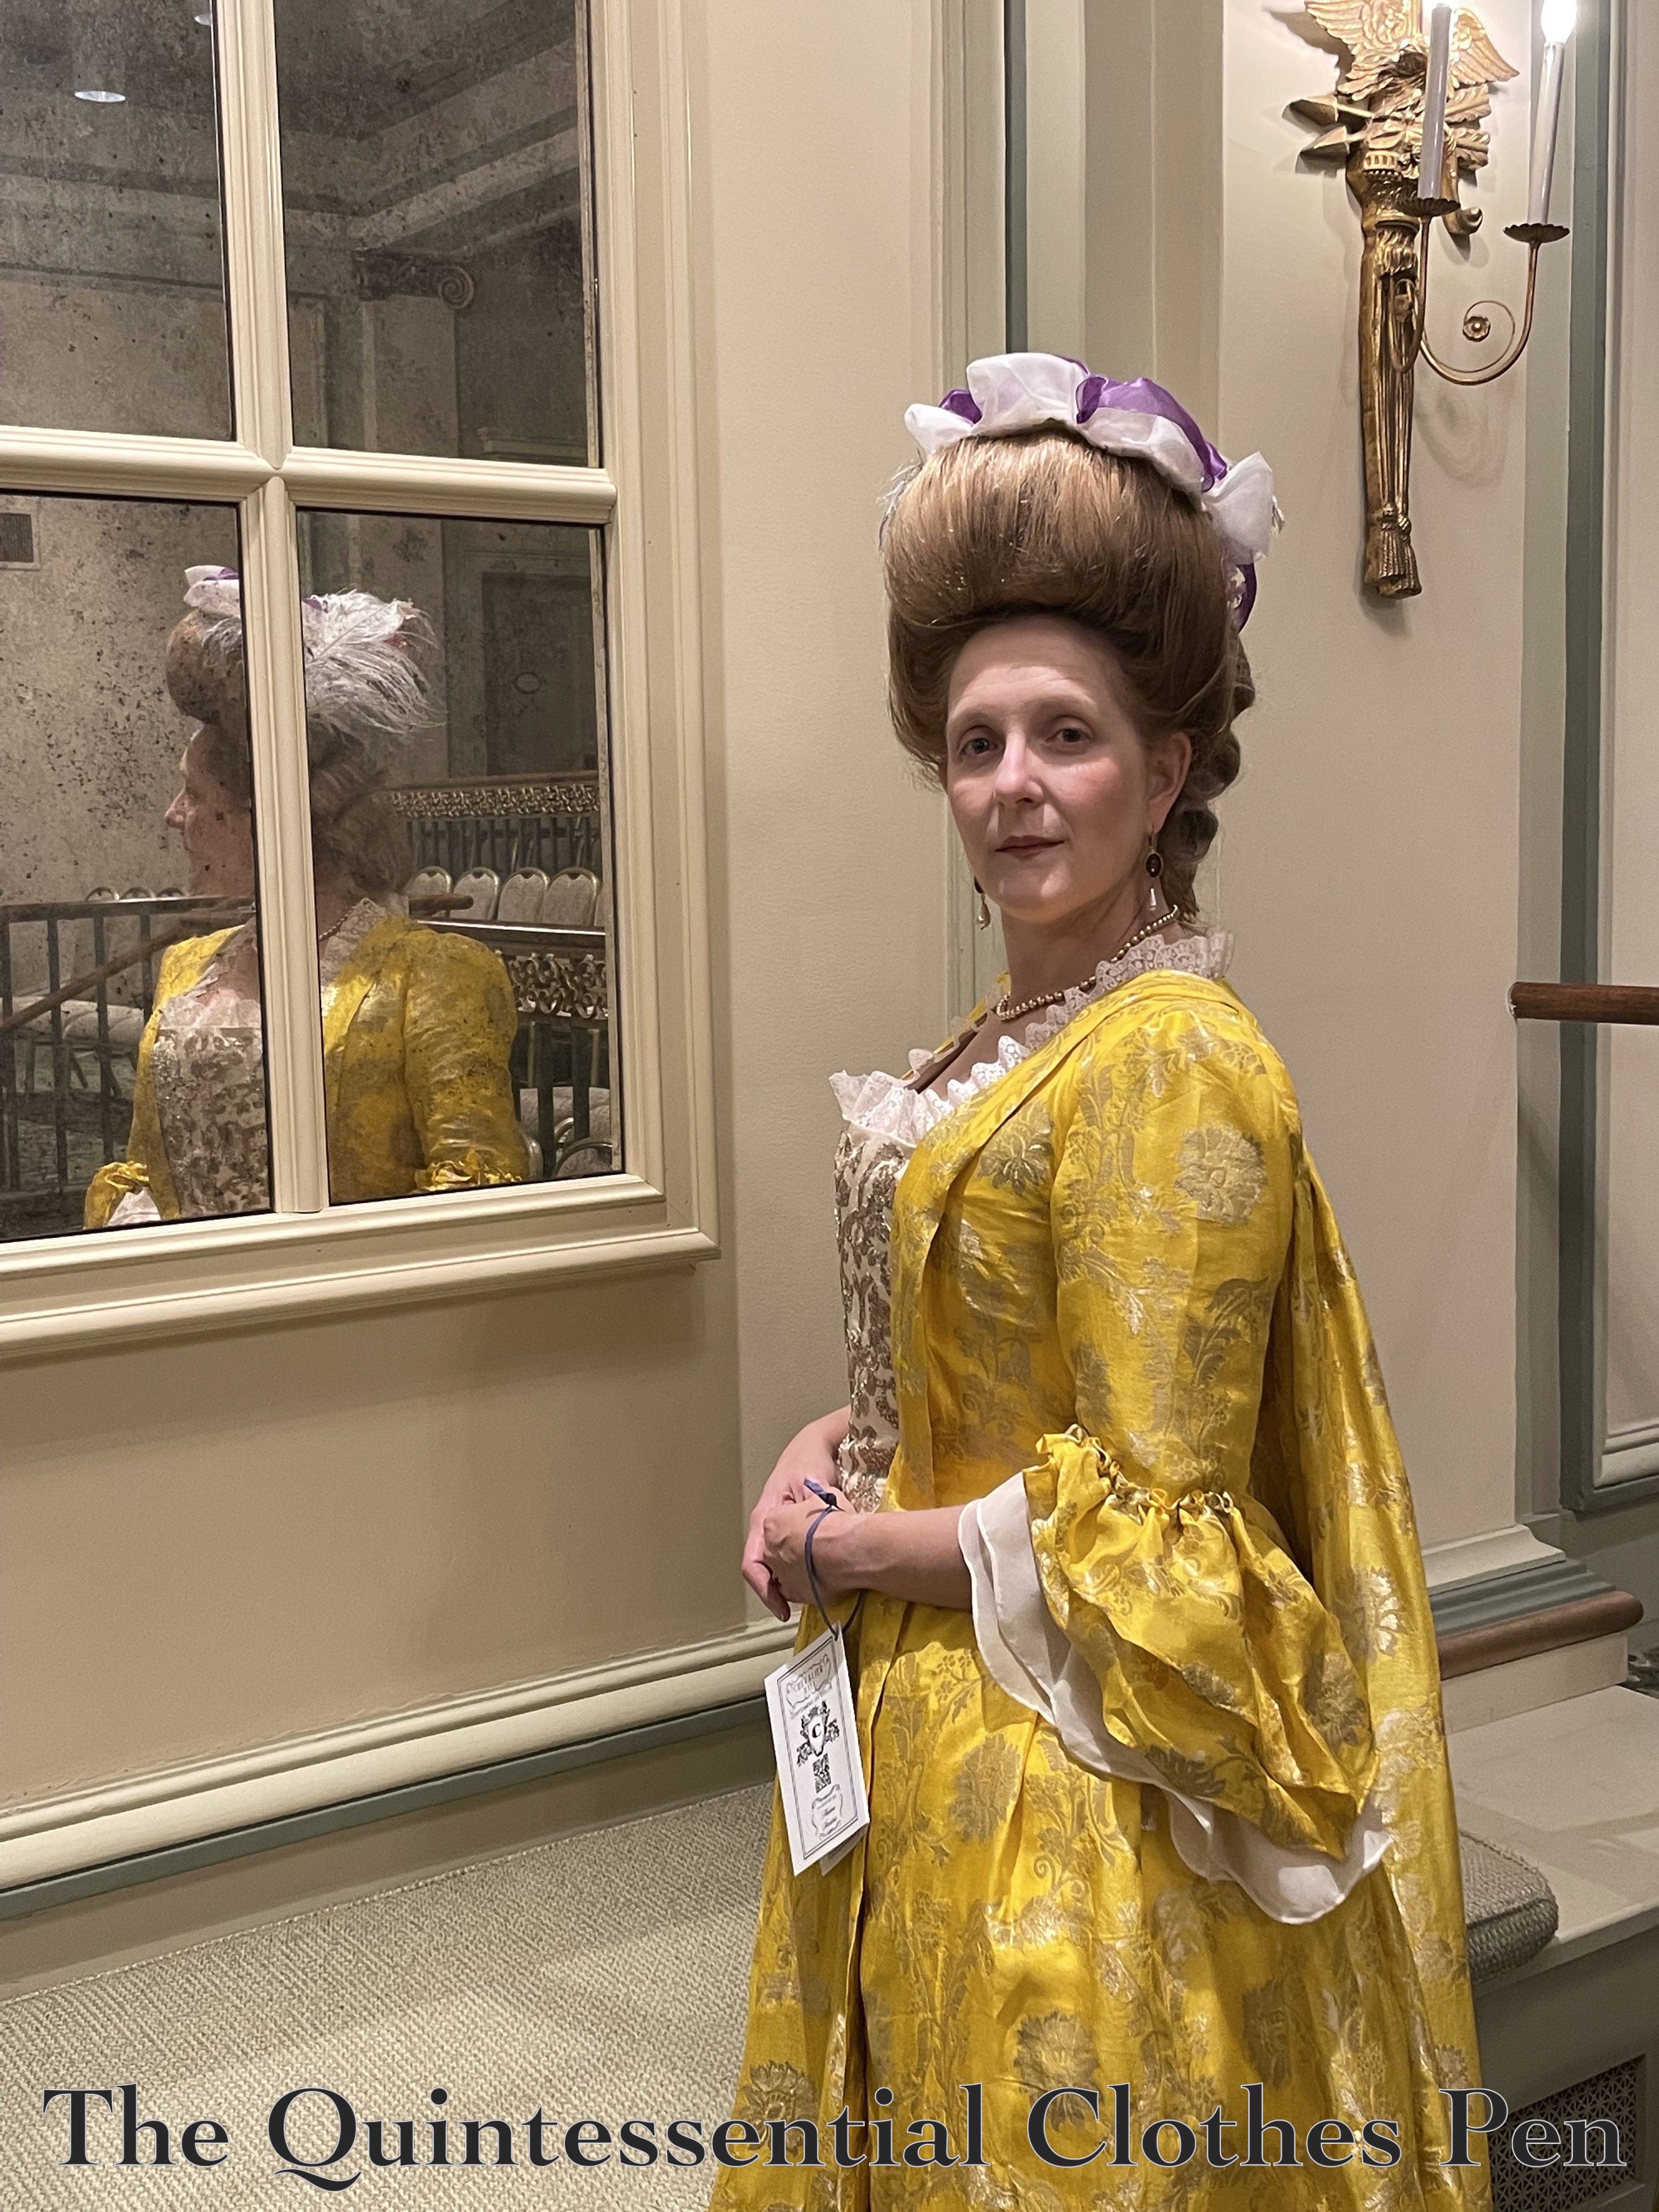
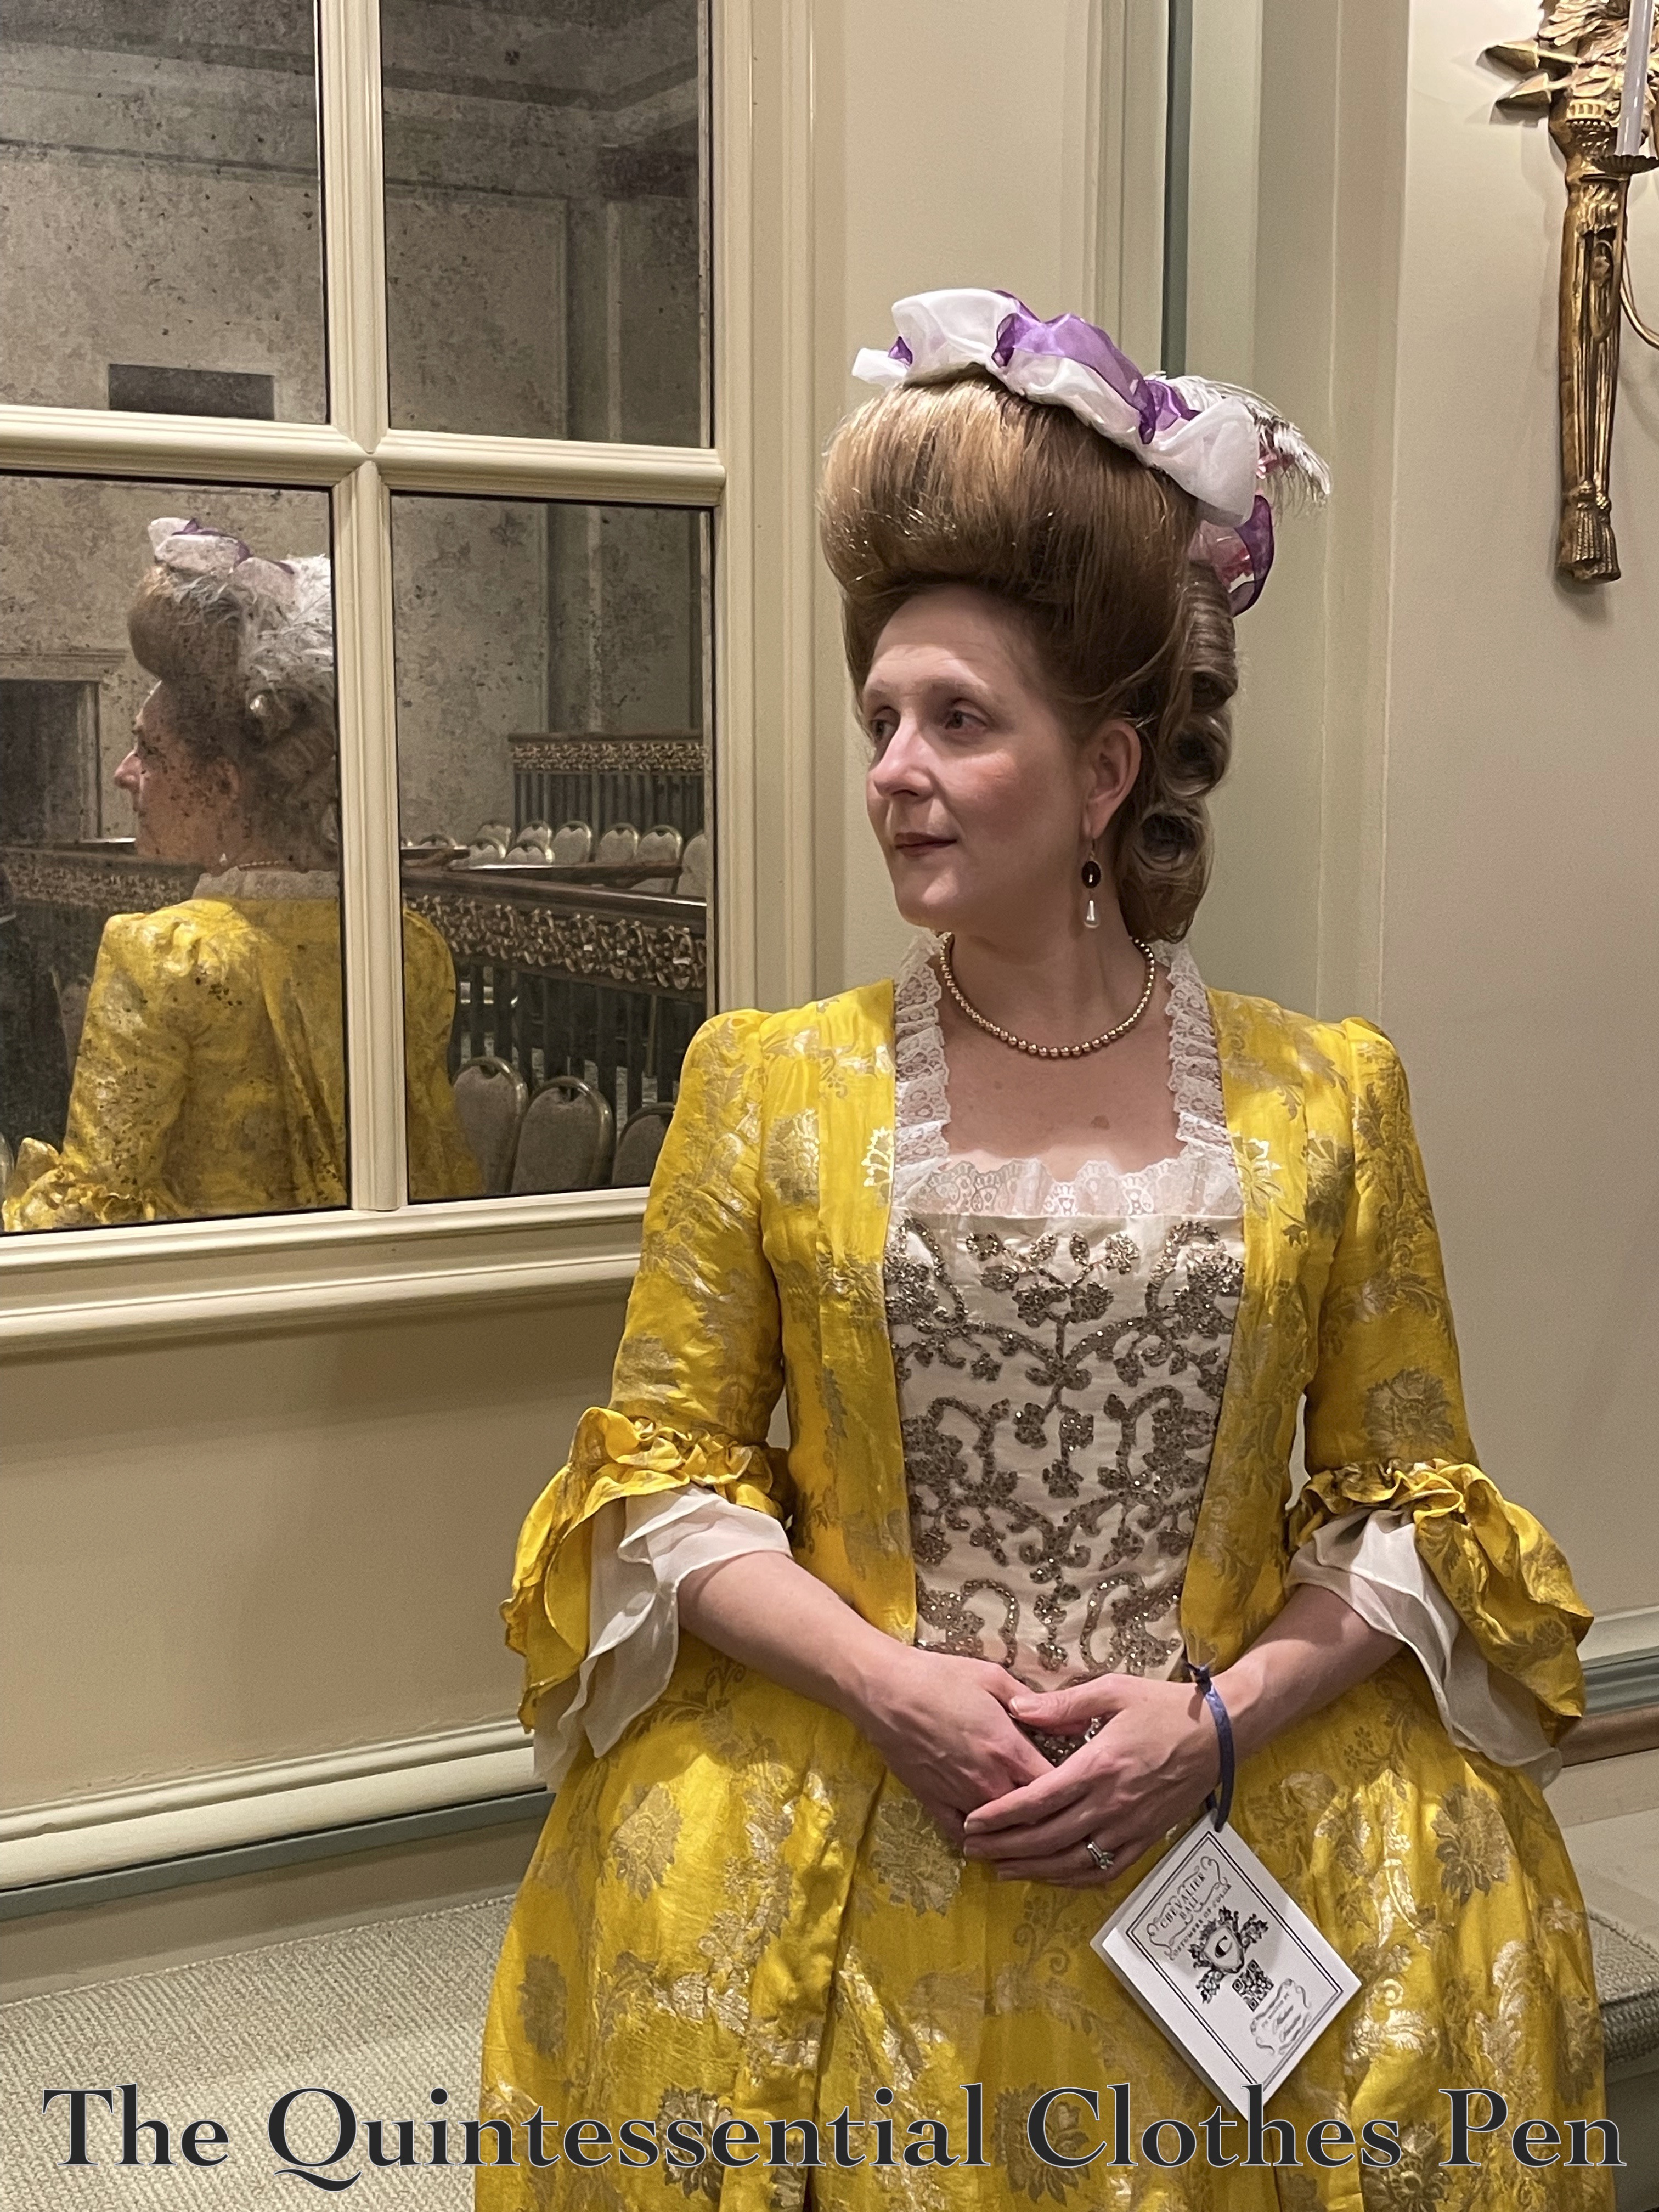
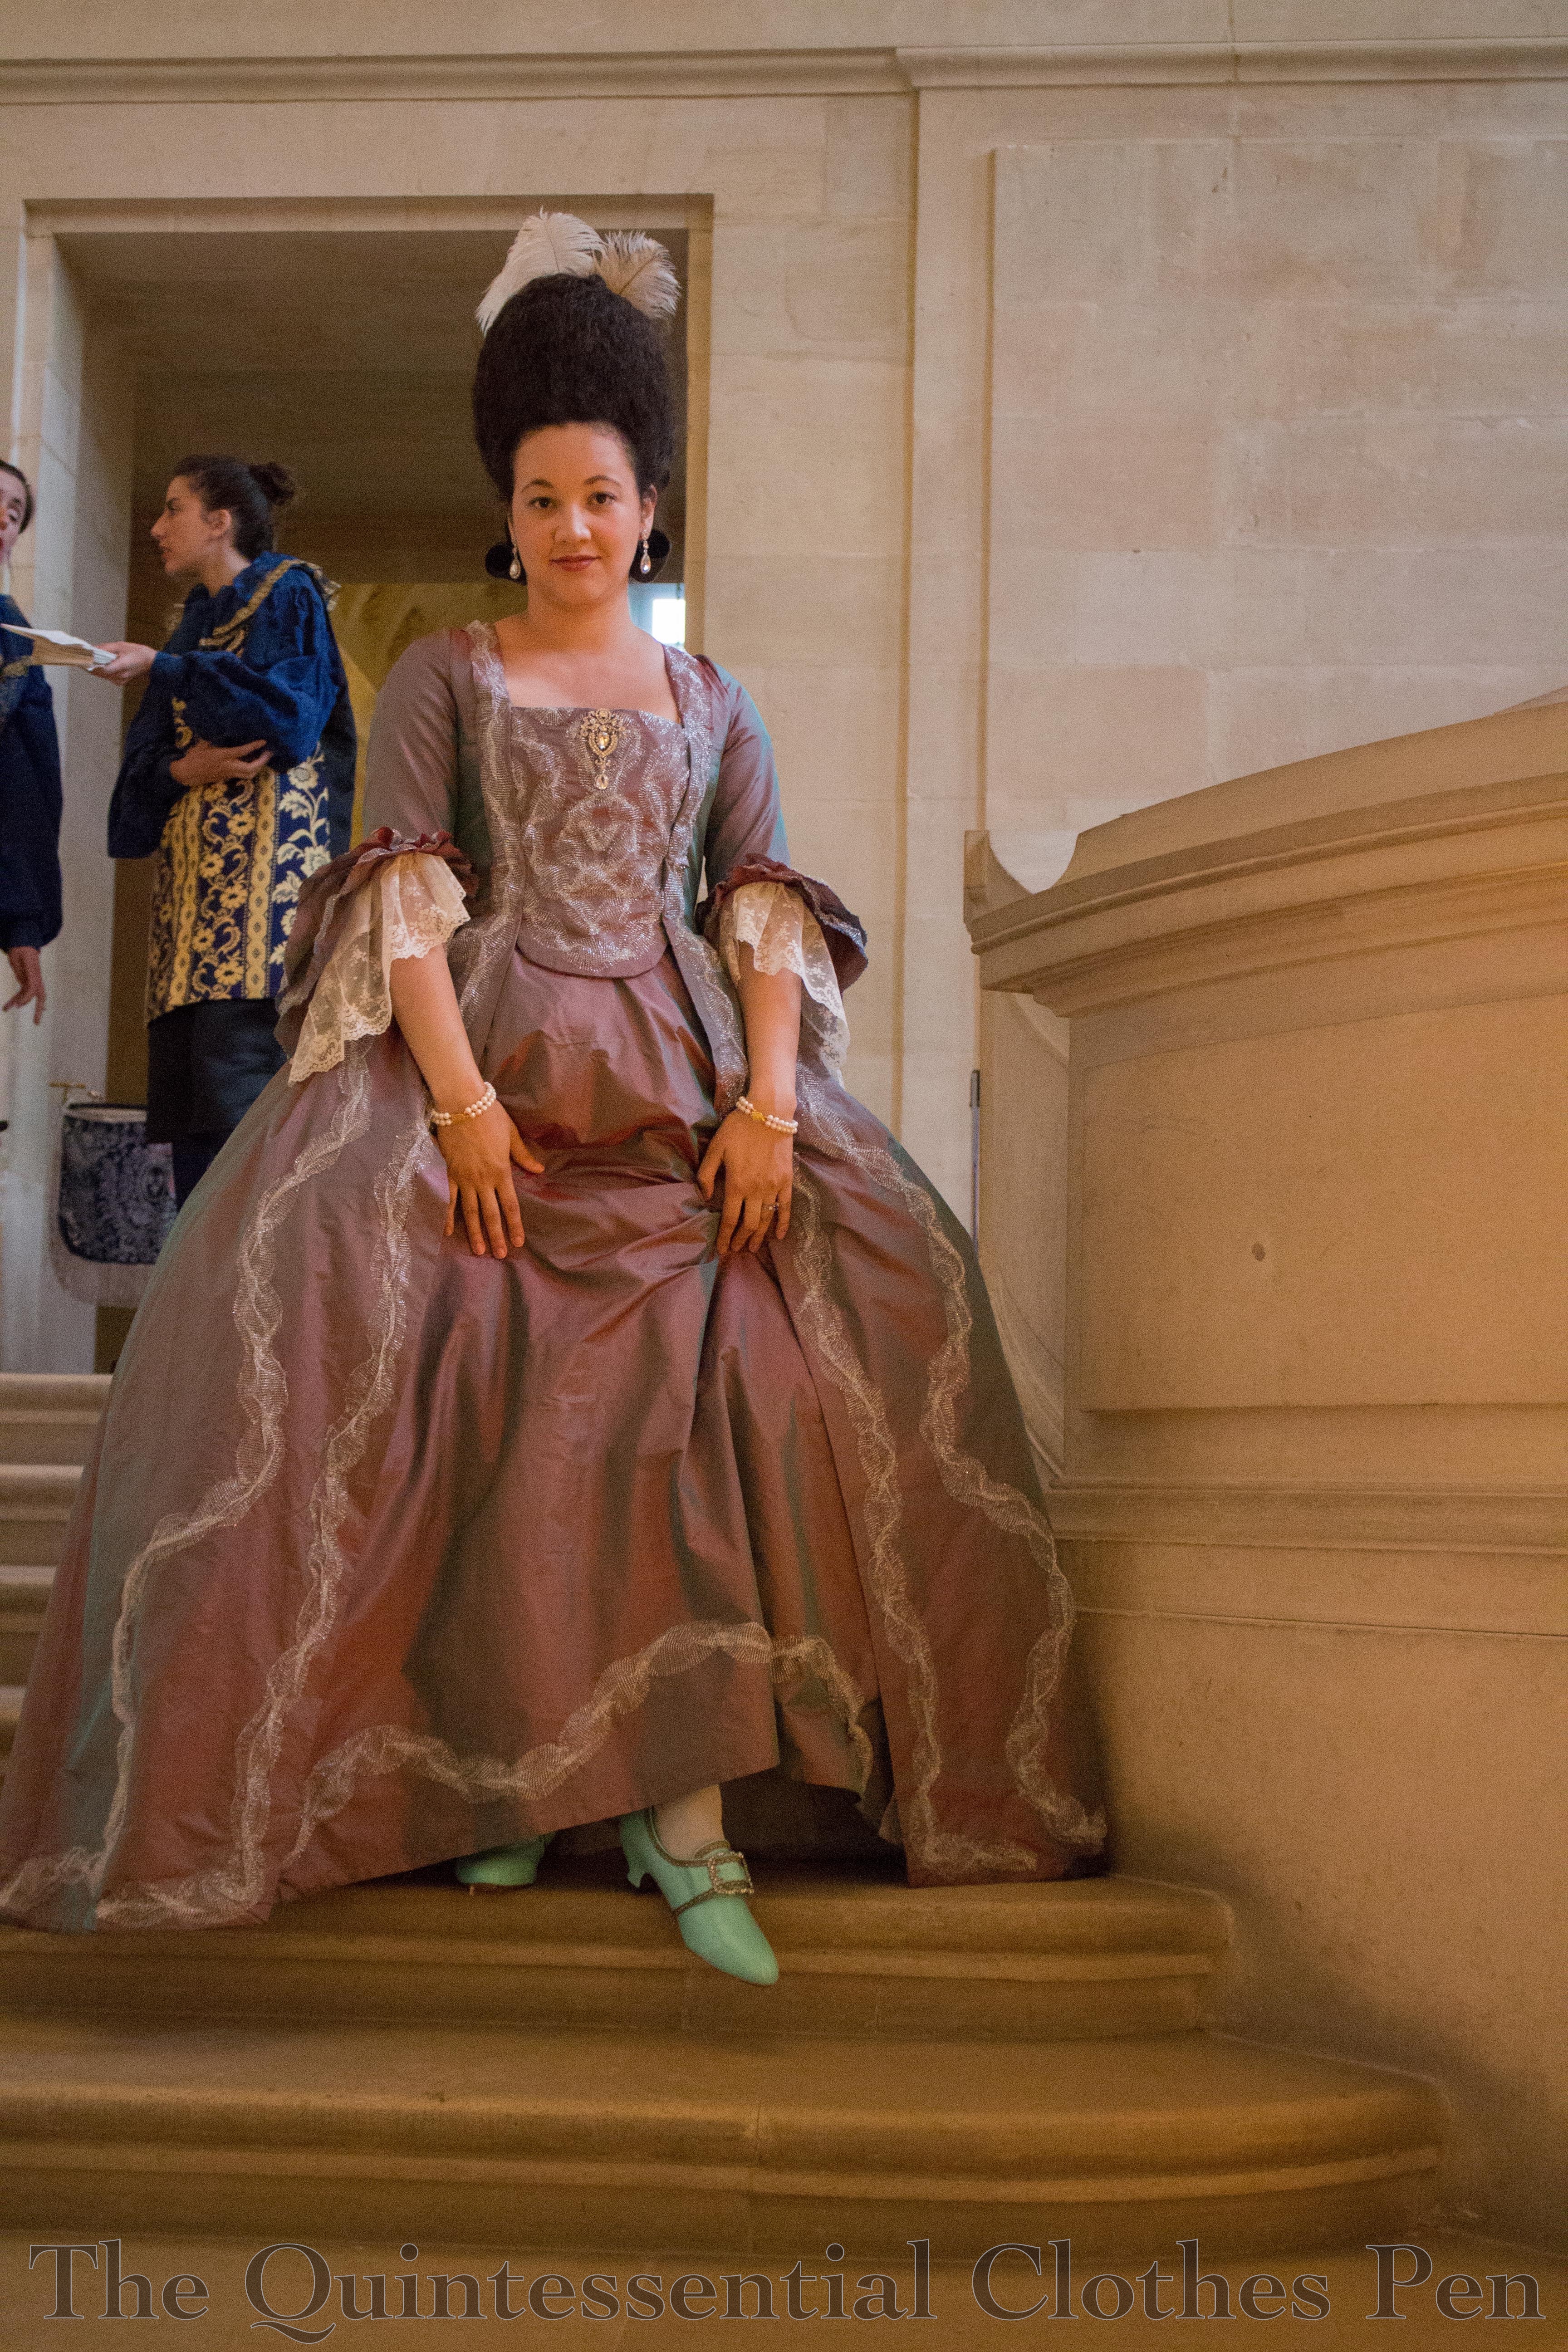
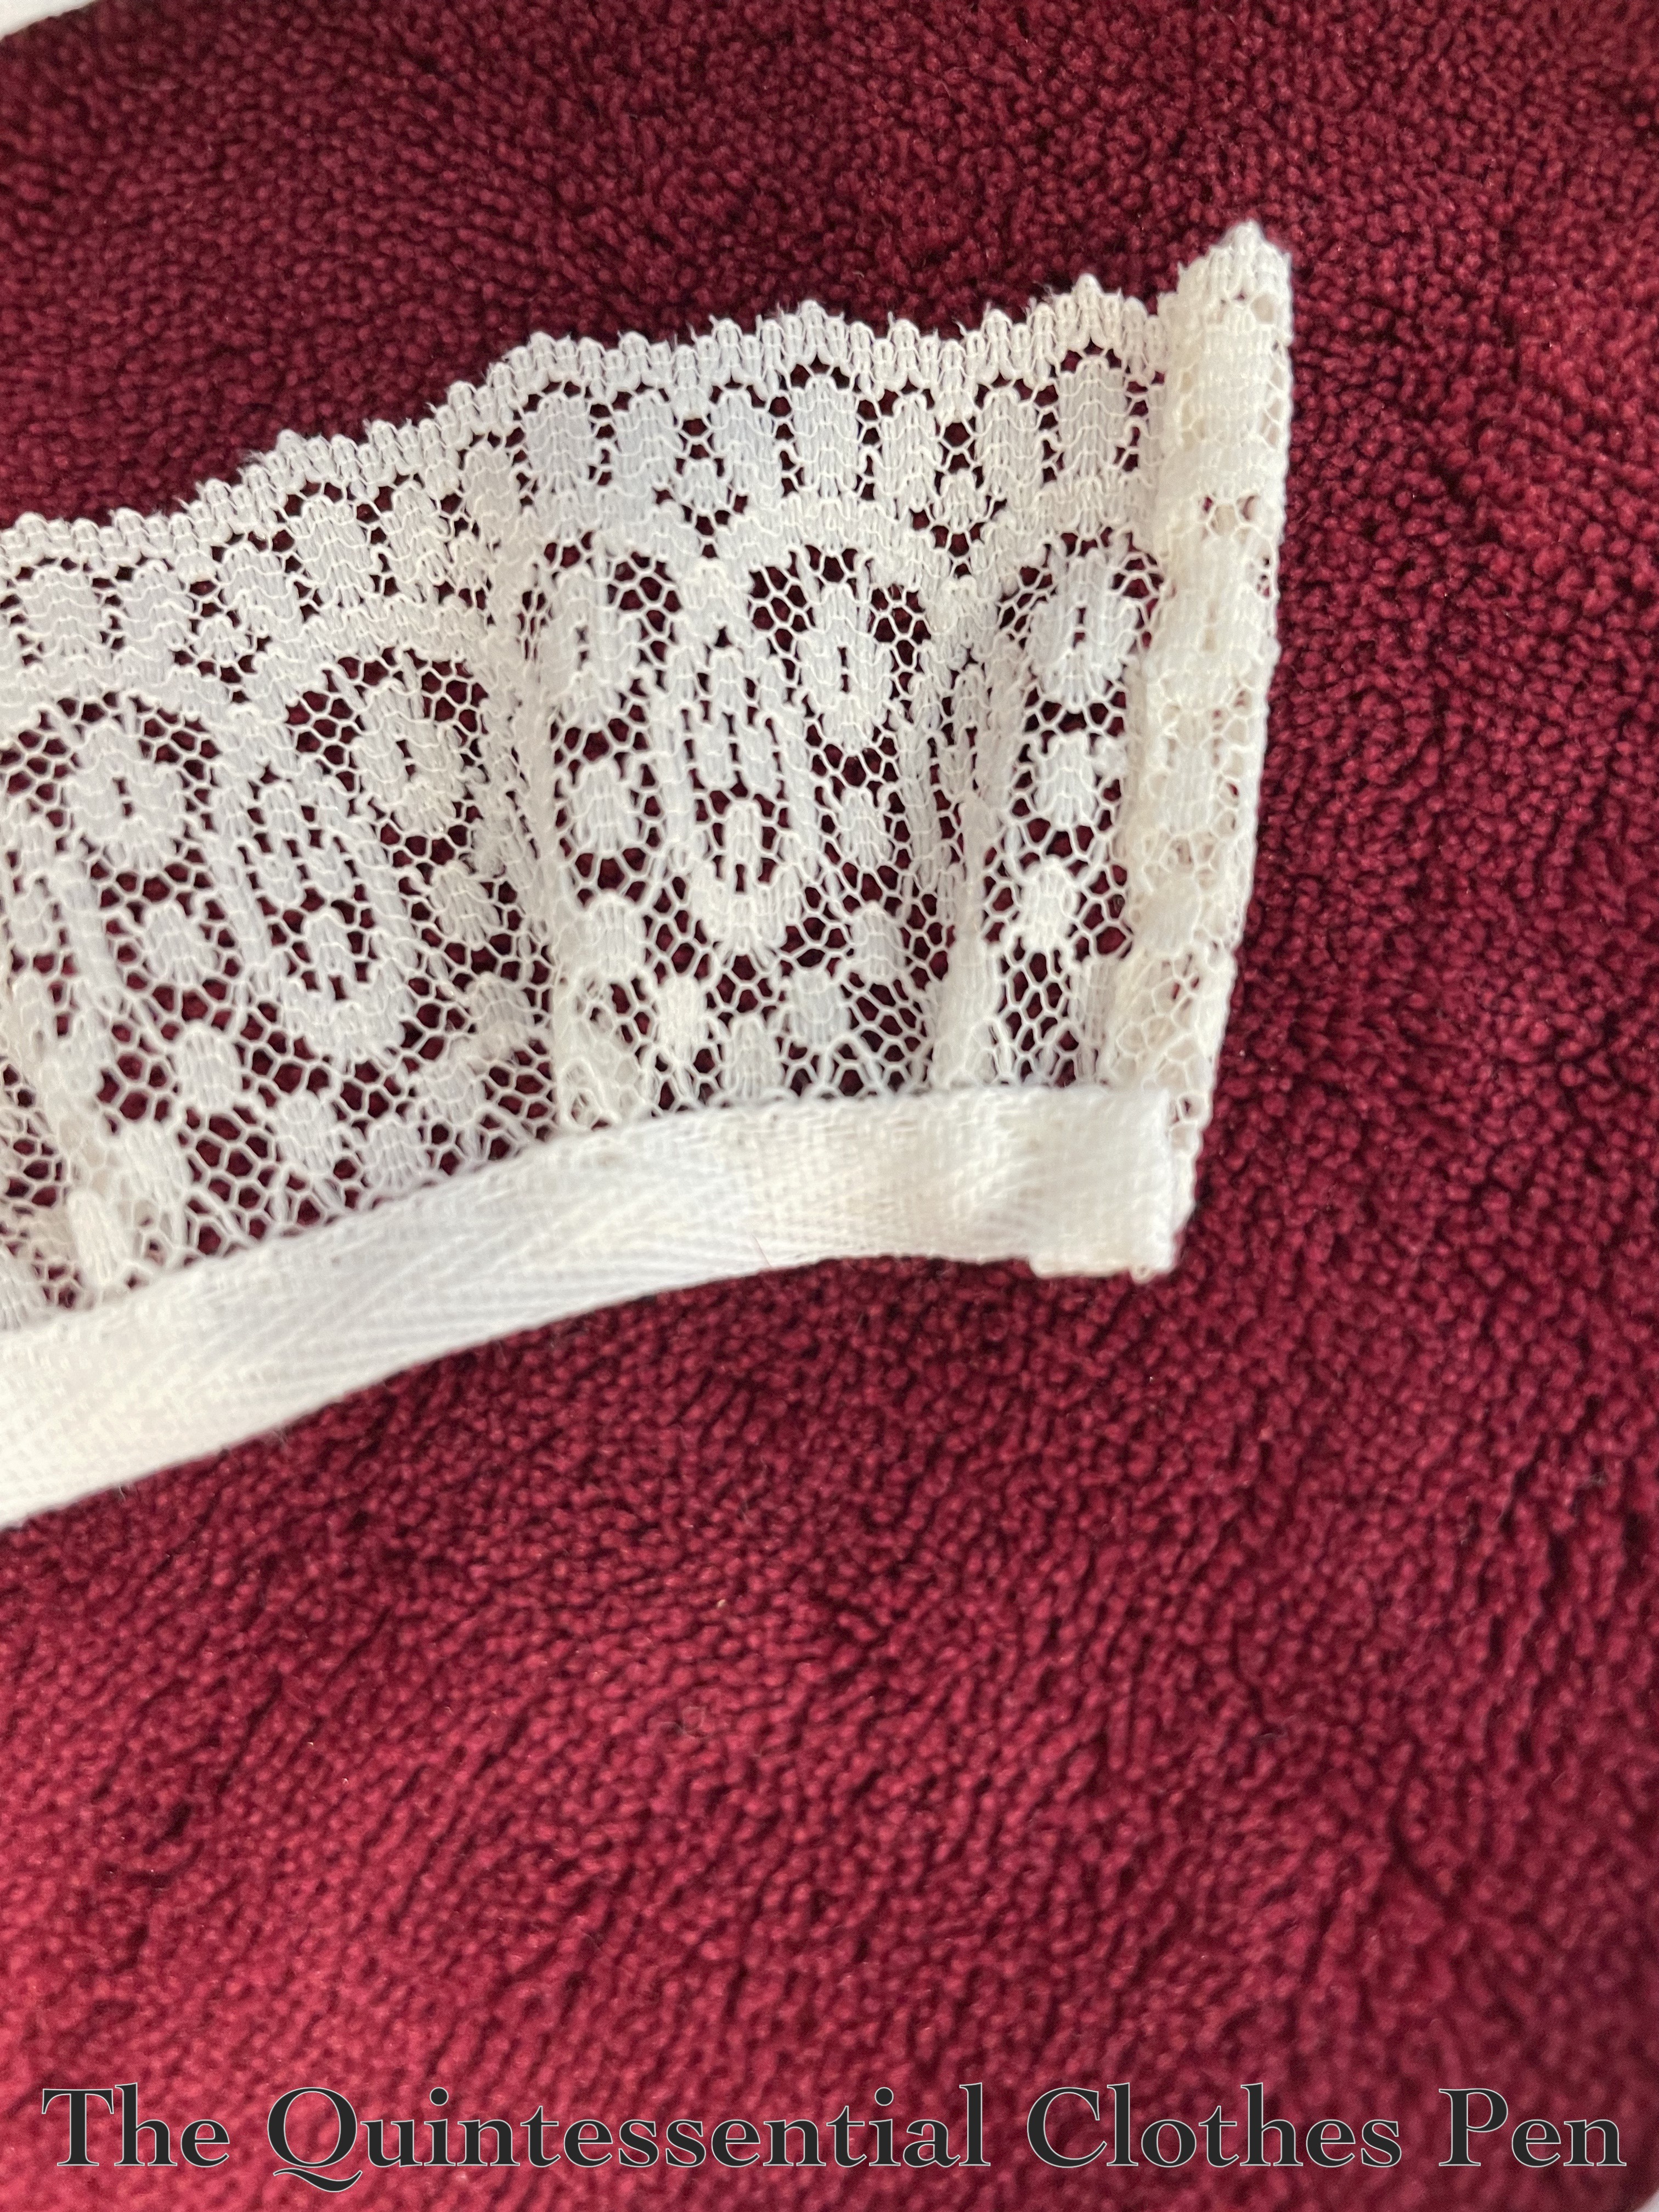
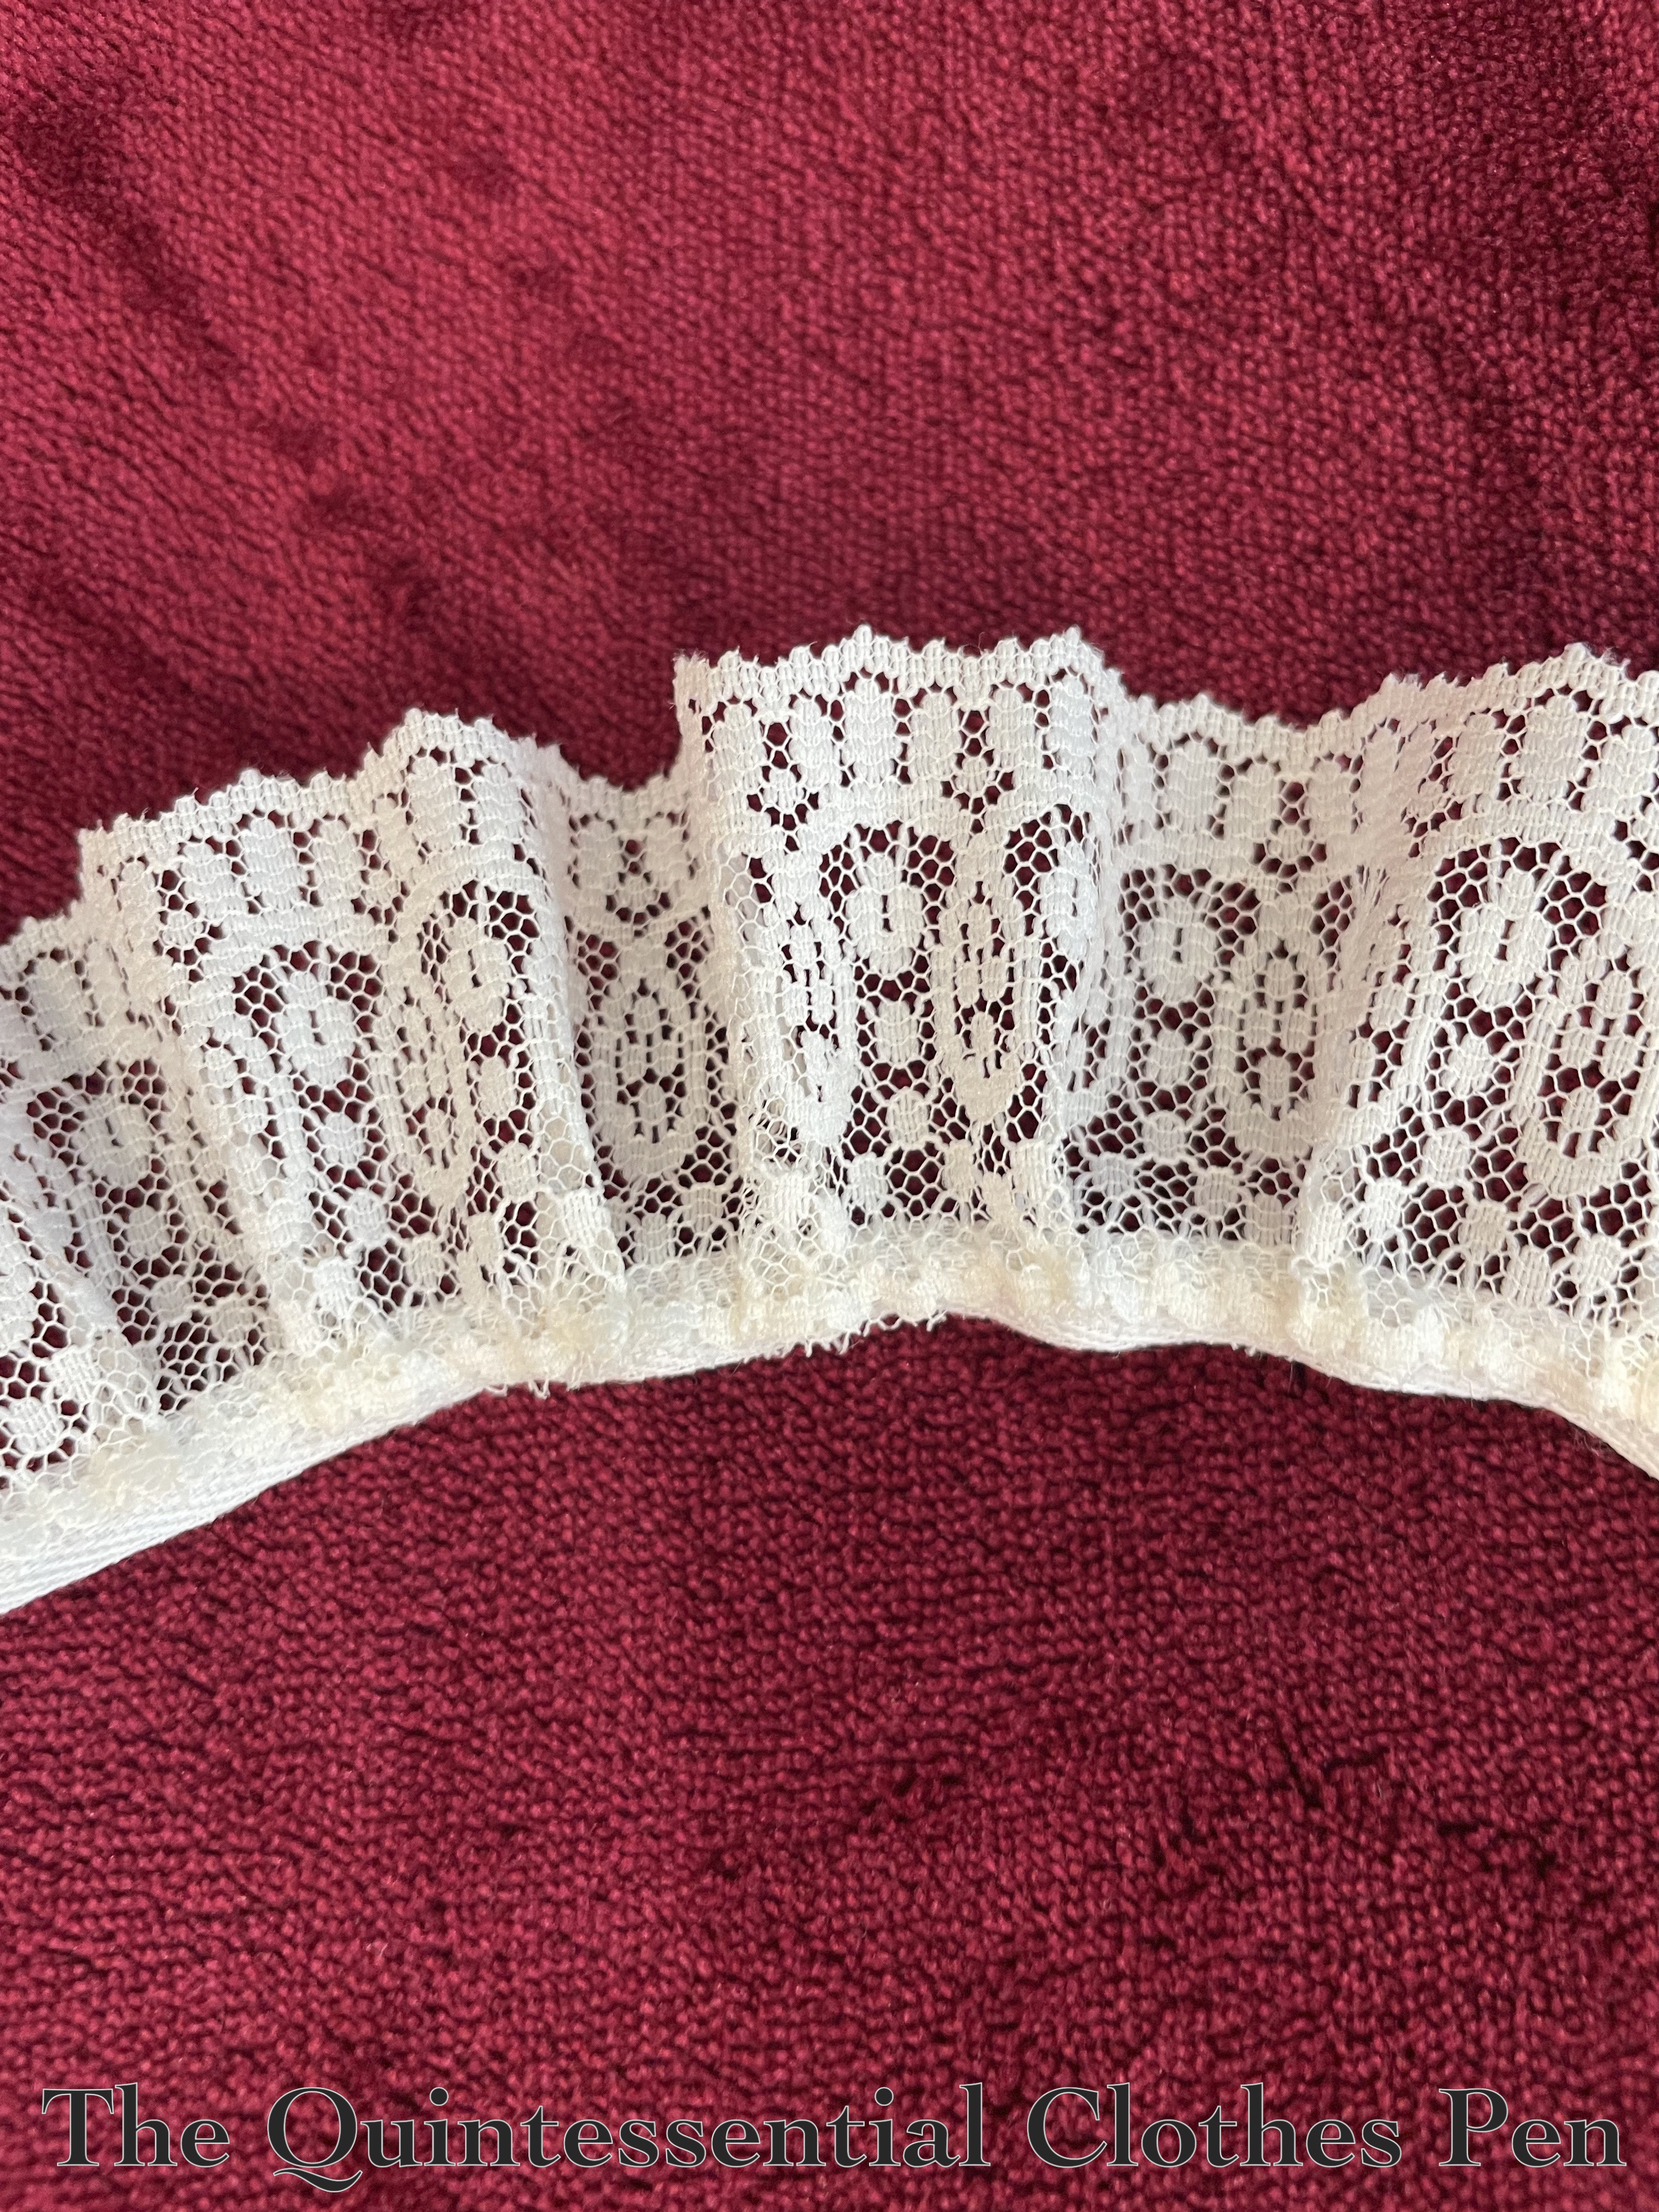
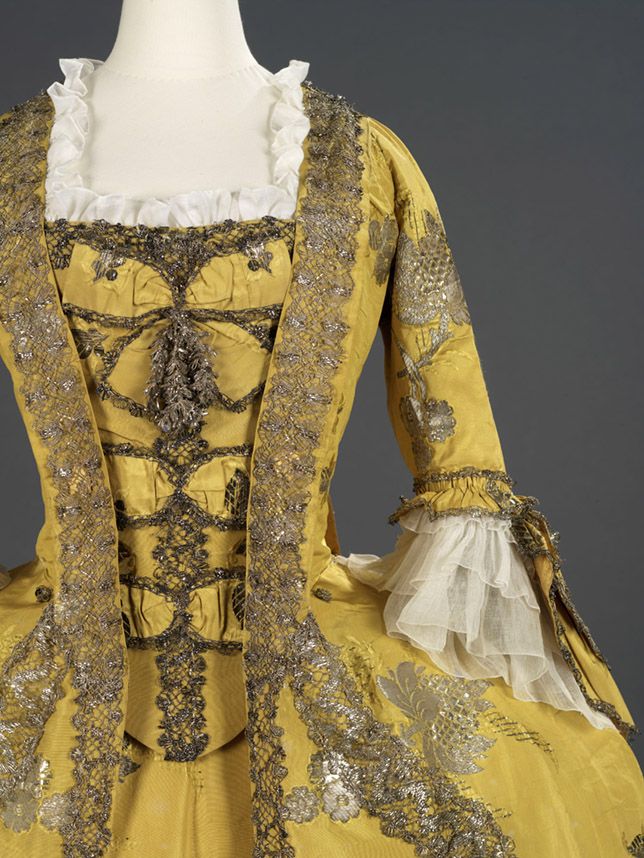
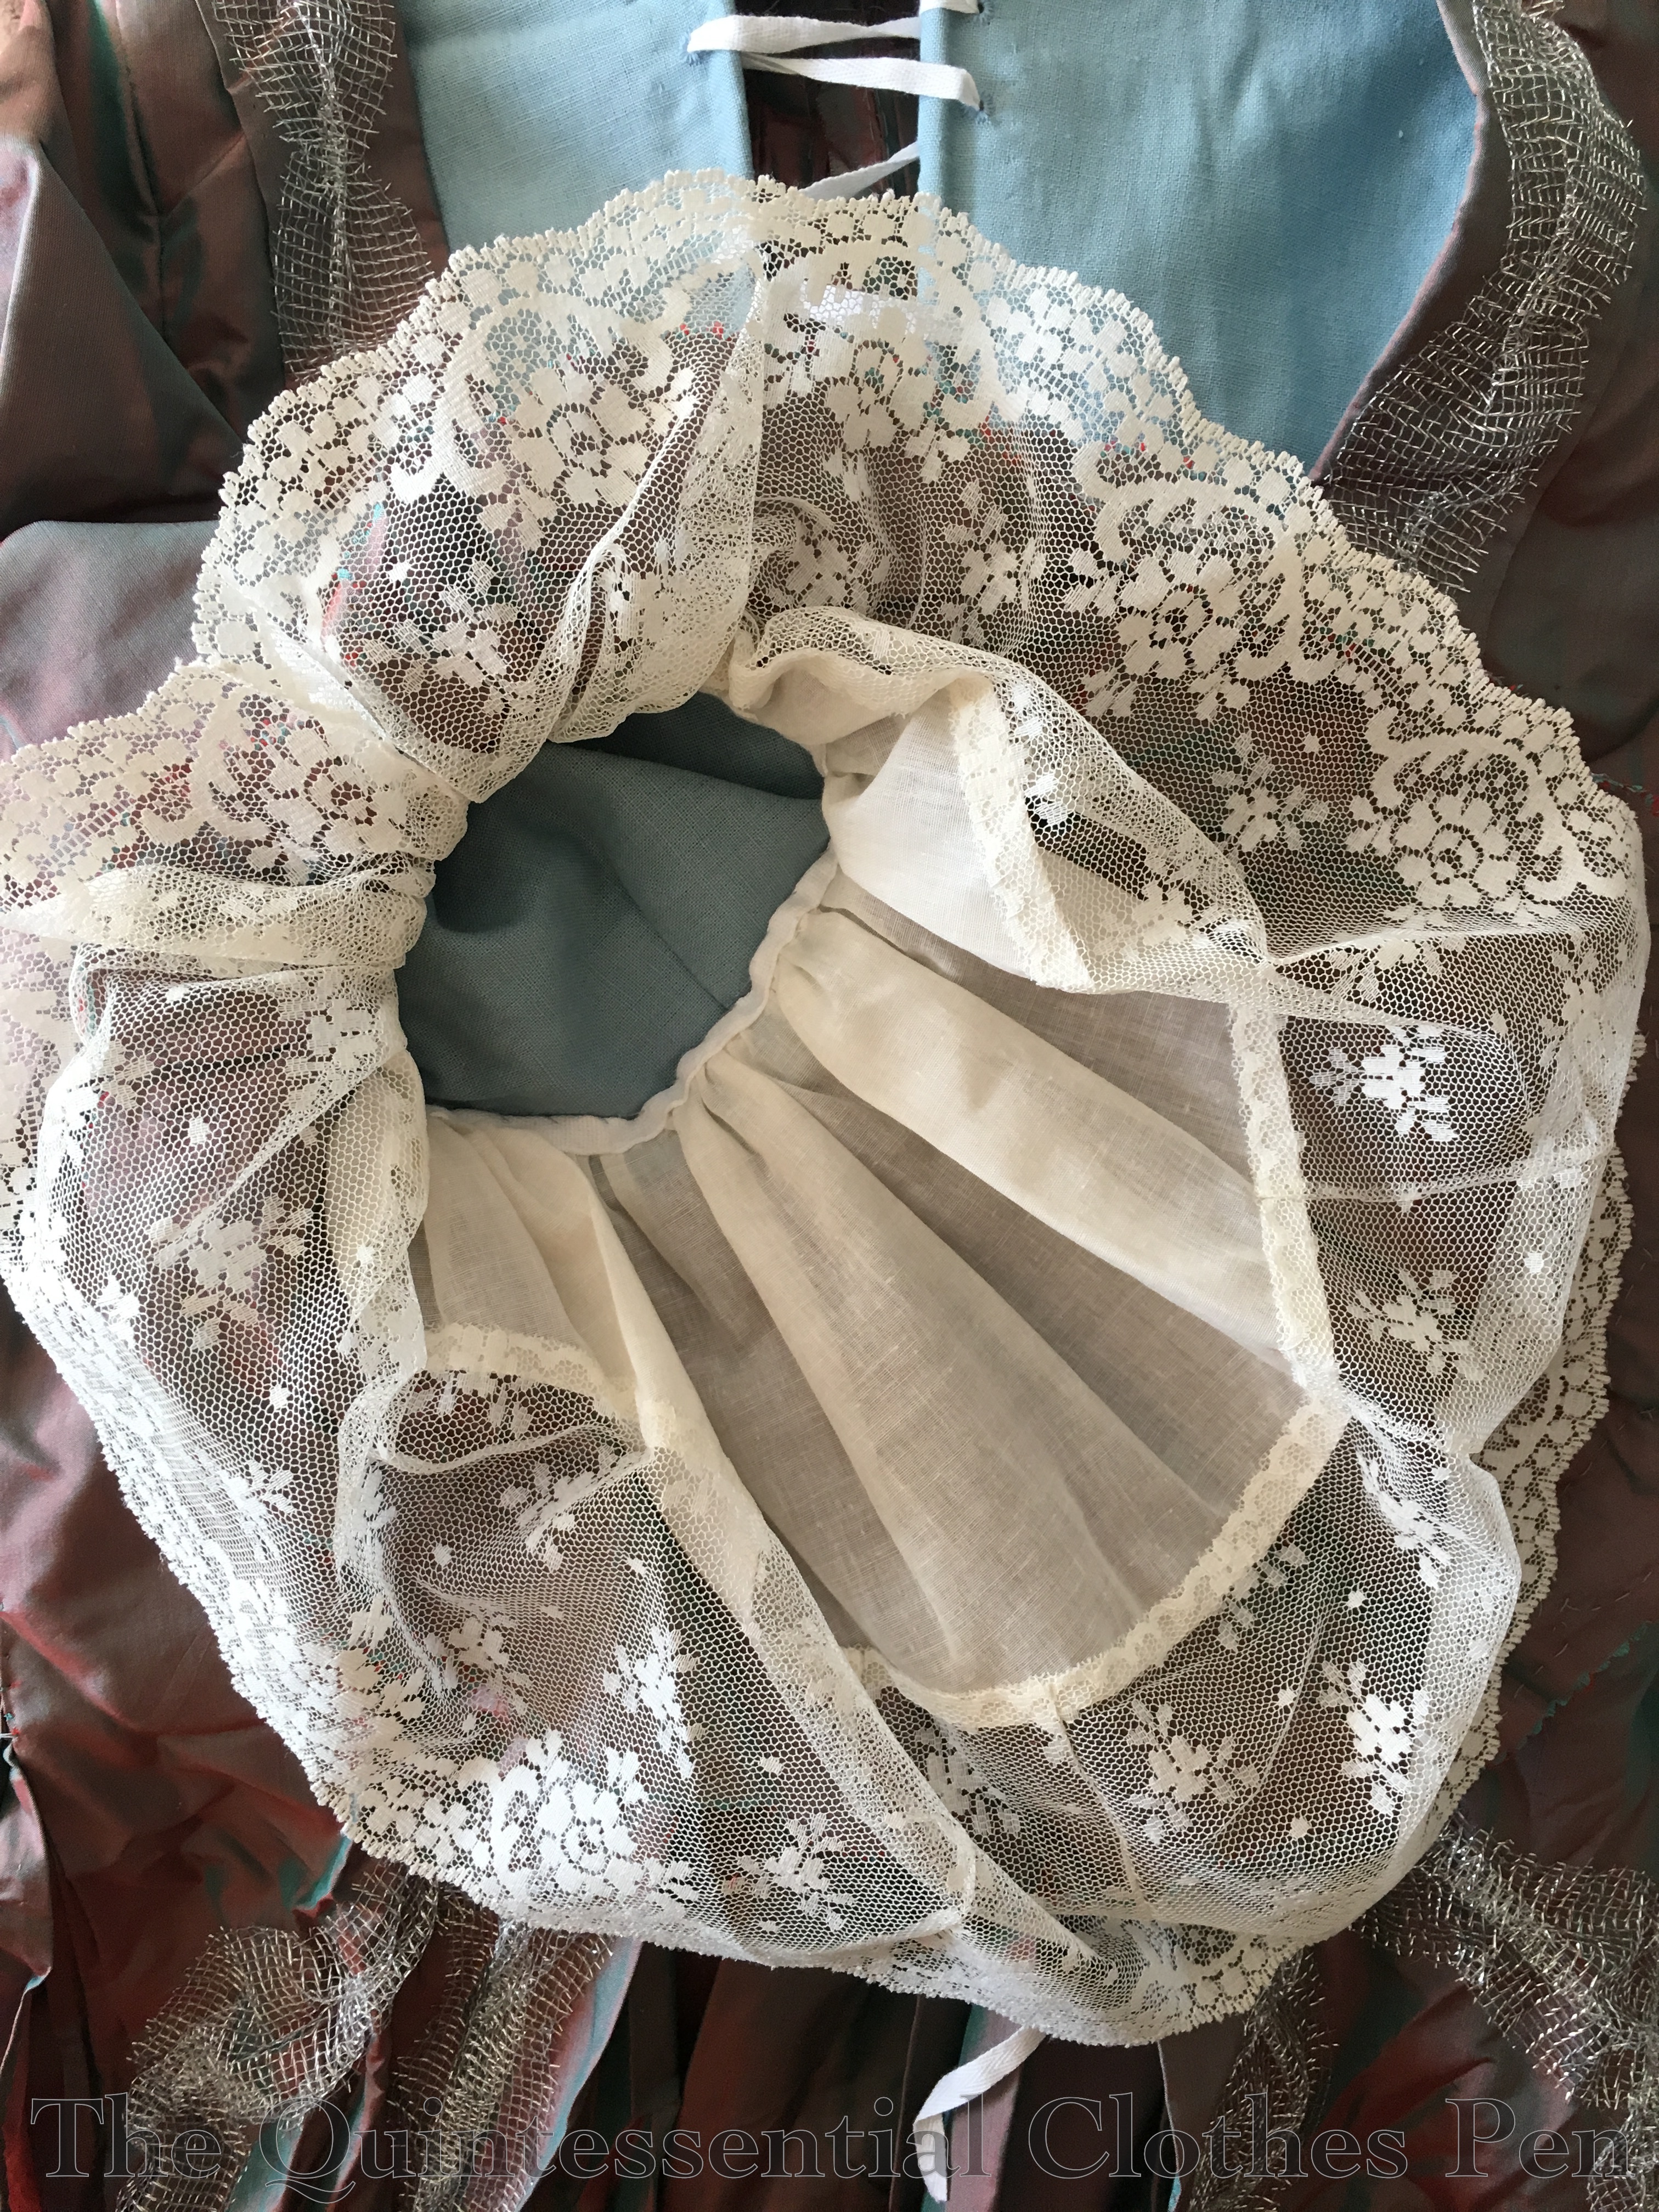
For the formal evening part of the event, I chose to wear my Versailles Sacque (made and last worn in 2016, which I posted about here)! For this wearing, I updated the ensemble with a lace tucker around the neckline of the dress. This small new accessory helps complete the full look. It took a little bit of referencing my old blog posts to reconstruct my hair form and remind myself what accessories to wear, but I was successful. I was very grateful to myself for documenting things so well!
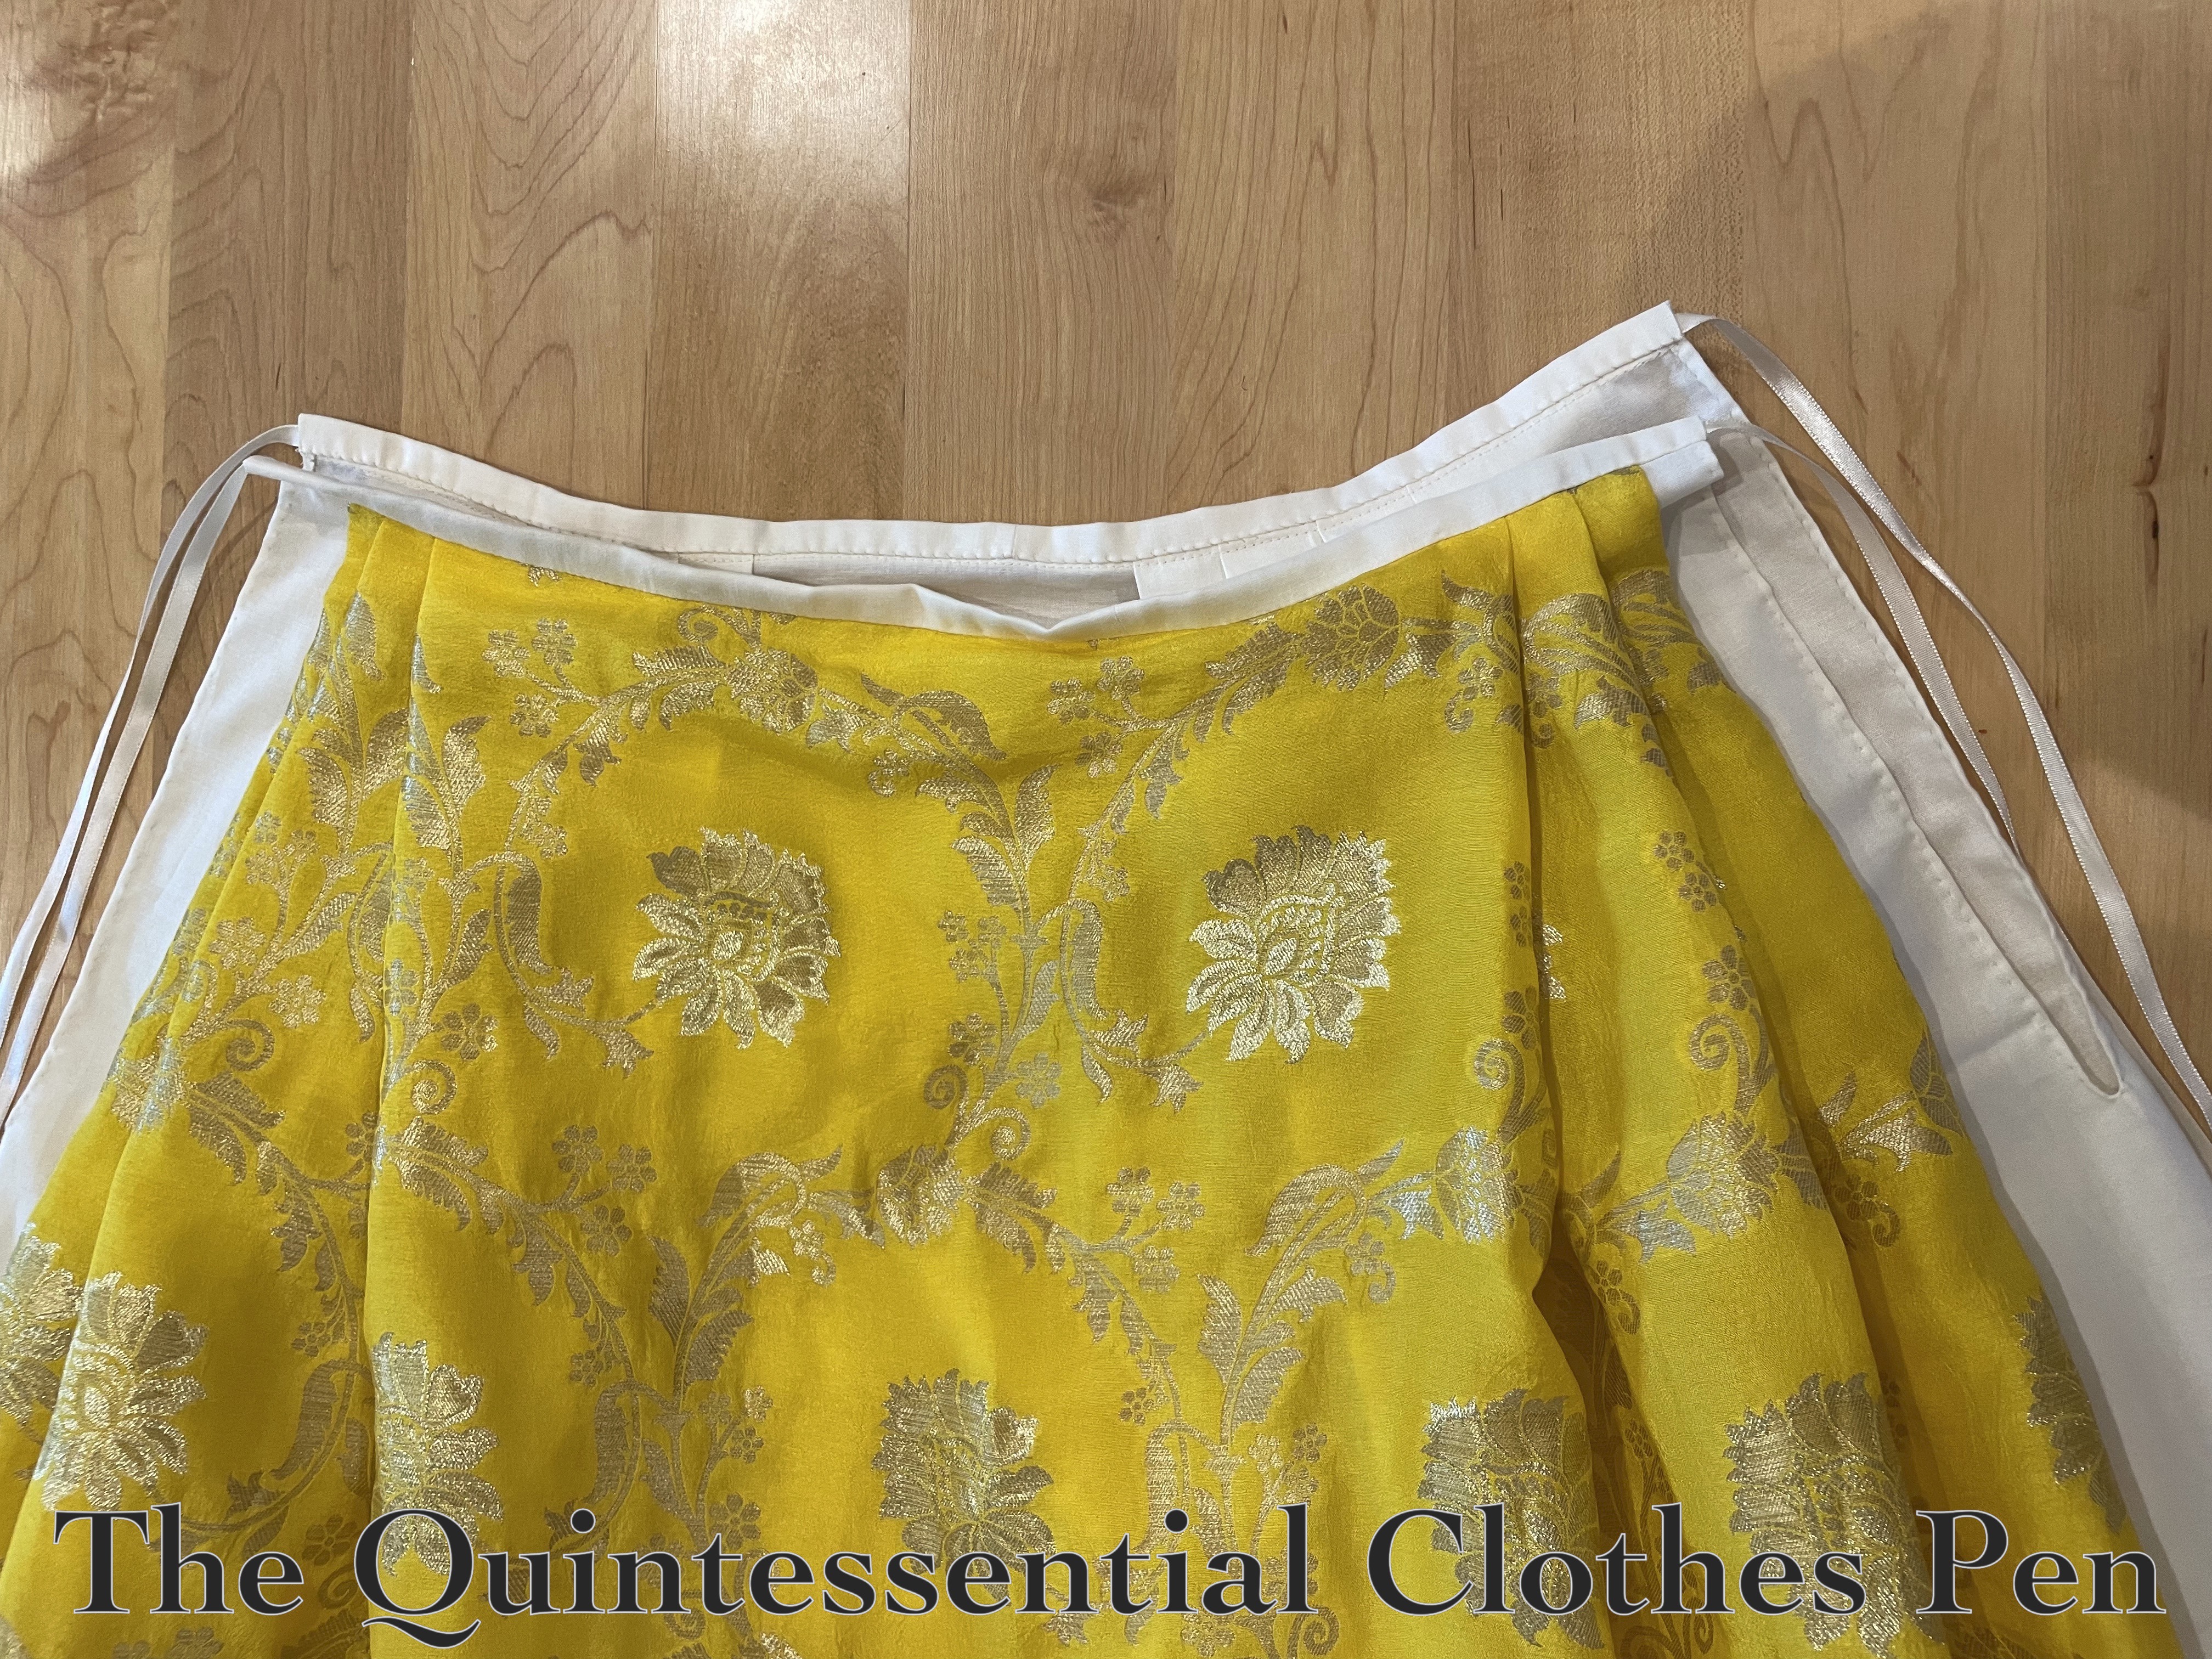
I also had the pleasure of seeing the new Yellow Sacque and all of the new accessories I’ve been making being elegantly worn by a friend!
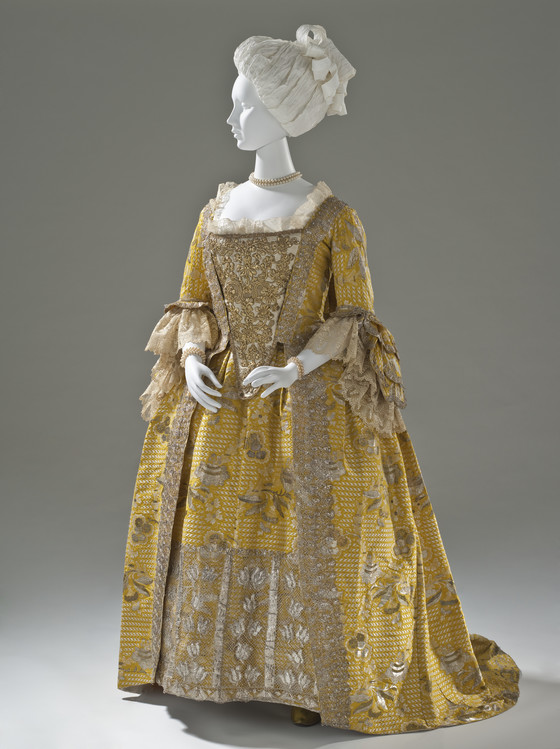
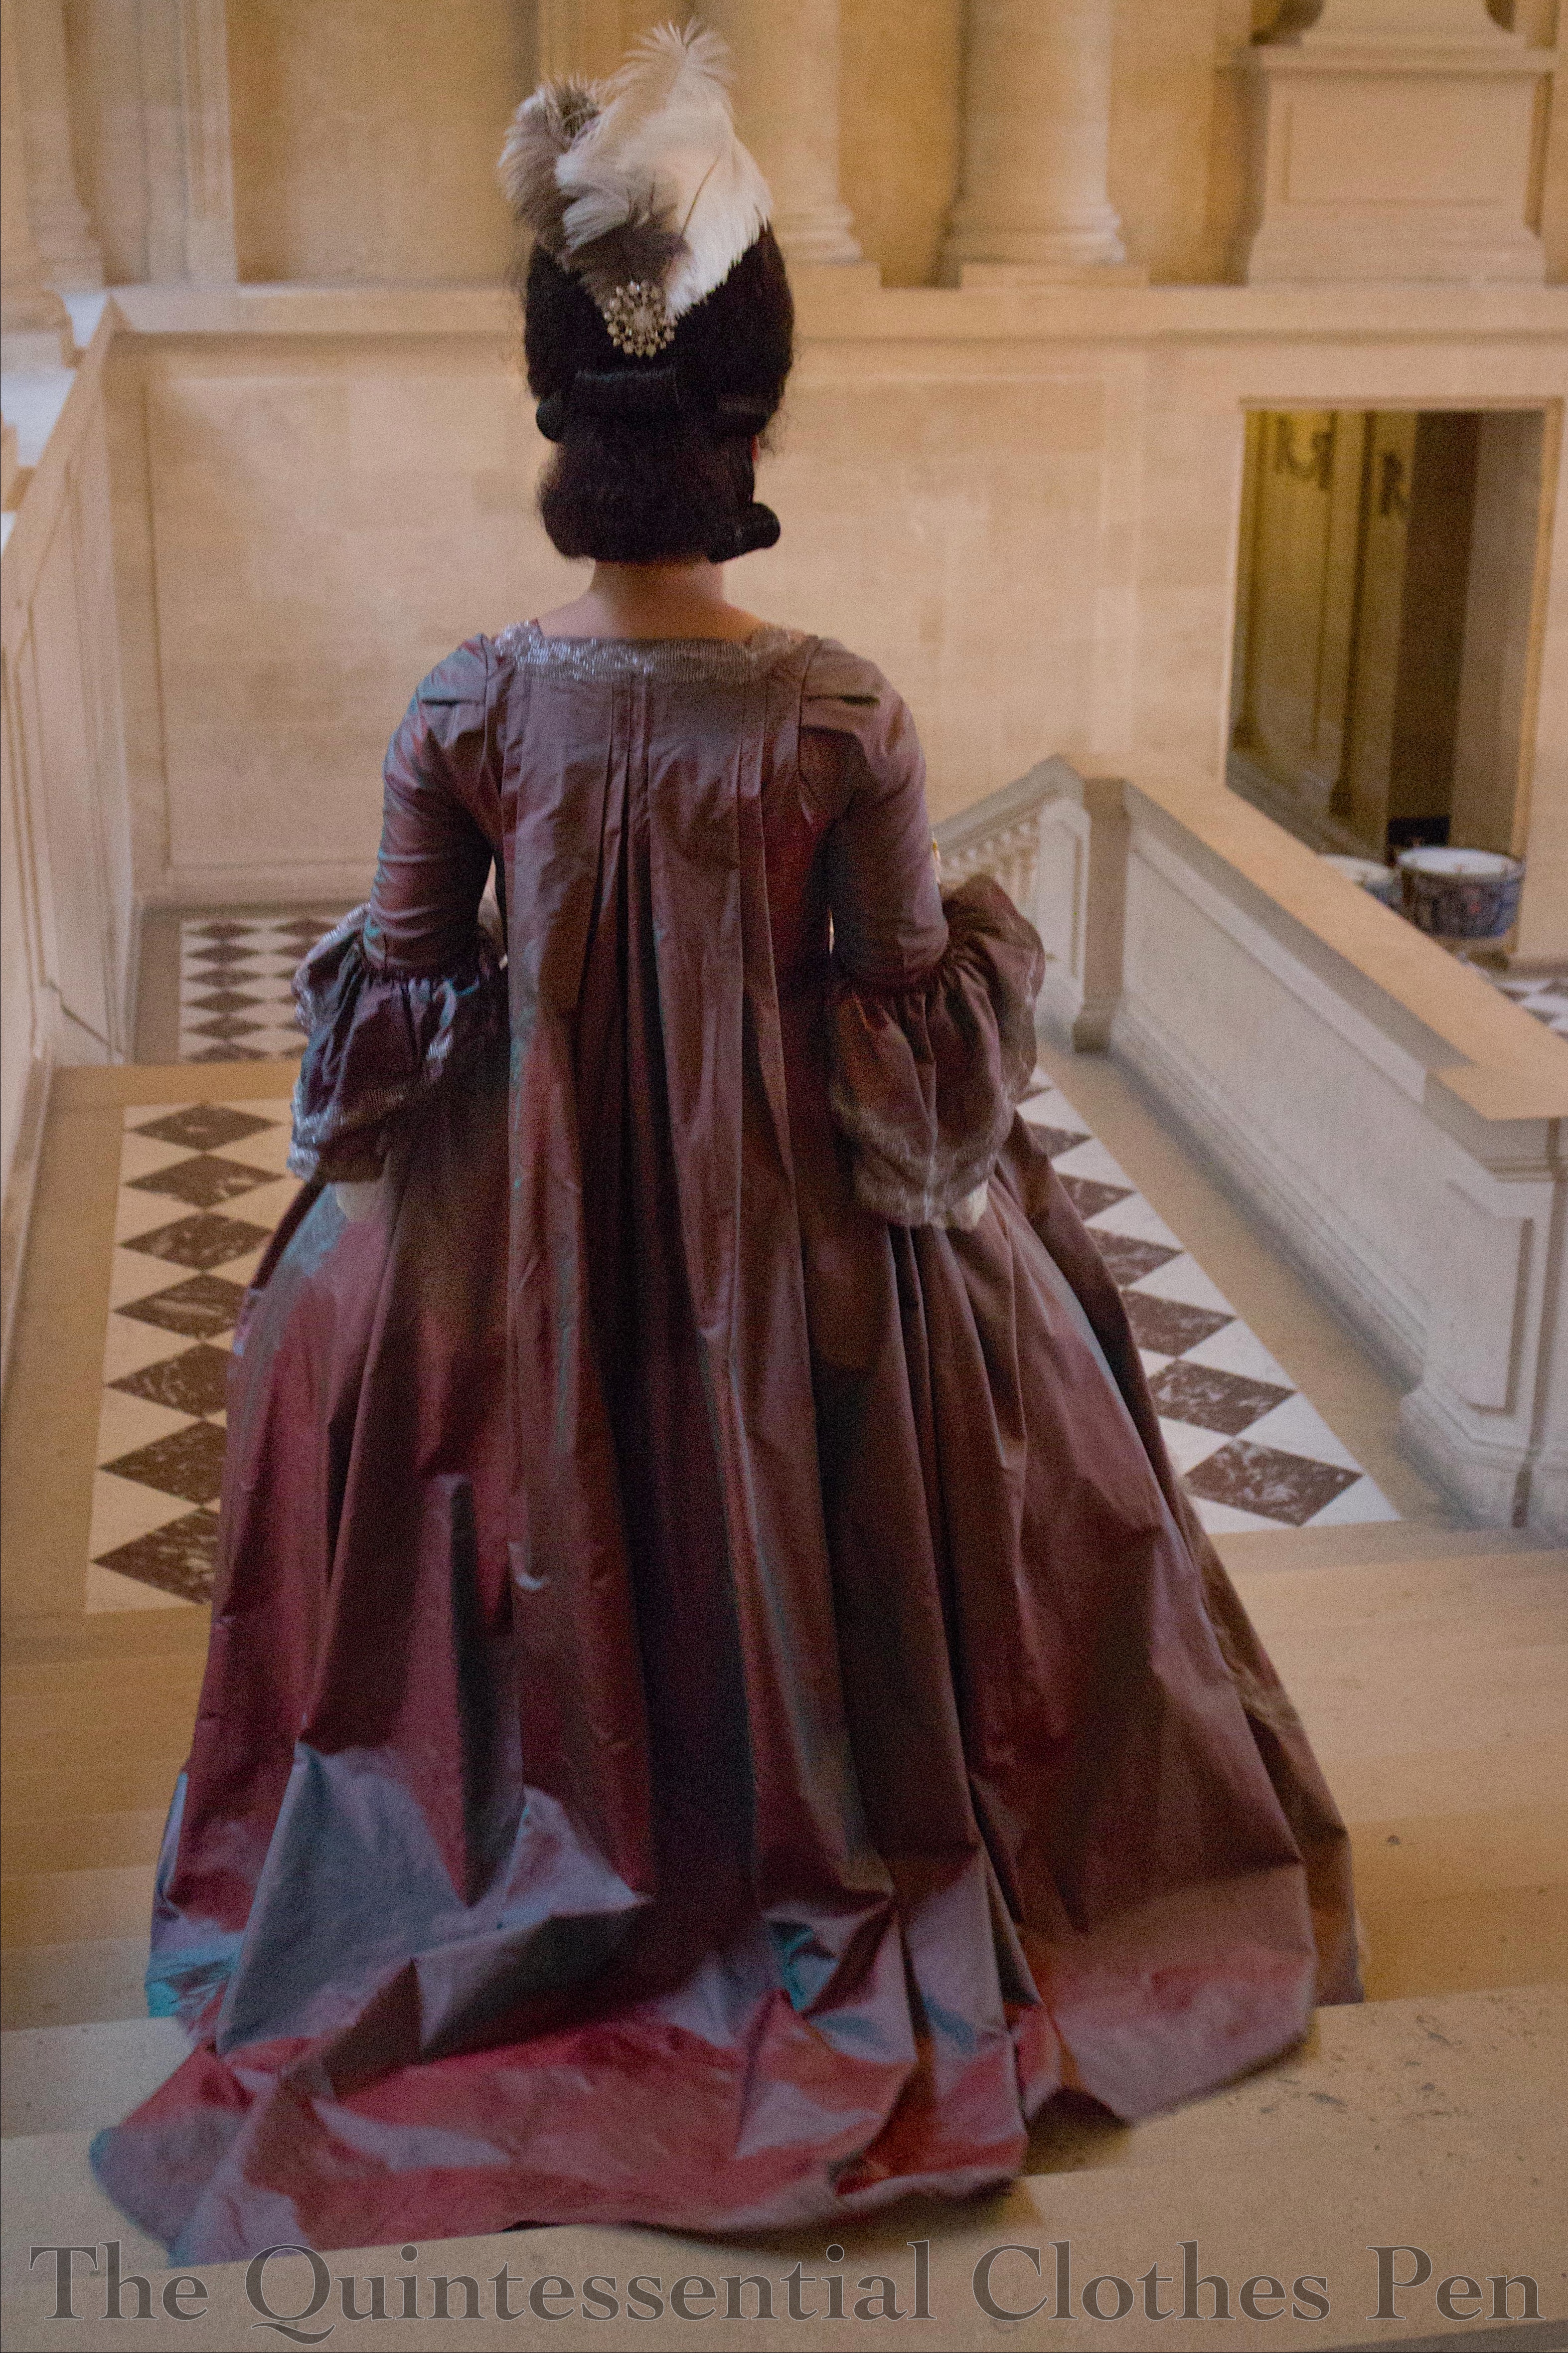
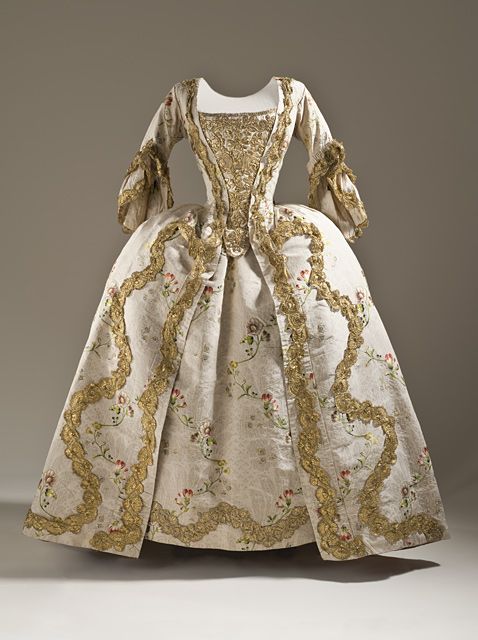
Below, showing off both the front and back of the sacque (or Robe à la Française) style of dress.

Photo courtesy of Aleks Vu
More Photos
I was so pleased that my American Duchess Kensingtons were still in good shape after the immense amount of rain they endured in 2016. It was really exciting to break them out again with this dress! I’m still chuffed with the metallic lace I added. For Versailles, more bling was the thing! And in this photo, you can see how the light turquoise paint color picks up on the hints of turquoise in the dress fabric!
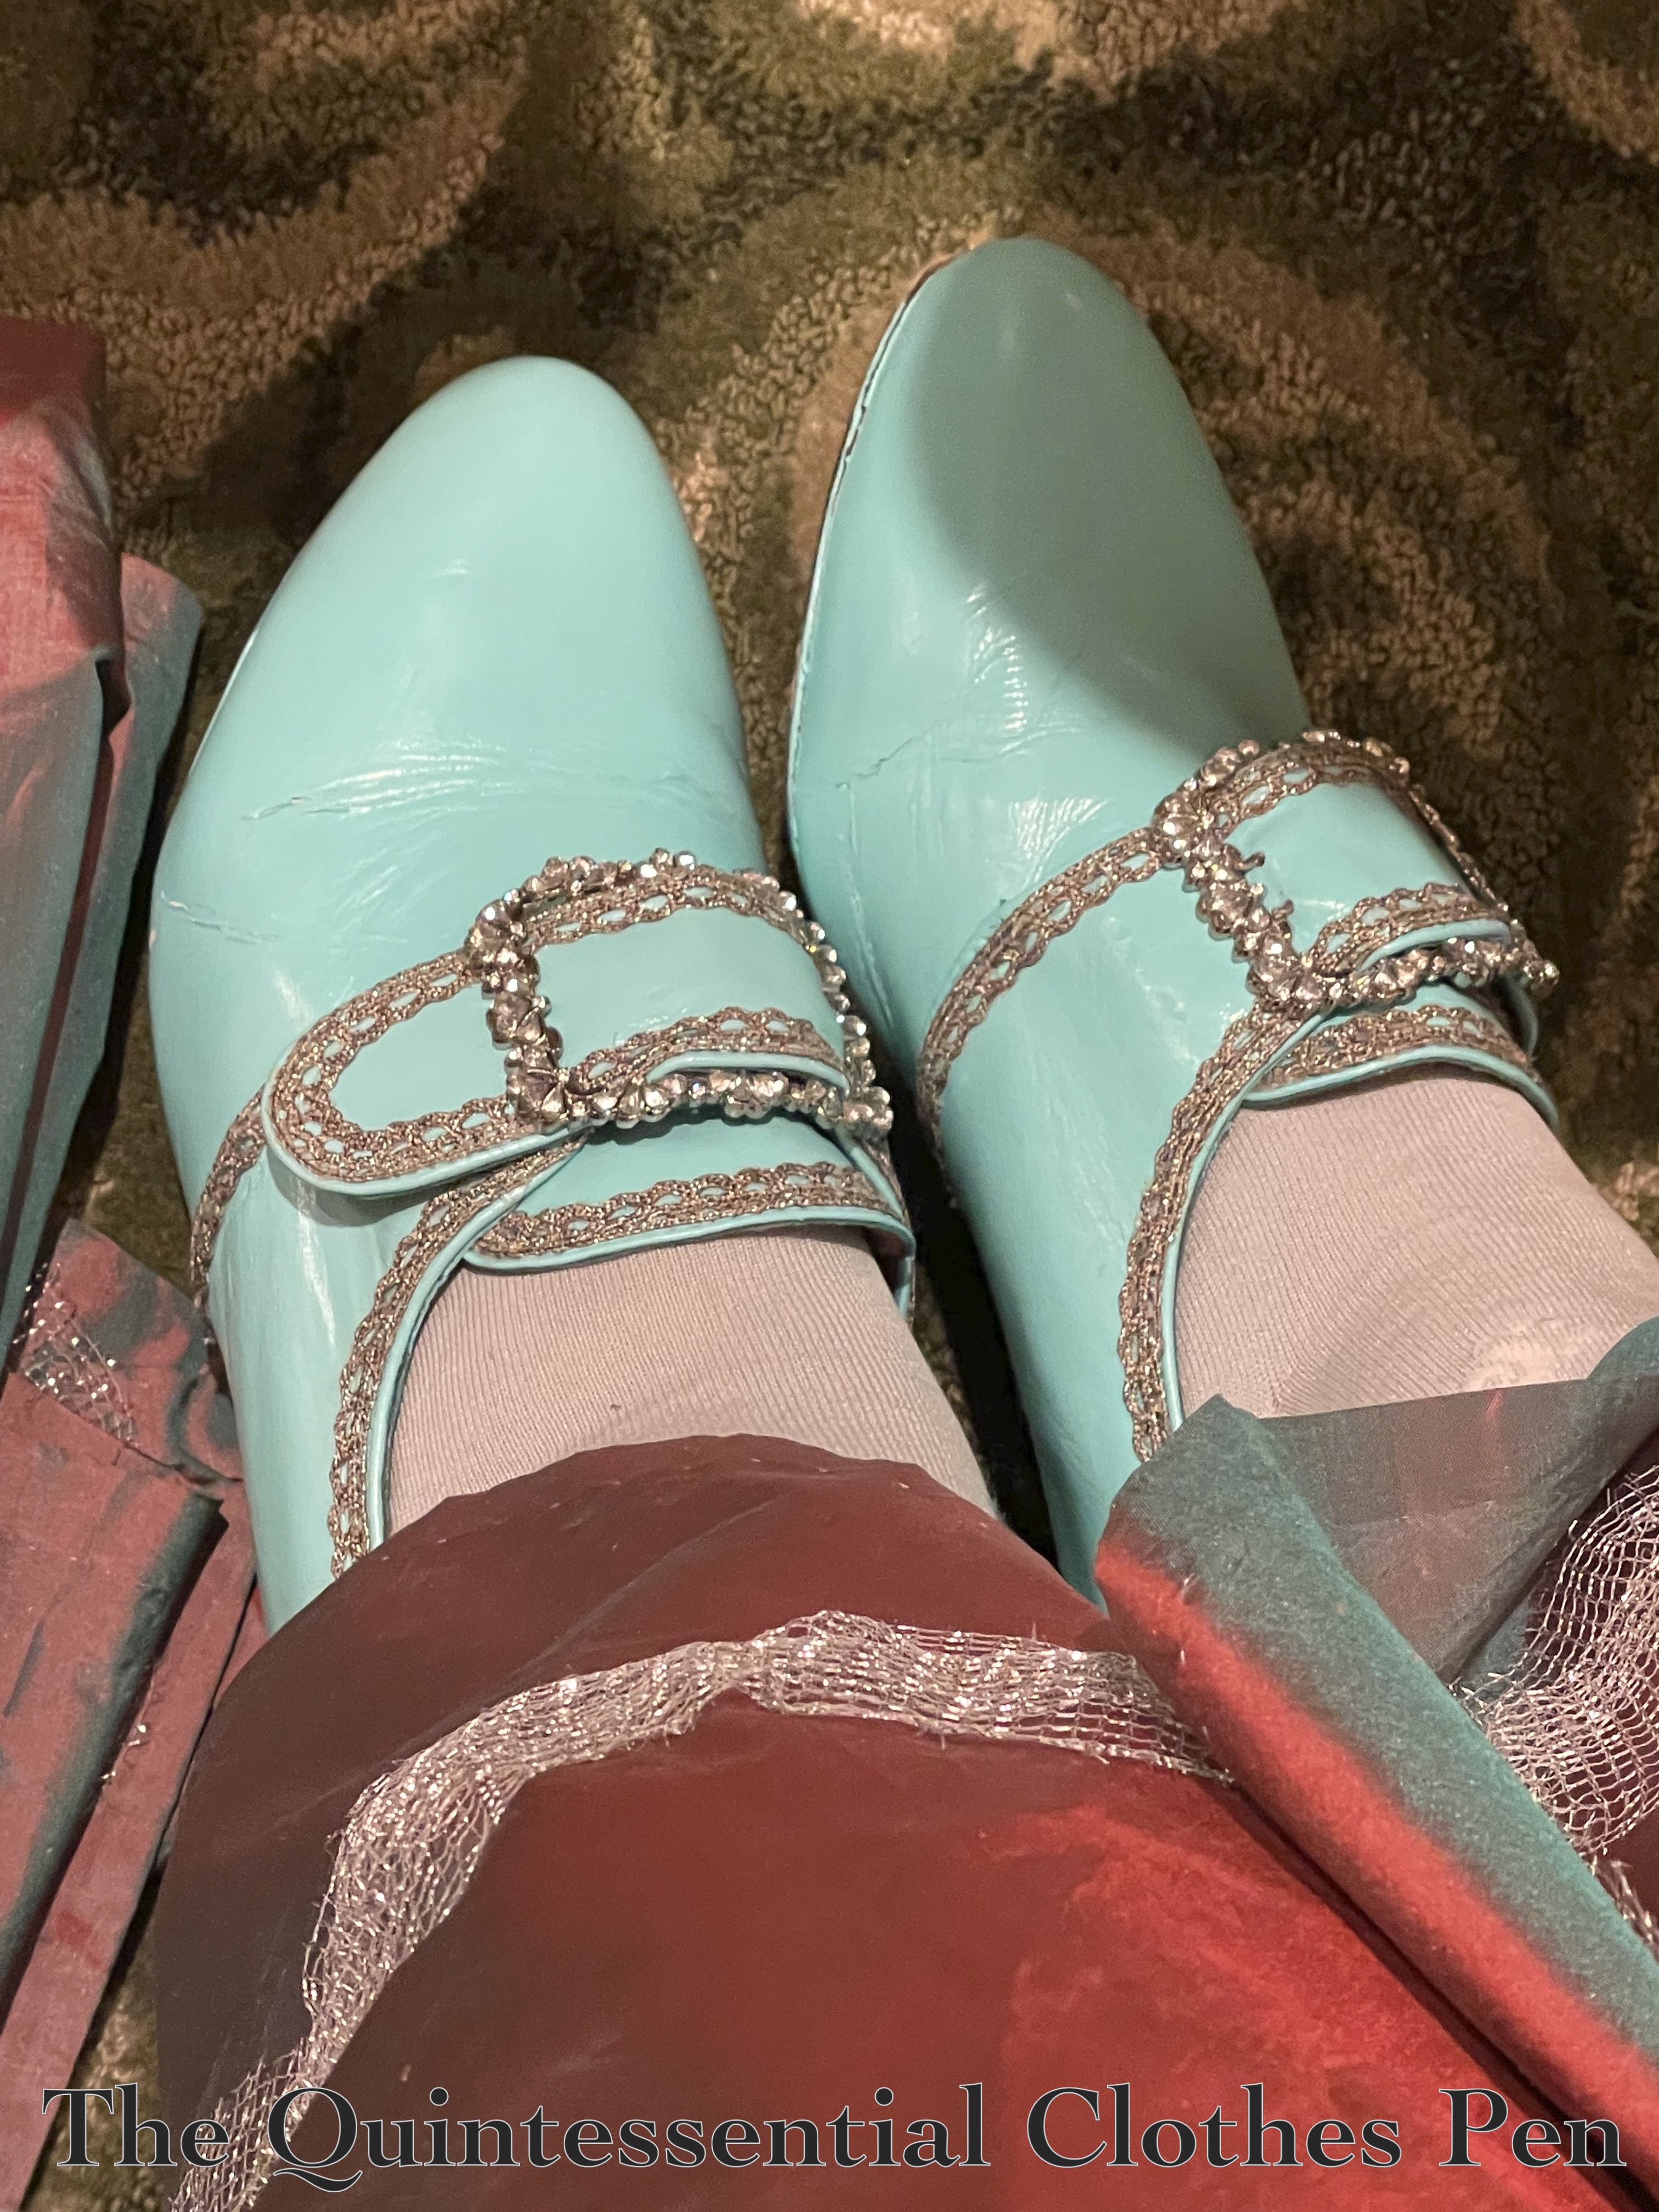
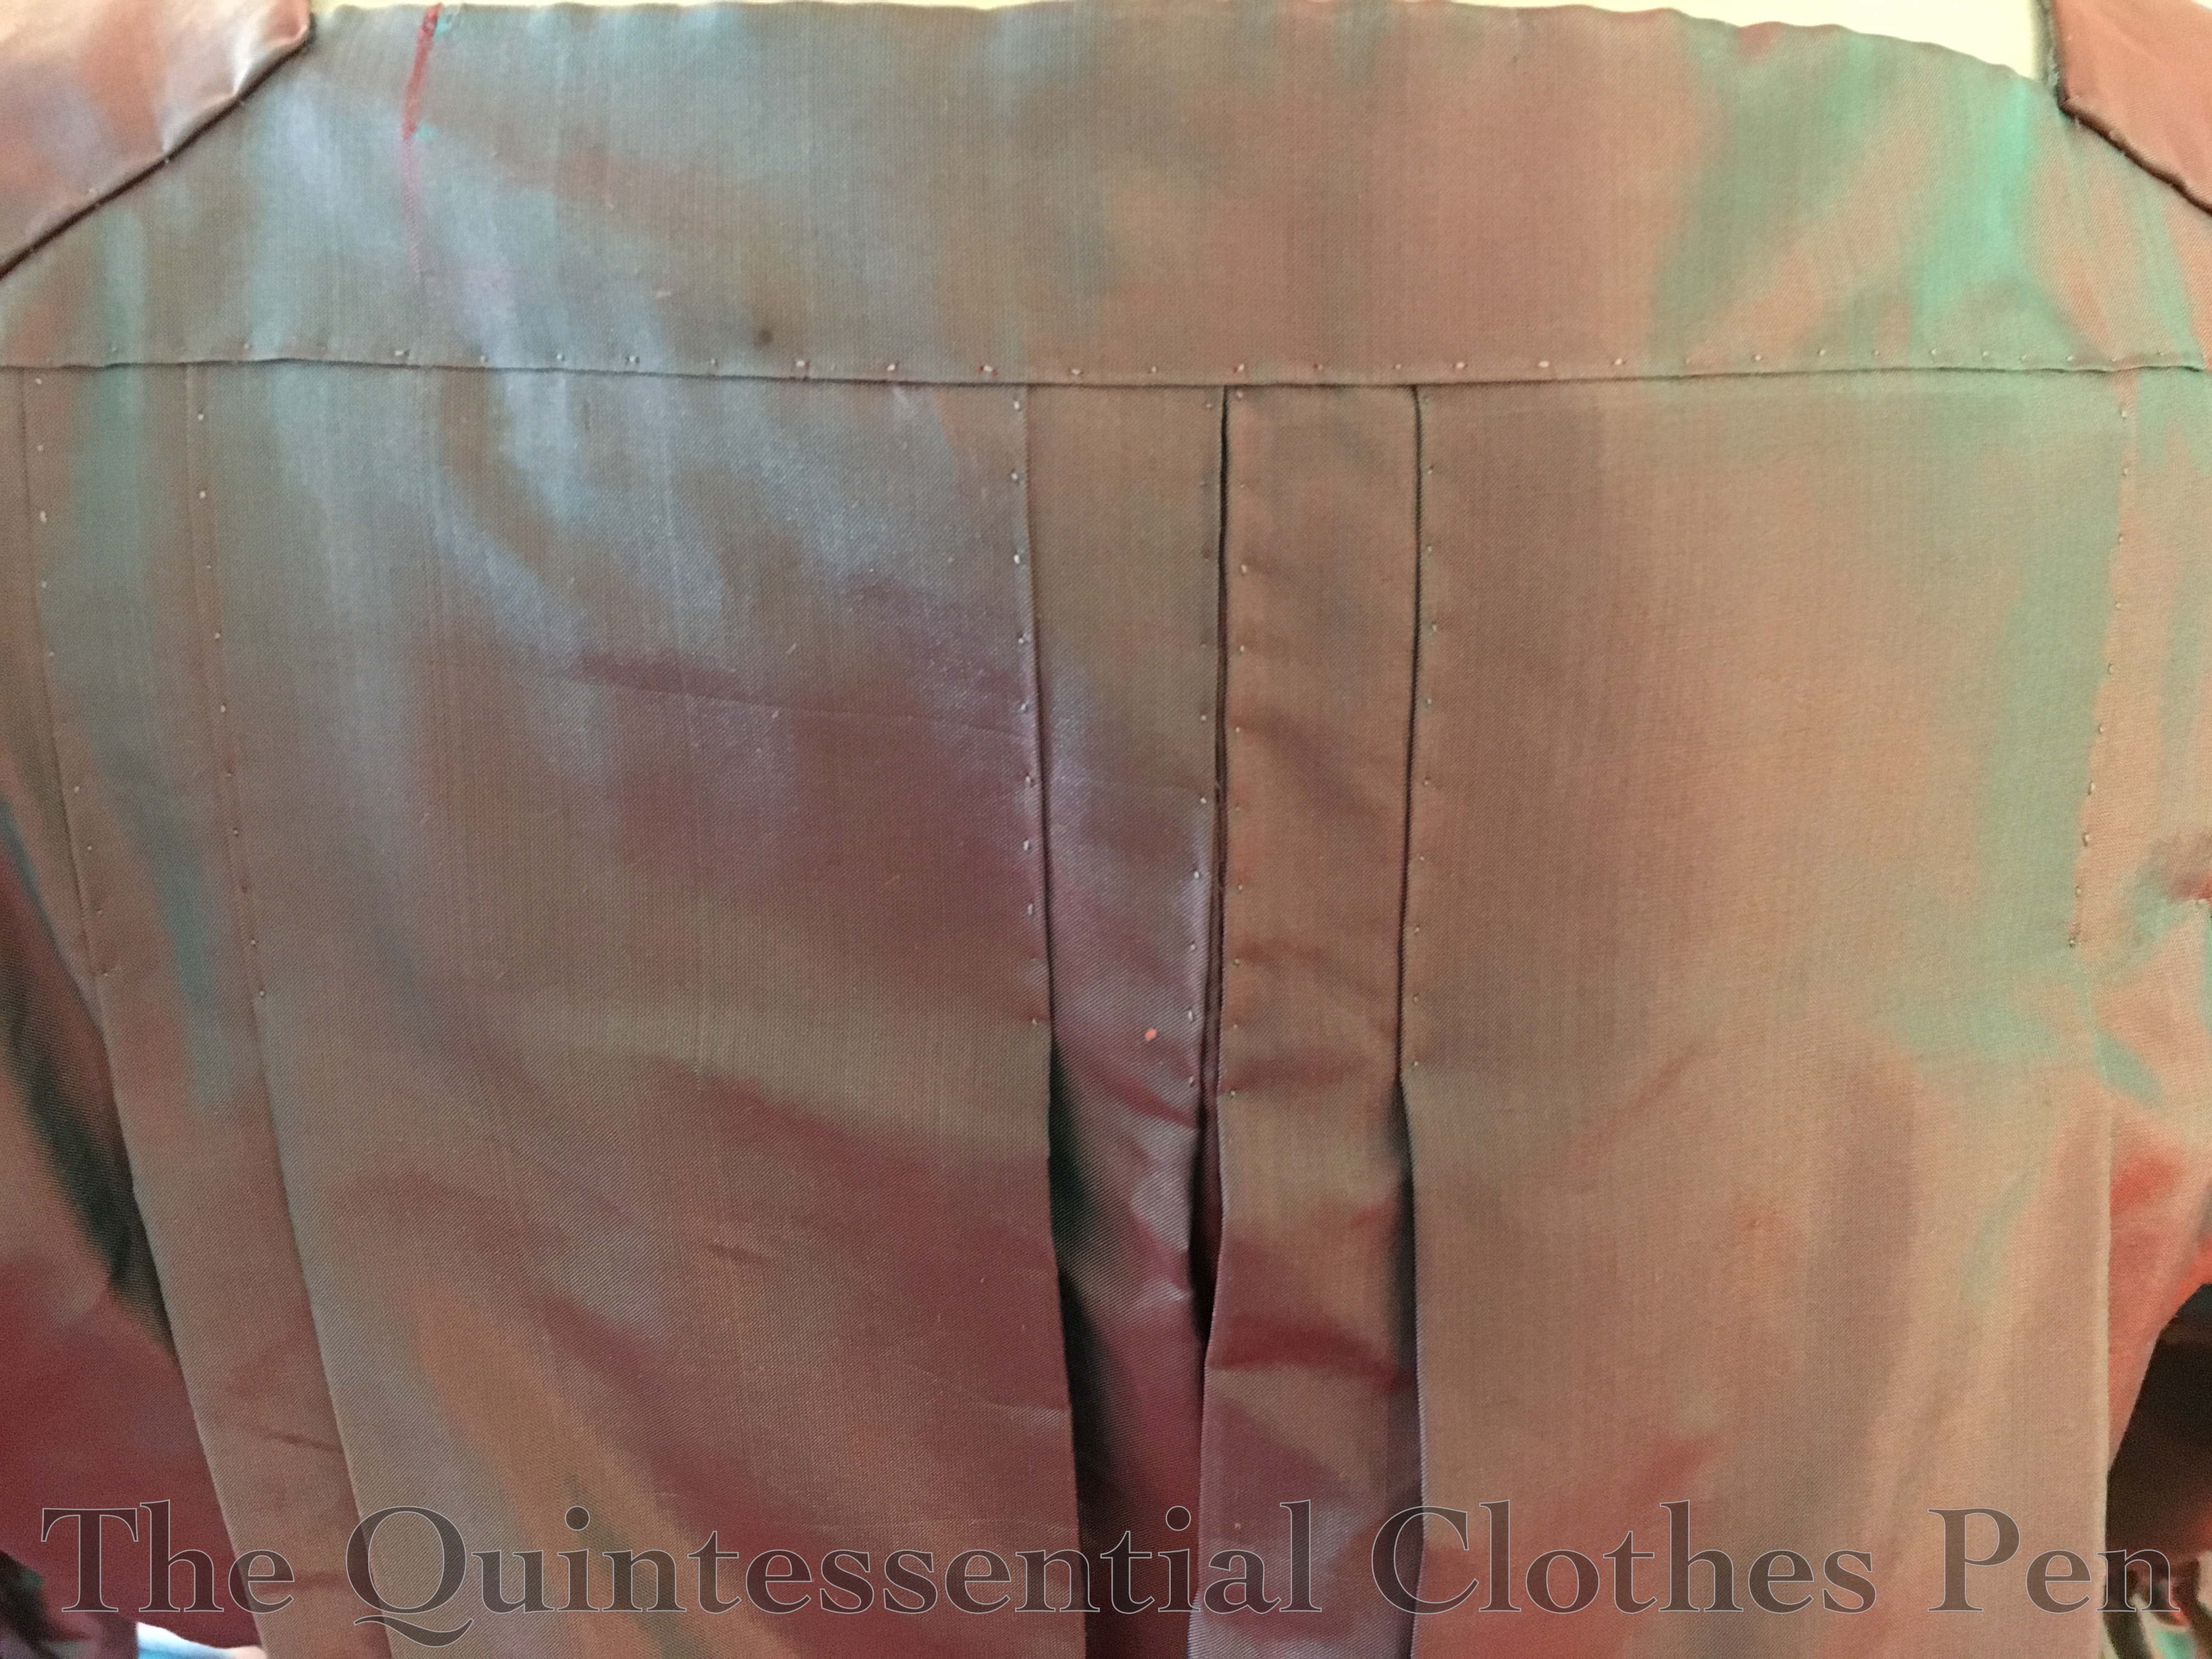
One of the things that I’d struggled to capture in photos for the Versailles dress’s first wearing was the changeable nature of the silk fabric. It is a ‘shot’ fabric, meaning that it uses two different colors woven in opposite directions: a vibrant turquoise and a deep red. This means that fabric appears to be both colors, or a mixture that looks a bit purple, depending on how the light hits it.
Most of my photos from the first wearing of the dress show the purple color, but the lighting at this event captured the many colors of the fabric much more clearly! Below is one example. Most of the dress appears in the red tone, but the shadows of the dress in the back look like the green color.

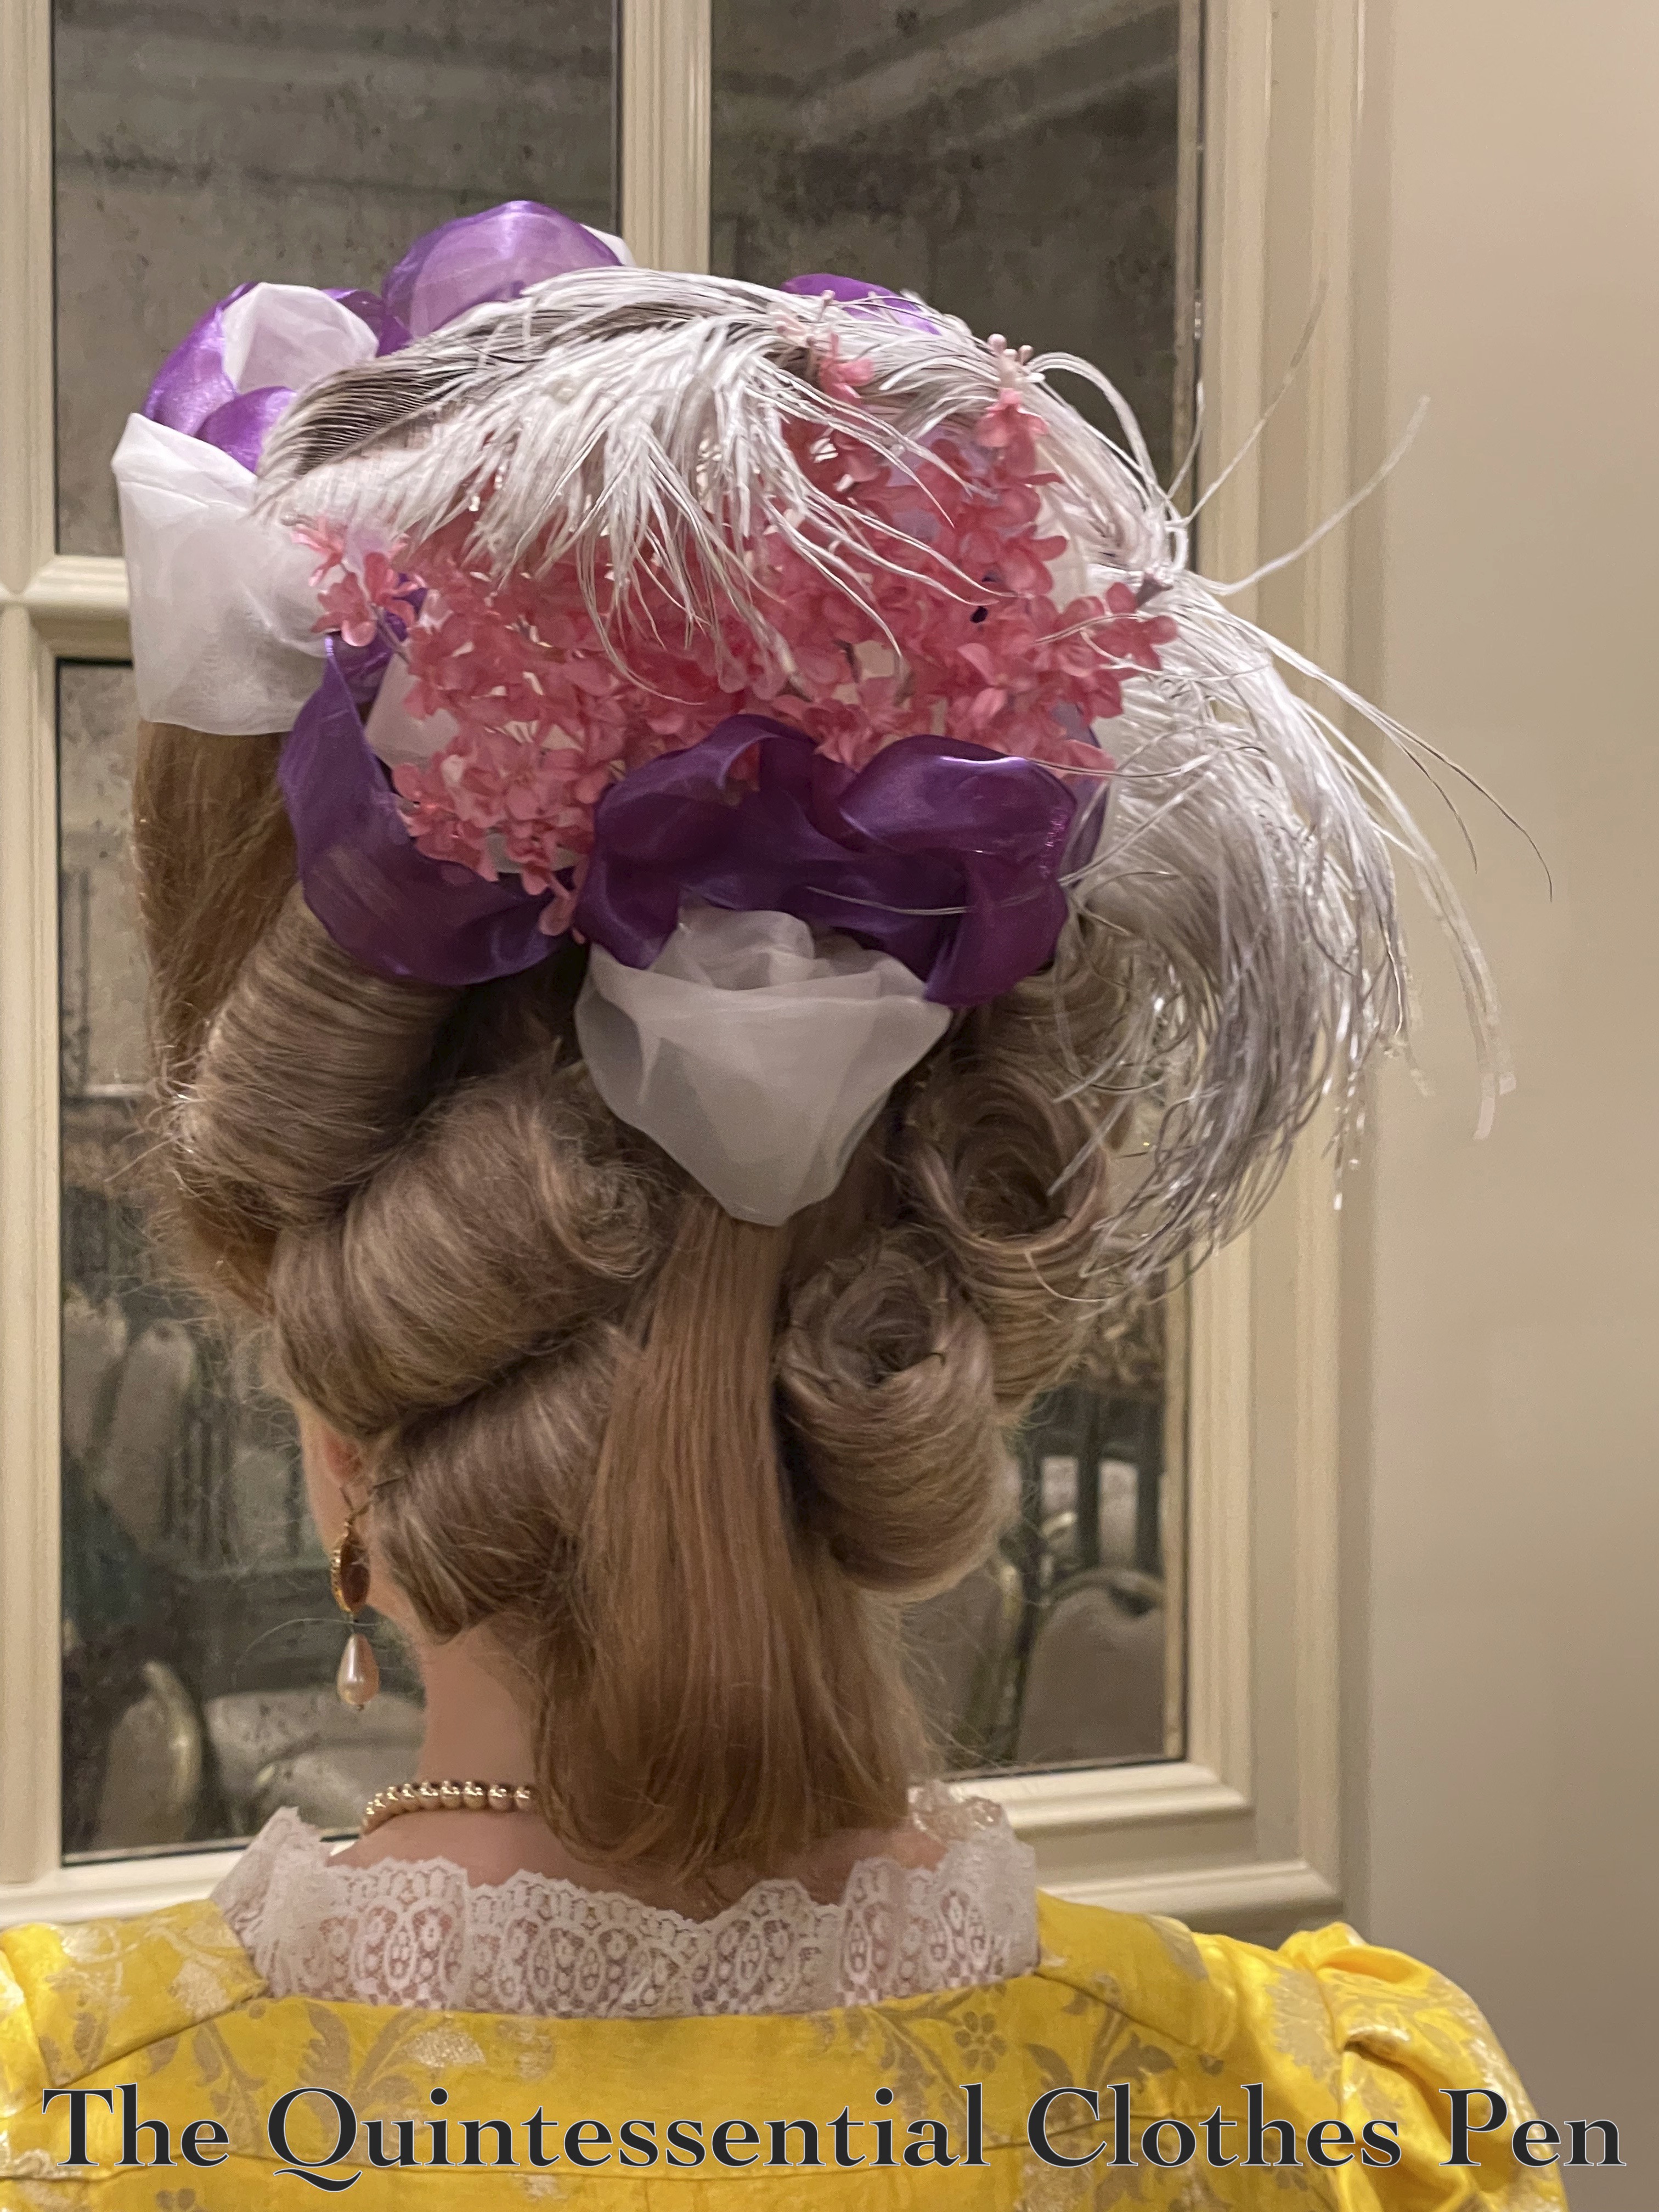
As I mentioned earlier, I had to reconstruct my hair style for this wearing. In 2016, I cobbled together a large form from many hair supports on hand (you can read about that in this past post). After that event, I deconstructed the large form in order to be able to use the individual parts again. So for this, re-forming the large form was necessary.
Below, you can see the final result of the style. This is the same style I created in 2016. (You can read more about it in this past post.)

My friend wearing the Yellow Sacque also had a fabulously large hairstyle! Her style uses elements from the book The American Duchess Guide To 18th Century Beauty, including the ‘Ski Slope Hair Cushion’ and ‘1770s Pouf’ on pages 119 and 127. She also created her own buckles (those pre-made rolls of hair on the sides). And I had fun helping her place them the day of. It was fun to make two styles that are similar, but different in shape and details!
Recollections
I had a fantastic time traveling with friends to this event. We all enjoyed the content of the weekend as well as the opportunity to make or refresh our clothing and accessories.
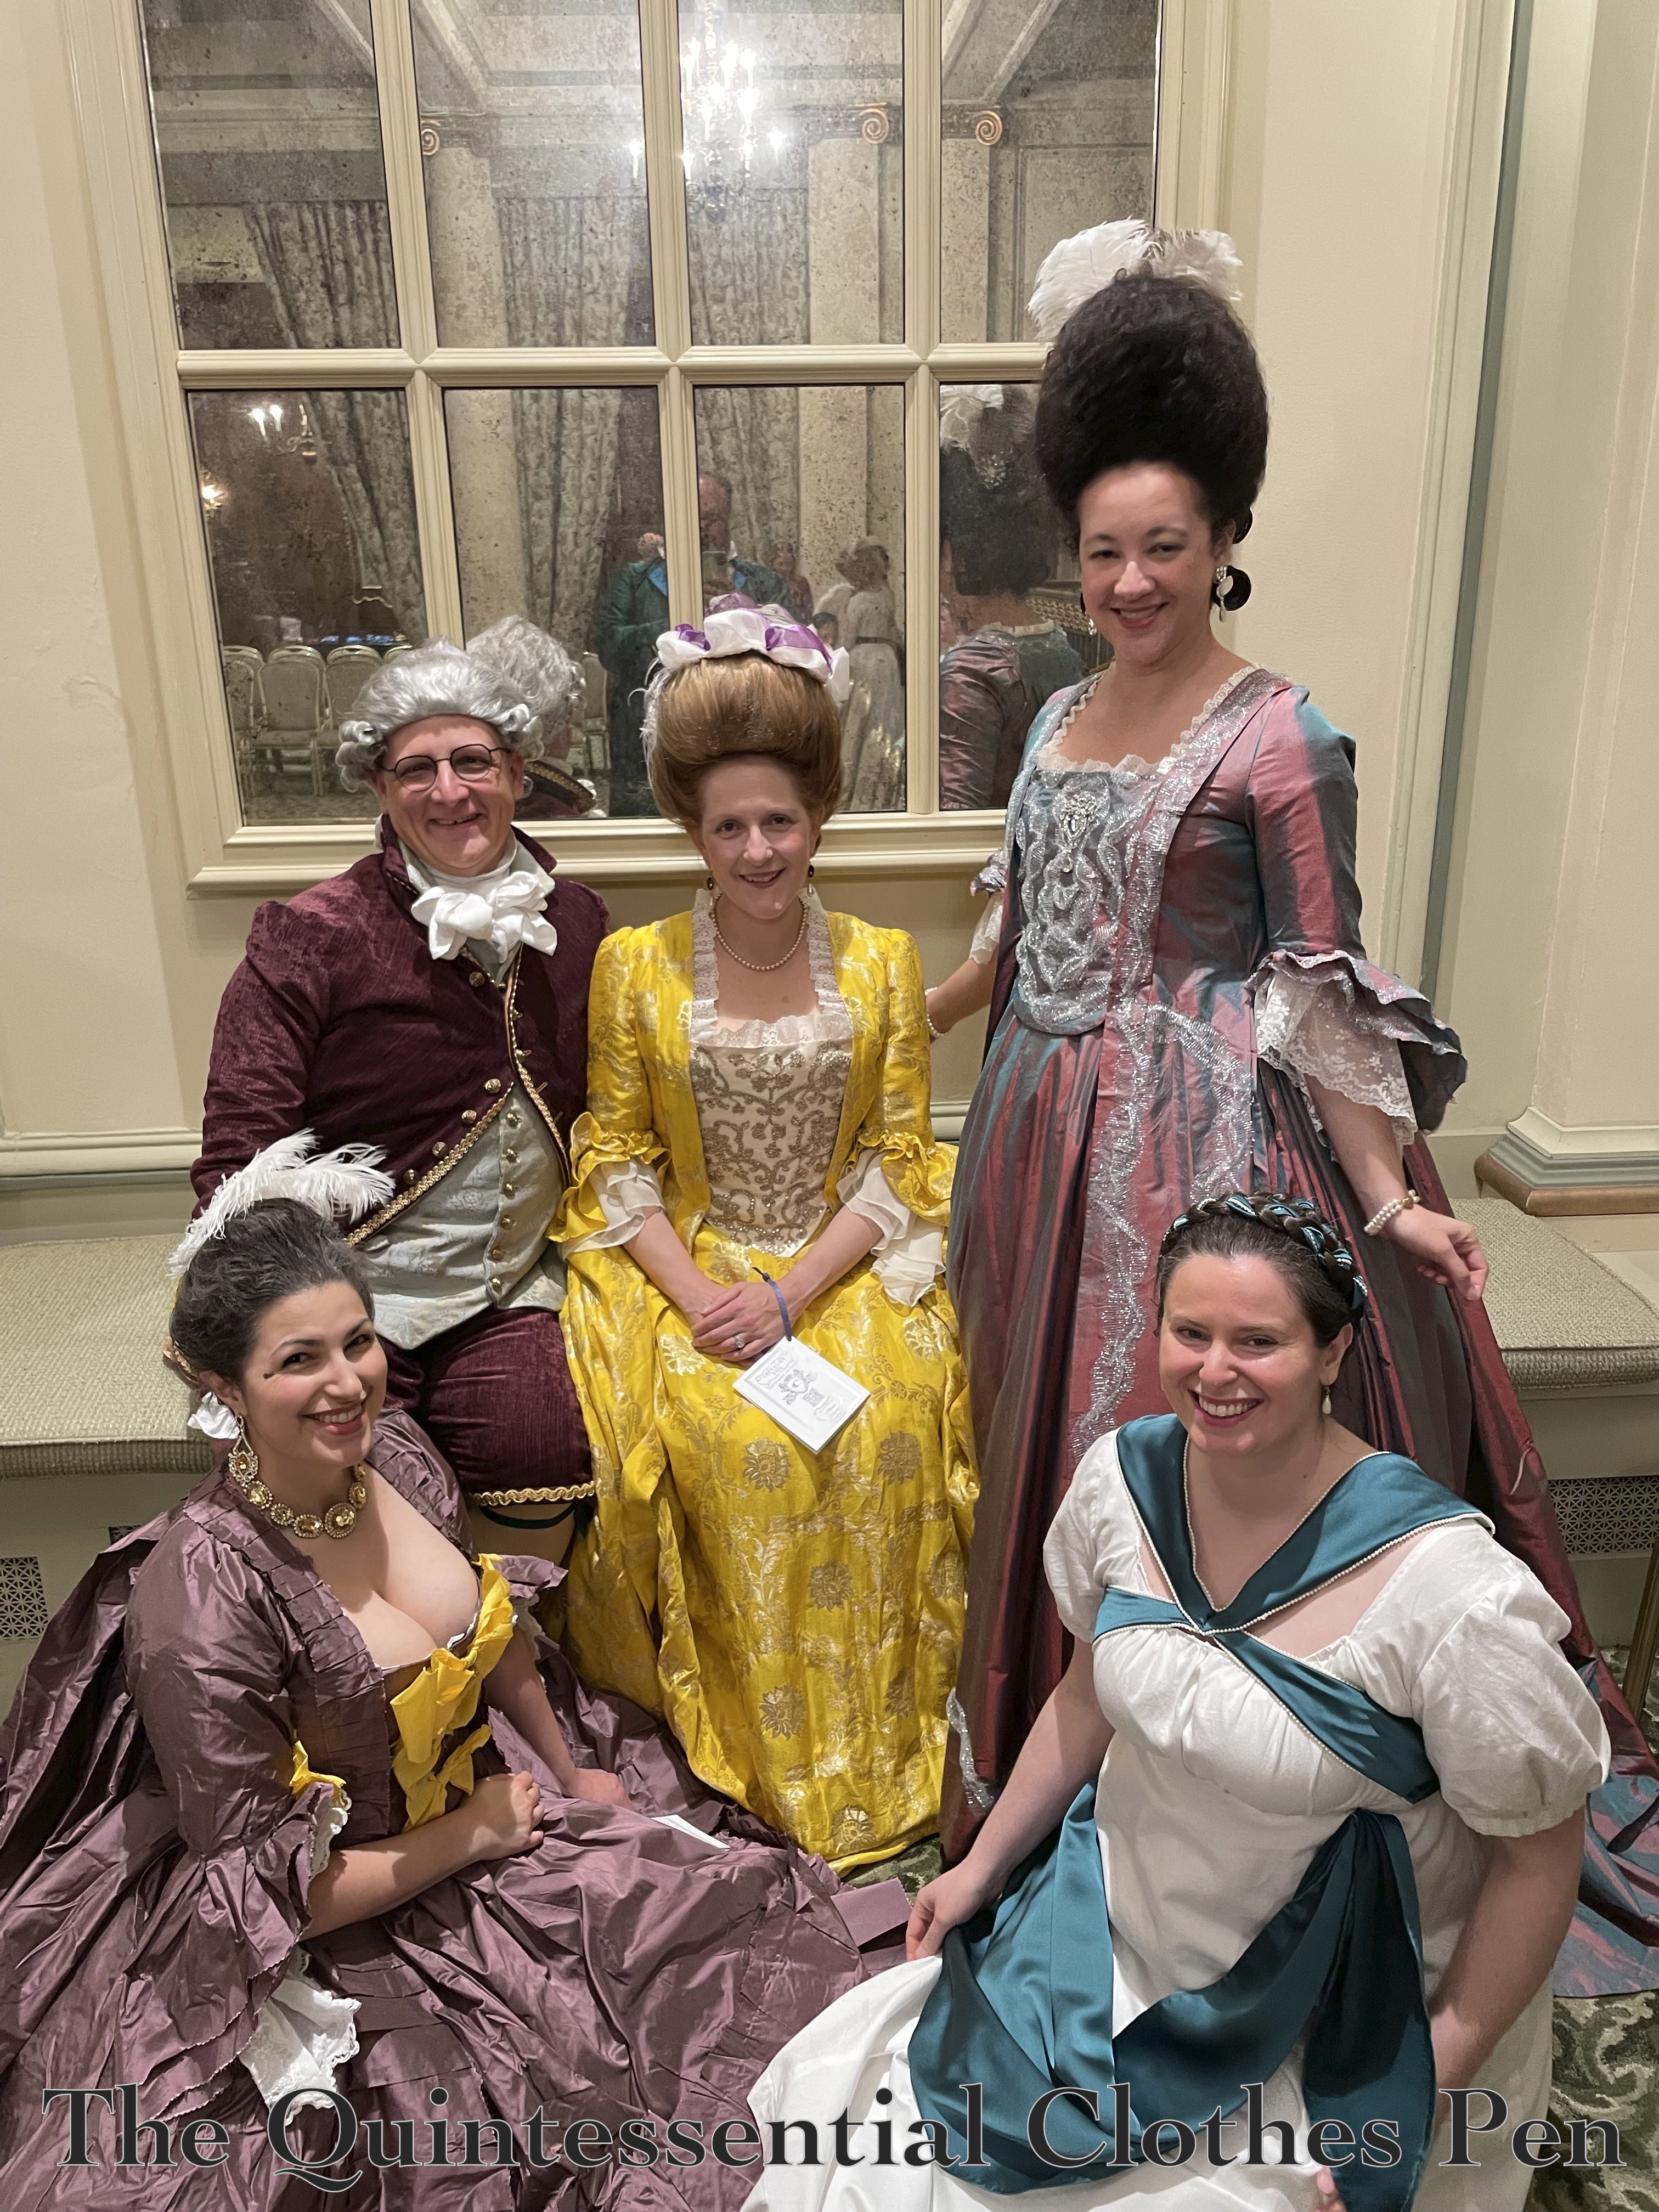
In fact, we had such a lovely time we felt the need to take a break in the ladies dressing room! How could we not, with such an elegant day bed and foot stool to lounge on?


It was also a special experience to have the opportunity to meet other bloggers and costumers I don’t often (or ever) get to see in person! We might exchange comments and be inspired by each other’s creations, but to meet people and have a conversation is extra wonderful. I’m so grateful that Cindy, of Cation Designs (who is in the photo with me, below), took the time to chat with me and express her appreciation for how this blog has made costuming feel approachable for her!
 After a lovely evening, it was time to head out. It wasn’t particularly warm outside, so an extra layer was much appreciated!

But a pause was necessary… I love my silly moose poses! Thanks for enjoying this outing with me!