Today’s post is a departure from my usual historical clothing projects. I’m going to share my adventures making a Star Trek dress! Next post, I’ll share photos of the finished project.
The Backstory
I’ve had a vague idea to make a Star Trek original series uniform for a number of years, but it never floated high enough on the To Do list to become reality. This year, though, I was determined!
I had a real life dress is a lovely shade of marigold yellow that had been retired from regular circulation in my wardrobe, but which I kept on hand because I kept thinking “this is the perfect color to become that Star Trek dress!” When it was worn for real life, though, I couldn’t figure out how to easily make it uniform like as much as I wanted without some permanent changes, but after it had been sitting in a box for a year or more I was ready to make those permanent changes to have a Star Trek dress!
Updating The Dress Itself
One of the most important changes needed to make this dress really resemble an original series uniform was the neckline. The women’s uniforms in The Original Series all have an asymmetrical neckline, scooped on the right and with an angle on the left, edged with a wide black band.
The marigold dress had a scoop, but only way to get the angle on the left side was to change the neckline. No hestitation now!
I had a few pairs of black knit shorts that didn’t fit, but which had a nice sheen to fabric. I’d forgotten that I’d stashed those with the dress, thinking that they could be recycled to create the black band someday. Good job past me!
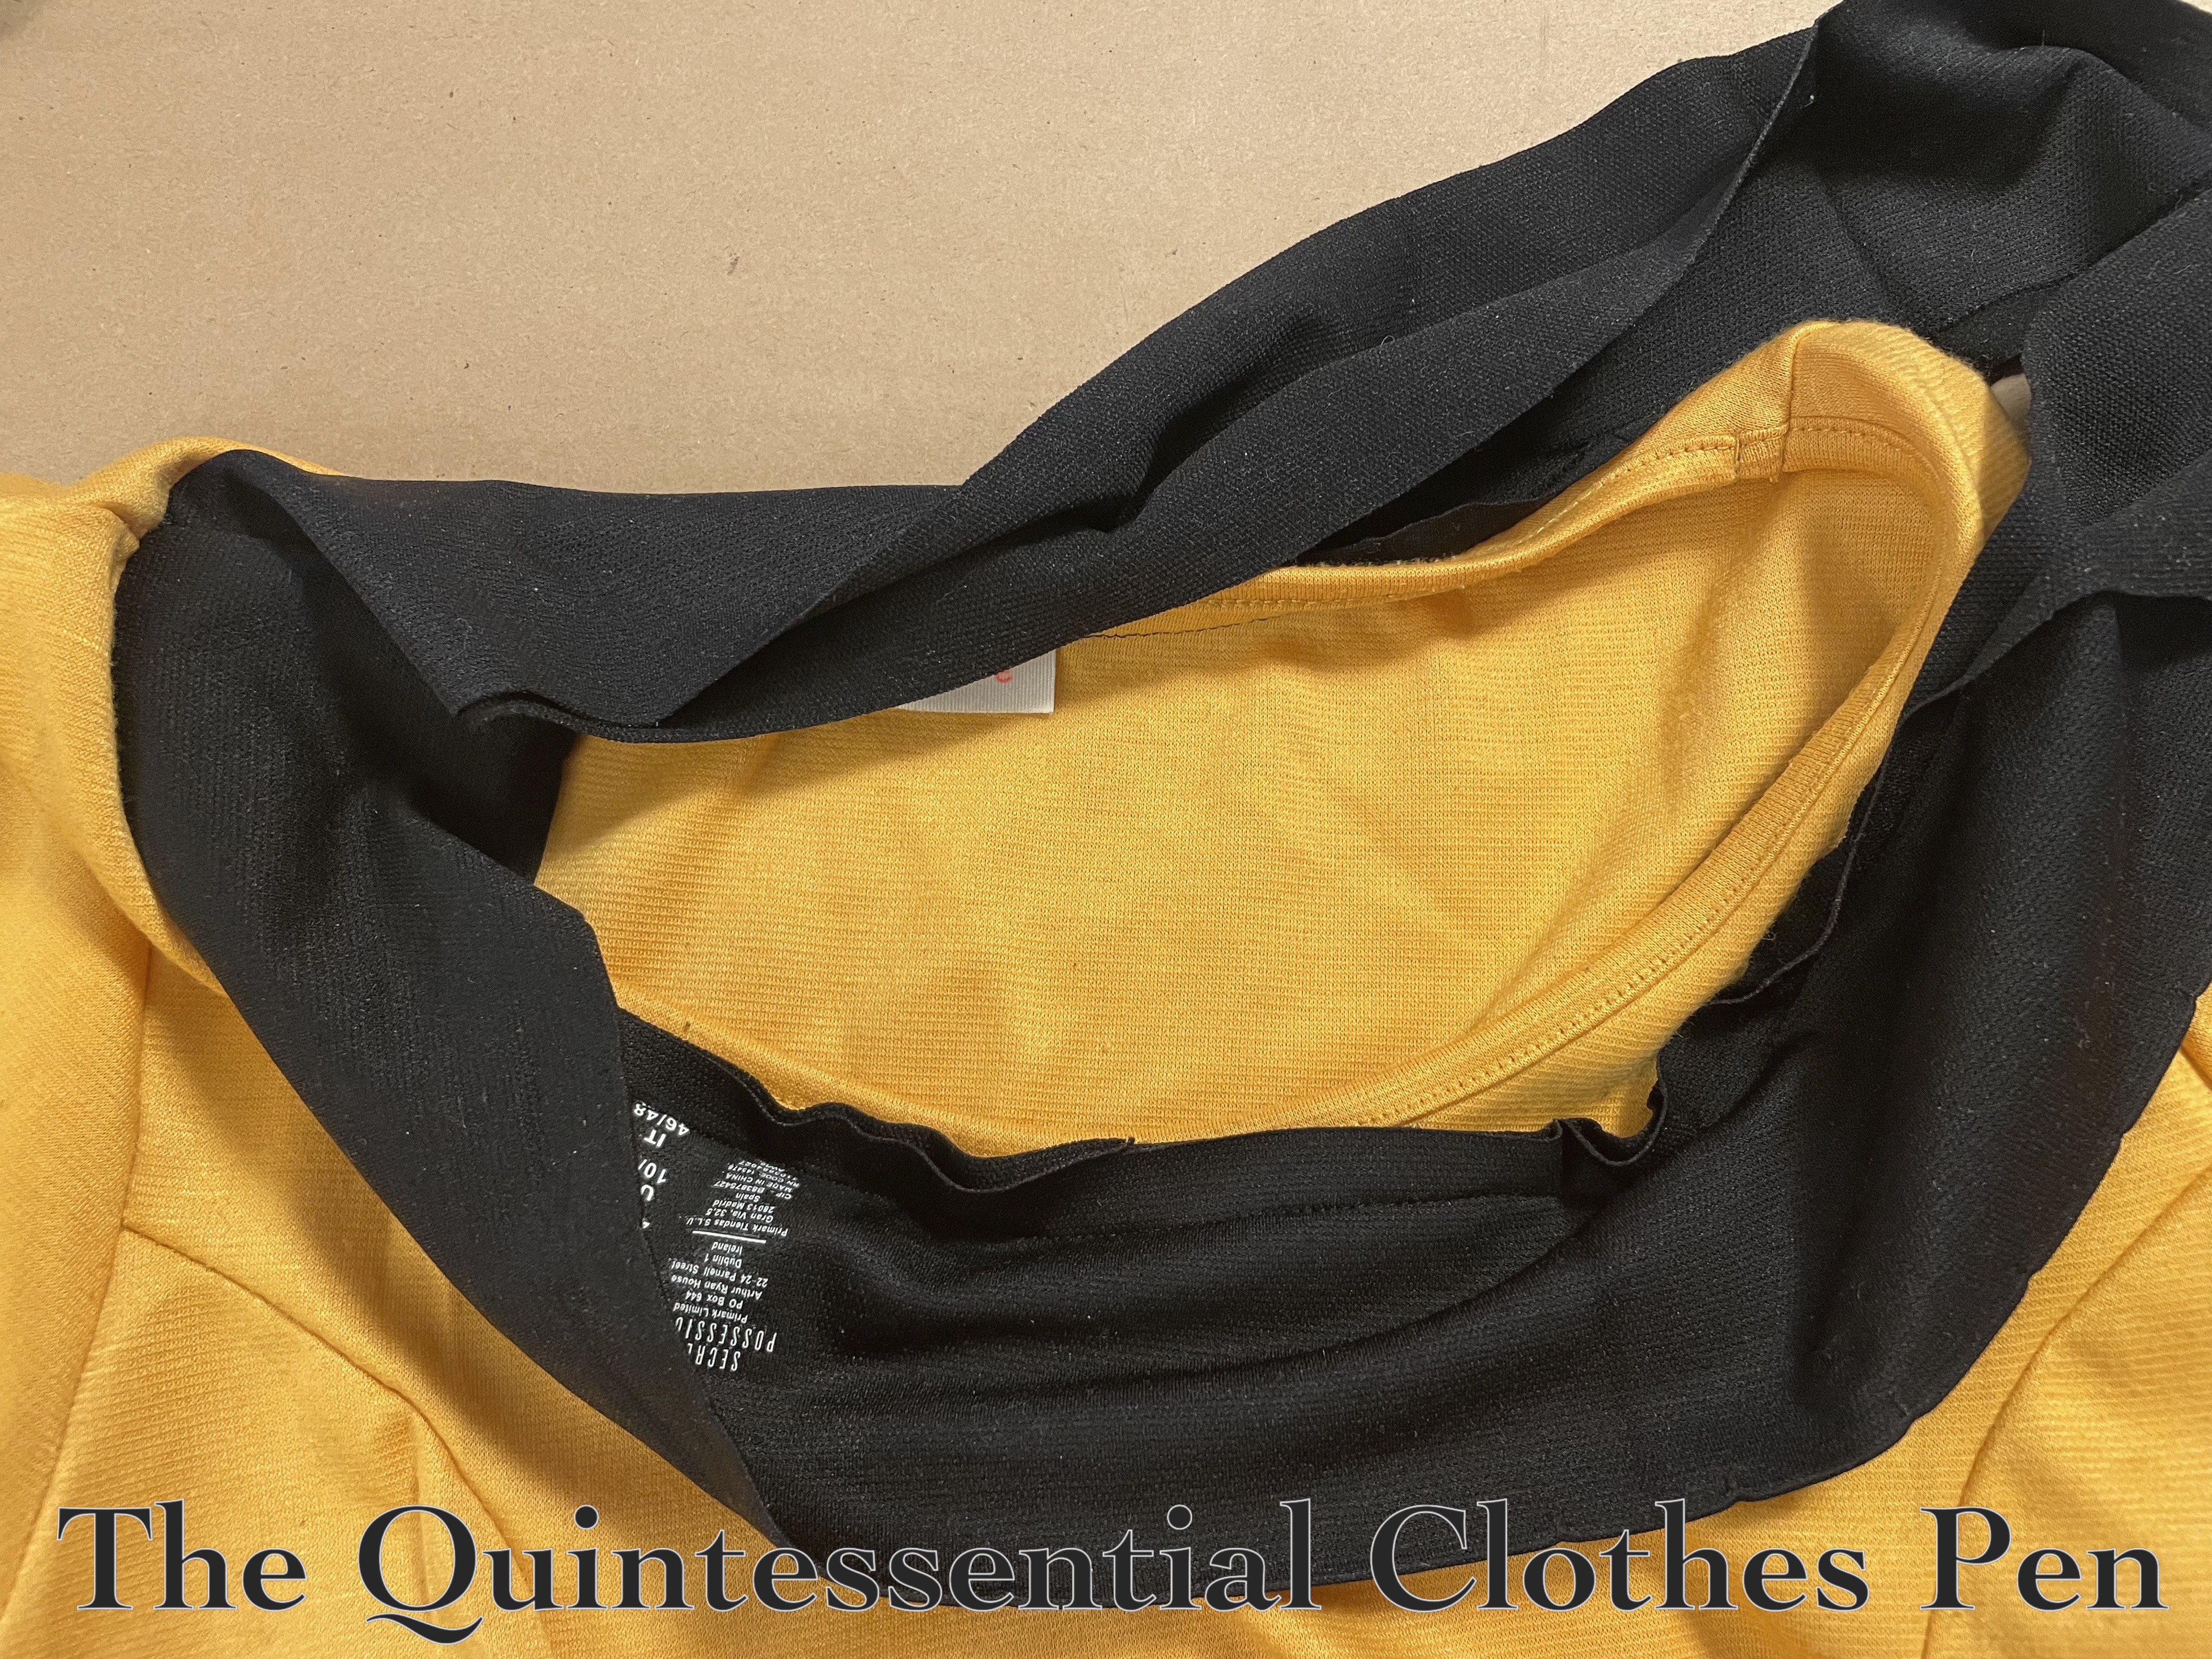
I decided how wide I wanted the band to be and cut a piece twice as wide as I needed, so it could fold in half. I stitched it to the dress, leaving the ends free so I could get the perfect length and the right tension on these two knit fabrics. Below, a photo showwing the neckline of the marigold dress and the left angle change (on the right in the photo), as well as the black band cut from the recycled shorts stitched onto the outside of the dress. I was entertained that the tag area of the shorts made it into the neckline of the dress!
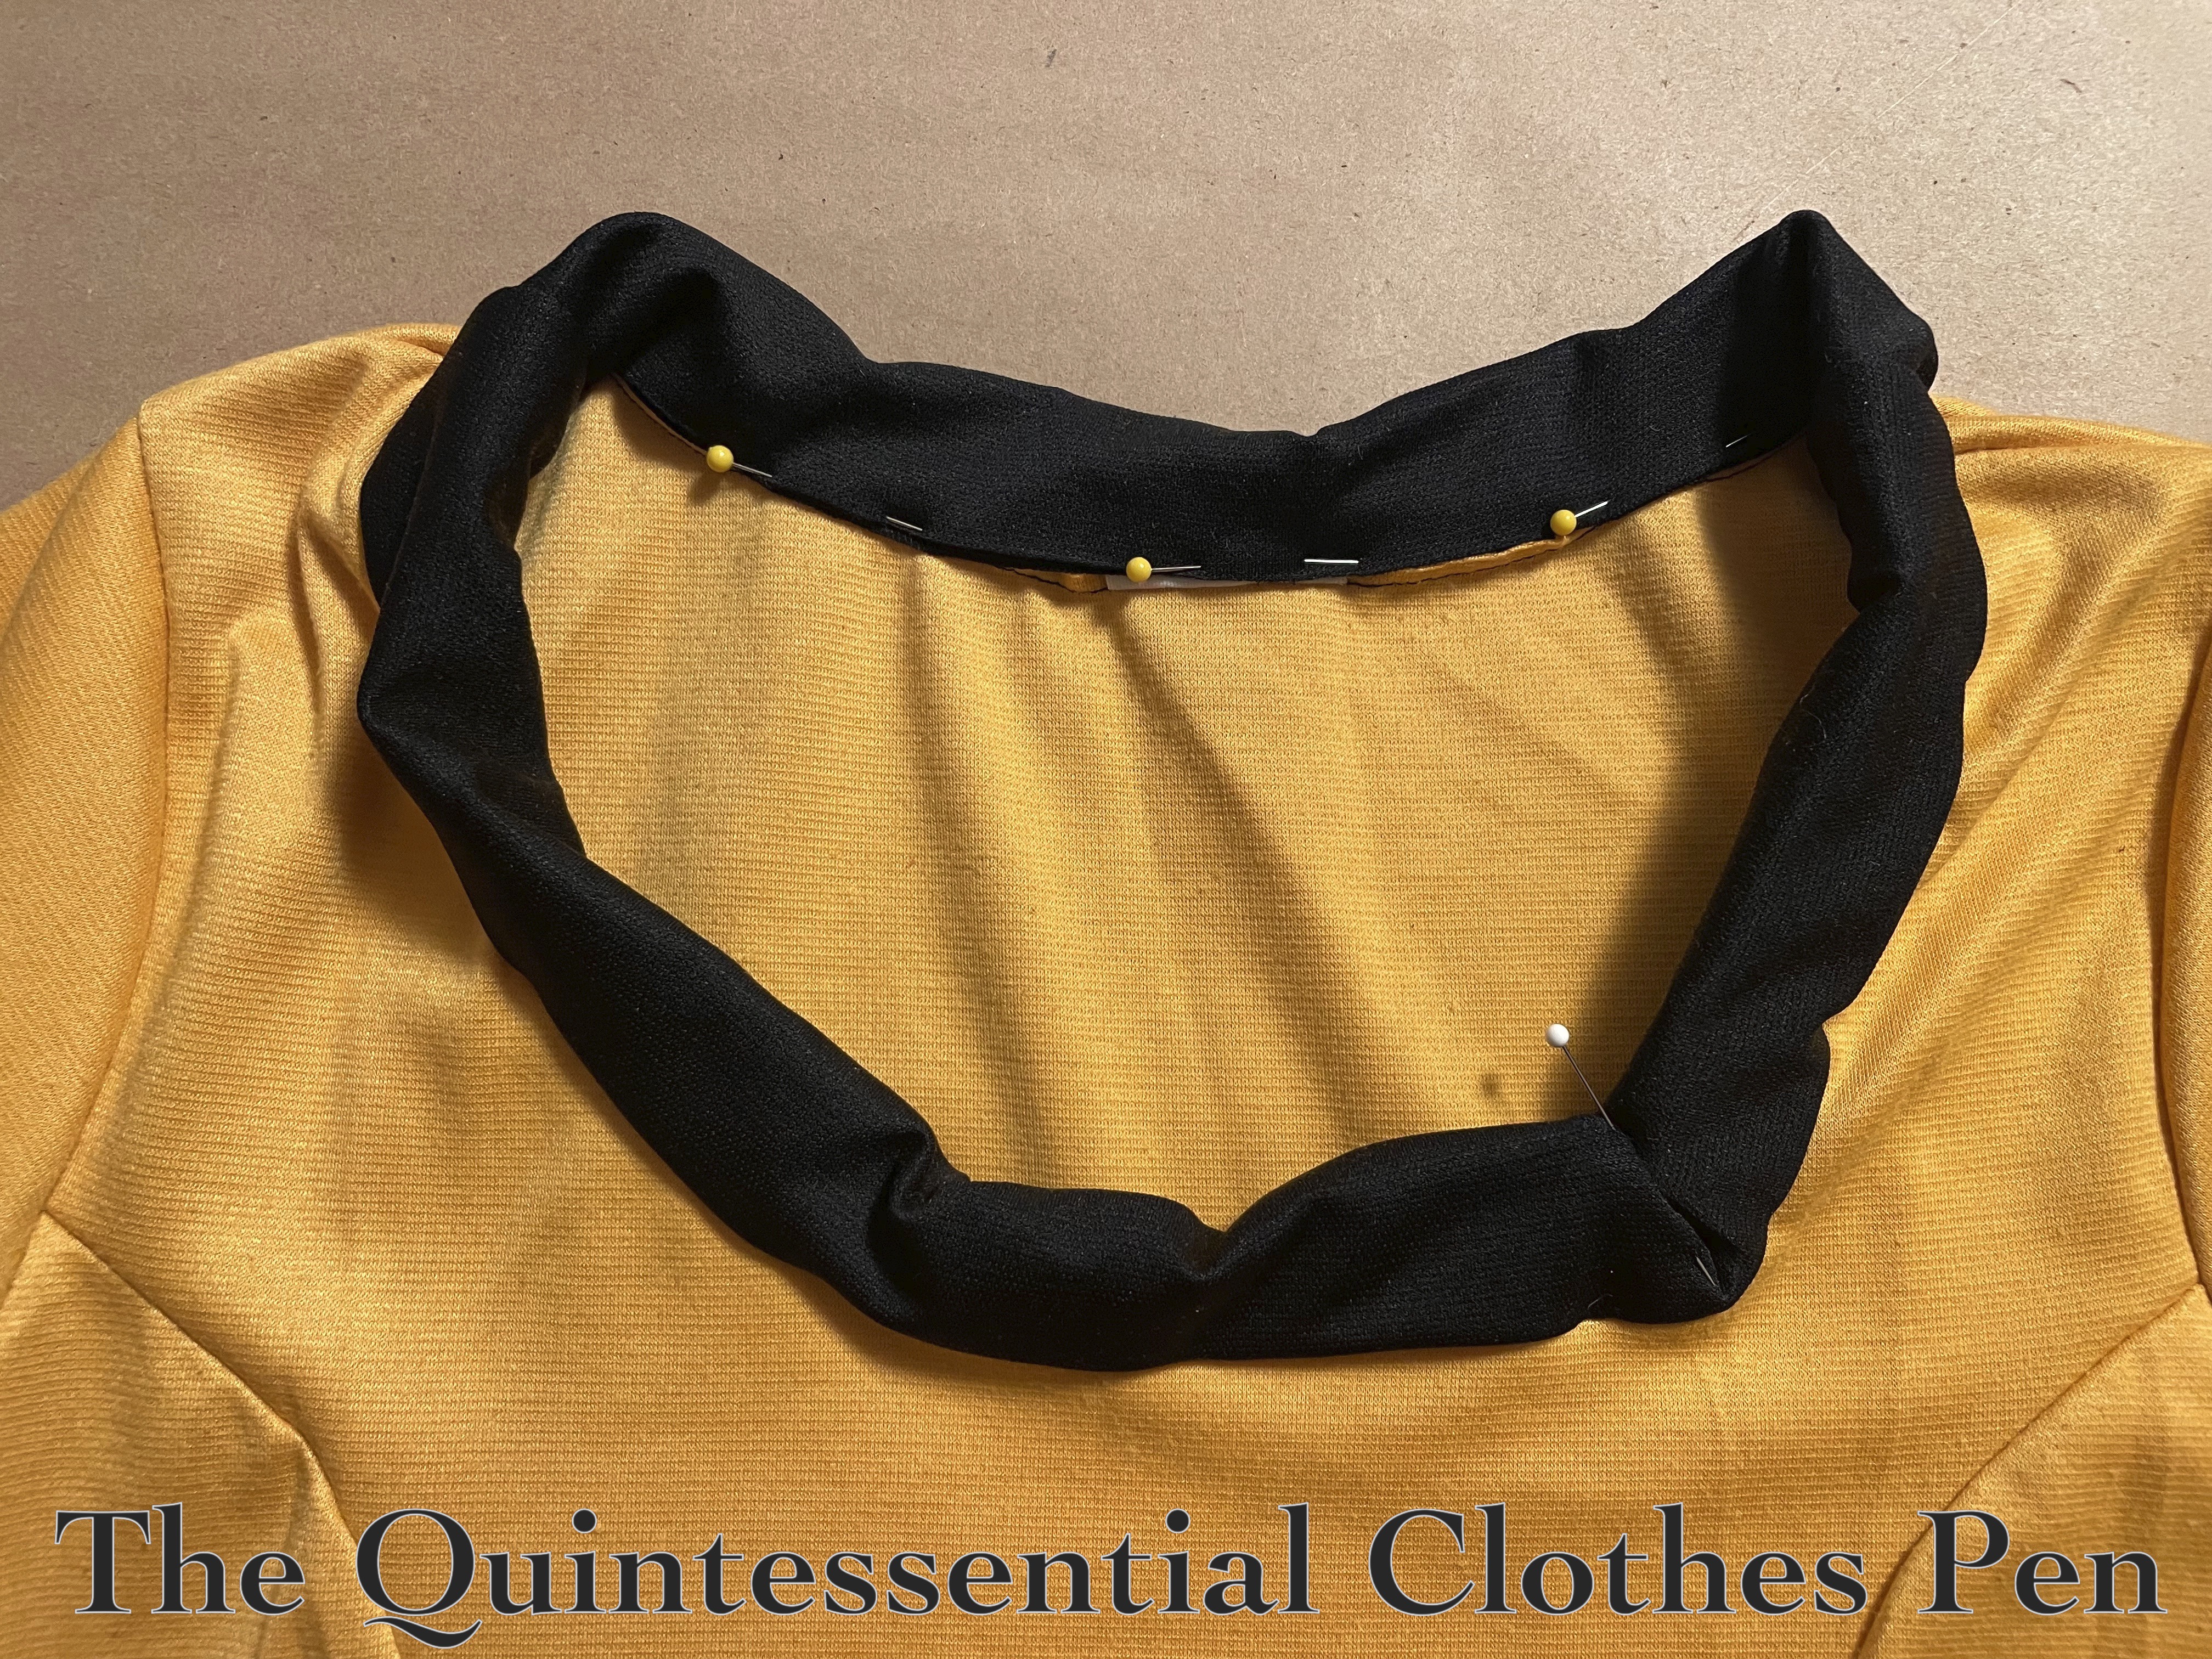
After I was happy with the placement of the black band, I trimmed away the original neck edge of the marigold dress, folded the black band to inside of the dress, pinned it in place, and whip stitched it. This way there are no stitches showing on the outside of the dress. I also stitched a tuck/miter into the black band in the angle, so that it would lay a little better and not obscure the shape.
Making The Insignia
The dress already looked more like Star Trek! But, I also thought it needed the chest insignia. This can be a very deep rabbit hole. There are so many Star Trek series and styles, etc. My goal is not to delve into this in depth, but if you want to see examples or learn more about original series insignia, I found this blog post to be quite helpful: The Starfleet Insignia Explained.
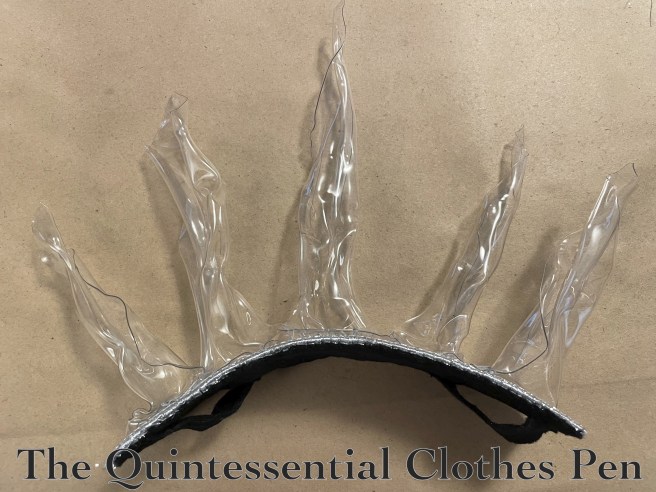
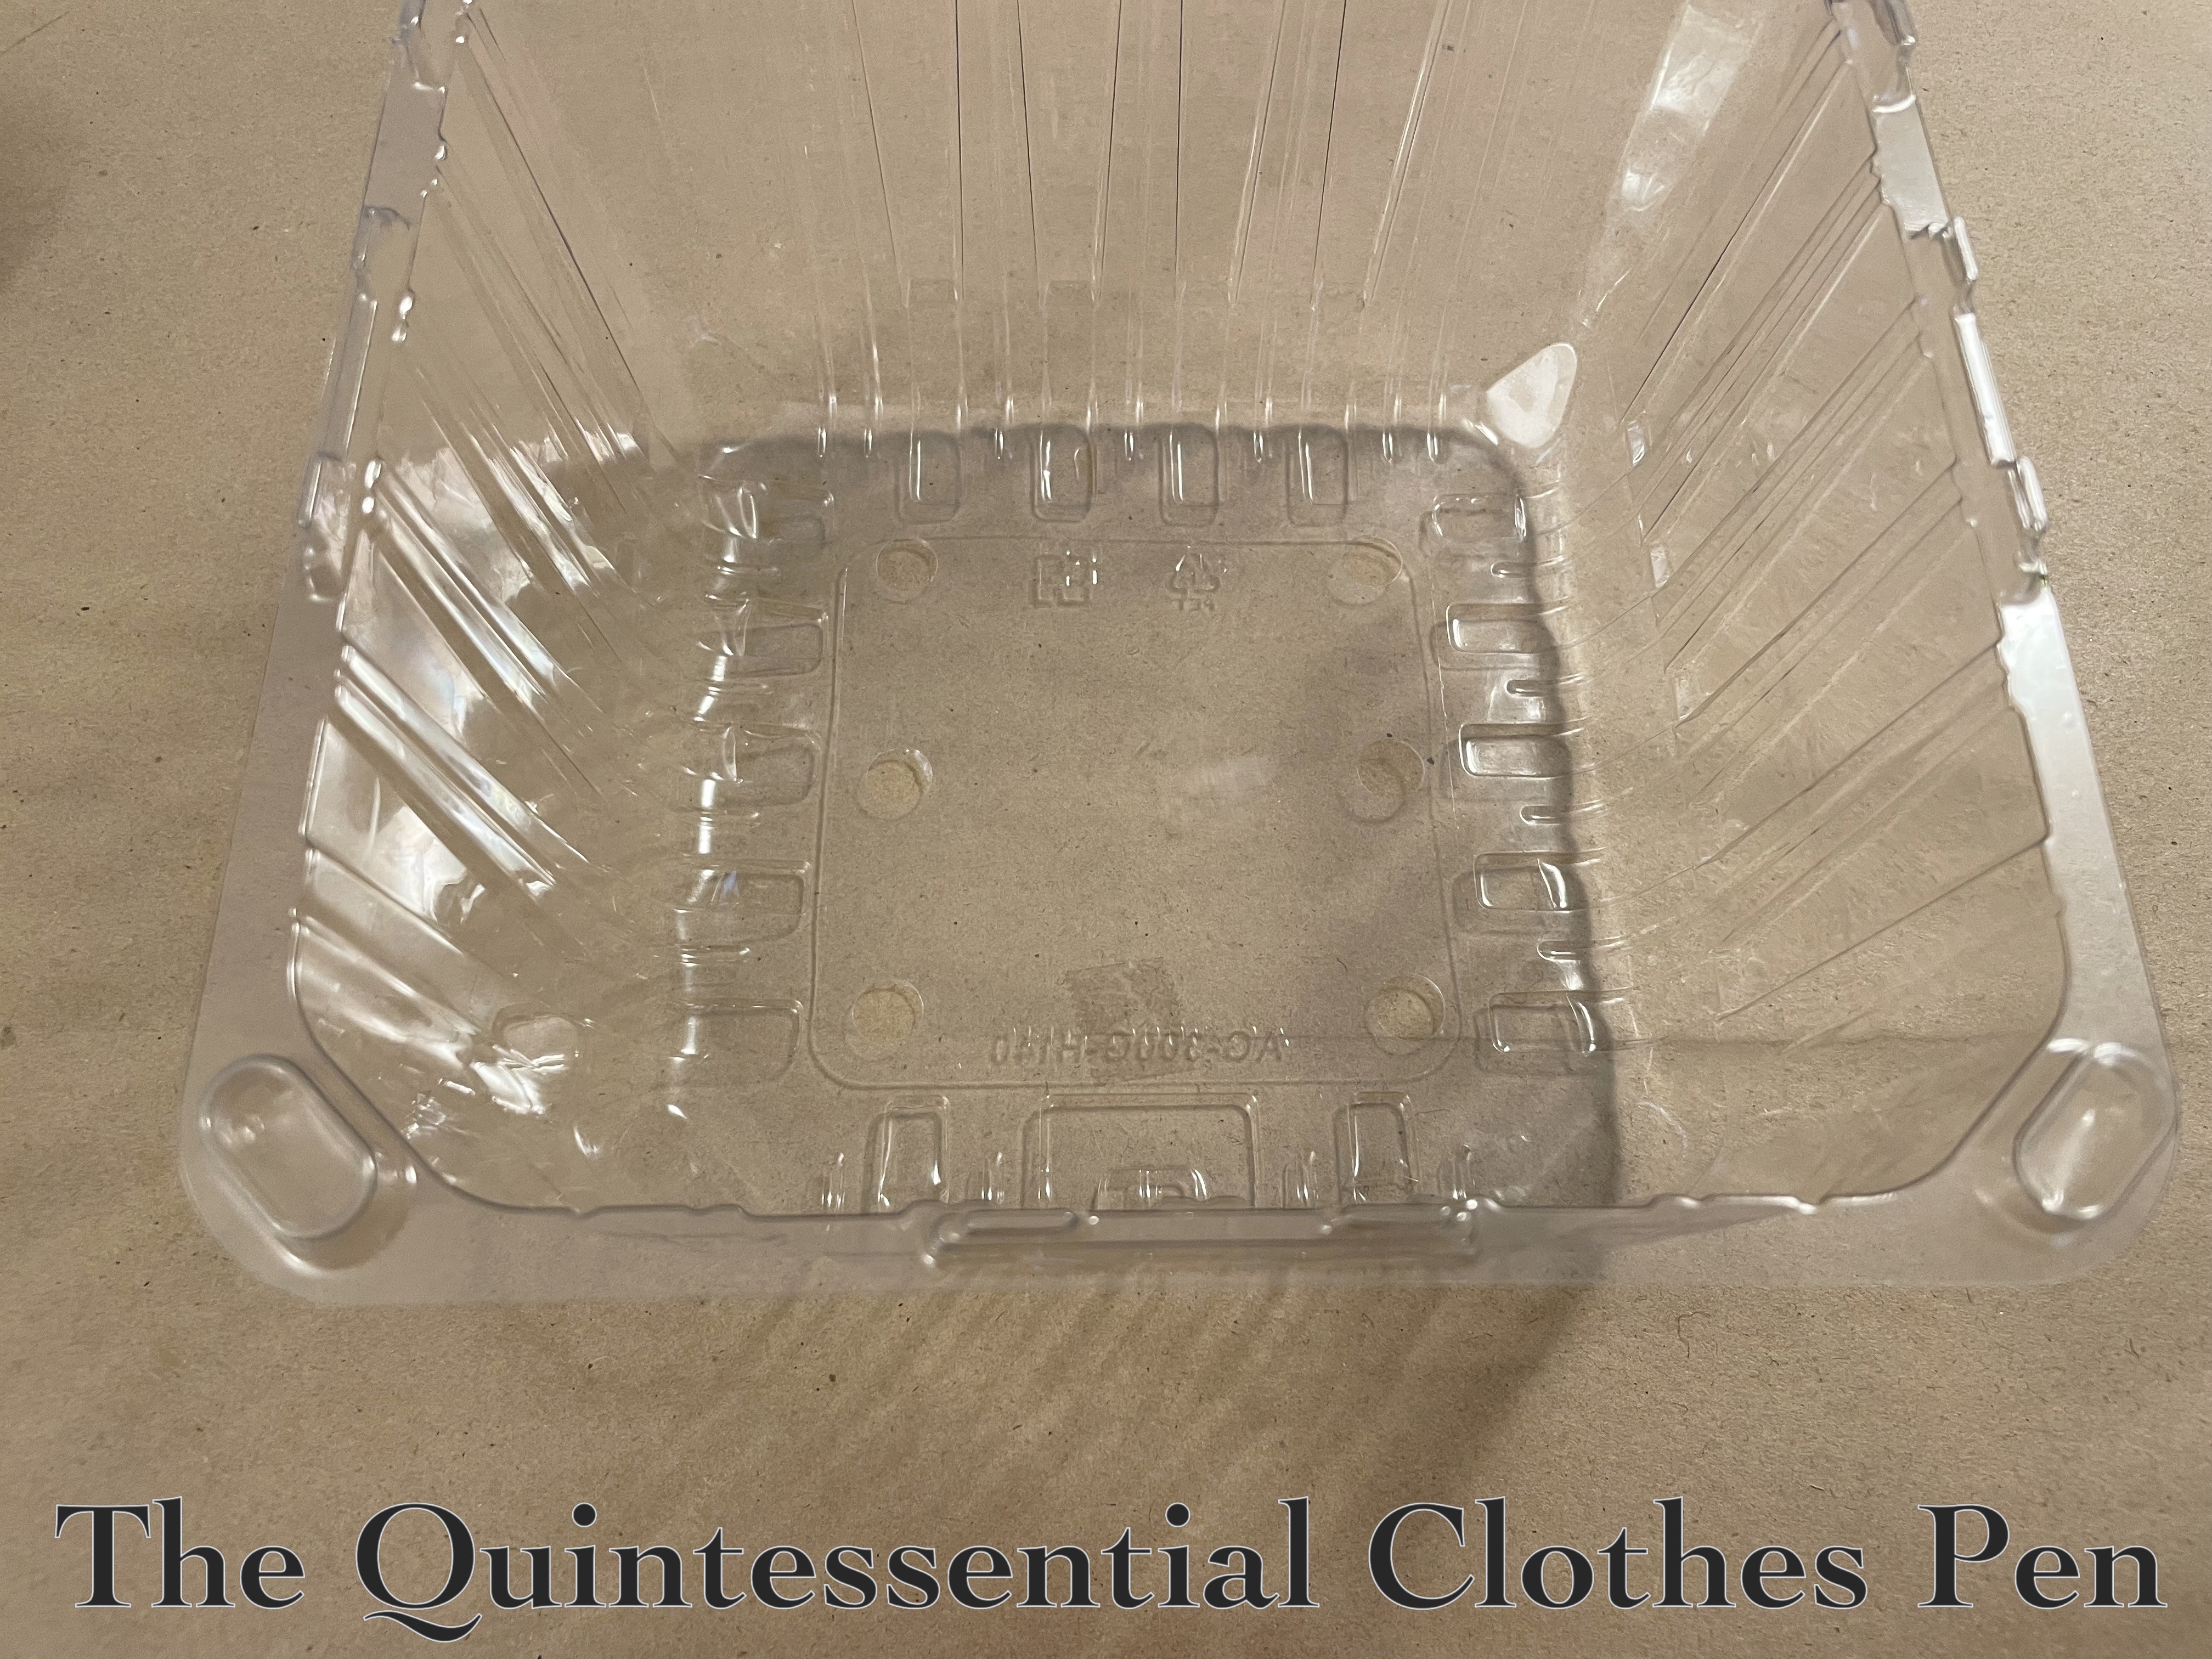
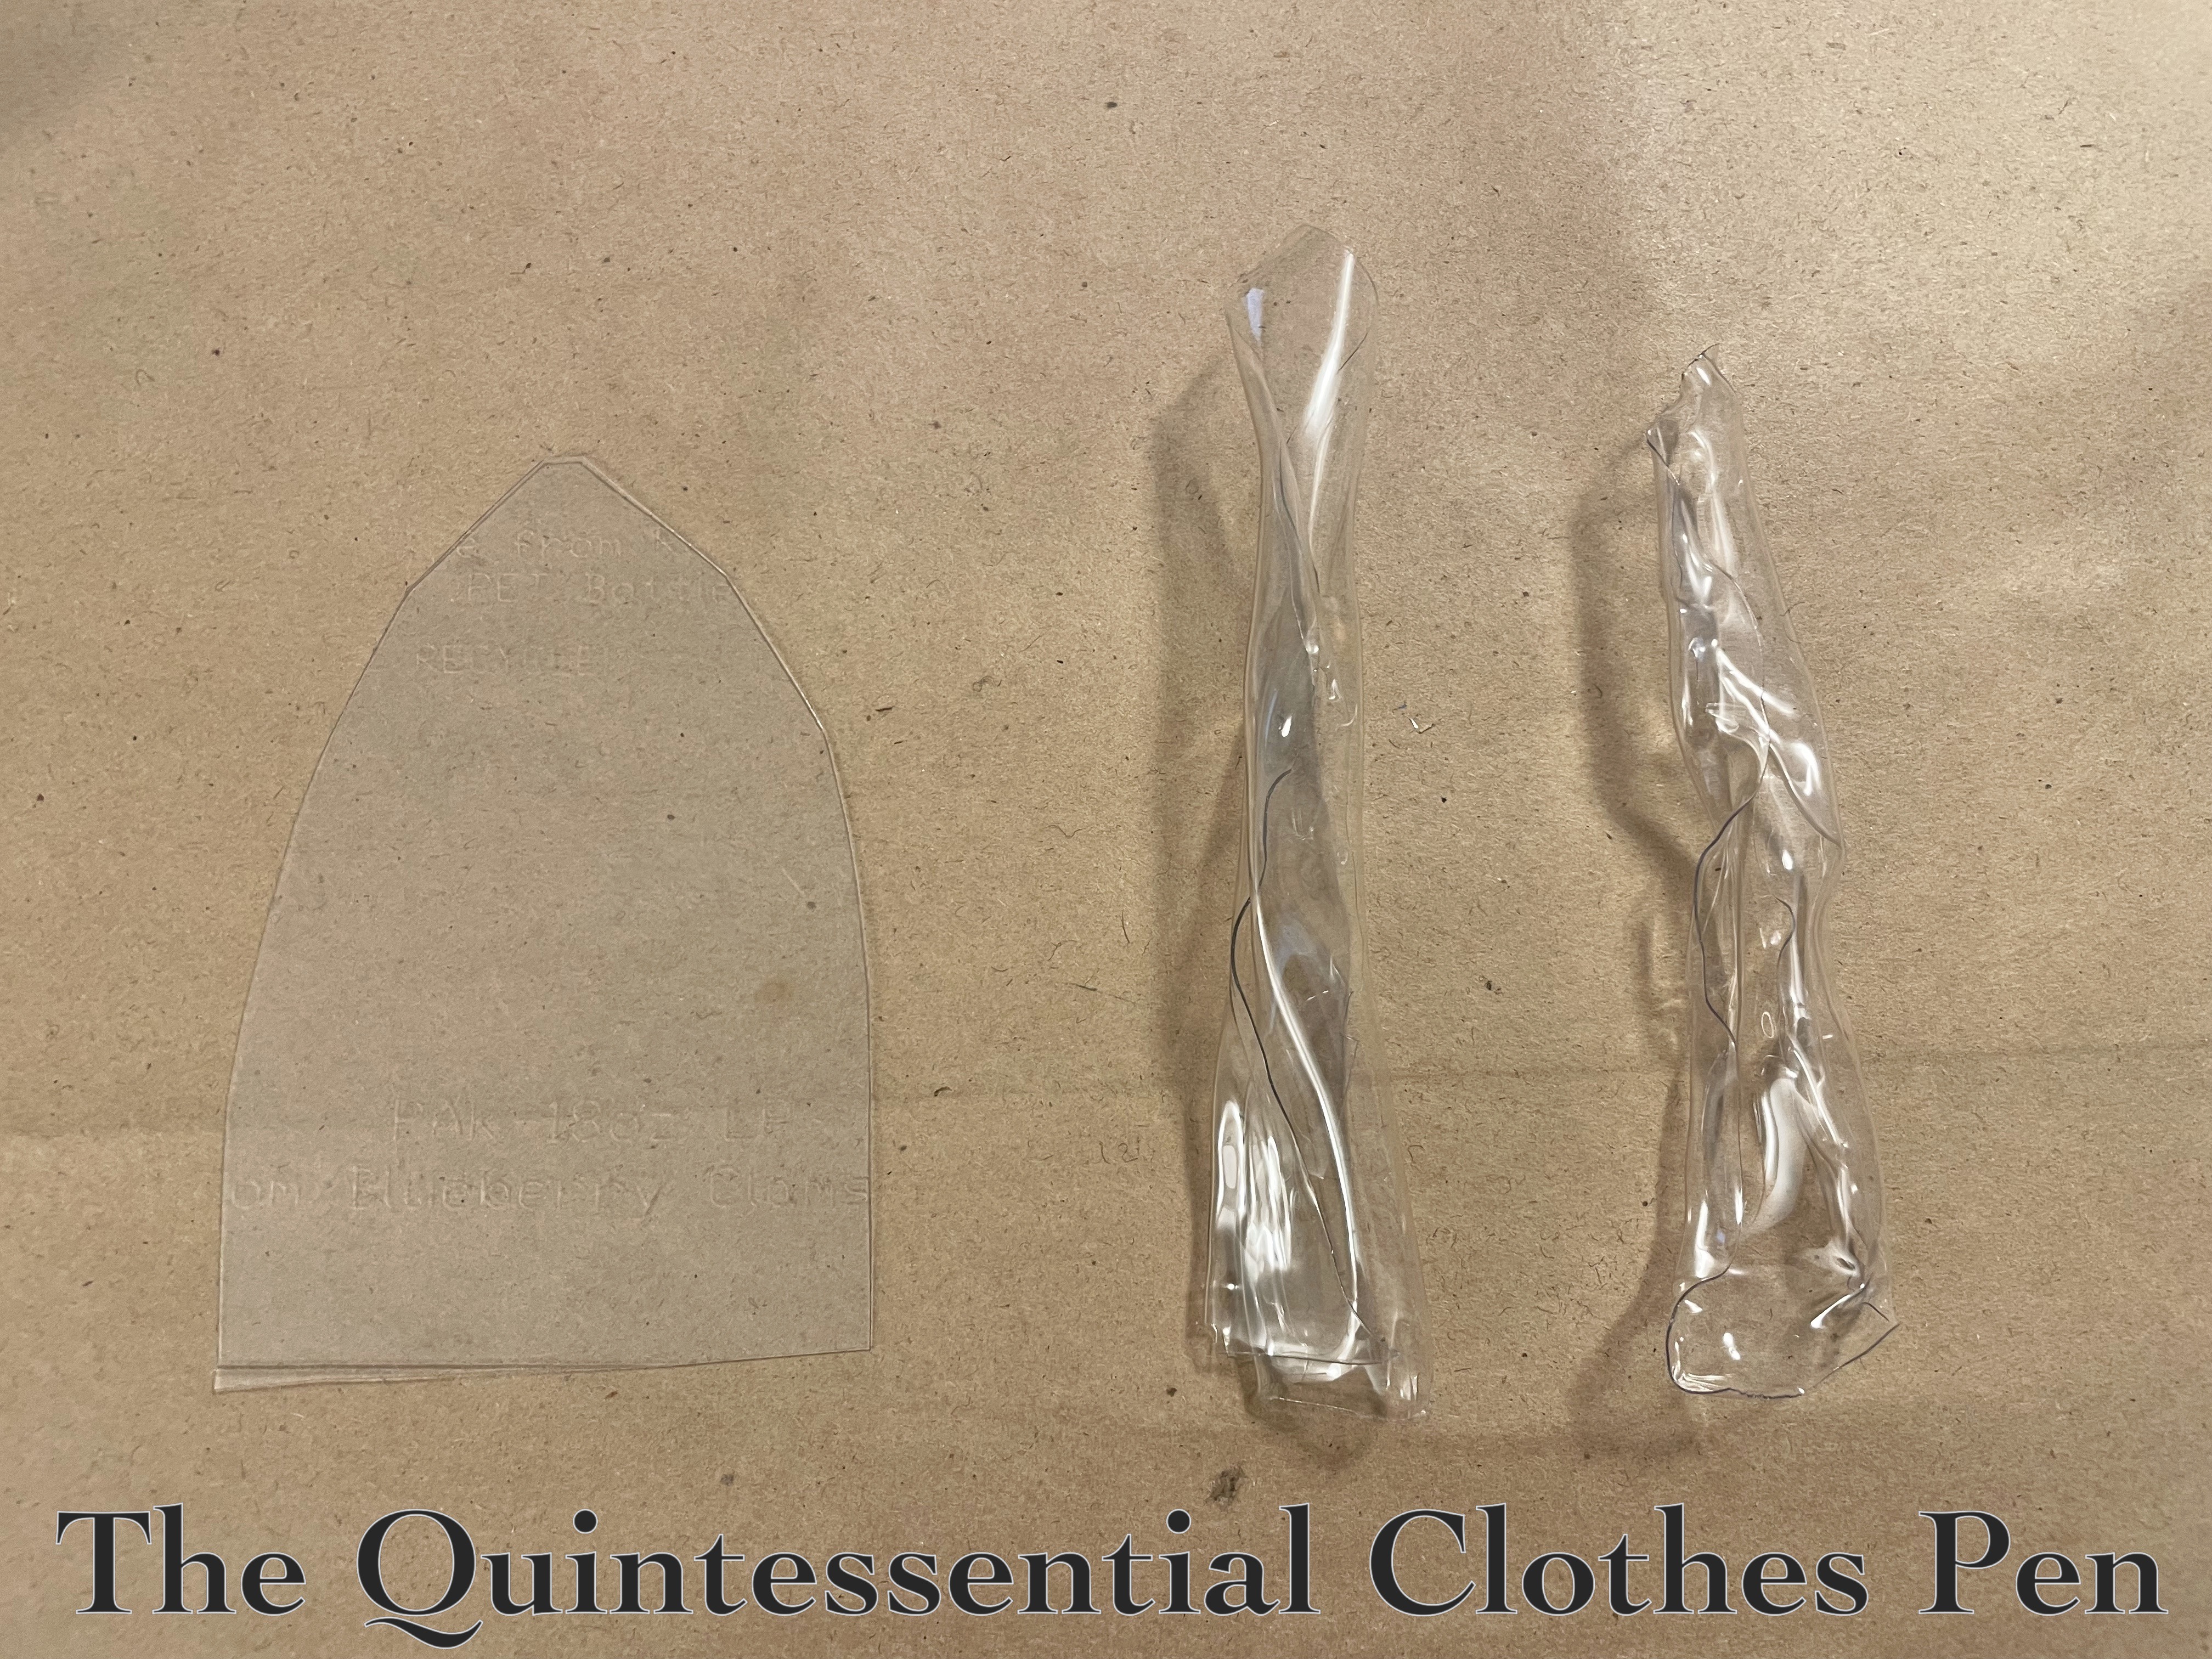
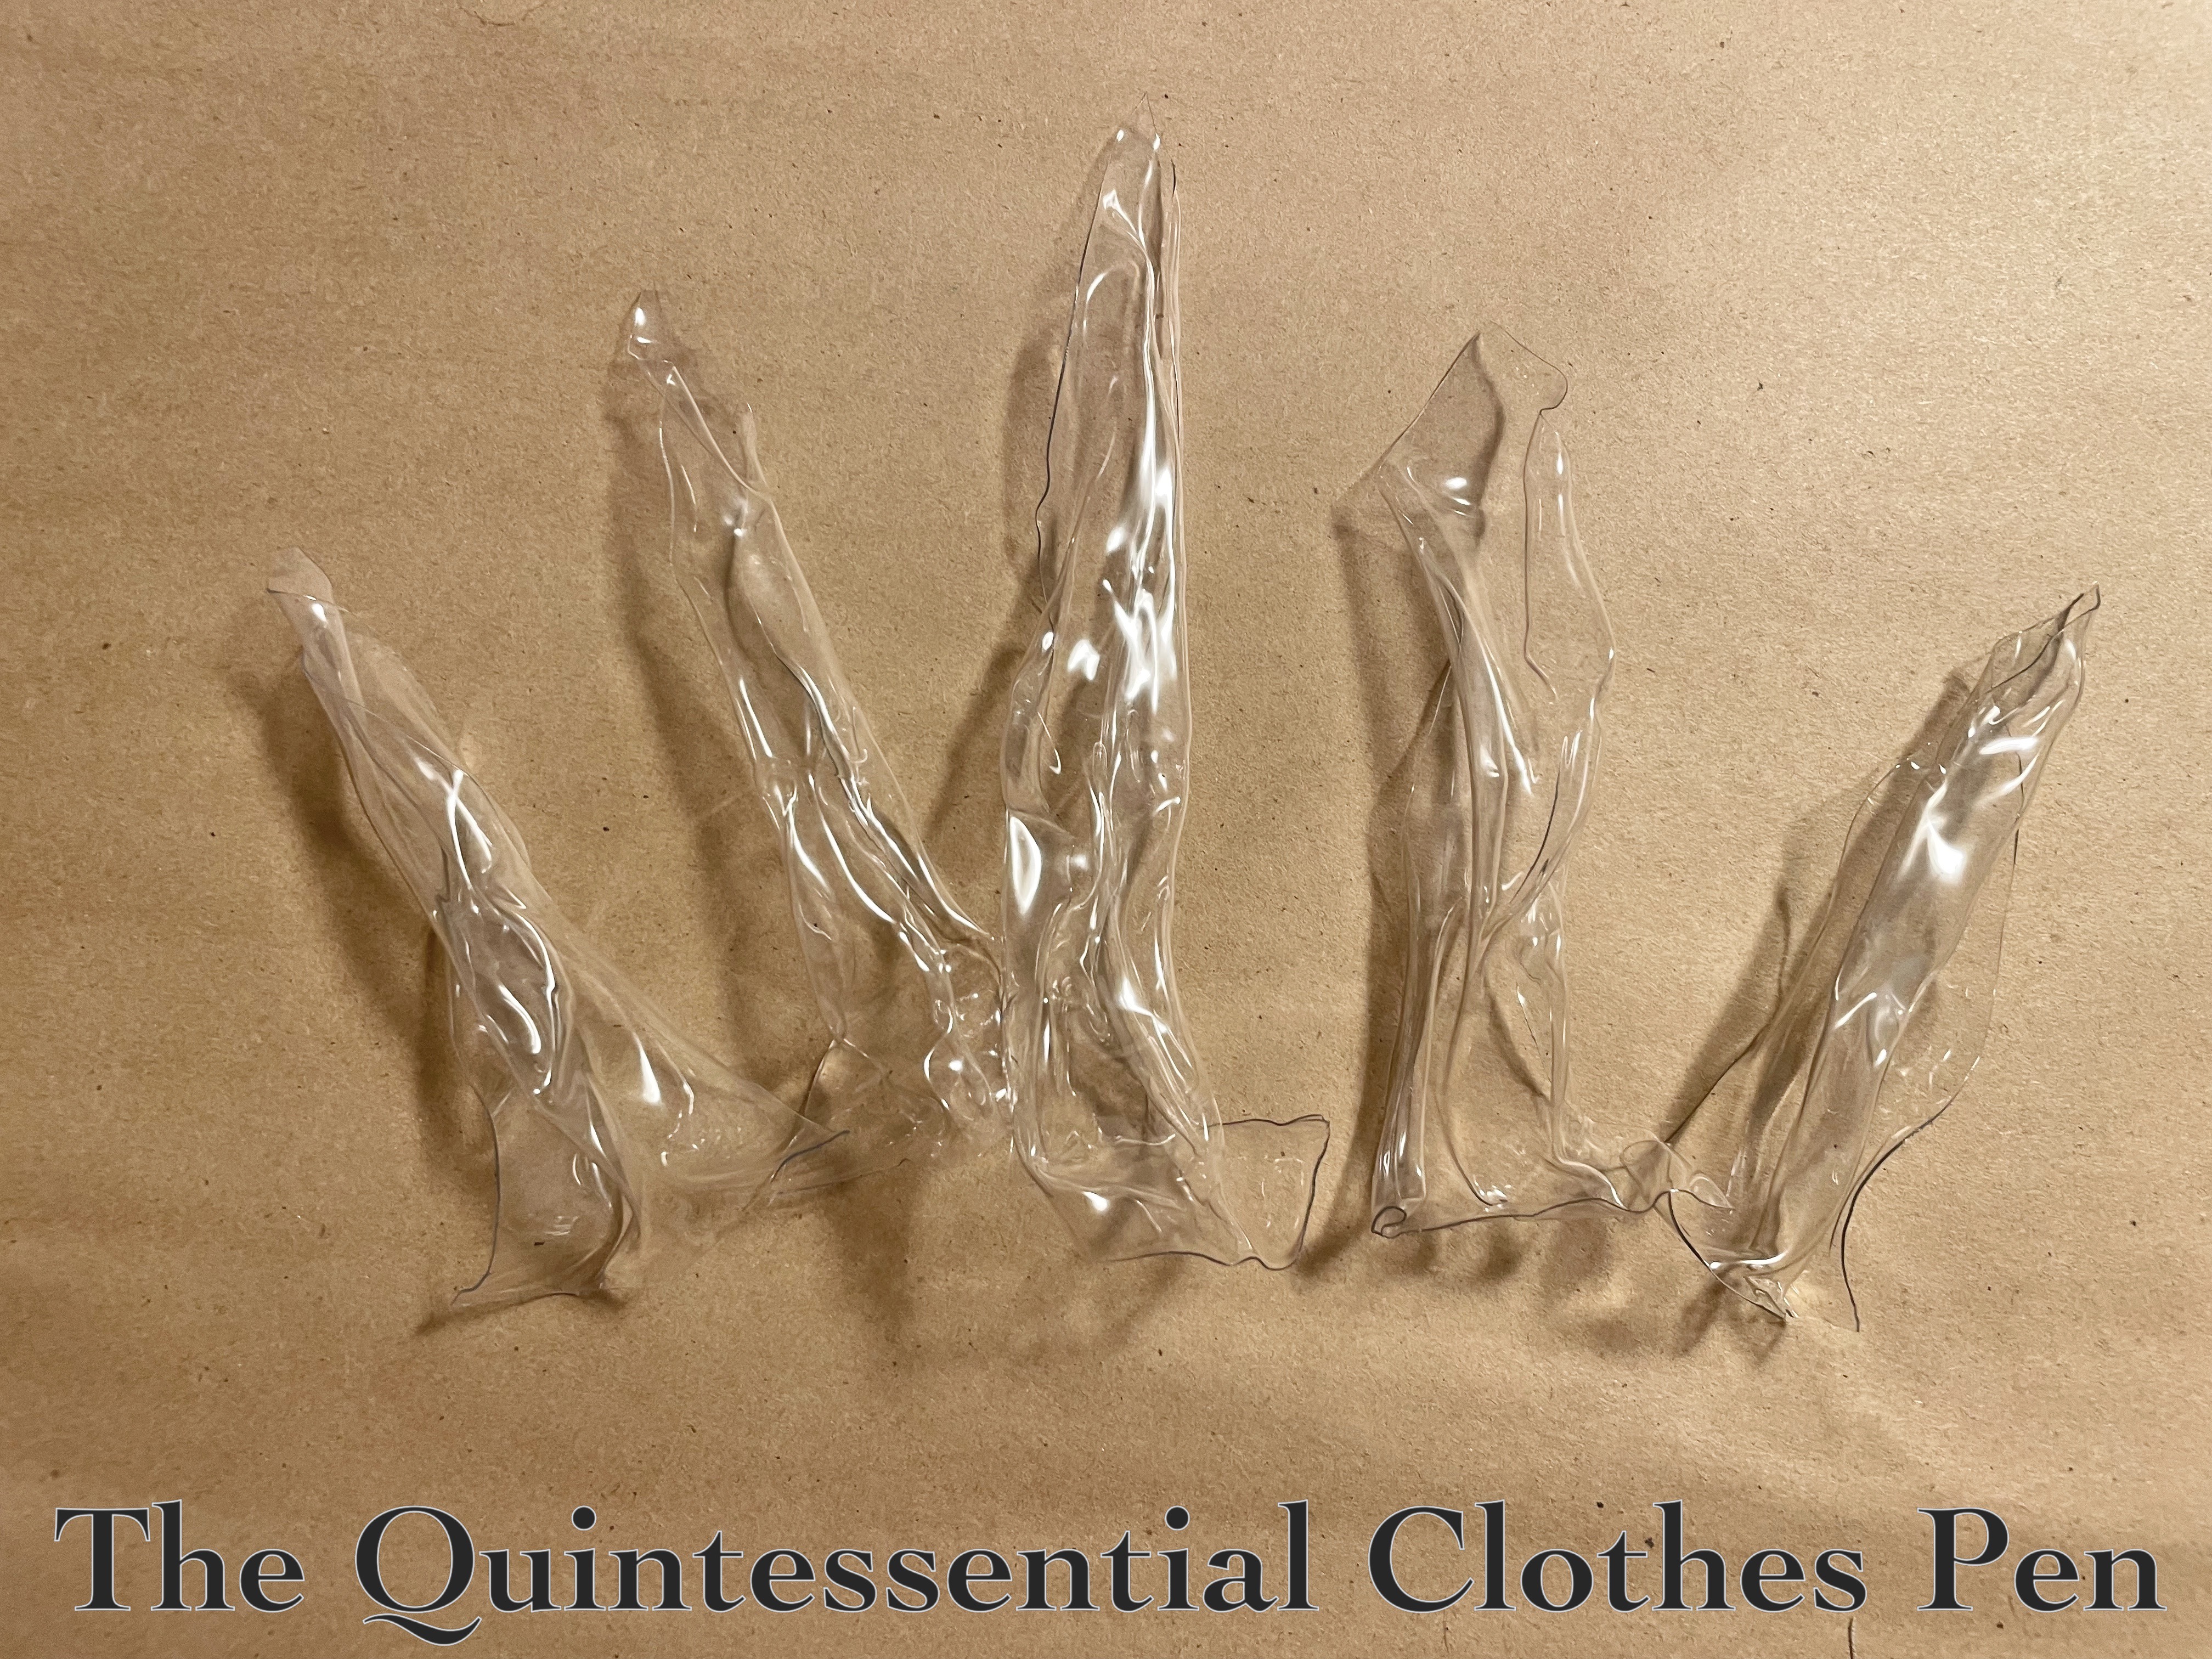
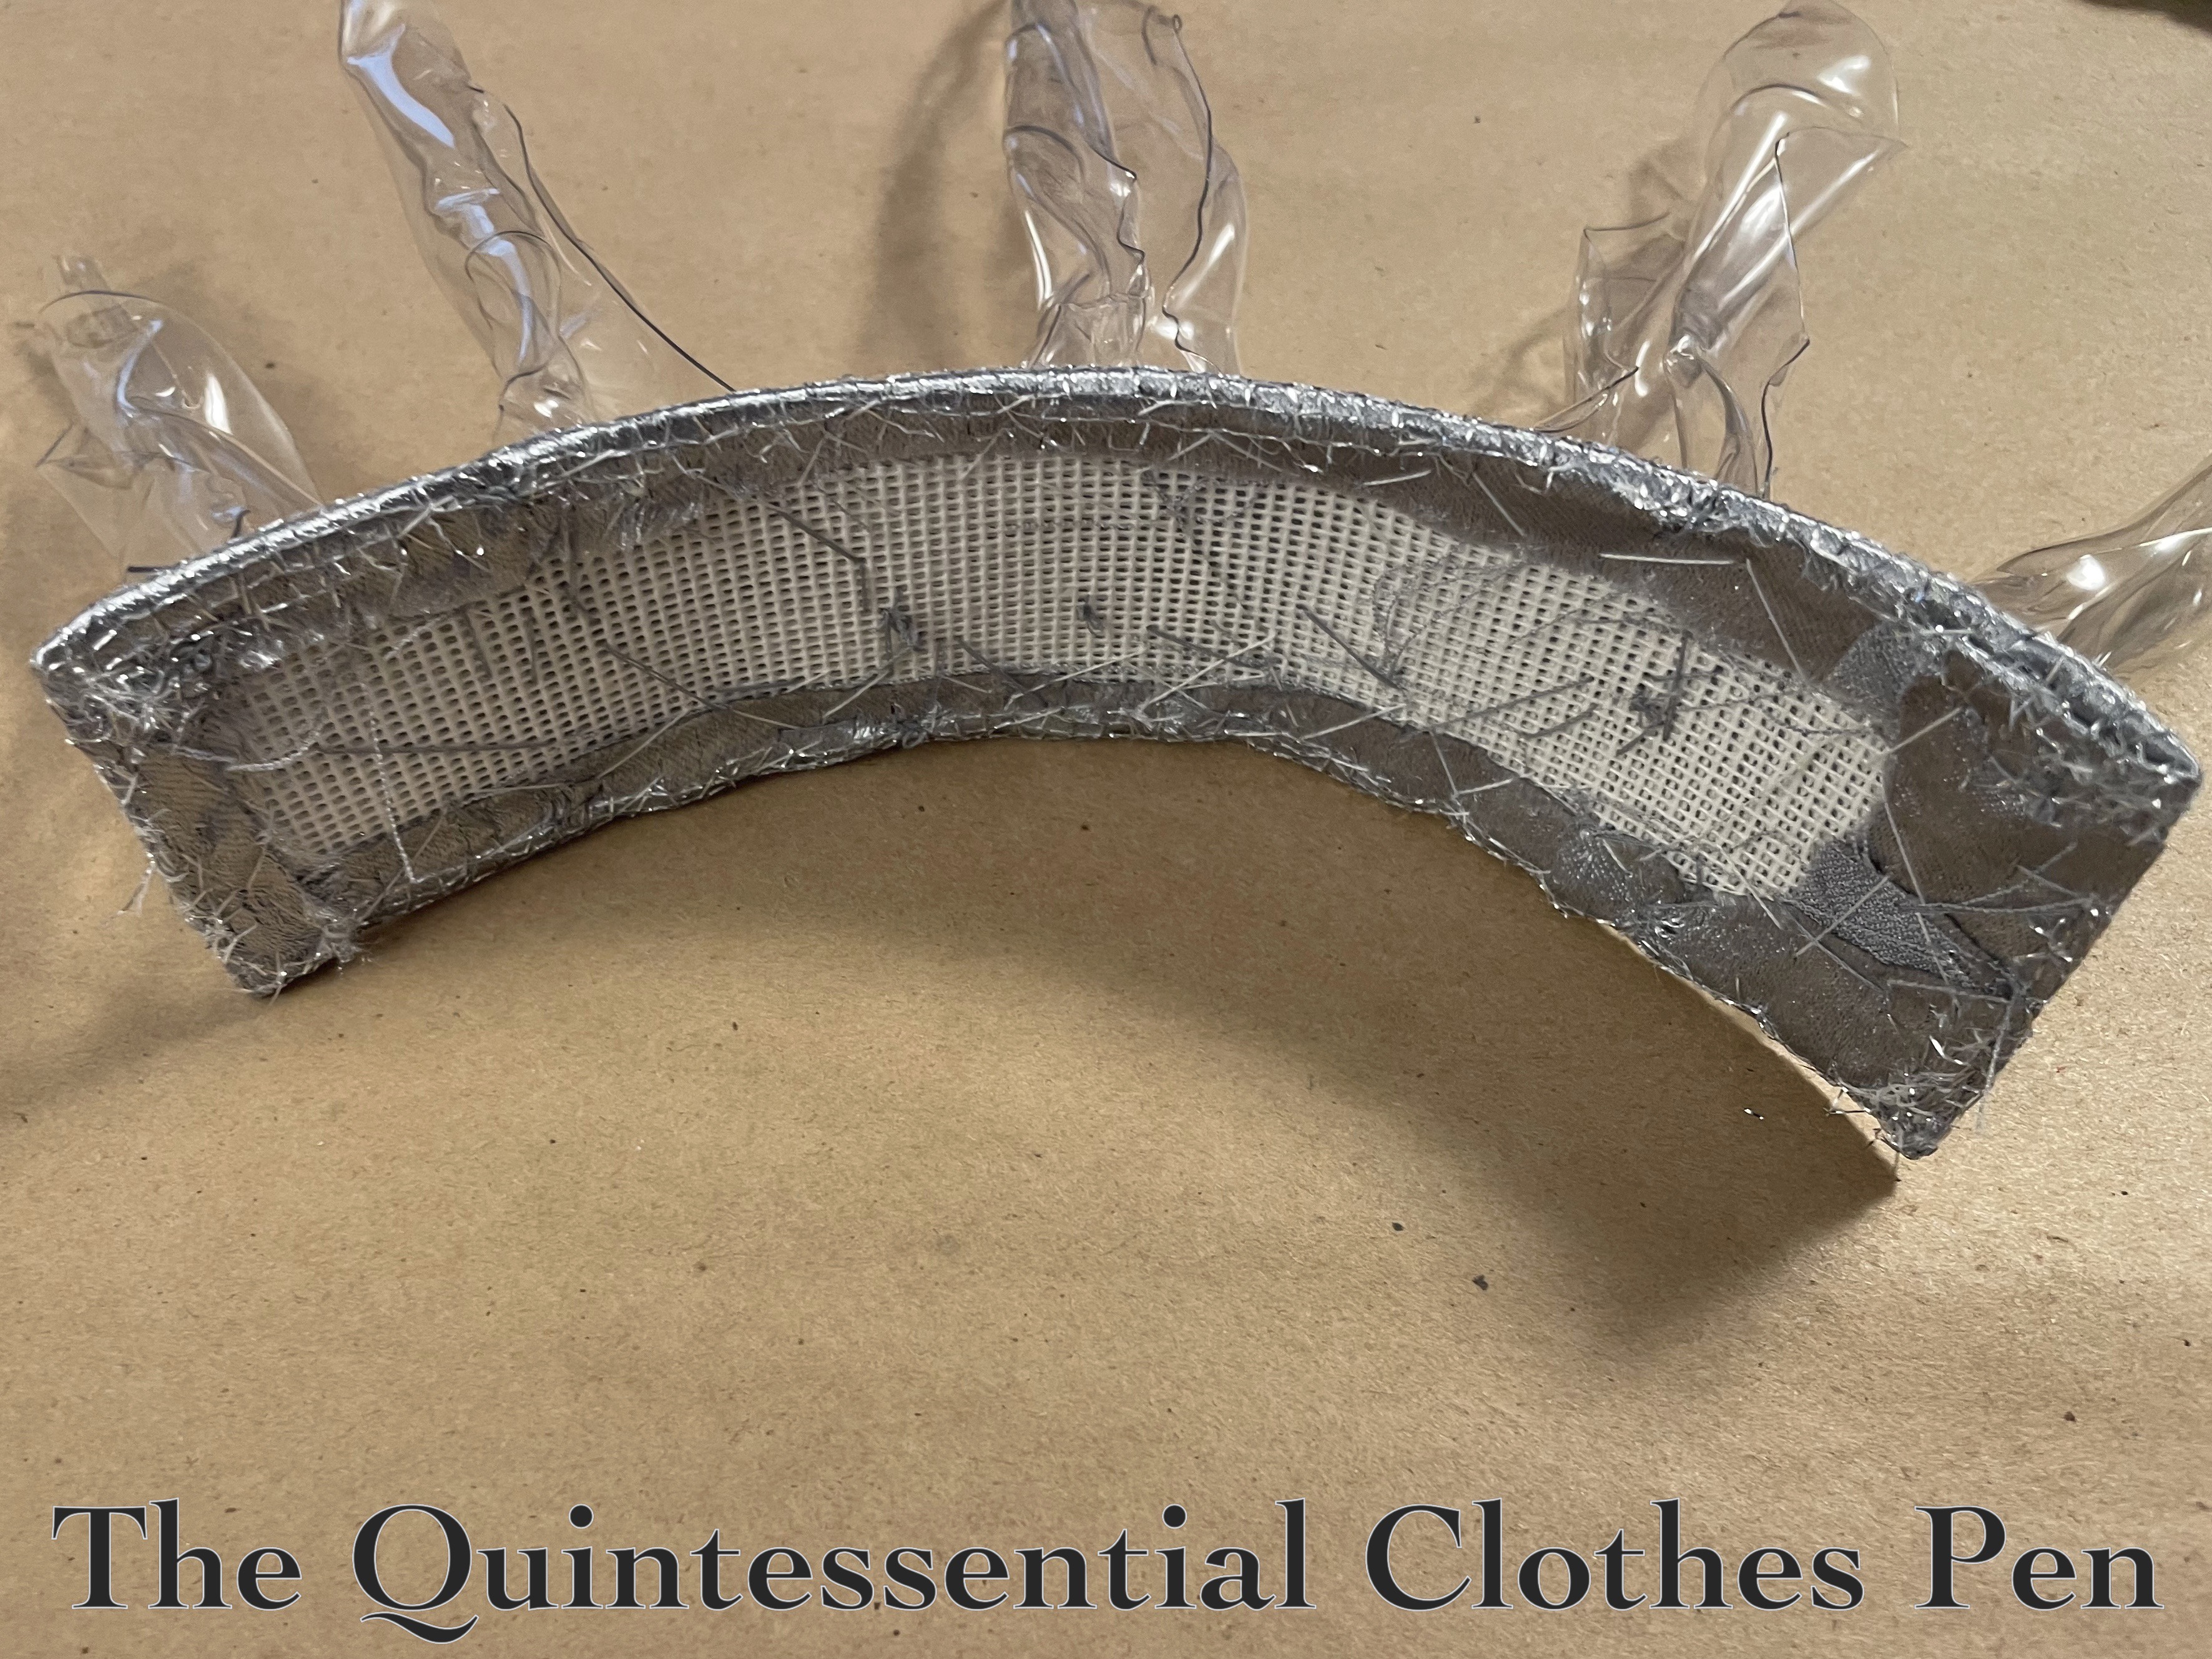
I only had a few days to make the dress and insignia happen and I didn’t want to spend any money, so I had to get creative. I was explaining my creative conundrum to Mr. Q and his response was: “if you can make a crown from produce clamshells then you can come up with a way” to make a Star Fleet insignia. I thought about it a bit… and came up with a plan!
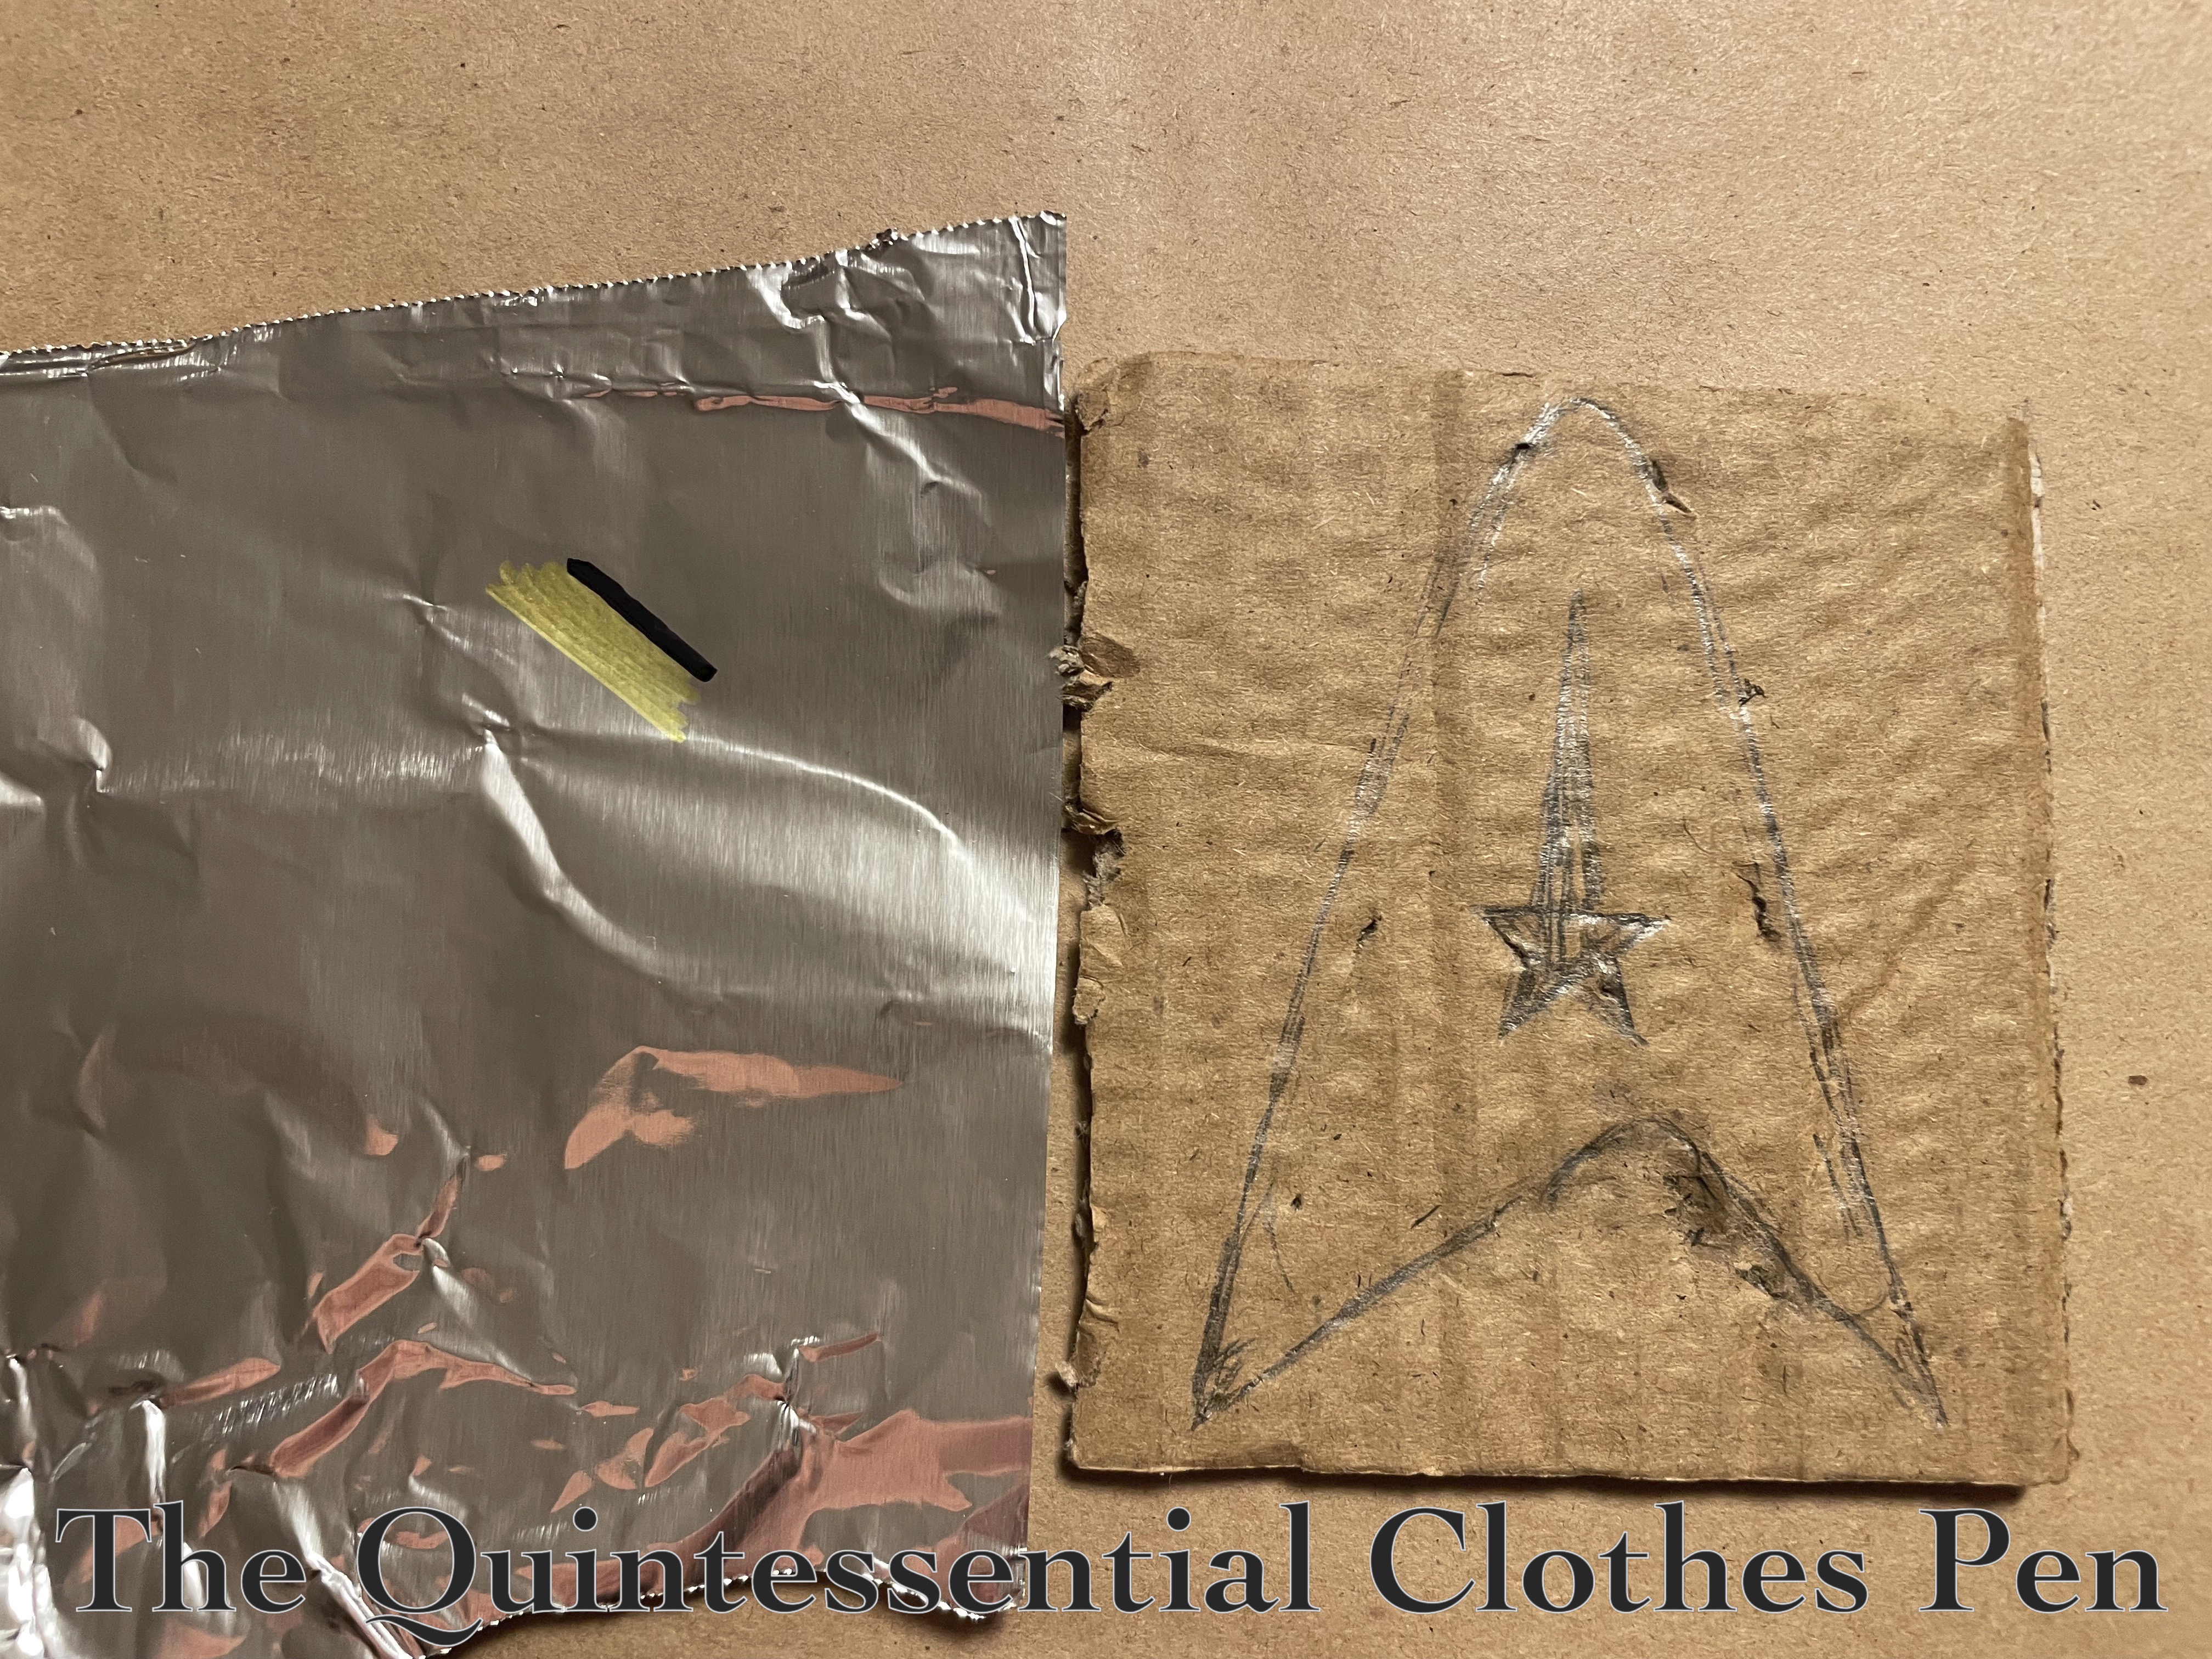
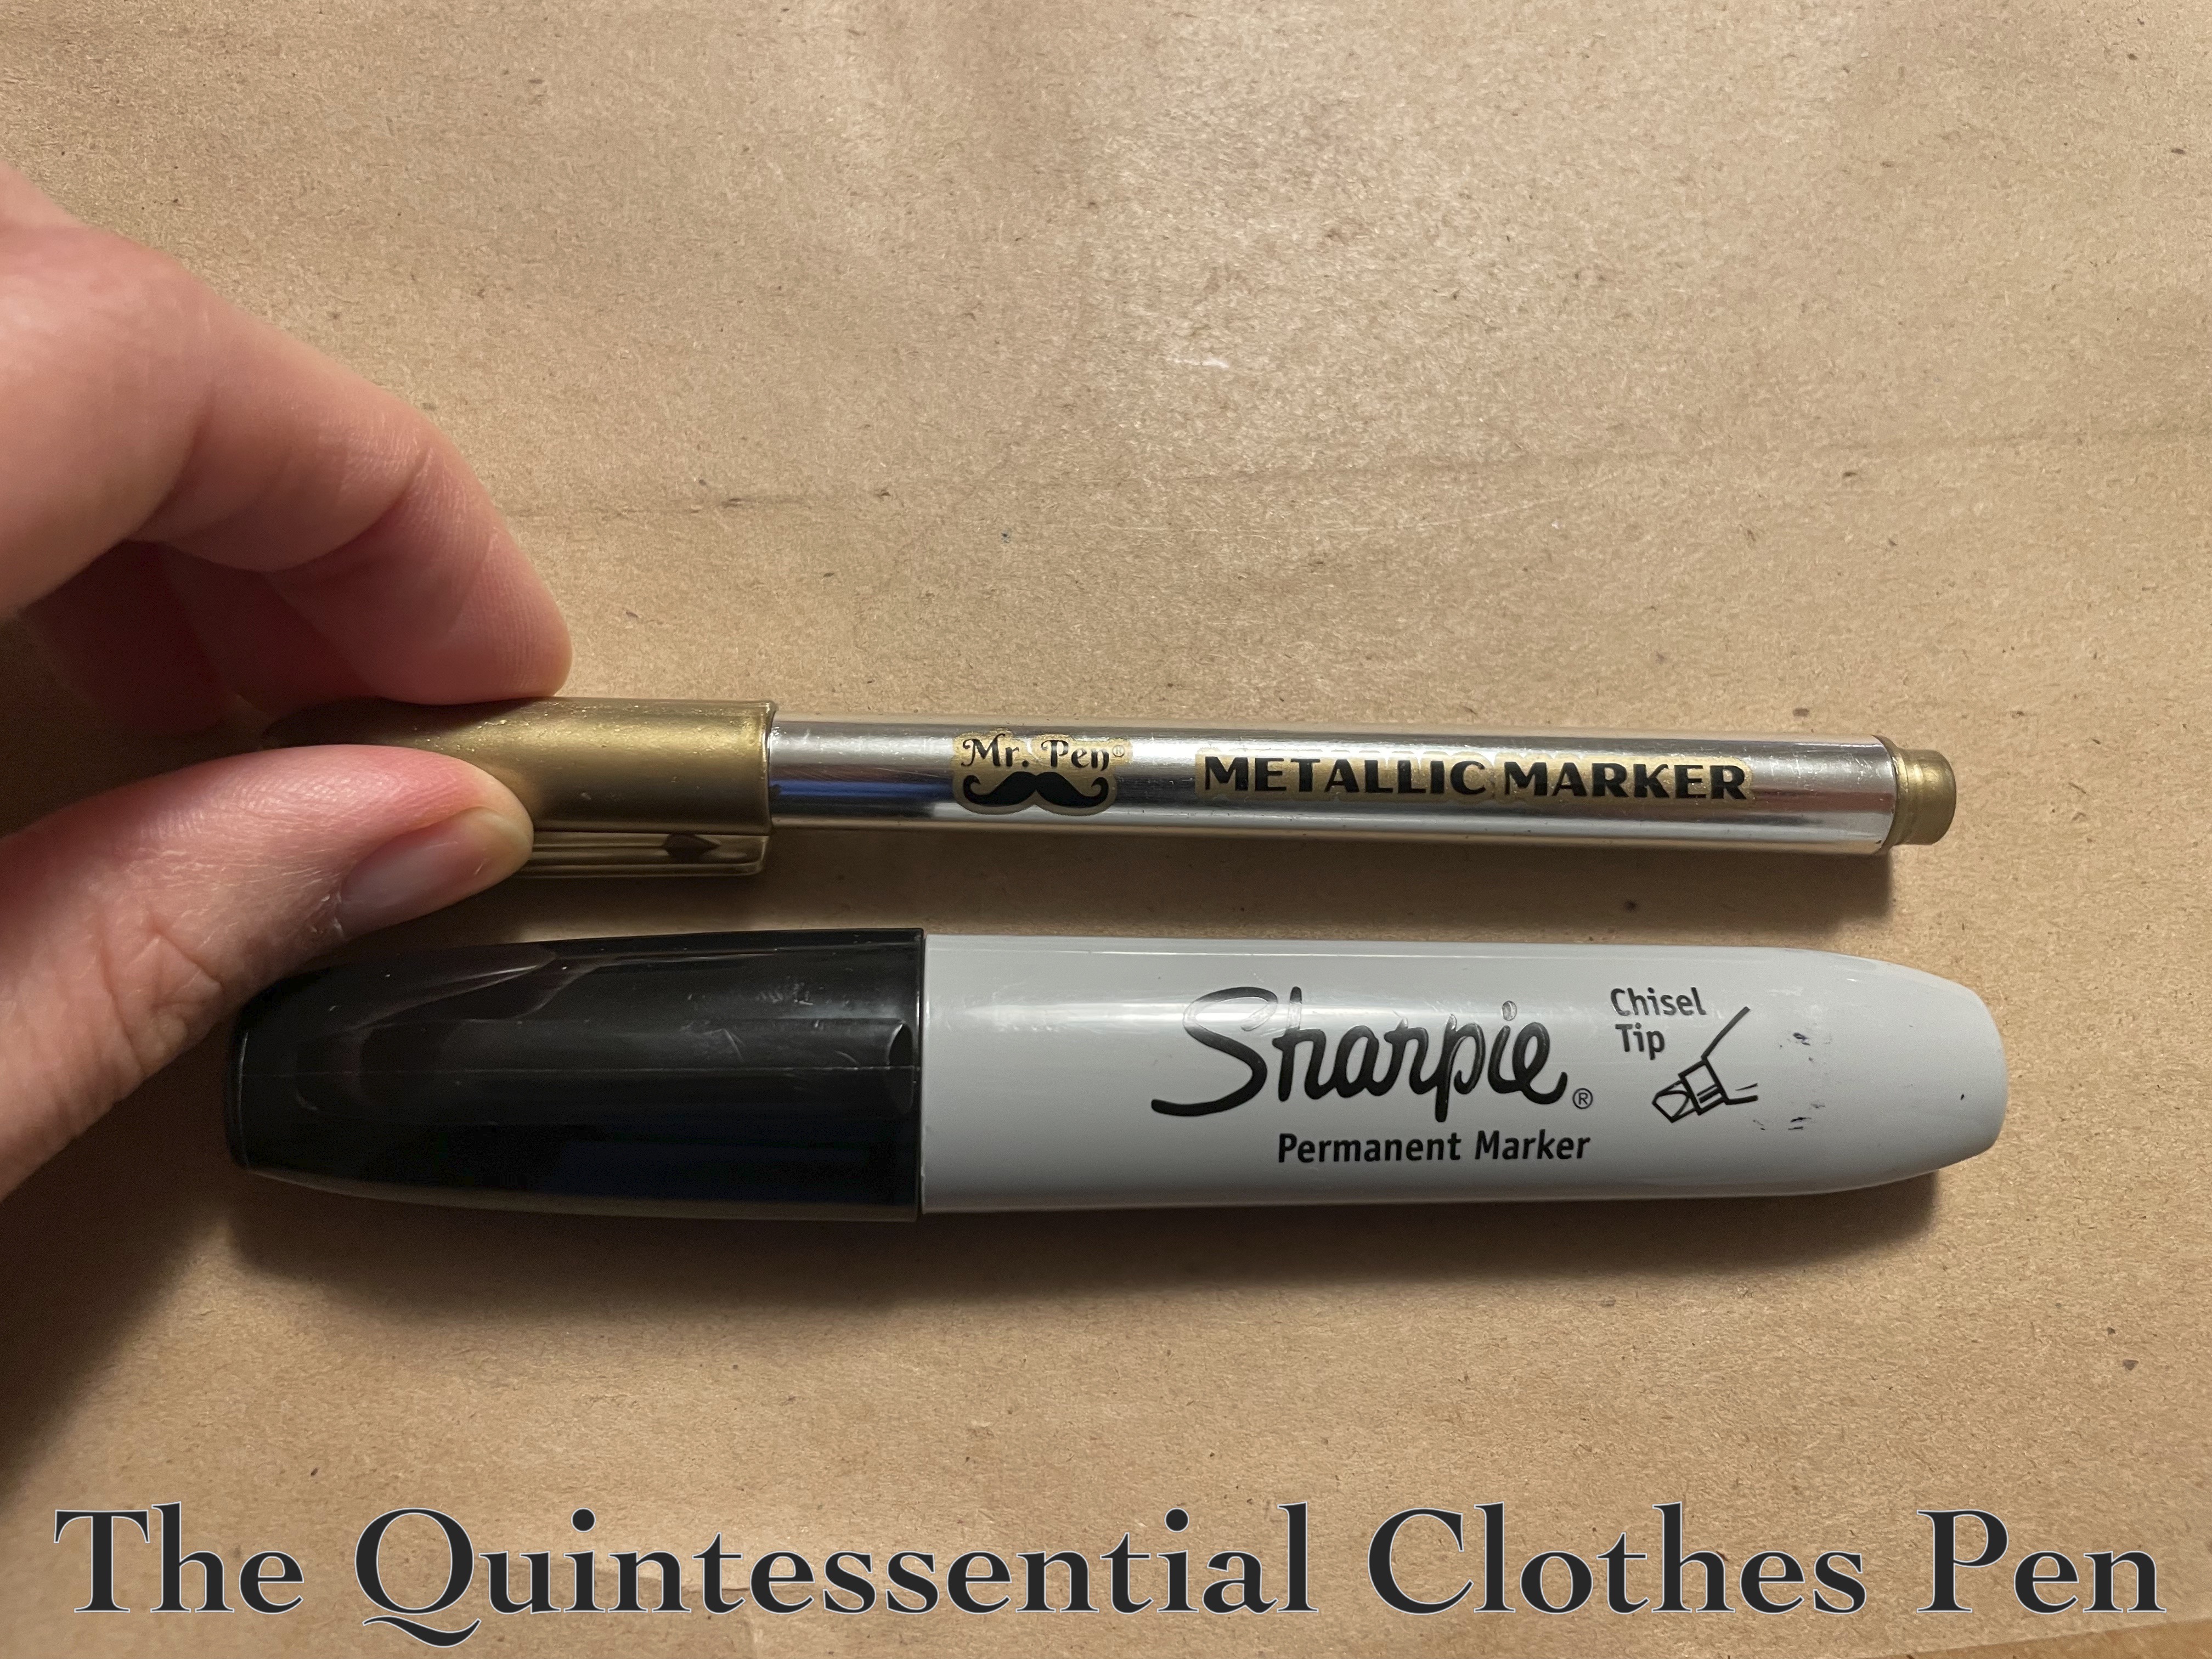
I started with tinfoil, a sharpie, and a metallic gold pen. Photos of my supplies and test foil (to see if the sharpie and metallic pen would work) are below. I also sketched out the shape of the insignia on a bit of cardboard to see if the scale, shape, etc. were correct for my propotions while wearing the dress.
Once I liked the shape and size, I drew the design on the tinfoil in sharpie. Then I roughed in in the gold outline and guessed at where I would cut the foil into shape.
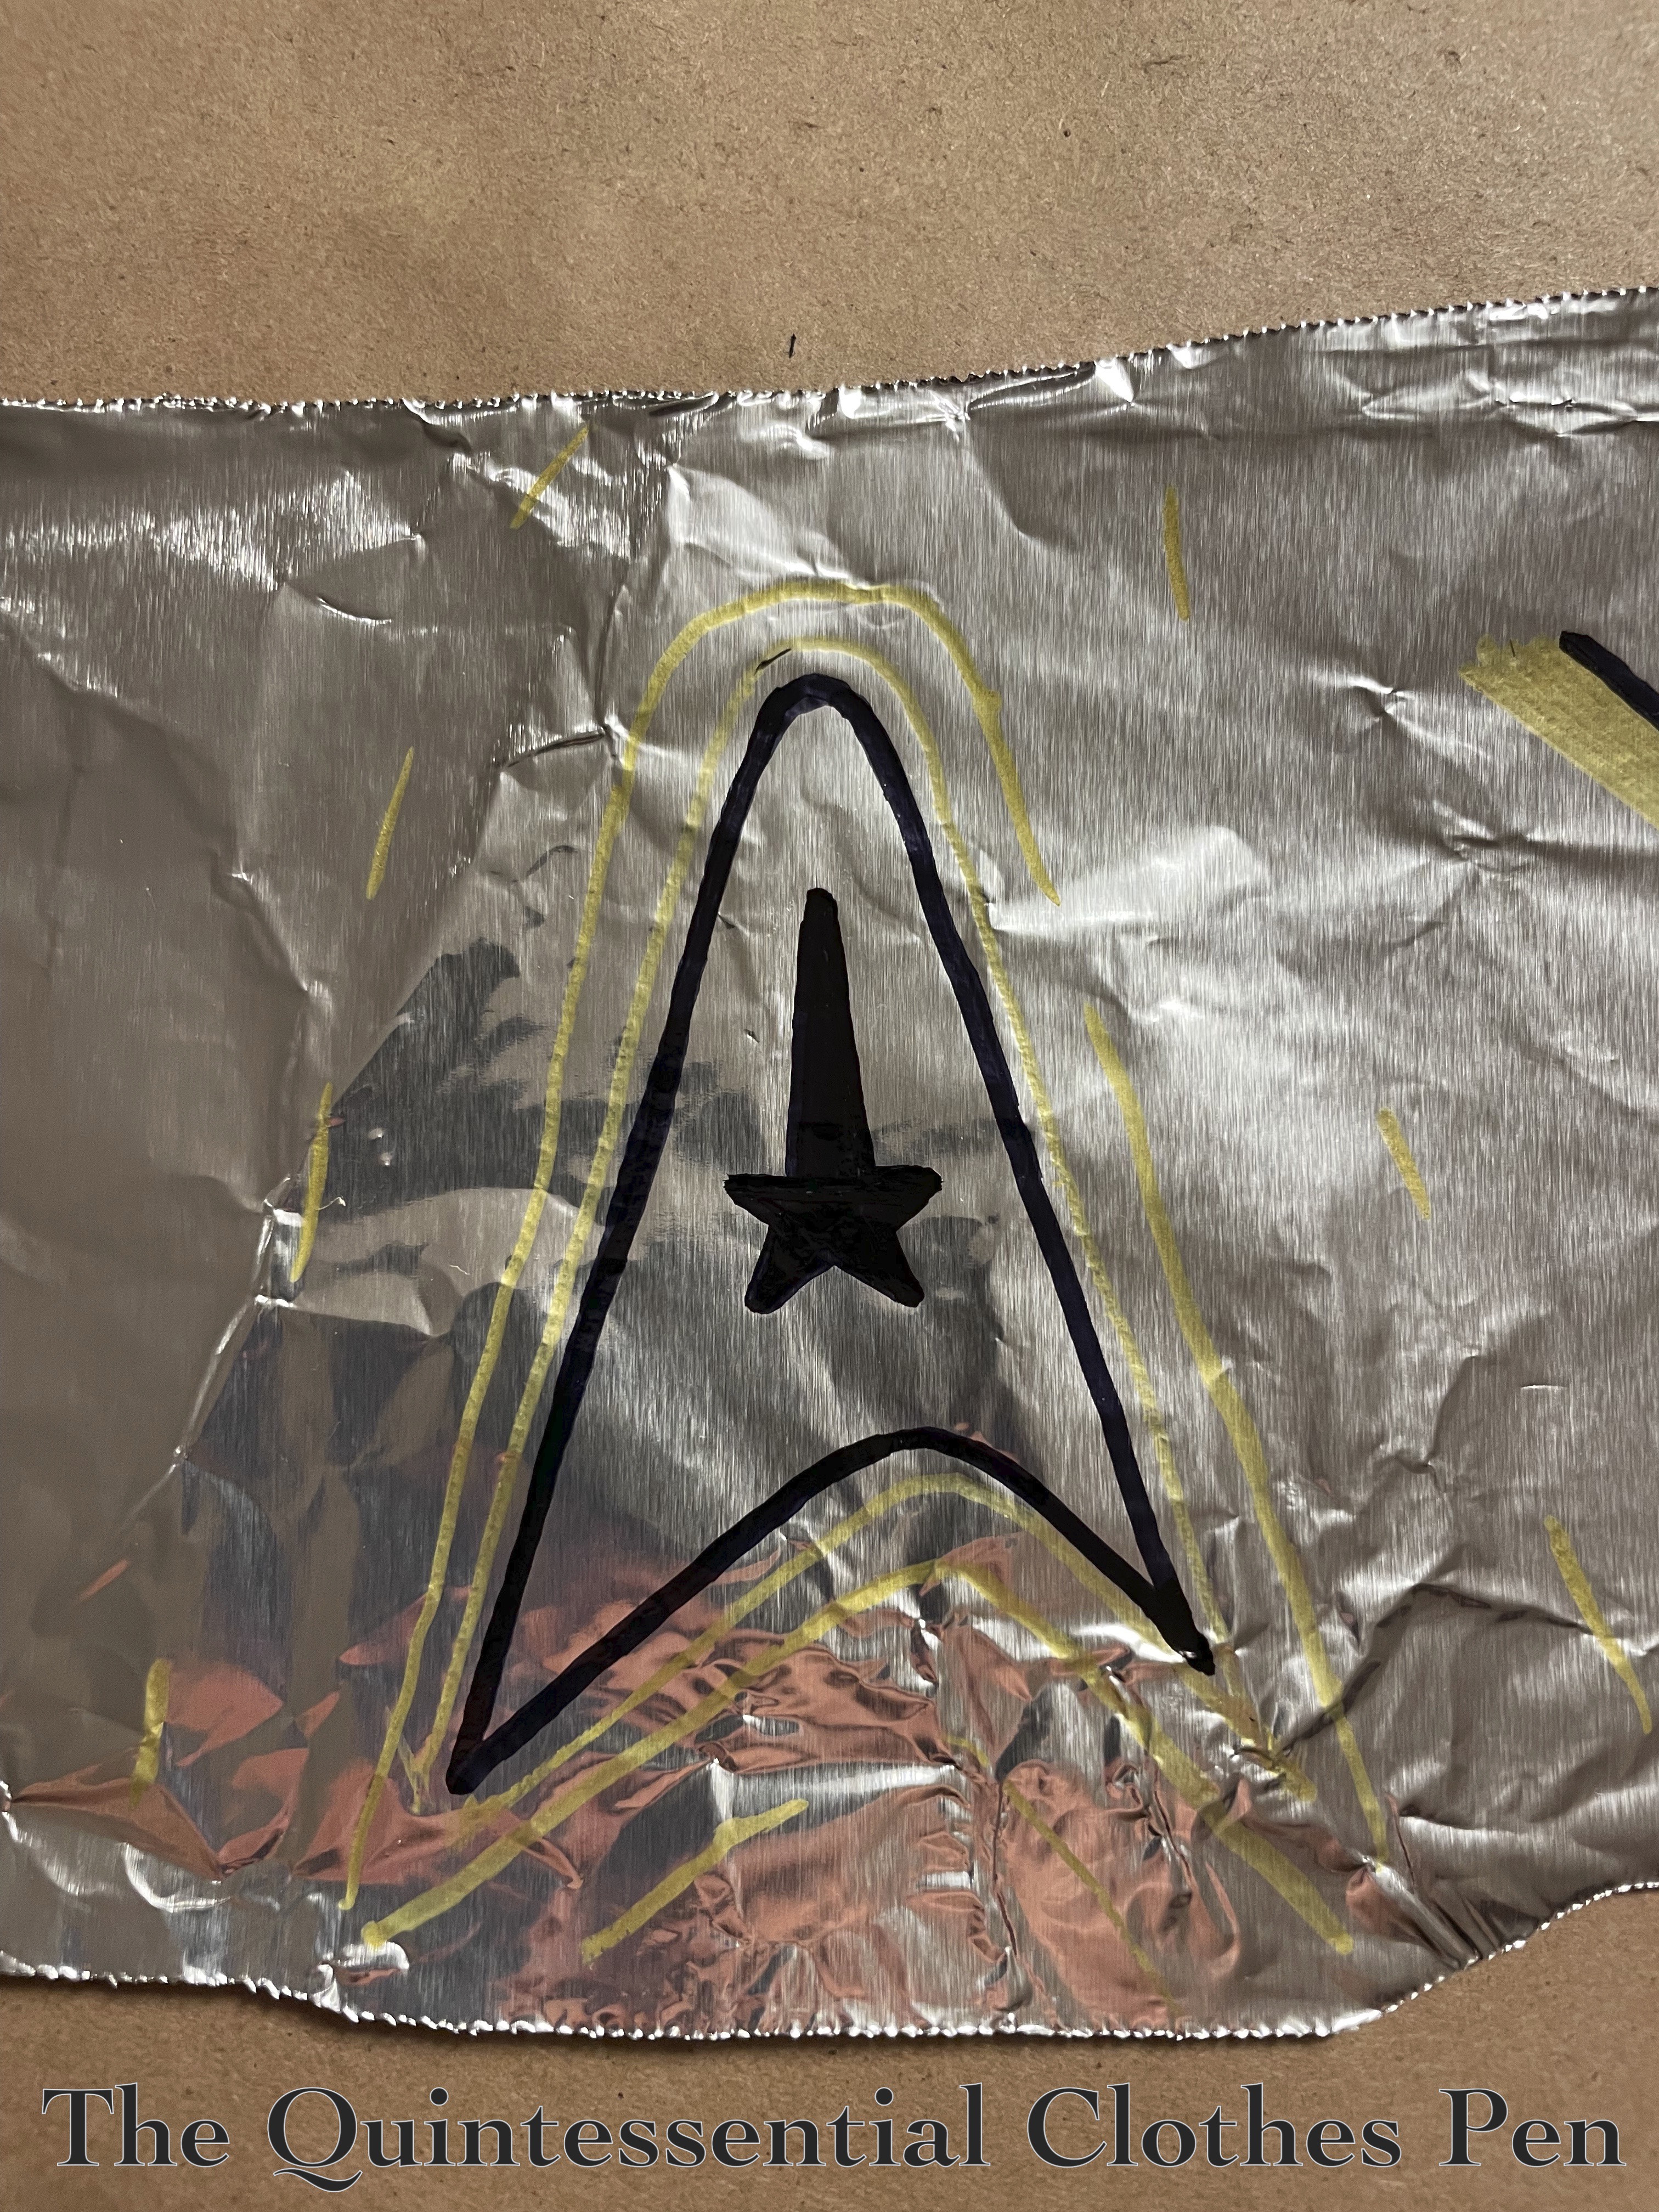
After that, some careful filling in of my shapes with the metallic pen. The areas that I expected not be seen I left silver.

This looked pretty good, but I thought there was a chance the sharpie might smear (given that it was on slippery tin foil), so I brainstormed ways to seal it. Spray sealer was a no brainer, but I didn’t have any laying around… So instead, I sealed it with super old Elmer’s glue mixed with a bit of water to thin it. I really am amused at how old my Elmer’s was… But it worked wonderfully!
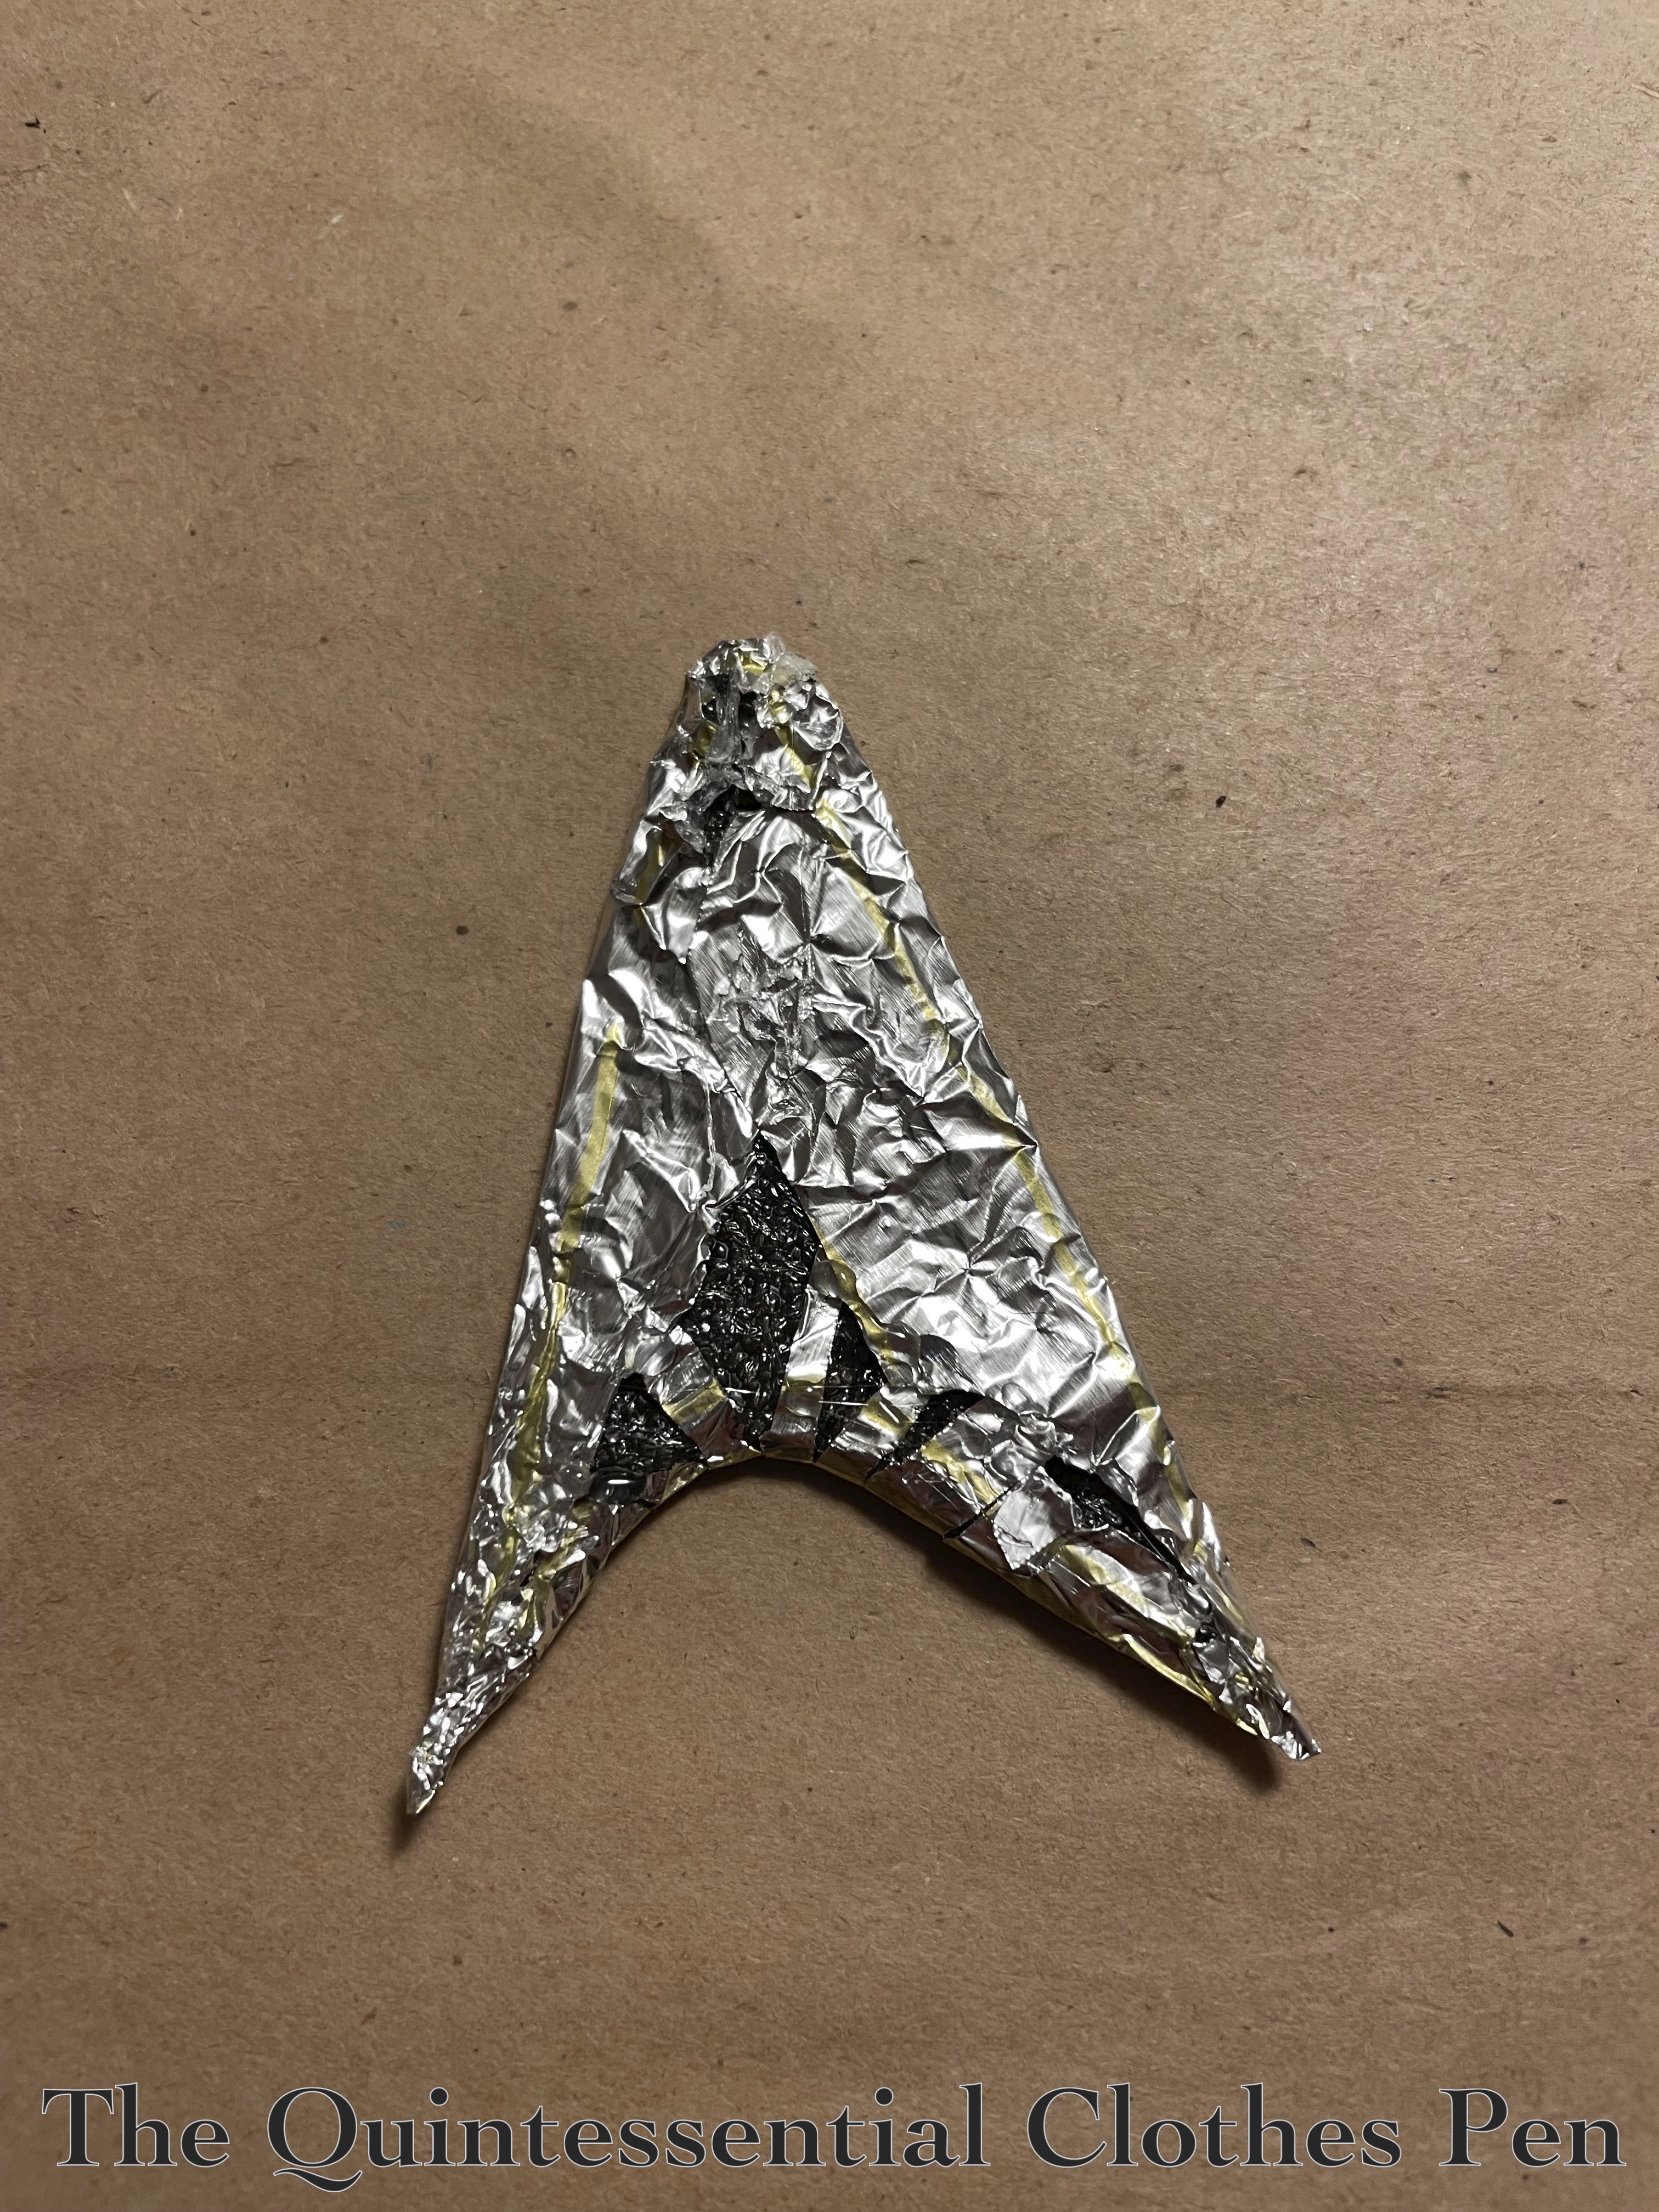
Then I cut out my shape, with seam allowance (as it were, since this is foil, not fabric!). I also cut out the shape (with no seam allowance) in a thin piece of foam, to give the insignia some body. I clipped into the curves of the foil, just as one would do with fabric, and folded the foil around the back of the foam. This was a bit tricky on the top point, bottom curve, and corners, but with some patience it was successful.
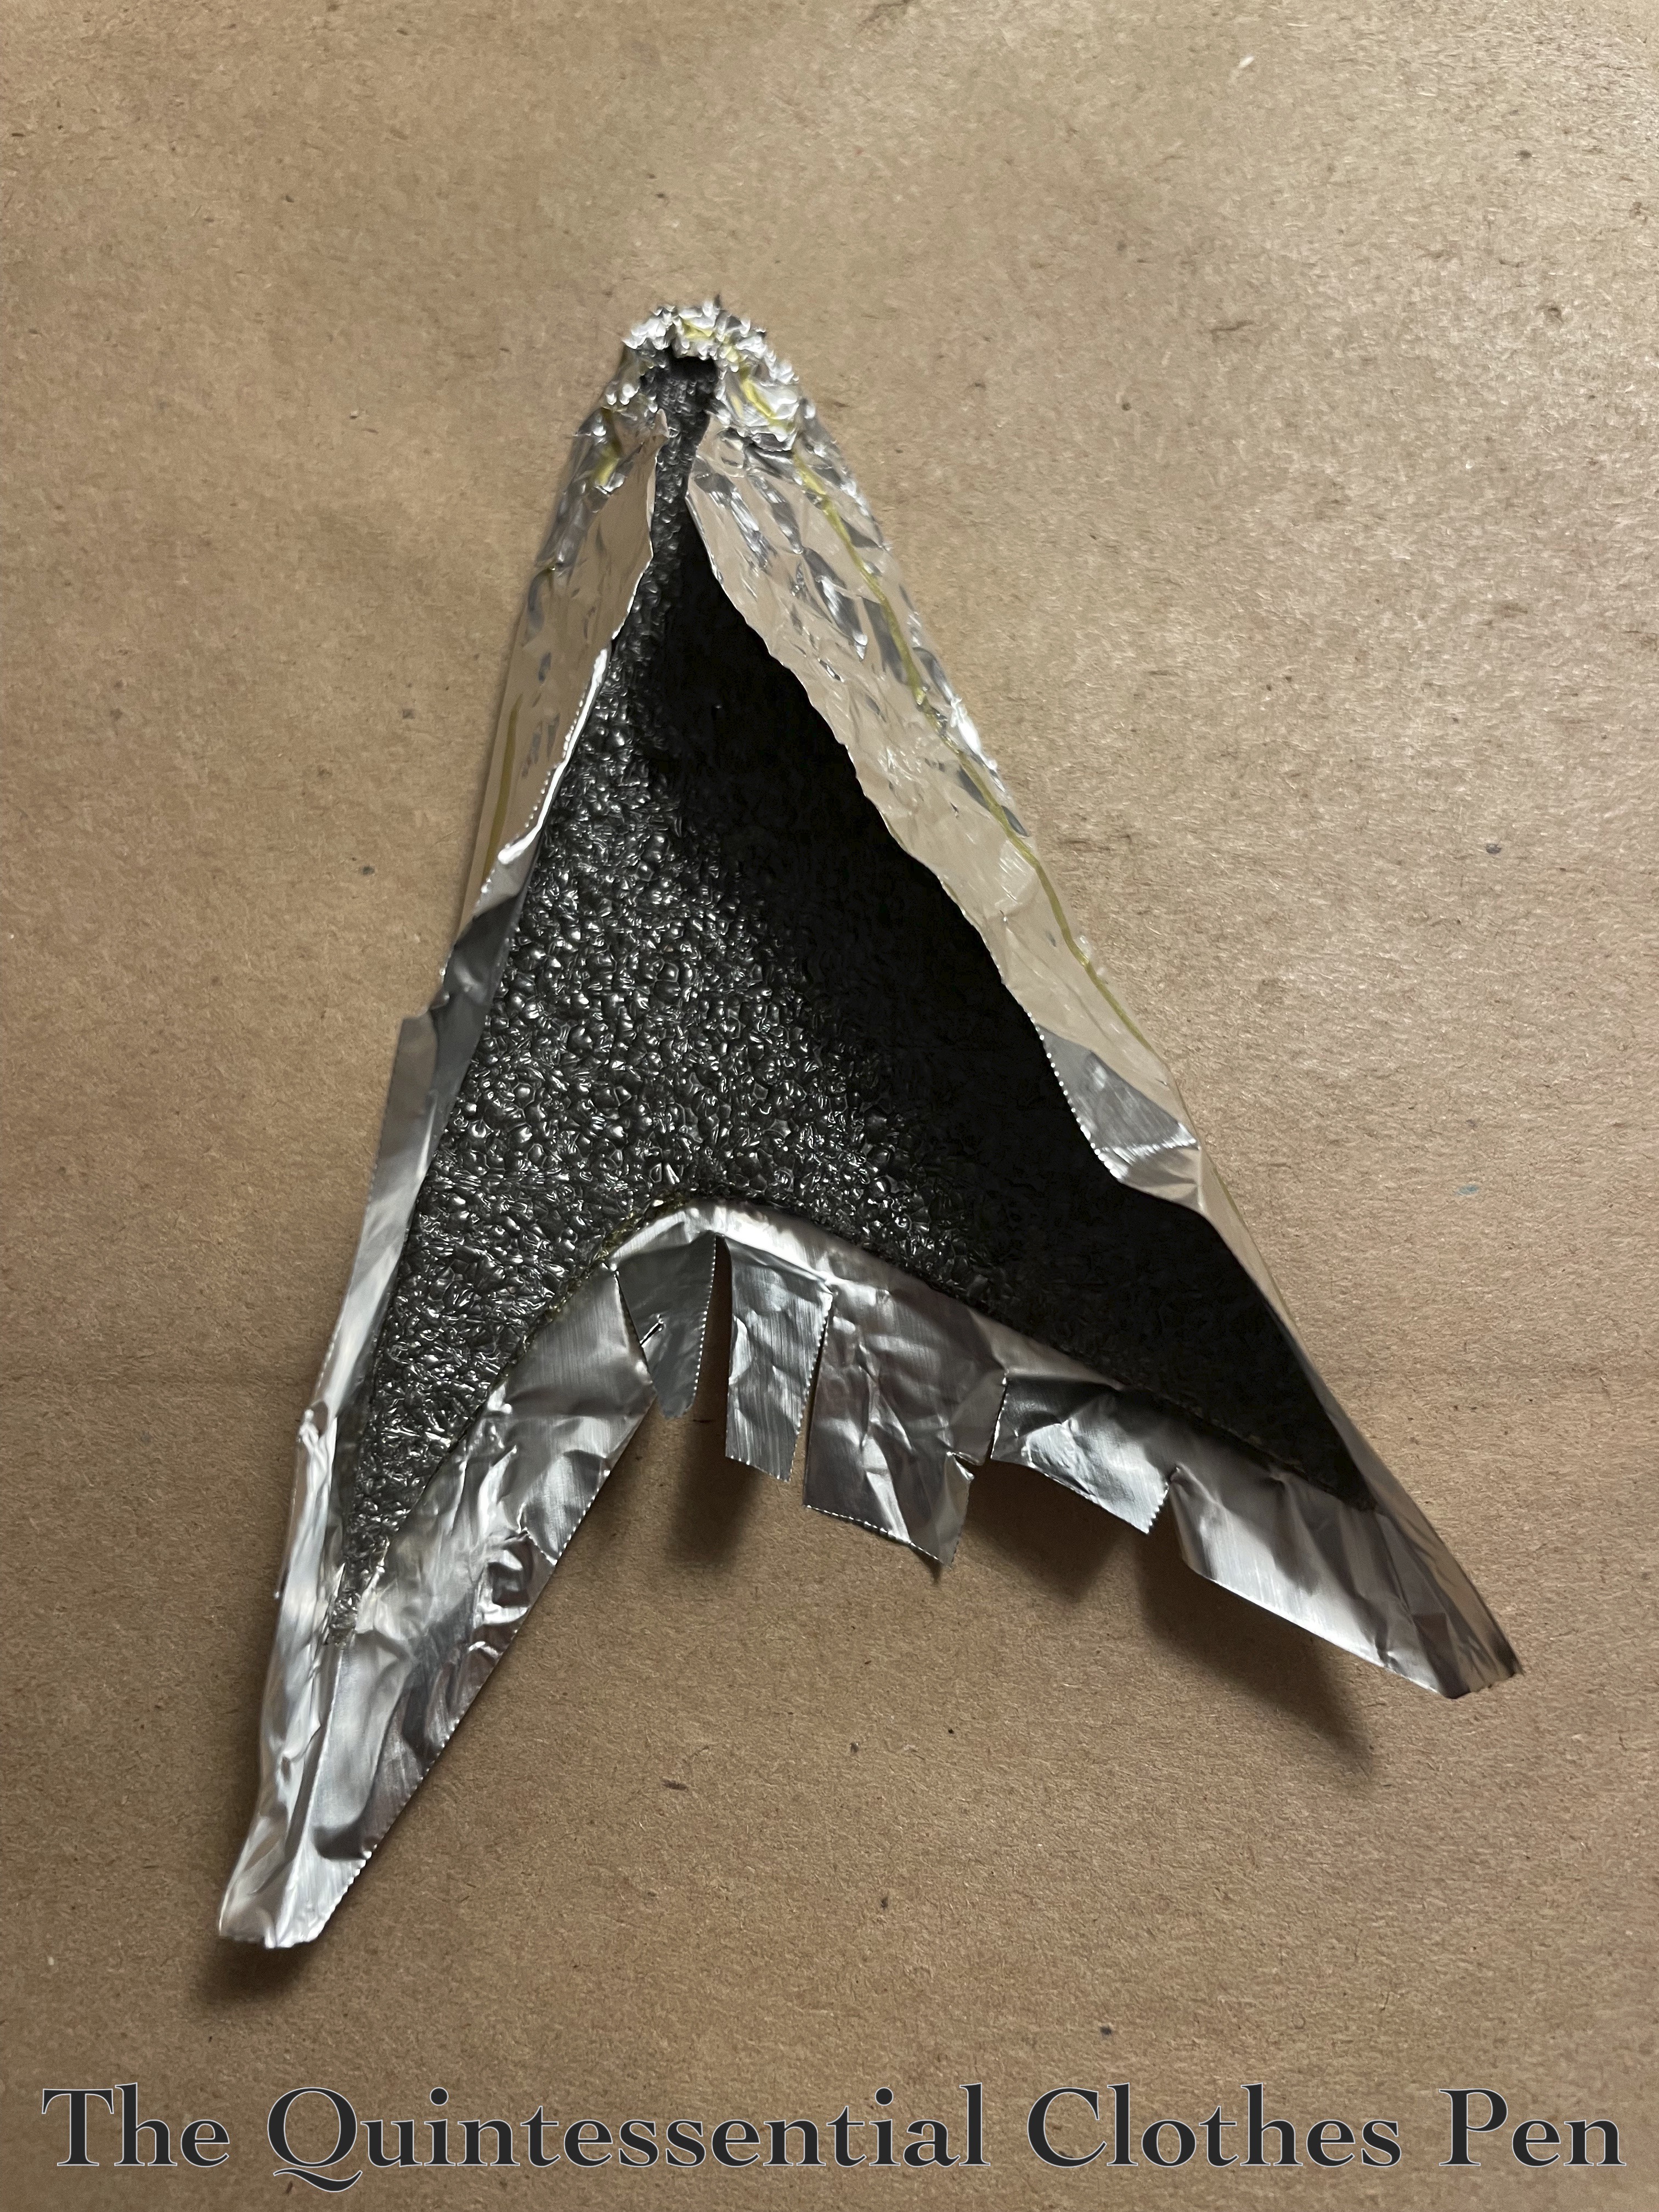
Finished up, the back looked like this. It is sealed on the edges with a bit of hot glue — mostly located on the foil! I did not want to melt the foam!
I was pleased, but felt that foam + foil was not sturdy enough to hold up to wear without bending out of shape. I didn’t want creases in my beautiful work of art, so I decided more stiffening was needed. I also wanted to cover up the foil bits on the back so that they couldn’t catch on anything.
I settled on a few thin pieces of cardboard (the weight found on the back of a pad of paper) for stiffening. I staggered the edges a little bit and glued them on the back of the insignia. Then I cut a piece of gold felt to be just the same size as the foil. This was glued on top of the cardboard to make a back that was tidy as well as sew-able!
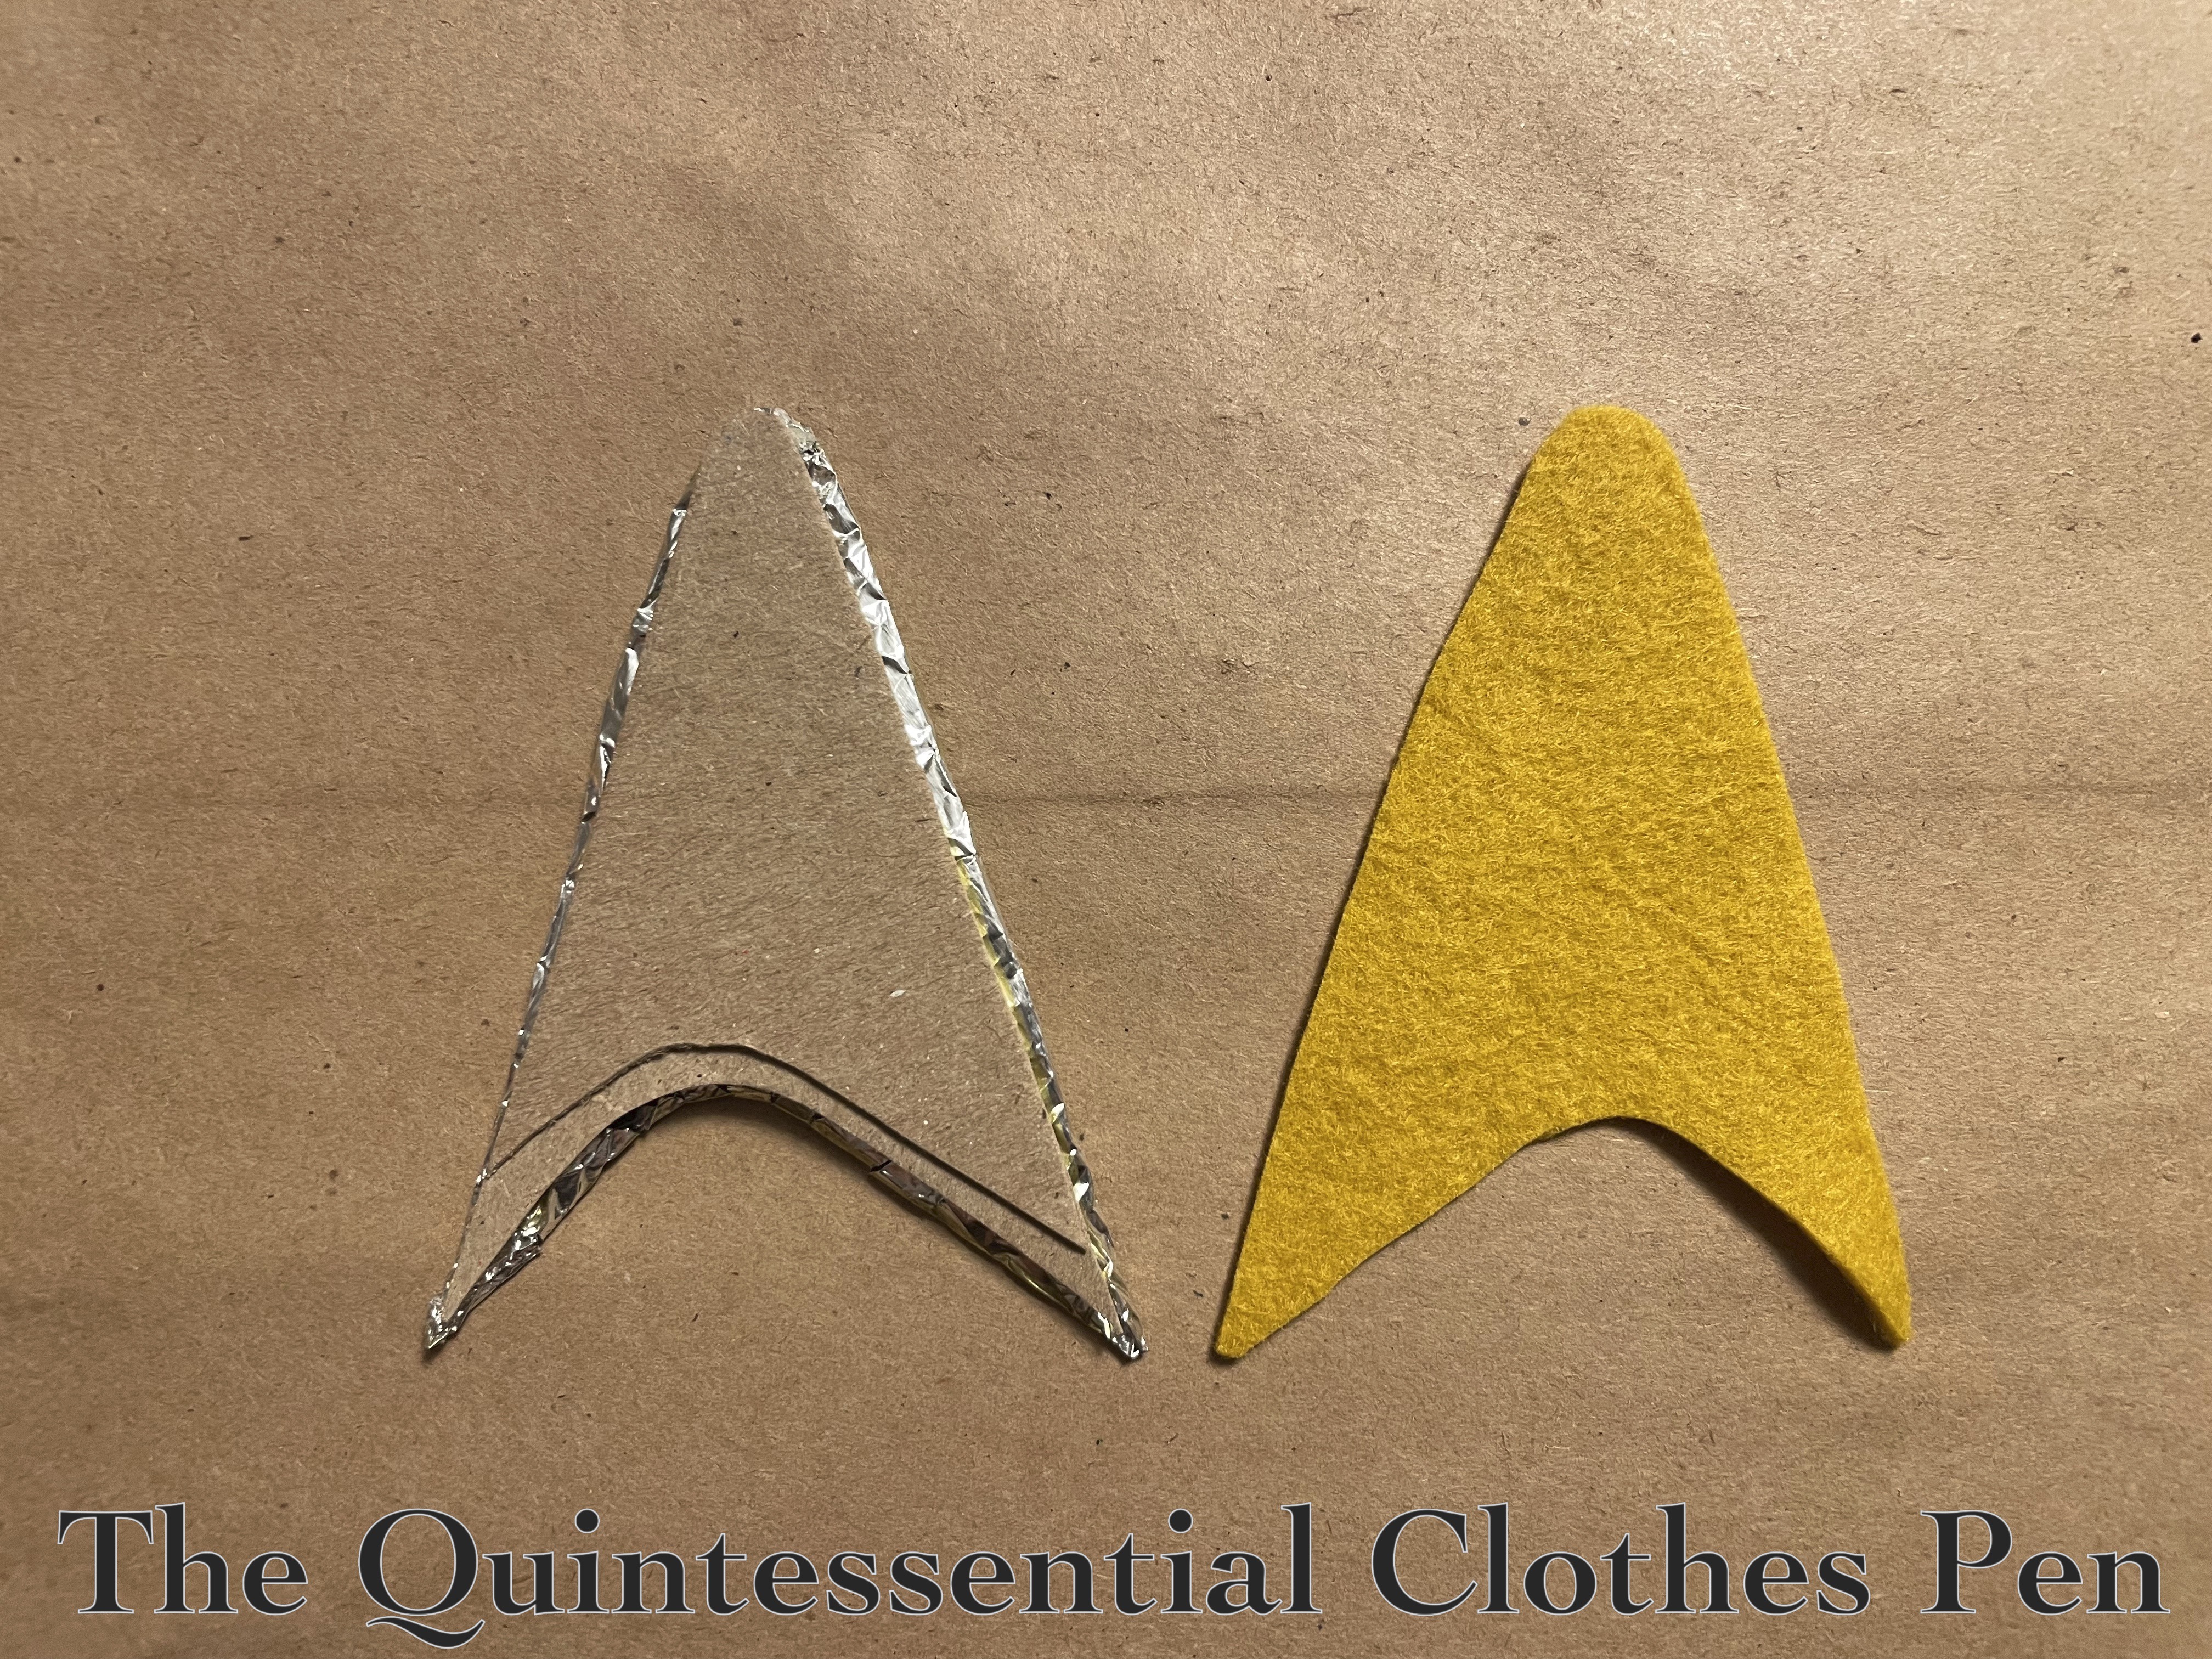
I carefully went around the edges and hot glued the felt to the foil (just a little bit of hot glue, as it is not very sew-able!), to make sure that everything was contained. Below is the finished result!

And that’s it! I had a dress and I had insignia. I added a marking of rank (more on that in my next post) and then had an amusing time wearing the dress!