I have more details to share with you about the Orange Monster, as I’ve recently named this dress. More on the tongue-in-cheek name later… Right now it’s time to talk in detail about the skirt for my new 1863 gown. (Check out Part I for the plan, Part II for patterning, Part III for starting bodice construction, and Part IV for very detailed further bodice construction.)
The trim on this skirt is… immense. Not so much in terms of scale (I think I’d call the scale just large, rather than immense), but in terms of quantity required to circle the 154″ hem 3 times each for both the lace and pleated silk. (For a reminder of what I’m trying to achieve, check out my inspiration image in the first post in this series.)
Not too long ago, the skirt was in this state of trimming. Started, but by no means finished.

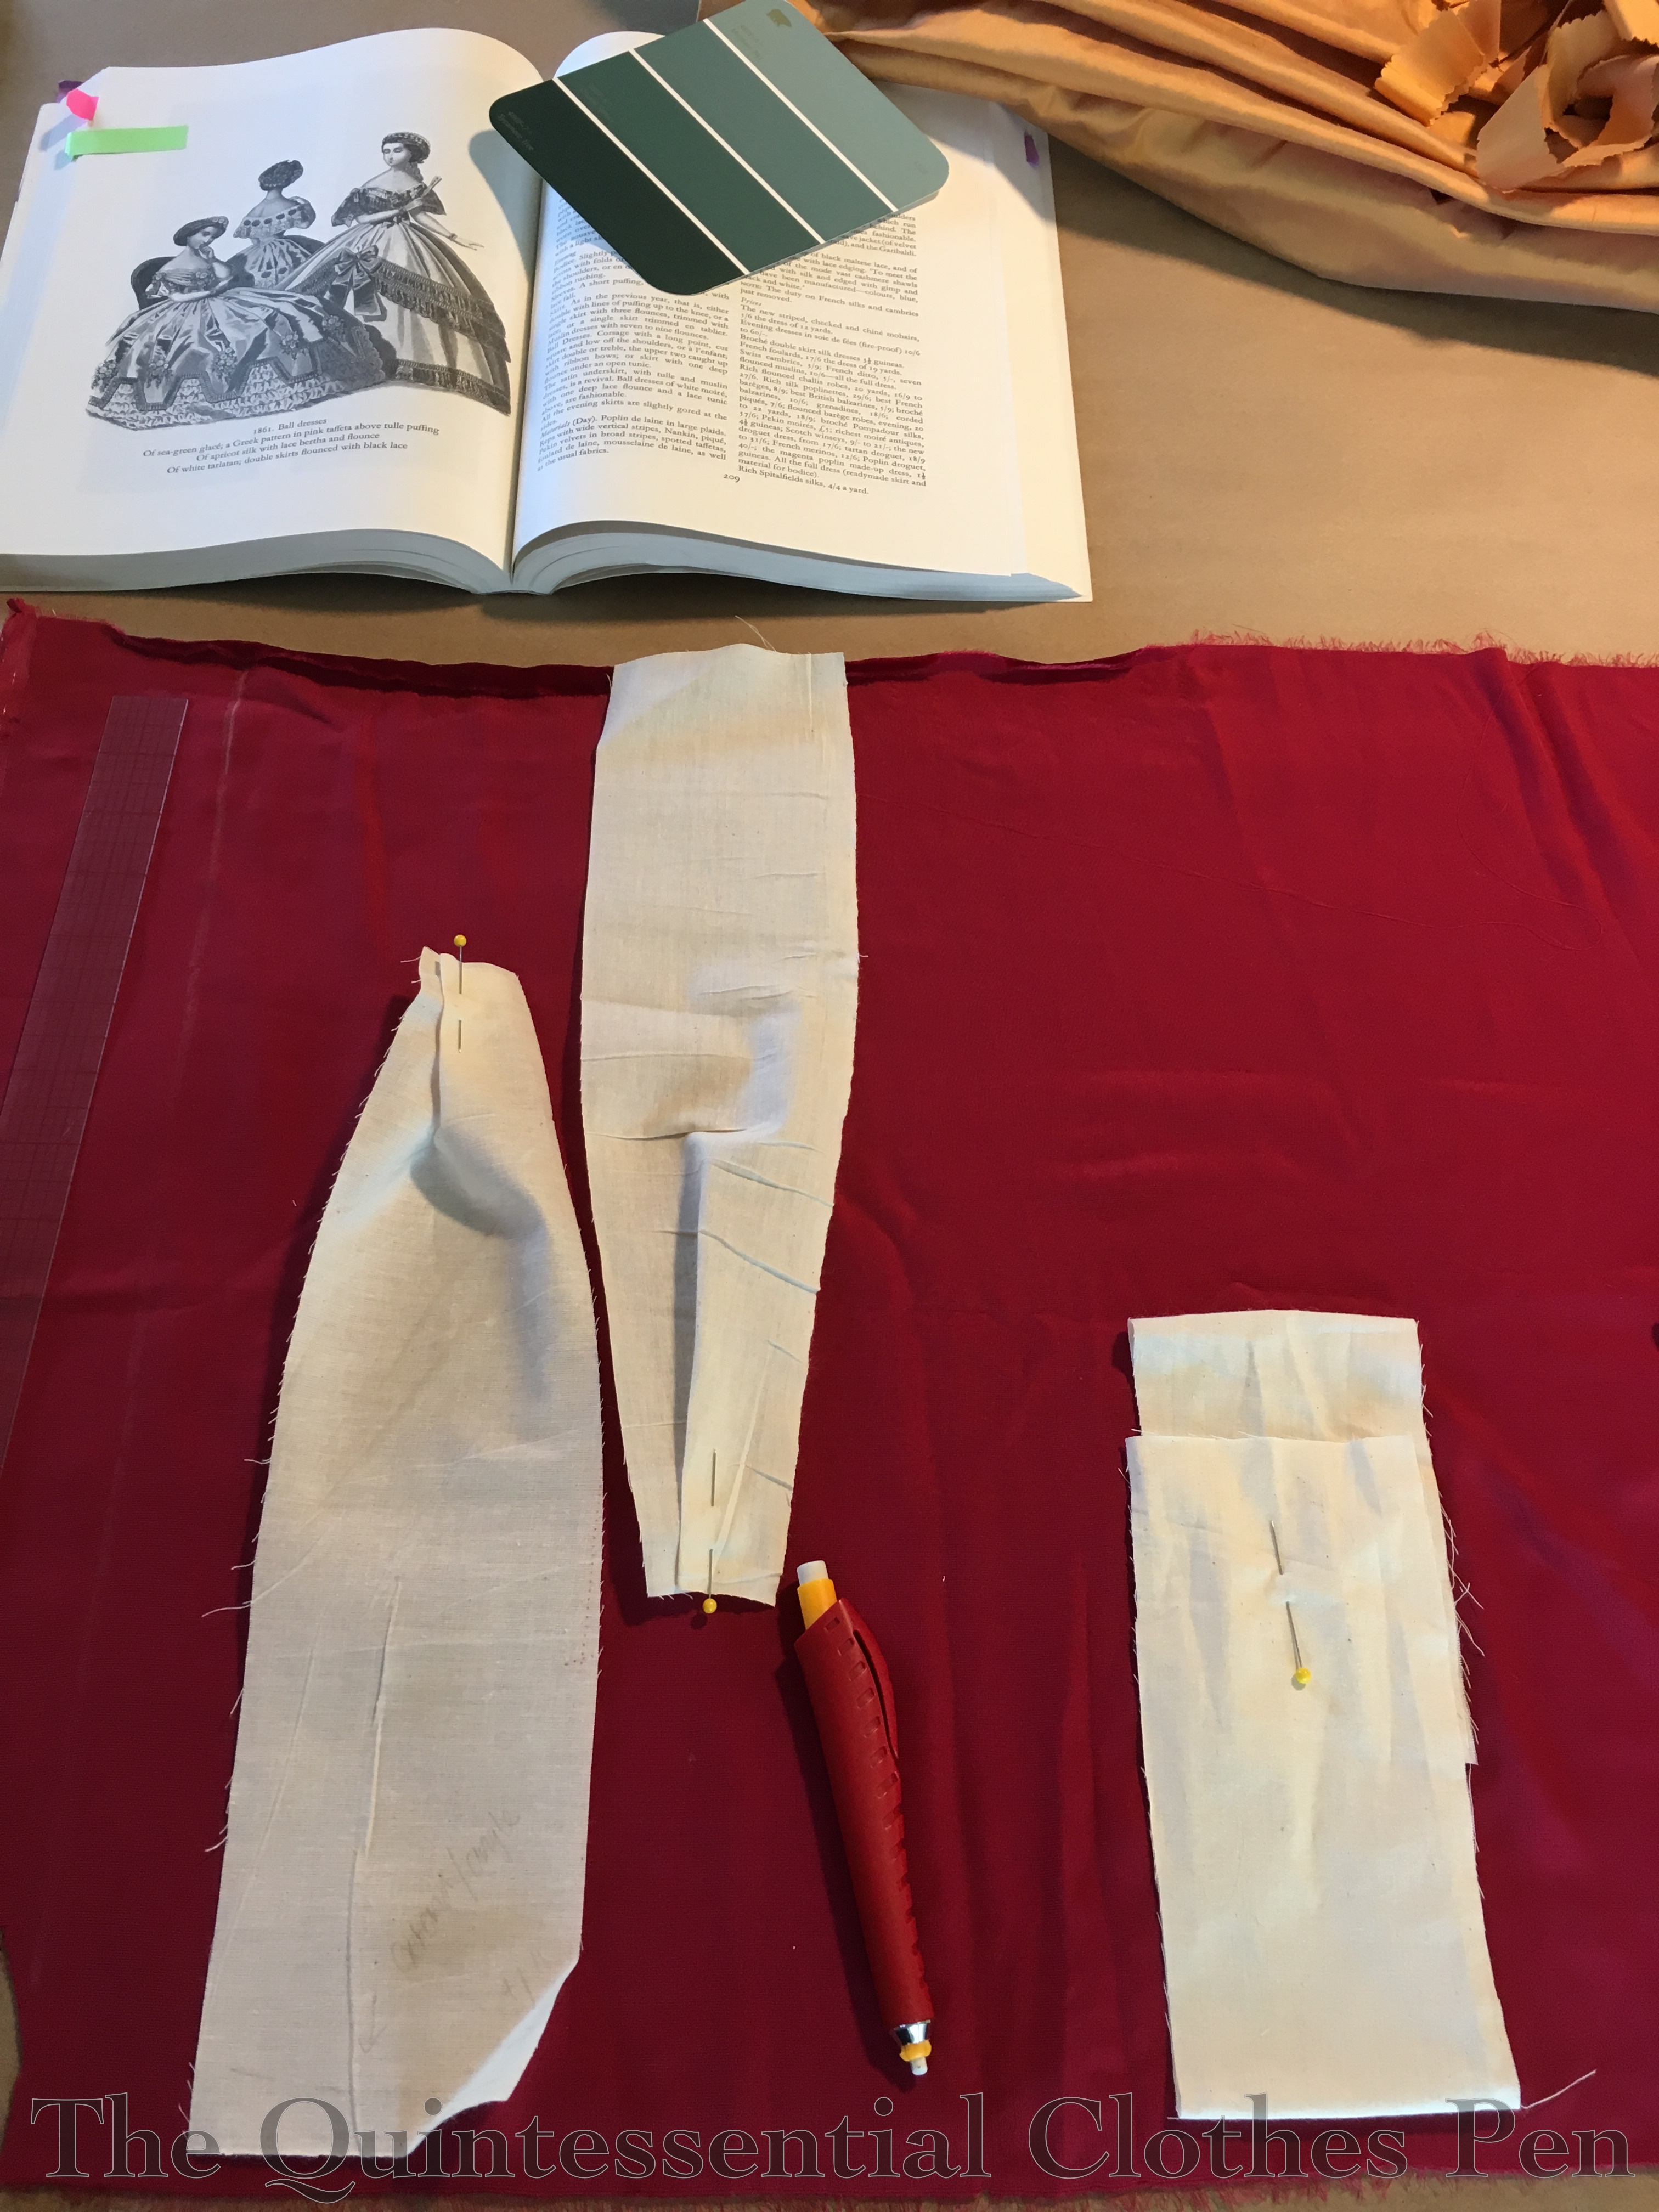
But let’s back up. To get to this point, I had to decide what my trims would be. The inspiration clearly has lace, but there is trim above that as well. It sort of looks like a tall beading lace, but I couldn’t find anything of that sort that would work. Other trim types also turned up nothing. Plus, I wanted to keep the cost down.
So I looked at originals and decided on pinked, pleated, self-fabric trim to top the gathered lace. Single layer pleats (knife, box, etc.), without spaces between them and without overlap, take 3x fabric, so I used that as my starting point. I did the math and realized I didn’t have enough silk to make enough strips to get 3x fullness, so I opted for 2x instead. I also rationalized that decision with the knowledge that my pleats would be spaced apart, thereby taking less than 3x fabric.
I did a sample of my silk with pinking shears on the grain, cross grain, and bias. I wanted to see how my silk would behave so I could pick the direction of cutting that would fray the least. I found it fascinating that cutting with the grain (the top edge in the photo) was the best option.

My spaced box pleating plan was most directly inspired by these two dresses at the Met: the first is the one that inspired the double piped trim on my bodice and the second is another great example of large scale trim encircling a skirt. When you zoom in on these two dresses you can see that the trim is pinked in little scallops. I only have zigzag pinking shears, but a friend has scalloped ones from our Versailles adventure a few years ago and she was kind enough to let me borrow them. (Also, it turns out that the pinked method was a great idea because it didn’t require using fabric for hems and it didn’t require hemming!)
But… Oh. My. Goodness. I pinked. And pinked. And pinked. I wore one of my knuckles raw and had to wait for my skin to heal before I could keep going… Not to mention the fact that pinking shears seem to always be harder to open than regular scissors (is that related to the not straight blades and more resistance?) and my wrist muscles can’t deal with that for long (spring loaded scissors are my lifesavers!). I wound up with a system where I would open the pinking shears with two hands, then close them like normal, then use both hands to open… Tedious and slow, but hopefully worth it! It was a serious labor of love. And I wound up with a pretty pile of confetti-like strips that amused me.

Eventually, I had about 30 yards of strips scalloped on both sides. I seamed these together and divided them into three pieces–2 of them slightly longer than the others in order to account for the swoop up to the big bow. I was ready to sew!
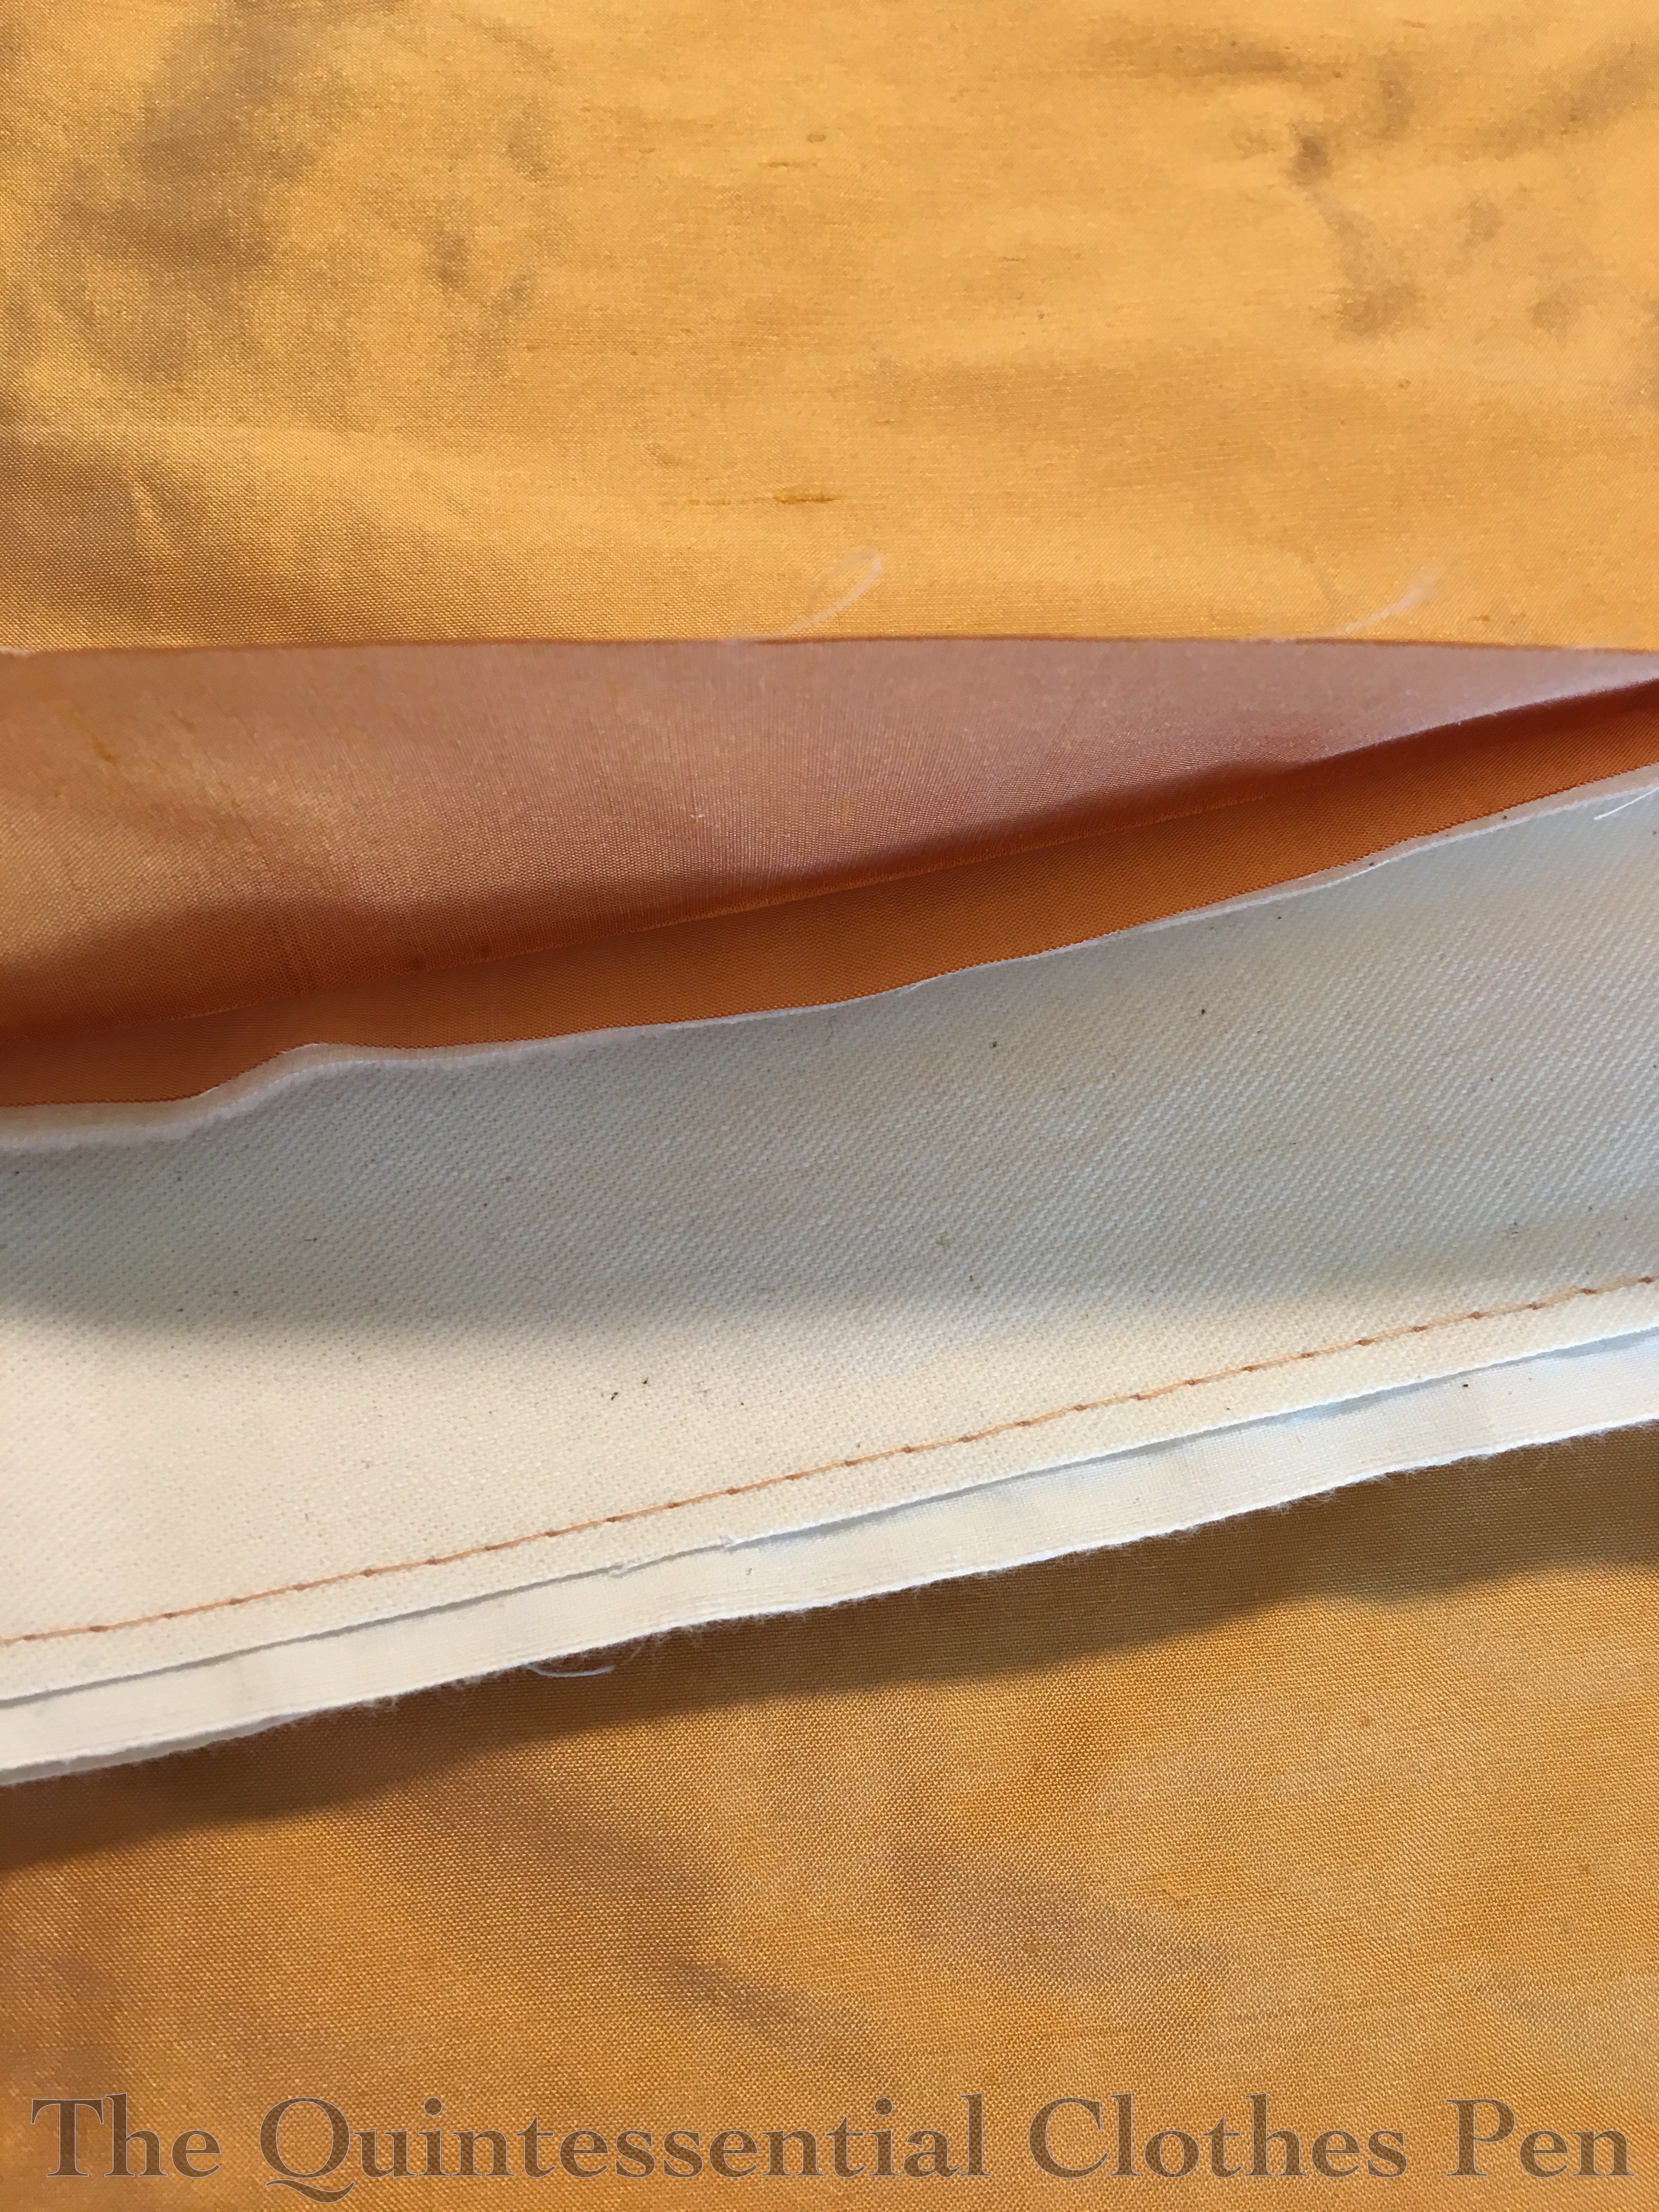
To sew the trim on (in the sort-of-most-efficient way–if you count circling the skirt 3 times instead of 6), I started by trimming off the very top edge of the lace (and saving the narrow bit for later–it might be good for edging undergarments someday!). This reduces bulk, because the top edge is left with only a bit of net rather than a finished lace edge. Then I ran a gathering stitch by hand along the lace and gathered and pinned that in place. I left that thread hanging and put my needle on another piece of thread, then used running stitches to secure the gathers to the silk. Next, I pinned the pleats in place above the section of lace that I’d just stitched, then used a second needle to stitch the pleats down. I worked in approximately 10″ sections. And went on, and on, and on… yikes that skirt is big!
For the bottom row of trim, I very carefully matched half points, quarter points, eighth points, and probably 16ths and 32nds, too. I wanted to make sure my trim was equally distributed. By the time I started the second row, though, I just eyeballed it. In both cases, the pleats themselves are entirely free form: no measuring. I’m sure there is variation in there, but honestly with so much skirt no one is ever going to know! The pleats are caught in the middle with very small running stitches with the occasional back stitch thrown in to keep the thread from pulling too taut. The pleated trim just overlaps my stitches on the lace. Up close, it looks like this.

Just sewing on the three rows of skirt trim was approximately 14 hours. Whew!
While we’re on the subject of the skirt, let’s just also quickly talk about the waist and hem. Before I got anywhere near sewing the trim on, I’d sewn a muslin hem facing about 5″ high onto the bottom of the skirt, pressed it up, and then slip stitched it in place. I made sure that the stitches would be hidden behind the trim, even though they’re tiny… details, details! The muslin will protect the silk as it brushes along the floor while I’m walking up and down stairs or dancing. It also provides a bit of stability and weight to the hem.
At the top, I added the waistband after putting on the bottom row of trim. I wanted to have the pleats in place in order to determine where the swoop up of the next two rows of trim should be placed. The waistband is silk, faced with muslin on the inside (because I was trying to save silk in any way possible to make my oodles of trim). I added a strip of canvas in there as well to provide stiffness as the silk and muslin on their own were not sturdy enough for my liking.

Here’s the assembled waistband, ready to have the skirt pleated to it. The waistband has the quarter points and my 3″ overlap for center back marked with pins.
 The next step was pleating the skirt. I decided for this skirt to have knife pleats facing the back of the skirt. This is seen on extant dresses and is a style I haven’t tried before. It seemed like it would work for my trim plan.
Pleating is always more time consuming than I expect. It’s hard to get the pleat depths just right and the exterior spaces just right and also fit the correct amount into each quarter of the waistband. One could do lots of math to potentially make it less trial-and-error, but I would rather pin and re-pin than do pleat math. Just saying. To each their own! I’m an eyeball pleater! I made it extra challenging by having that 3″ overlap at the back. That will allow for future variation in size (a goal of mine), but also made the pleating a little extra confusing to figure out, since one quarter of the back was 3″ larger than the other but I wanted the pleats to be the same…
The jury is still out on if I like this pleat style. I might prefer the pleats facing forward, as I did on Eleanor... We’ll see once the dress is done and I look at photos. It’s staying for now!
After the three rows of lace and pleats, there are still more trim bits to think about. There’s a bertha, and that big bow on the skirt, and smaller bows on the bodice as well… so we’re not done yet! Stay tuned!