New 1830s Underpinnings: Sleeve Puffs & Skirt Puffer (HSM #11)

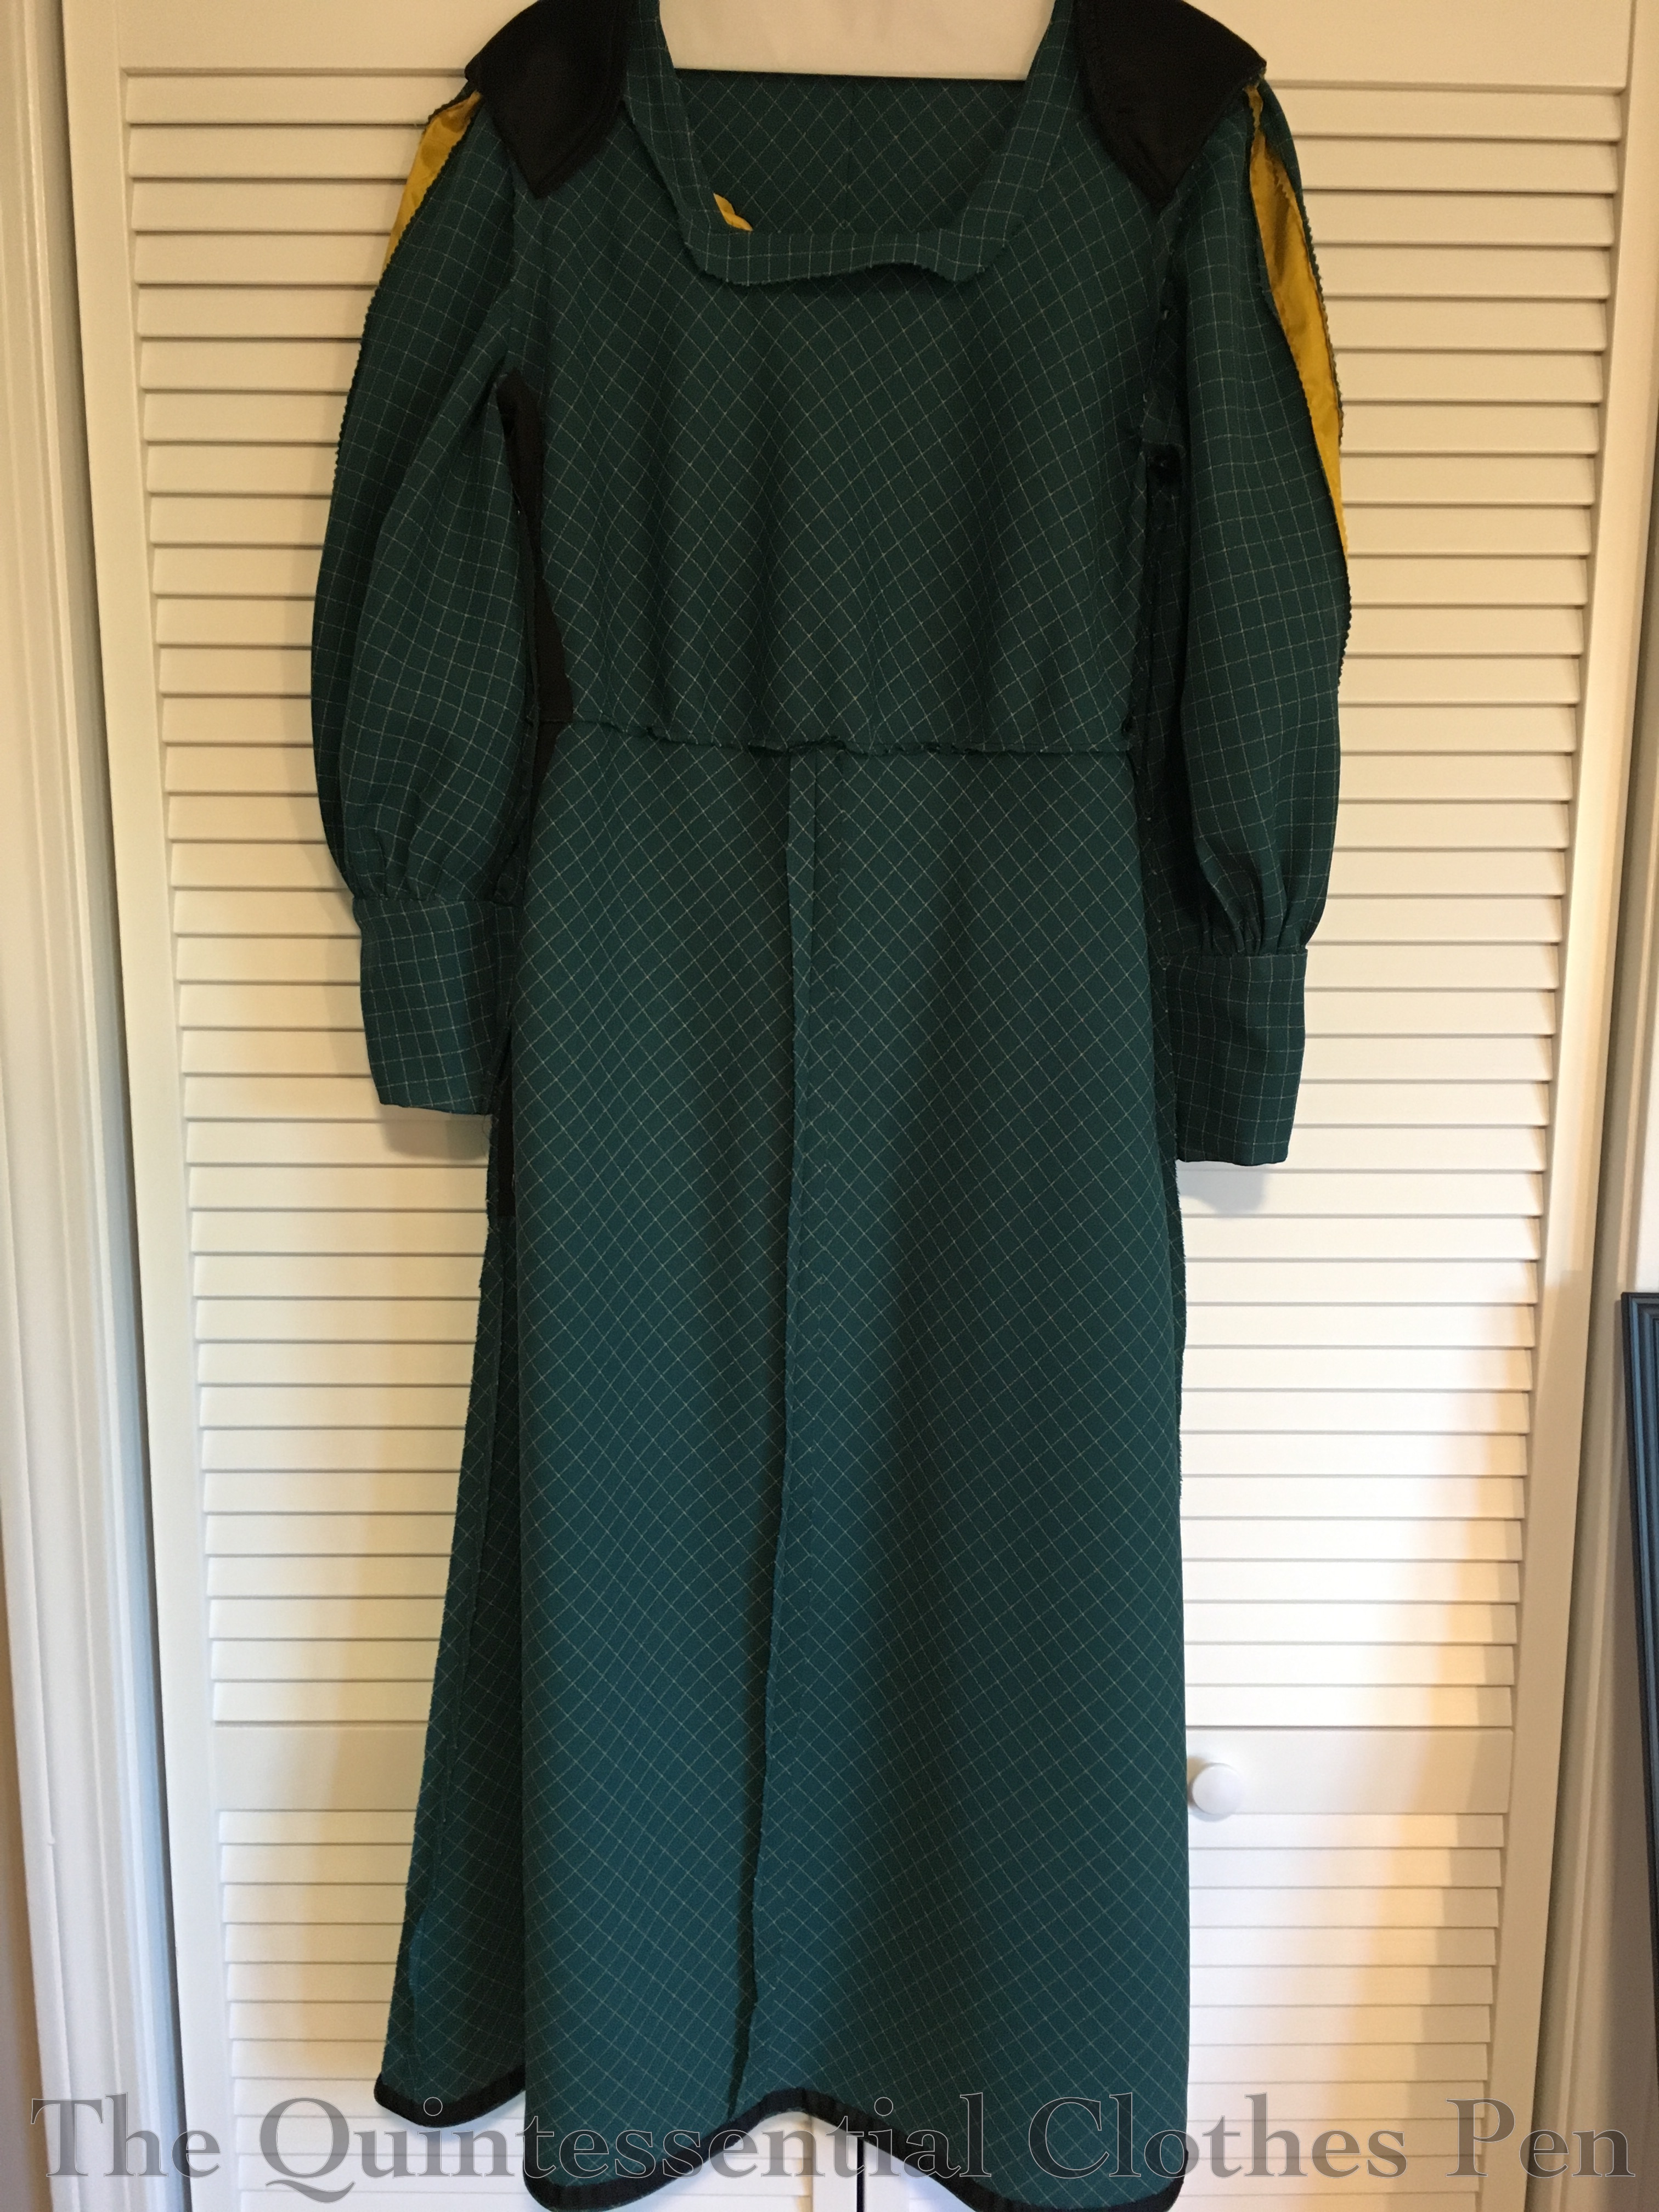
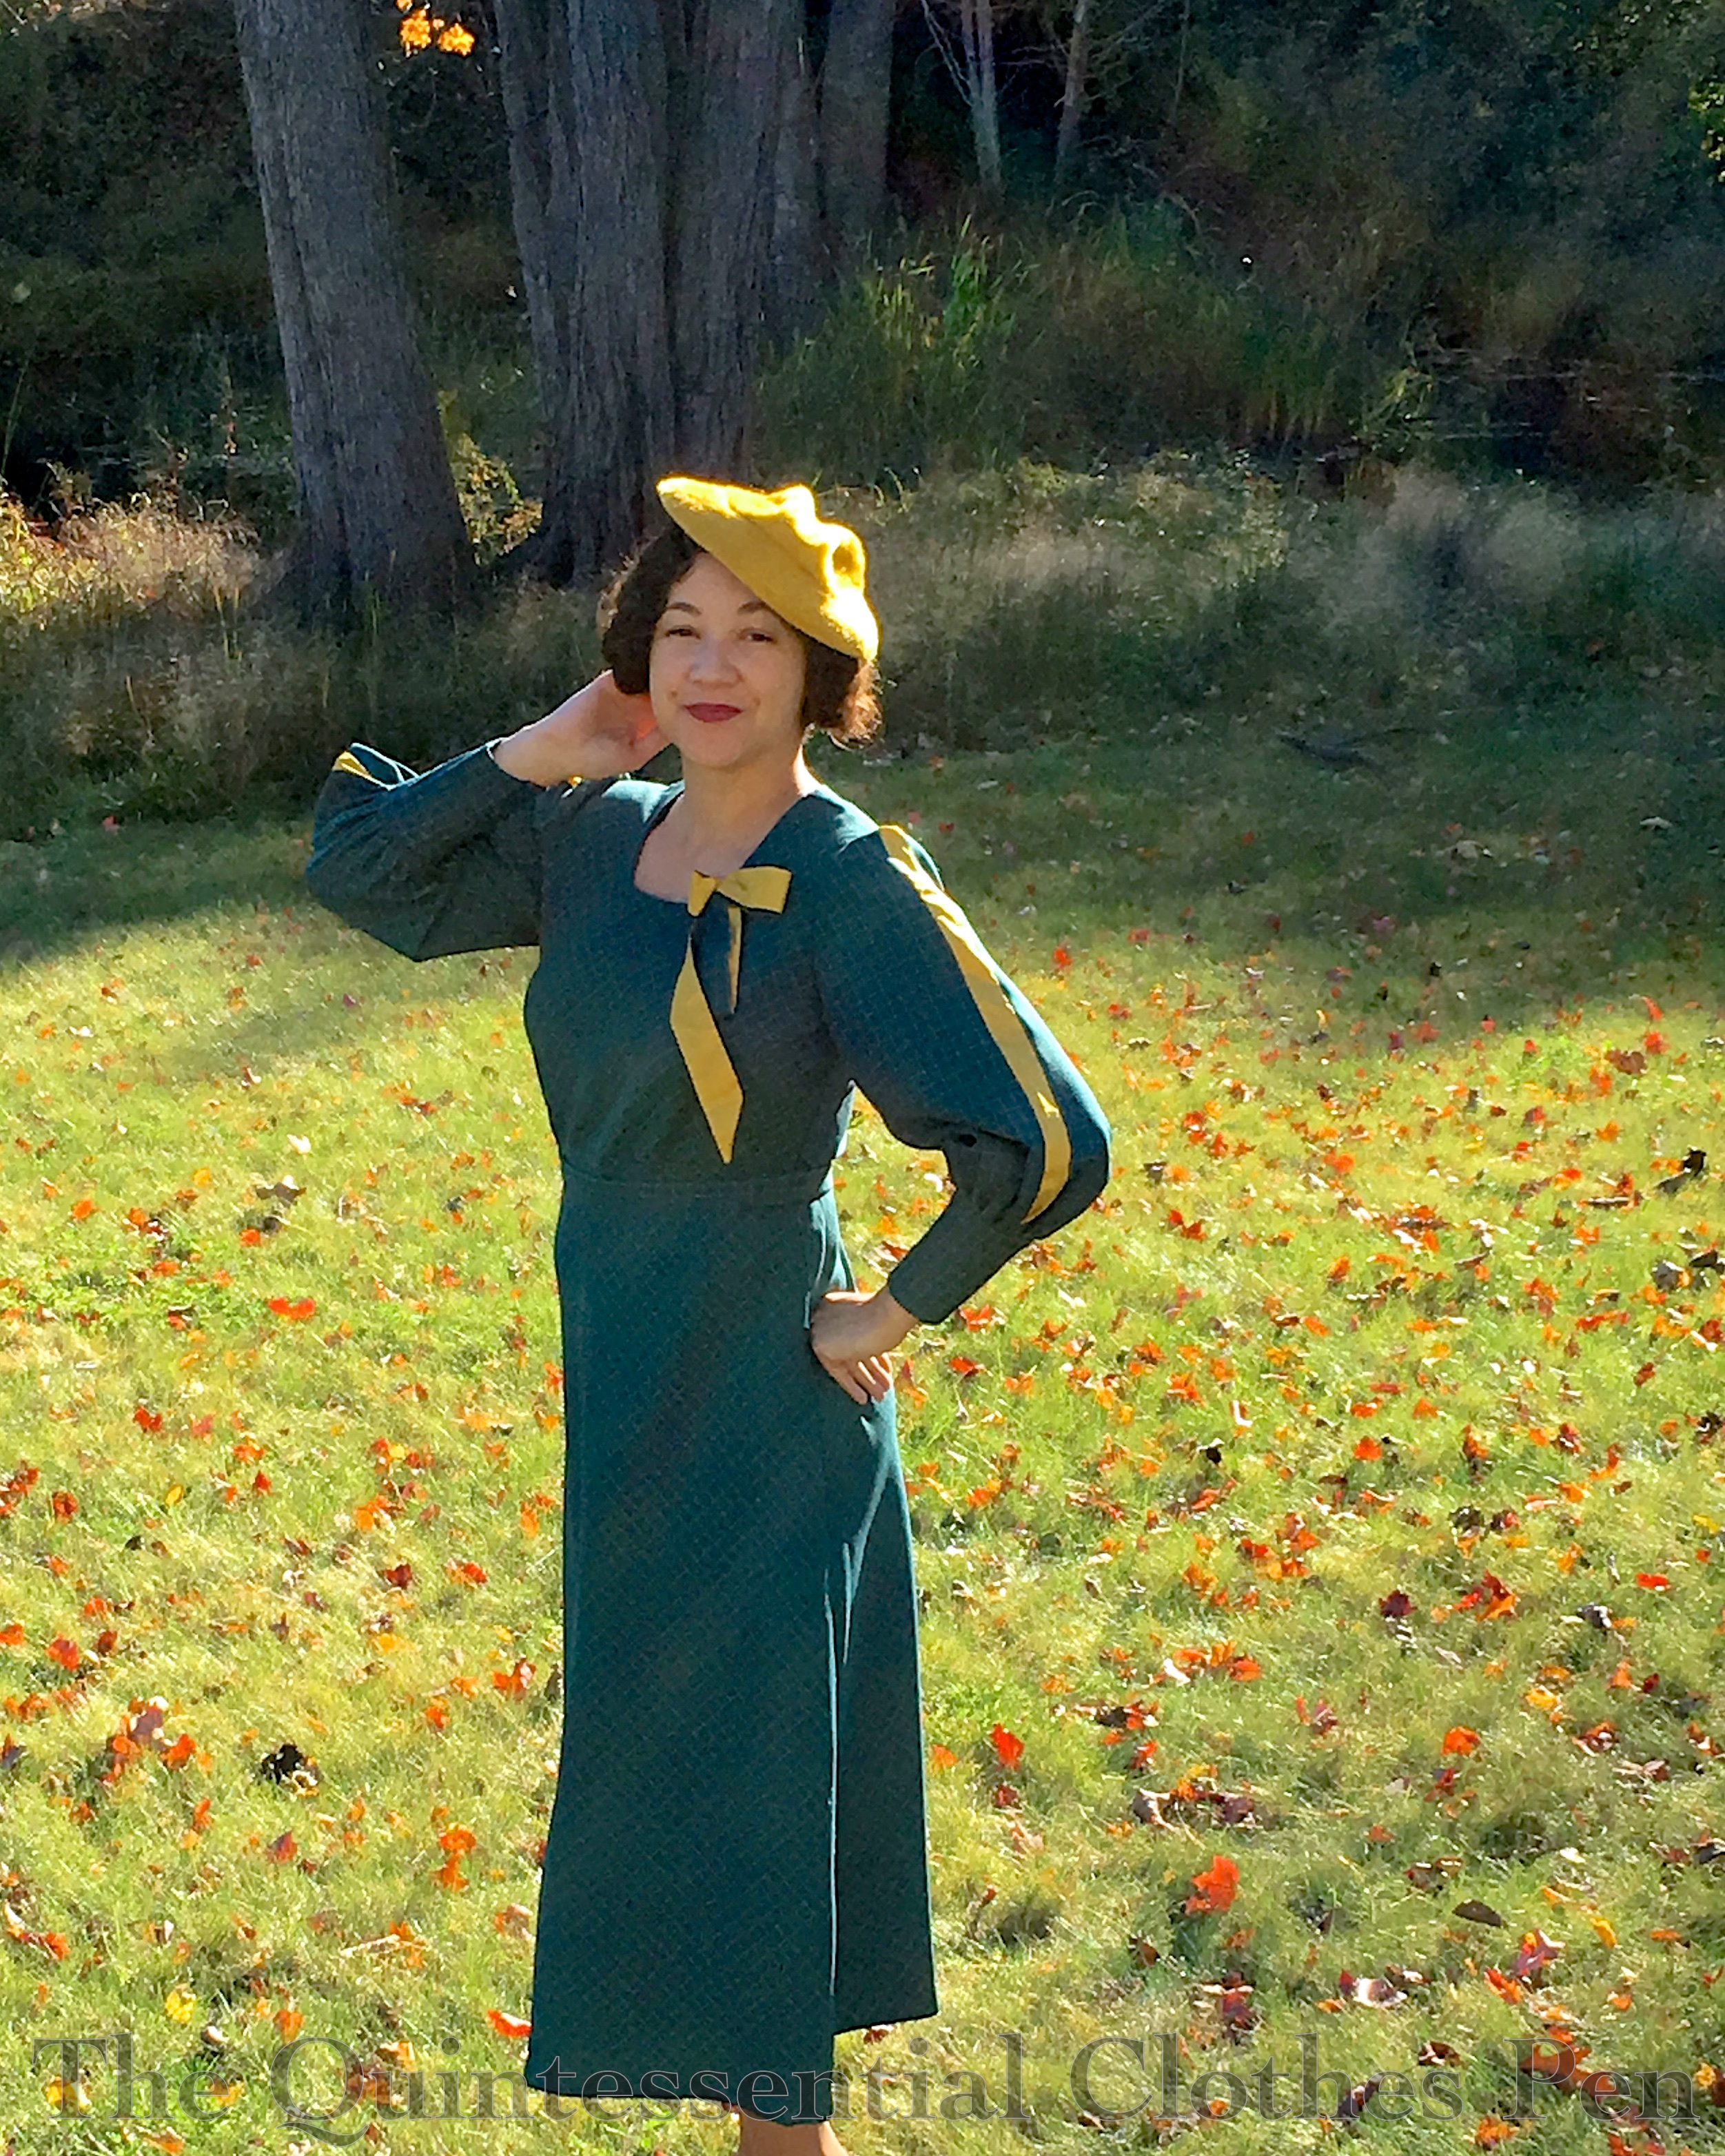
I made an 1832 dress last year for the annual Christmas ball. I was very happy with the dress itself, but a bit saddened by the silhouette due to the fact that I didn’t have time to make all the accessories to help give the dress just the right silhouette. This year I’m wearing the same dress again for the Christmas ball but I’ve taken the time to create two different underpinnings that will really help the shape.

There are two areas where I was disappointed with last year’s silhouette. The first was my sleeves. The dress I made has large beret sleeves but without anything inside to keep their shape they became deflated as the night wore on. The solution: a pair of 1830s sleeve puffs! The one below, from the V and A, is just one example (and what I used as direct inspiration for creating mine).

Conveniently, these fit this month’s HSM challenge perfectly!

HSF Inspiration: “One of the best things about the HSF is seeing what everyone else creates, and using it to spark your own creativity. Be inspired by something that has been made for the HSF over the years to make your own fabulous item.”

Sleeve puffs have been made by multiple people over the years of the Historical Sew Fortnightly/Monthly, though most recently a pair was submitted for Challenge #10: Out of Your Comfort Zone in 2017.

Here are my sleeve puffs!

So, just the facts:

Fabric: Soft cotton twill, polyester organza and stiff net for stuffing.

Pattern: My own, based on measurements and looking at extant puffs.

Year: 1830s.

Notions: Thread.

How historically accurate is it?: Let’s say 95%. It’s entirely recognizable in its own time. The exterior is plausible fabric, the stuffing is not.

Hours to complete: Perhaps 2?

First worn: Not yet! Will be worn in December.

Total cost: Free! All the fabrics are from the stash.

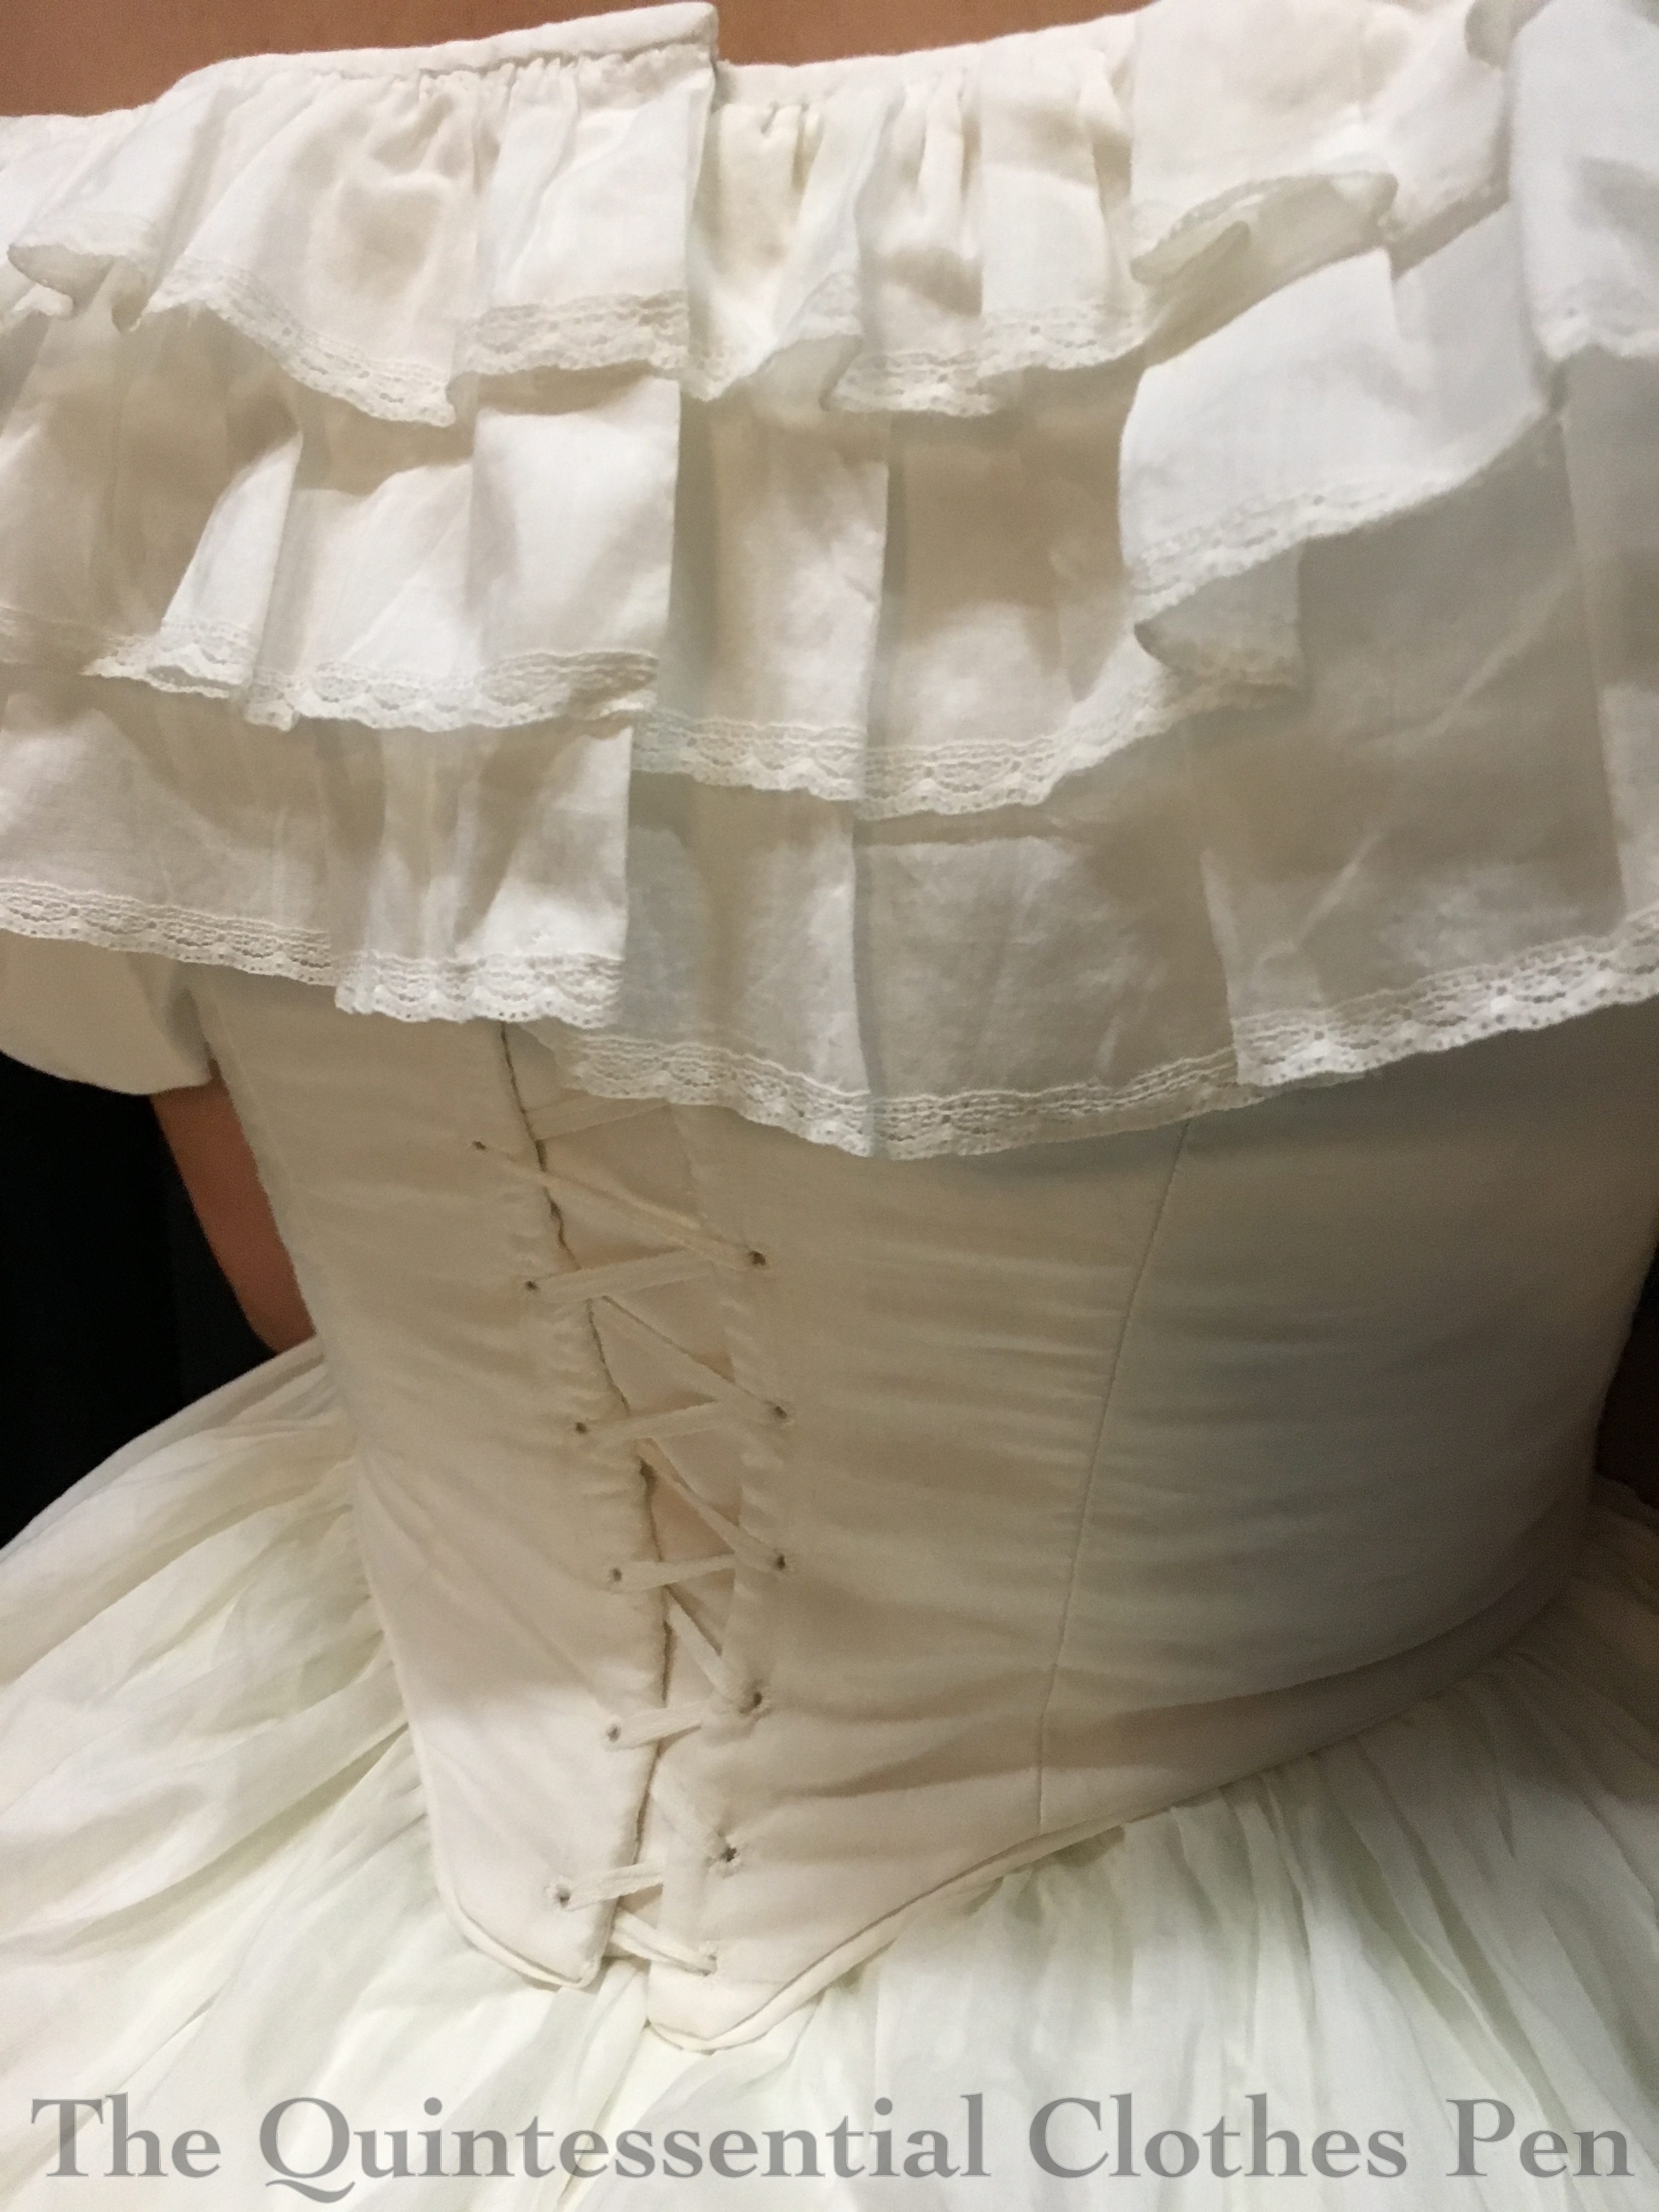
I took in progress pictures of the puffs as I made them, so eventually I’ll post a detailed tutorial for how exactly I made these. But for now, let’s talk about the second area that I was disappointed with my 1832 silhouette last year: the skirt fullness. I had hoped to create a nice round shape, but my silk petticoat alone wasn’t enough. I whipped up a puffer of stiff net gathered onto a waistband, but it didn’t add enough oomph either.

Of course, a corded or starched (or both) petticoat would be the ideal way to fix this problem. I didn’t devote the time to making either of these for this particular dress (and don’t already have them as part of my wardrobe.) Another idea one of my friends had was to use a fluffy many tiered organza petticoat from eBay to get a nice 1830s silhouette. I, however, was inspired by Lauren’s ‘ugly puffer’ (she made it for the 18th century, but the idea can be used to fill out skirts from many different eras) to try and get a better silhouette this year.

I actually used the same net puffer I used last year, but added a gathered layer of pre-quilted cotton from the stash. I hemmed the edges to help add stiffness and used up the small scrap that I had (only about ¼-⅓ of a yard), which amounted to about a 2:1 ratio of gathering.

That, plus giving my silk petticoat a shake out to get the ruffle at the bottom more full and less squashed from storage, seems to help, at least when I tried it on at home. We’ll see how these two underpinnings help at the ball. I’ll have to do comparison pictures between this year and last year!

How do you get an 1830s silhouette? Do you have any creative ways to get the right look?

SaveSave

SaveSave

SaveSave

1933 Dress & Hat In Green & Gold (HSM #10)

The summer was incredibly busy and the things I was making unfortunately didn’t fit into the HSM challenges, but I’m hoping to get back to it for the end of the year. In that spirit, I finished a dress that qualifies for the HSM Challenge #10: Out Of Your Comfort Zone. I’m a bit late posting about it because it took me two tries to have a successful photo shoot and then a bit of time to edit my photos, but nevertheless, the dress was completed within the deadline. It qualifies in that I’m expanding into 1930s daywear with the making of this dress.

Unlike some garments I make which have a specific wearing in mind, this was different in that I was trying the idea out to see if this 1933 shape would be flattering on me. I do like the silhouette a lot and so hopefully I’ll make more similar dresses in the future. The years right around 1933 are a great mix of awfully silly, with their big neck frills/bows and unusual sleeves, and wonderfully elegant, with long hems that look especially flattering on those of us blessed with height.

The inspiration for this dress came from looking through many books of 1930s clothing. I wanted to try out the longer length bias skirt and I liked the bust spray detail I found along the way in 1930s Fashion: The Definitive Sourcebook (page 308). It’s not as crazy as some early 1930s neck frills, making it a good starting point for getting into this decade. (Look at these examples of neck bows from 1934, for example. They make my dress look subdued.) I did add some interesting sleeves though, based on a 1933 pattern for different sleeve types.

As I mentioned, I did two photo shoots for this dress. The first one failed pretty horribly, as I was out in public, pressed for time, and my phone camera wasn’t cooperating with me. But the second photo shoot was much more successful! It may have taken over 300 photos to get ones that I like, but because I was using a timer with burst photos on my camera I could run back and forth across my yard to my heart’s content, practicing all my best dramatic poses and facial expressions. Unfortunately, my phone camera isn’t outstanding enough to have taken great photos with the slanting afternoon sunlight. I’m calling it ‘artsy.’ (What I really need is an event to wear this to in a good-picture-background-setting, so that I can get better quality pictures…)

Anyway, here are the facts (just for the dress, as the hat doesn’t really qualify for the HSM):

Fabric: Green and gold small windowpane mystery (but likely polyester) fabric and gold silk scraps.

Pattern: My own. I draped the bodice and skirt pieces and referenced images to flat pattern the sleeves.

Year: 1933.

Notions: Thread, zipper, hooks, and hug snug.

How historically accurate is it?: Let’s say 95%. It’s entirely recognizable in its own time and made in a way that is straightforward and consistent with historic garments. The materials are not 100% accurate.

Hours to complete: 5-10 sounds likely, although I spread making this out over about a year, so it’s pretty hard to remember!

First worn: October 2017, for pictures.

Total cost: $1/yard for the fabric and all the notions from the stash, so let’s say $4. Win!

The back of the dress is pretty plain. All the interesting details are on the front. But here it is, for the sake of documenting all of the angles.

On the inside, the dress looks like this. The seam allowances are either left raw if they are on the bias or pinked if they are on the straight of grain. The neck is finished with a facing which is tacked in place. There are moderate shoulder pads to help achieve the correct silhouette. The bottom edge is finished with hug snug and an invisible hem. The dress closes on the side with a hand sewn zipper. There is a self fabric belt as well.

Now for a bit about my hat and hairstyle. First, the hat is a remake of a wool velour hat I purchased for $5 at a theatre sale. It was a bowler shape originally. I cut off the brim, cut down the crown, reattached the two, and then took some tucks in the crown to give it a more unique shape.

Hair-style-wise, I was going to do my usual close to my head 1920s/30s style (I explained and documented it in this past post) but it didn’t seem to compliment my hat, so I decided to try a more down around the chin, lightly curled bob style.

My method for this is as follows: I started with wet hair and a bit of Tigi Small Talk. I parted my hair on the side and added wave clips (3 on the longer side and 1 on the shorter side). Then I braided the rest of my hair to keep it damp while the front dried. A few hours later, I removed the wave clips and ran my fingers through the front sections to loosen them up a bit. To create the chin length look, I looped up large sections of my hair and pinned them to the top of my head. The hat hid all the pinned up bits nicely. My hair has much less volume when it’s damp (and even after it’s dried in a not-voluminous way if I don’t touch it at all), so the chin length curls had a nice close to the head look to them.

I’m pretty pleased with this hairstyle. It will definitely get tried out again someday. The outfit is fun, too! I love that the hat matches perfectly and ties the whole thing together. Plus, it reminds me of autumn, my favorite season.

SaveSave

When The Dress No Longer Fits (Mid-19th Century Edition)

A few months ago, I had a post with the same name that focused on two Regency dresses that had experienced closet shrinkage. The post was centered around what I did to make them wearable again. Around the same time I was battling the Regency closet shrinkage, I encountered the same problem with two of my older mid-19th century dresses as well. Boo!

It took me awhile to do anything about the problem and even longer to post about it, but here we are.

There was a time when the back edges of Evie’s bodice met from top to bottom. In fact, if you look at the pictures in this post from 2013 you’ll see that there was even excess fabric around the waist (yikes, but that does mean my waist has expanded a fair bit!); however, by February 2016, the bodice looked like this:

Uh oh! That wasn’t going to do for wearing at a ball! So I brought my corset and bodice (plus the other bodice I’ll mention shortly), got all laced up, and had a friend measure the gap between the back bodice edges and take pictures for documentation (so I wouldn’t forget the measurement, because let’s face it, my memory is pretty terrible sometimes).

Then I pondered my options. There was no way to let out the seams on this bodice, as the fabric has scarred at every point the needle and thread passed through. Plus, I didn’t leave much seam allowance anyway. Given my limited options, I decided that a placket was the best way to go. Many extant dresses using lacing as the method of closure on bodices and I’m sure that ladies in the 19th century changed sizes, too. I went on a hunt and couldn’t find an example of a bodice with a placket showing between the lacing, but museums have the benefit of being able to put their collections on forms rather than real people, which allows for easier adjustability to have the lacing edges touching. (If you know of any examples of a bodice laced with a placket under the gap, please let me know!) Anyway, I don’t think it’s unrealistic to assume that some ladies in the 19th century used the same method I did to allow adjustability in their bodices.

In addition to the placket, I also had to extend the bertha to bridge the gap. For that I was able to unfold my seam allowance, respace my gold ruffle, and cover the remaining gap with a rosette of gold like the one on the front of the bodice (another instance of the benefit of saving all the scraps from a project–this finished off the gold bits I had leftover from the original construction). Thankfully, these changes worked. I wore Evie to a ball in March 2016 and was happy as a clam. The placket was hardly noticeable and now the dress is much more adjustable!

The second bodice was for the dress named Annabelle, which was made in 2011 (and worn again later in 2011). This bodice also closed all the way down the back when it was made. Well, that’s not the case any more. Actually, a few years ago I’d already converted the closure from being hooks and eyes with folded over seam allowance to lacing with less seam allowance folded over in order to eek out a little more space, but that just wasn’t enough. By 2016, here’s how we were looking. It was time for a more drastic update.

I did the same thing I did for Evie, adding a placket and regathering the bertha to make it span the lacing gap. It took me about two years to get to it, but the result is that I was able to wear Annabelle to a recent ball in October, with a back that looked like this.

Not bad! The only thing I want to change is making that top edge actually stay matched rather than the one side riding up. But that’s a minor change. Overall, I’m pleased to be able to continue to wear this dress!

There we are–two more examples of how to fix the-dress-no-longer-fits problem! It was incredibly lovely to receive comments on the Regency post that other people also experience closet shrinkage and have already adapted their clothing to deal with it or are now inspired to do so. It is my hope that continuing to post about this topic will encourage others come to terms with their own changing size as well as ideas for how we can all deal and move forward while still being able to wear our finery.

SaveSave