Regency Dance Weekend Part IV: Reception

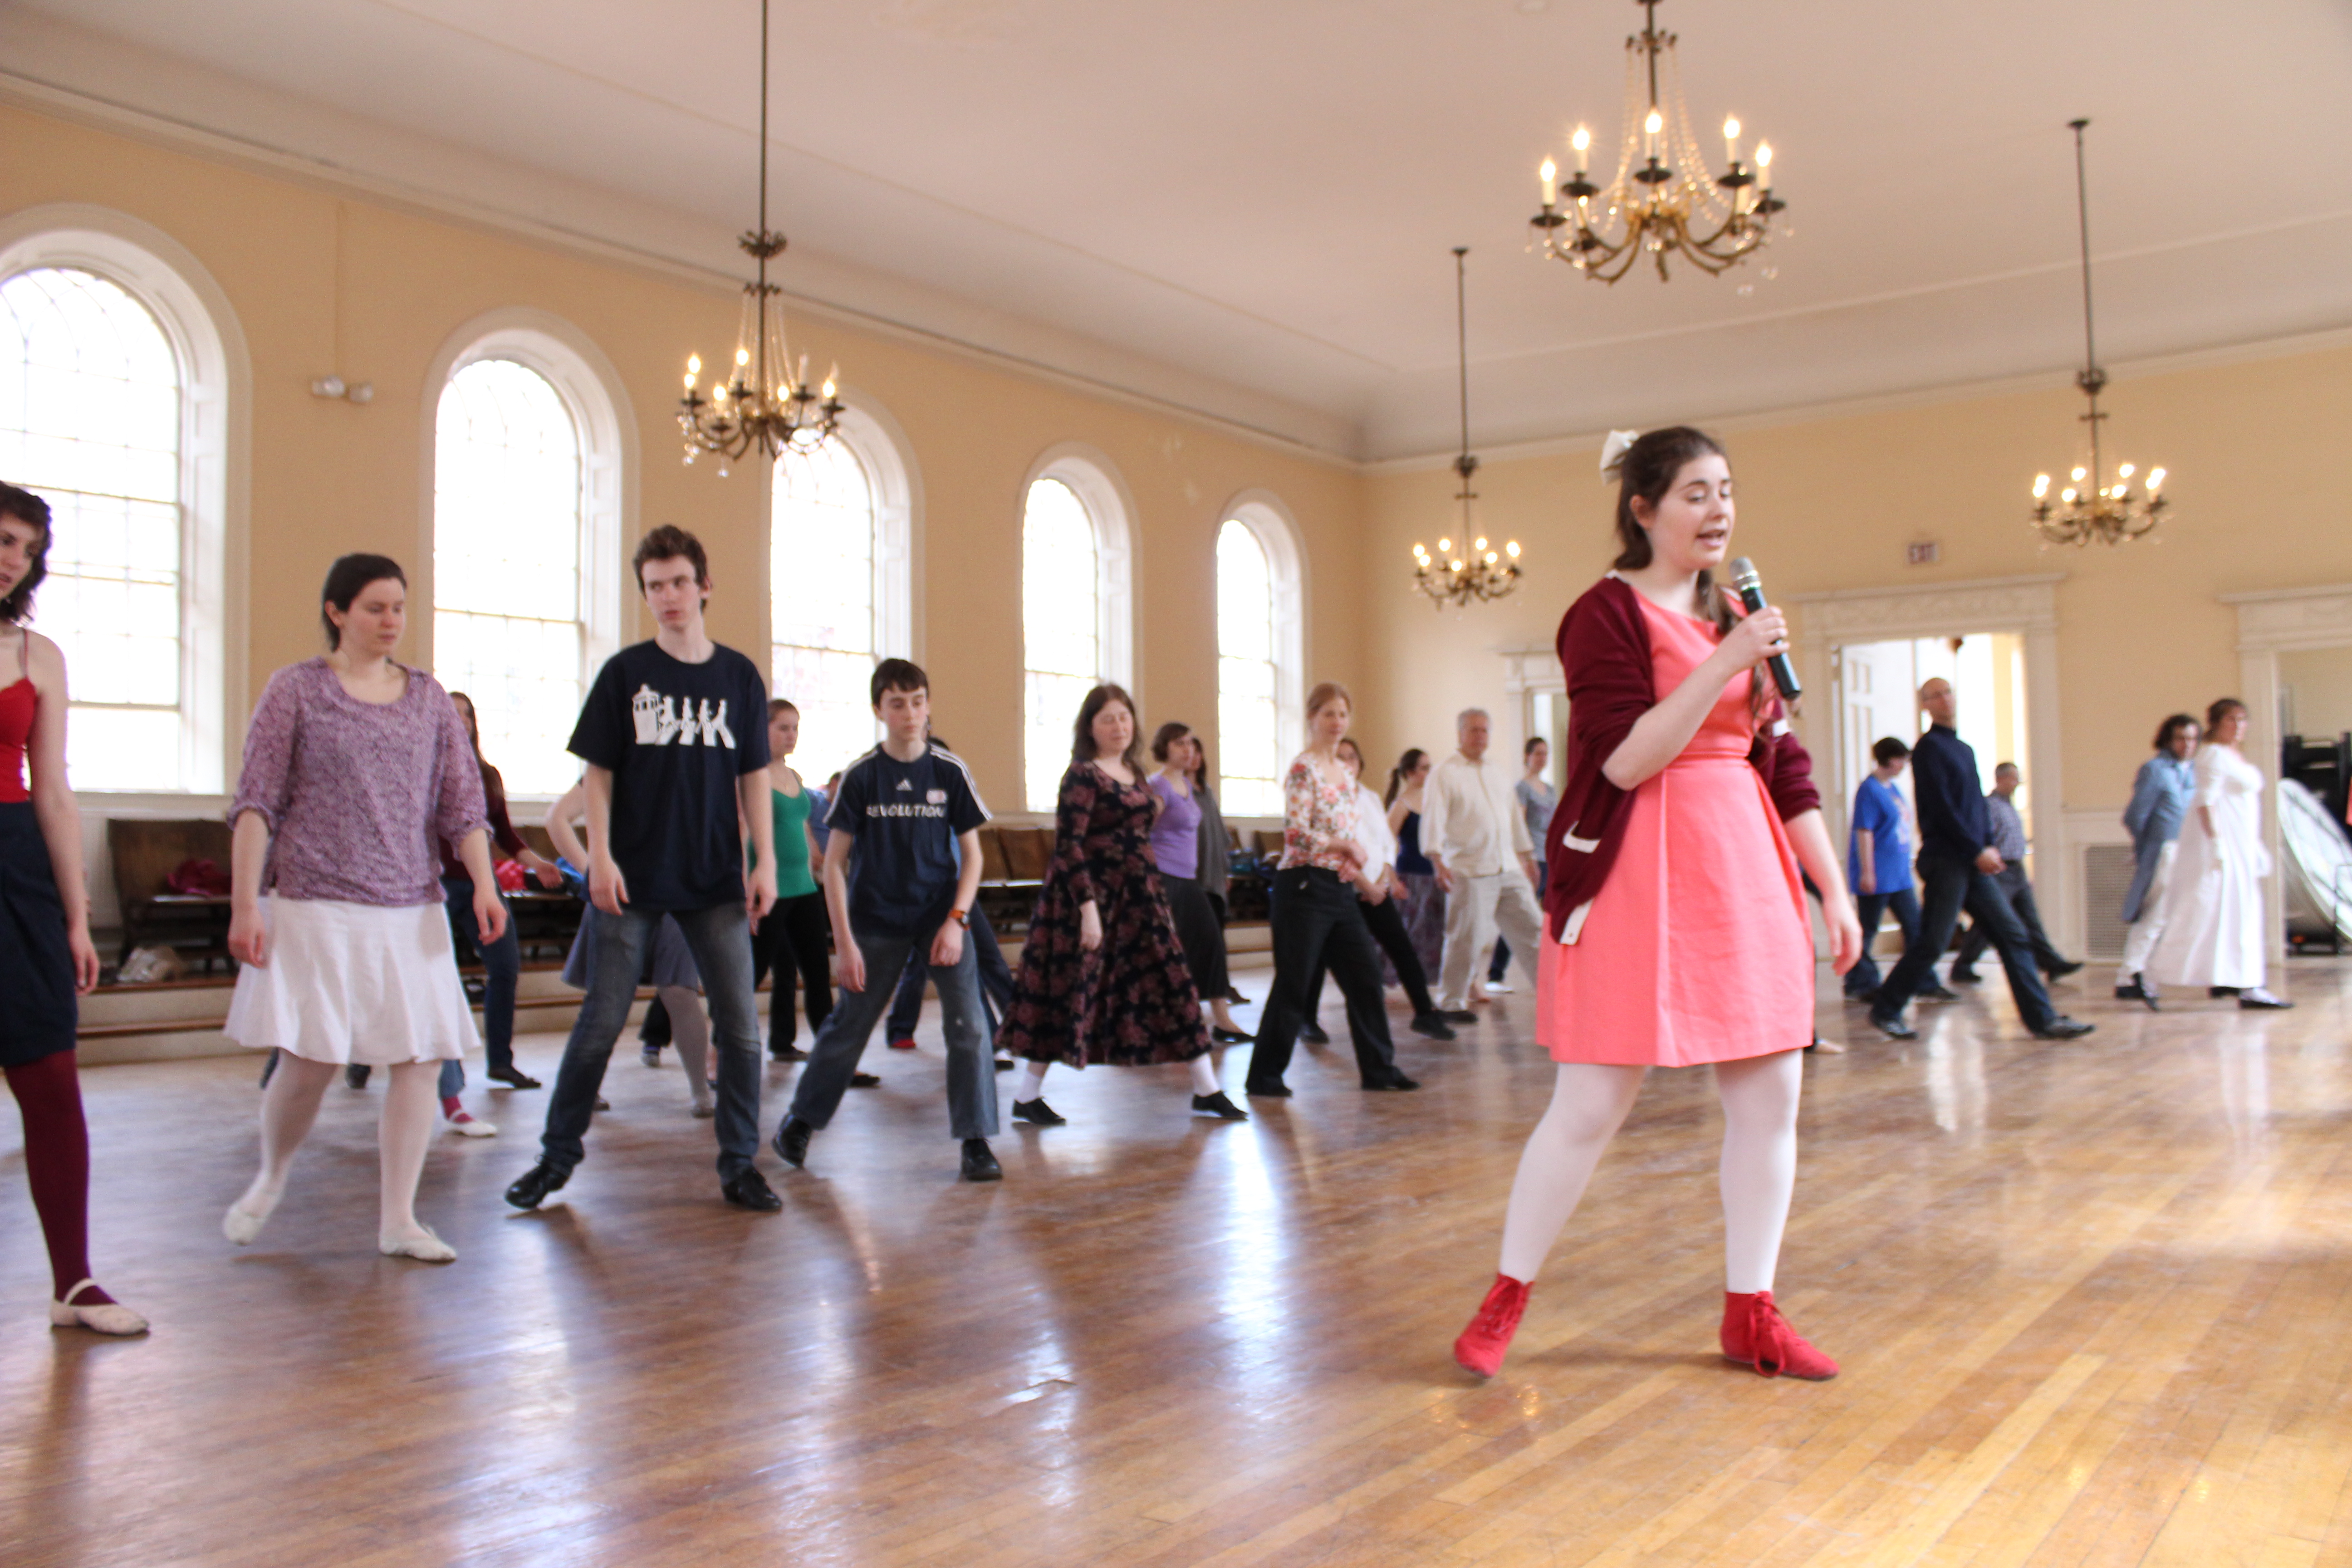
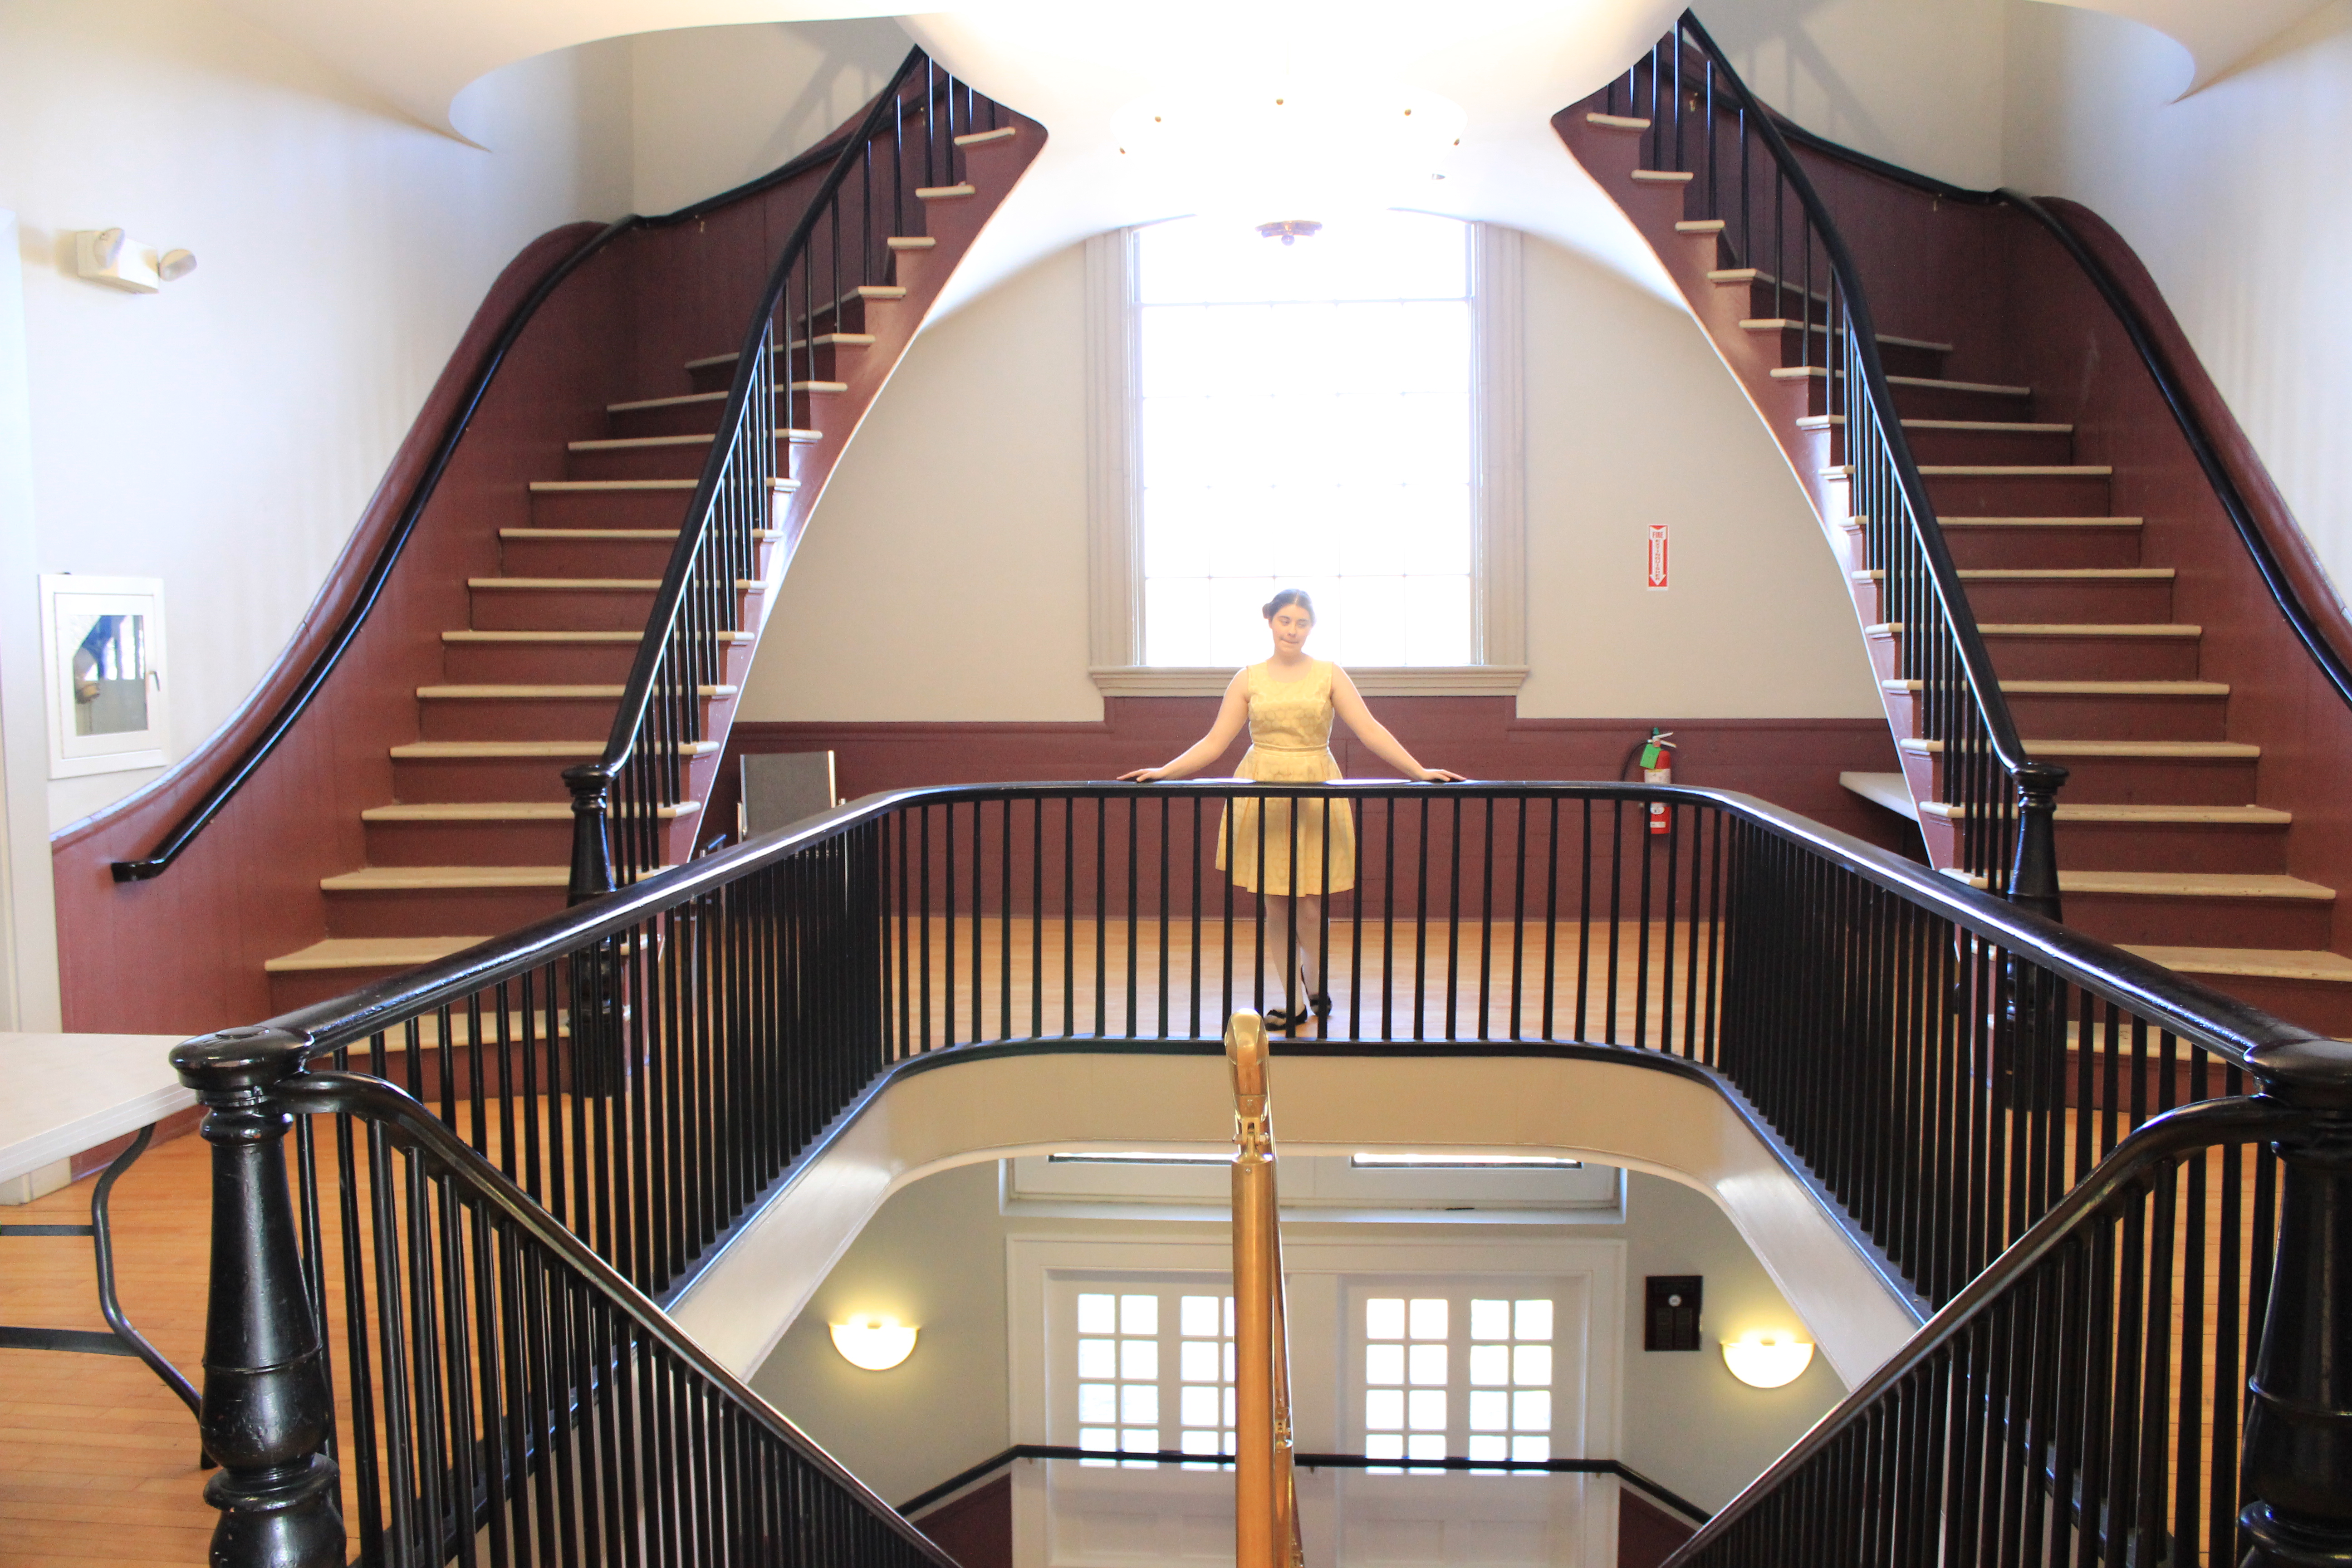
Having successfully completed the first day of the Regency Dance Weekend and then archery on Sunday afternoon, we hurried off to prepare for the Grand Reception and Ball on Sunday evening. These events were held at Hamilton Hall in Salem, MA. This hall that was built in 1805: perfect for our Regency events!

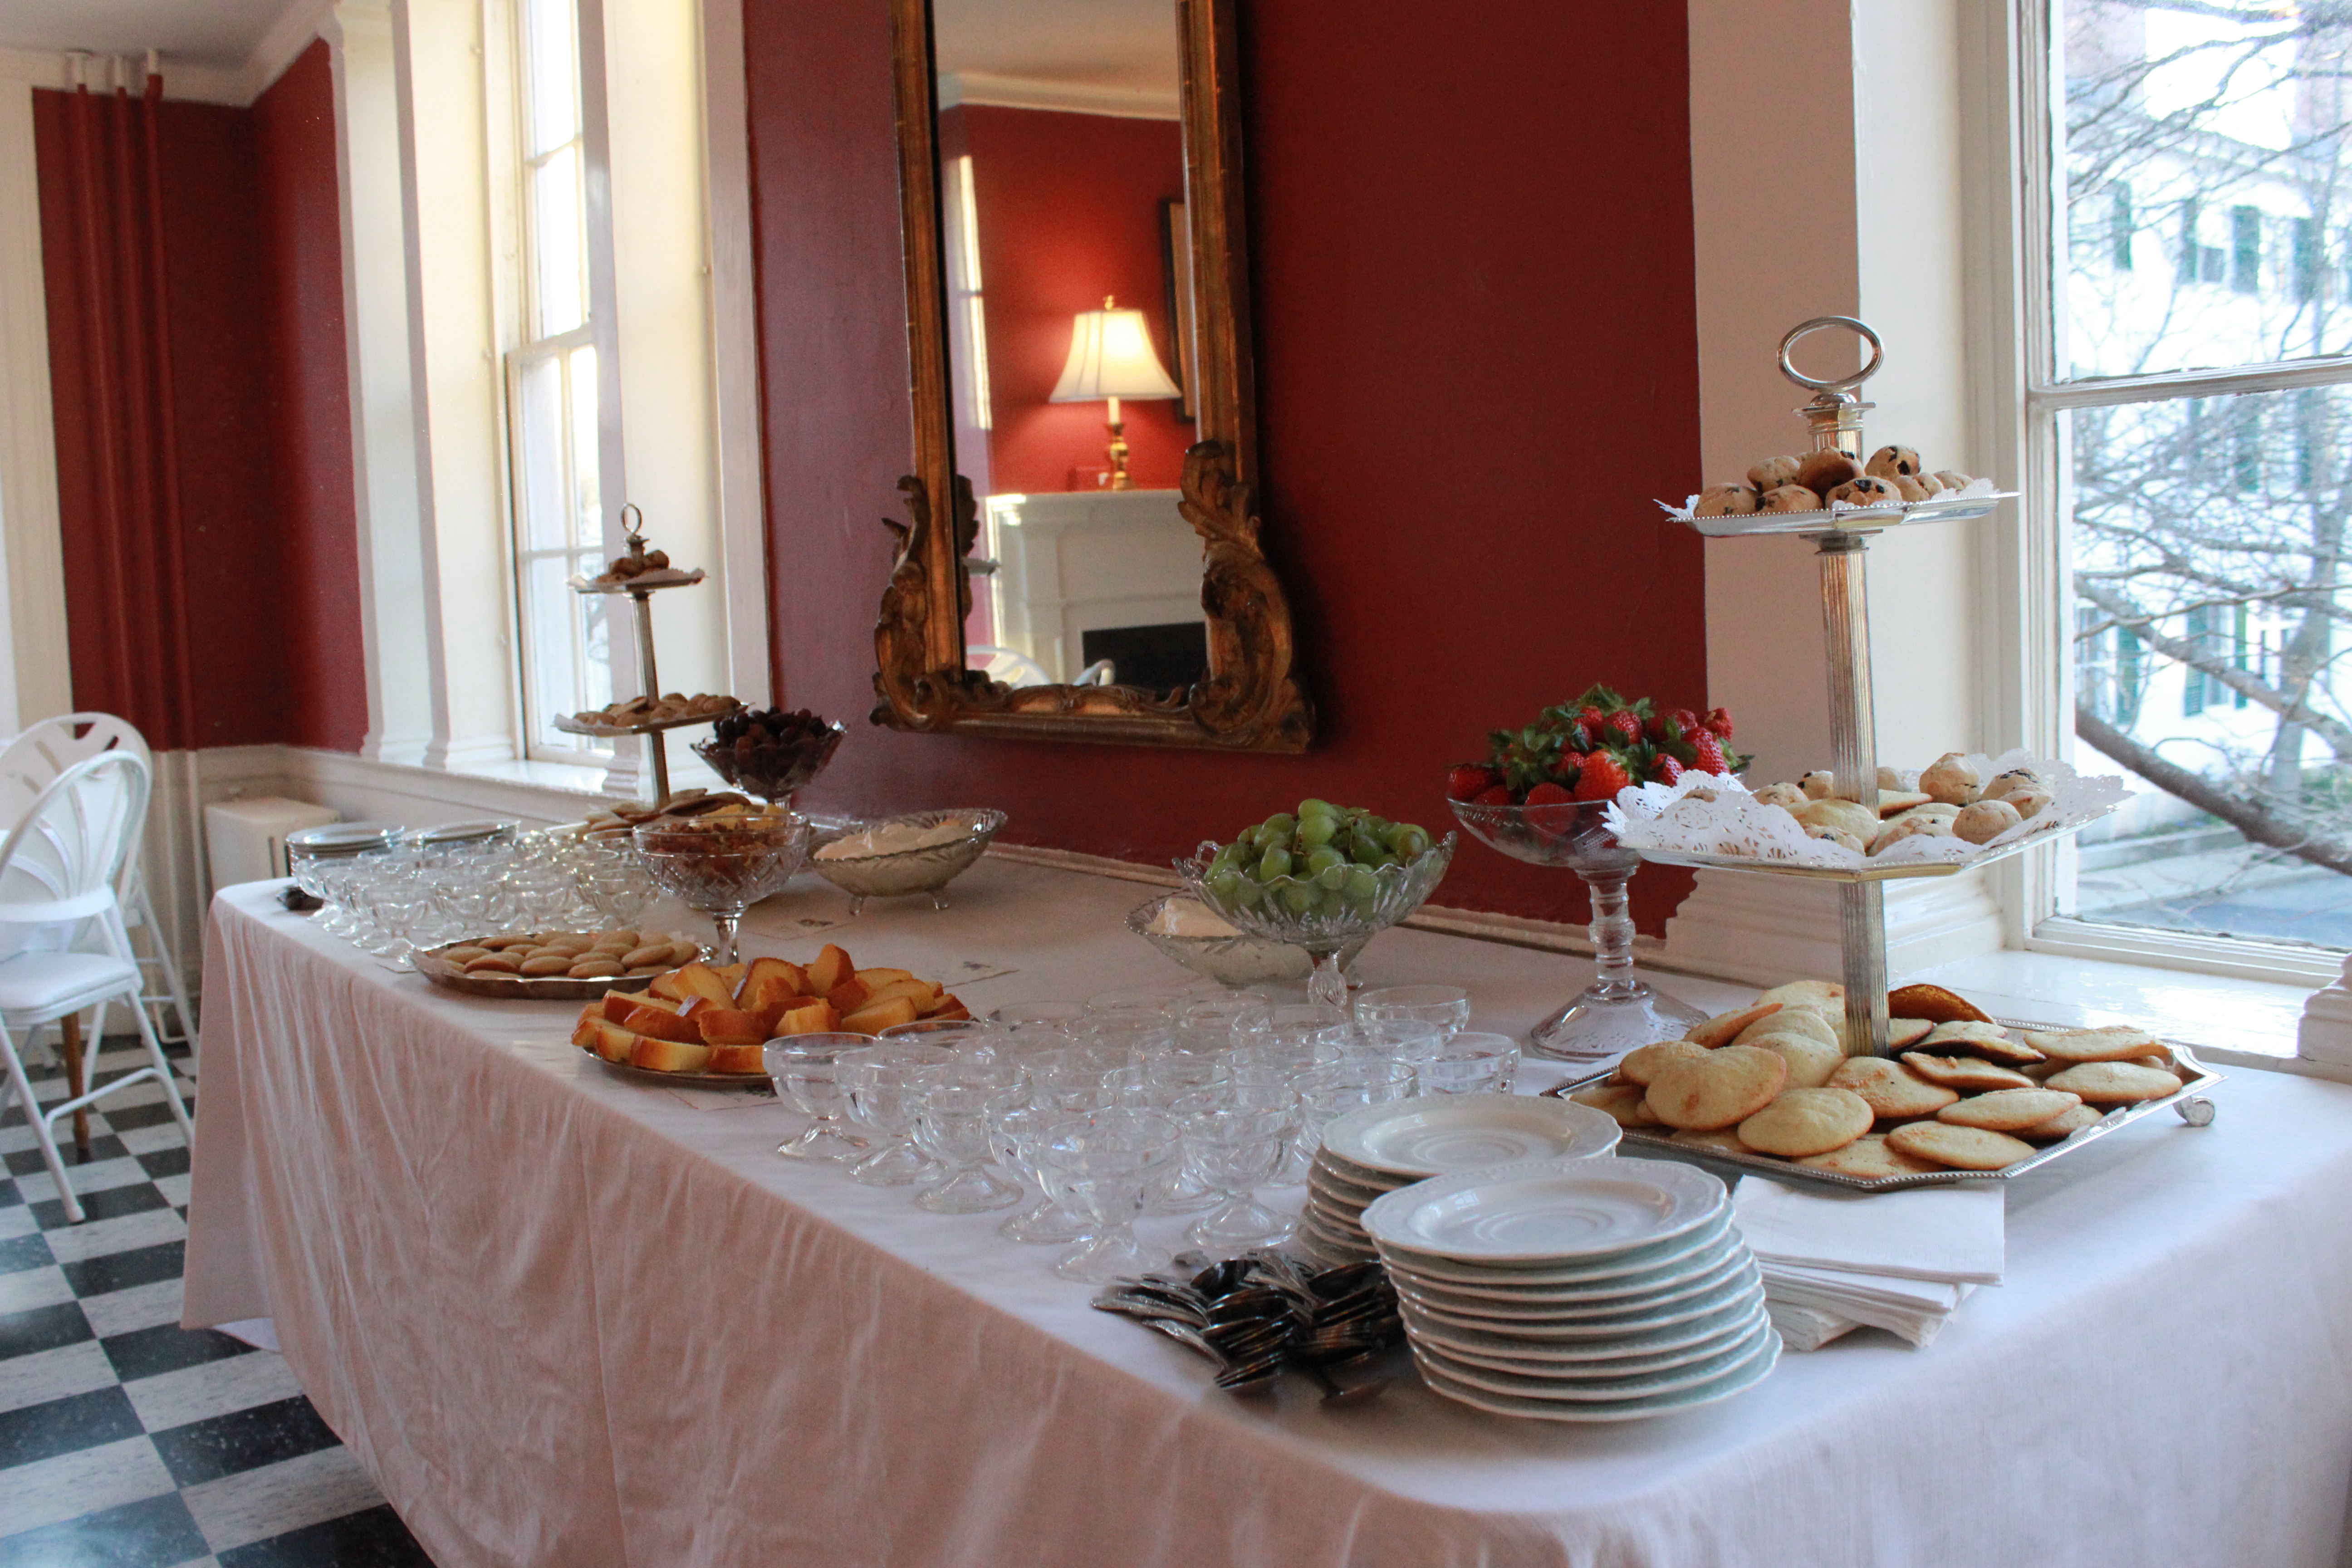
The reception was to include a toast with sparkling cider, so we pre-filled glasses to have ready to go at the right time. In addition, we worked on laying out the refreshments in pretty glass compotes and on silver trays as well as making the punch and laying out all the necessary silverware and dishes. Preparation was a bit hurried and I have to confess to getting super grumpy at one point…

IMG_0867
Picturesque filling of the glasses.
IMG_0860
Picturesque grumpy face.

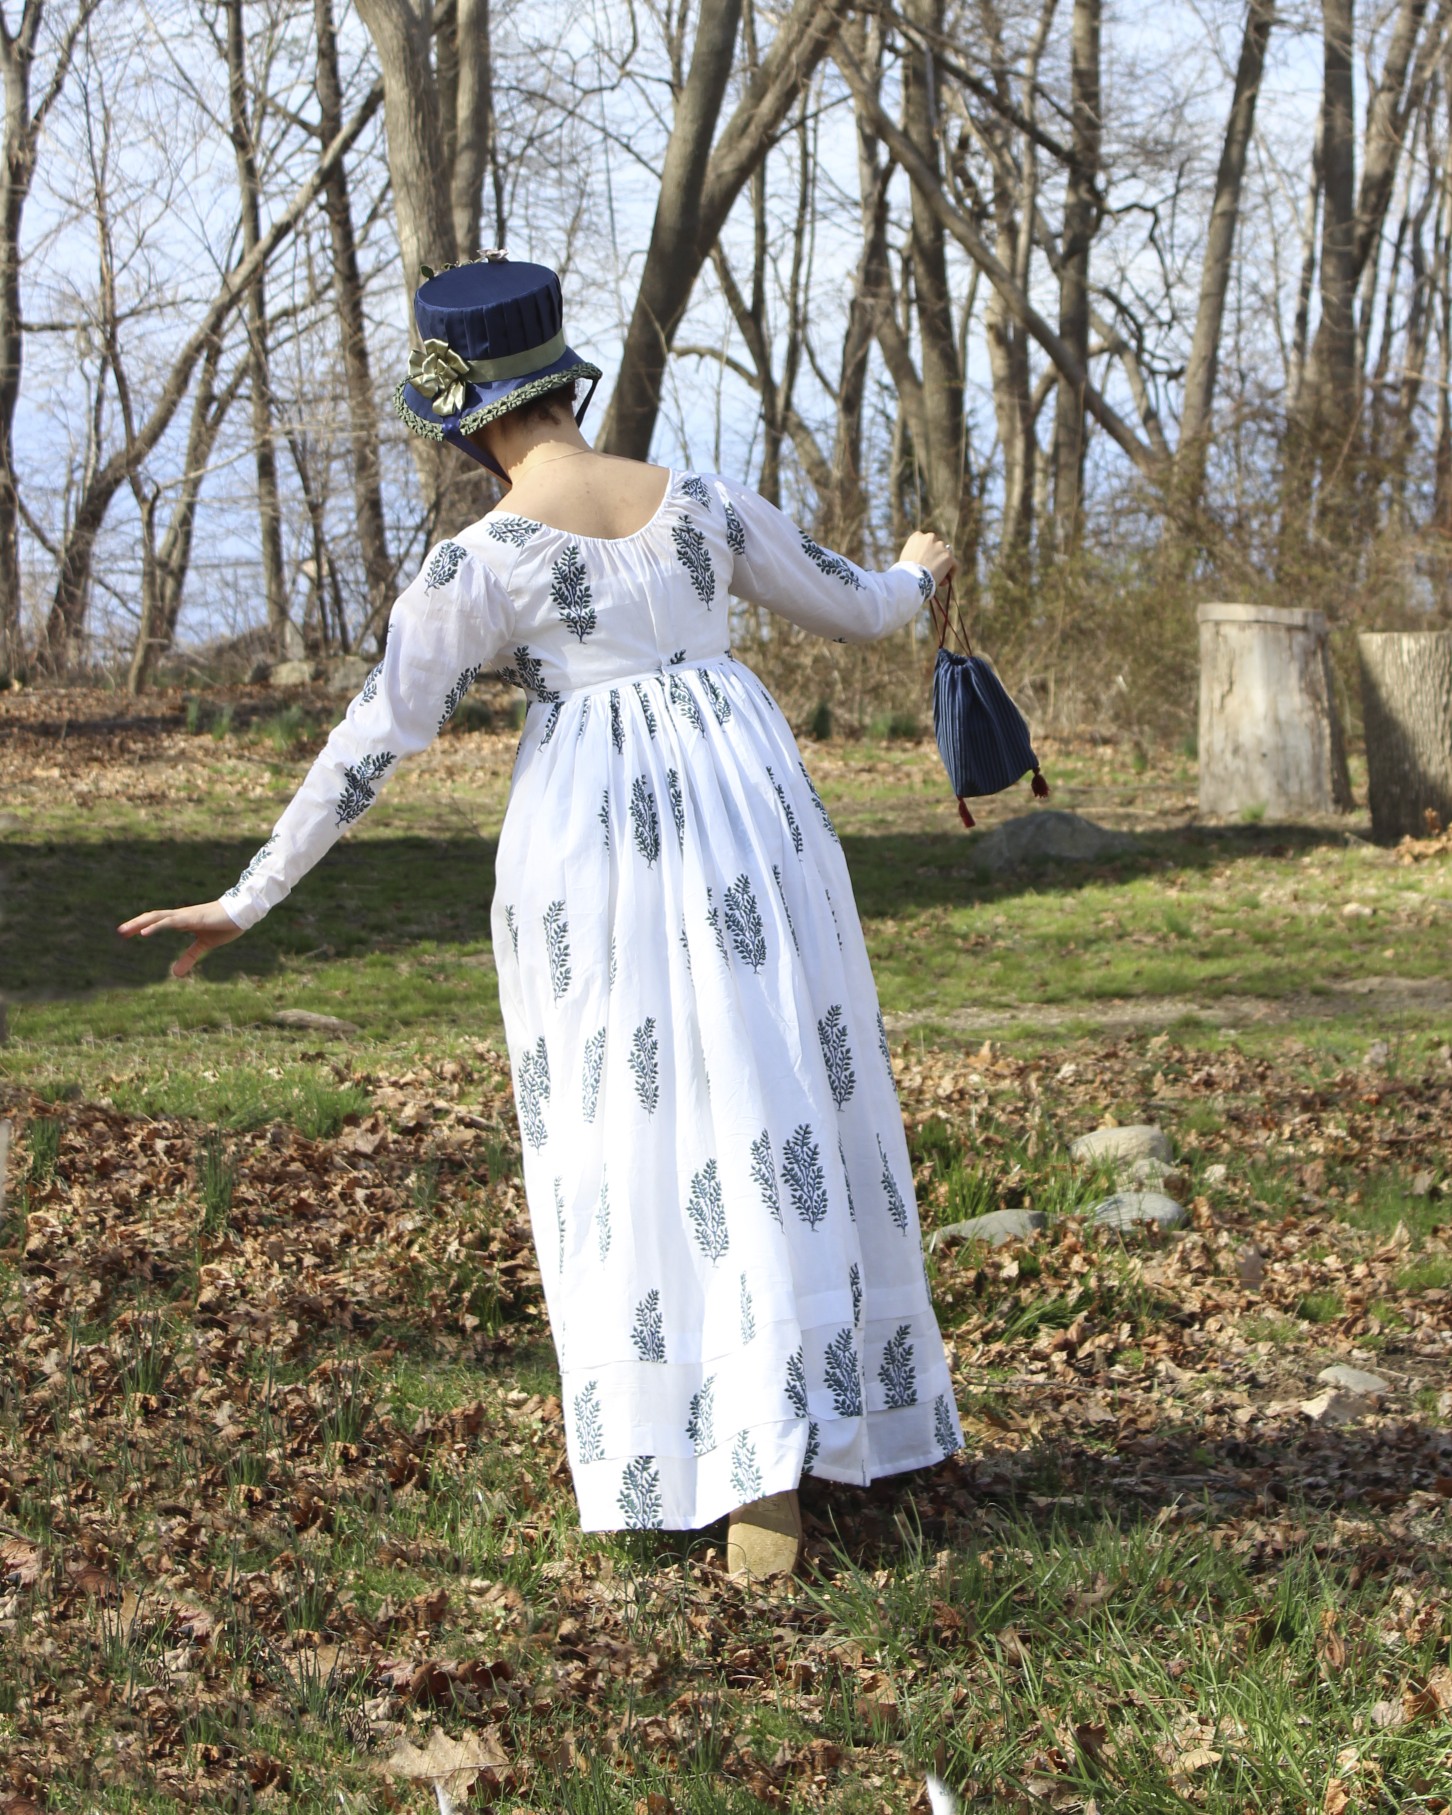
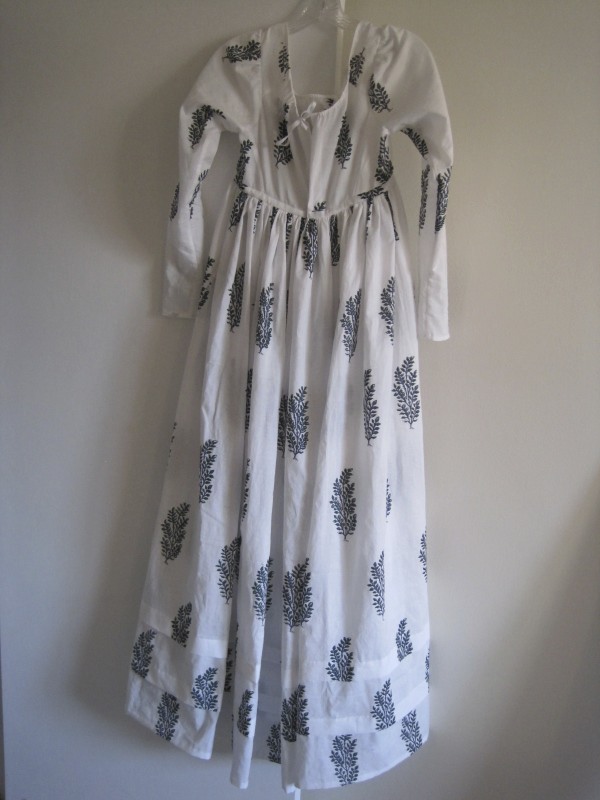
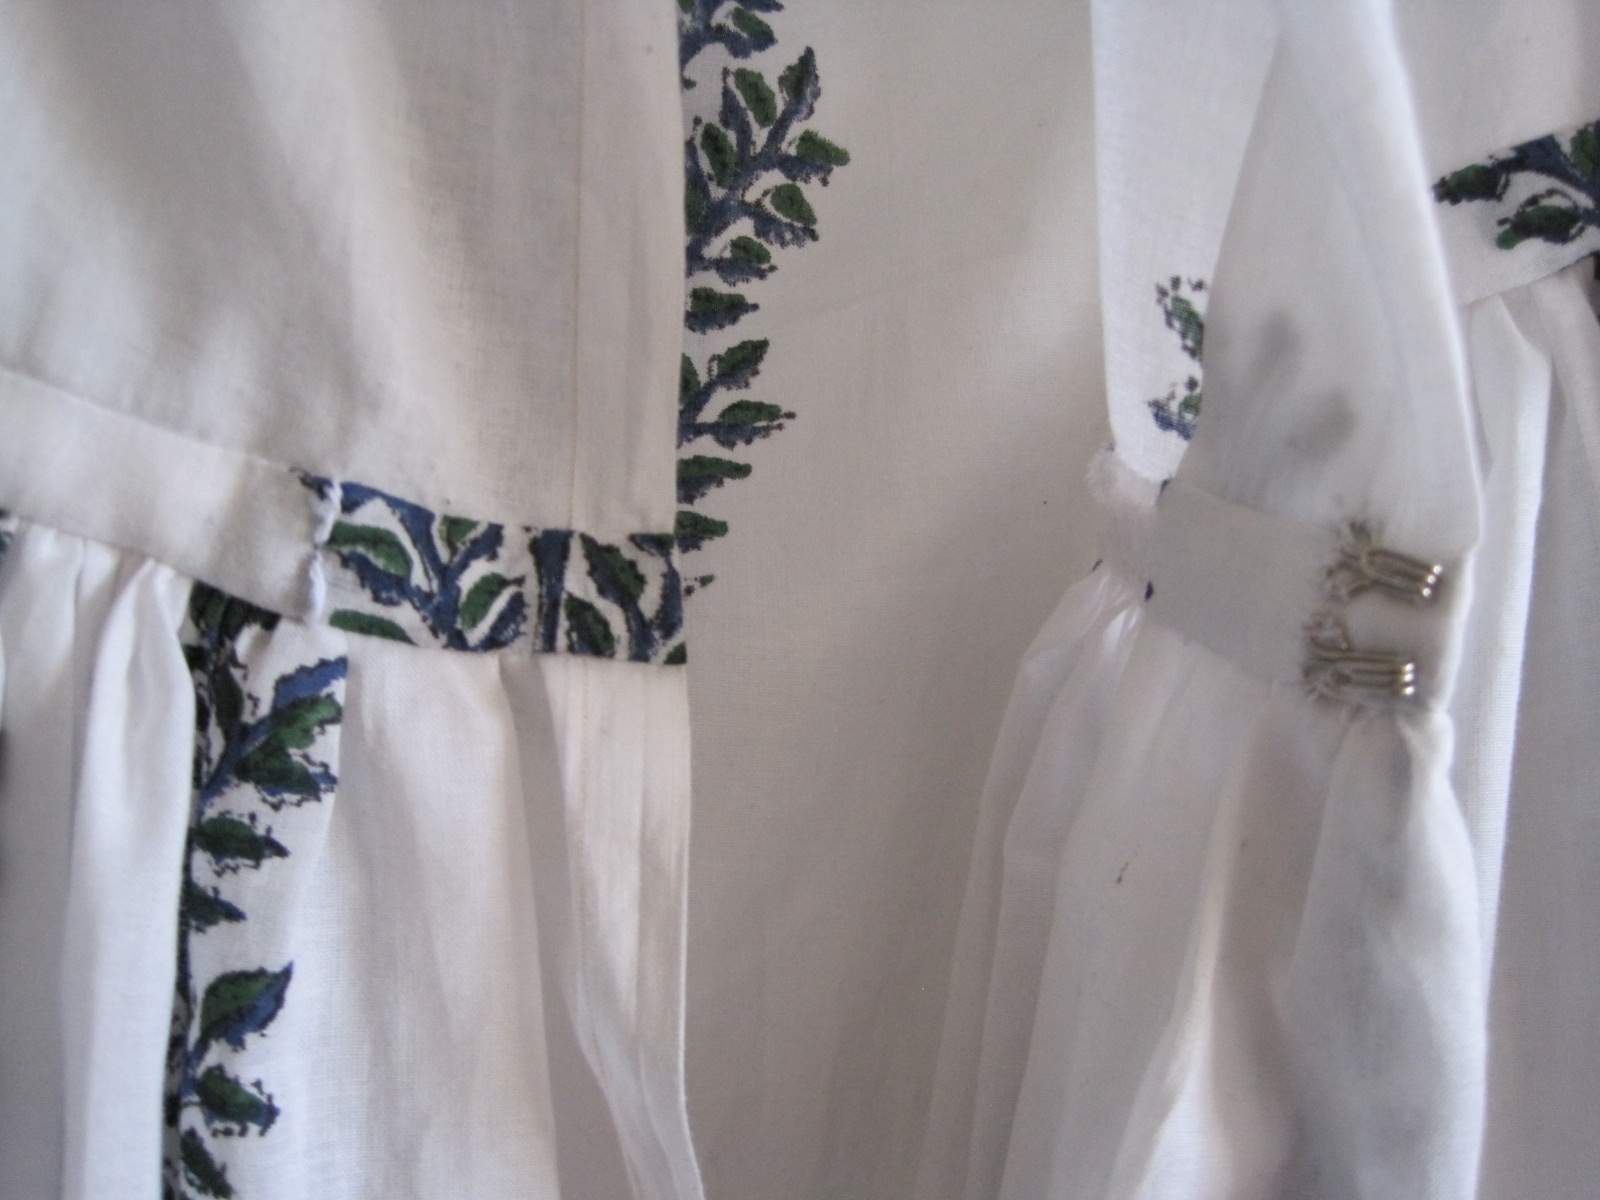
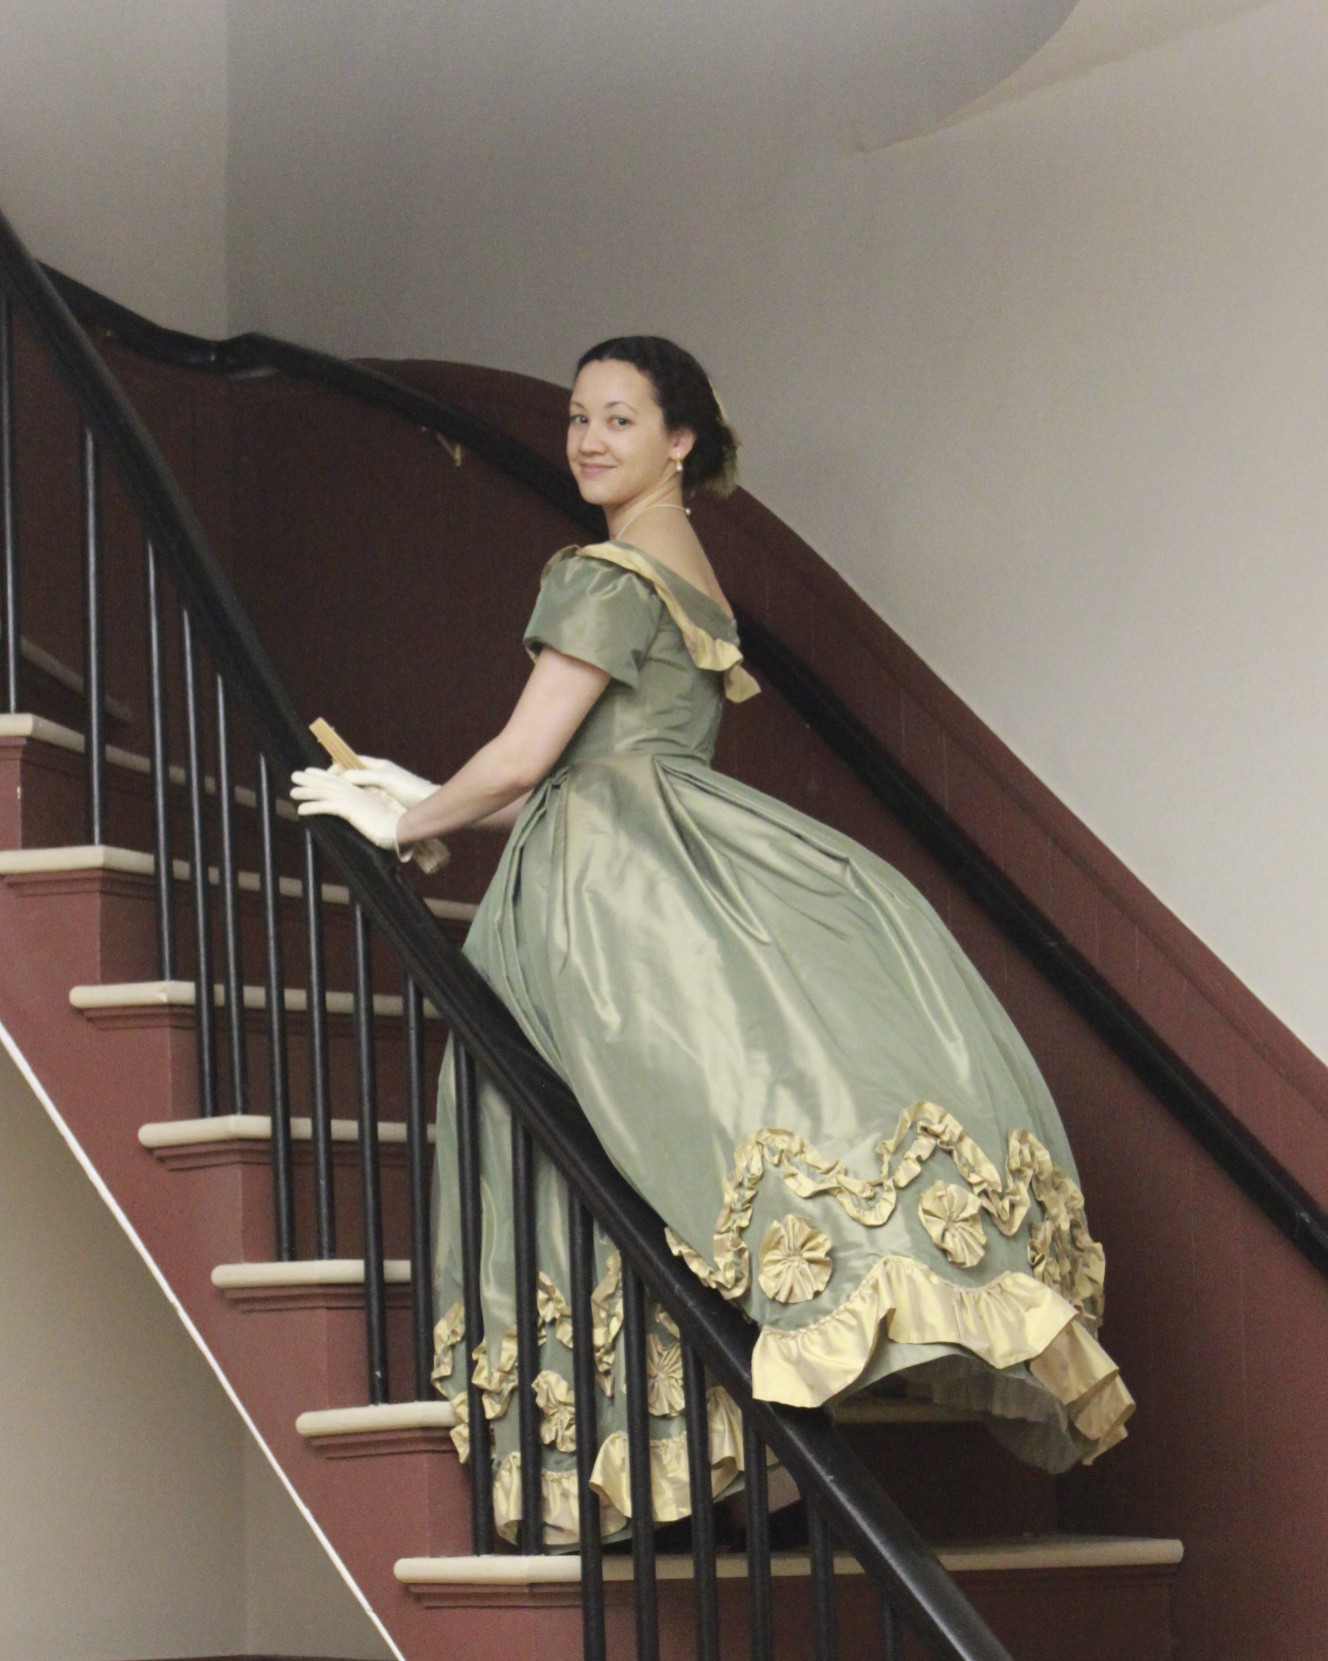
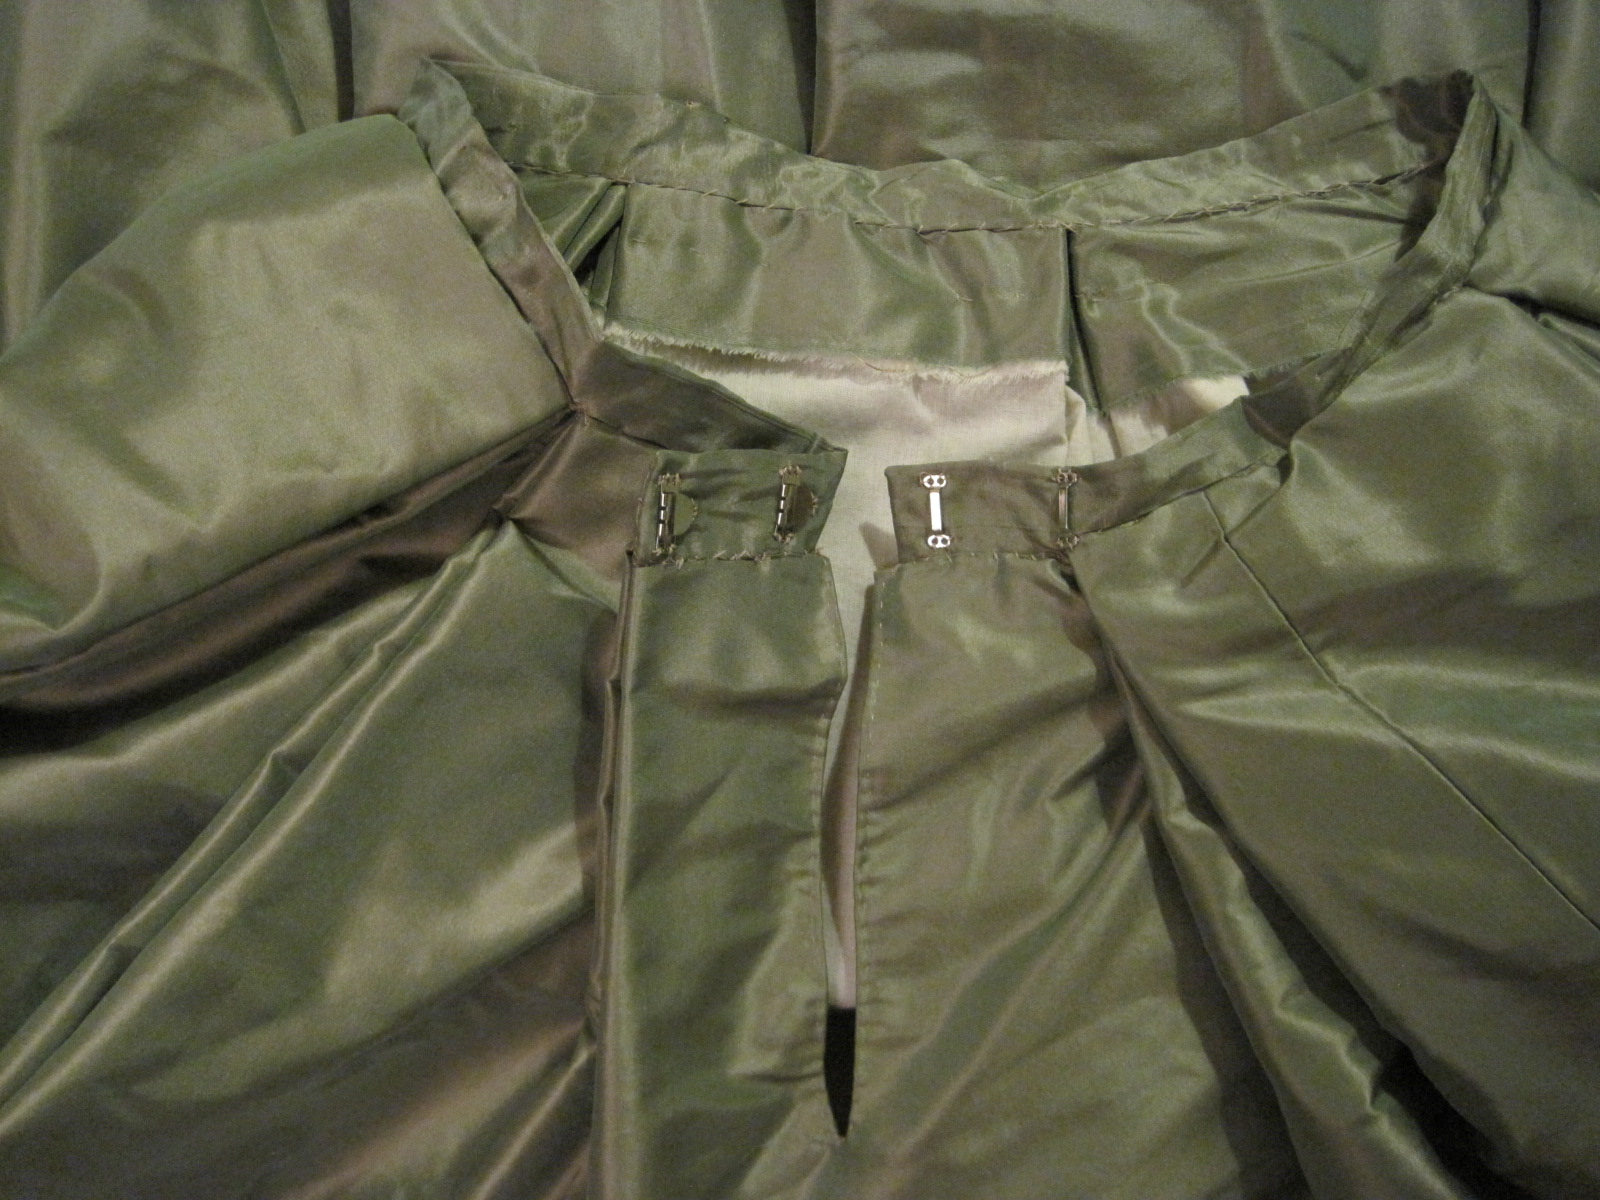
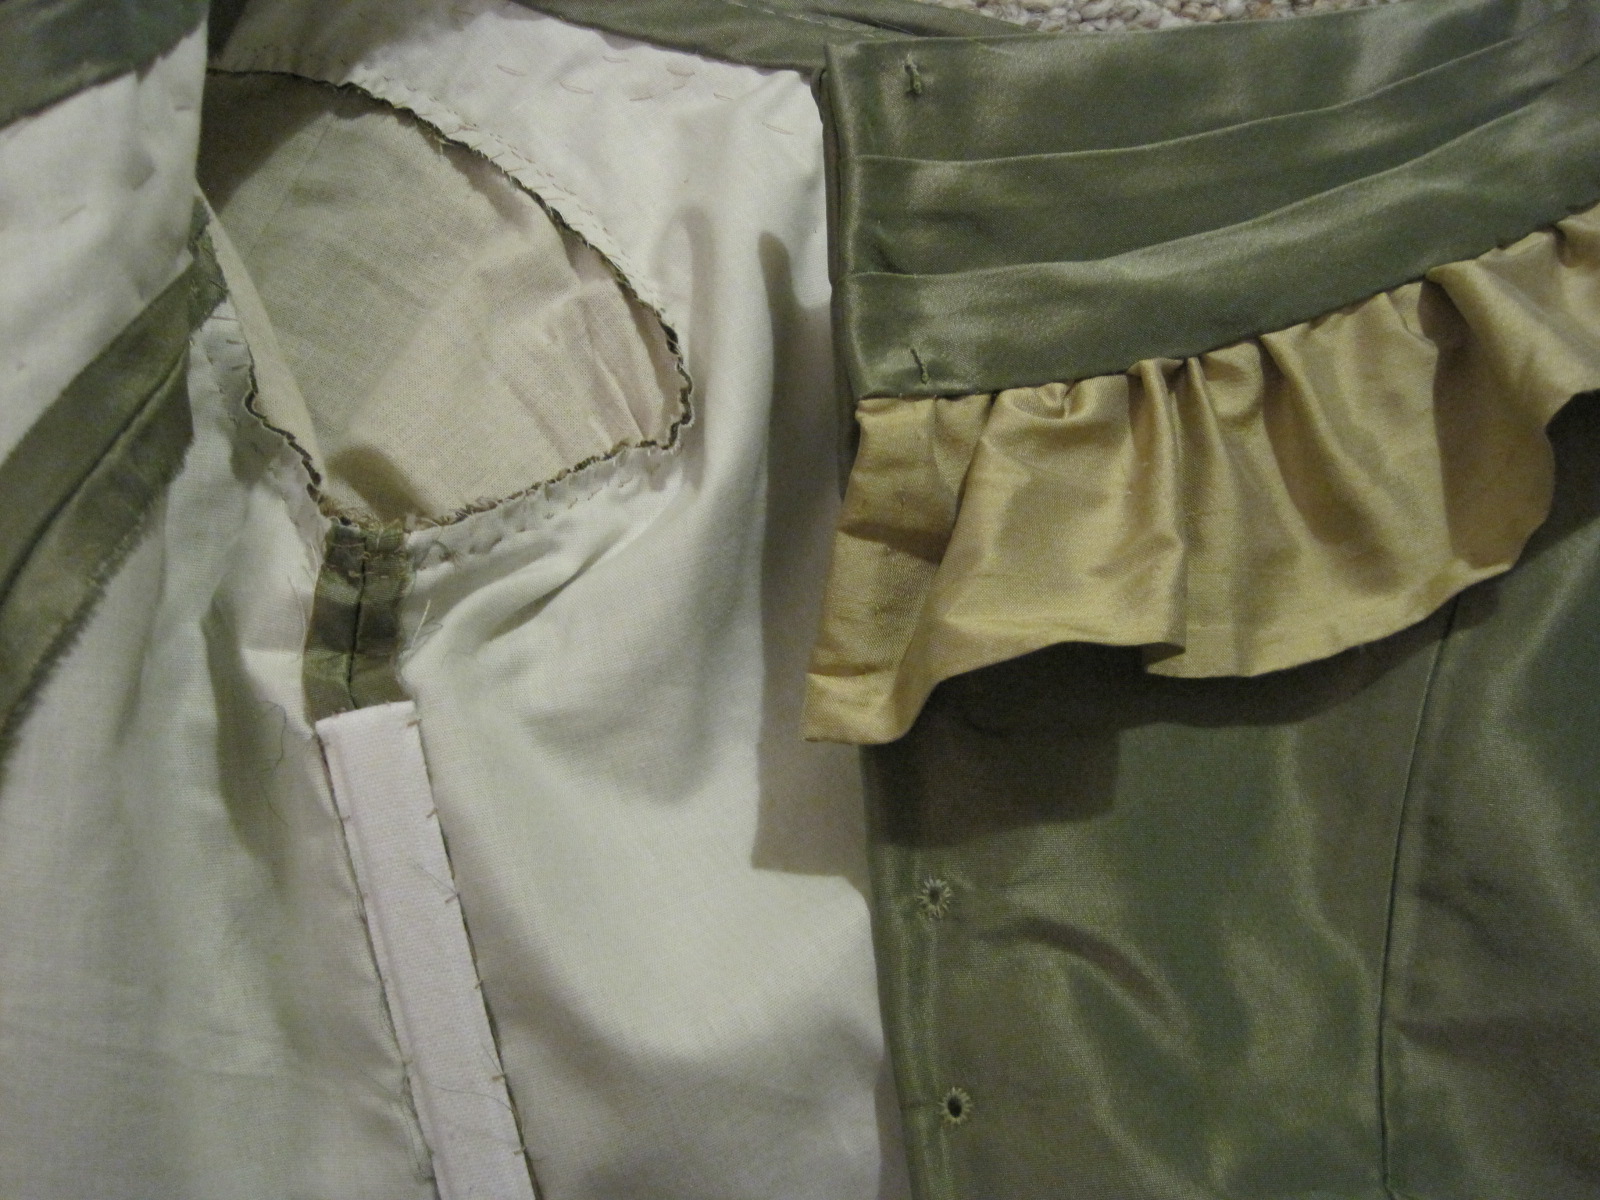
The alterations I made to my skirt to fix the rip created a new issue. Sigh. See those horizontal wrinkles on the rib area? Because the front of the skirt hangs differently now, the front skirt wants to wrinkle. I can fix this problem, but ugh! It’s so much easier when the clothes just fit perfectly!

IMG_0869
Partially completed spread of refreshments.
IMG_0925
When everything was ready we joined everyone else for some pictures in the lovely ballroom, where there were real candles in the windows! So pretty!
IMG_0958 - Version 2
These mirrors are stunning and beautiful, in addition to being wonderful places to pose for the camera.
IMG_0874
I thought my hair looked particularly regal for this event. Here’s a good picture of my poof and laurel wreath tiara.

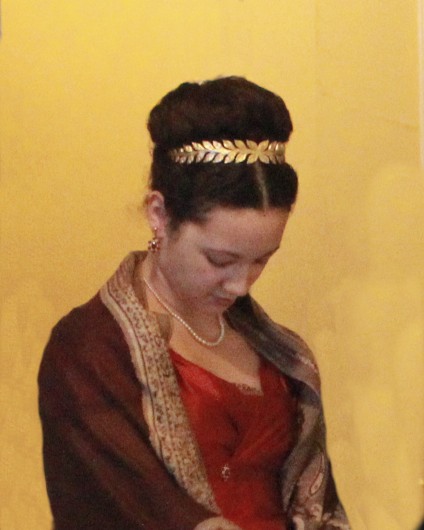
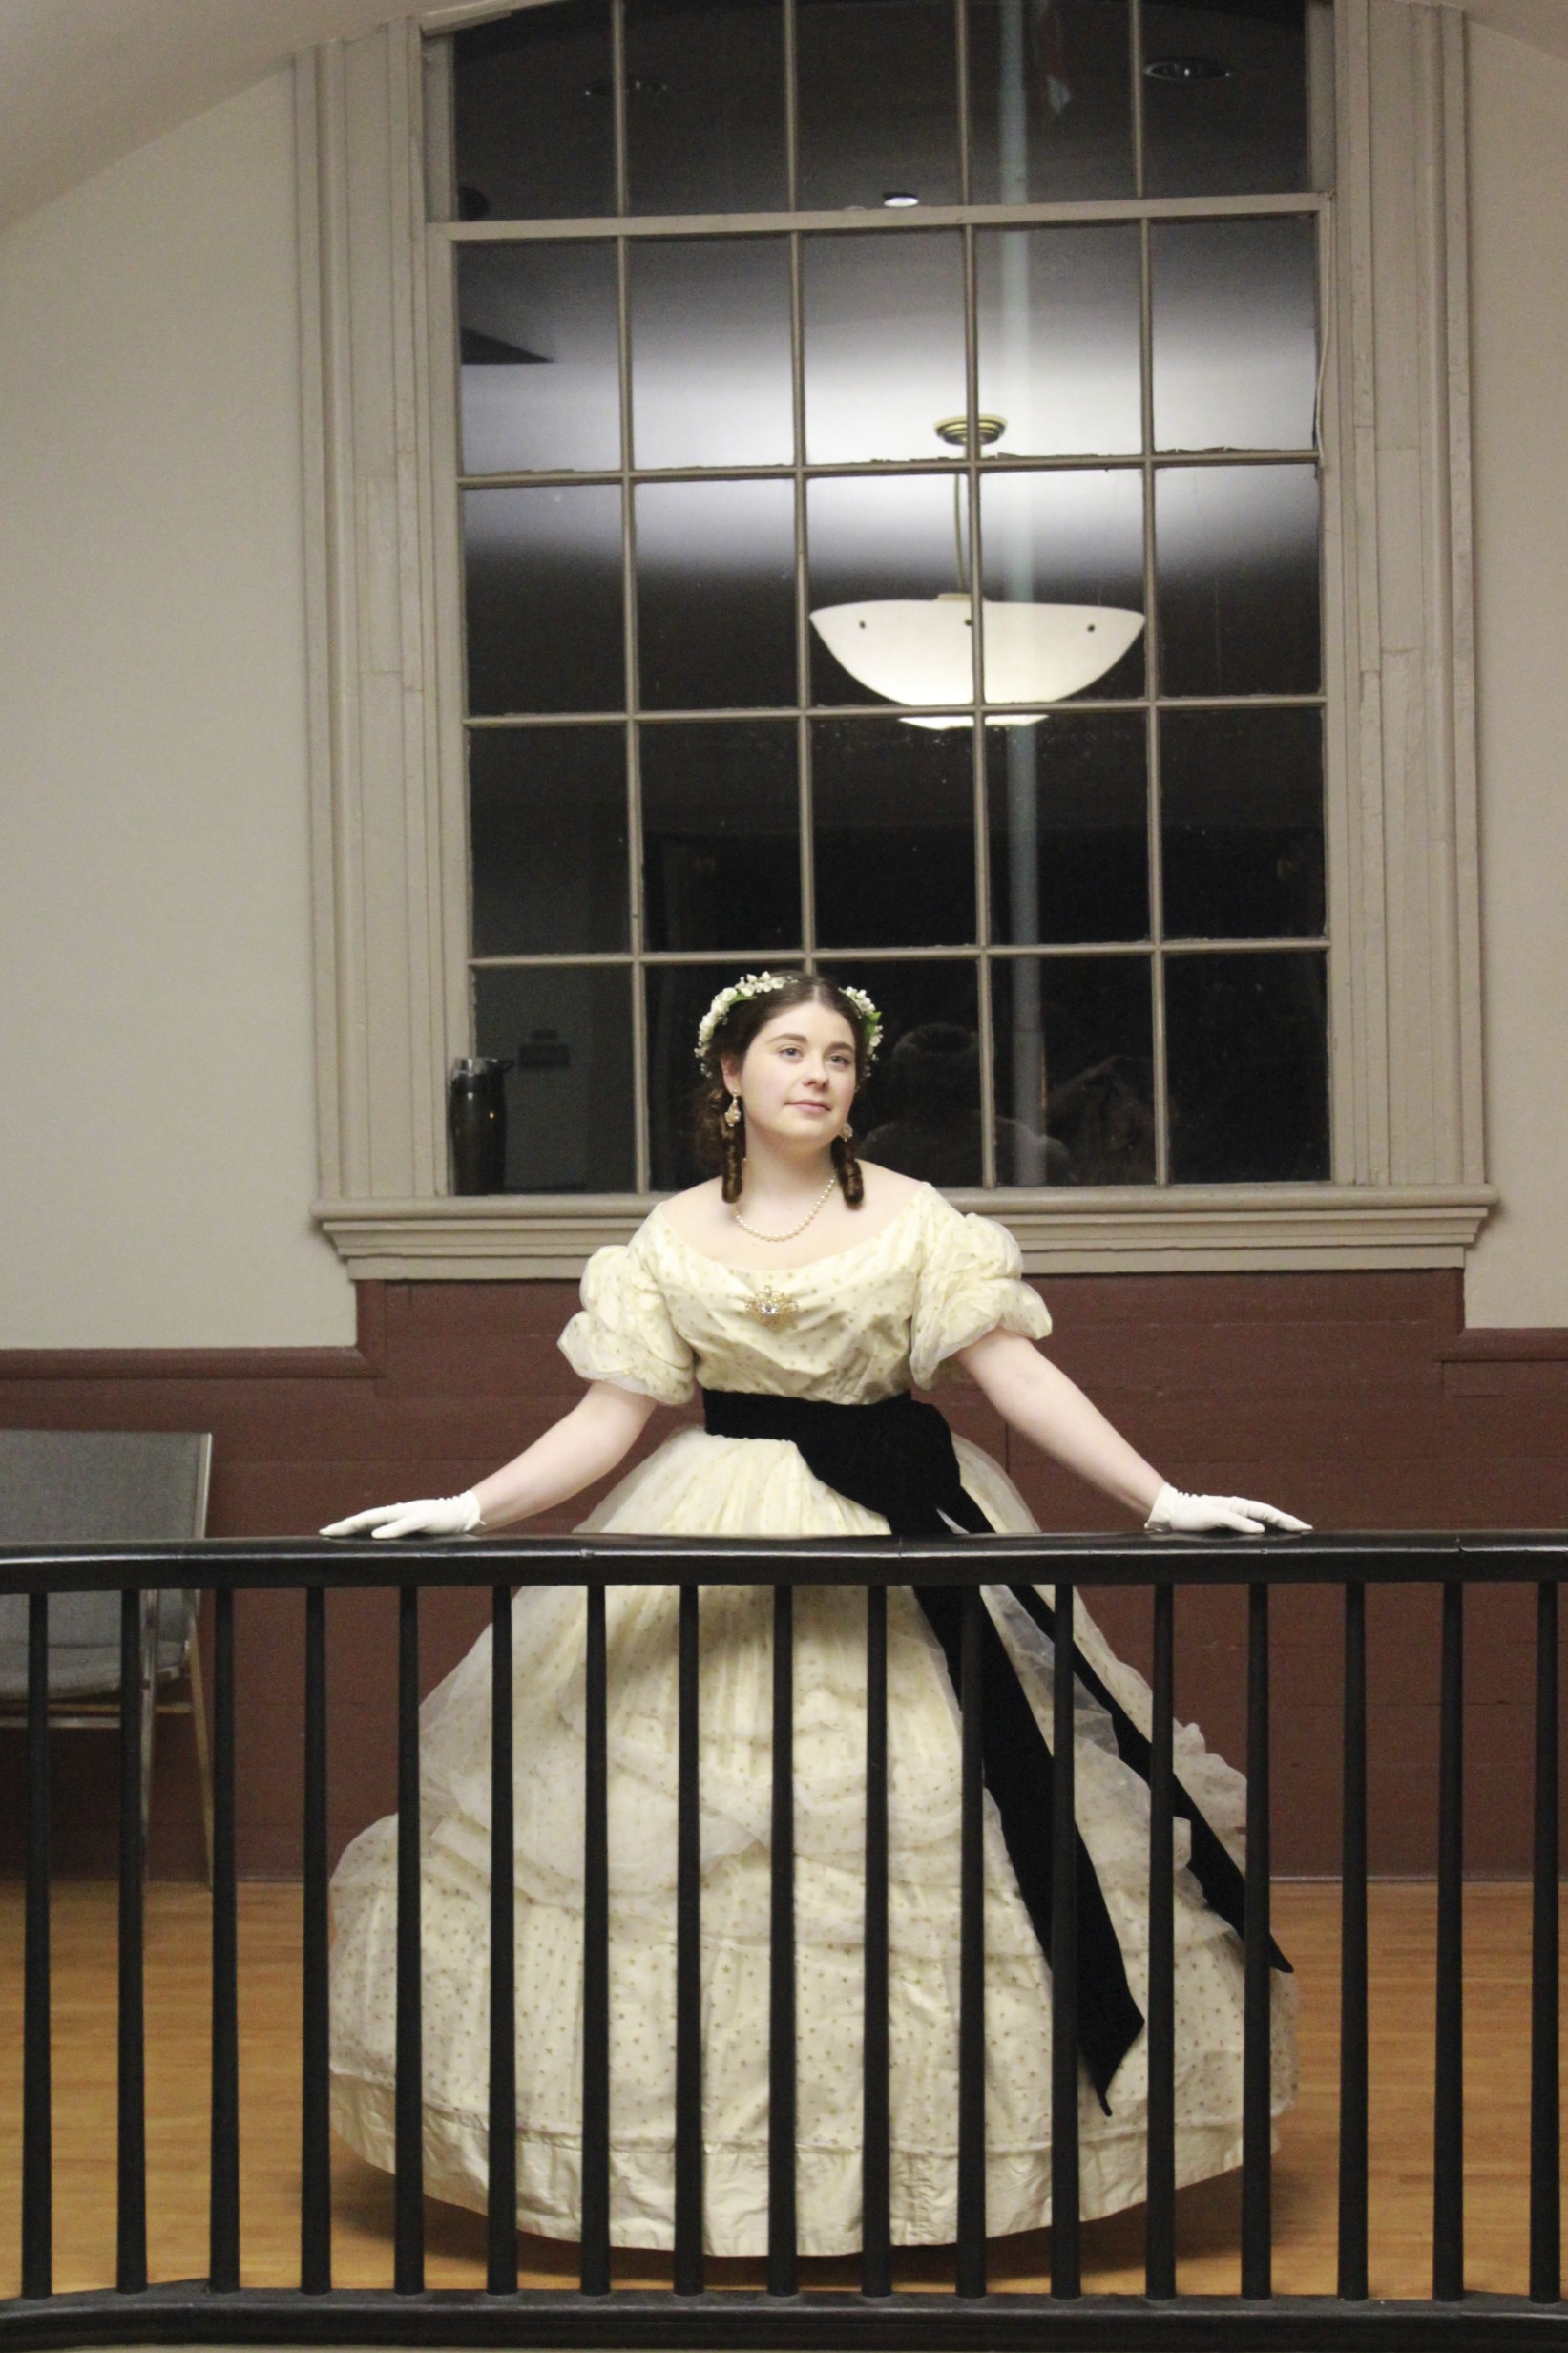
It’s convenient for these sort of events to have hair that is easily made poofy. I don’t have any short bits of hair around my face (aside from frizz…) so curly tendrils for Regency hair styles don’t work for me. This had become my go-to Regency style: center part in the front with the front bits of hair saved for last; the back part of the hair put into a pony tail and brushed out to be super poofy, then rolled on itself to create a self rat and hide the ends. The poof is then pinned in place, the front bits are wrapped down and around the back which creates lovely lines on the back of the head, and finally the tiara is added to define the area between part and poof. The whole thing is finished off with a liberal douse of super hold hairspray to contain the frizz and keep the style in place.

But enough pictures of my dress and hair! After these reception pictures we all descended the stairs to the sidewalk, where we watched a celebratory champagne bottle be opened with a saber. Neat!

IMG_0905
Ready?
IMG_0913
Each person was served with a glass of sparkling cider on his or her way back up to the ballroom.
IMG_0966
And then we all had a bit of time to socialize and admire the room, the people, and the circulating cider refills.

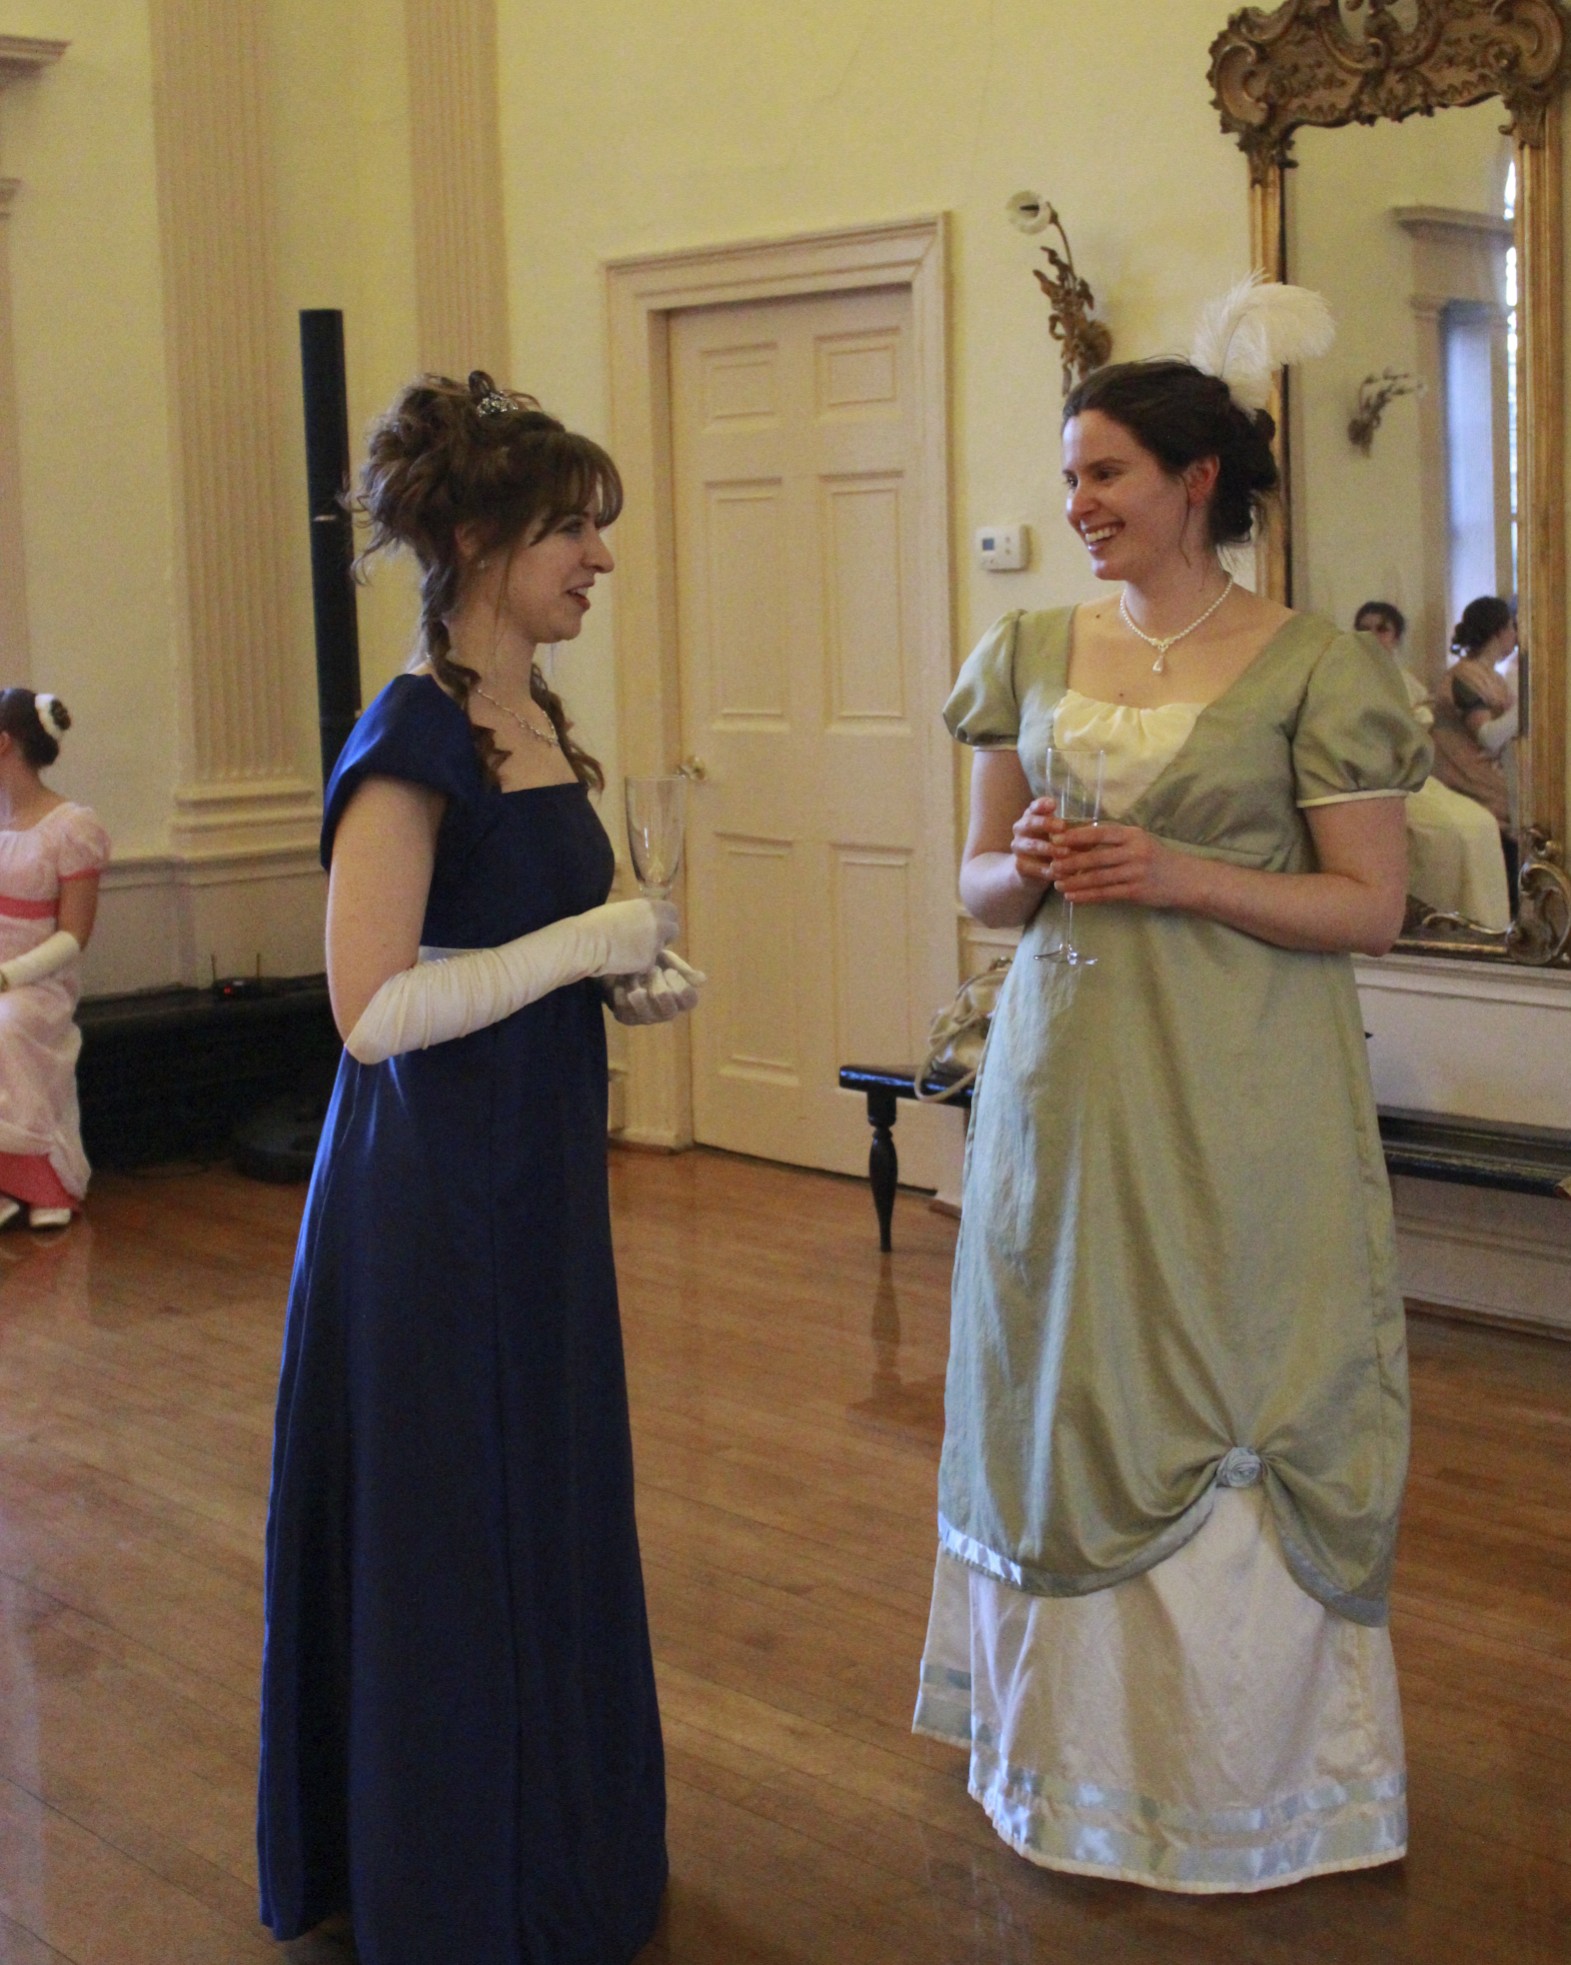
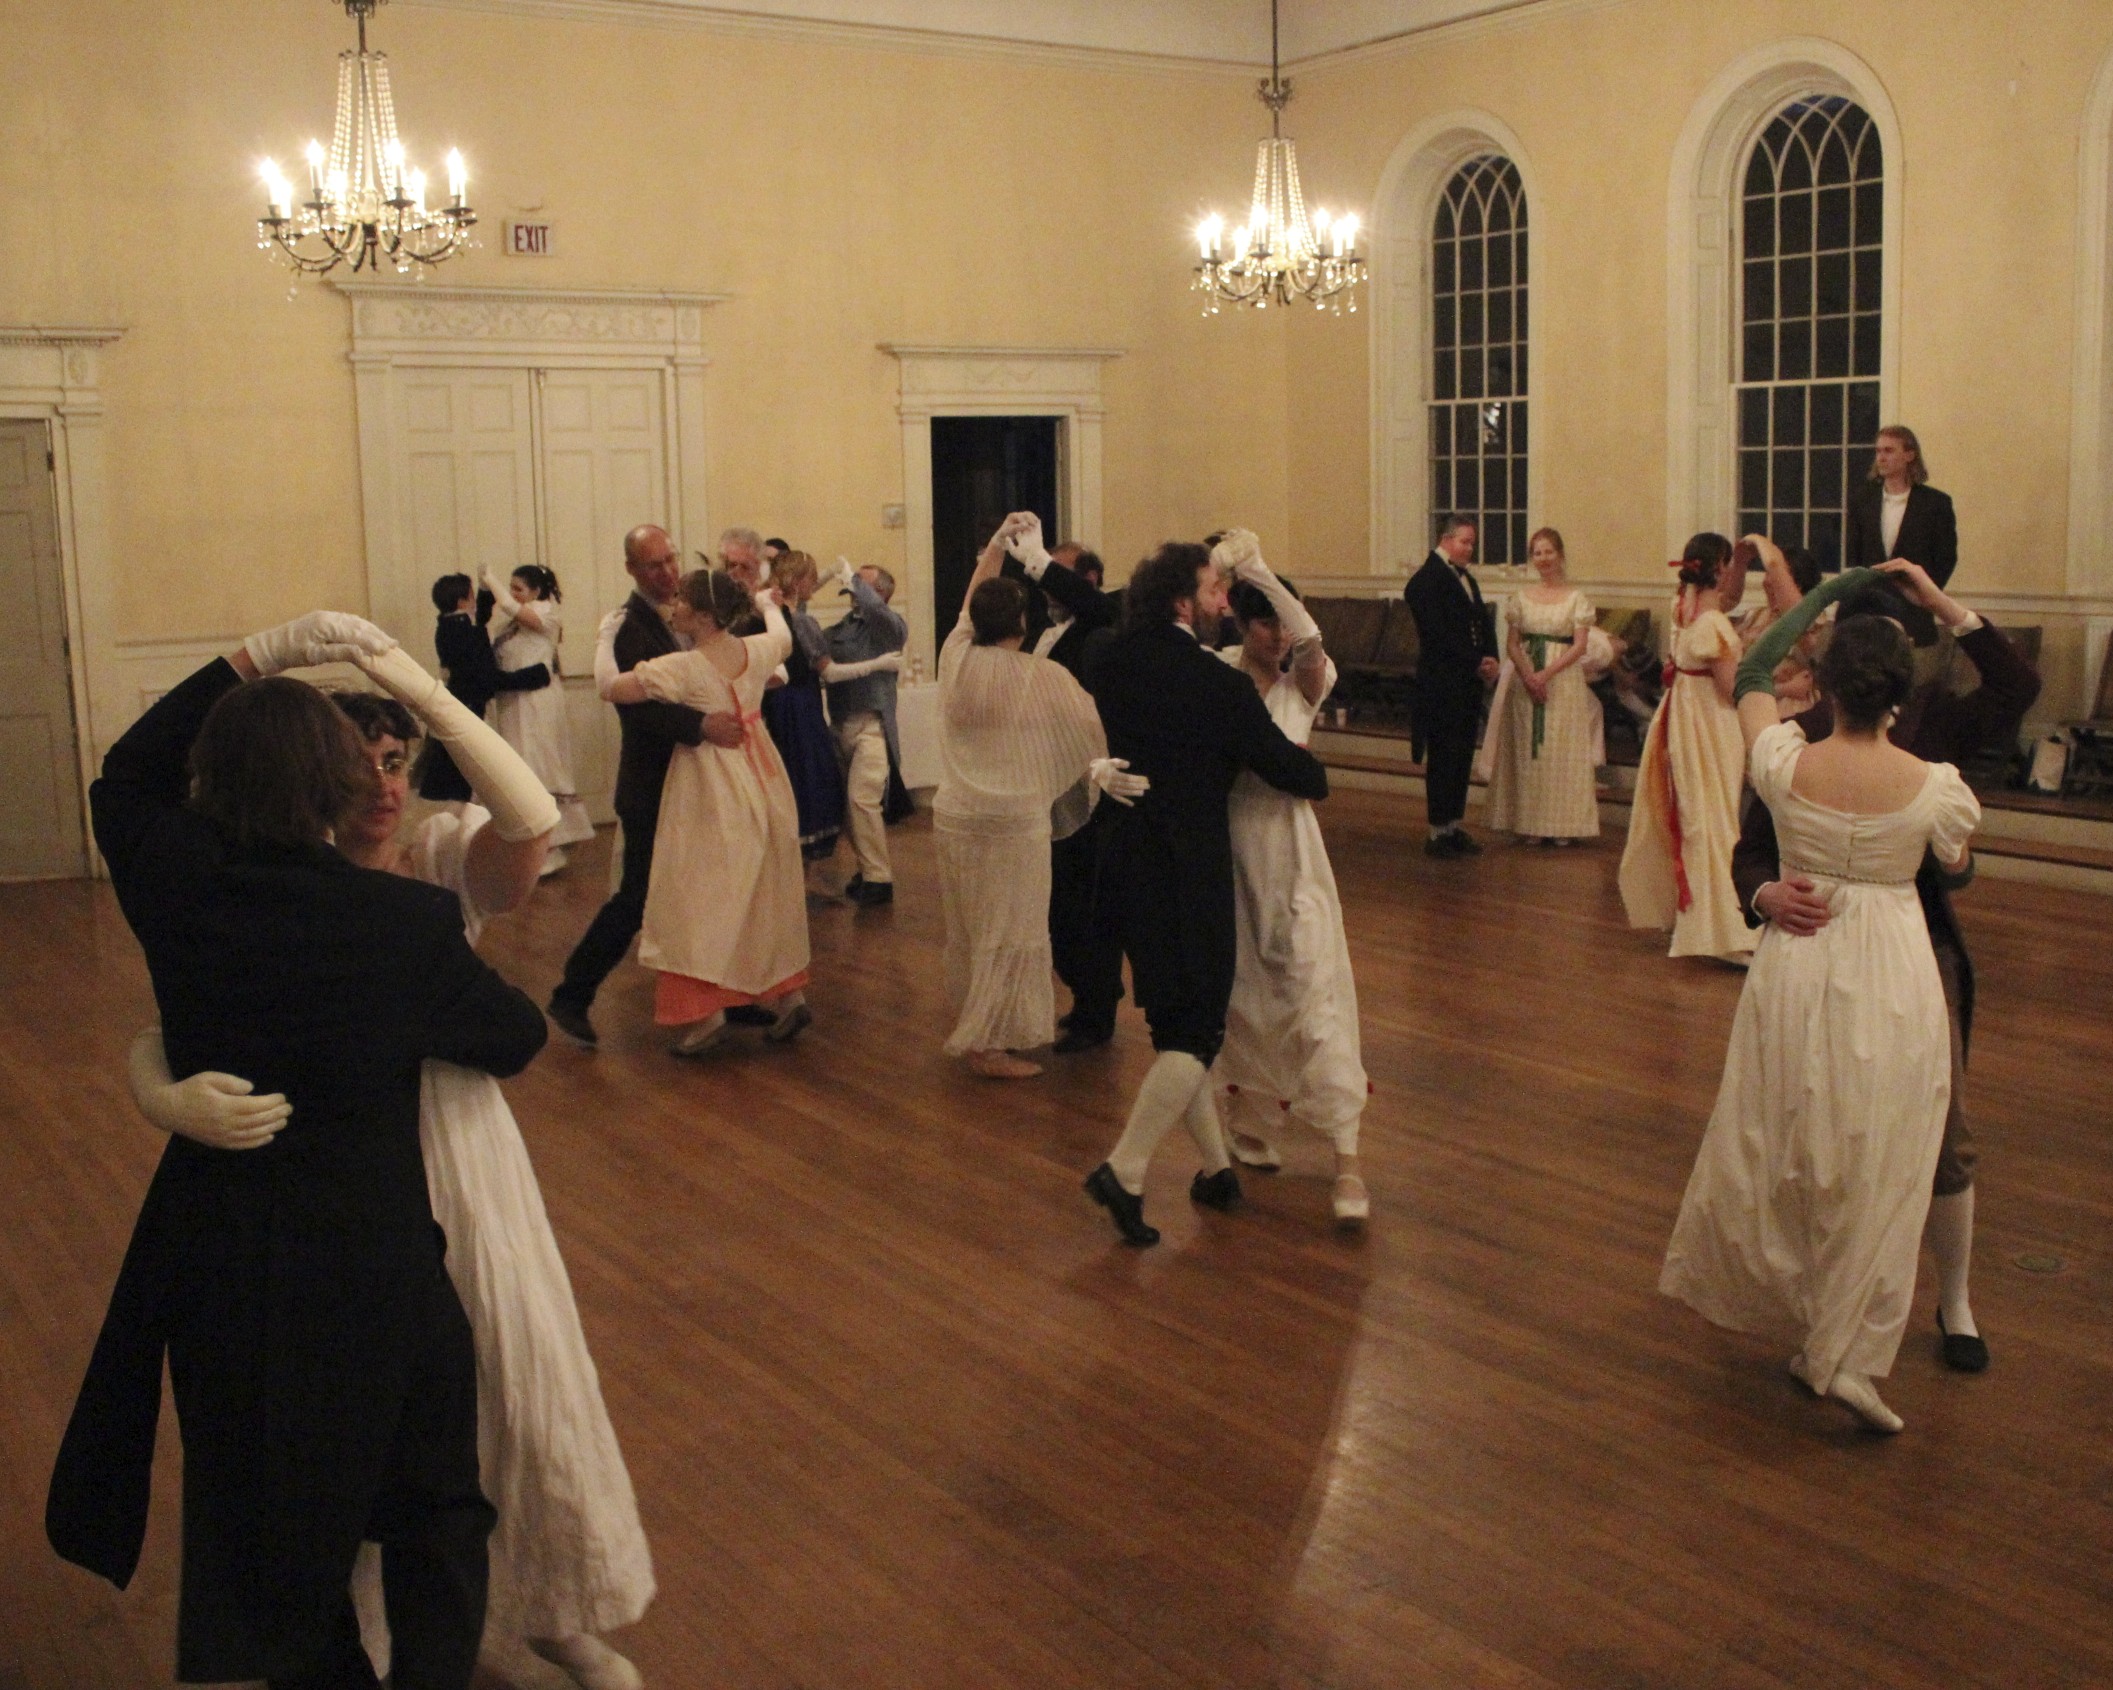
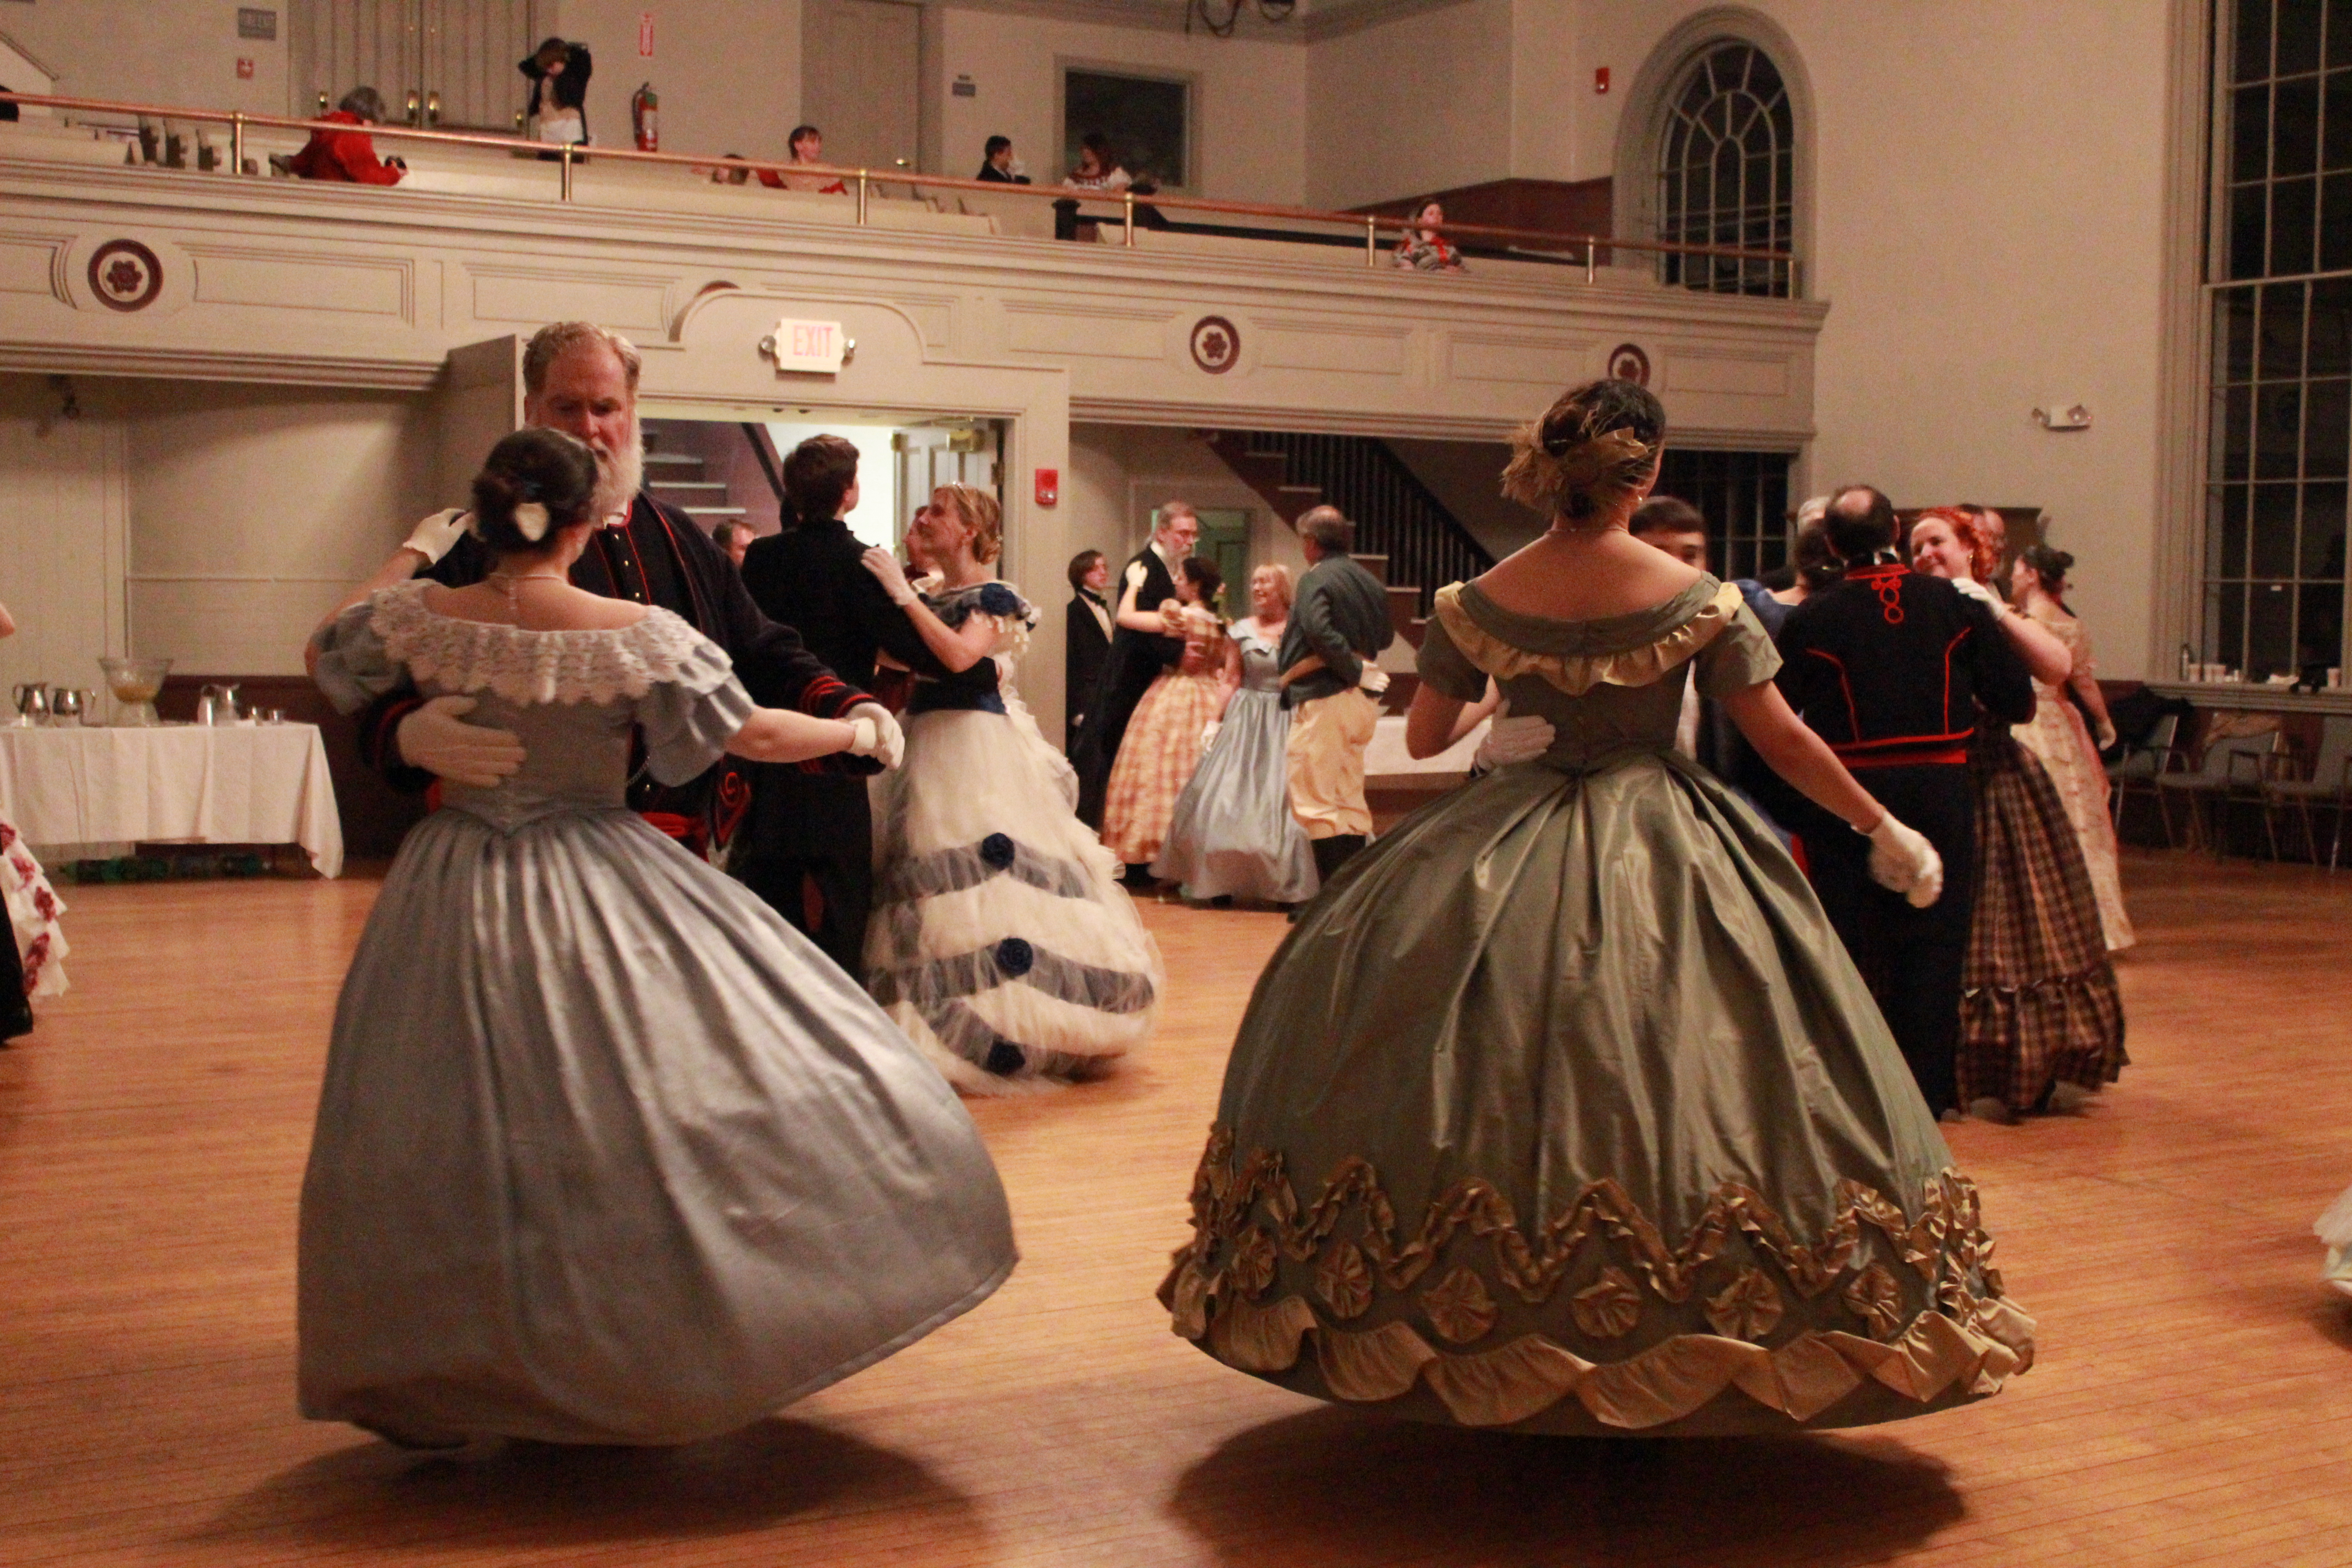
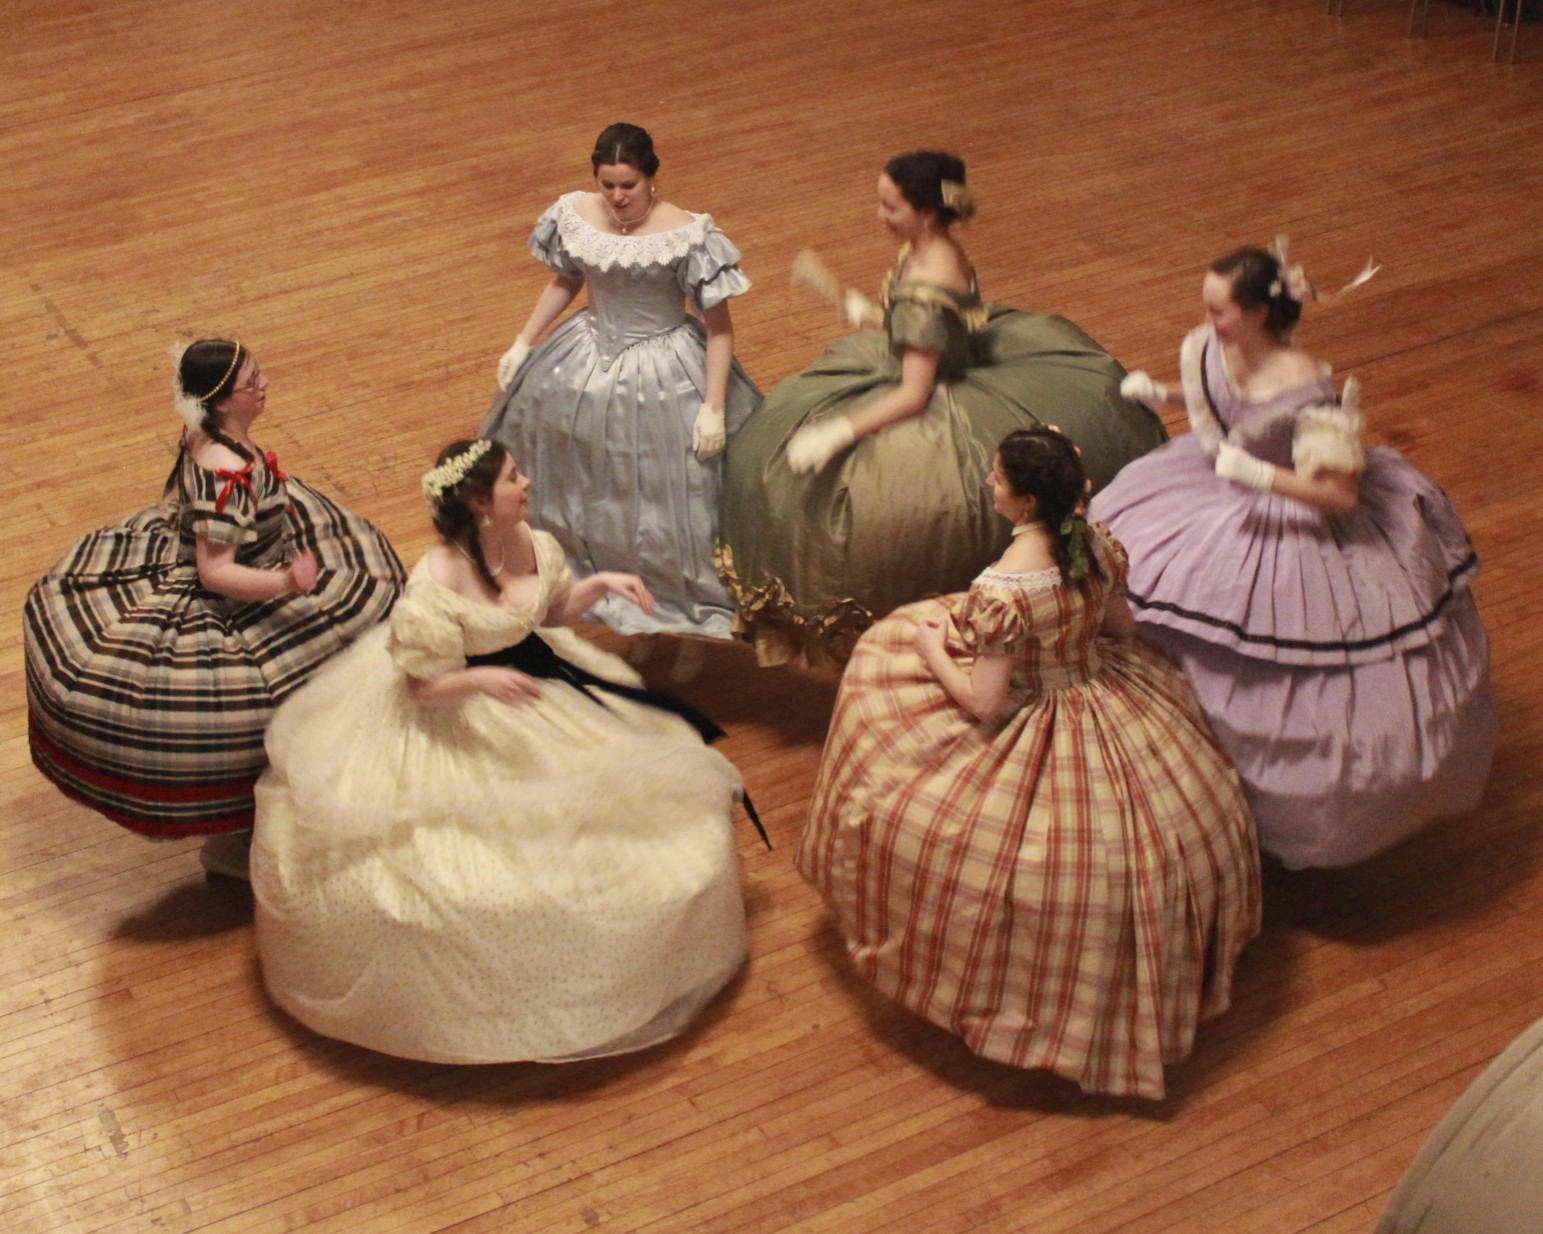
When the cider was beginning to dwindle (which didn’t take too long), the time had come for the dancing to begin. And my, what dancing there was!

Regency Dance Weekend Part III: Fell Off The Sewing Wagon, But Got Back On!

Yup, that’s me I’m talking about in the title of this post. I was straggling along the first bit of the Mar-pril Regency Sew Weekly road. For Goal #2: evening wear, I had hopes to fix the rip in my 1813 red evening gown, but unfortunately I didn’t get to it in time for the deadline.

IMG_4281
Sad, sad rip.

I did get to it before the Regency Dance Weekend, though, so I was able to wear the dress for the Grand Ball and Reception on Sunday night. I’ve got pictures of the event to share soon, but for now I’m going to focus on the gown.

When I first made this dress back in January and wore it to the Pride and Prejudice Ball in February, the skirt of the dress was tightly gathered across the back to take in all the fulness of the skirt. But while taking pictures after the ball, the dress caught and ripped! I suppose it’s hard to tell in the picture, but the rip was not small.

IMG_4271
Gathers used in the back to take in all the fullness.

Ugh! What to do? Try to patch it, or darn it, or replace the whole vertical panel where the rip was? None of those ideas sounded like they would be pretty or fun.

I didn’t actually get around to fixing this until after I had constructed my Tree Gown, which has a skirt with an angled (trapezoidal) front panel and the back panel cut as a rectangle. The effect of that shaping on the Tree Gown is neat: there is less fabric to gather at the back and the skirt has a nice shape to it that is different than the shape that is created by the original tube shaped skirt on the red gown. In addition, I decided after looking at the pictures of the red gown that the gathers were too poofy in the back and created a shape I wasn’t looking for.

So I came to the idea of using the trapezoid plus rectangle skirt shaping for the red gown, because making a trapezoid would allow me to cut out the section of the skirt with the rip. This required taking the skirt off of the back waistband, sewing the new seams, then reattaching the whole thing. Since I was taking it apart anyway at that point, I decided to also pleat the fabric around the back instead of gathering it, like this dress, below.

1980.189_B
1812 Wedding Dress at the Met with a pleated skirt.
IMG_4401
The ripped side of the skirt, removed from the waistband and with the new seam pinned. Now you can see the scale of the rip!

It looks like I don’t have any great pictures of the back of the gown with the new pleated back… whoops! Here’s one picture, though, where you can sort of see what’s going on with the dress.

IMG_1083
Sort of hard to tell, but the area where the skirt meets the waistband is much flatter, and the skirt has a much bigger flare at the hem due to the new seam shaping.

Perhaps hard to envision, but if you compare this back picture to the one at the beginning of this post, there is a definite difference. It wasn’t a fun project, but it needed to be done, and I sure am glad it is! Next time there will be pictures of the reception, including more fun pictures of this dress.

The Tree Gown For Real (HSF #9)

Textiles and the natural world are inextricably linked.  Until very recently, all textiles were made from flora (linen, raime, hemp) or fauna (wool, silk, fur), and dyed with flora and fauna.  Flora and fauna also influenced the decoration of textiles, from Elizabethan floral embroidery, to Regency beetle-wing dresses, to Edwardian bird-trimmed hats.  Celebrate the natural world (hopefully without killing any birds) with a flora and/or fauna inspired garment.

This is the description of the HSF Challenge #9: Flora and Fauna. I’m super excited about my garment: the all new 1815 Tree Gown I recently showed a sneak peak of as well as photos of in action during archery and outdoor lounging! The archery and outdoor lounging, in particular, include great pictures of the dress, so if you haven’t seen them yet, you really should go check them out!

IMG_0791
1815 Tree Gown and Bonnet with a Stripe-y Reticule.

I love love love this dress! It’s super comfy and super cute. You might remember that I don’t own many printed or patterned clothes (modern or historic), but I branched out (haha, unintentional bad pun) with this one and I love the results! There’s something so refreshing about the classic white Regency dress that has been shaken up a bit with a bold print. Also, from the HSF perspective, it is made from cotton and printed with a flora inspired motifs! Double duty challenge fulfillment right there.

IMG_0786
Back view. The drawstring at the back neck is so subtle and clean looking, and I love the results of my careful cutting which keeps the print symmetrical on each side.

There are pictures of the interior construction of this dress in this previous post. To summarize, the dress is machine sewn on the inside seams and hand finished. Most of the interior seams are french seams. The dress closes at the back with hooks at the waist and a drawstring at the back neck. The front neck has a drawstring as well.

More facts:

Fabric: almost 5 yds of hand block printed sheer cotton (made in India and sold on eBay via Heritage Trading).

Pattern: loosely based on my other Regency gown patterns for my basic measurements, but adapted to resemble my main inspiration dress at the Met.

Year: 1815.

Notions: two hooks, about 1 yd of 1/4″ cotton twill tape, thread.

How historically accurate?: I give it 95% rating. Really, the only thing keeping it from “as accurate as can be with modern materials” is that it is machine stitched on the inside seams. It is hand printed fabric, sewn in historic ways, and hand finished.

Hours to complete: 16? Total? That’s not bad for me!

First worn: Regency Dance Weekend, mid-April 2013.

Total cost: $25 for the fabric (it’s almost doubled in price since I bought mine!), maybe another $1 for the notions?

Now for inspiration. The dress is most closely based off of this dress at the Met. I changed some things, but I think the resemblance is quite clear.

1999.224_F
1810-1815. Met.
1999.224_B
1810-1815. Met.
1999.224_d3
1810-1815. Met.

These two dresses were other more minor inspiration for the Tree Gown: 1812 yellow silk wedding dress and early 19th century slip, mostly for their square necks and back tie closures.

Eee! All I can say in conclusion is how much I love my Tree Gown!!!

Regency Dance Weekend Part I: Settling In

Not so long ago (only about two weeks, though it seems longer), I had the most marvelous time at the Commonwealth Vintage Dancers’ Regency Intensive Dance Weekend. The weekend included classes, archery and outdoor lounging, an informal dance, and a formal ball. Plus, I had the added bonus of staying with friends in a lovely 1807 house and having extra outdoor adventures the day after the weekend ended!

 The weekend had about 50 people in attendance, which was a perfect number for socializing, meeting new people, and filling a ballroom without it being over crowded. It was so special to get to know so many new people, not only by name, but also to have time to get to know a little about them. By the final ball on Sunday night the atmosphere was of the kind you usually only get to dream about when reading Jane Austen: it was a ball where you knew everyone in the room , everyone was constantly changing partners, and everyone knew the steps so there was no teaching, just dancing. It was an absolute blast (and after the weekend I had danced so much that my calves were so sore it was hard to walk for a few days)!

Given that I had such a great time, and that I was able to wear some lovely new clothes (like the tree gown, and my new bonnet, and my blue underdress) you can understand that I have lots of pictures to share. Everyone else looked stunning as well and also had new clothes to show off, which was super fun. Really, people really did look marvelous! Yes, I’ve got lots of pictures, and I’m going to break them down into multiple posts.

First, we’ll look at Saturday, a day with 5 hours of dance classes, checking in to our lovely 1807 house, and attending an evening dance. (Oh wait, did I mention my friends and I also swarmed our lovely and kind friend’s house on Friday night? No great pictures, but it sure was fun to hang out together and squish 8 people into an apartment…! Plus, it made getting to dance class the next morning so much better since we didn’t have to drive very far!)

IMG_0309
Starting to learn Regency dance steps.
IMG_0324
Working on Regency waltz.
IMG_0351
The wallpaper in my room of the 1807 house we stayed in for the weekend. The room was decorated in this deep red. It was so beautiful!
IMG_0368
Dressed in my new blue underdress and square neck gown. I’m heading off to the informal dance. Accessories include my blue American Duchess clocked stockings, blue velvet flats, white gloves, a red bead necklace, and my patterned red pashmina.
IMG_0402
Waltzers during the dance.
IMG_0474
Dancing a Regency waltz. Look at us go on our toes!

That’s it for now. Next post will be about archery and outdoor lounging!

Returning Heroes Ball 2013

I’ve been slow to post my final group of pictures from this event. Sorry! You’ll remember that I first posted Three Series of Photos of my new green 1864 ball gown, Evie, and her undergarments? Then I posted A Second Series of Photos of friends? It’s finally time for the final installment of posts from the Commonwealth Vintage Dancers’ Returning Heroes Ball back in March.

IMG_0026
A ballroom full of hoop skirted ladies and suited gentlemen.
IMG_0072
A lovely set of dancers. Don’t we all look nice in our light colored dresses?
IMG_0087
Dancing a waltz.
IMG_9934
A “German Cotillion” dance game during intermission, in which the two young men vied for the young lady holding the candle, each trying to blow it out first. Whoever blew it out was rewarded with a waltz.
IMG_0106
More dancing after intermission.
IMG_8697
Caught on camera!
IMG_0160
Do The Jellyfish! There are more Jellyfish pictures from Ochre Court last year.
IMG_0048
The chandelier is perhaps not the loveliest style, but I like the artsy style of the photo. The coffered ceiling is great!

A Stripe-y Reticule And Sneak Peek At A Tree Gown (MpRSW #3 & #4)

IMG_4397
Stripes!

I intended to complete this reticule for the HSF Challenge #6: Stripes this past week, but as the deadline approached and I reread the fine print, I realized that the challenge was supposed to be fulfilled by a garment. Whoops! I don’t think I can convince myself that a reticule is garment, let alone other people. So I put the project on hold while working on other things (like Evie, my 1864 ball gown, and the completion of my purple ballroom competition dress), but finally got back to it and finished it off towards the end of last week.

Lucky for me, this reticule does fulfill the MpRSW Goal #4: Accessories (due April 8th: I’m early!). (If you’re paying attention, I did fail to post about the MpRSW Goal #2: Evening Gown… I might have fallen off the wagon on that one and not managed to fix the rip in my gown on time. But luckily, the MpRSW is motivating me to complete that repair this week, even if I am delayed!)

IMG_4376
Tassels!

Trust me, this is not a historically accurate reticule. The fiber content is questionable… (probably a blend including polyester), the ribbon is polyester, and the tassels are cotton embroidery floss. But it’s cute and functional and has the general look of the period, so I’m happy. This will get packed for the Regency weekend coming up in April!

IMG_4377
Inside the reticule: french seams and a cotton canvas purple (woohoo, extra fun on the inside!) layer whip stitched to the inside of the bottom to provide stability and help keep the triangular shape. The seams are hard to spot because the stripes blend into each other so much, but they’re there!

What you saw in the first picture (behind the reticule) was a first glimpse of my latest Regency gown! This new block printed cotton gown, from 1815, is “The Tree Gown” in my head because the motif reminds me of trees (or shrubs perhaps, but I like the sound of The Tree Gown better than The Shrub Gown). This gown fulfills the MpRSW Goal #3: Day Wear! It’s due today, so I’m right on time. The gown is machine sewn on all of the non visible seams, and hand finished on the visible sections.

IMG_4386
Center front. This gown has a mostly squared neckline with a drawstring across the bust, like my 1812 white striped gown.
IMG_4388
Unlike previous Regency gowns in my possession, this gown has long sleeves! (This is a back view.)
IMG_4385
There are two 1 1/2″ tucks around the hem of this gown, for decoration.
IMG_4389
The gown closes at center back with two hooks on the waistband (see the thread loops?) and a tie at the top of the back.
IMG_4393
The tie at the top of center back is a drawstring that continues to the shoulder seam, allowing the back to gather slightly. The bow in the middle is the drawstring for center front.
IMG_4391
The fullness at center back is gathered. This gown has french seams and the waistband seam allowance is just whip stitched together to keep it tidy.
IMG_4392
The inside of the neck opening. The area over the shoulder is reinforced with an extra bit of fabric cut on the straight of grain to keep it from stretching.

This gown below is my main inspiration for this dress: the tucks at the hem, the sleeves, the pattern for the skirt, the gathers on the bodice, the mostly squared neck in front, the tie at the back of the neck… I omitted the extra sleeve puff (partly because I didn’t have enough fabric, partly because I wanted this dress to be more streamlined) and the tie at the back waistband. I love the super zoom on the Met’s website because you can see so many great details!

For example, I could see where the center front skirt panel ended and the angle of that seam (as well as the angle of the back panel). Using that information, I determined that my front panel should be a rectangle (it’s 21″ across in my dress given my proportions) and that the back panels should be cut straight at center back, but with an angle on the side seams that goes up toward center back making an elongated trapezoid. There is a seam at center back, so the hem of each back piece is 45″, but each top narrows to 31″. I’m curious to see how that style of skirt fits me. I certainly like the look of the skirt on the dress in the museum!

1bf6645634e092b2fa8f0b62ffcc9ecc
1810-1815 dress at the Metropolitan Museum of Art.

This gown also fills the HSF #9 Challenge: Flora and Fauna, so you’ll be seeing another post about it with some more details (and pictures of it on a body!) coming up in a few weeks (after the Regency Weekend in April, you know!).

A Second Series Of Photos

Last post, I shared the three series of photos of Evie with you. Now it’s time to expand the focus of the camera to include other lovely people from that night!

First: Series Of A Friend

IMG_9579
First layer (aka modern).
IMG_9704
Second layer. Isn’t this entry area gorgeous (even with the modern fire extinguisher!)?
IMG_9783
Third layer. All dressed up.

Second: One More Quick Series

IMG_9620
First layer.
IMG_0002
Second layer. I just wish that table in the background wasn’t there!

Finally: A Few More Non-Series Photos

IMG_0158
First time in hoops. She had so much fun!
IMG_9883
A chat on the stairs.
IMG_9797
New dress!
IMG_9827
And an artsy shot to end this series.

I have one last grouping of photos to share from this event: photos of the ball itself! They’ll be coming soon and they’re lovely/super cute!

Project Journal: 1864 Ball Gown Part IV: Three Series Of Photos

Remember in my last post I promised pictures of the finished ball gown now known as Evie? The time has come! I had a hard time narrowing down the options (because of course I wanted to share ALL of the good pictures), but I’ve tried to limit myself to only the best of the best. This post will focus on the completion of my dress, Evie, but there are two more posts coming soon that will share some of the other photo series as well as pictures of the ball itself!

These photos are the idea of my friend with the camera. She wanted to take series of pictures of us in our modern clothes, 1860s undies, and then dressed in our 1860s ball gowns: all in the same location and the same pose. It’s a neat idea and the results are great, not only because it provided lots of pictures (yay!) some of which are of things I don’t have pictures of (like my 1860s undies), but also because you can see the time passing through the evening by looking at the light in the photos. They start in the afternoon, proceed to early evening, then finish at night. Not all the series are a complete set, but all around, it’s pretty cool. Which series do you like best?

Series 1: To The Right

IMG_9740
To The Right: first layer
IMG_9735
To The Right, second layer
IMG_0151
To The Right, third layer

Series 2: What A Change

IMG_9546
What A Change, first layer
IMG_9729
What A Change, second layer
IMG_0144
What A Change, third layer

Series 3: On The Stairs

IMG_9693
On The Stairs, first layer
IMG_9714
On The Stairs, second layer
IMG_0130
On The Stairs, third layer

I’ve never been able to get pictures of my 1860s undies before, so this is exciting! I’ve got a chemise, corset, drawers, cage crinoline, and petticoat (in addition to stockings, shoes, jewelry, hair wreath, gloves, fan, and gown). The crinoline is entirely hand sewn, except for the waistband. The measurements of the hoops are taken from an extant crinoline, and I believe the circumference of the bottom hoop is about 120″. The crinoline closes with a hook on the waistband. The other pieces are machine sewn and trimmed with lace, pin tucks, and ribbon. The chemise slips over the head and the drawers close at the back with a button and loop arrangement. (And that poor petticoat does need a press… but I threw it in the washer and dryer a while ago and since it doesn’t usually get seen I haven’t taken the time to press it.) The petticoat ties around the waist. As you can see, the crinoline stops mid-calf, so the intense petticoat ruffle really helps keep the shape for the skirt below that point, in addition to keeping my hoops from showing as horizontal lines through the skirt of the gown.

Want to be further amused? Look at the apparently changeable feathers on my hair wreath. Sometimes they’re brownish/gold and sometimes vivid green! They really do seem to change color depending on the light!

I don’t think I’ve mentioned it yet, but the basic pattern for this gown is essentially taken from Janet Arnold’s Patterns of Fashion 2. The trim however, is based on two things. Thing 1: the skirt trim is from the fashion plate I shared with you in the first post of this project journal. Thing 2 : the bodice trim is based on this gown, below. I went through a lot of phases trying to decide how to trim the bodice, since I didn’t really like the fashion plate bodice trim. In the end, I decided on this look: a graduated ruffle (just one, in my case, to match the one ruffle on the skirt) that gets longer toward center back, a triple pleated bertha that has a swoop towards center front rather than being straight, and a big trim thing right at the center (in my case, a rosette to match the skirt, rather than a bow). It’s pretty hard to see the front of my dress in these pictures I’ve shared so far, but there are some coming up in the next two posts which will show off the front of the gown better, so stay tuned for that!

5178aec3e06e5f940a6b607a4b697fcc
A costume from the movie Il Gattopardo (1962, costume design by Piero Tosi). It’s lovely, despite the fact that it is not an extant gown from the 1860s.

While getting dressed we might have been making silly faces for the camera while the owner walked away…

IMG_9674
Haha! Moose making companion! In case you don’t know, this is my favorite silly face to make. Don’t believe me? Look here and here!

Project Journal: 1864 Ball Gown Part III: Innards

It’s been a little while since I posted about my new 1864 ball gown. Over a month, I think, because in February I posted about the plan/inspiration and then about the progress I made on the trim. I was steadily working on it during the month of March and had it ready to go for the Returning Heroes Ball a week ago. That’s not to say there wasn’t a little bit of last minute sewing the afternoon of the ball. My last minute sewing was gloves and hair piece, though, not dress, so that’s an accomplishment! And I wasn’t alone in my afternoon sewing… friends were sewing with me! There are lots of upcoming pictures but for now I’m going to post about the insides of the skirt and bodice. It’s a sneak peak, since you have to wait for the others pictures to see the full ensemble!

IMG_4361
Completed skirt trim! I was SO ready to be done with it by the time I was sewing down the green zig zag (the last step of the skirt trim).

My other 1860s dresses have names: Belle is my dark blue gown and Annabelle is my white gown. I haven’t really been thinking of this dress by name until recently. Upon consideration, I’ve decided that she’s named Evelyn, or perhaps Evie for short. Why that name? I just like it, it’s old fashioned, and it has Y, and I have a fondness for the less commonly used letters of the alphabet. So here she is: Evie.

IMG_4362
Skirt waistband of self fabric, to which the box pleated skirt is sewn. There is a cleverly hidden opening on the fold of one of the pleats.
IMG_4363
Magic! The pleats are deep enough that you can’t see the opening when the skirt is hooked closed, even with my hoops underneath.

The raw top edges of the skirt are just turned to the inside and left alone. The silk skirt is flat lined with muslin, which helps give it some body, preventing creasing, and some stability at the hem for all that trim. There are six double box pleats evenly spaced around the skirt, as you can see. I haven’t tried this evenly distributed method on an 1860s skirt before (my previous dresses have knife pleated fronts and cartridge pleated backs, which makes them much heavier in the back than the front… I suppose I could divide the skirt in half and do that method, but given how those skirts are weighted, I’m sure there’s more fabric in back than in front). All that to say that I love how evenly weighted this skirt is! It means I don’t need a giant bum pad to keep my hoops level with the floor. (Come to think of it, I suppose I could remount the skirts of my other dresses onto new waistbands and redistribute the fabric… hm… I’ll have to think about that!)

IMG_4365
Inside of the bodice at center front. The bodice is flat lined in ivory polished cotton. The edges are finished with cording (even the top edge, which you can’t see on the outside because it is hidden by the bertha, grrr, but oh well!).
IMG_4368
Inside of the left front and outside of the right back.

The sleeve is lined in muslin. I originally intended that it wouldn’t be seen, but then changed the sleeve design so now the muslin is visible on the inside of the bodice. It doesn’t matter, though, but I do like it when everything matches. The seam allowances of the bodice are just left unfinished (I might whip stitch over the edges some day, but that’s unlikely, since I’ll probably be sewing something else!). The armhole seam allowances are whip stitched together to keep them from fraying and to keep all those layers together. The armholes also have cording in them. The bodice closes at center back with lacing. The eyelets, like everything else, are hand sewn. The bertha also closes at center back (unusual, since a lot of them close on the shoulder, but I didn’t want my bertha pleating to be able to move or show the top of the ruffle). You can see the stitching holding the bertha in place in the first bodice picture, because those stitches go right through to the inside of the bodice.

I stopped keeping track of how many yards of hand sewing went into this dress… but now I’m curious again. So when I finished stitching the gathering stitches I was at 86 1/2 yds just for the trim. I’d estimate about another 22 yds of stitching to attach the trim and about 12 yds of stitching to construct the skirt before attaching it to the waistband. Waistband attachment was probably about 7 yds (it’s quite sturdy and all those pleats are well sewn!). That puts the skirt at a total of about 127 1/2 yds of hand sewing. Then there’s the bodice, which is maybe 12 yds of hand sewing total? That’s a harder one to estimate. That brings Evie to a total of approximately 140 yds of stitching.

I’m proud to say that every single stitch is hand sewn. Next time, though, I’m planning on machine stitching the inside seams. It’s super satisfying to have an entirely hand sewn dress, but it took about two months, and that could have been much sped up with the use of a sewing machine, which means I could have made more things! Who knows, I might change my mind, but right now even I am tired of hand sewing that dress.