It’s time for some in depth detail about the construction of the robe a la francaise I wore to Versailles in May. My original plan was to use pink silk in my fabric stash to create a robe de cour inspired by Maria Federovna, but I realized when I went to cut out the pieces that I did not have enough fabric.
The change in plan resulted in new fabric and a new plan. I stuck with the decade of the 1770s, but decided to make a robe a la francaise, or sacque, instead of a robe de cour as it seemed like a garment I might be more likely to wear again in the future. Accordingly, I found and ordered new fabric: 11 yards of a very lightweight changeable silk ‘lutestring’ from Burnley and Trowbridge. Luckily, the new fabric still worked with the metallic silver net I’d purchased for trim. It’s the same metallic silver net that is on my 1885 Night Sky Fancy Dress, just cut into strips.
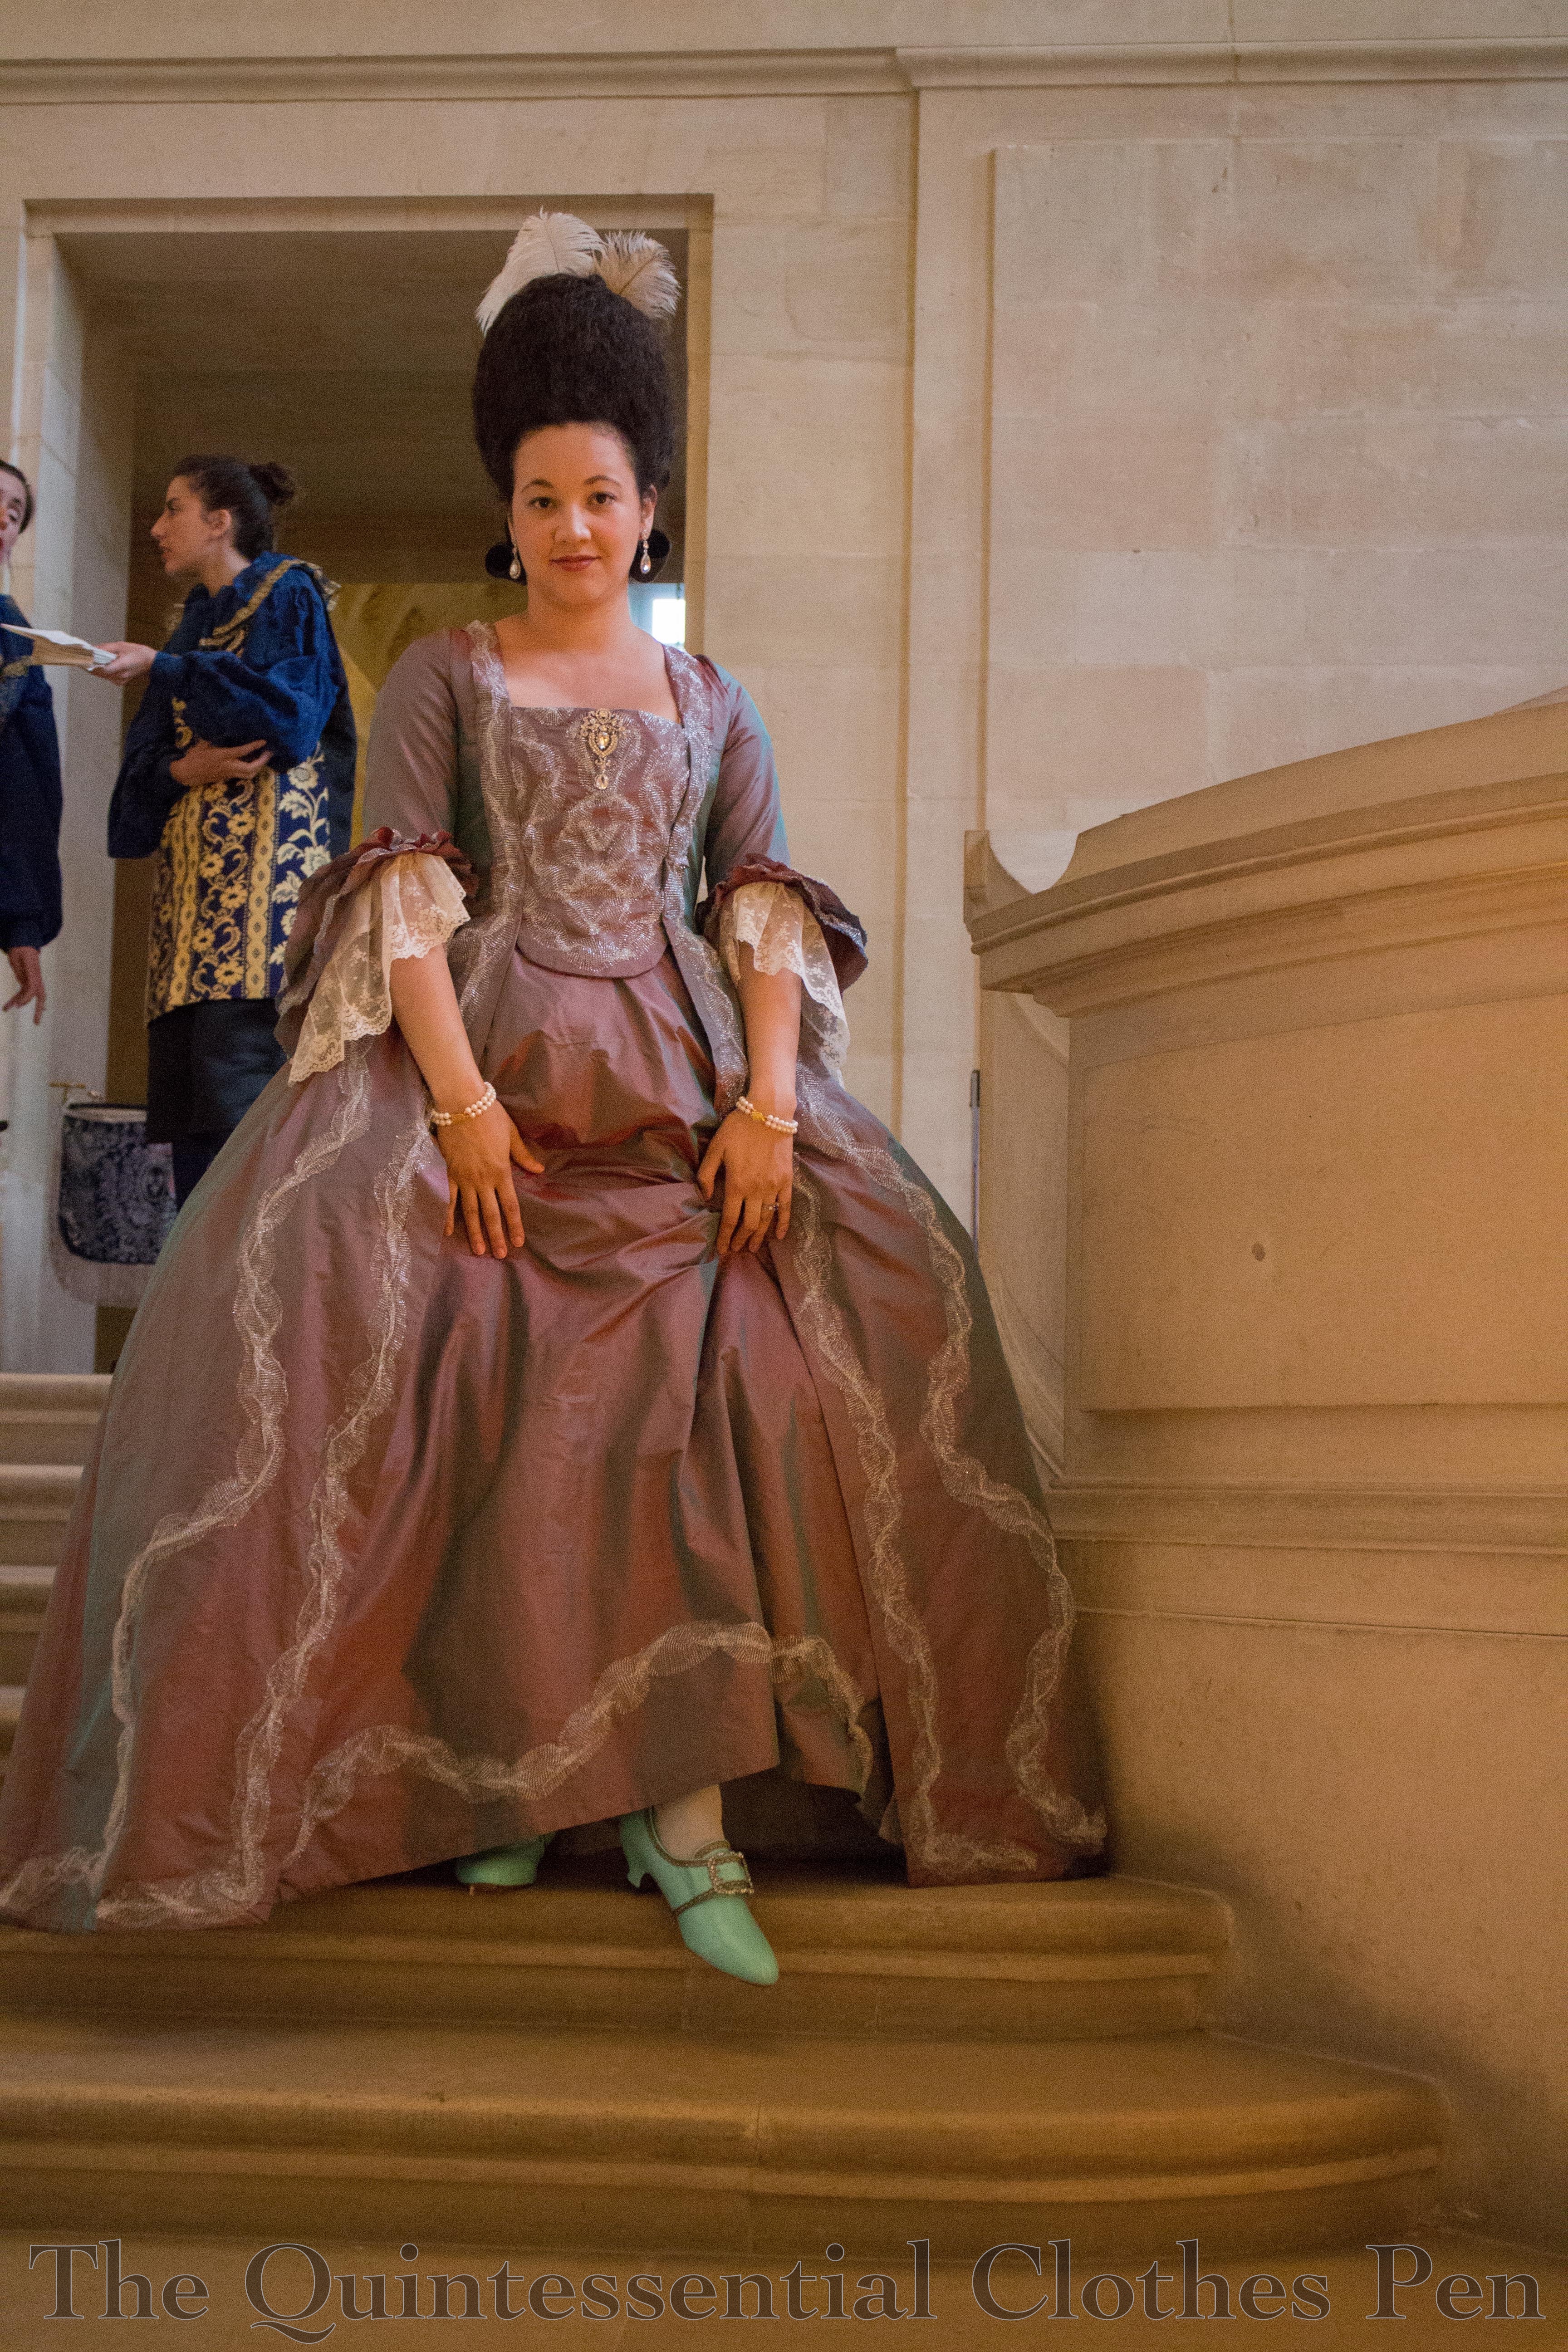
The pattern is from JP Ryan: it’s the Pet en Lair pattern, lengthened to create a gown as they suggest. Underneath I’m wearing a shift, stays, pockets, Mr. Panniers, a generic 18th century petticoat, and the petticoat that matches the gown. I also have American Duchess clocked stockings and embellished American Duchess Kensingtons. All my jewelry is from eBay. You can read more about how I created my hairstyle and the hair ornament in this past post.
Regarding the pattern, I found some of the directions to be confusing. For example, making the petticoat seemed way overcomplicated. You can read more details about how I made my petticoat here. Also, I found the directions for pleating the front robings/facing and the back pleats quite confusing. There, I was saved by this post written by AJ who also used the JP Ryan pattern, got confused, and posted about the confusing bits. Very helpful! Aside from the confusing directions, the gown pieces went together perfectly with no trouble. I did have to alter the front strap area to make the front sit flat against my body. Two friends who used this same pattern did not have to make that adjustment, so I chalk it up to differing body shapes but do not think it negatively affects the pattern.
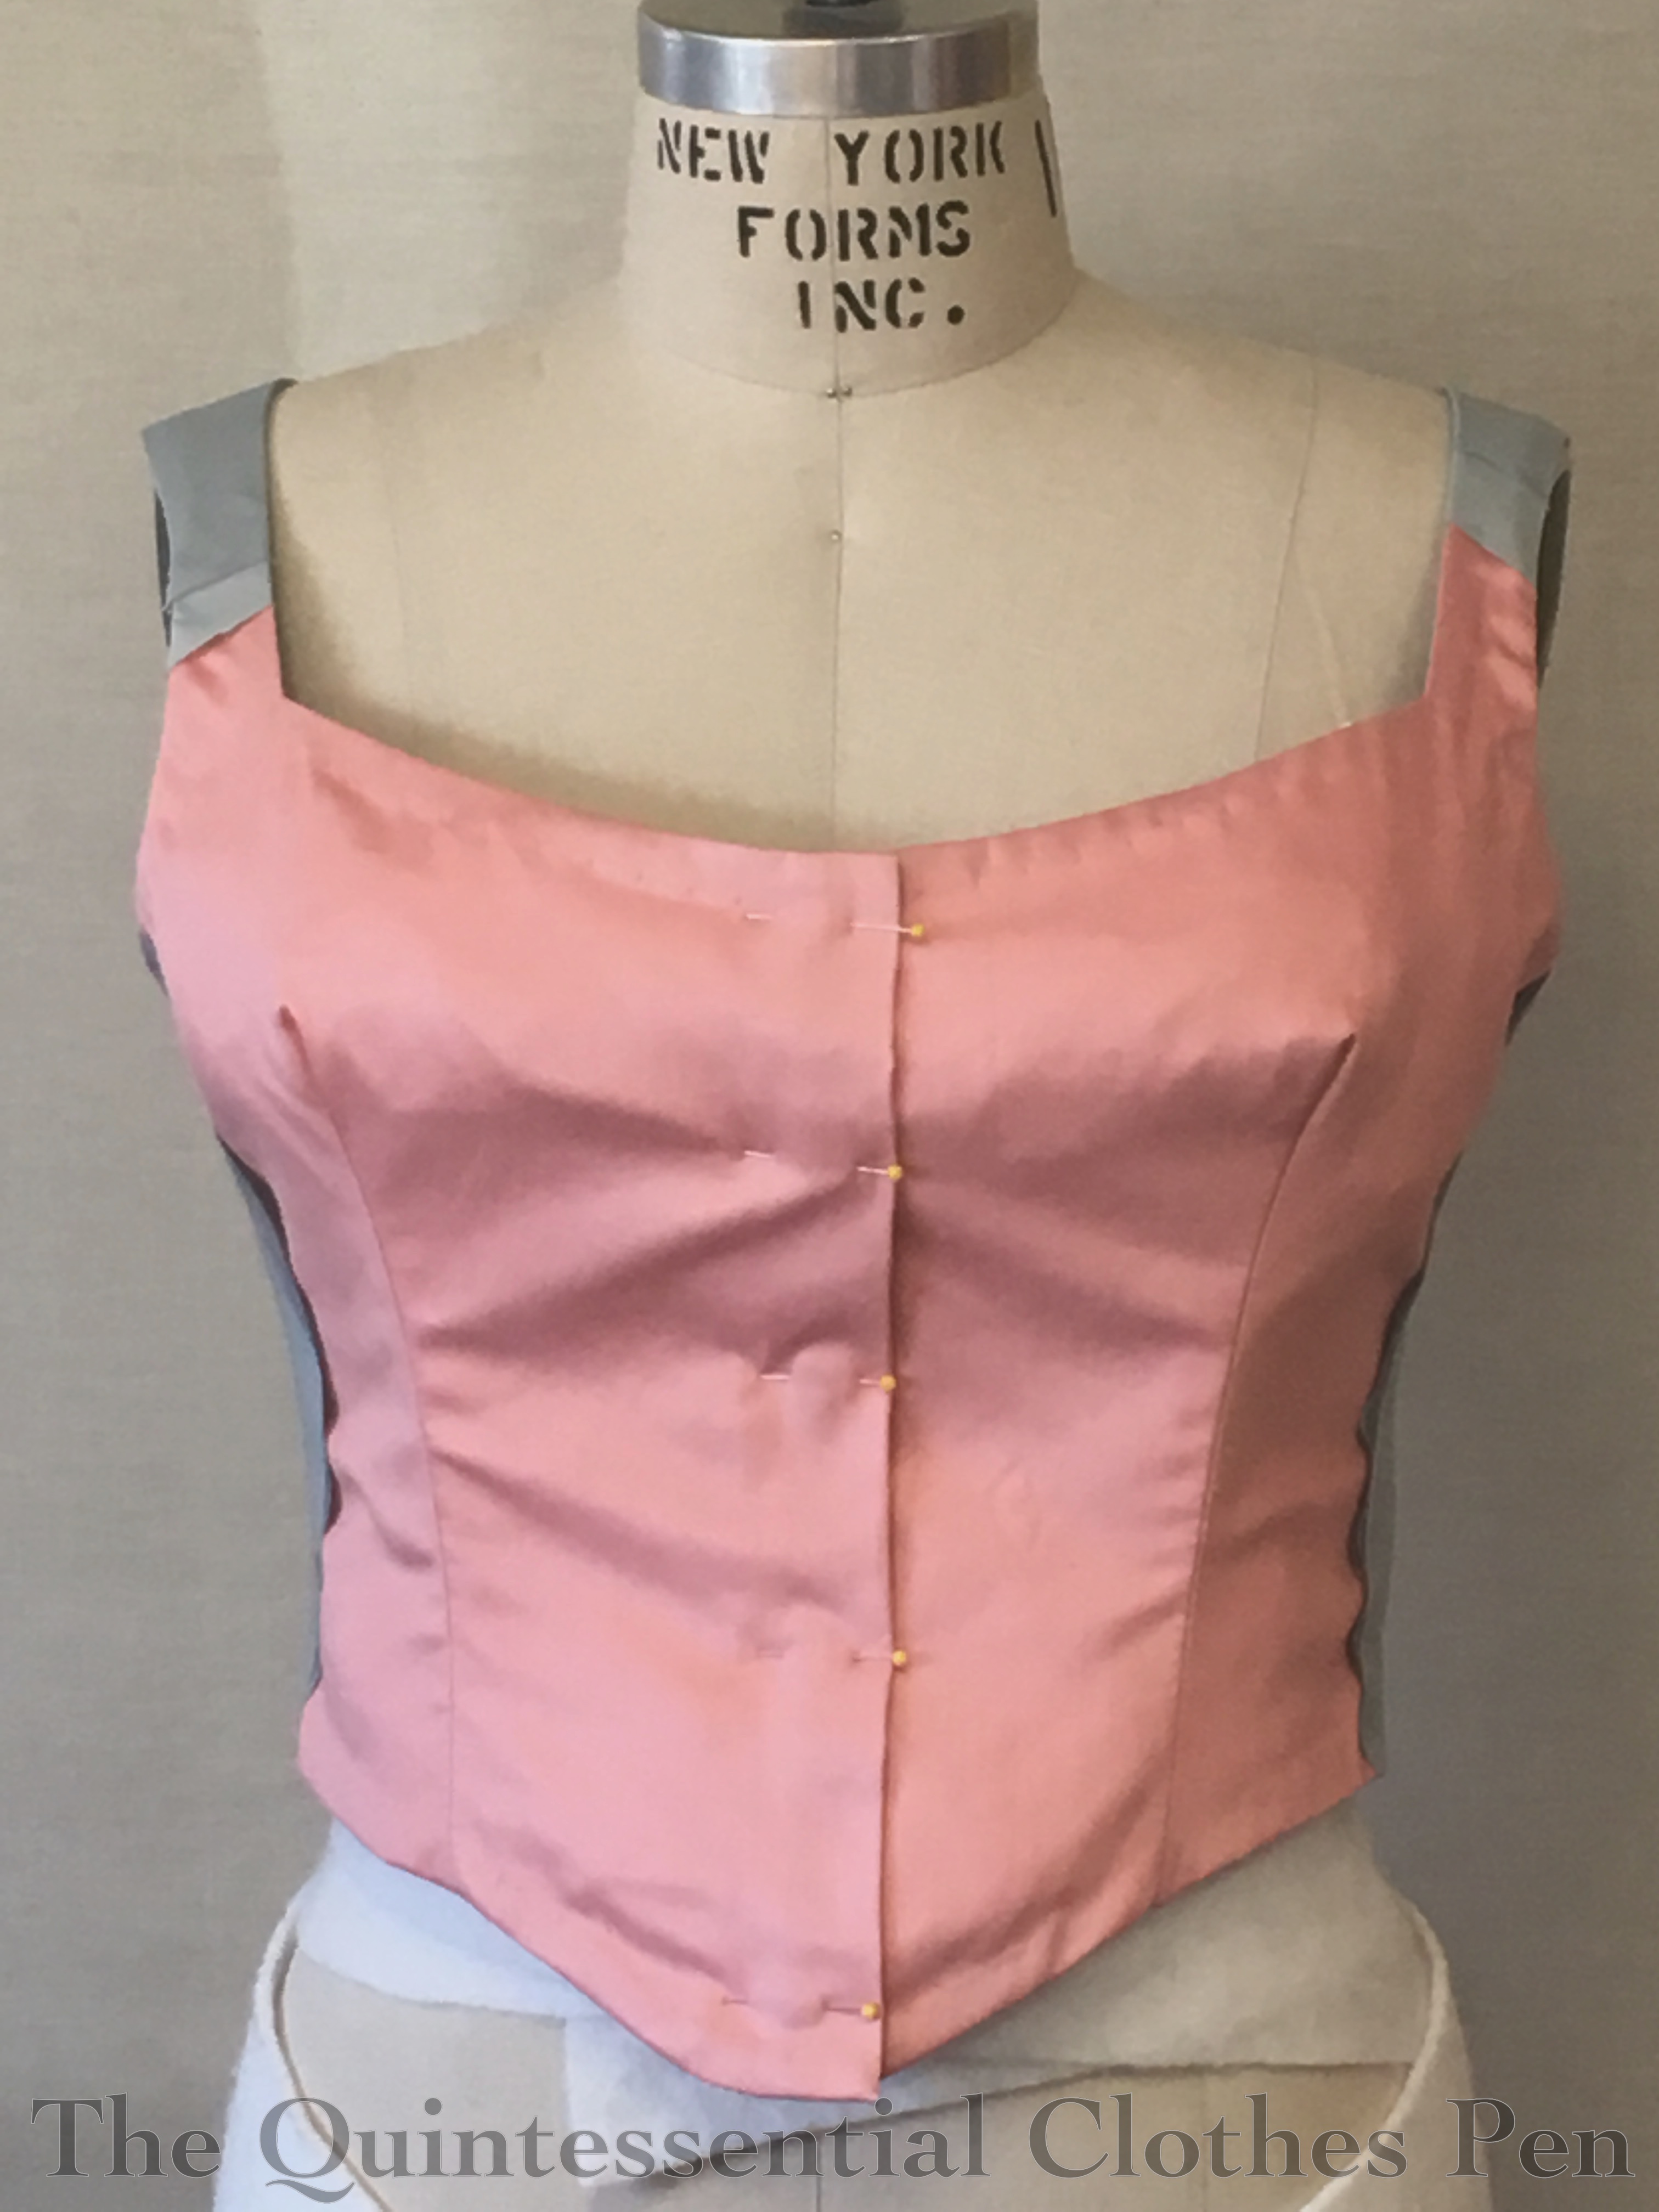
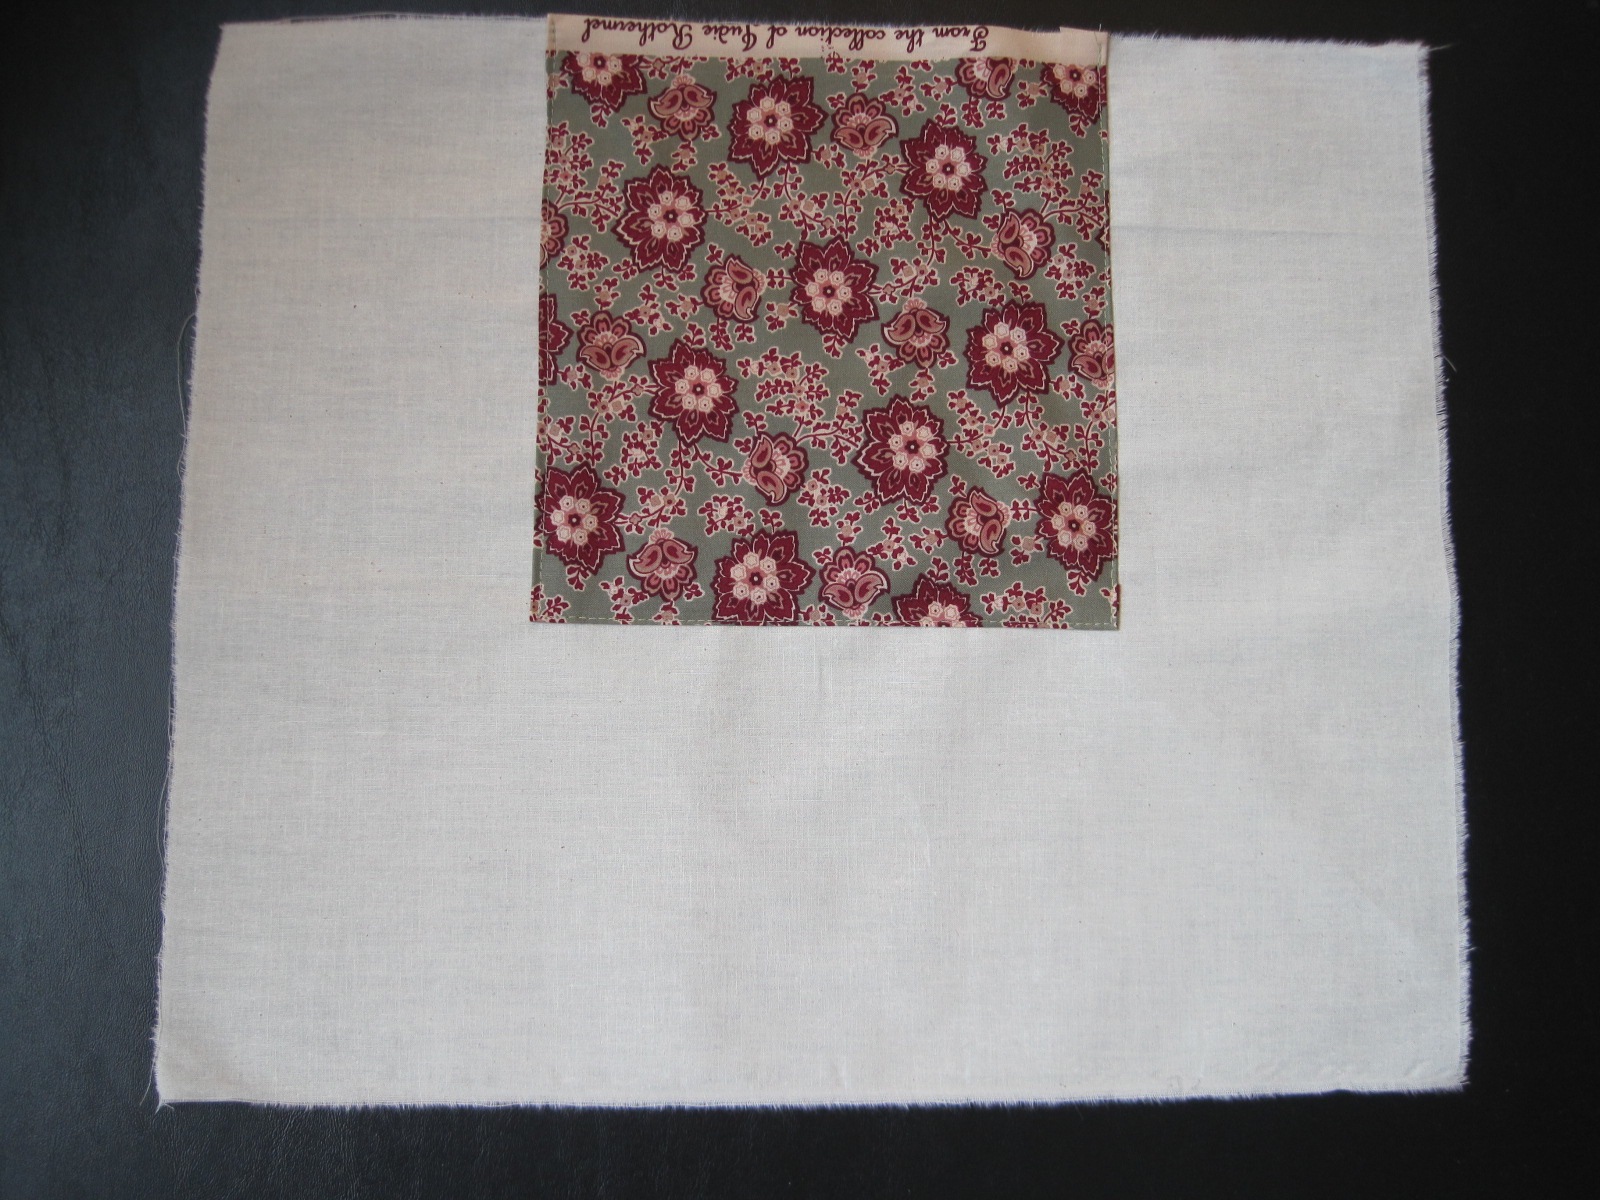
 The lining of the gown is made from a one yard piece of cotton/linen blend from my stash. Also from my stash and used inside the gown were a scrap of medium blue linen and a scrap of medium blue cotton twill used to interface the stomacher. These were all the bits left of those three stash fabrics–yay! I was also amused that all of the random non-silk fabrics in this gown and petticoat wound up being blue. I used my lining as my mockup, meaning that I had to take a dart in the front strap area, but was able to adjust the pattern to eliminate the dart before cutting out the silk.
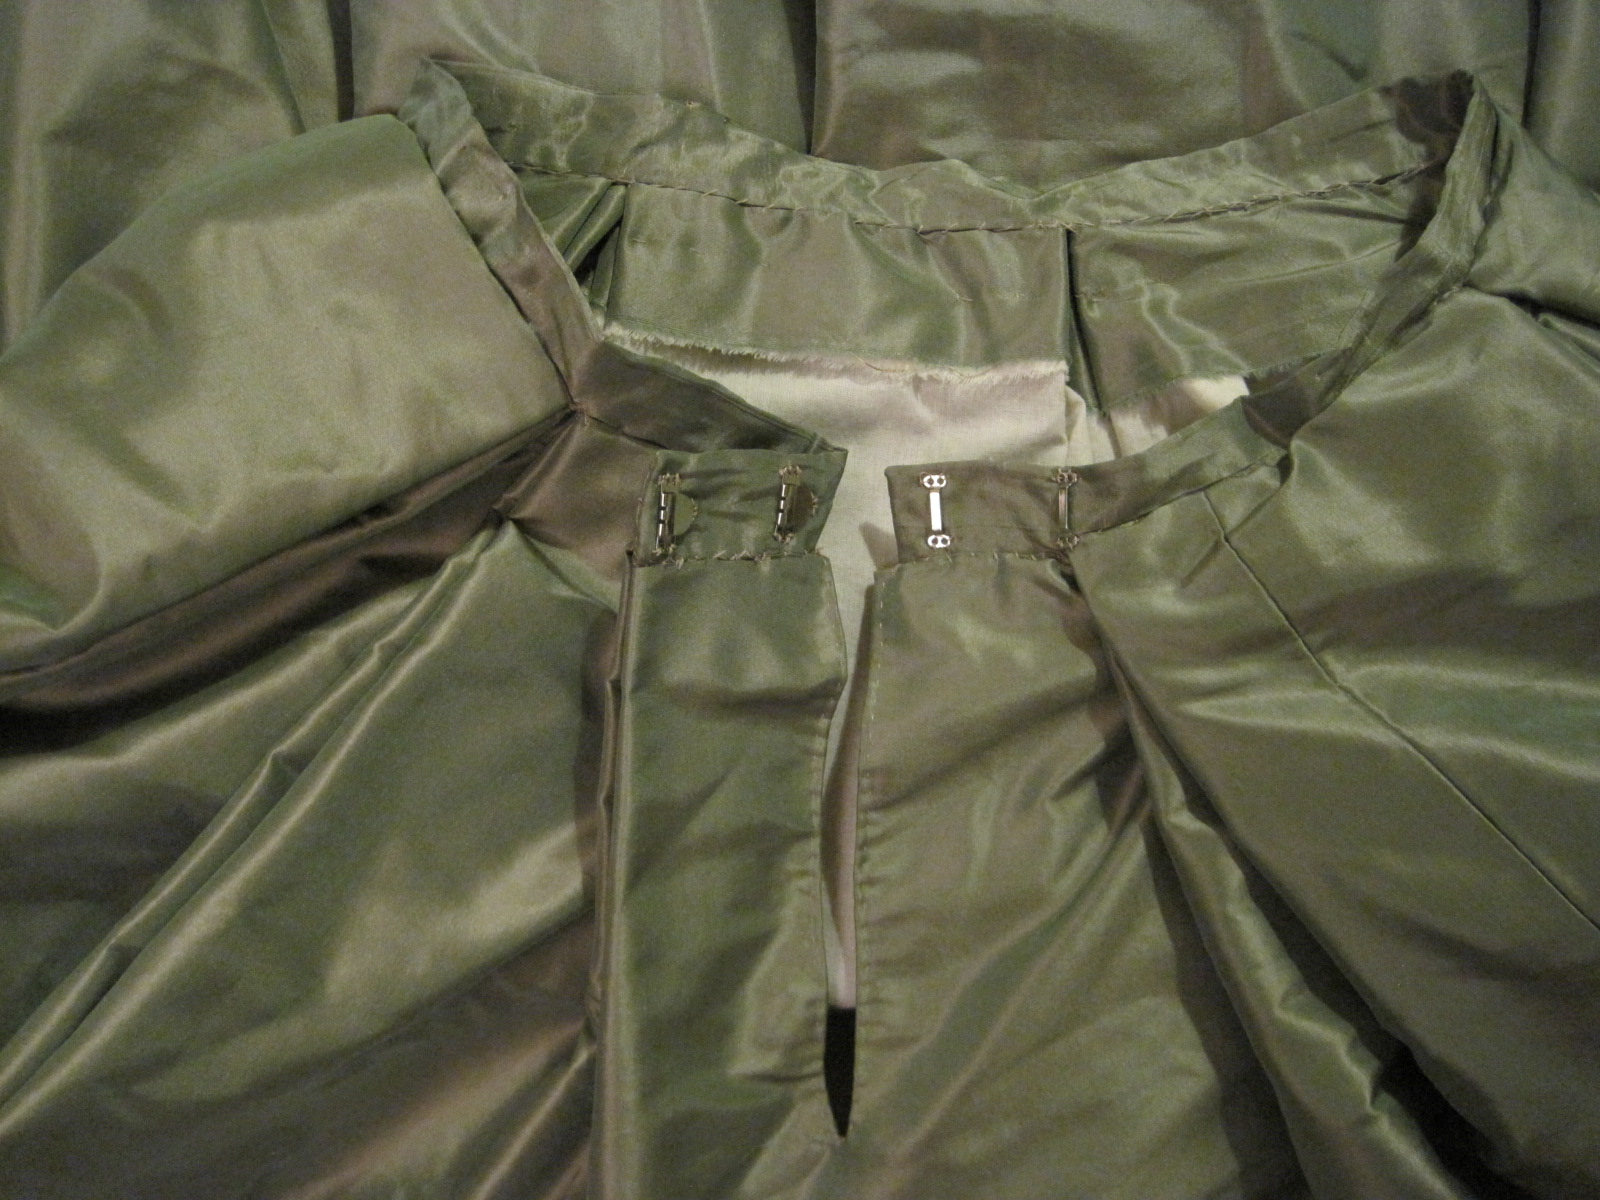
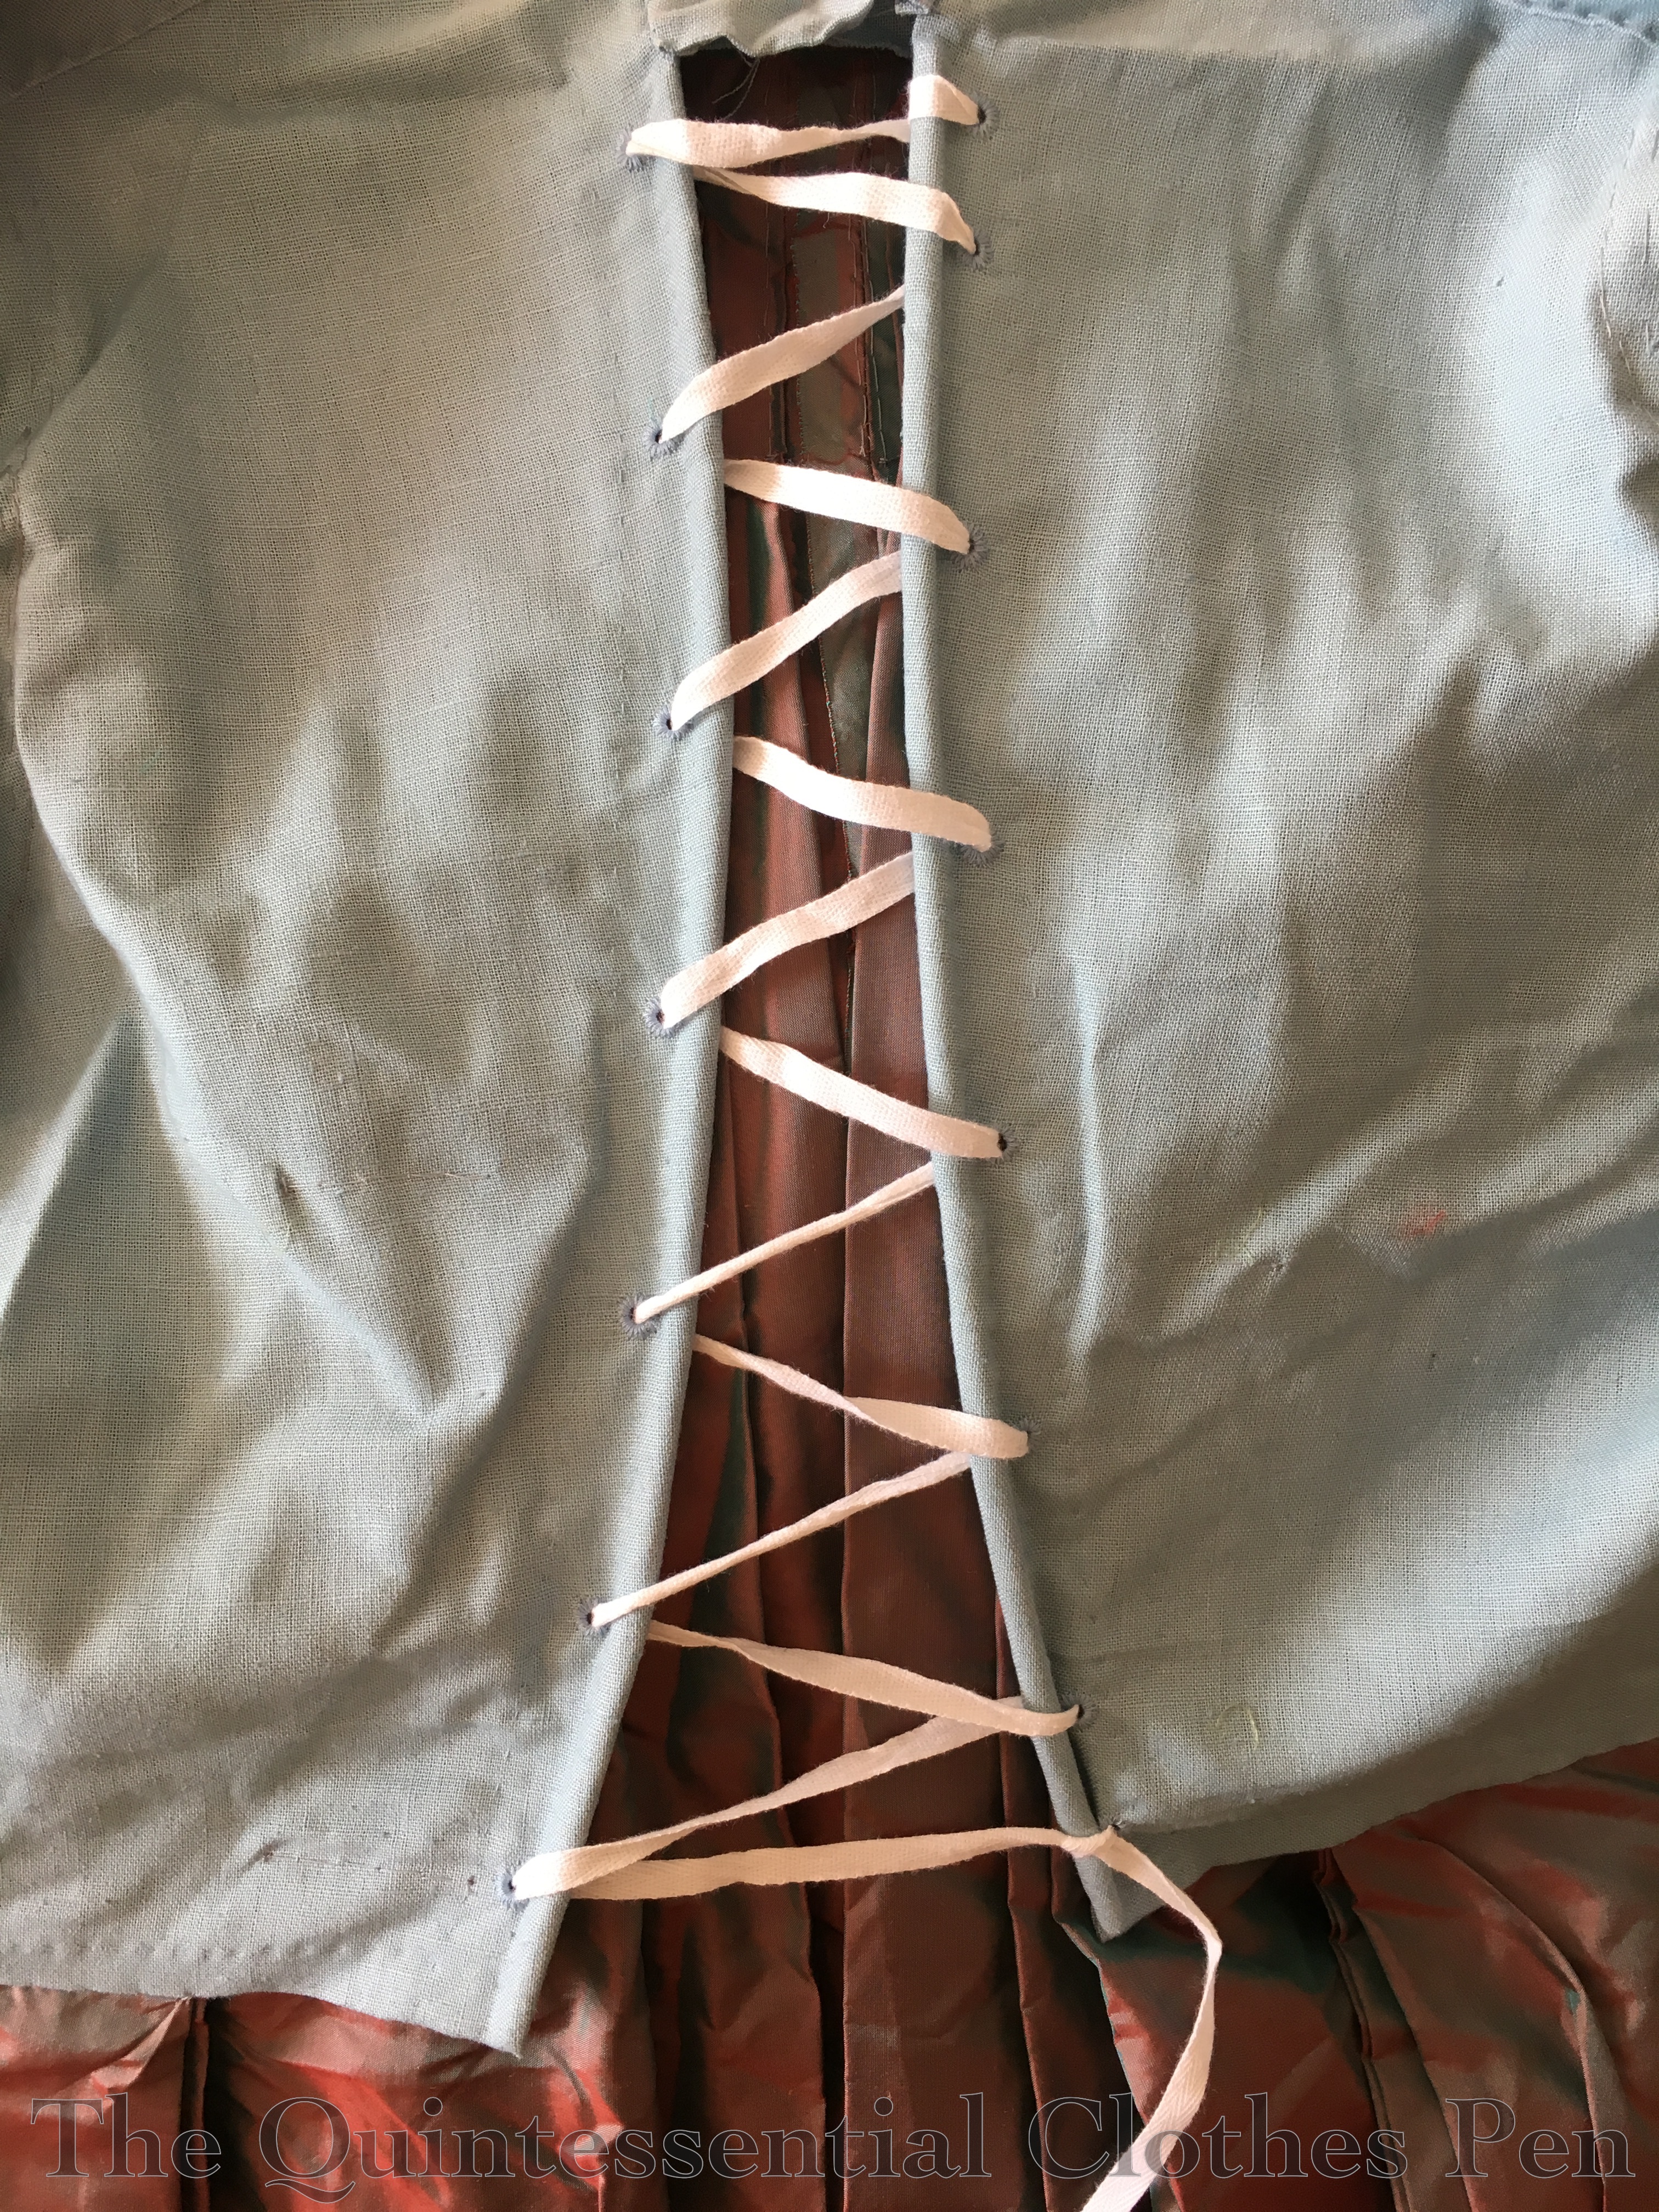
The back of the lining is adjustable using a tie threaded through eyelets. The edges are boned with reed. The pattern suggests ties, but you also see lacing in extant garments and this seemed easier to adjust and that it would use less length for the tie(s). There are examples of both ties and lacing on my Pinterest board for this project. The tie is a 1/4″ cotton twill tape. It’s not accurate, but did the job.
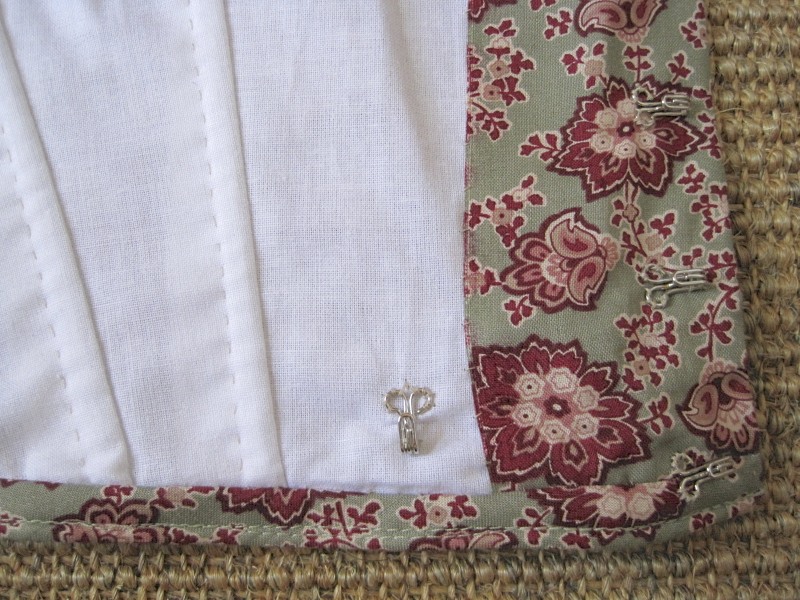
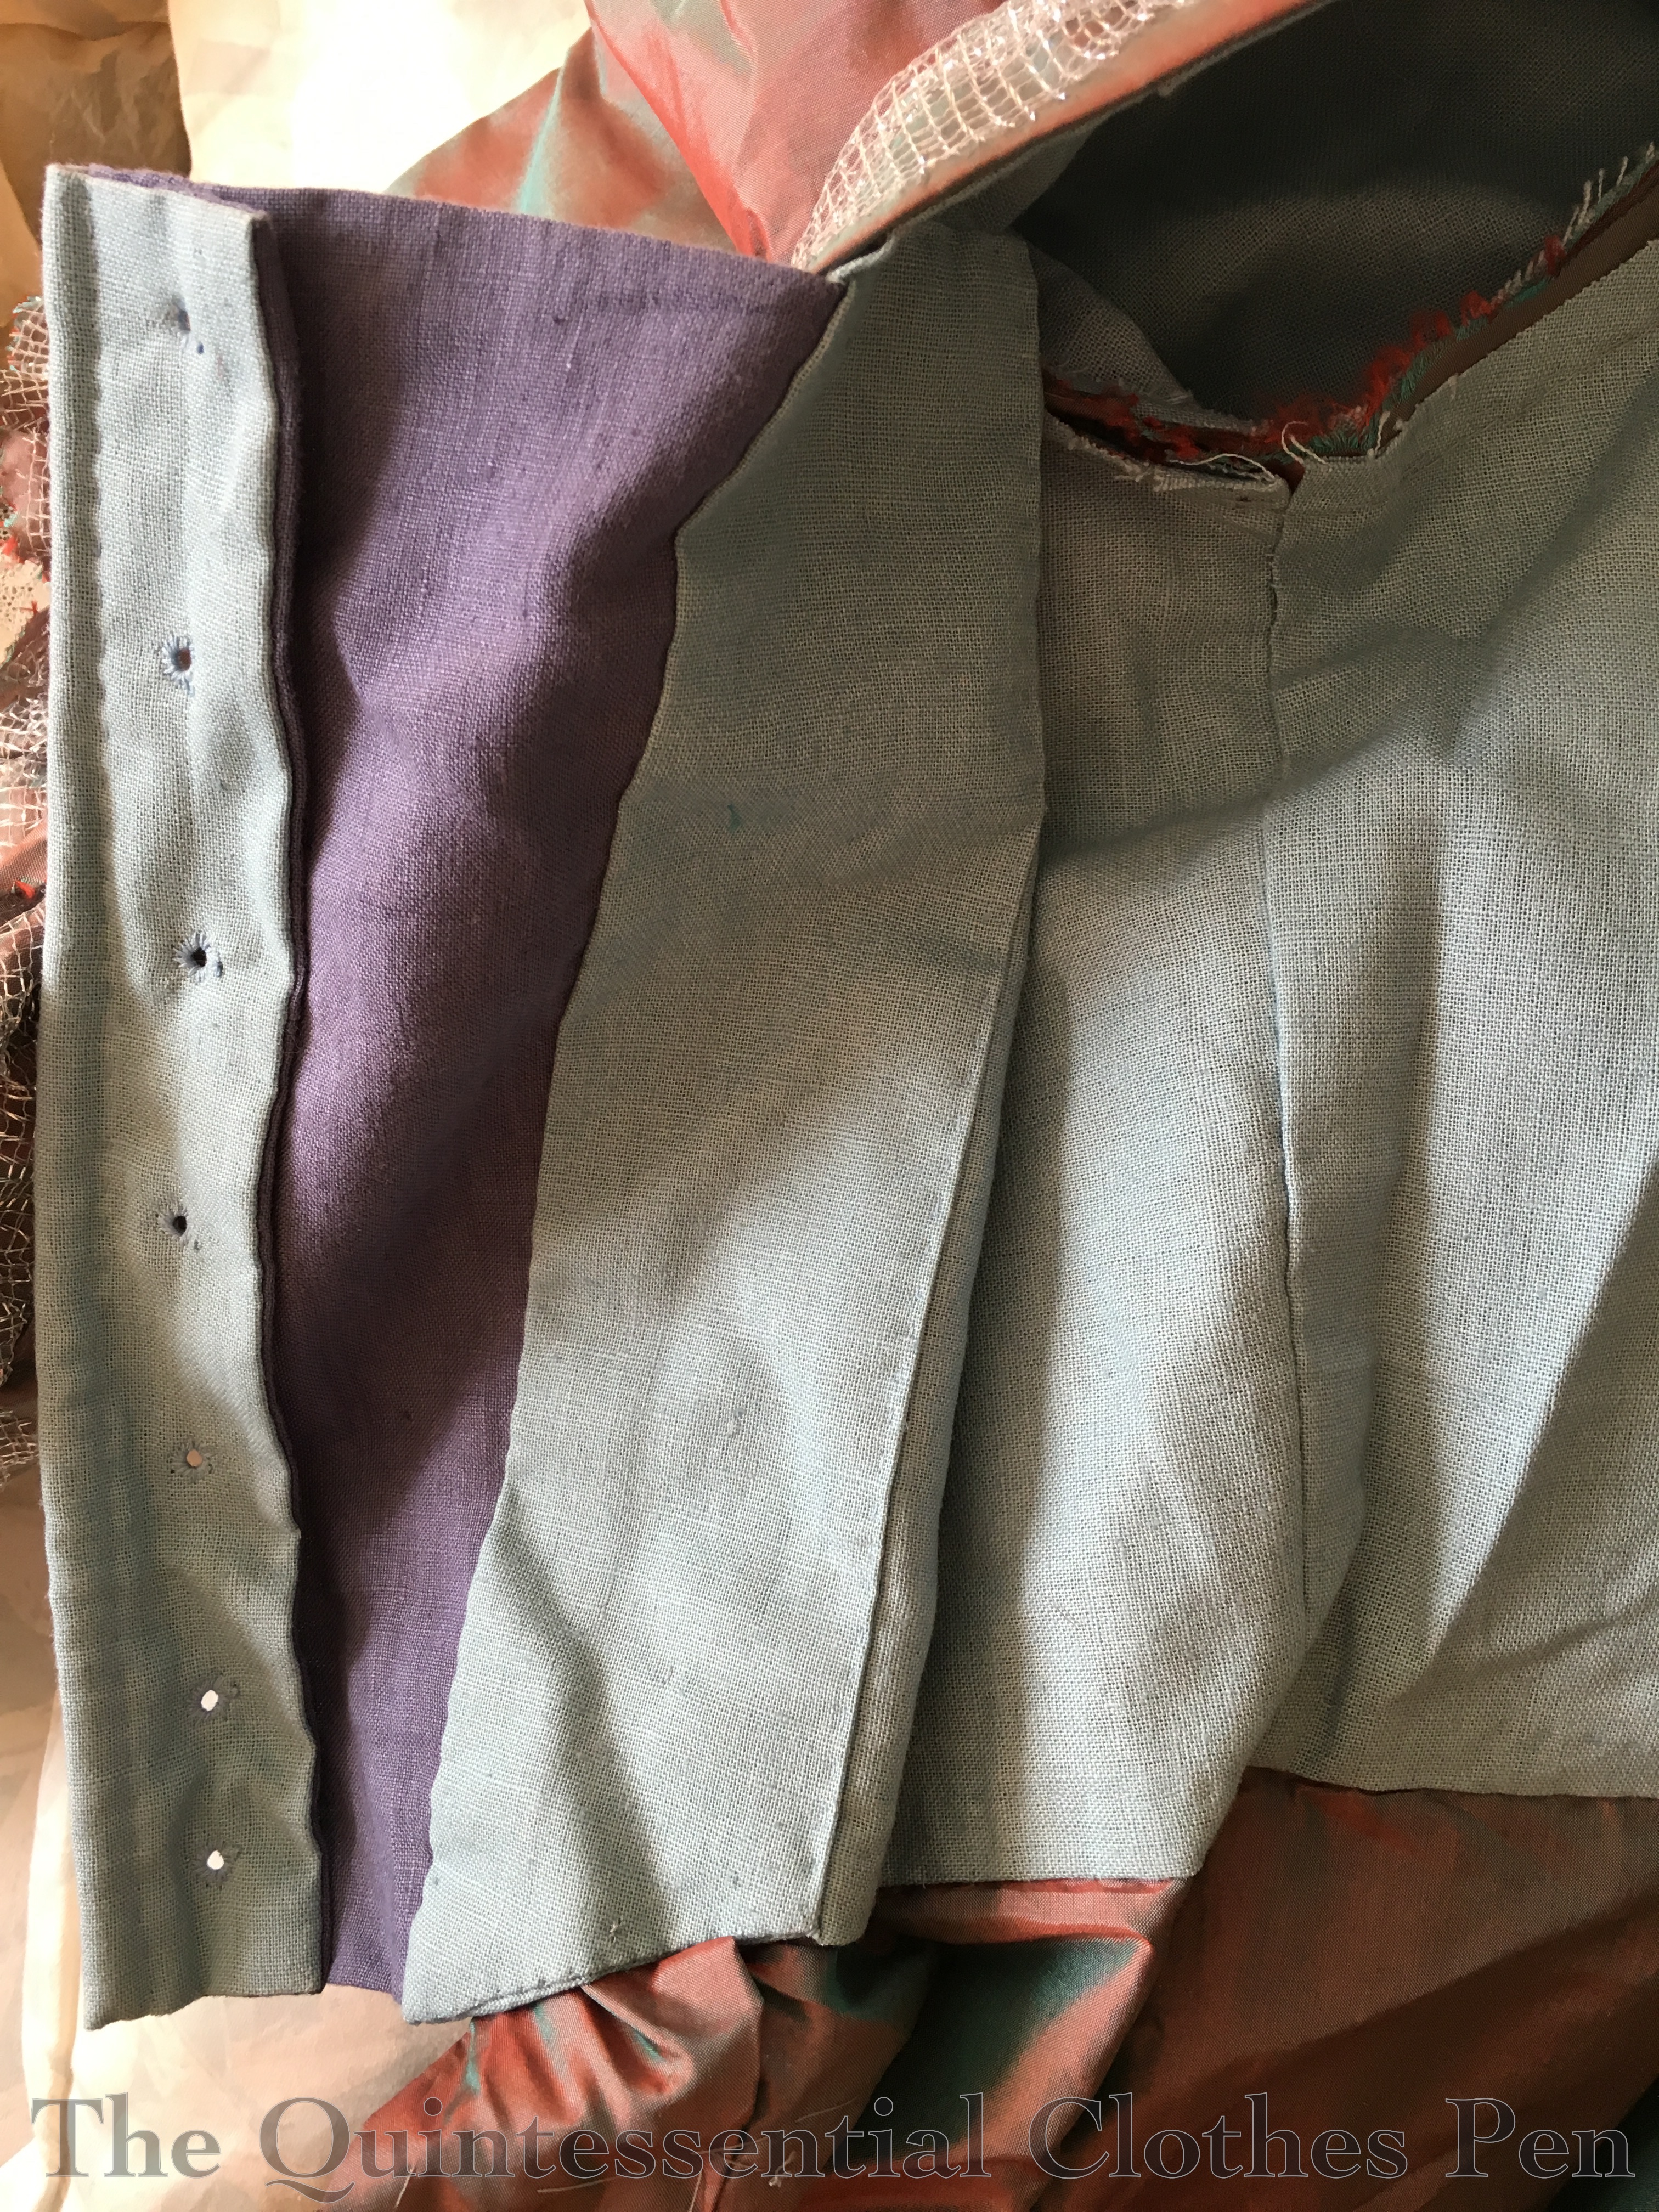
Underneath the decorative stomacher, the gown closes with lacing panels attached to the lining. Again, mine laces closed using twill tape.

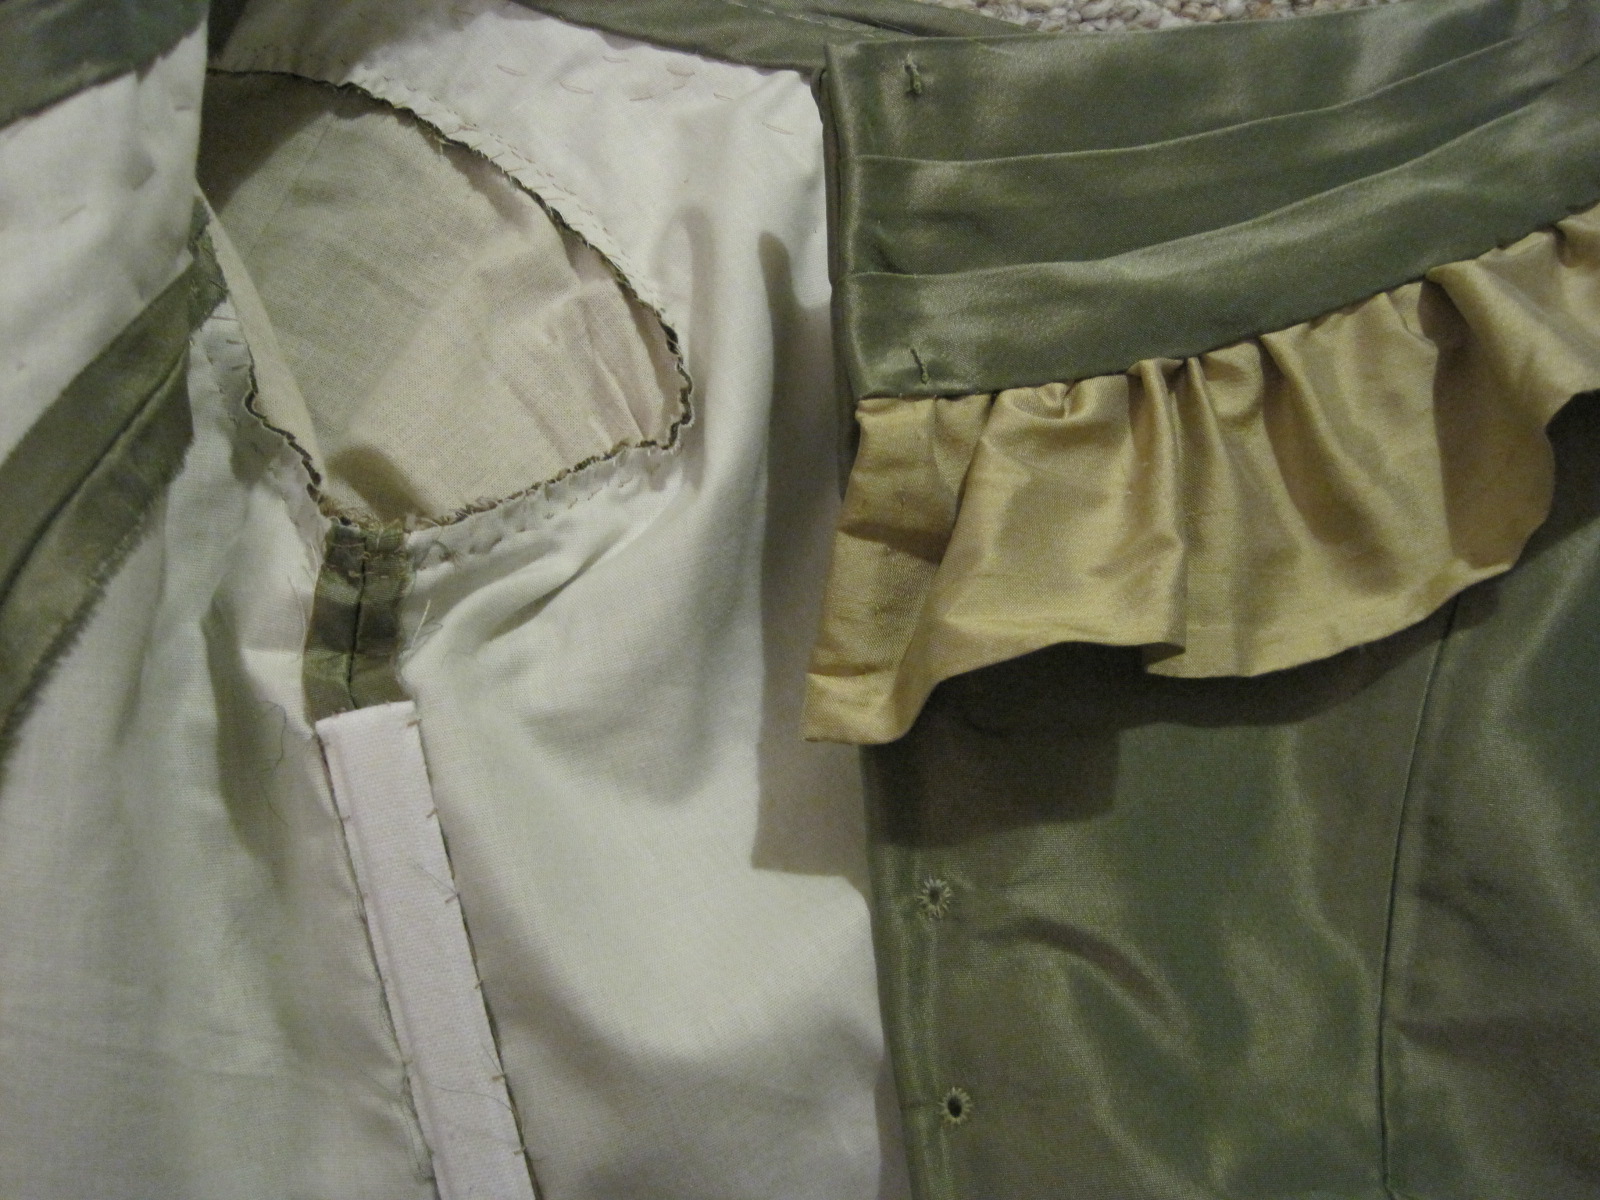
This is the inside of the front lacing panels. You can see the medium blue linen backing. I think I had run out of the cotton/linen blend at that point. As is usual with 18th century garments, the armhole is left unfinished.
Here’s a close up of the back pleats. These are stitched all the way through to the lining. The directions for the pleats were slightly confusing, but made sense once I started fiddling with my fabric. It was important that I had transferred all the markings from the pattern to make the pleating easier to understand. The pattern uses another four pleats pleats, underneath these, that you can’t see to add volume to the back.
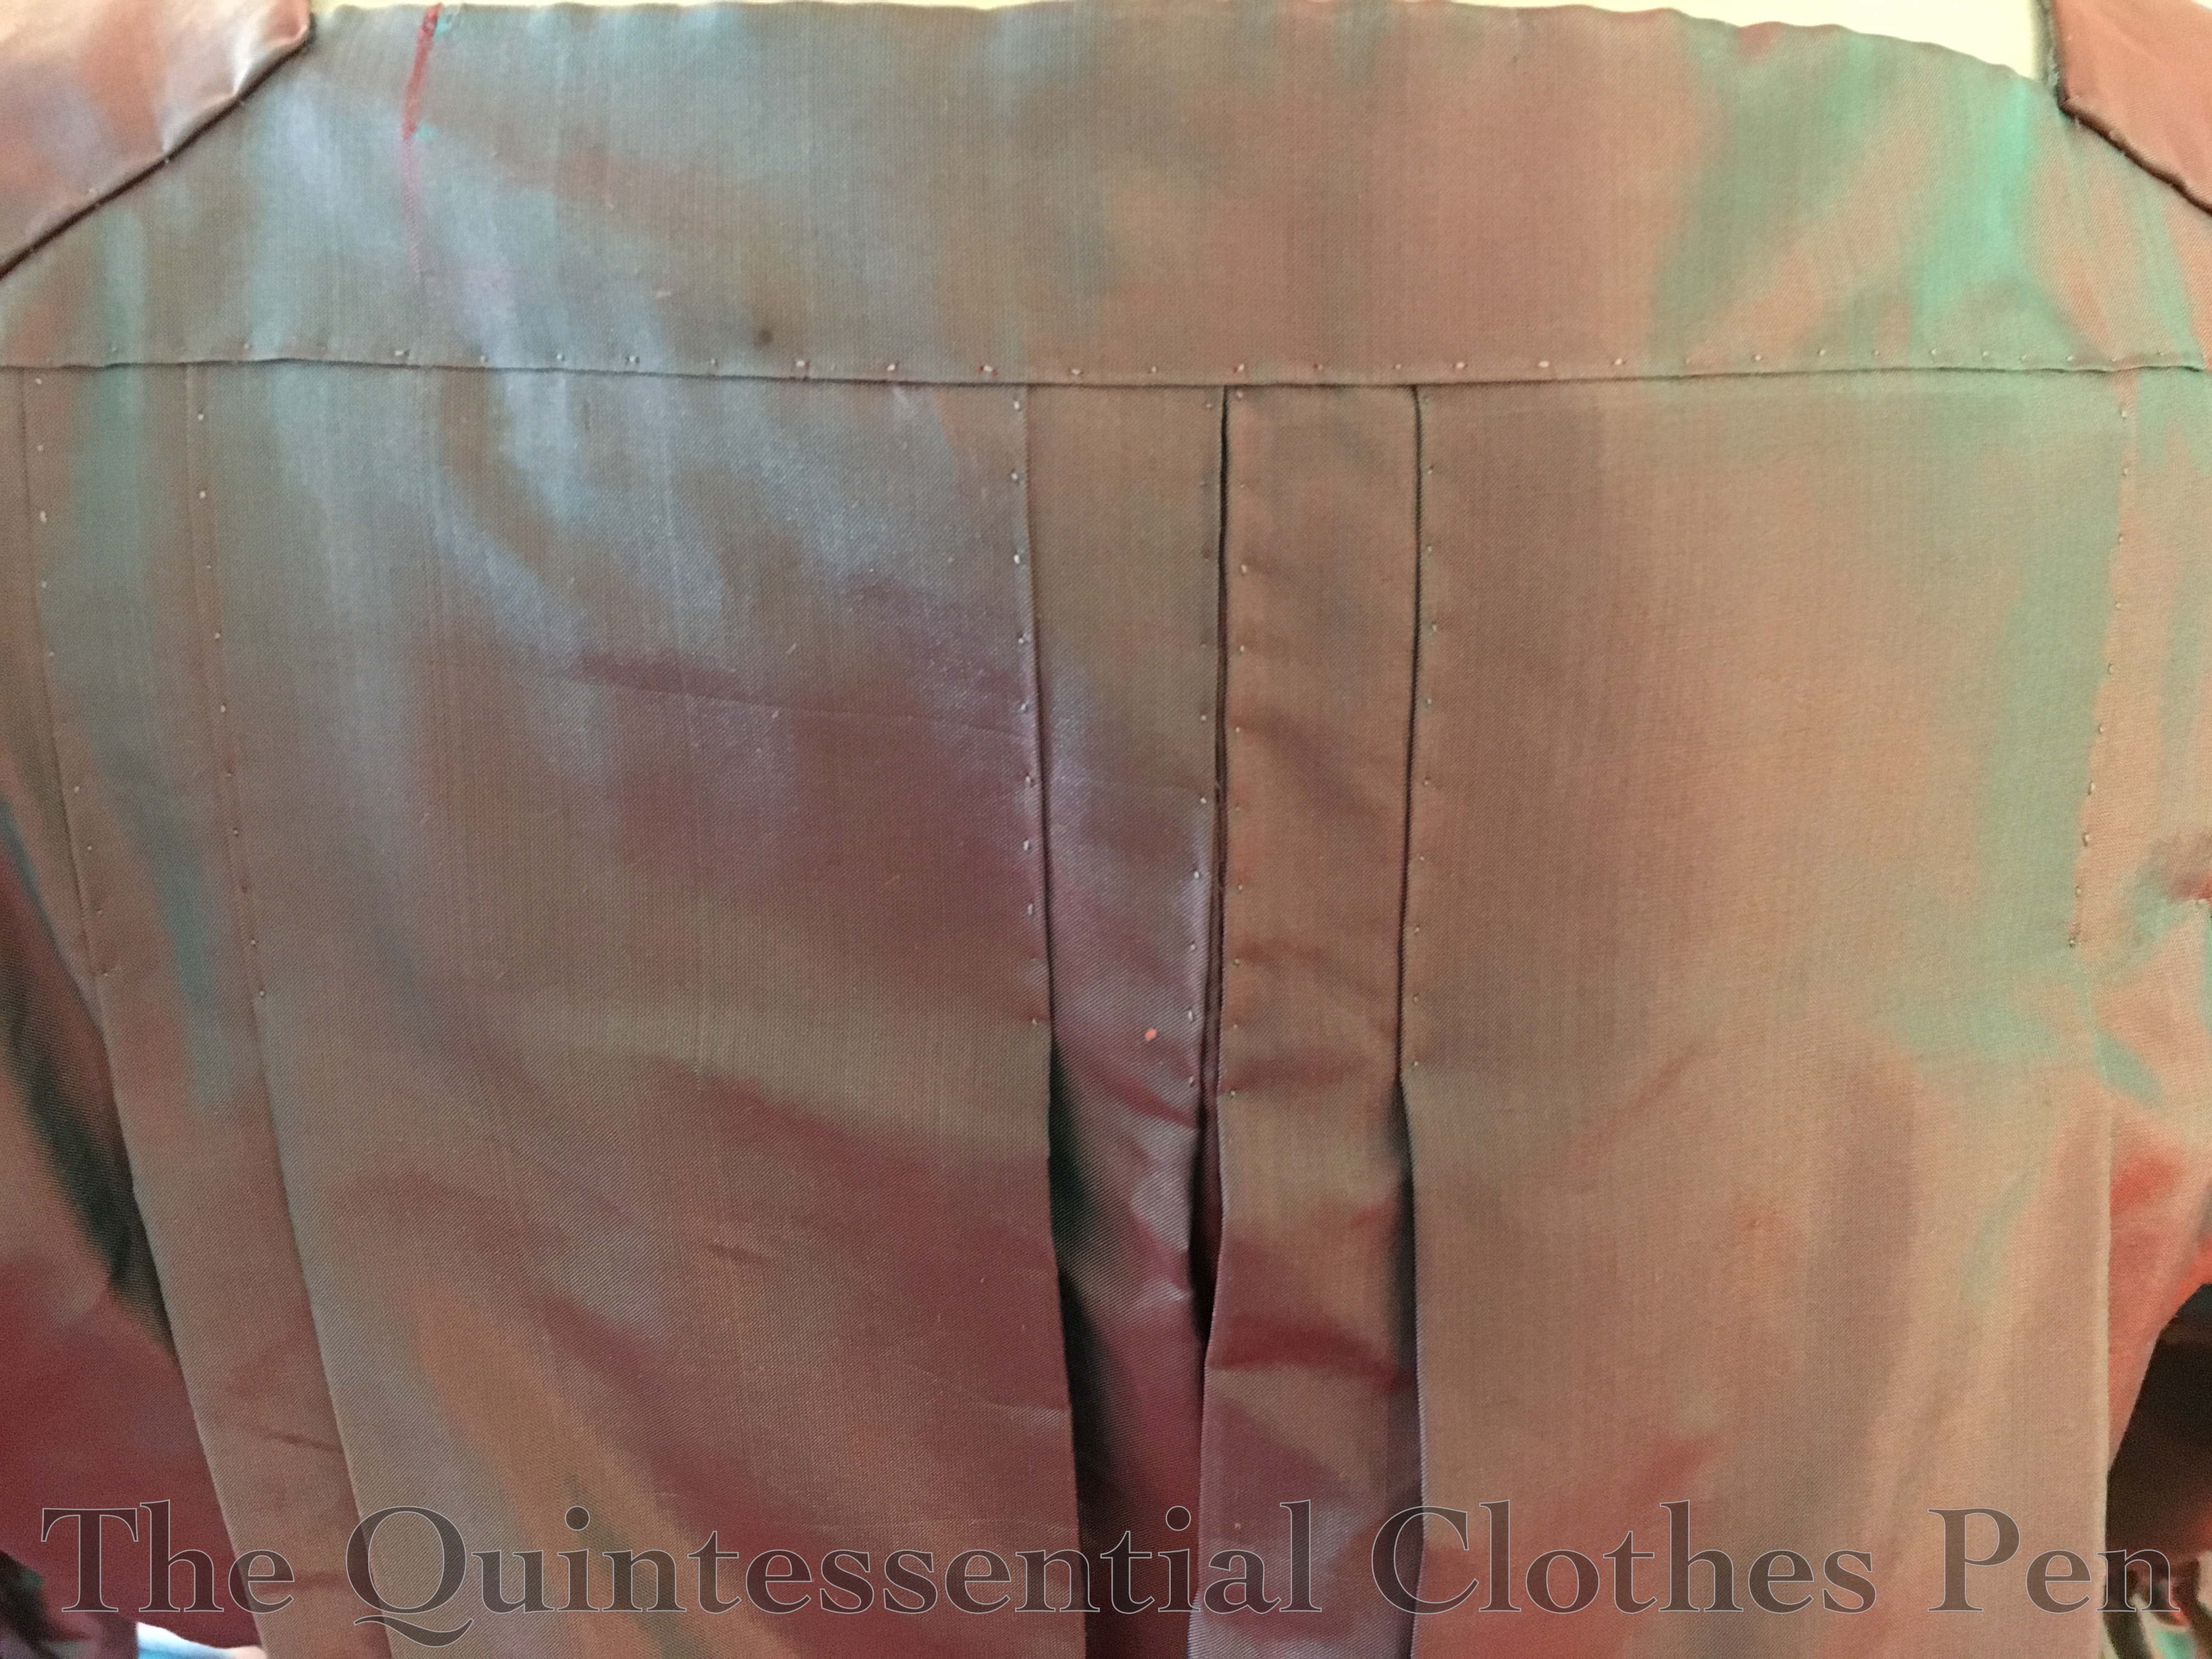
Due to the unexpected nature of the purchase of the silk fabric for this gown, I decided to do that fabric justice by hand sewing the entire garment. So in addition to the exterior stitching like that anchoring the pleats on the back, all of the interior seams are also hand sewn. I rather enjoy hand sewing and it makes a lot more sense given the way 18th century garments were constructed.
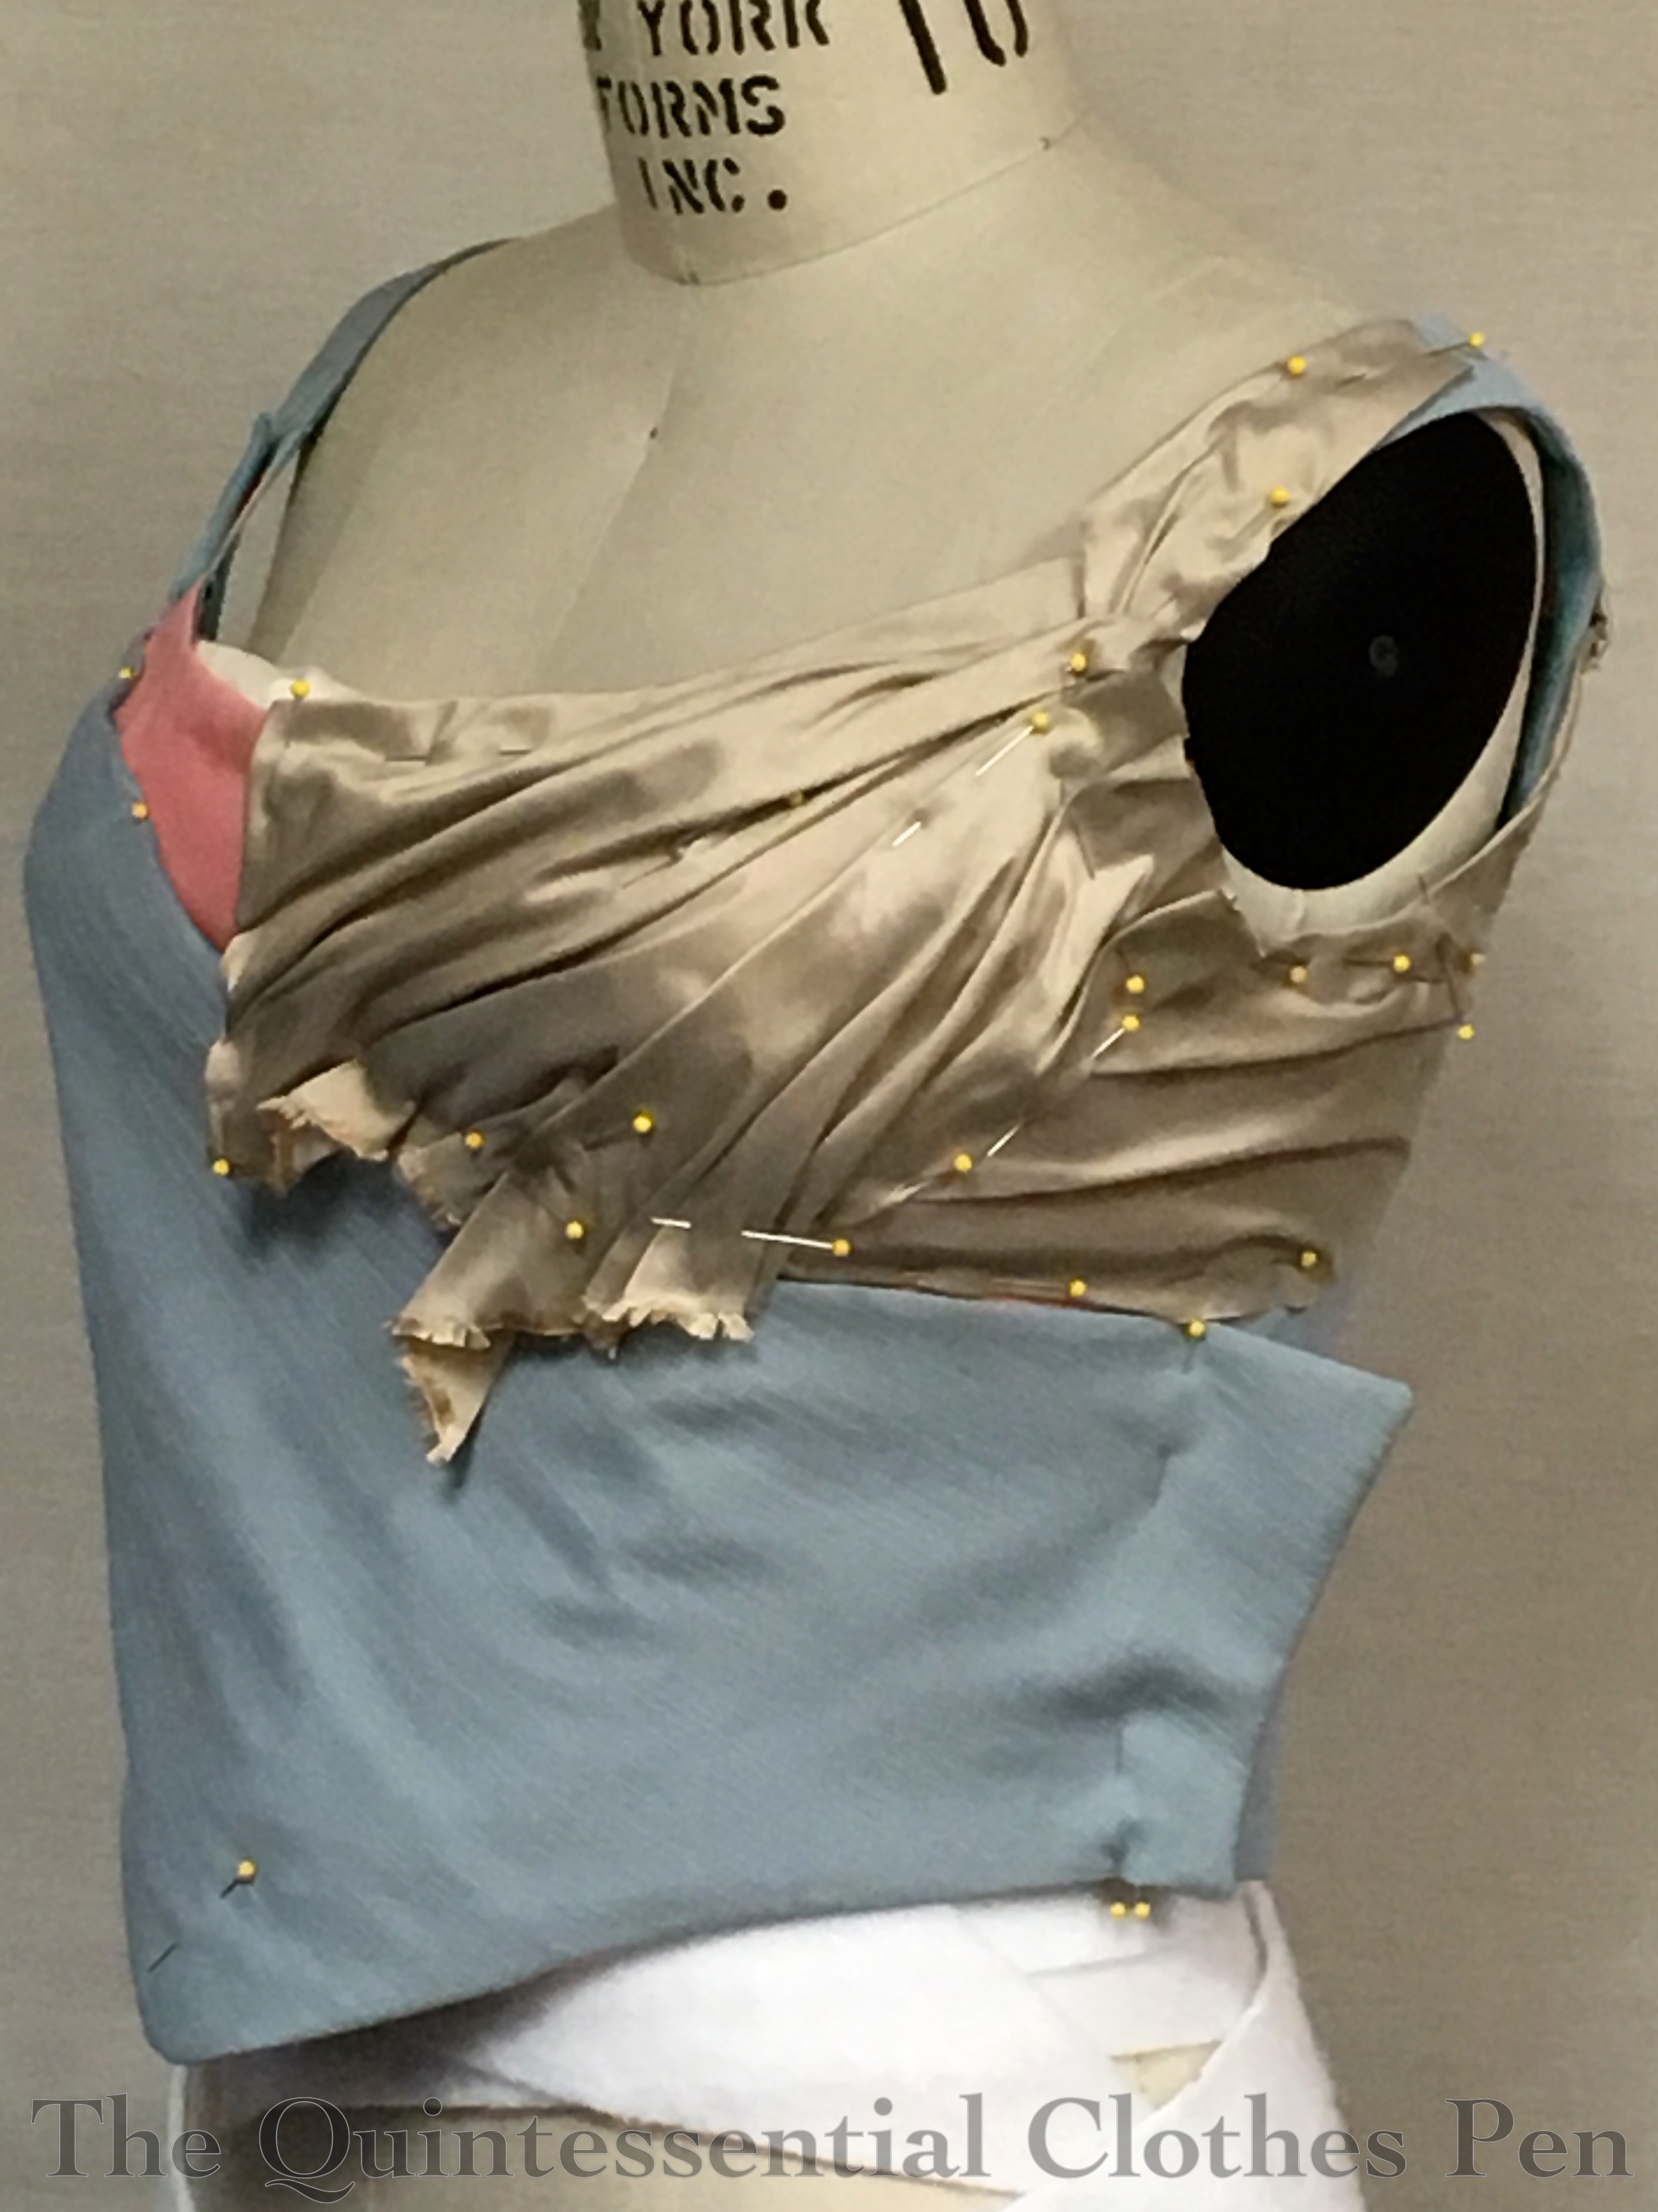
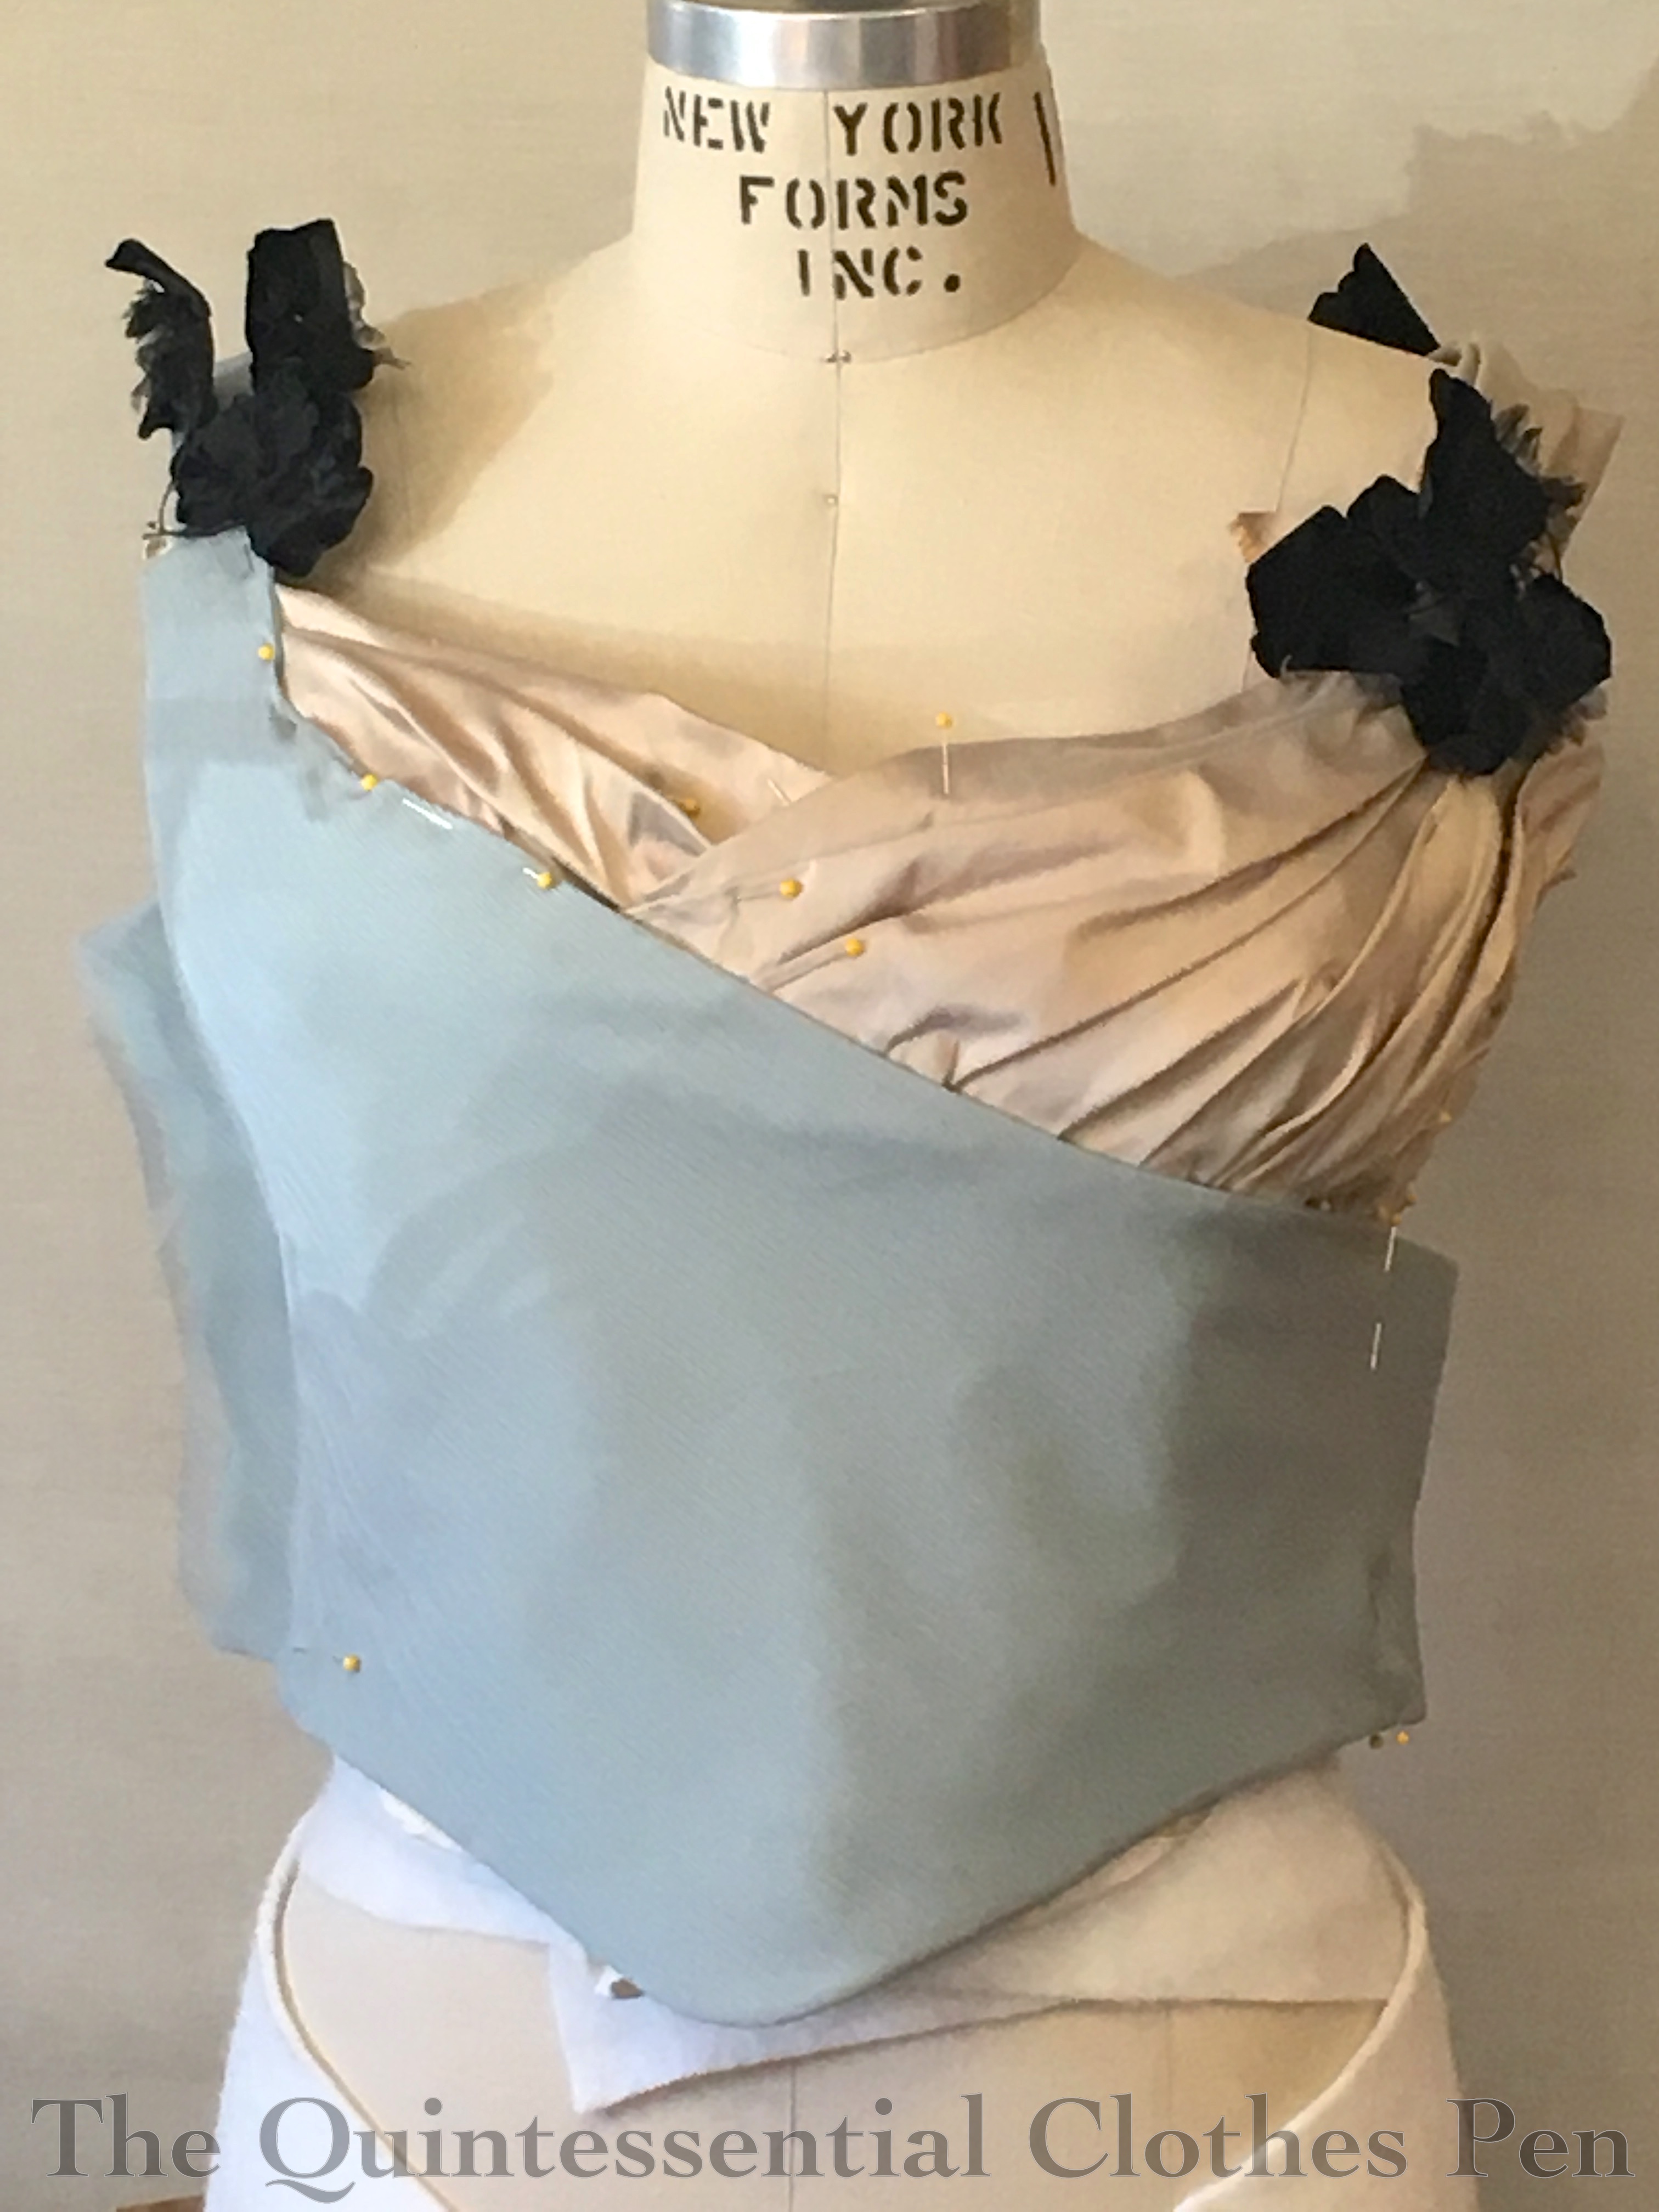
Here is the gown mostly sewn in its essential elements, but lacking trim. The sleeve flounces were individually gathered and sewn to the arm openings. They are pinked with scalloped shears on the top and bottom edges.
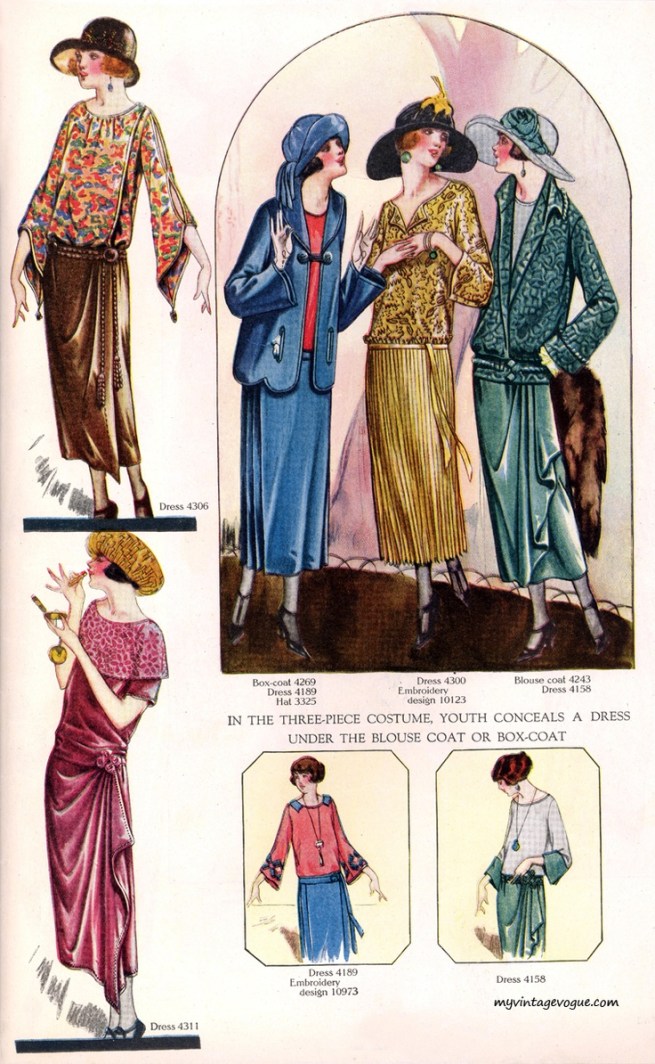
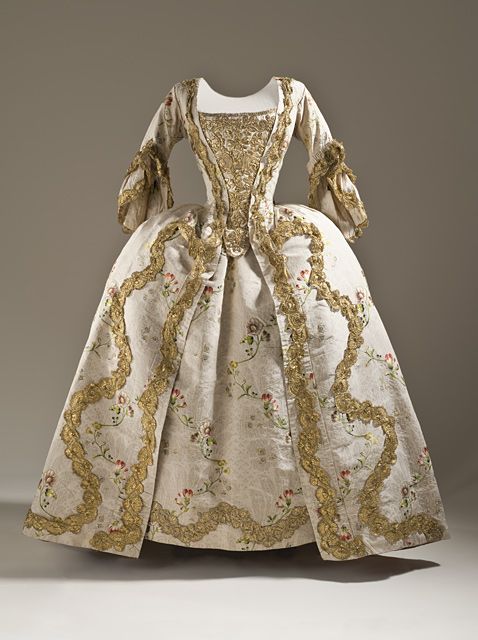
The following image is the gown that I followed in terms of trim placement. It took many more hours than I thought it would to pin the trim on. Those big waves are more complicated than they look, plus I had the challenge of creating the smaller scallops as I went along as well. All of the trim had to be sewn along both sides and tacked at each scrunch after it had been pinned.

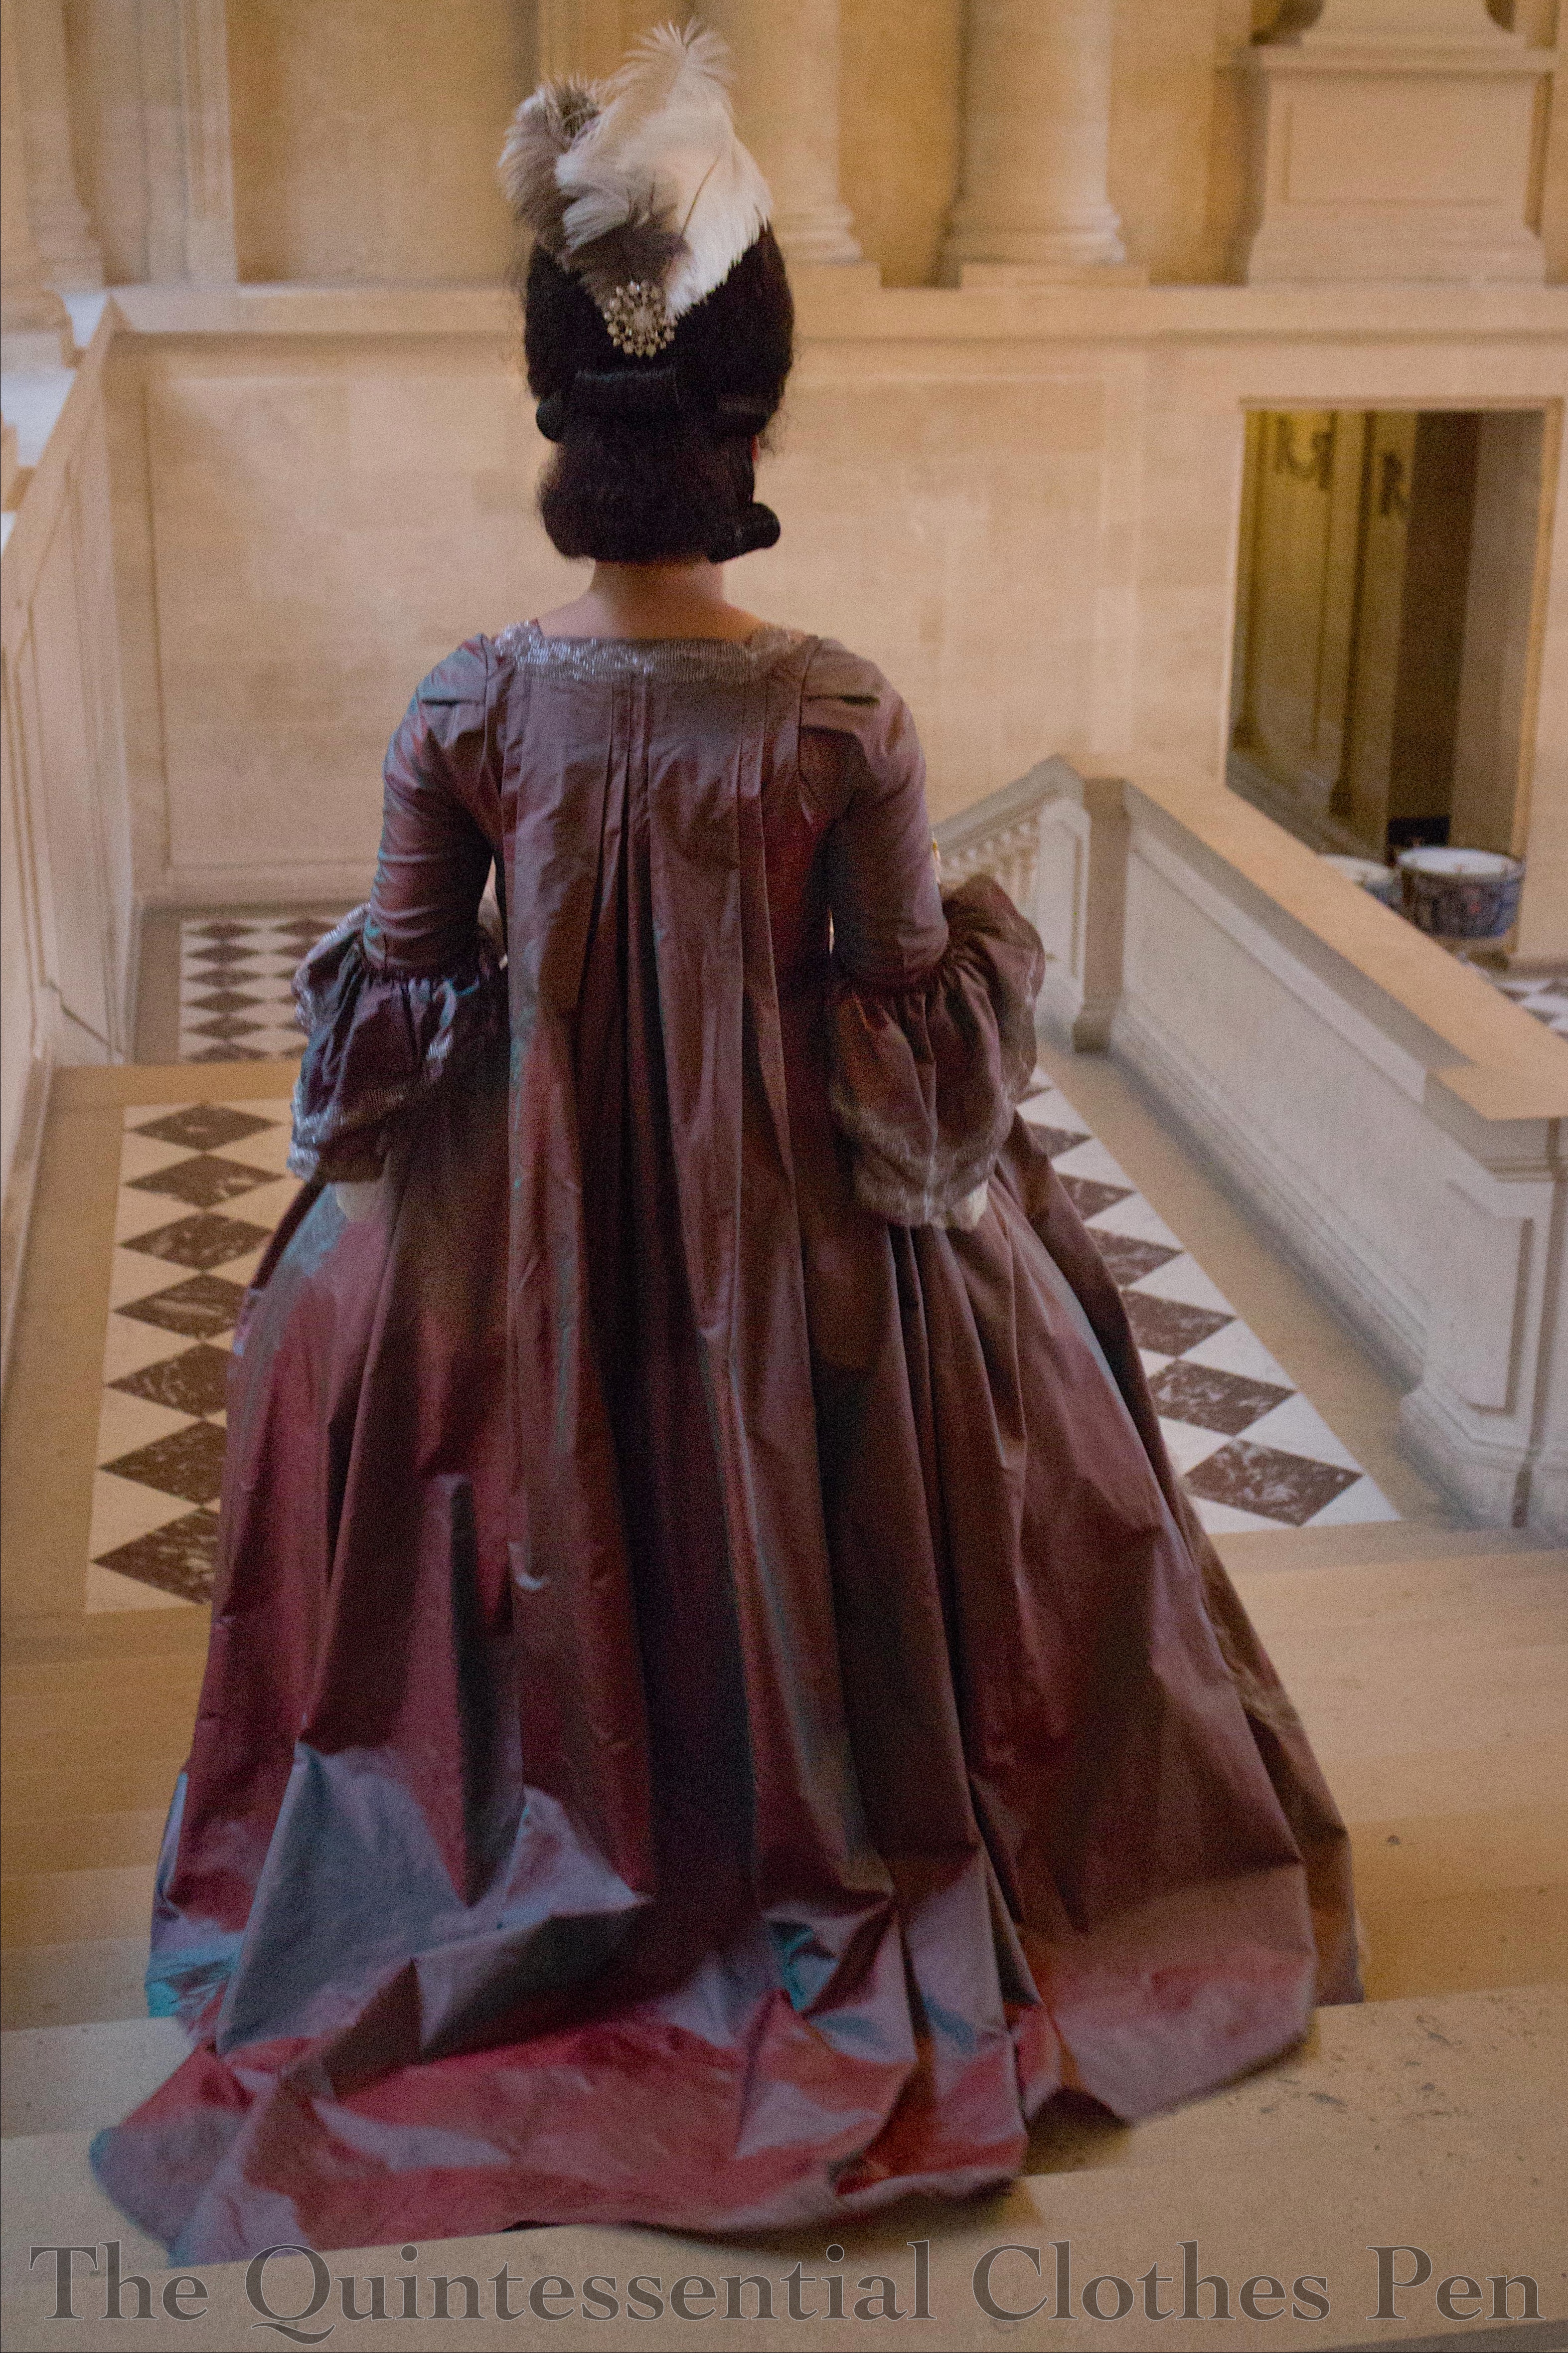
You can see that I pressed my robings down all the way to the hem, though once the trim was applied on top it was really not very noticeable. I like the finished result, but I think it’s worth pointing out that this pattern is designed to have a wide stomacher. I was envisioning it coming out a little narrower at the waist. But I think adjusting the back opening enough to make a noticeable difference would only create awkward wrinkles under the arms.
The finished stomacher was covered in scalloped trim and finished off with a sparkly brooch. I went to France with an untrimmed stomacher and no clear idea about how I wanted to trim it except that I wanted it to be an all over metallic feast for the eyes. Luckily, early in the trip I was able to go see the 300 Centuries of Fashion exhibit at Les Arts Decoratifs. In addition to being amazing (I got to stand within 6 feet of Dior’s Bar Suit and see many garments I’ve only ever seen on Pinterest!), I also took a picture of a stomacher that was inspirational in terms of the overall wavy patterns and filler shapes. That picture is below.


Trimming the stomacher took place in the evenings in the few days before the special event. Here is the stomacher in progress. I took it specifically to show the amazing green color that the fabric can appear from some angles. I was hoping to get a picture of the finished gown looking this color, but had to be content with seeing shades of green in some of the pictures as we didn’t capture any where the whole gown was this color.

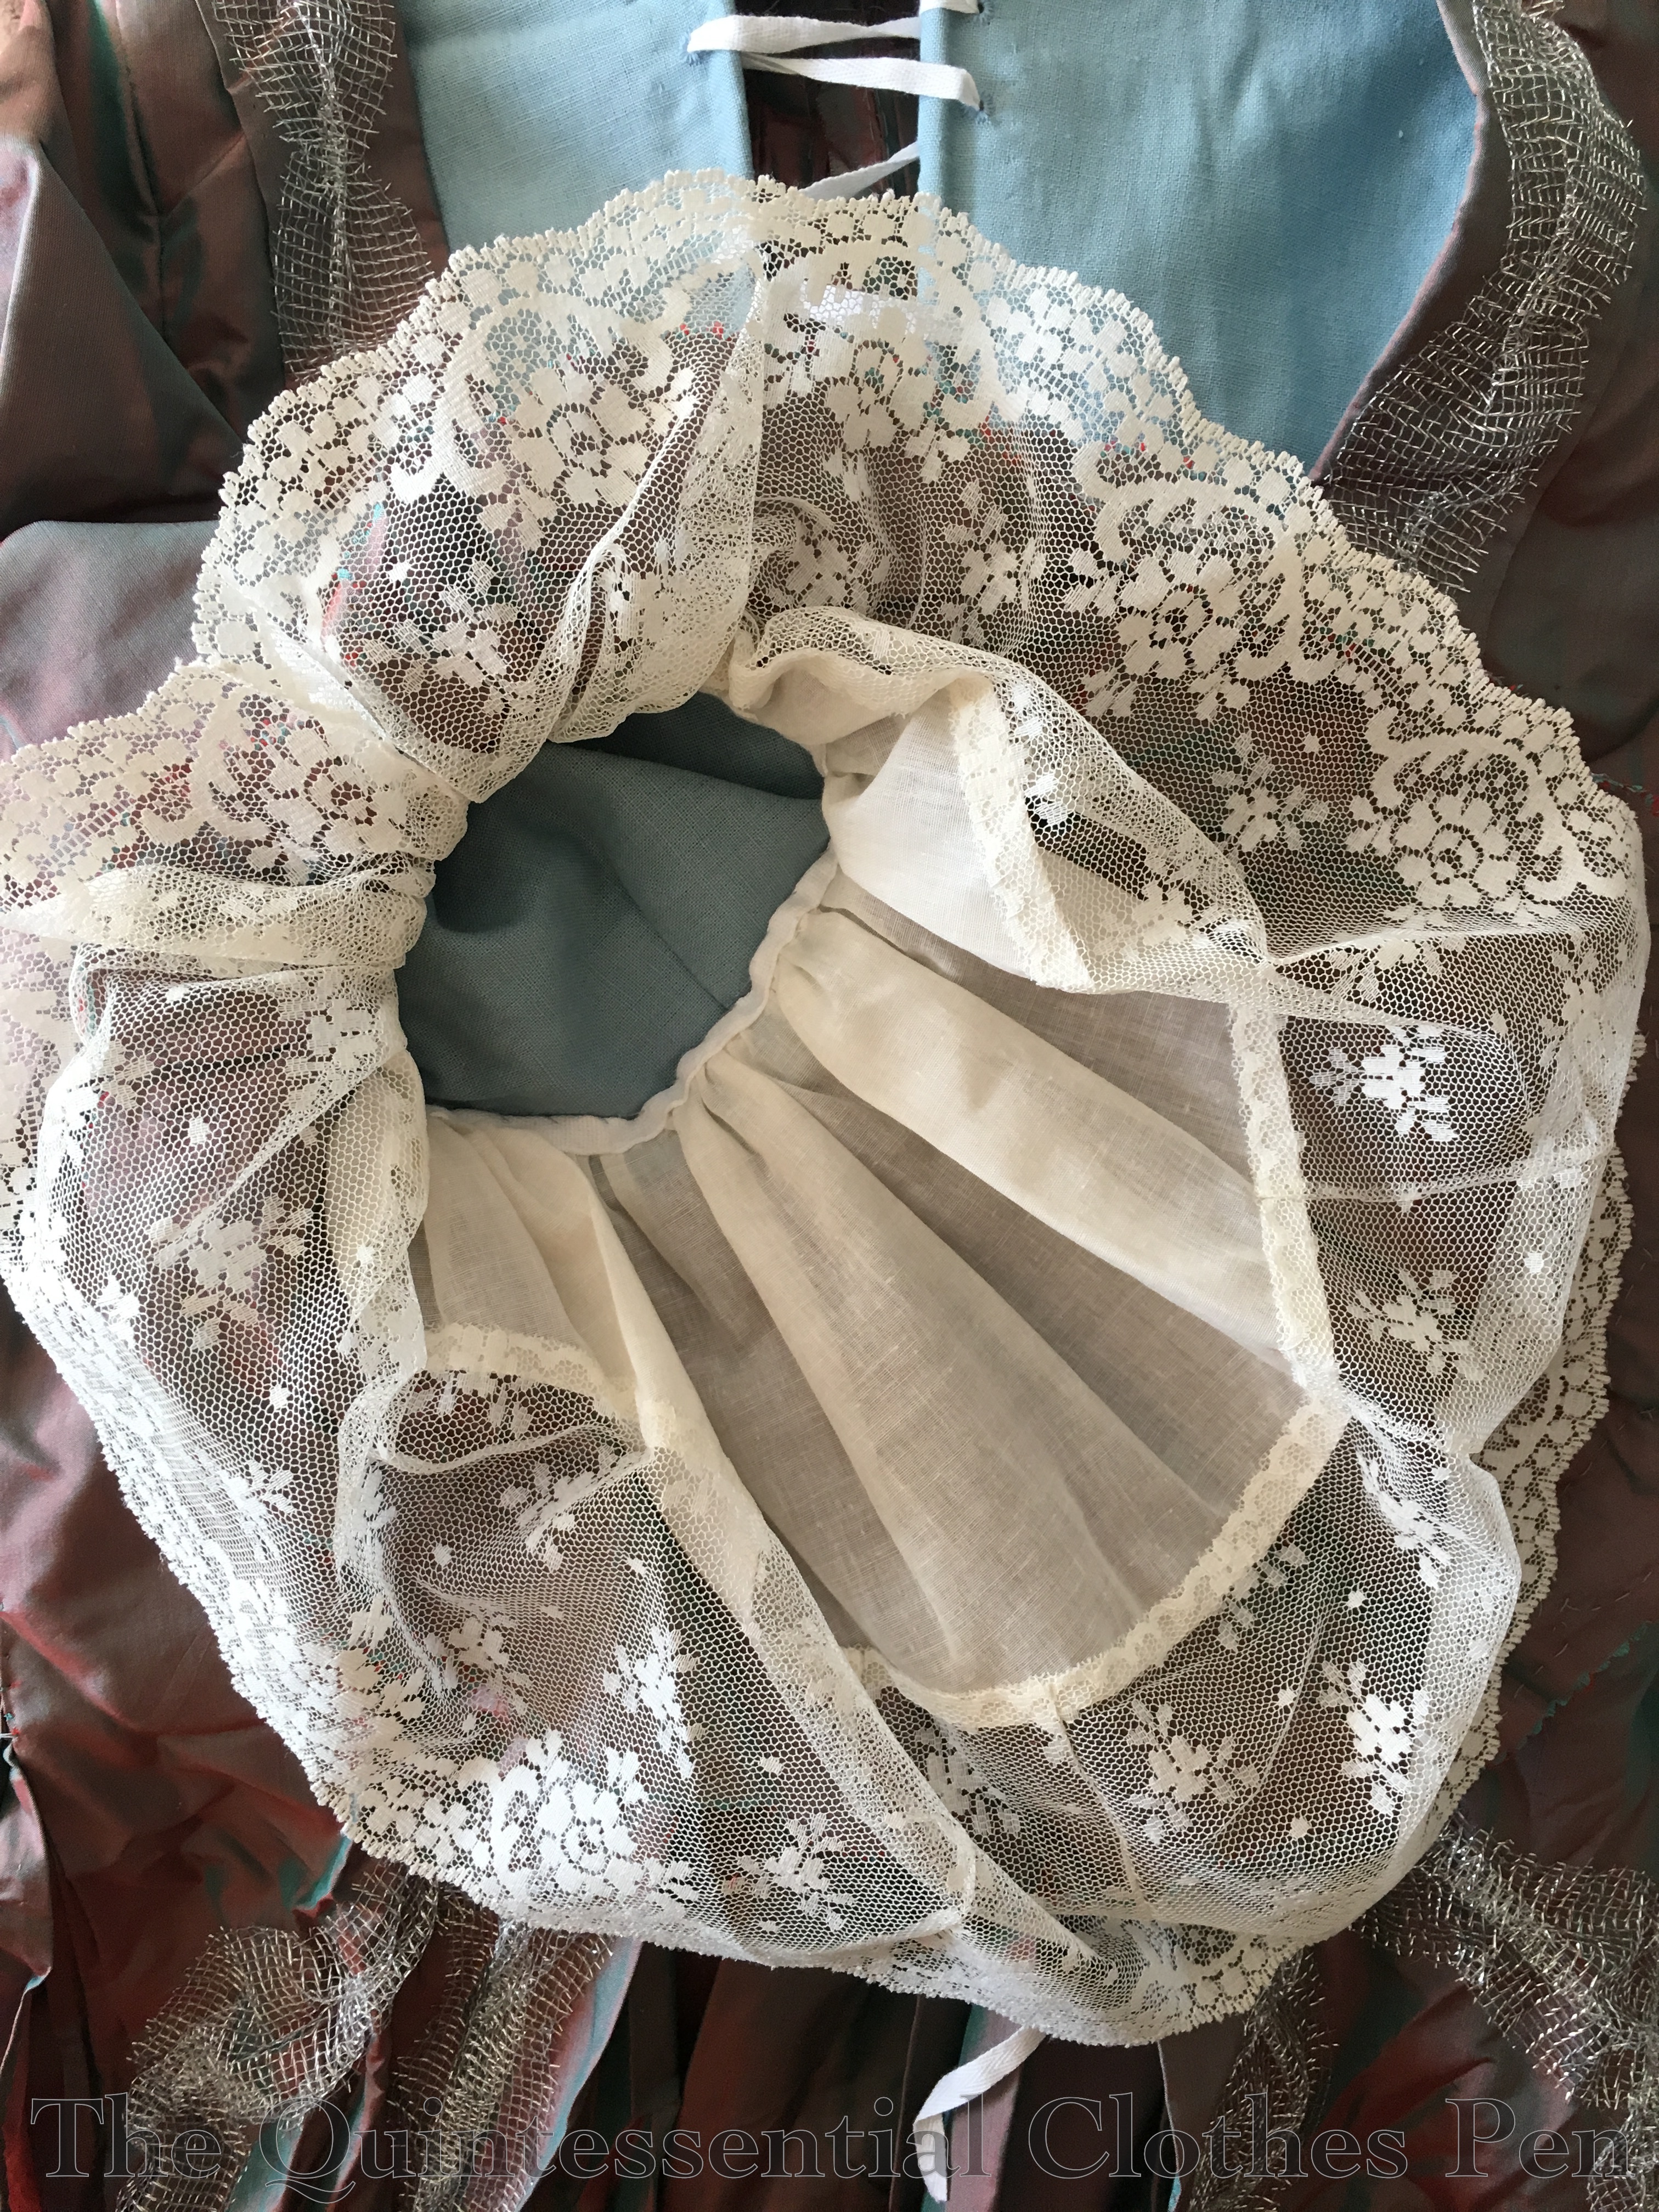
Another part of the dress that was finished in France were my engageants. The pattern includes flounces of two lengths to be made of silk and then one longer flounce for an under flounce or engageant. I sacrificed some lace I’ve been intending for another project, threw some darts in at the longest section to get the scalloped edge to be the right shape, and filled in the length with a bit of mystery ivory sheer. The resulting flounce was gathered and sewn to a cotton tape that was basted into the arm opening.
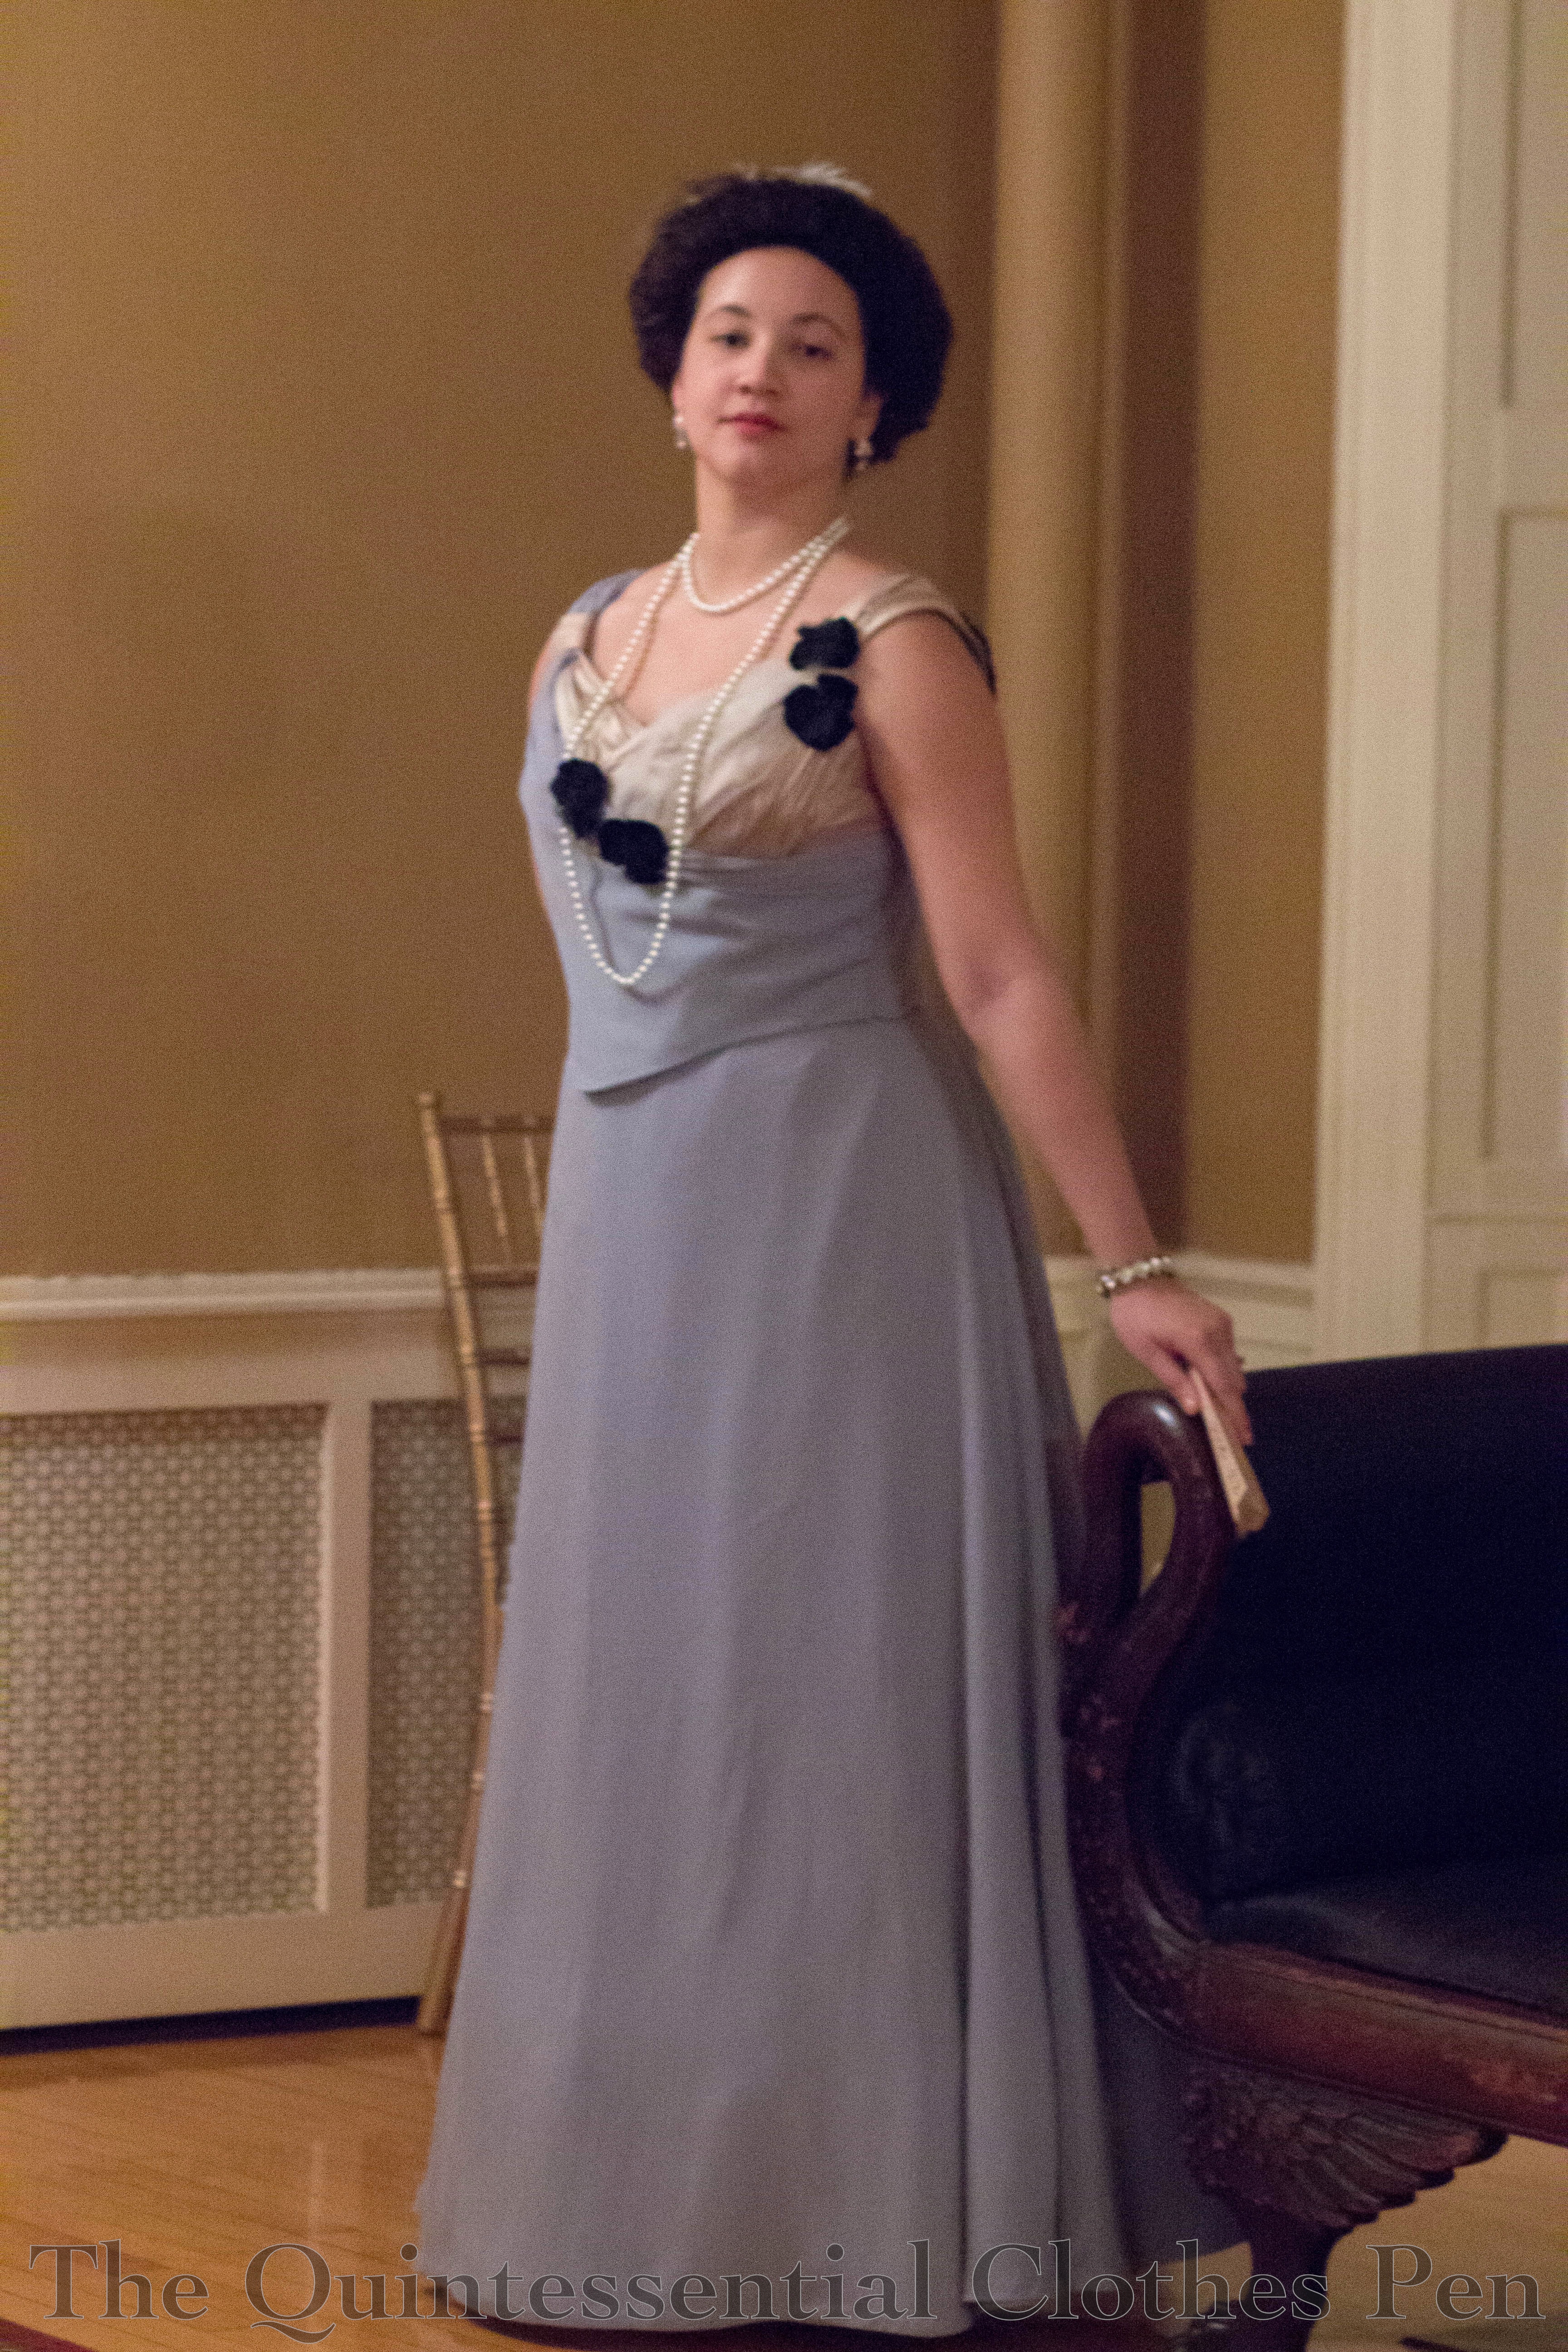
It sure sounds like a lot of work, recounting these bits of the process. It was! And it paid off. I’m very pleased with the gown. And very pleased that this picture captures some of the stunning green in the fabric!