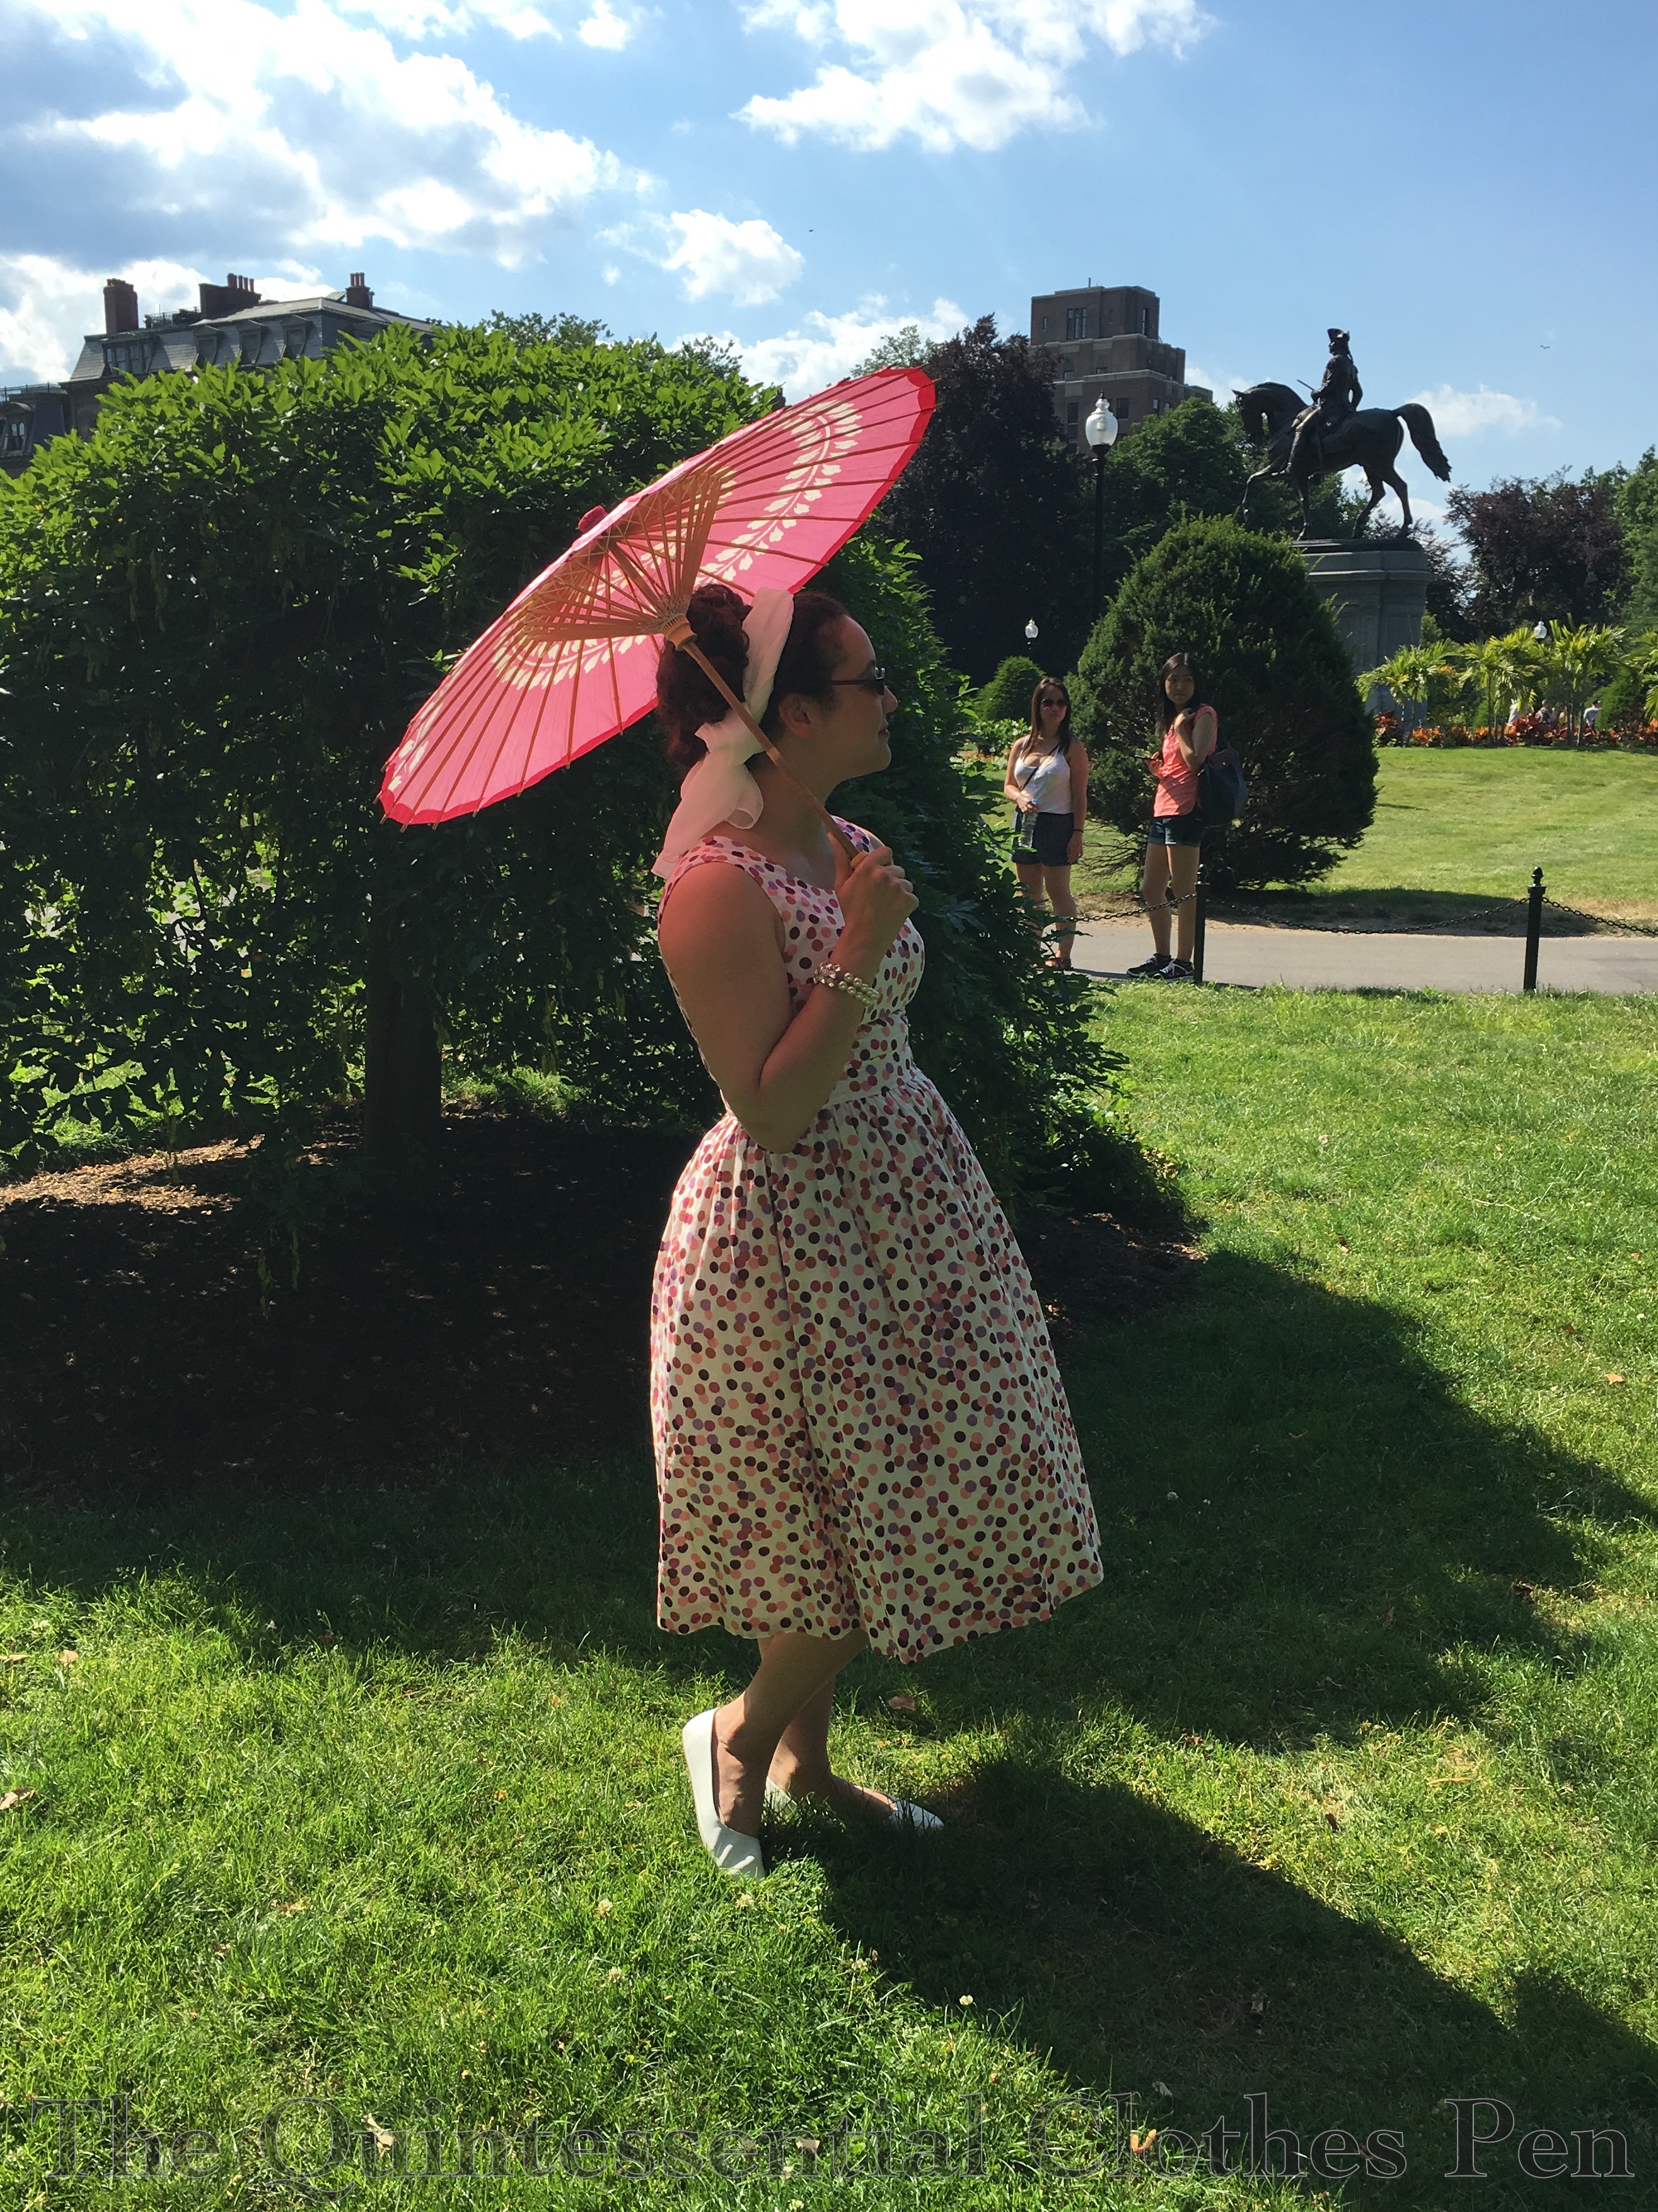
In June, I went to a picnic in the Boston Public Garden. As it was an open era event, I decided to wear my 1953 dot dress because it is easy and cool to wear in the summer heat.
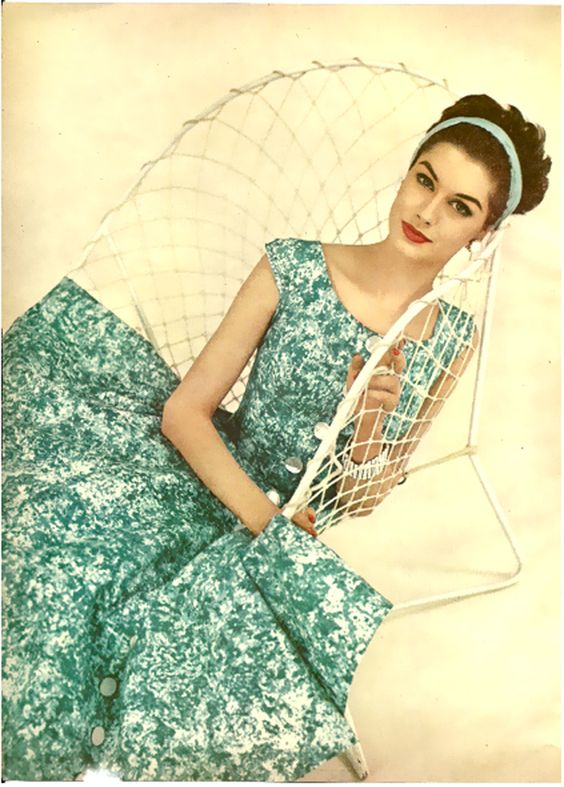
I took a long time styling my hair to look like this image from 1954. It’s quite a feat to tame the frizz and there was a moment of woe and frustration, but I didn’t have time to start again, so I continued on and was happy with the end result despite the angst in the middle of the process. Looking effortless is so much work!
Charm Magazine, 1954
Picnicking! I plopped down to eat and then didn’t move much until picture time.
I love how the pictures turned out! I purchased a new parasol to use this summer for 1920s events, but it matched this dress very nicely so I brought it along to the picnic. Raspberry is one of my favorite colors.
There was a crowd of people watching the picnic most of the day, but we managed to get a lot of pictures without them. Yay! I don’t mind being gawked at (I’m rather used to it actually) but I do usually like images that don’t have modern dressed people in the background better.
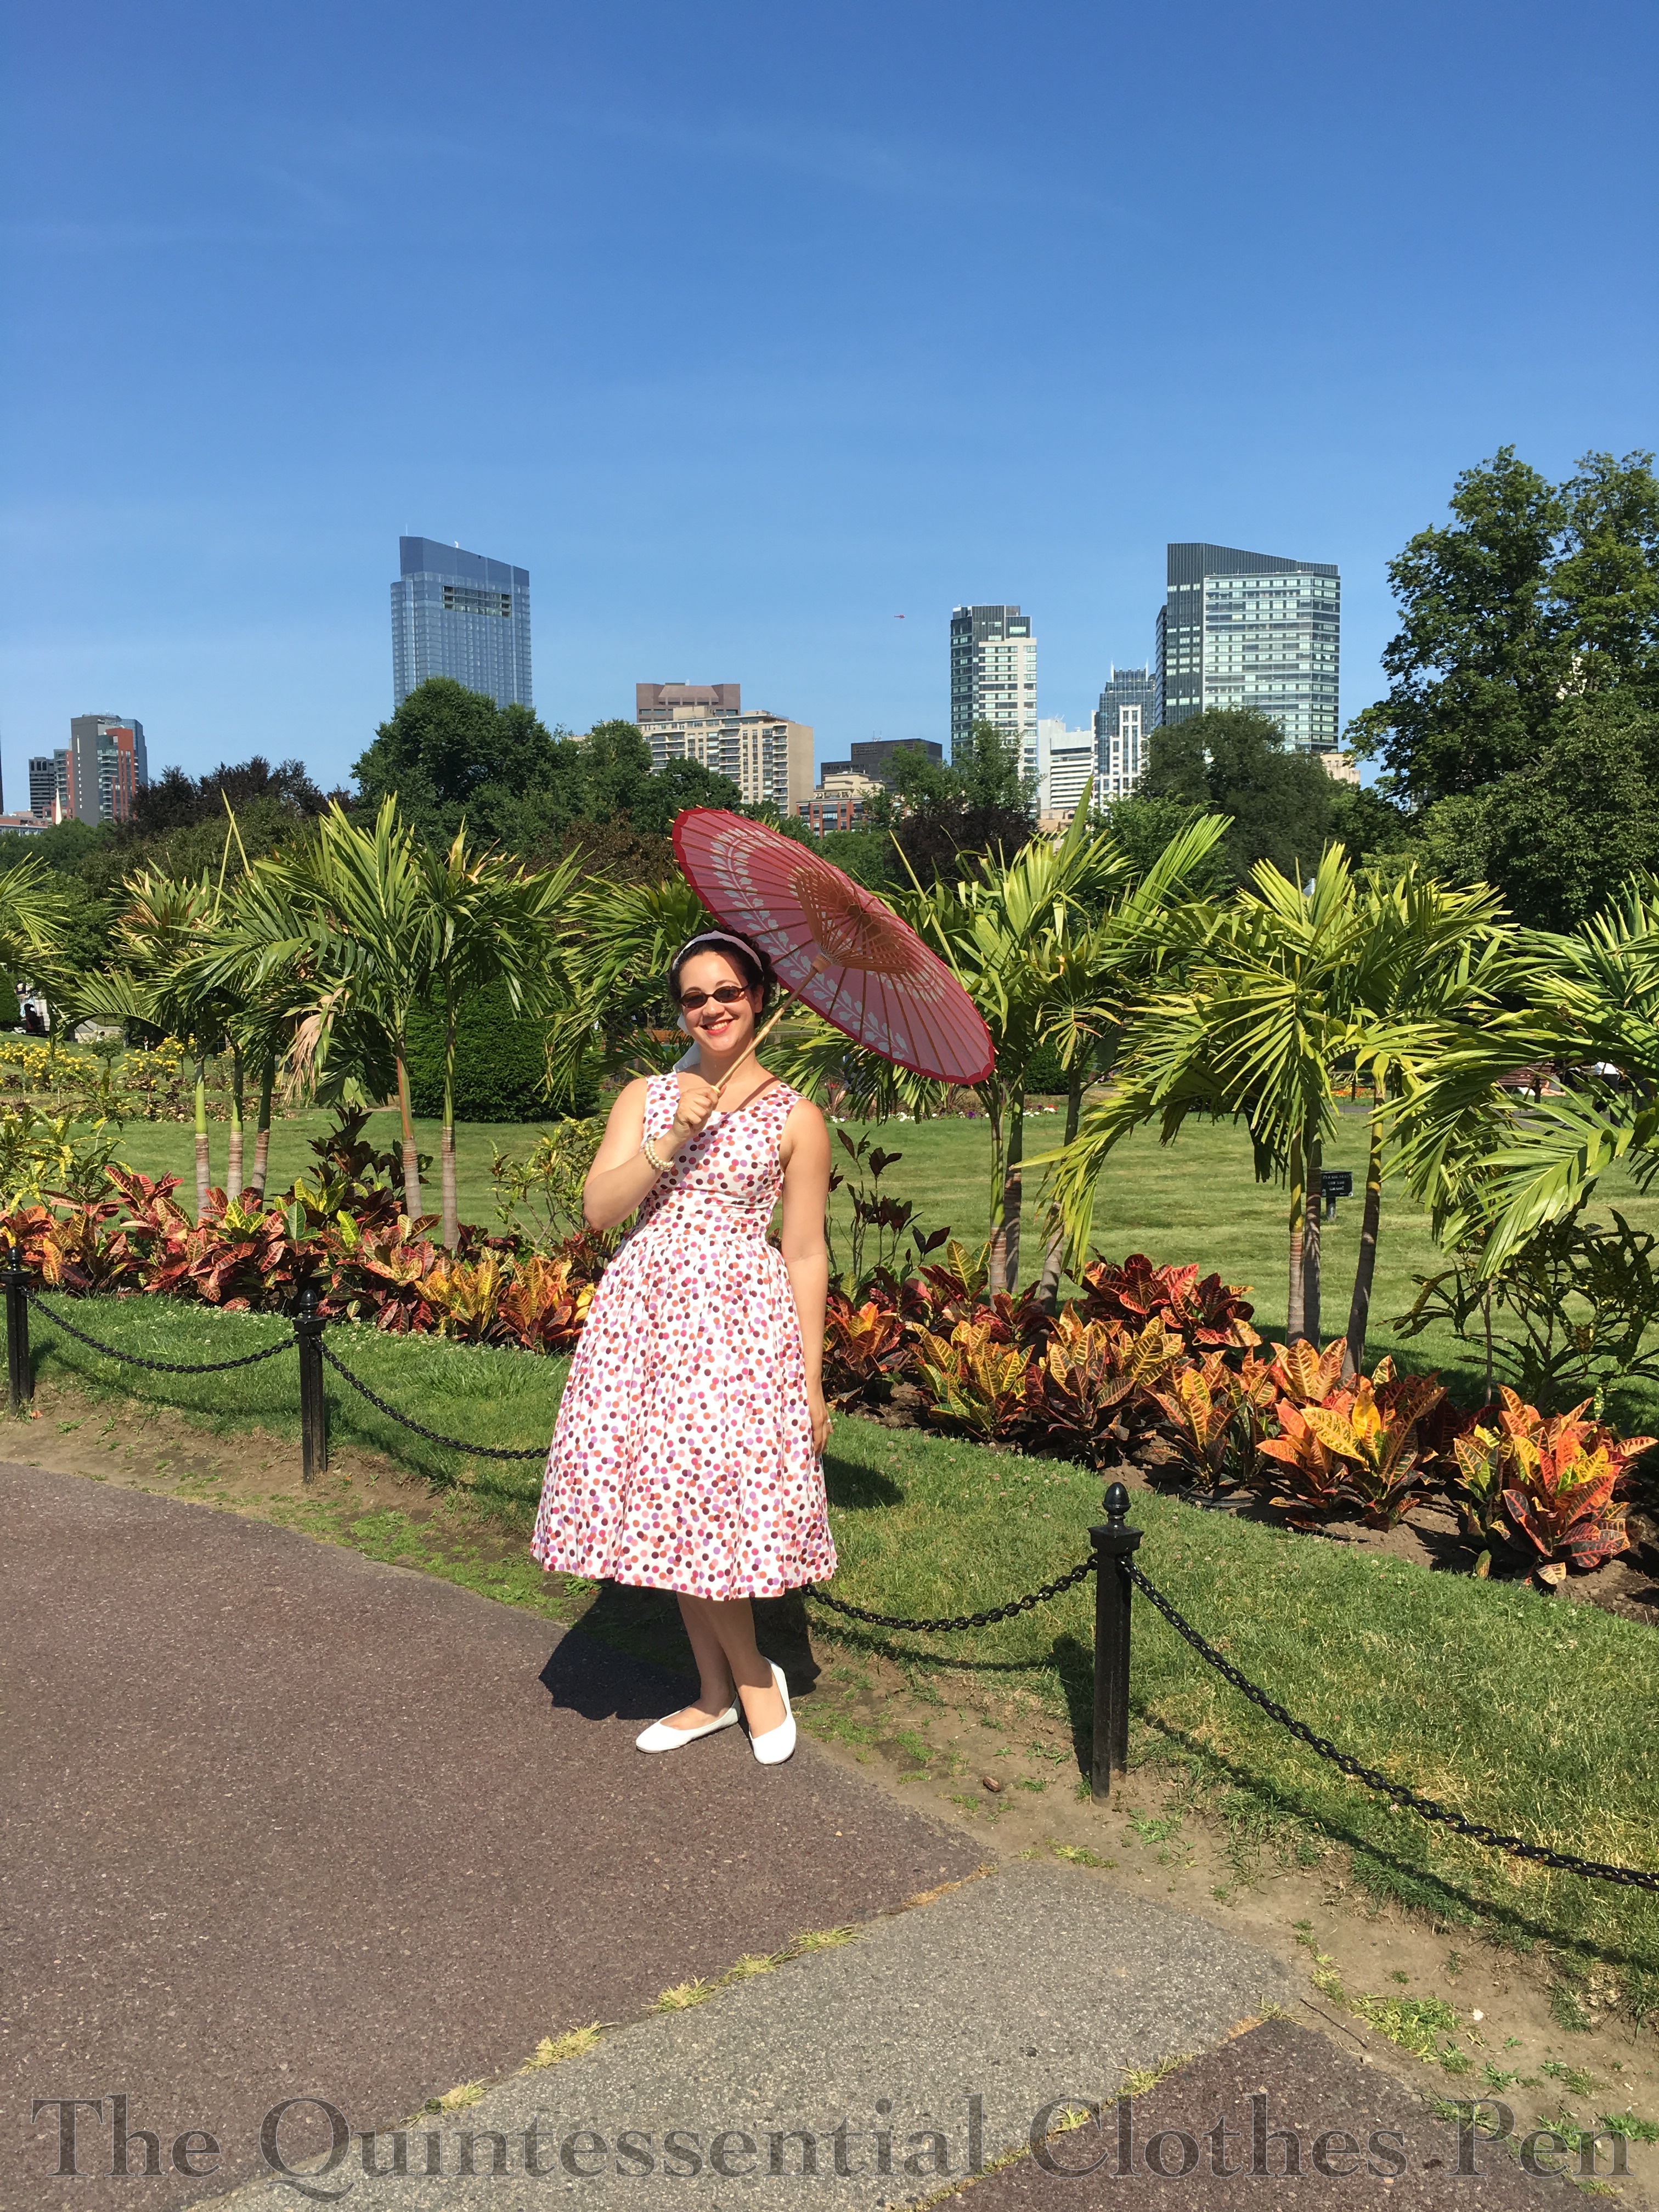
The palms remind me of Florida, and this picture’s story in my head is that I’m on vacation there in the 1950s.
I may look composed in these pictures, but when I run out of pre-thought pose ideas chaos ensures. I often start waving my arms around wildly, talking (producing odd faces when captured as a picture), and flinging my legs around. Here’s an example. There are a a range of caption ideas that pop into my head here: ‘hi-ya!’ and ‘at the bat’ most often.
I hope you’re enjoying your summer, too! It’s so nice that the days are long and there are lovely days for sitting in the park or other outdoor activities!
Over the last few months, I’ve been chipping away at creating accessories for this weekend’s upcoming 1920s Lawn Party. Today, I’m going to show you how I turned a standard ebay Chinese parasol into a long handled parasol. I’m curious to know what you think about it!
I started with a child size parasol. I picked it because I really liked the design (gold flowers on orange). I didn’t really want a plain color and I didn’t like the other design options as much. I also didn’t mind the smaller canopy size (adult size parasols are about ⅓ larger across the canopy).
Parasol as I received it.
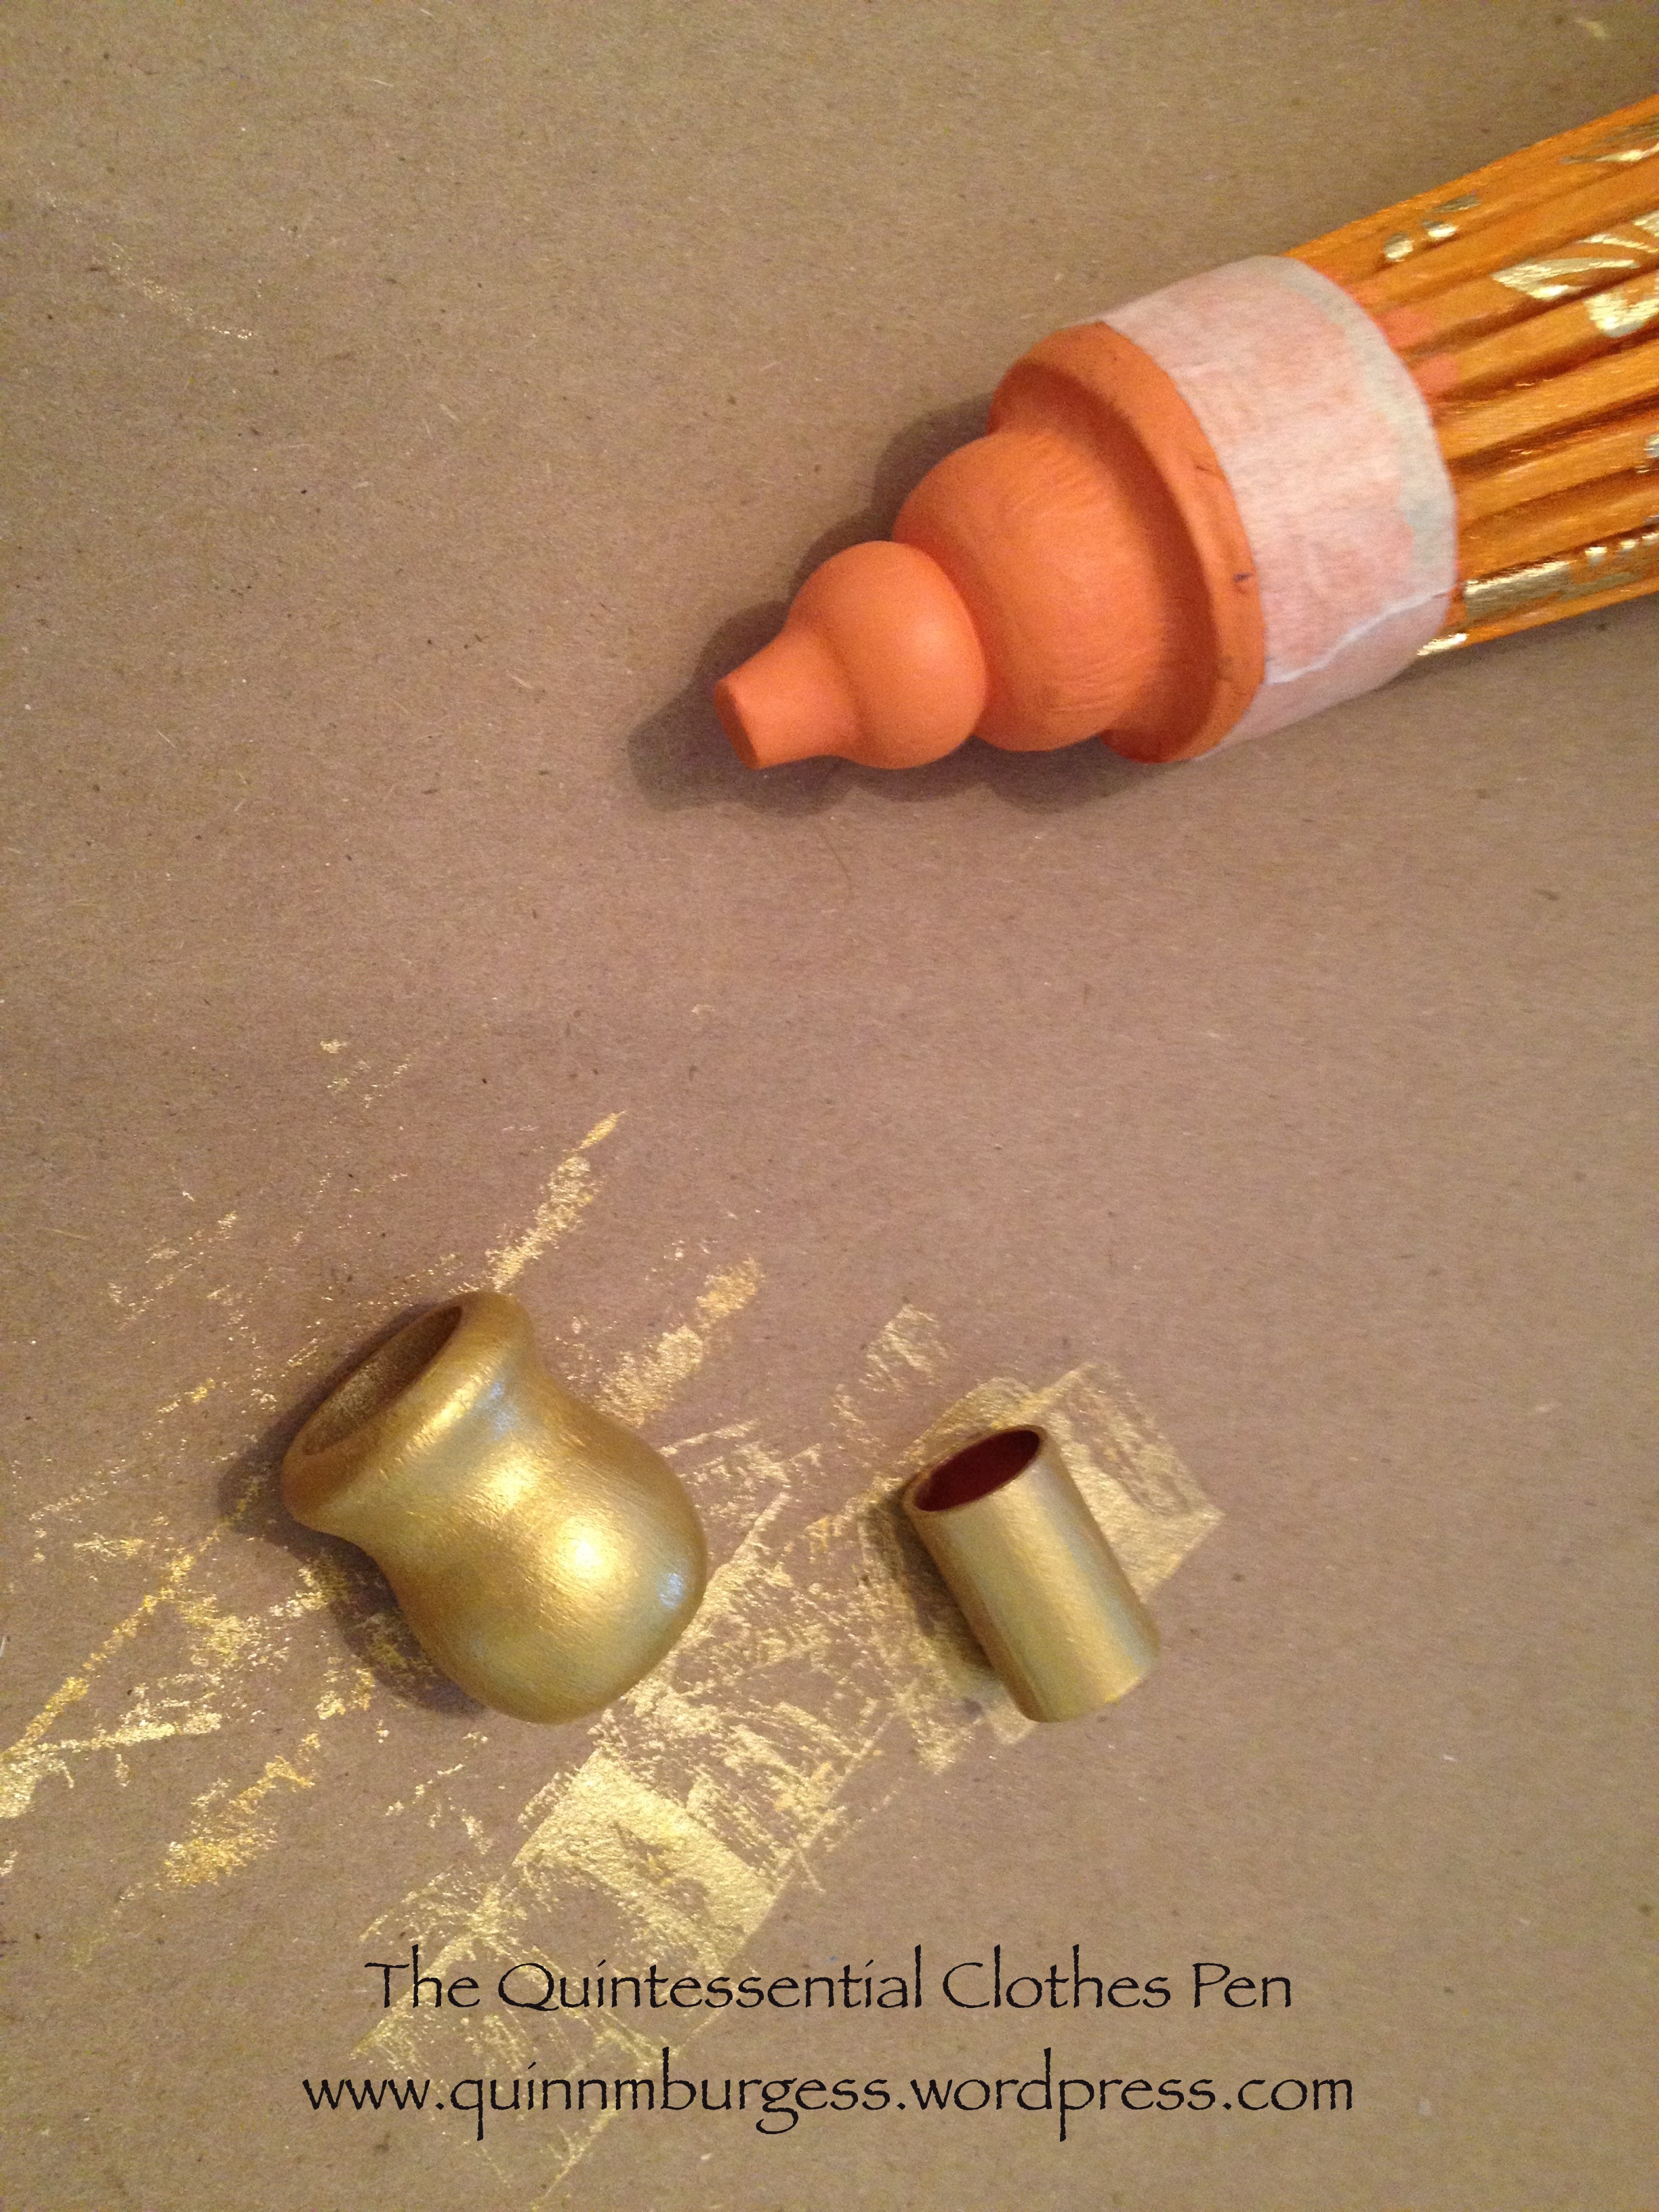
But… the handle was so short! And I really didn’t like the tassel on the end… but that was a small issue. “Haha,” I thought, “craft time! I’ll lengthen the handle!” First, I got Mr. Q to saw off the original orange handle. Turns out that the main part of the handle is actually bamboo, but I didn’t realize that at first, not that it matters. Second, I bought a new end piece and gold acrylic paint online for about $5 (I didn’t feel like driving around to craft stores and it fit in with other amazon things to make a full order with free shipping!). Then, I went to Home Depot and bought the supplies I didn’t already have at home. I already had Gorilla Glue, but I needed a dowel to make a longer handle and a piece of something to connect the two pieces. I also decided, while at the store, to get some wood stain to try to make my dowel look more like the bamboo of the original handle in terms of color.
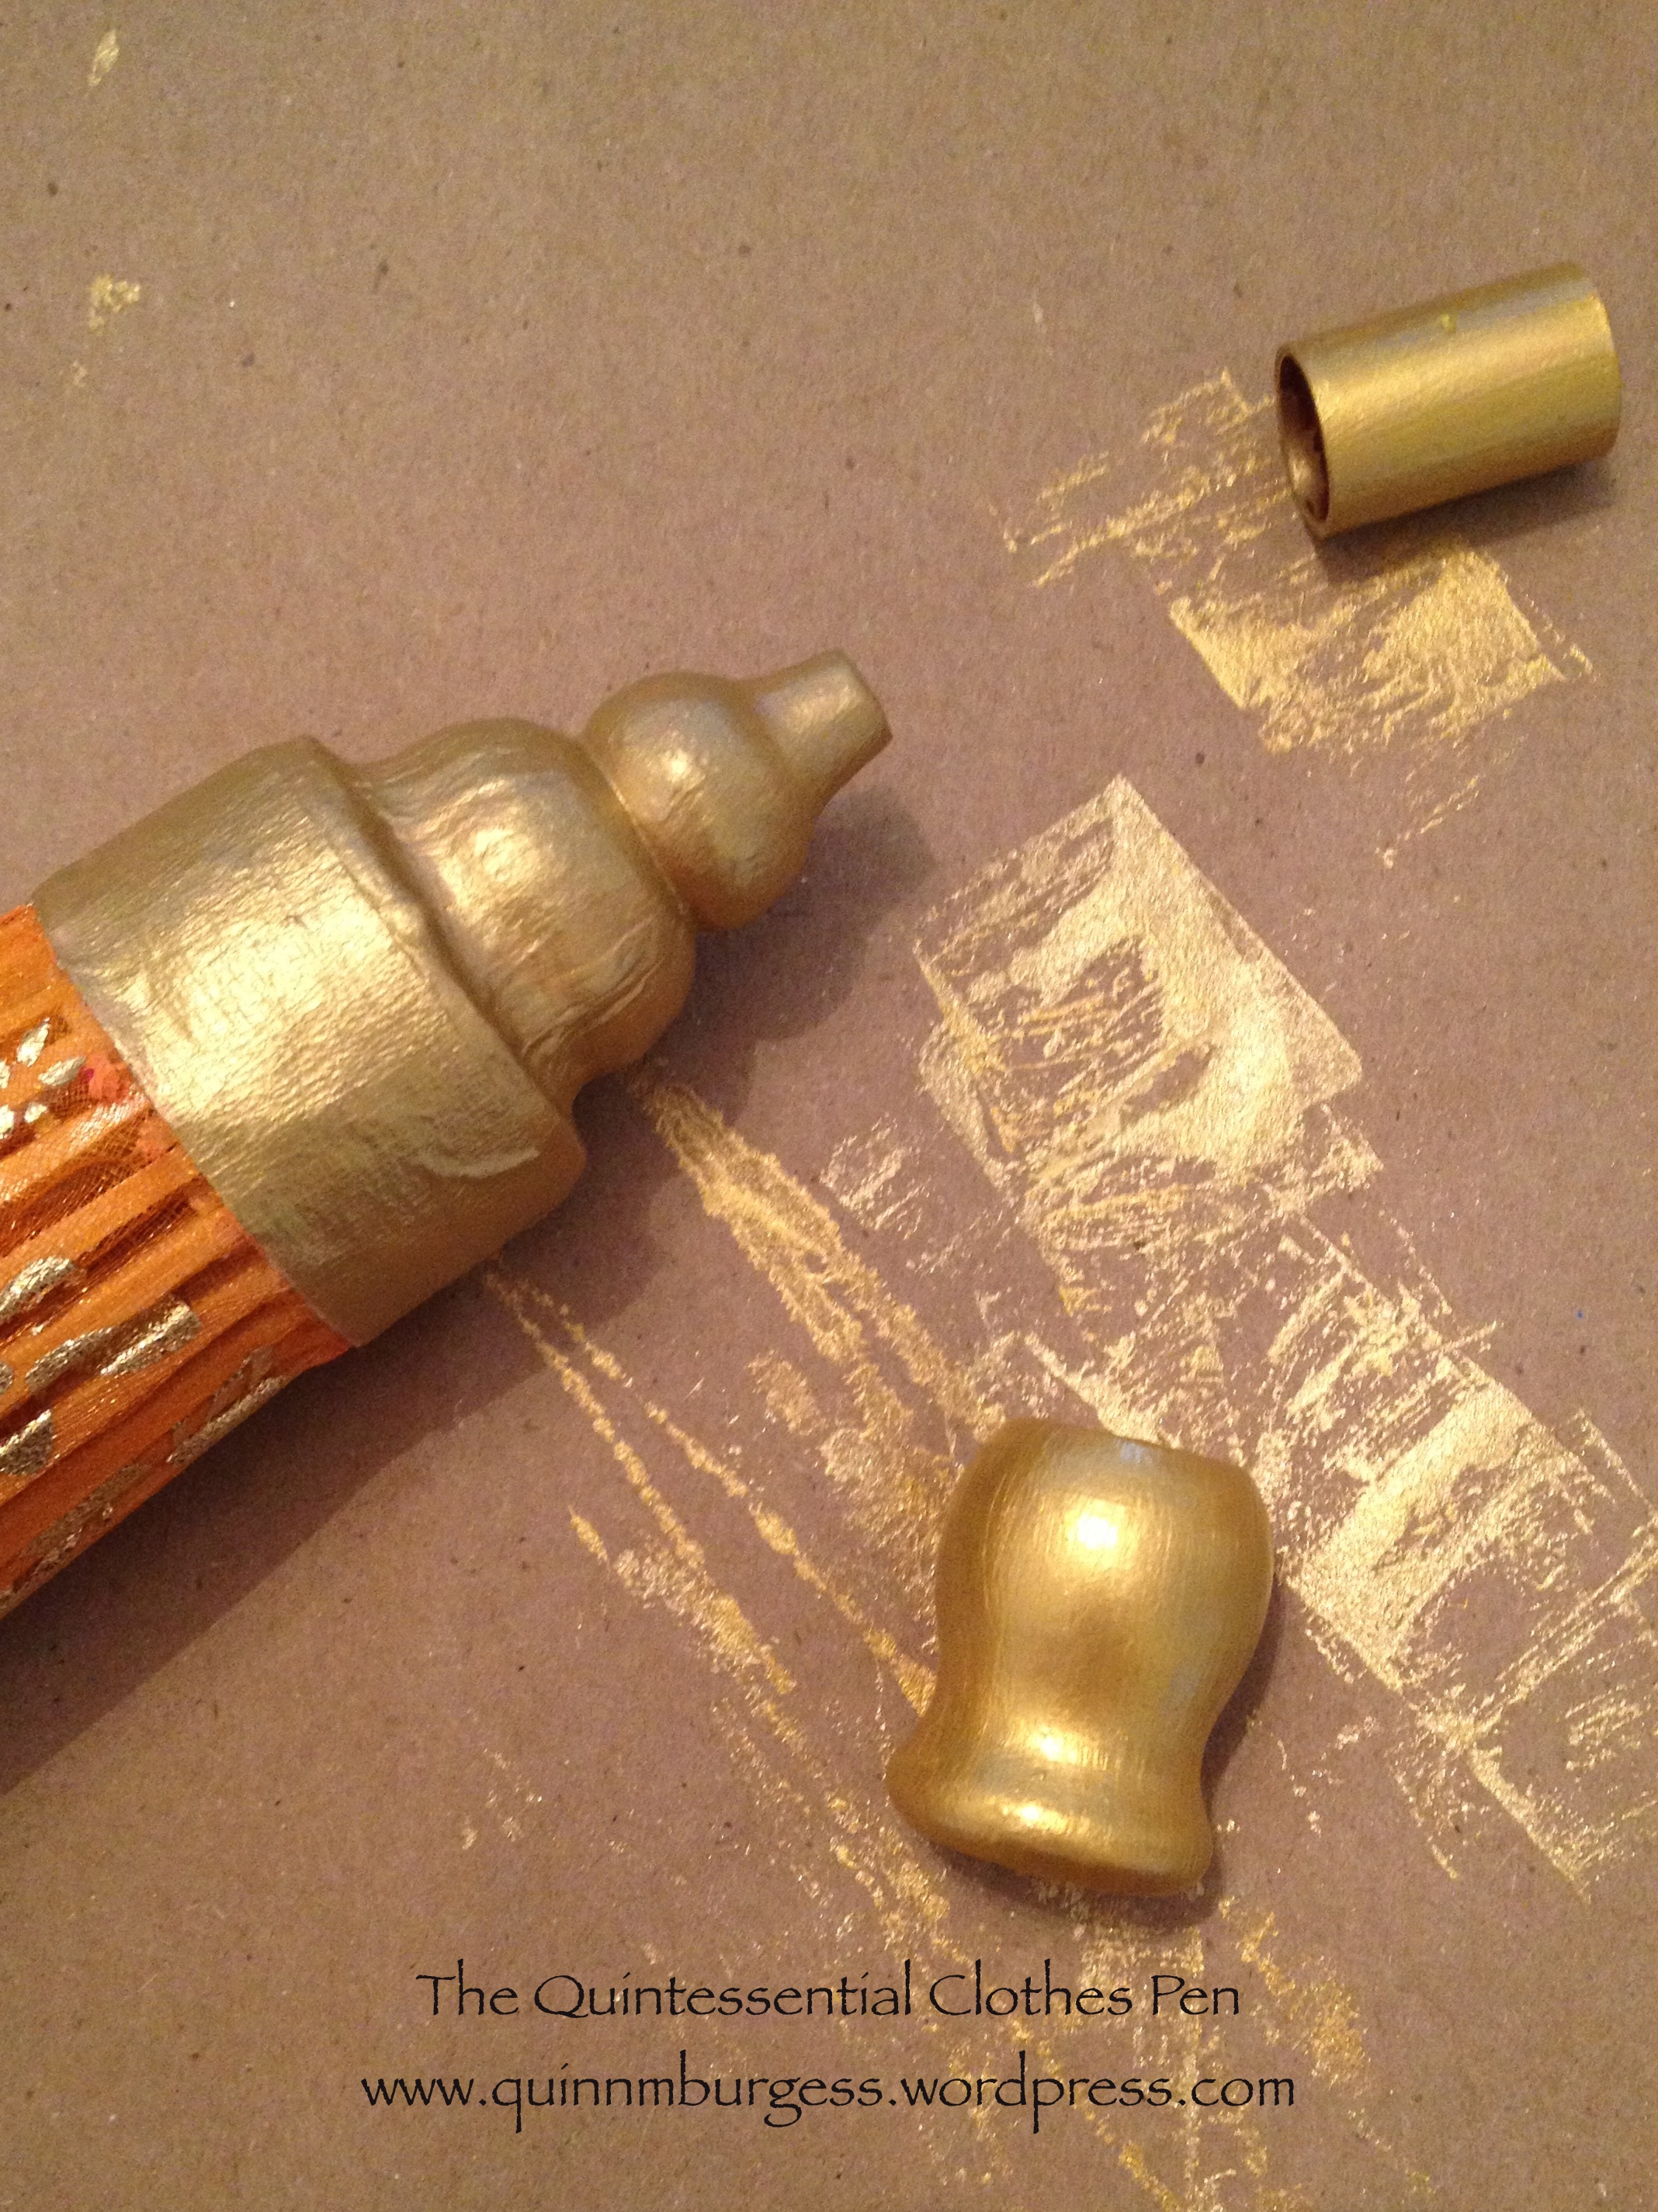
I bought two different gold paints because I wasn’t sure which I would like better in person and they were about $1 each. You can see how light colored the dowel was when I bought it (this is before I used any stain). It really looked different than the bamboo. The two little pieces in the middle are the new end piece and the copper pipe that I used to join the dowel to the bamboo parasol handle.
I laid out a paper bag for my work surface and started painting! First, I painted the end piece and copper piece gold. While those were drying, I started staining the dowel. I just used muslin scraps to apply the stain, which worked wonderfully. As I was going along, I decided to paint the top solid orange bit of the parasol gold, too, to match the other gold pieces and because the edges of it were starting to flake from when I opened the parasol all the way.
In order to keep the orange top part from continuing to flake off, I wrapped a piece of plain old masking tape right around the edge of the base before painting.
I decided to use both gold paints. First I used the more antique gold paint until I had a solid opaque surface, then I used the brighter gold paint lightly over top to really make the paint shine like the flowers on the parasol cover.
The three painted pieces after applying both shades of gold paint.
The final part was assembling the pieces. I used Gorilla Glue, which is super sturdy when dry. The thing to be aware of, though, is that Gorilla Glue bubbles and expands while it dries. In this case, that actually was very helpful. The first part I glued was the copper joiner onto the dowel. The copper piece was a bit roomy, so I put a ring of glue around the inside and let it partly dry so it had expanded, then added more glue and put the dowel in. It worked perfectly and when dry, the dowel had been solidly glued about to the halfway point of the joiner.
After that, I glued the end piece on the other end of the dowel. Turns out that the opening on the end piece is actually close to 1″ across but the dowel is more like ½” (you can see the difference in the picture with all the supplies laid out). I did a little bit of letting the glue expand, but I also took Mr. Q’s suggestion and stuck broken bits of yellow toothpicks (I only have colored ones in my house and yellow matched best…) on four sides of the dowel to keep it from wobbling in the hole. Again, it worked perfectly and once the glue dried it was super solid. I didn’t fill in around the toothpicks, actually, and if you look straight down the dowel you can see them, but one would assume that my hand would be there, or that whoever is looking at me is far enough away not to see such small details.
Finished!
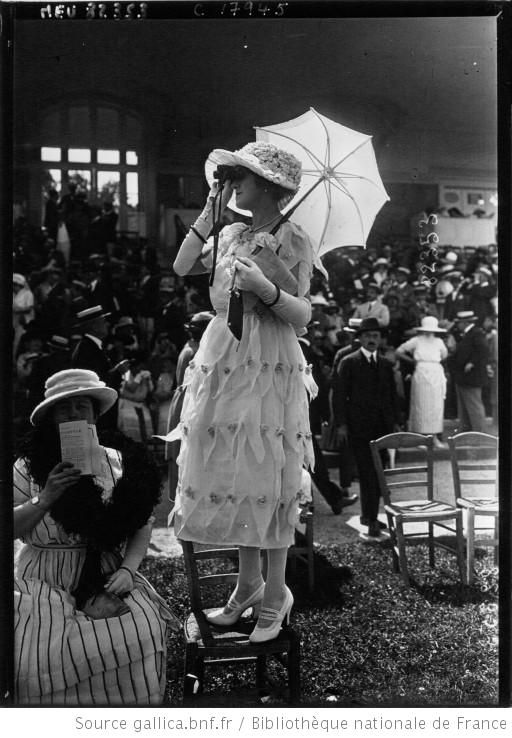
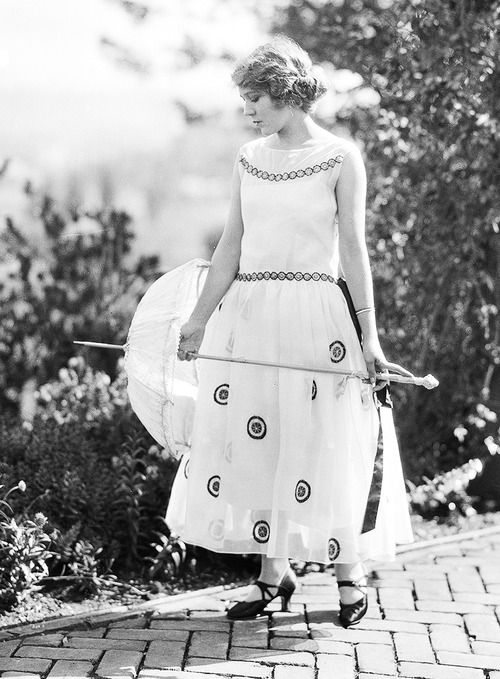
And this is the result. The dowel and bamboo don’t match perfectly, but I spent enough hours painting, staining, and glueing that I don’t really care. I plan to have more pictures of this in the next few days, so you’ll see it again soonish, and from more angles. In the meantime, here are some inspiration images of long handled parasols in and around the 1920s.
Anna Q. Nilsson and Ethel Clayton – 1919Josephine Dunn – c. 1920c. 1920Mary Pickford c. 1920Anna Pavlova, Ivy House, c. 1927