A few years ago, I decided I wanted a 1920s coat. The goal was to make it for an event, but I ran into some construction problems along the way that caused me to give up work for awhile. In January, after letting it sit for about two years, I was tired of looking at the half finished project and worked up the determination to actually finish it.
Though I’ve only worn it once so far, I’m very pleased that I finally finished this coat! It is quite decadent and elegant to wear (and it’s nice to have completed the project so I can put it away)!

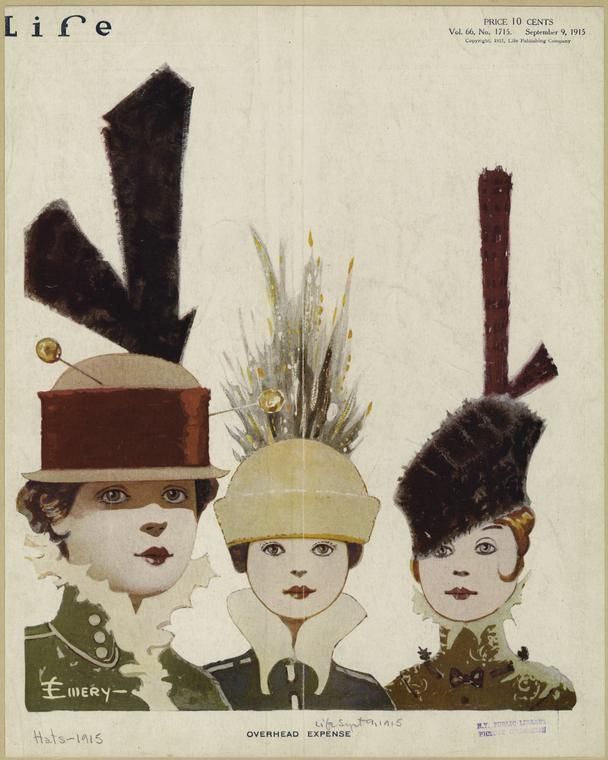
My inspiration started with the pattern below. I was intrigued by the flared side pieces and overlapped closure. I enlarged this pattern and did a little adjusting for my proportions.

With the pattern ready to go, I purchased the exterior fabric of the coat and got to work. The exterior is made out of fleece backed velvet upholstery fabric from Fabric.com. Thankfully it isn’t super stiff, like some upholstery fabrics are. The fleece backing is actually quite soft and the exterior has a low pile and lovely sheen. It shows every little brush against the nap though, so I was super careful while making it, transporting it, and wearing it to keep the pile brushed the right way.
The inside body of the coat is lined in tan silk shantung. This was a remnant I purchased years ago from a local discount fabric store. I’ve never found a good use for it until now, when I managed to just squeeze out the pieces I needed for the coat.

Unfortunately, that’s also where the problems started. I cut the sleeve linings on the cross grain of the silk (because I was running low on fabric). I know that grain and cross grain can behave differently, but these were drastically different! The sleeves were so constricting!
Also, I hadn’t widened the sleeves enough to actually move in even without the silk lining! I could get my arms in the sleeves but there was no way I was going to bend them or use them for any useful purpose. Oops!
What to do???
Well, with the event I had intended this for fast approaching… I gave up. I put the project on the back of a chair (so it wouldn’t get marks in the pile!) and moved on.
Two years later, I decided it was time to finish the coat. In the spirit of forging ahead and in order to make things work, I changed a few things from my original vision.

For the sleeves, I scrapped the silk linings, opting to just leave the arms of the coat unlined. This worked because of the softness of the fleece backing. In addition, I was able to cut cuff facings and binding for the armhole seam allowances out of my failed sleeve linings.
I thought I could let out the under sleeve seam and it would be enough extra fabric to make the sleeves comfortable. The needle holes had left scars on the fabric, but I figured no one would see it. Unfortunately, that wasn’t enough!
So, I ripped out the let out seam, dug out my fabric scraps, and pieced a section down the entire length of the arm. The piece is about 1″ wide at the wrist and 2″ at the armsceye. What was I thinking with my original pattern??? Thankfully the added piece is not obvious, since it’s on the underside of the arm. And I suppose that if you didn’t know where sleeve seams should be it wouldn’t look out of place!
As well as actually fitting my arm (and allowing for movement!), the bigger armsceye on the sleeve allowed me to move the sleeve up on the shoulder a bit, too, which helped the coat not look oversized.

In addition to the sleeve changes, I also changed the front edges of the coat from that nice jag with buttons to straight from collar to hem. I realized there was no way to do buttonholes I would be happy with in my very thick velour and that the angle I had very carefully sewn just would not lie flat. A slight tug line at the inside corner really bothered me.
I looked at these two pages from a 1925 Sears catalog to help with the design choices at this point.


These helped me decide on the button closure. There is one button and corresponding thread loop on the hip and another below the collar.
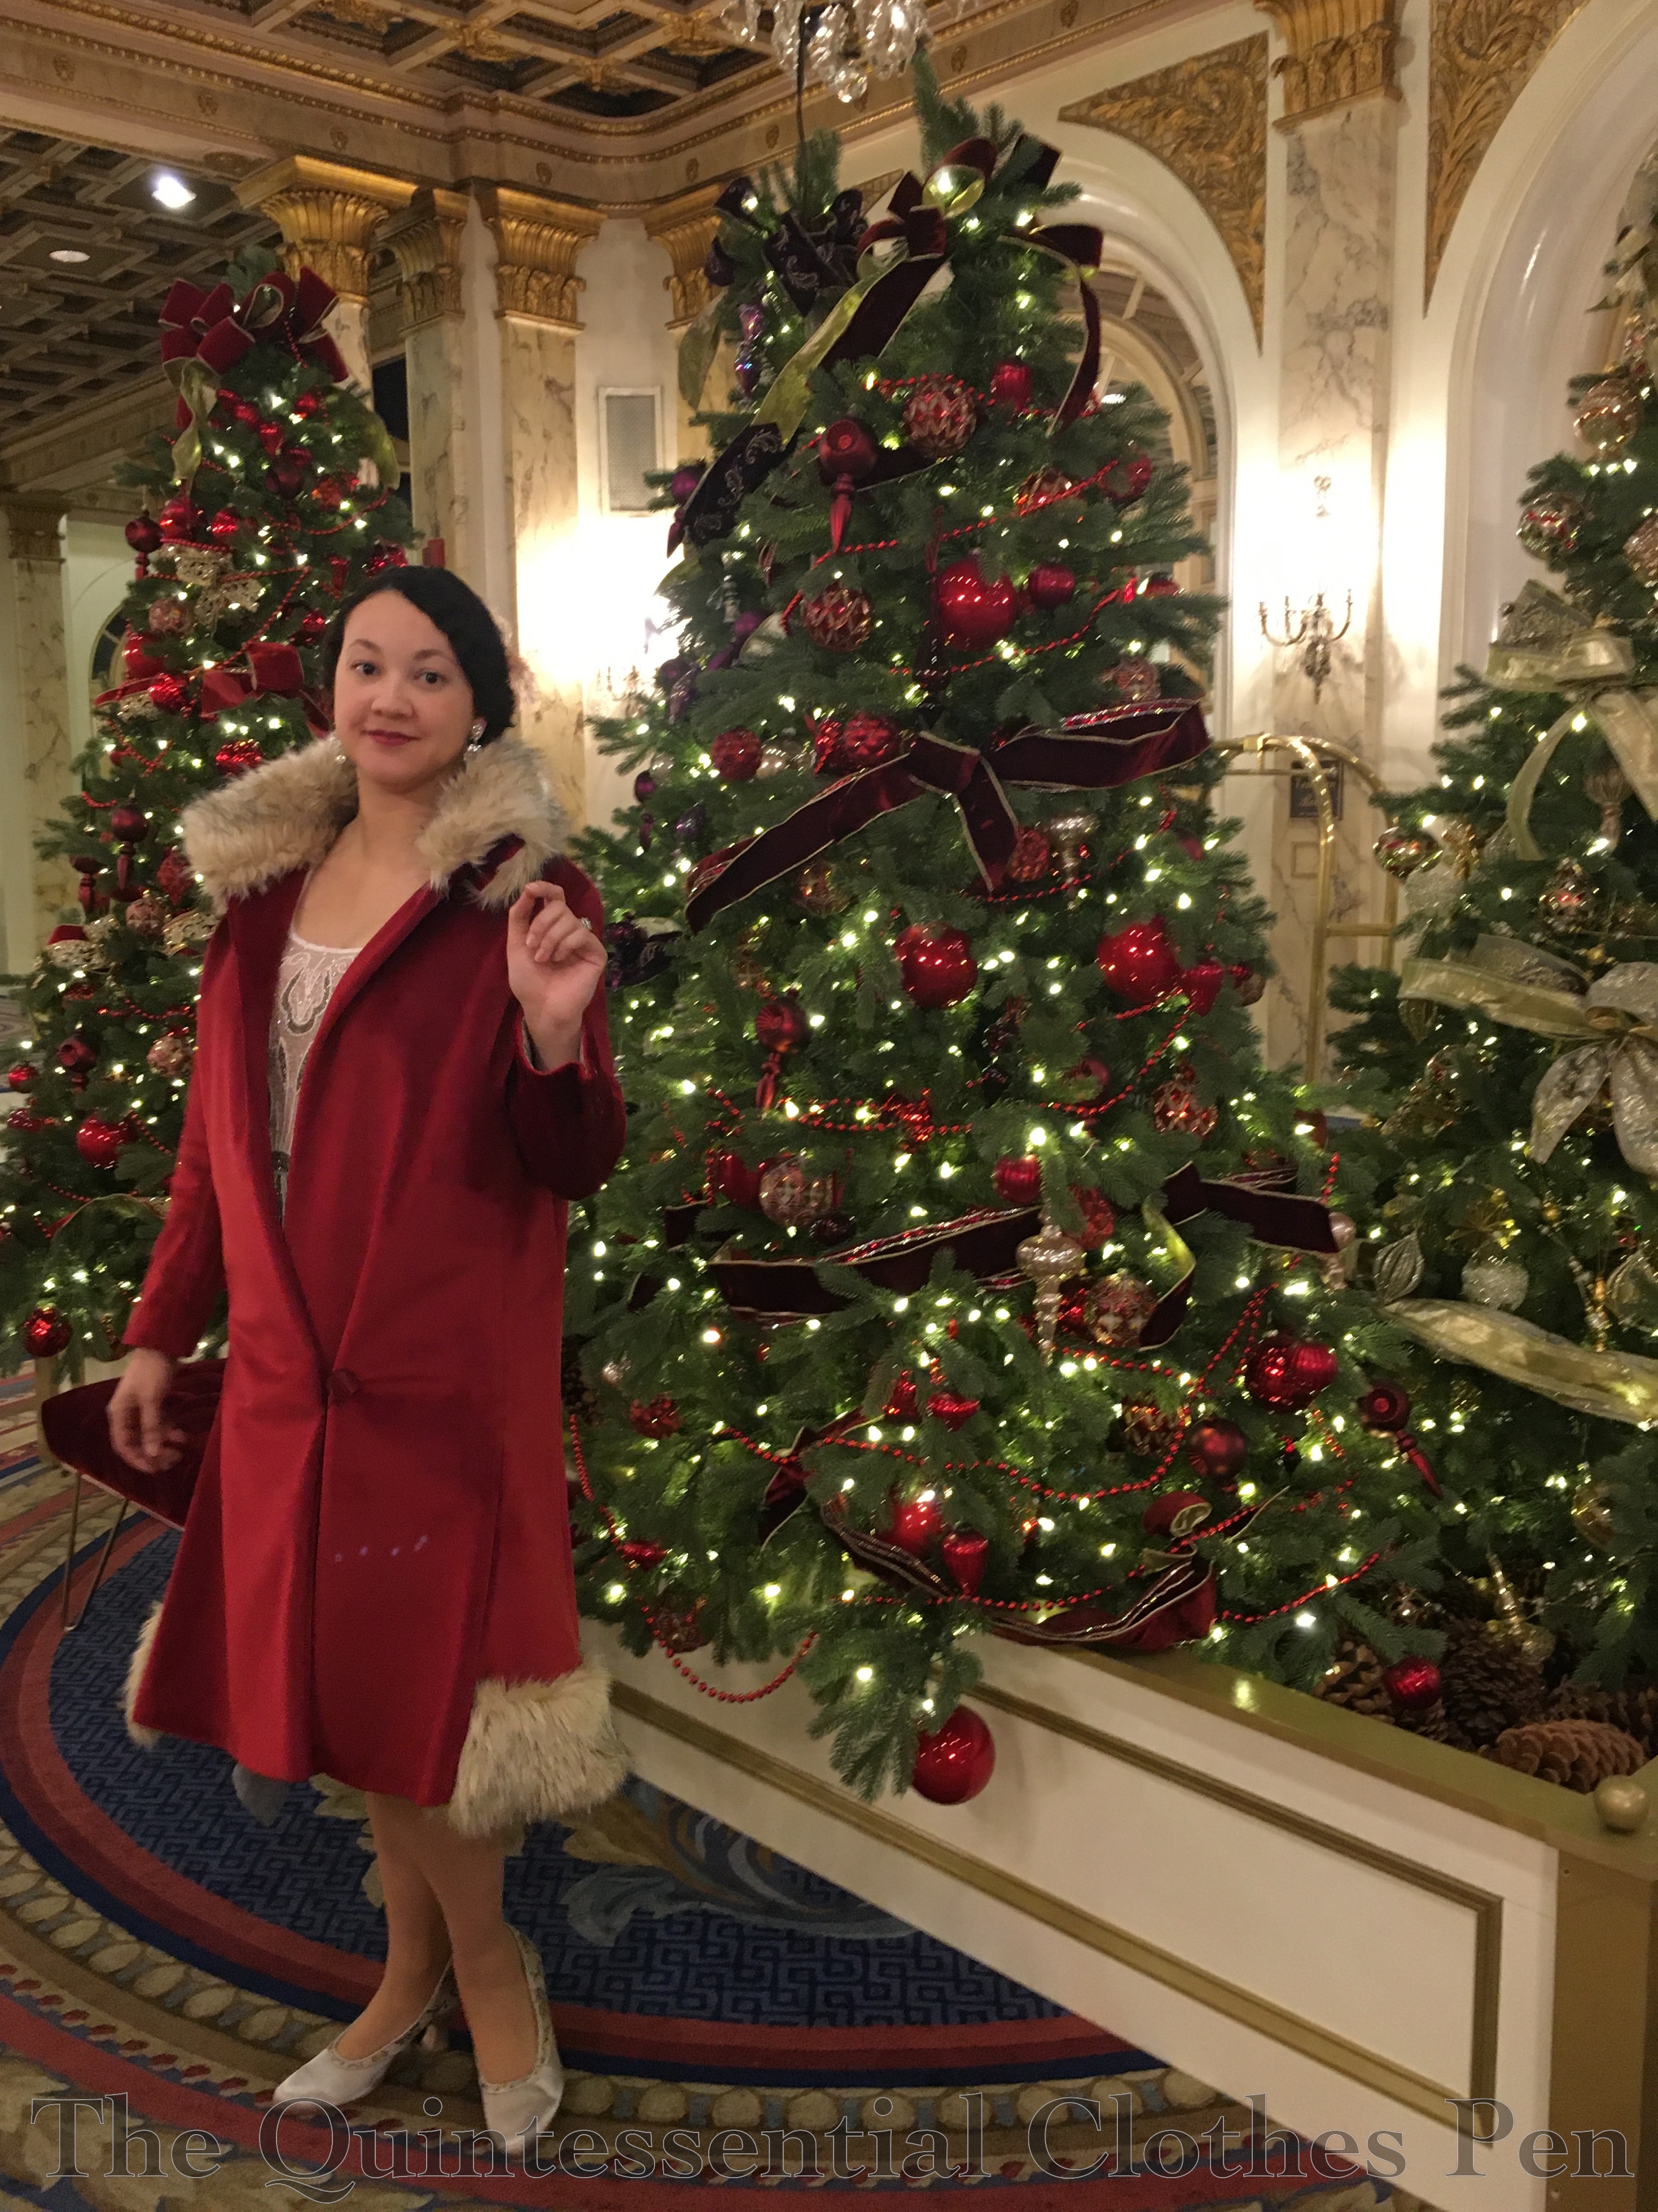
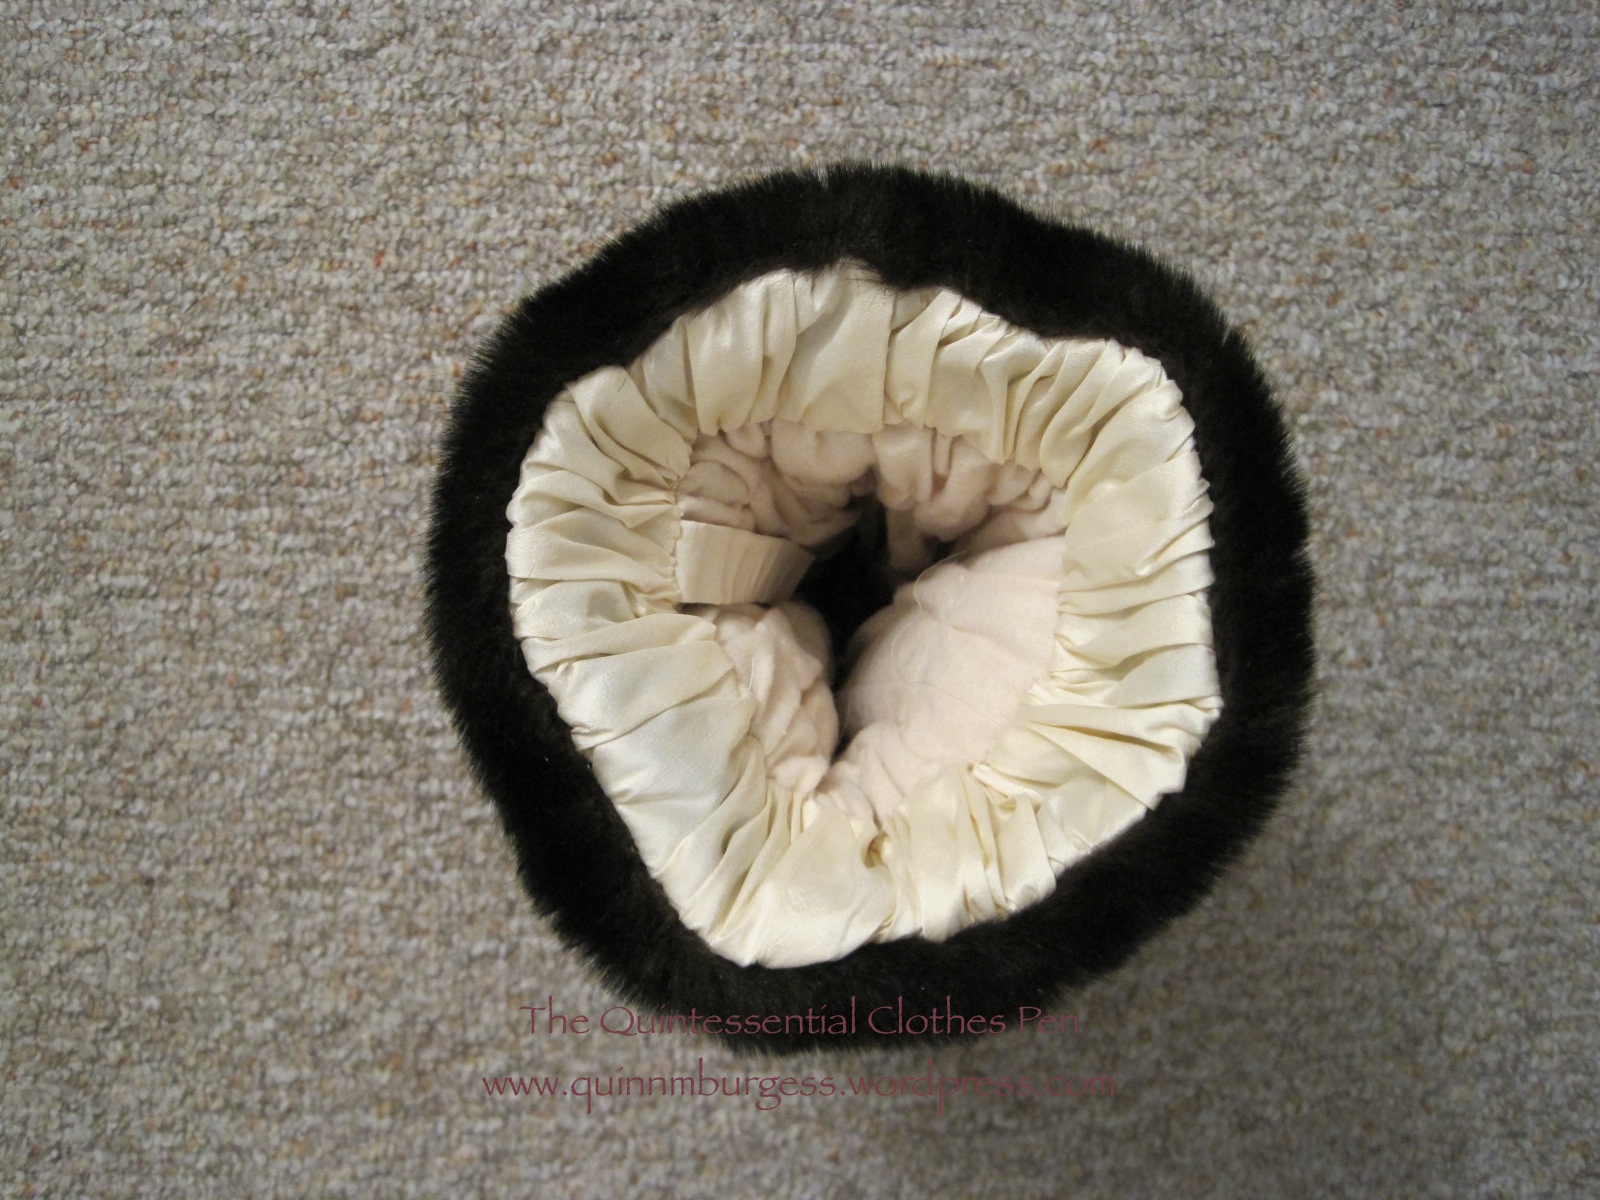
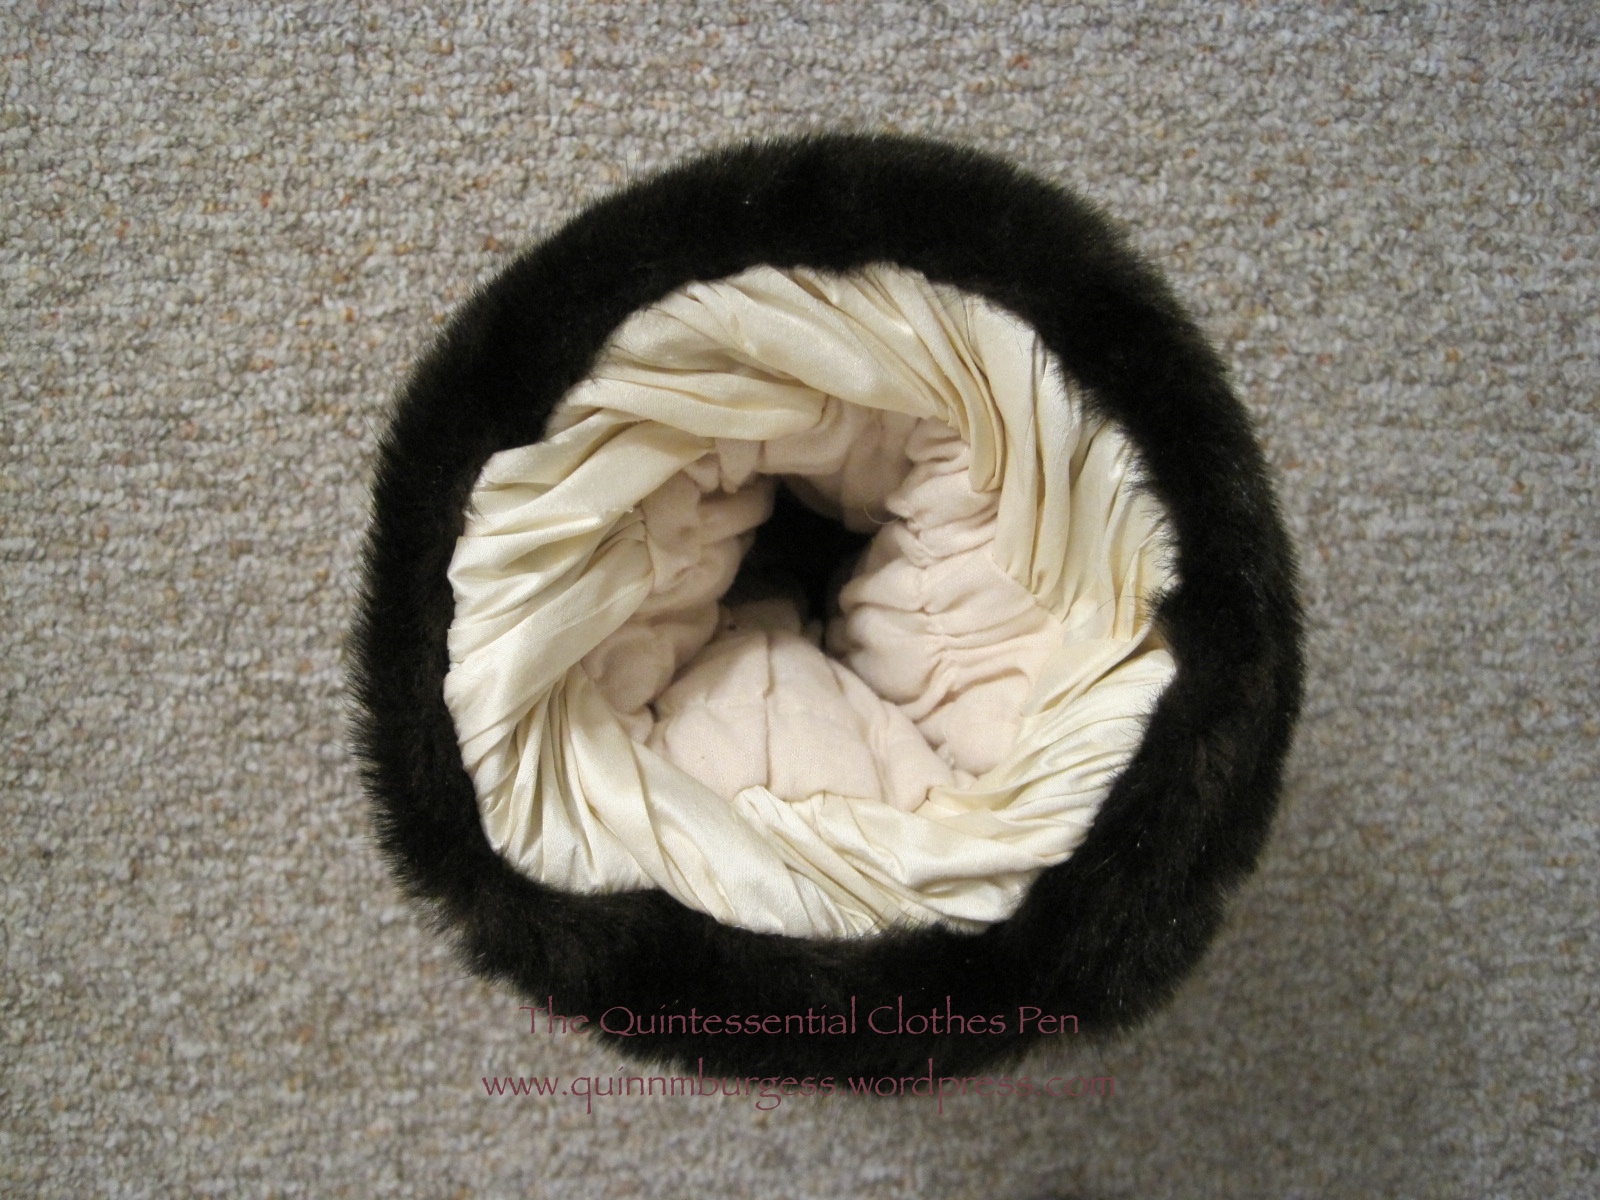
The Sears images also helped me decide on the location of the fur trim. The bands and collar are made faux fur leftover from my 1814 Wizchoura Ensemble, also from Fabric.com. The collar is especially warm and comfy when buttoned shut, though it’s also a lot around the face… so I think wearing it open is more likely! This combination of red pile exterior and tan fur shows up multiple times on my 1920s Outwear Pinterest board and it was nice to use fur I already owned instead of buying more.
I decided against fur trim on the cuffs and instead kept the French cuff look, set off with two buttons. This was a feature from the original pattern that was supposed to mirror the jag on the front edges that I eliminated.

I didn’t change the flared side pieces of the pattern and I’m very pleased with the end result. They give a 1920s flip to the otherwise very straight shape of this coat.

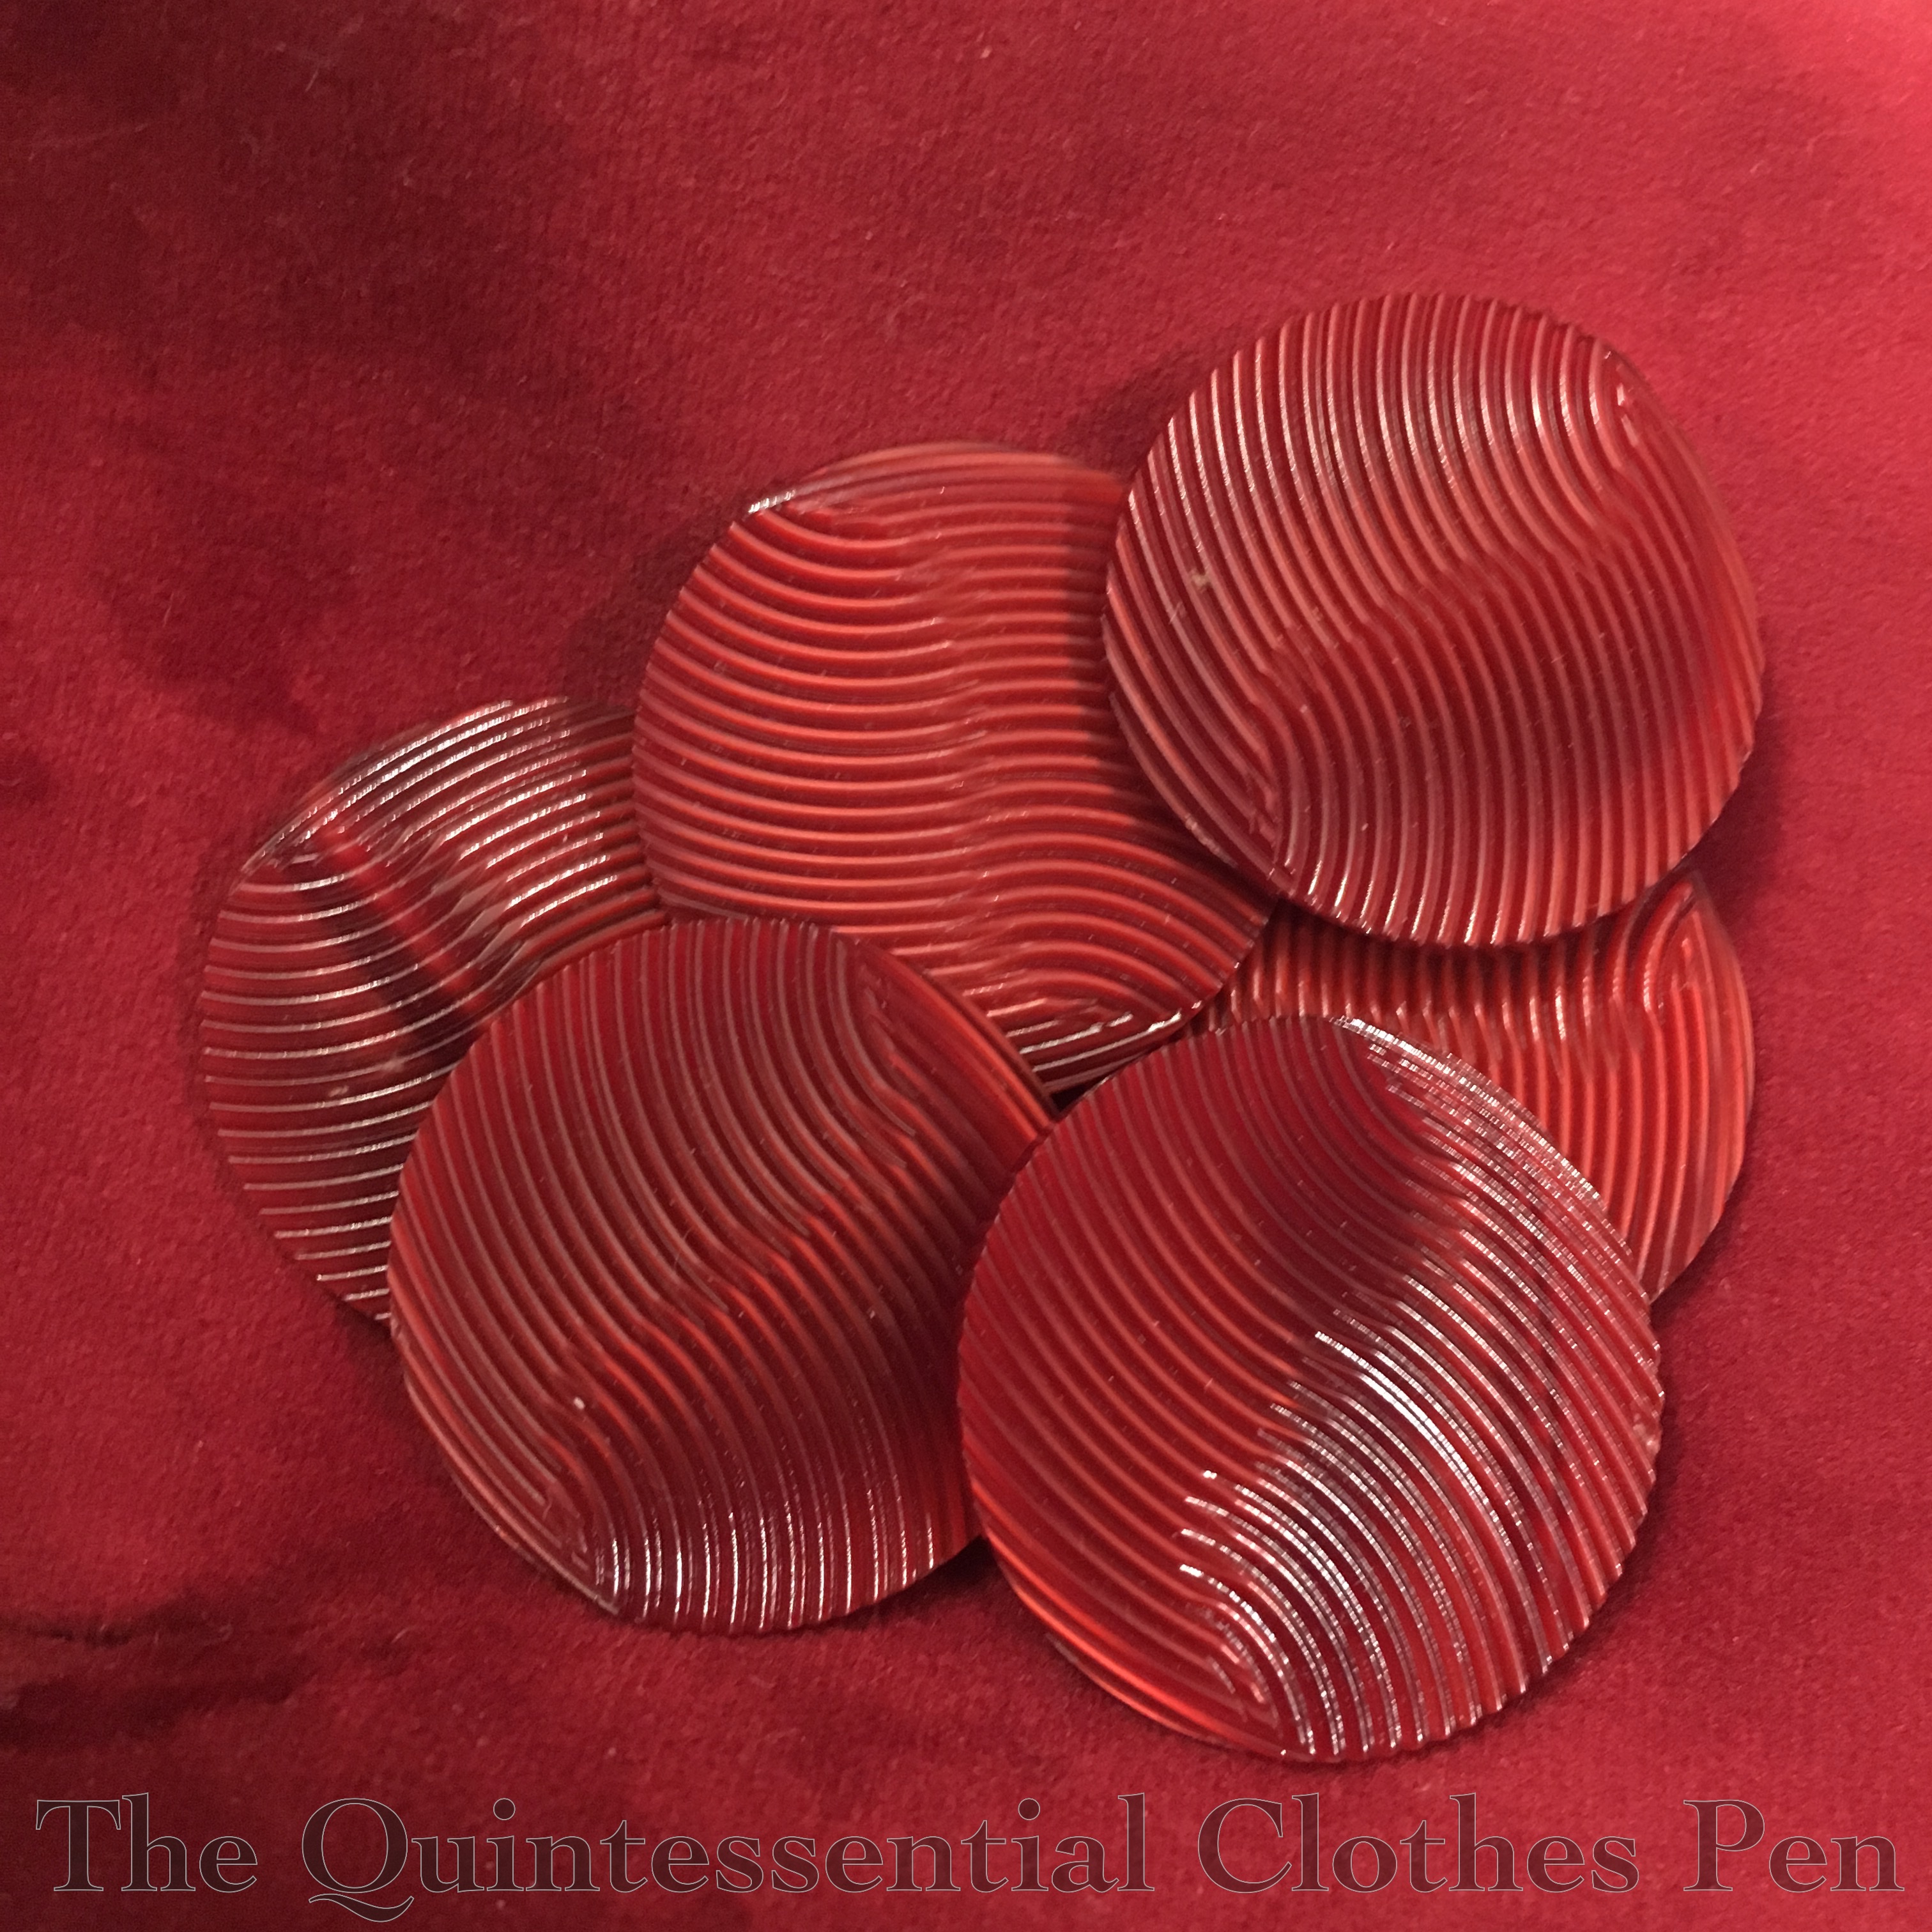
The six buttons on the coat are from Farmhouse Fabrics. They’re big, about 1 ¼” across, and they have a wavy pattern on them that helps make them interesting looking without being distracting. They match the velour so well!
All together, the materials used on this coat are: 2 ½ yards of the fleece backed velvet, approximately 2 yards of silk shantung for the lining, scraps of faux fur used on my 1814 Wiztchoura, 6 large buttons, and thread. The total cost of these materials is about $70, including shipping.
I didn’t keep track of the number of hours spent making, altering, and finishing this coat, but I would guess that it is around 30-40. There was some serious frustration in there (or despair, as Anne of Green Gables might say!).

As you can see in all the photos, when I finally wore this coat in January 2020 at the Fairmont Copley Plaza Hotel, the Christmas decorations were still up. I loved (and still do!) how festive the coat looks with the decorations, but by the time this post was written it seemed a bit late for the holiday look here on the blog, so I decided to save this post for this 2020 holiday season. Now, after many months of missing fabulous indoor spaces and events, I’m particularly pleased that I have these photos to share!