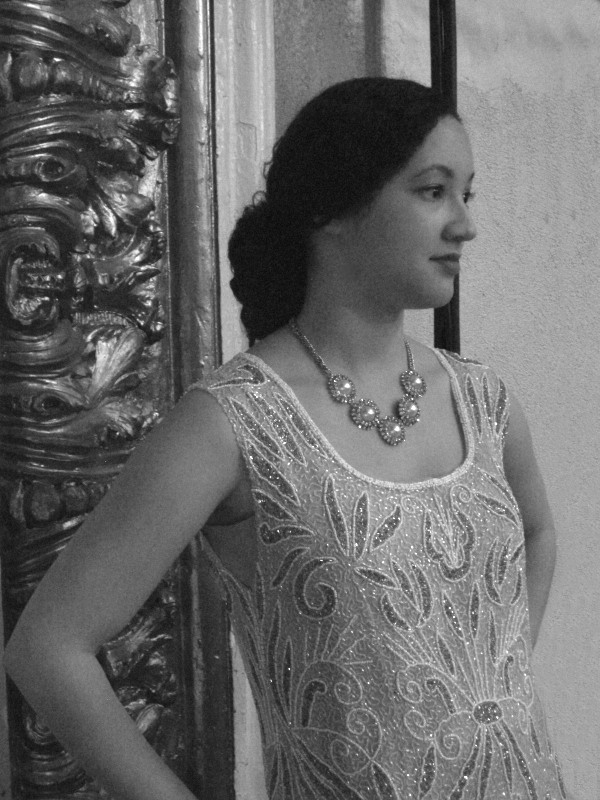
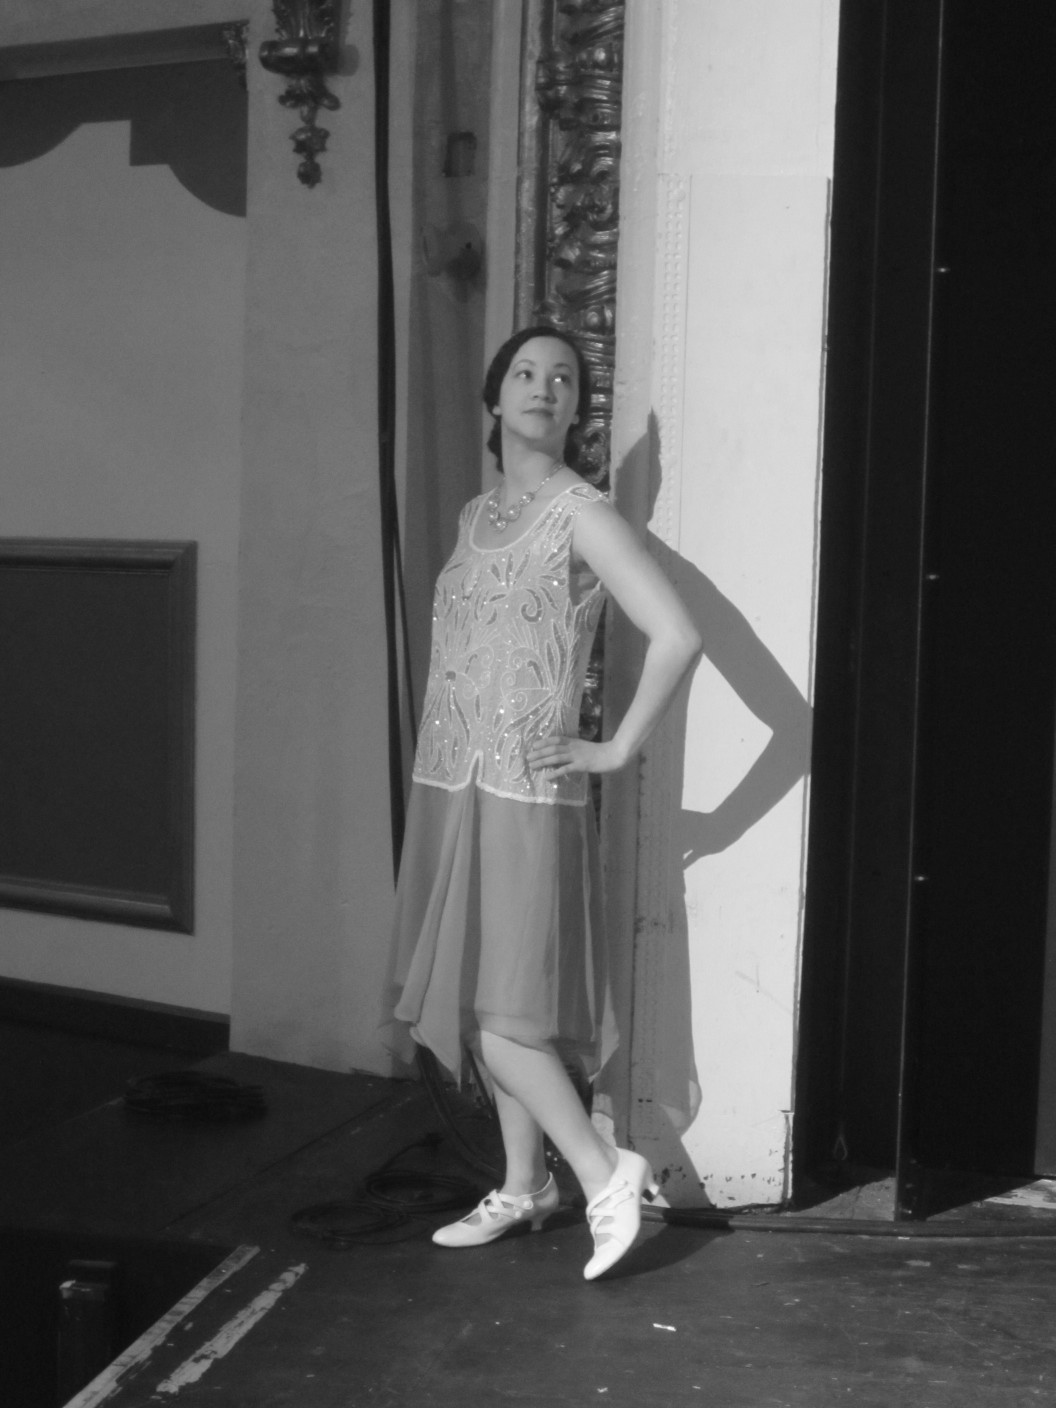
1940s-Does-Modern Anne Adams Dress

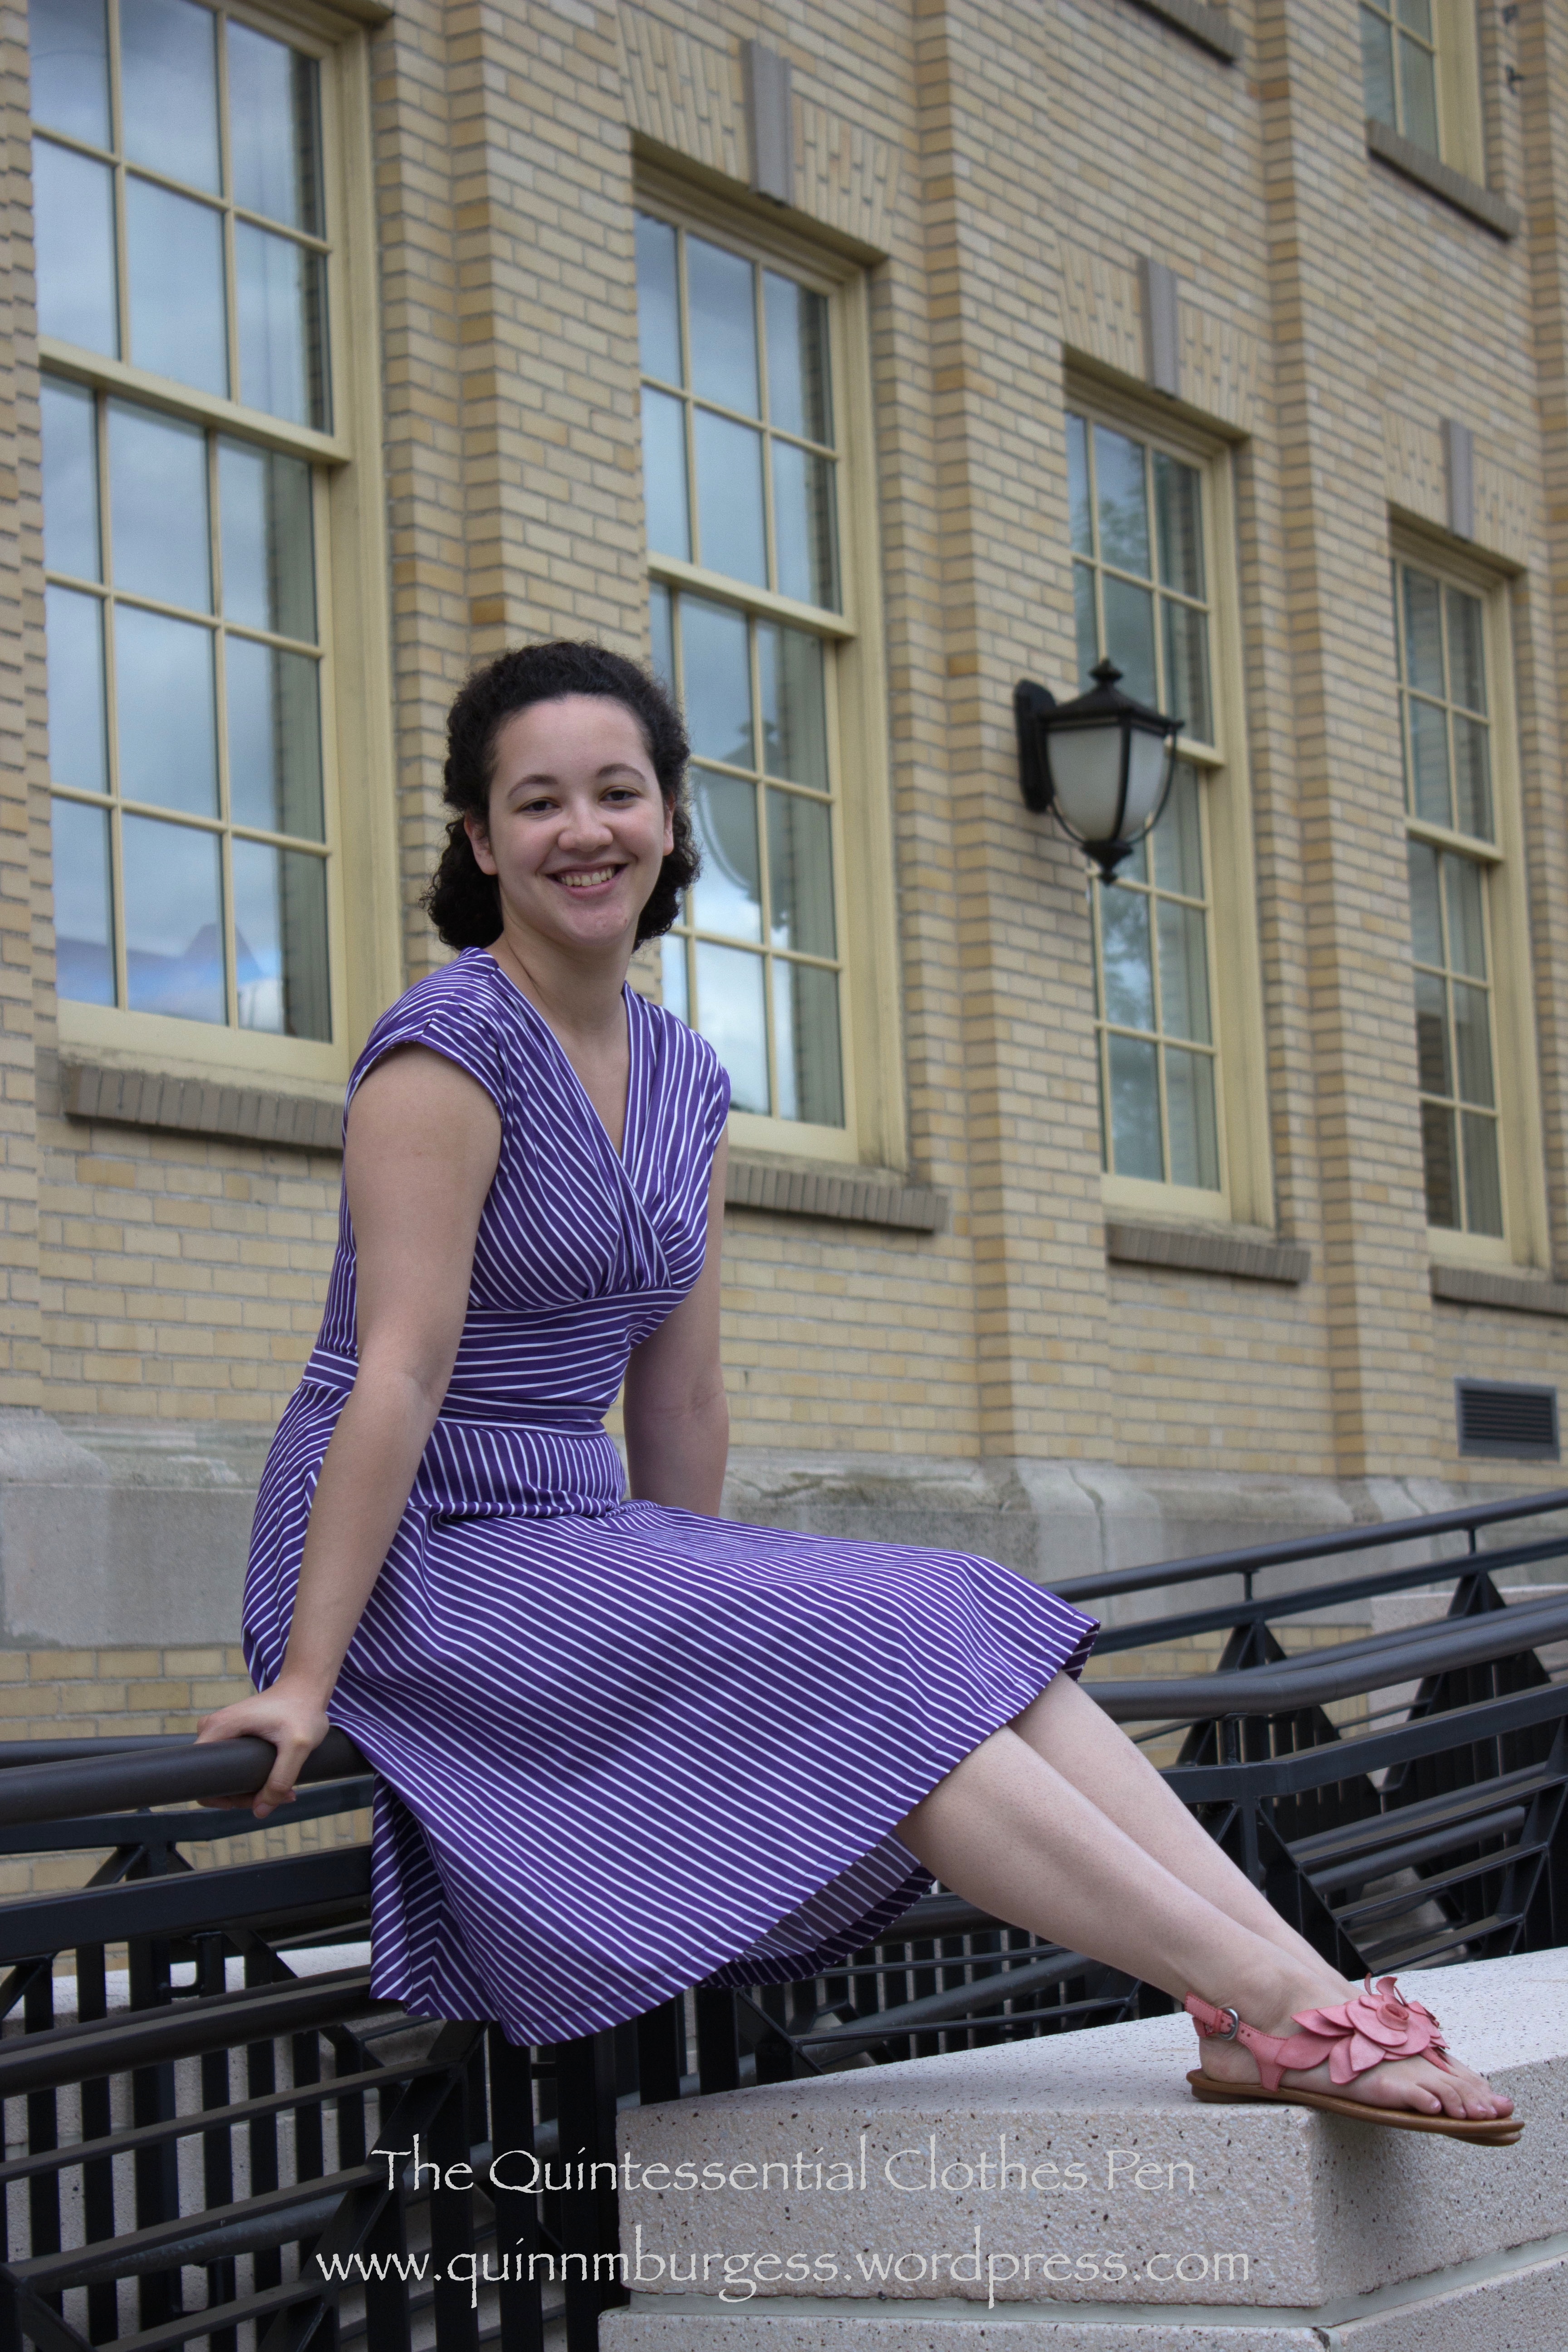
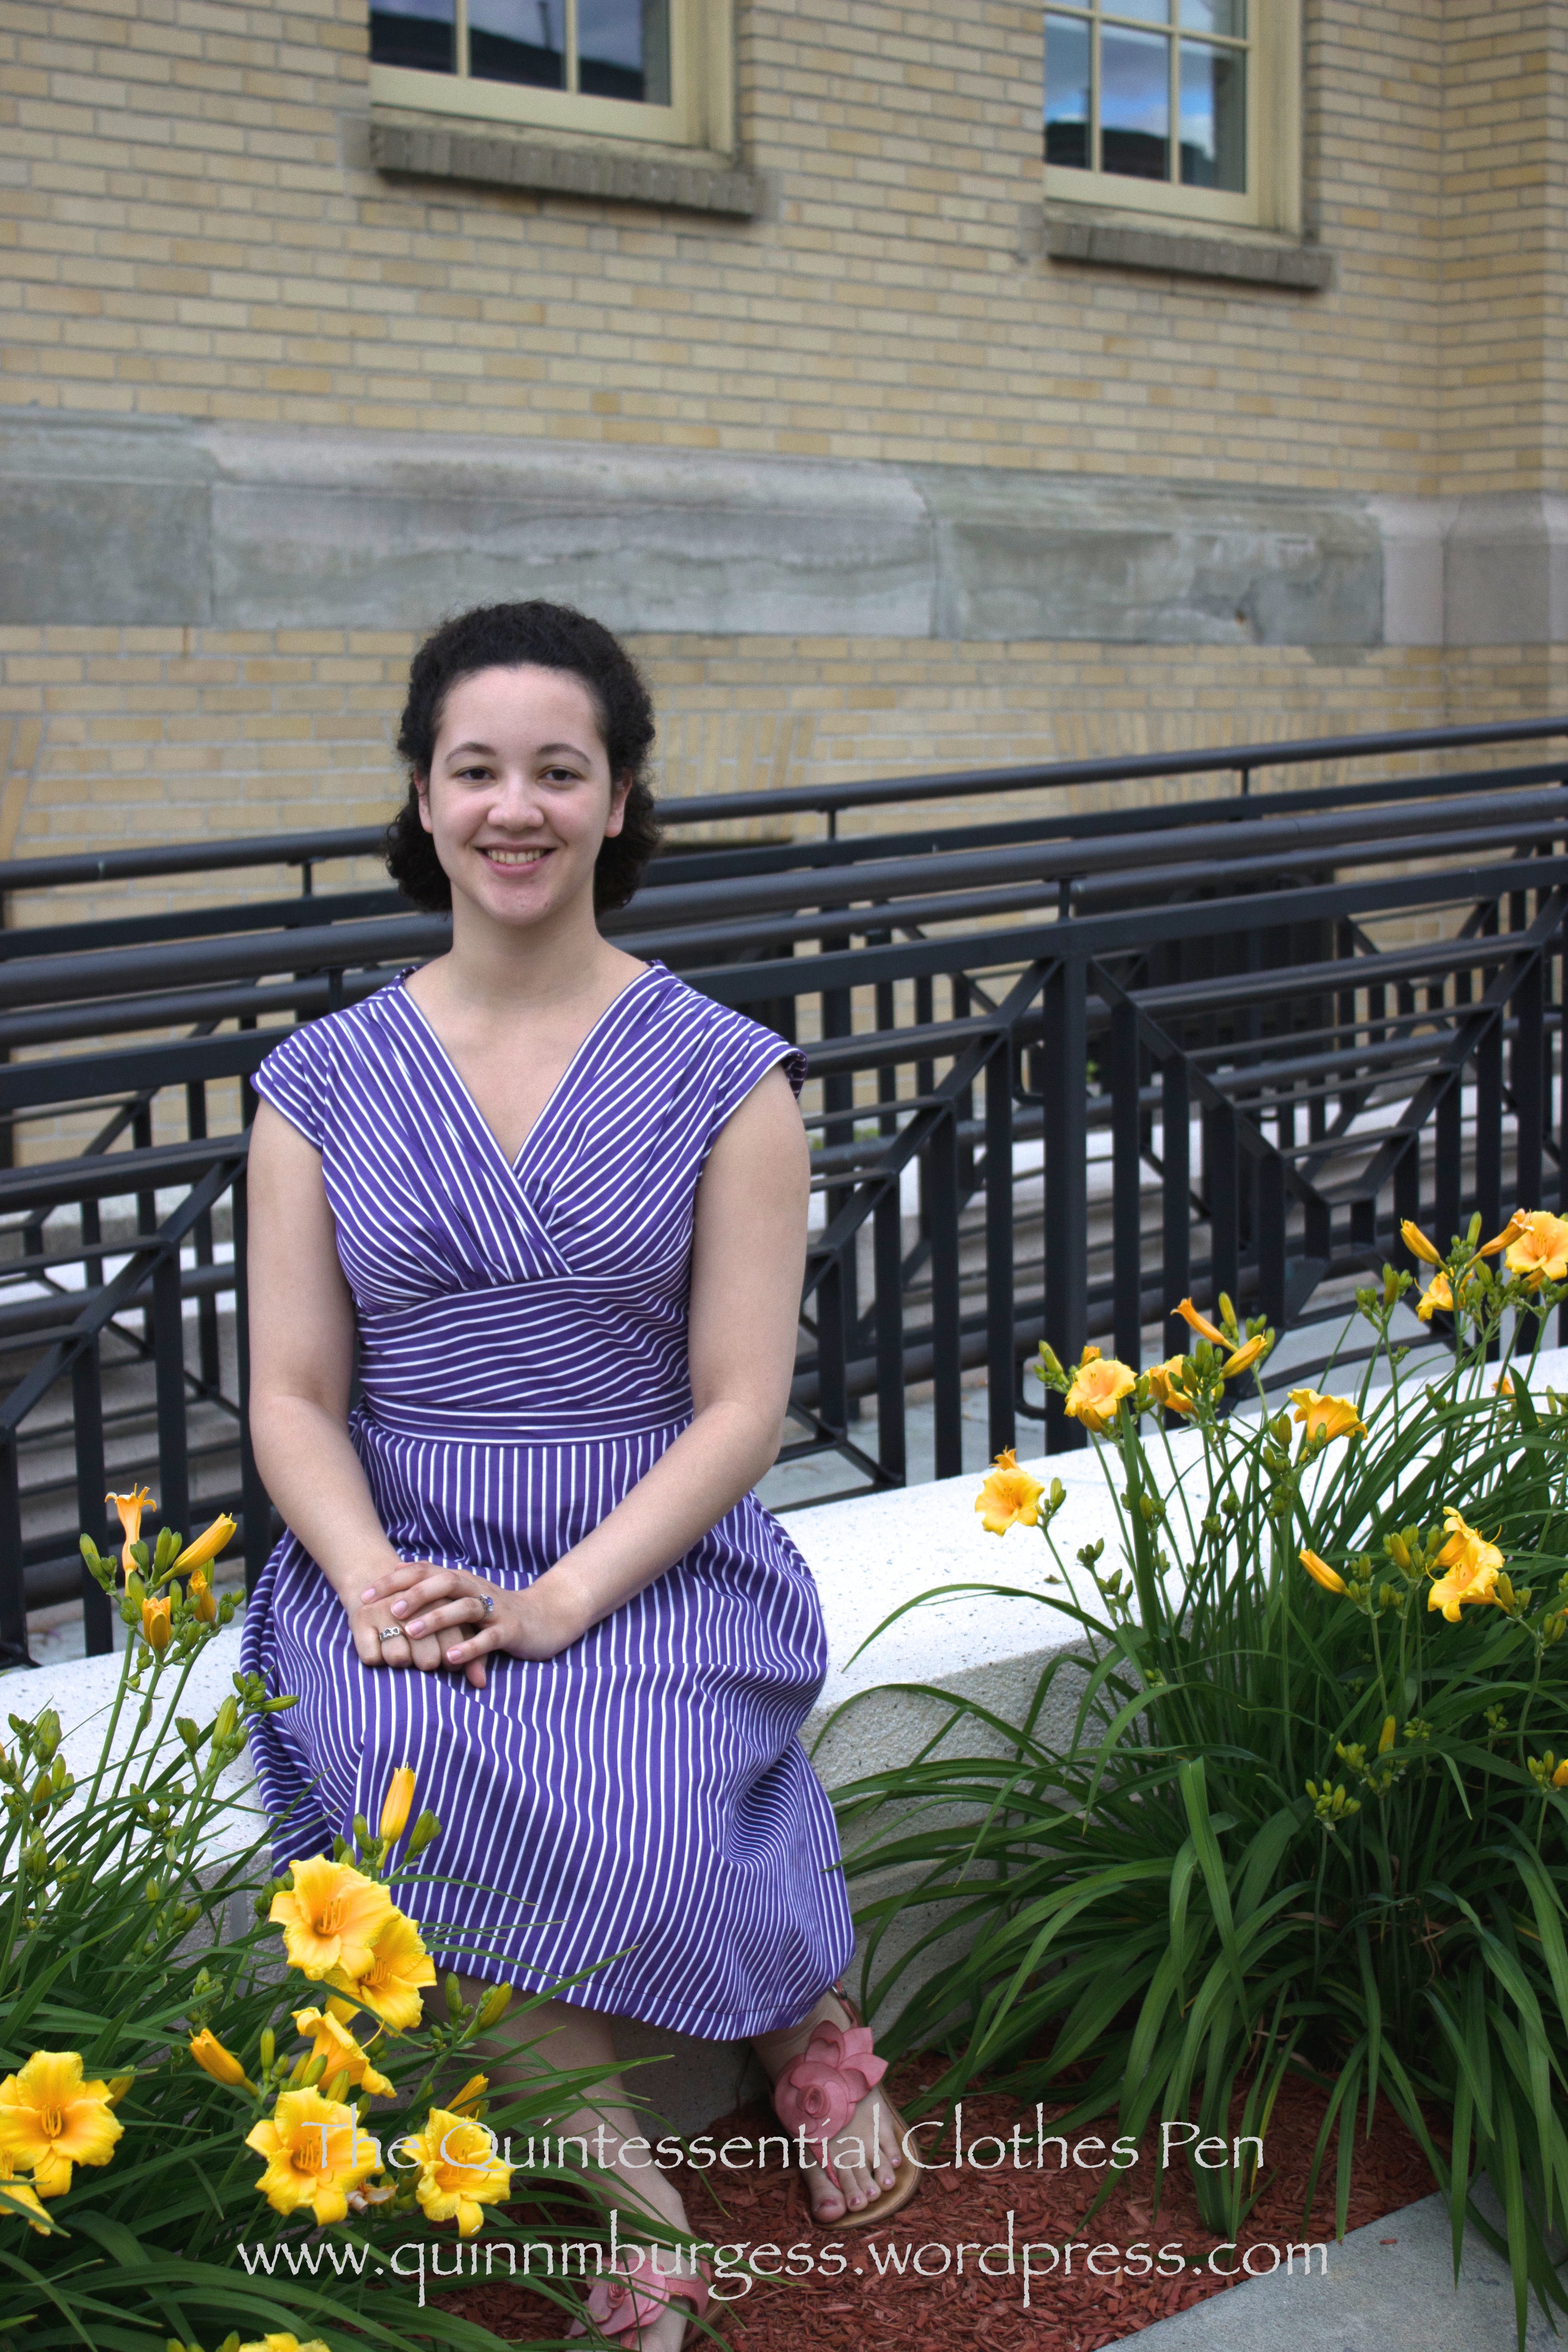
Summer is here, and I’ve been wearing dresses a lot lately. I’m trying to expand the number of dresses in my wardrobe and trying to incorporate more garments that make use of a pattern of some sort rather than just being a solid color. This new dress is… well, a dress, and it has a pattern! And, it’s purple with a wide skirt. What is not to like?
Robe with slip (1)

The inspiration is this Anne Adams dress pattern #4752 from the 1940s.

61808477bc920d62ad2e412260cd488f

I love it, and really wanted to make a dress just like it. But then, I also wanted a nice full skirt just like another dress I bought from H & M years ago and wear often. Turns out that the full skirt made the angled stripes on the skirt totally impossible to pull off. I tried! It was sad looking, though, and in the end I decided I’d be much happier with the dress if I adjusted the design to accommodate my more-full-than-1940s skirt. Good decision, because I love the dress just as it is! I wouldn’t mind some day making the dress with a skirt that has less fullness and a more 1940s silhouette and trying the stripes as they are in the inspiration, but it wasn’t fated to be for this iteration.

Robe with slip
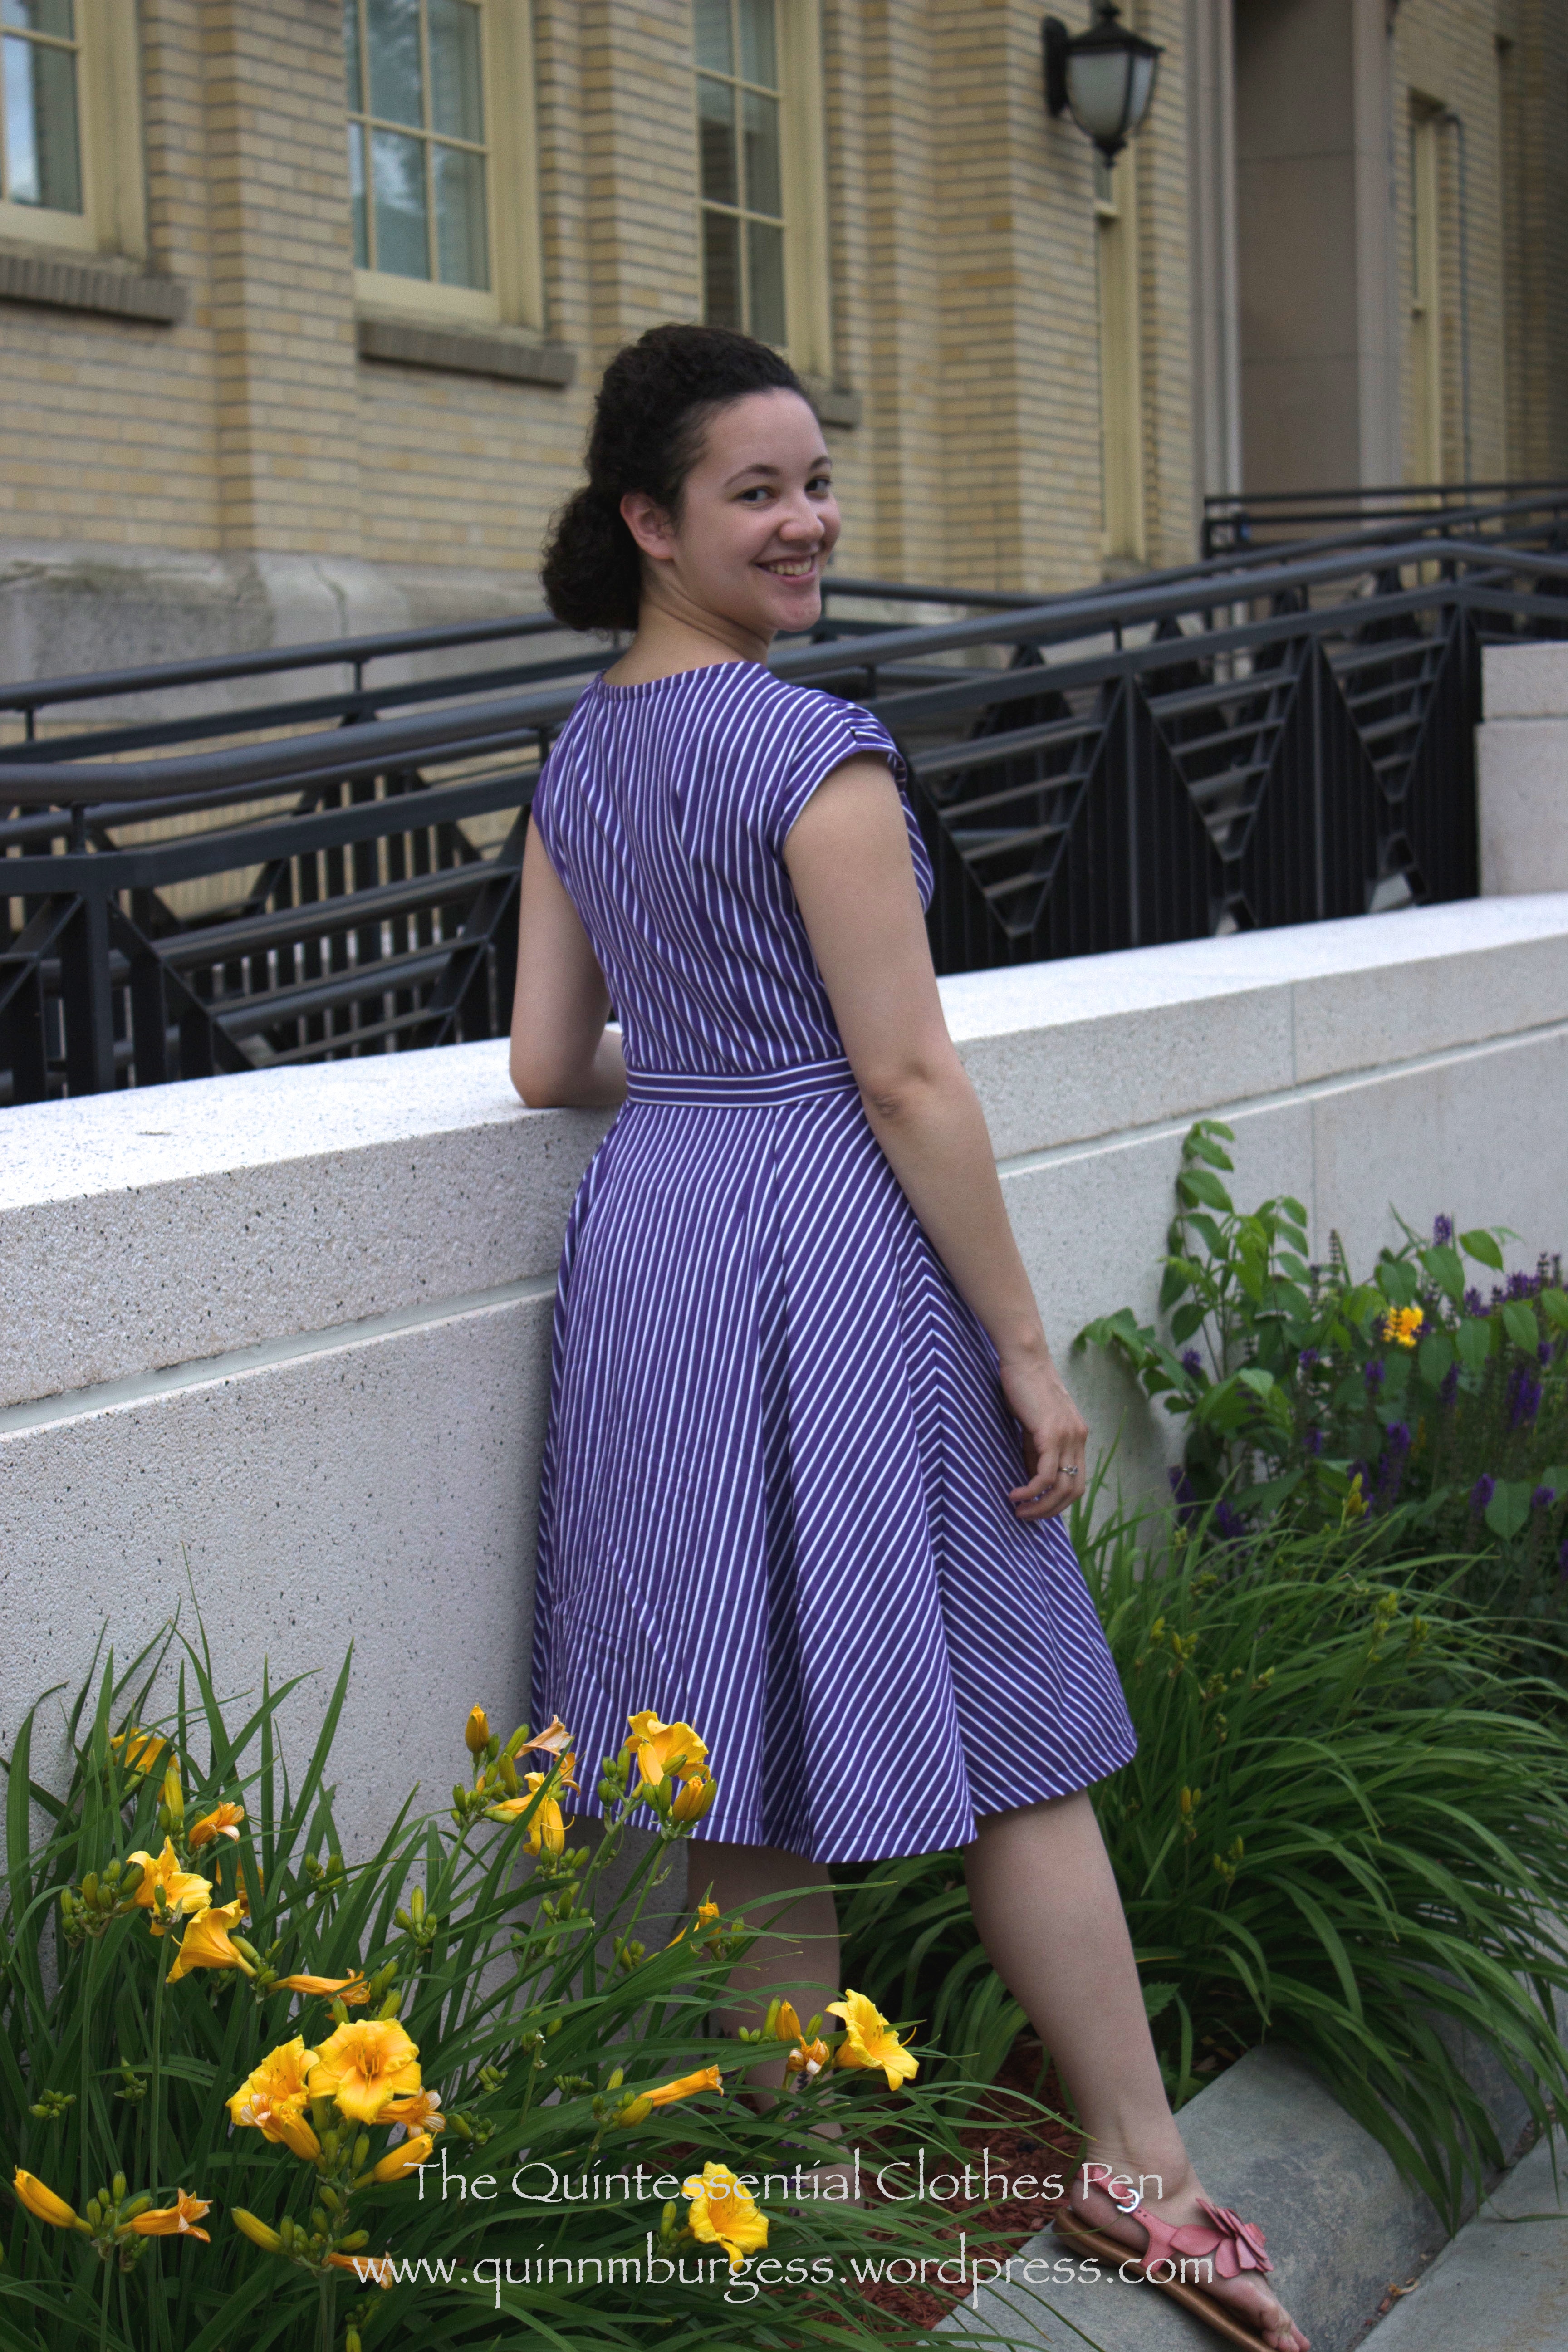
See? Because the skirt is full it’s a curved piece, which meant that the striped panel had to have darts to fit, which wrecked the line of the stripes.

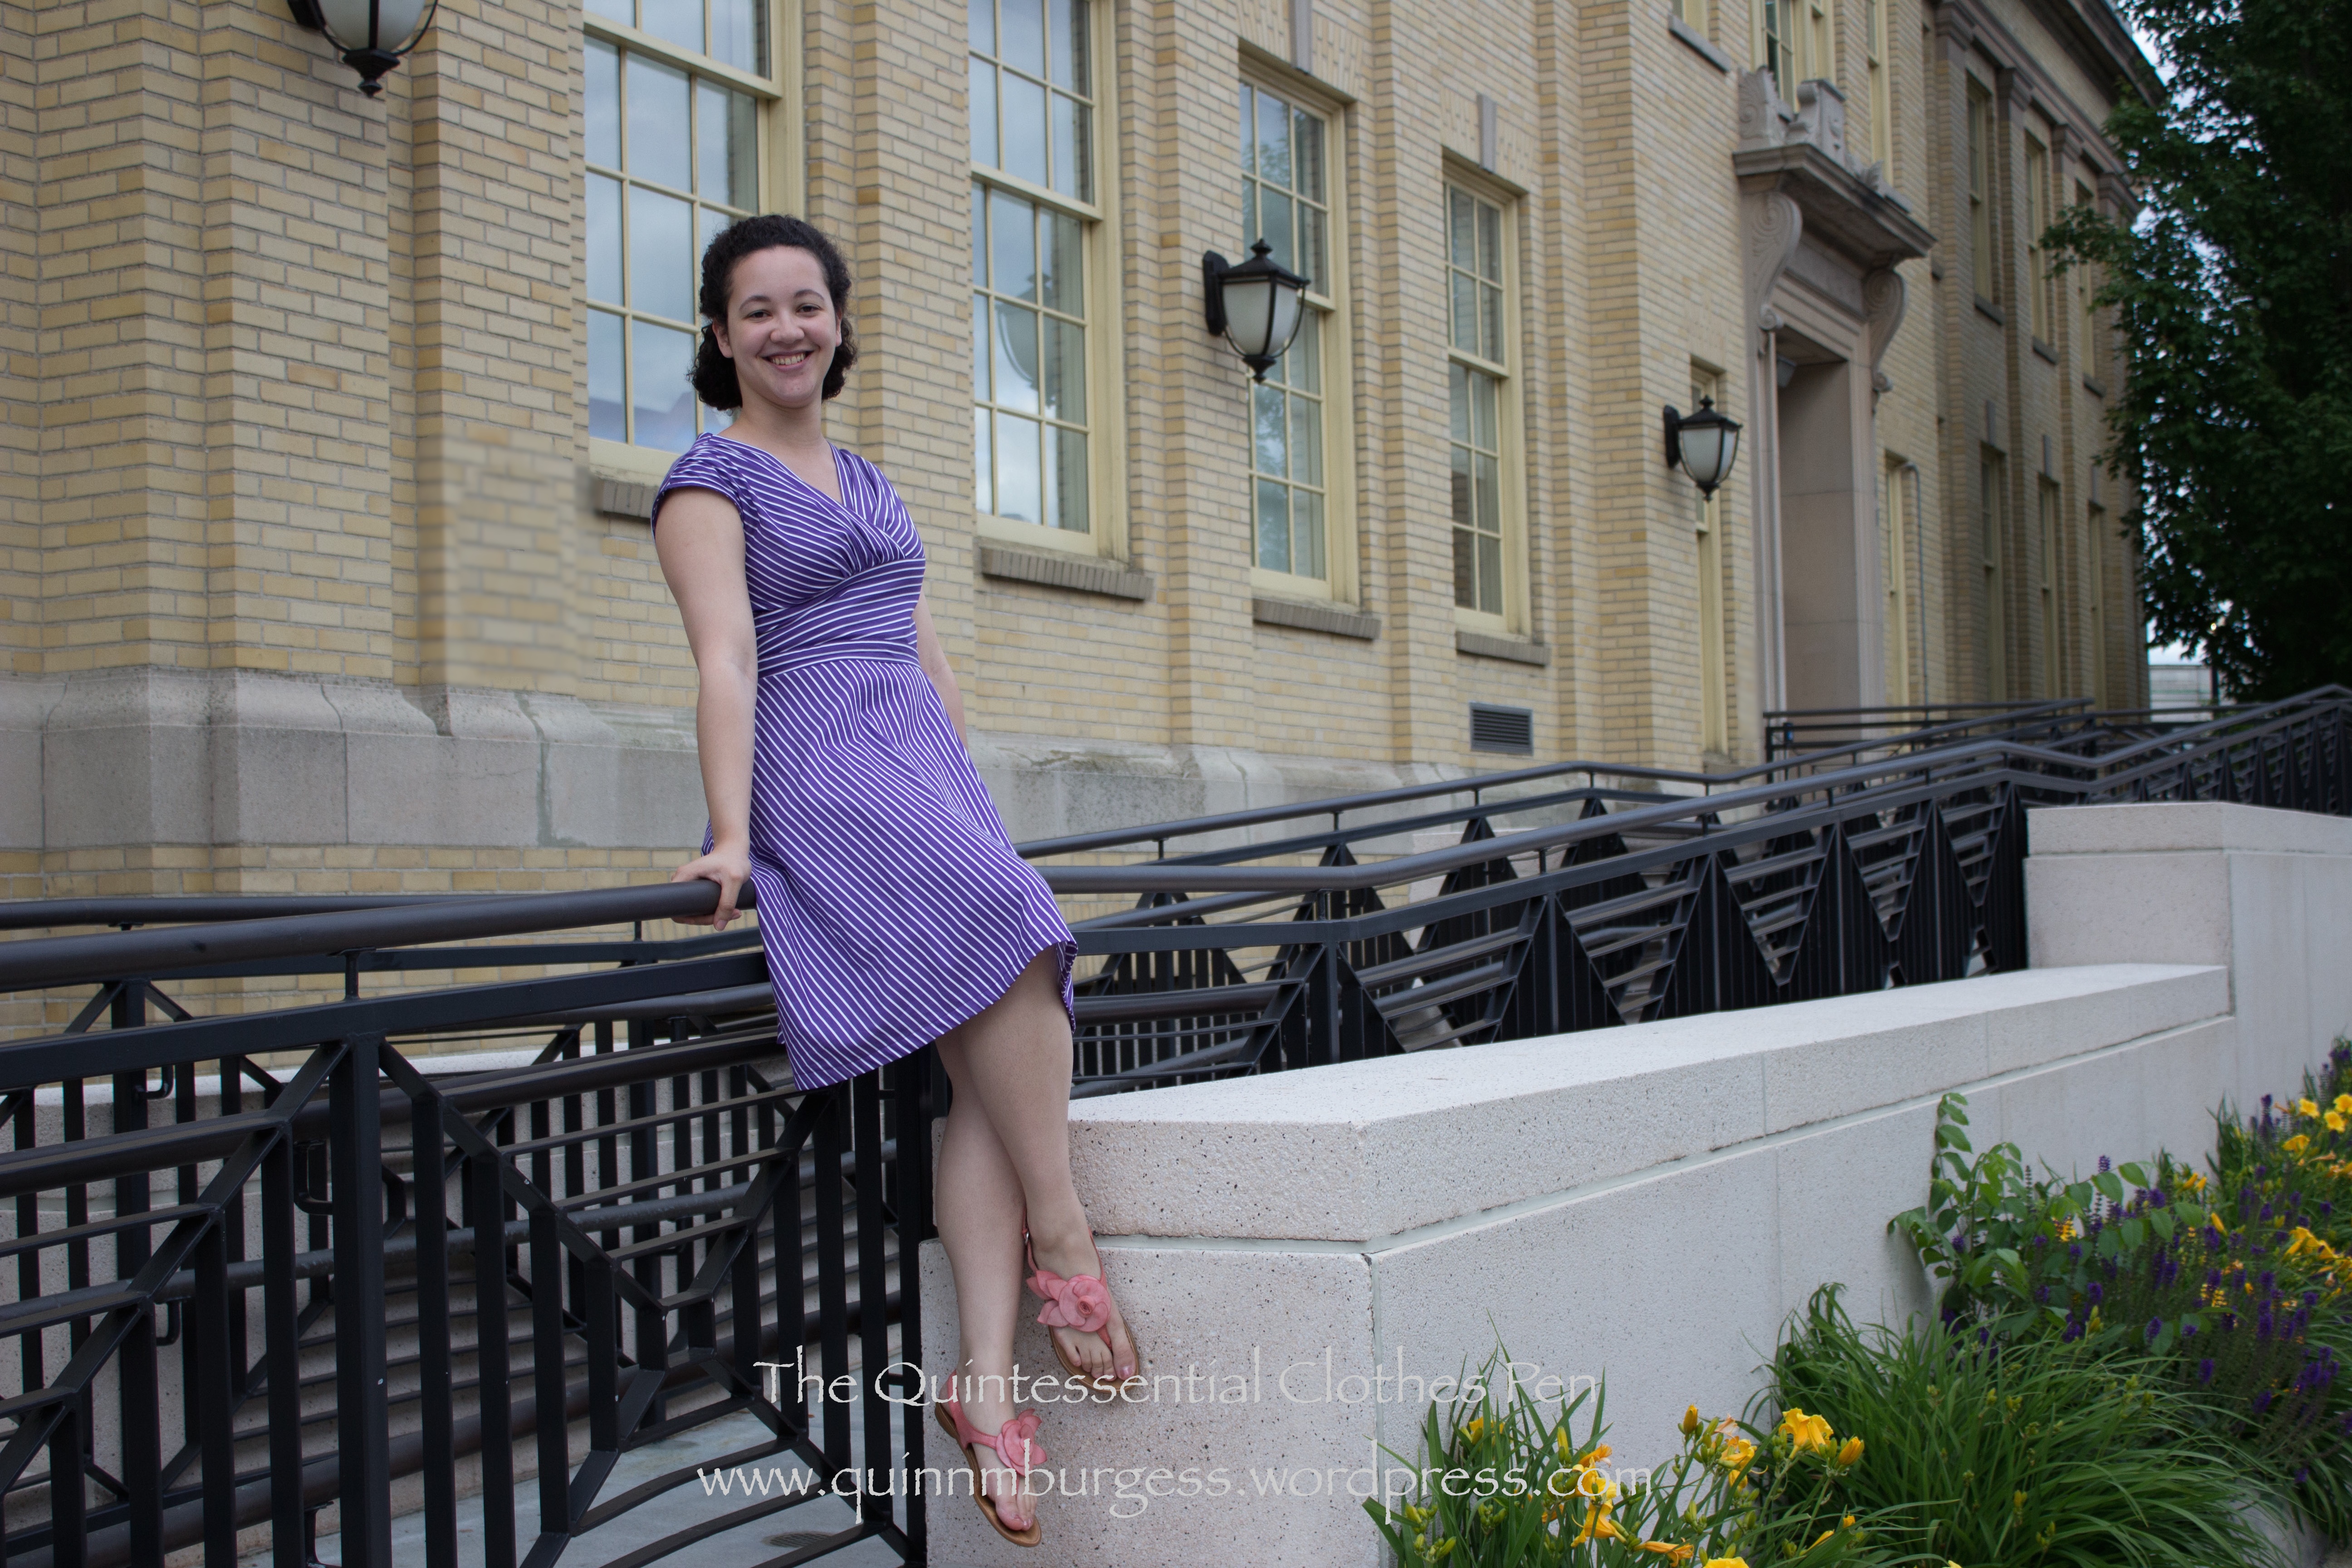
Once I decided to go for the Modern-Does-1940s look I also decided not to bother with the buttons on the bodice. My dress does have topstitching like the pattern image, though you can’t really see it with all the stripes going on.

The dress is constructed from a medium weight cotton I found on the remnant table at my local fabric store for $3ish/yard. Love that price! The armholes and hems are finished with self fabric bias. The dress closes up the left side with a purple lapped zipper. If you’re going to be purple, why not be PURPLE? (Maybe I should call this the Purple People Eater Dress?)
Robe with slip (3)

The bodice is a little different than the inspiration, because I wanted to make it fit my body. Thus, both sides of the bodice are gathered into the angled waist piece to create space for the bust (in the inspiration the dress is drawn with the proper left side being flat… but that would mean also being flat chested on that side…). The other thing is that I have a shoulder seam in my dress, and I wound up gathering the front pieces at the shoulders to make the whole thing sit correctly on my body. You can see in the picture with the dress on the mannequin that it started out with no gathers on the shoulders, but it wasn’t fitting me in a flattering way, so I gave up and altered it to be comfortable.
Robe with slip (4)

The back bodice has darts and corresponding tucks in the skirt. The tucks were unintentional, added only because the skirt had stretched out and was bigger than the waistband when I went to attach them. That’s what happens when you cut corners and don’t stay stitch… But see the perfect chevrons on the side seam? They make me happy!
Robe with slip (2)

I’m wearing modern summer sandals, but I did attempt to do a nod-at-the-1940s hair style for the photos. I don’t mind the style, but clearly I need some more practice (and likely a different hair type without so much frizz) to really get a 1940s style going.

Thanks so much to my wonderful friend photographer, who is so willing and excited to document the things I make so I can share them on my blog! Of course, the trade off is that she gets to practice photography skills on a willing model… Works out well for both of us!
1953 Dot Dress

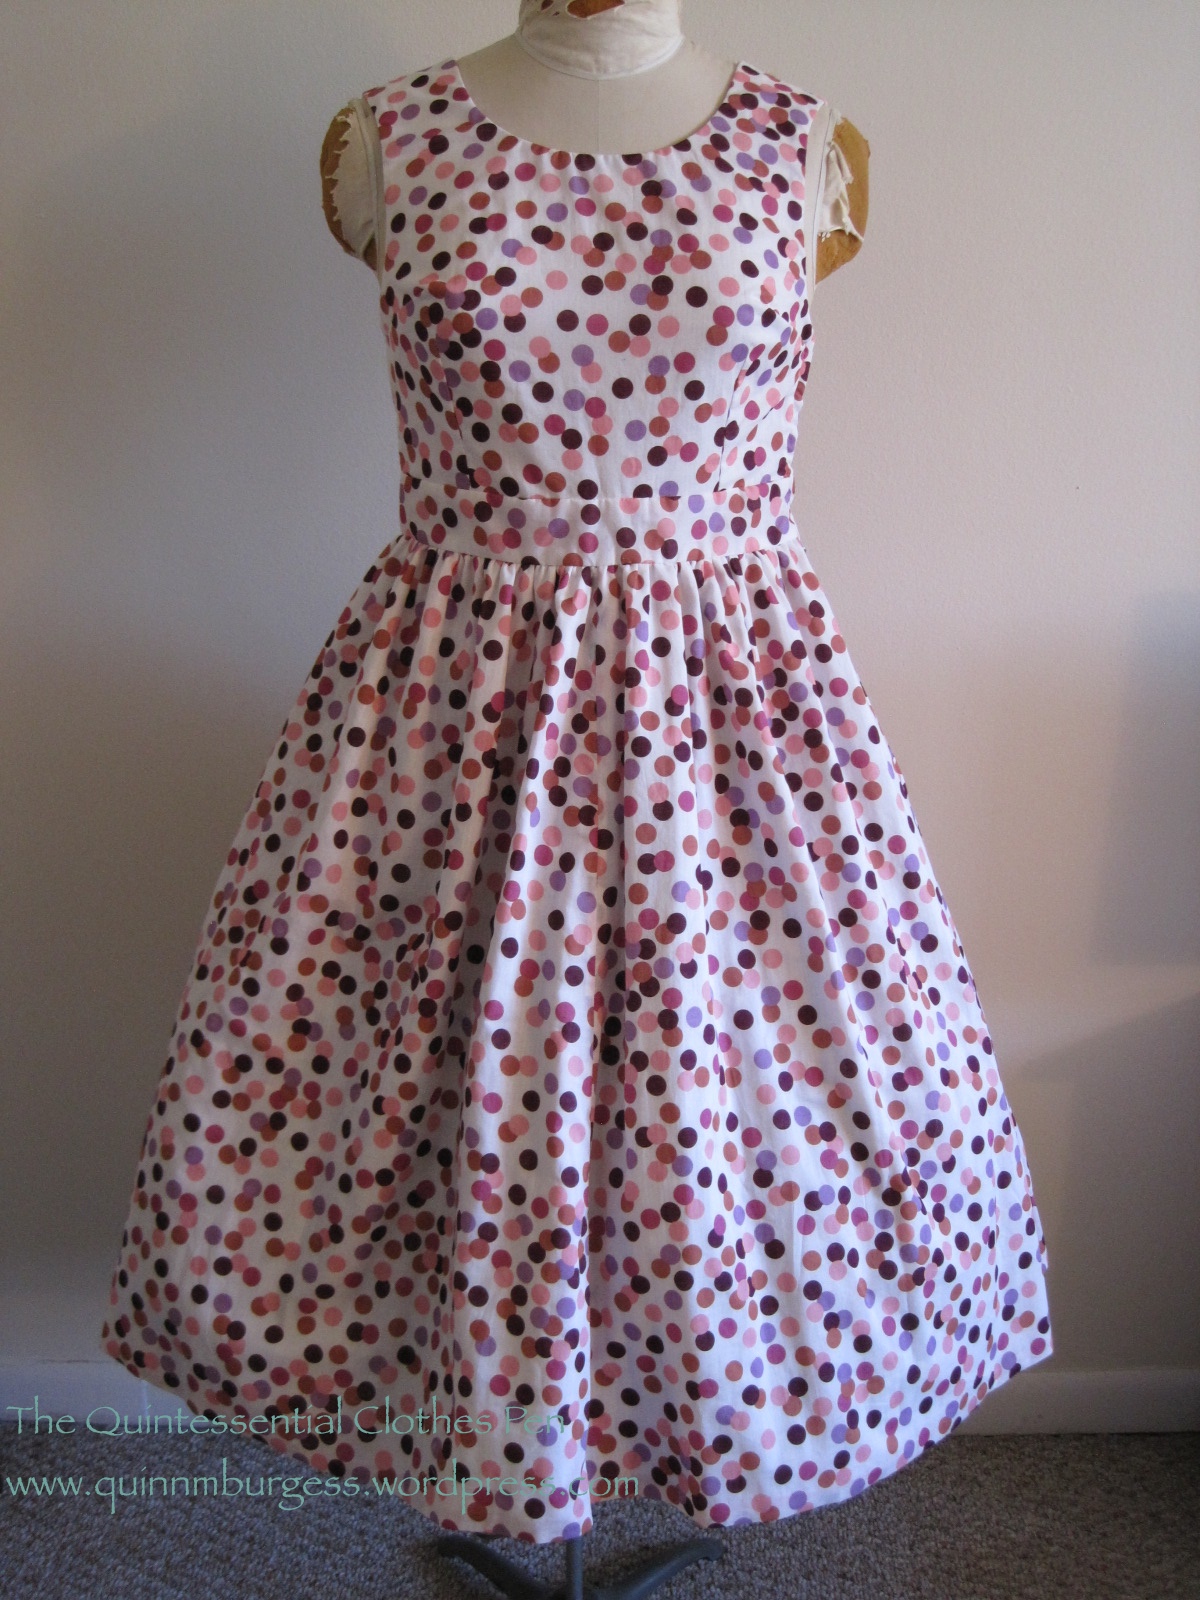
It’s been months since I bought the fabric for this dress (I actually had to look back to see when I purchased the fabric: it was February). I bought it rather on a whim, with the goal of expanding the number of patterned dresses in my historic wardrobe. Well, success! My 1953 dot dress is complete!

IMG_4829
Yay!
IMG_4830
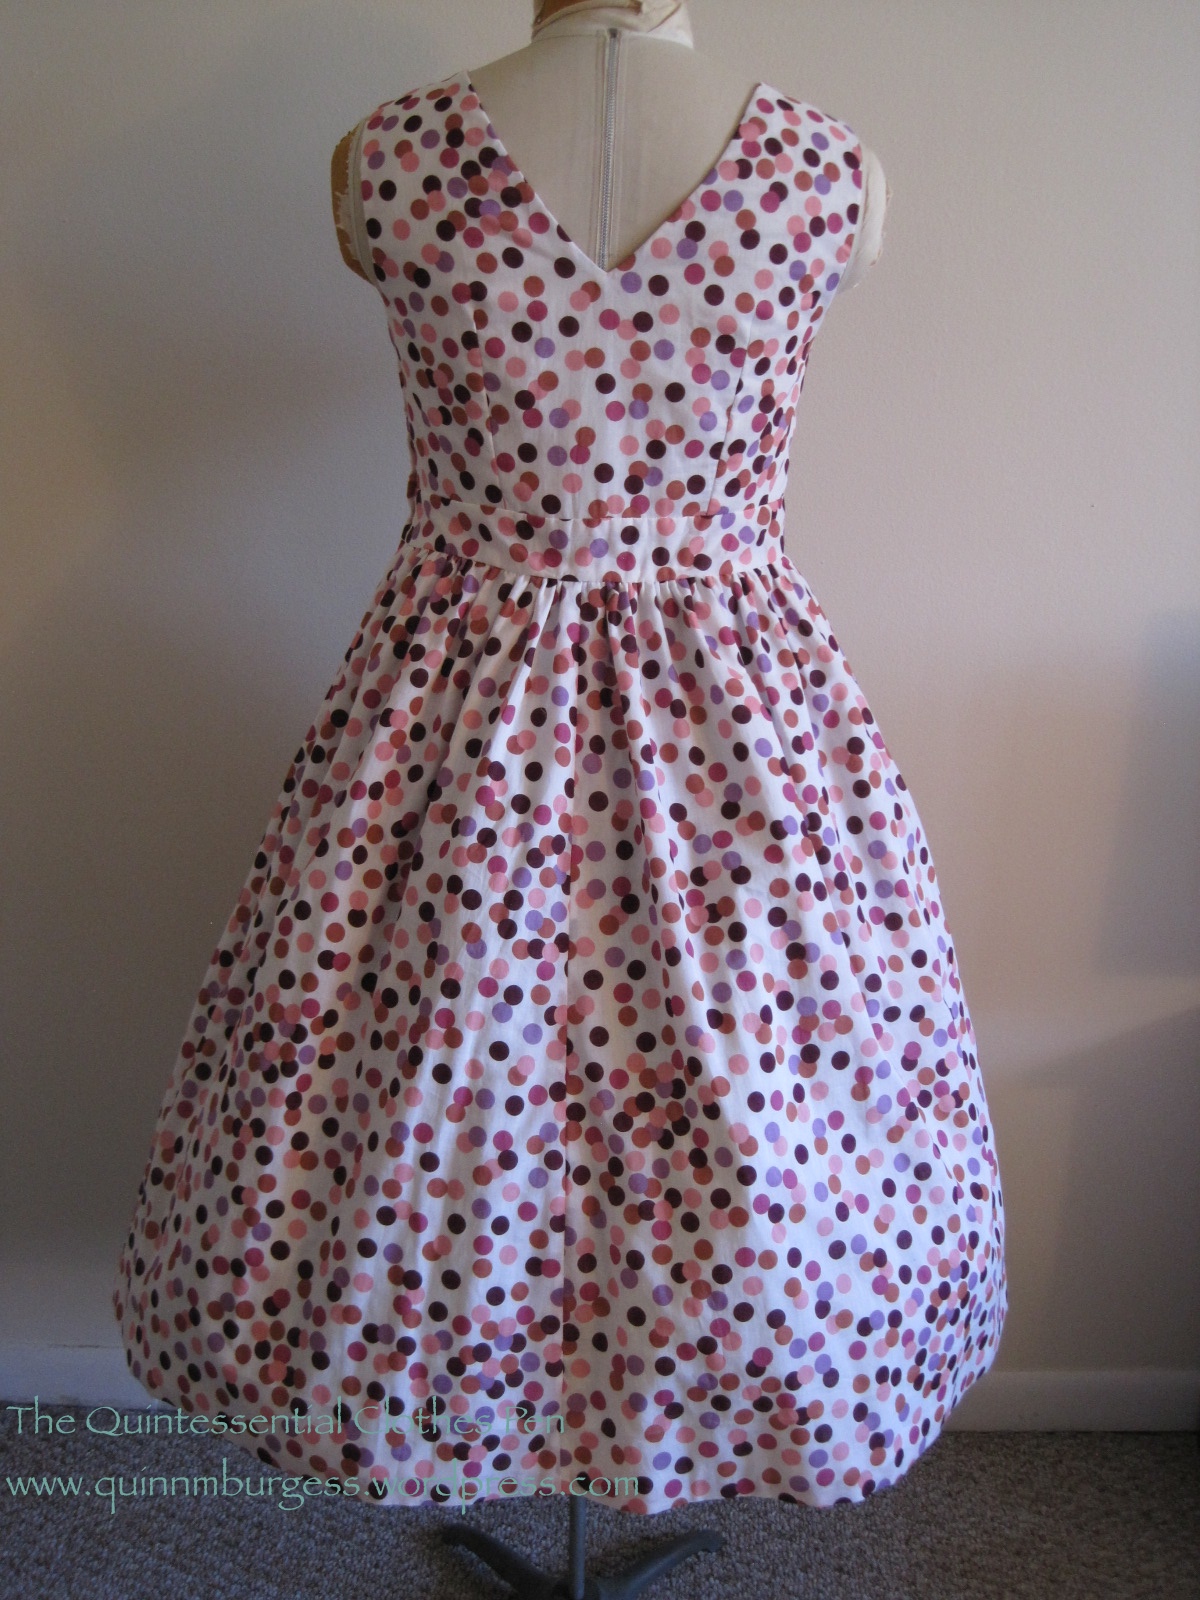
And the back.

I think it looks more flattering on me than it does on Squishy, but the opportunity I’m hoping to use to wear it and take pictures has been postponed due to the busy lives of my friends. We’ve got a grand plan involving roller skating, a 50s diner, and ice cream. All of those things just scream for pictures!

But for now, the facts (a la the HSF, though unfortunately the cutoff for the HSF is 1937, so this doesn’t qualify!):

Fabric: The dress is constructed from about 3 yds of lightweight cotton lawn printed with dots and lined with some of my white striped $1 a yard cotton fabric. It’s a perfect pairing, because it creates opacity but keeps the lightweight feel of the lawn.

Pattern: The skirt pattern is from a Vogue pattern I bought at Vintage In Vogue last year. The bodice pattern is a simple darted bodice pattern I draped for myself with the neckline adjusted to be a scoop in front and a v in back.

Year: 1953.

Notions: 10-12 yds of pink Hug Snug; white, off white, and pink thread; and an off white plastic zipper (It was all I had that wasn’t dark since I don’t use zippers much for historic sewing…).

How historically accurate?: I give it 95%. Cotton is entirely reasonable for the 1950s. I’m not sure when Hug Snug was first marketed, but the design on the spools certainly looks vintage (and rayon had been in use for at least 20 years by the 1950s). If they didn’t have Hug Snug, they probably had something similar. The pattern was printed in the 1950s and a basic darted bodice is seen on many 1950s dresses and patterns. The sewing machine was in widespread use by the 1950s. The only thing is that my plastic zipper is probably a bit modern (in the 1950s zippers were still metal, I believe).

Hours to complete: 30: lots of interior finishing by machine and hand .

First worn: By Squishy for pictures.

Total cost: My entire 50 yd roll of Hug Snug was only 50 cents, the fabric was about $15, and the zipper was probably about $2… Total: about $17.

Now, you know that I love paying attention to details. I had a lot of fun spending time on the interior details of this dress. Unfortunately, they won’t be visible, but I know that this dress is as cute inside as it is outside, and now you will, too!

IMG_4831 (1)
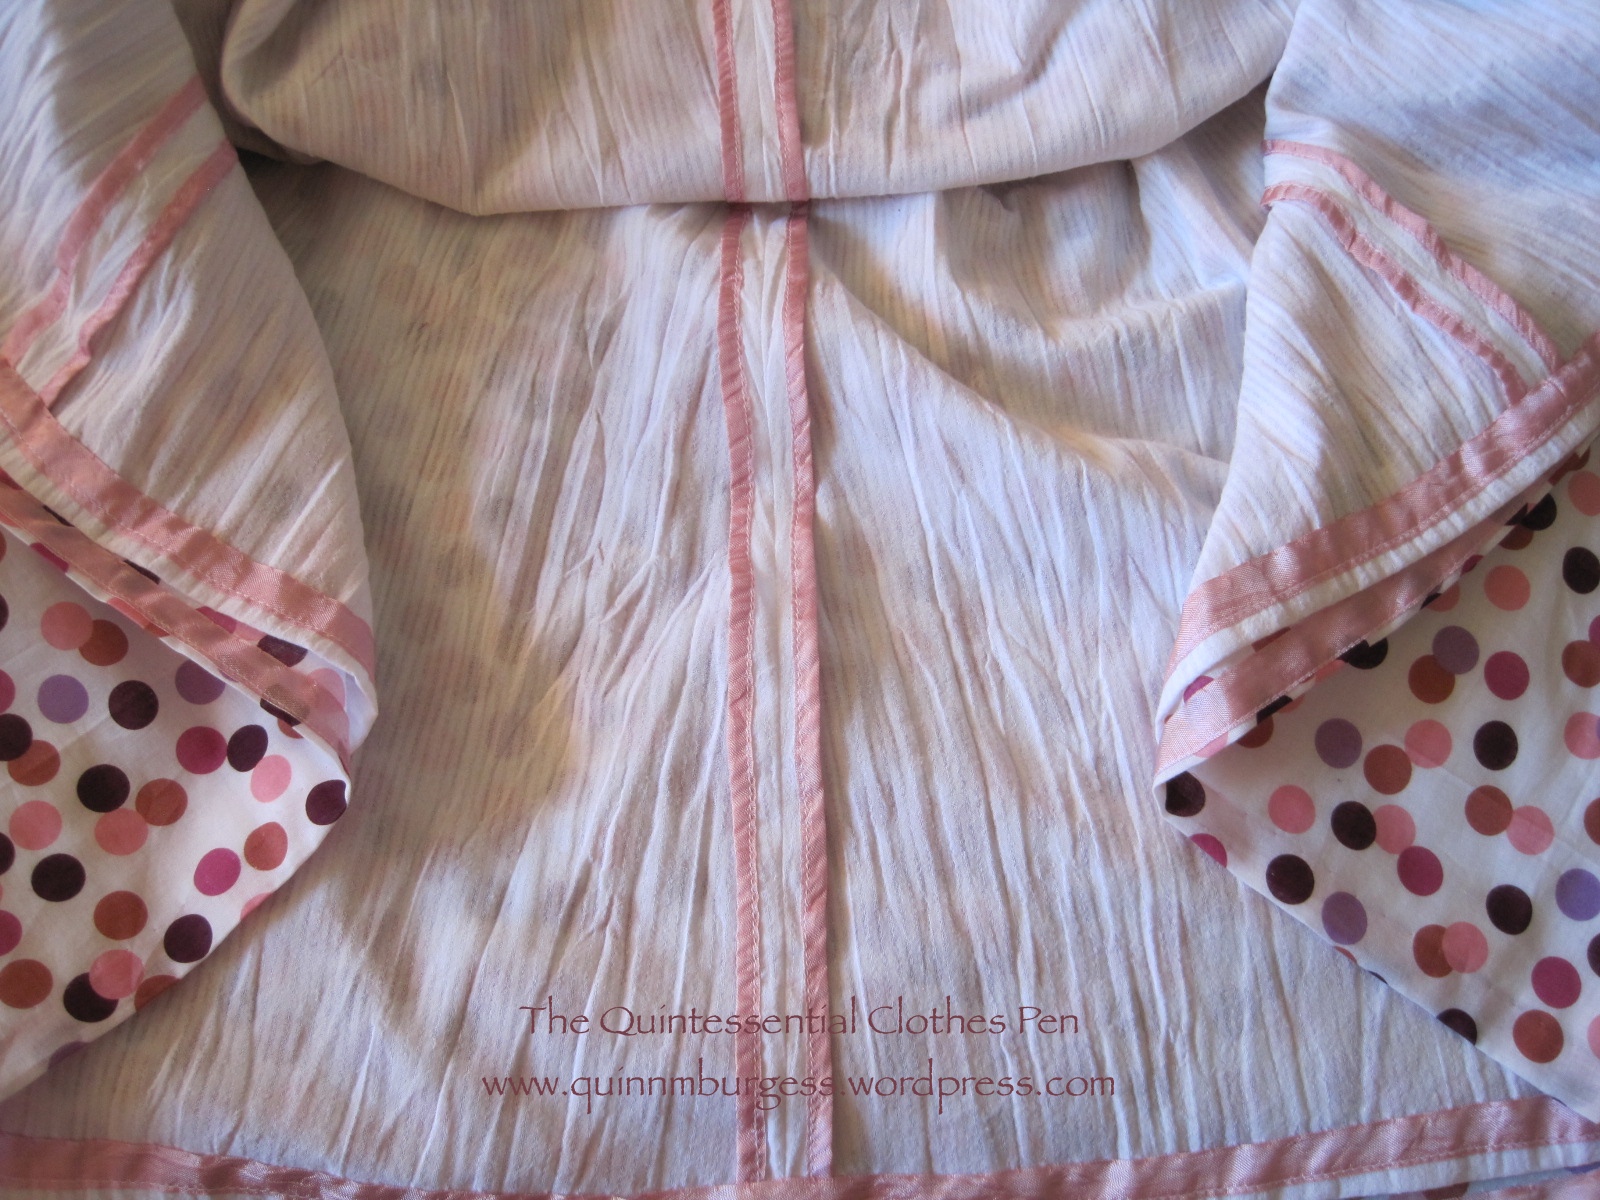
The hems flipped up to see the interior finishing. Both hems are finished with Hug Snug and I also used Hug Snug to bind the seam allowances of the white lining. The seam allowances of the dot fabric are turned and zig zagged (the Hug Snug showed through to the exterior too much when I did a sample using Hug Snug on the dot). The first side of the Hug Snug is machine stitched to the hem and the second side is hand sewn with only tiny prick stitches that go through to the outside fabric so it’s almost invisible.
IMG_4835
More of the inside of the skirt. It’s like candy, with all the pink Hug Snug seam binding on the white fabric! I love it!
IMG_4837 (1)
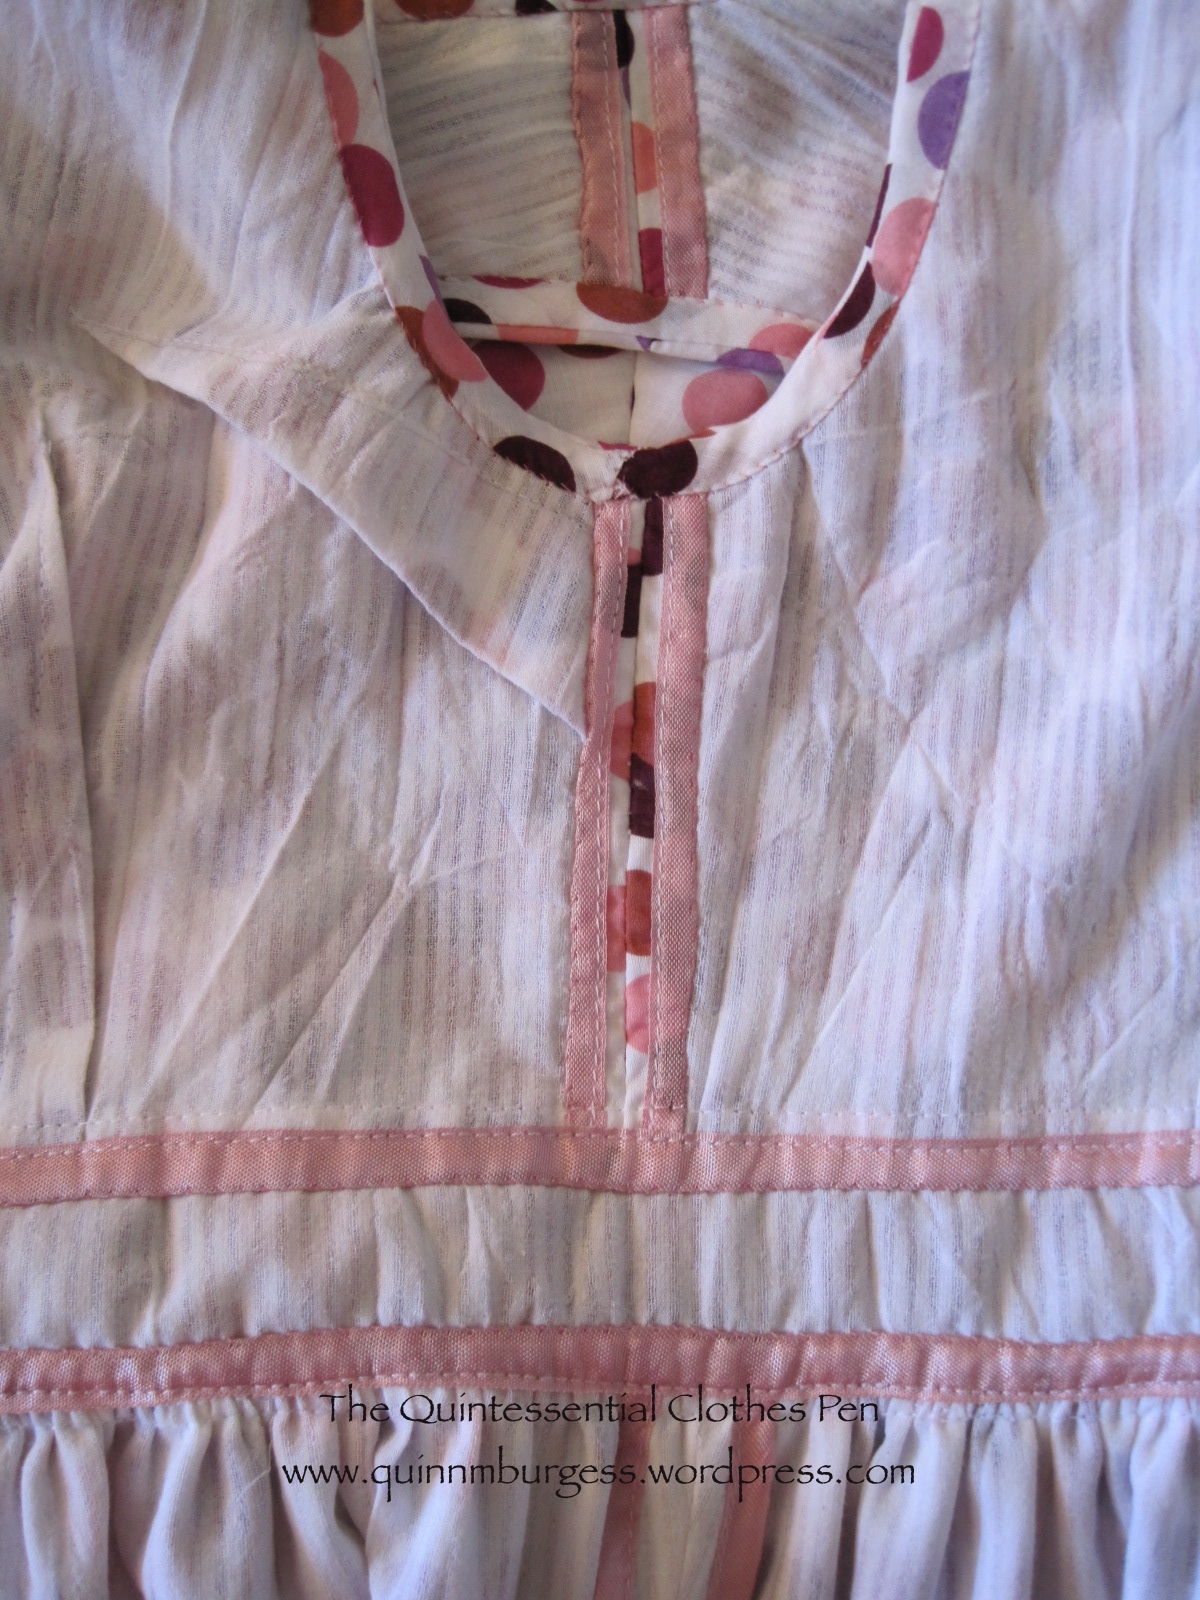
Here’s the side seam of the bodice that doesn’t have the zipper. On the bodice the dot and the white stripe fabric are treated as one, unlike on the skirt. All of the seams are bound with Hug Snug. The armhole (at the top of the photo) and the neckline are bound with self fabric bias strips.
IMG_4840
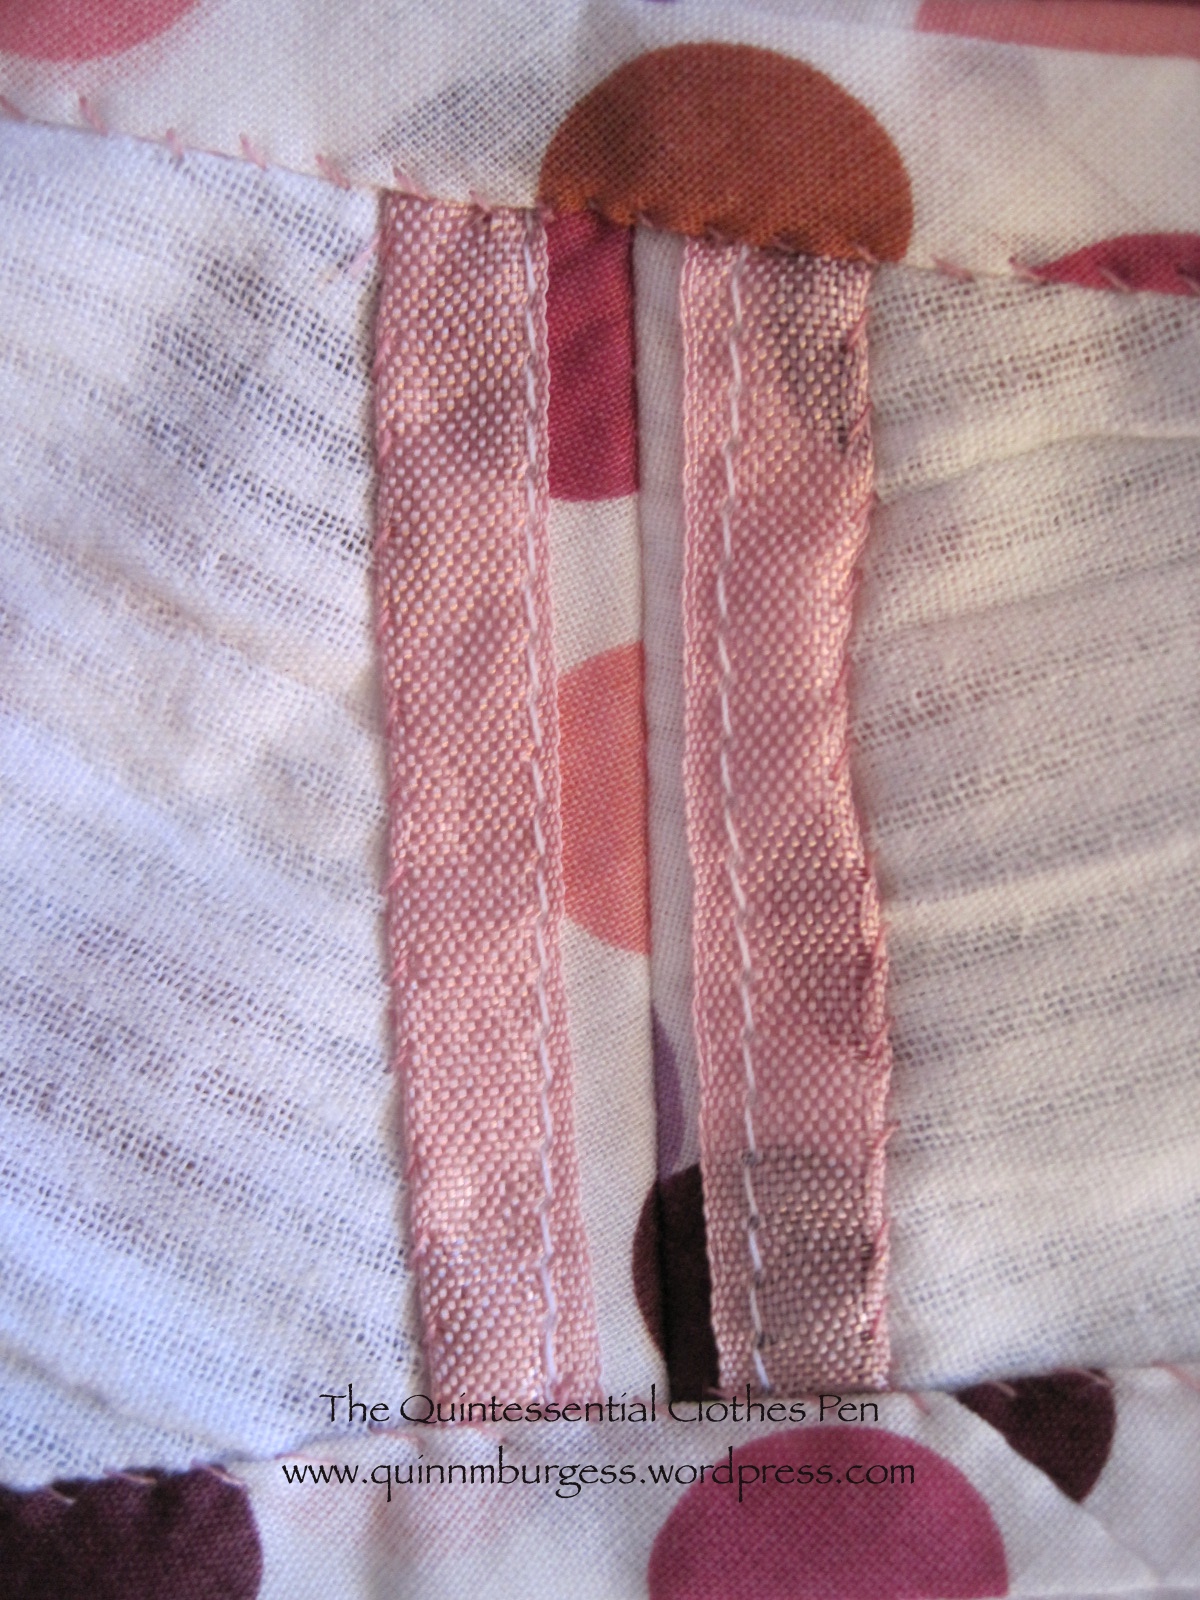
Here’s a close up of the shoulder seam showing the Hug Snug and the self fabric bias. All of the bodice seam and edge bindings are stitched down to the white stripe lining by hand using whip stitches.
IMG_4827
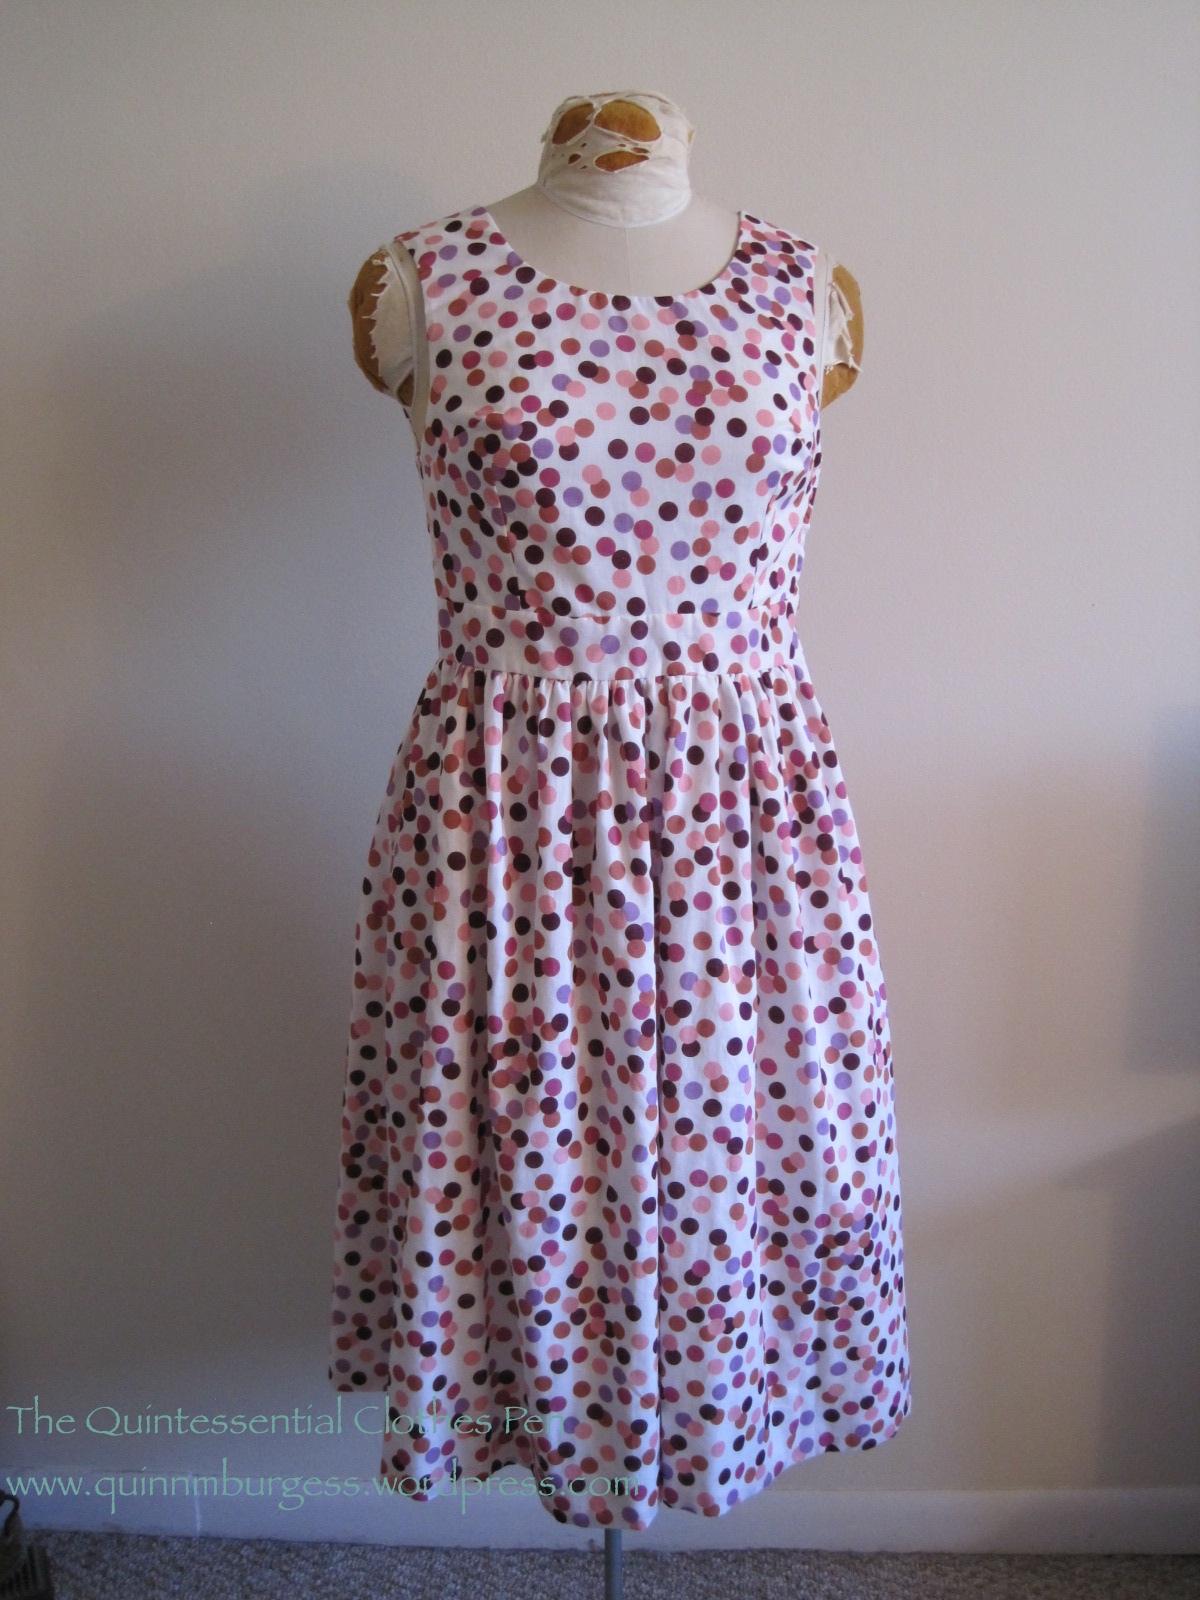
Here’s what it looks like without skirt support.

I might even like the inside more than the outside… I’m really looking forward to wearing this at some point! I was even thinking that perhaps I could wear it in my modern life without a crinoline petticoat under it, but I think the skirt is a little too long and the waist is a little too high. If I had more of an every day vintage style I might be able to pull it off, or if I was getting dressed up, but for normal days, unfortunately, I don’t think I’ll be wearing it around my everyday life. All the more reason my friends need to clear their calendars!!!