Returning Heroes 1860s Ball 2011

I was reminiscing recently and realized that I neglected to post about the Returning Heroes Ball hosted by the Commonwealth Vintage Dancers in March 2011! I had such a fantastic evening that I decided that late is better than never!
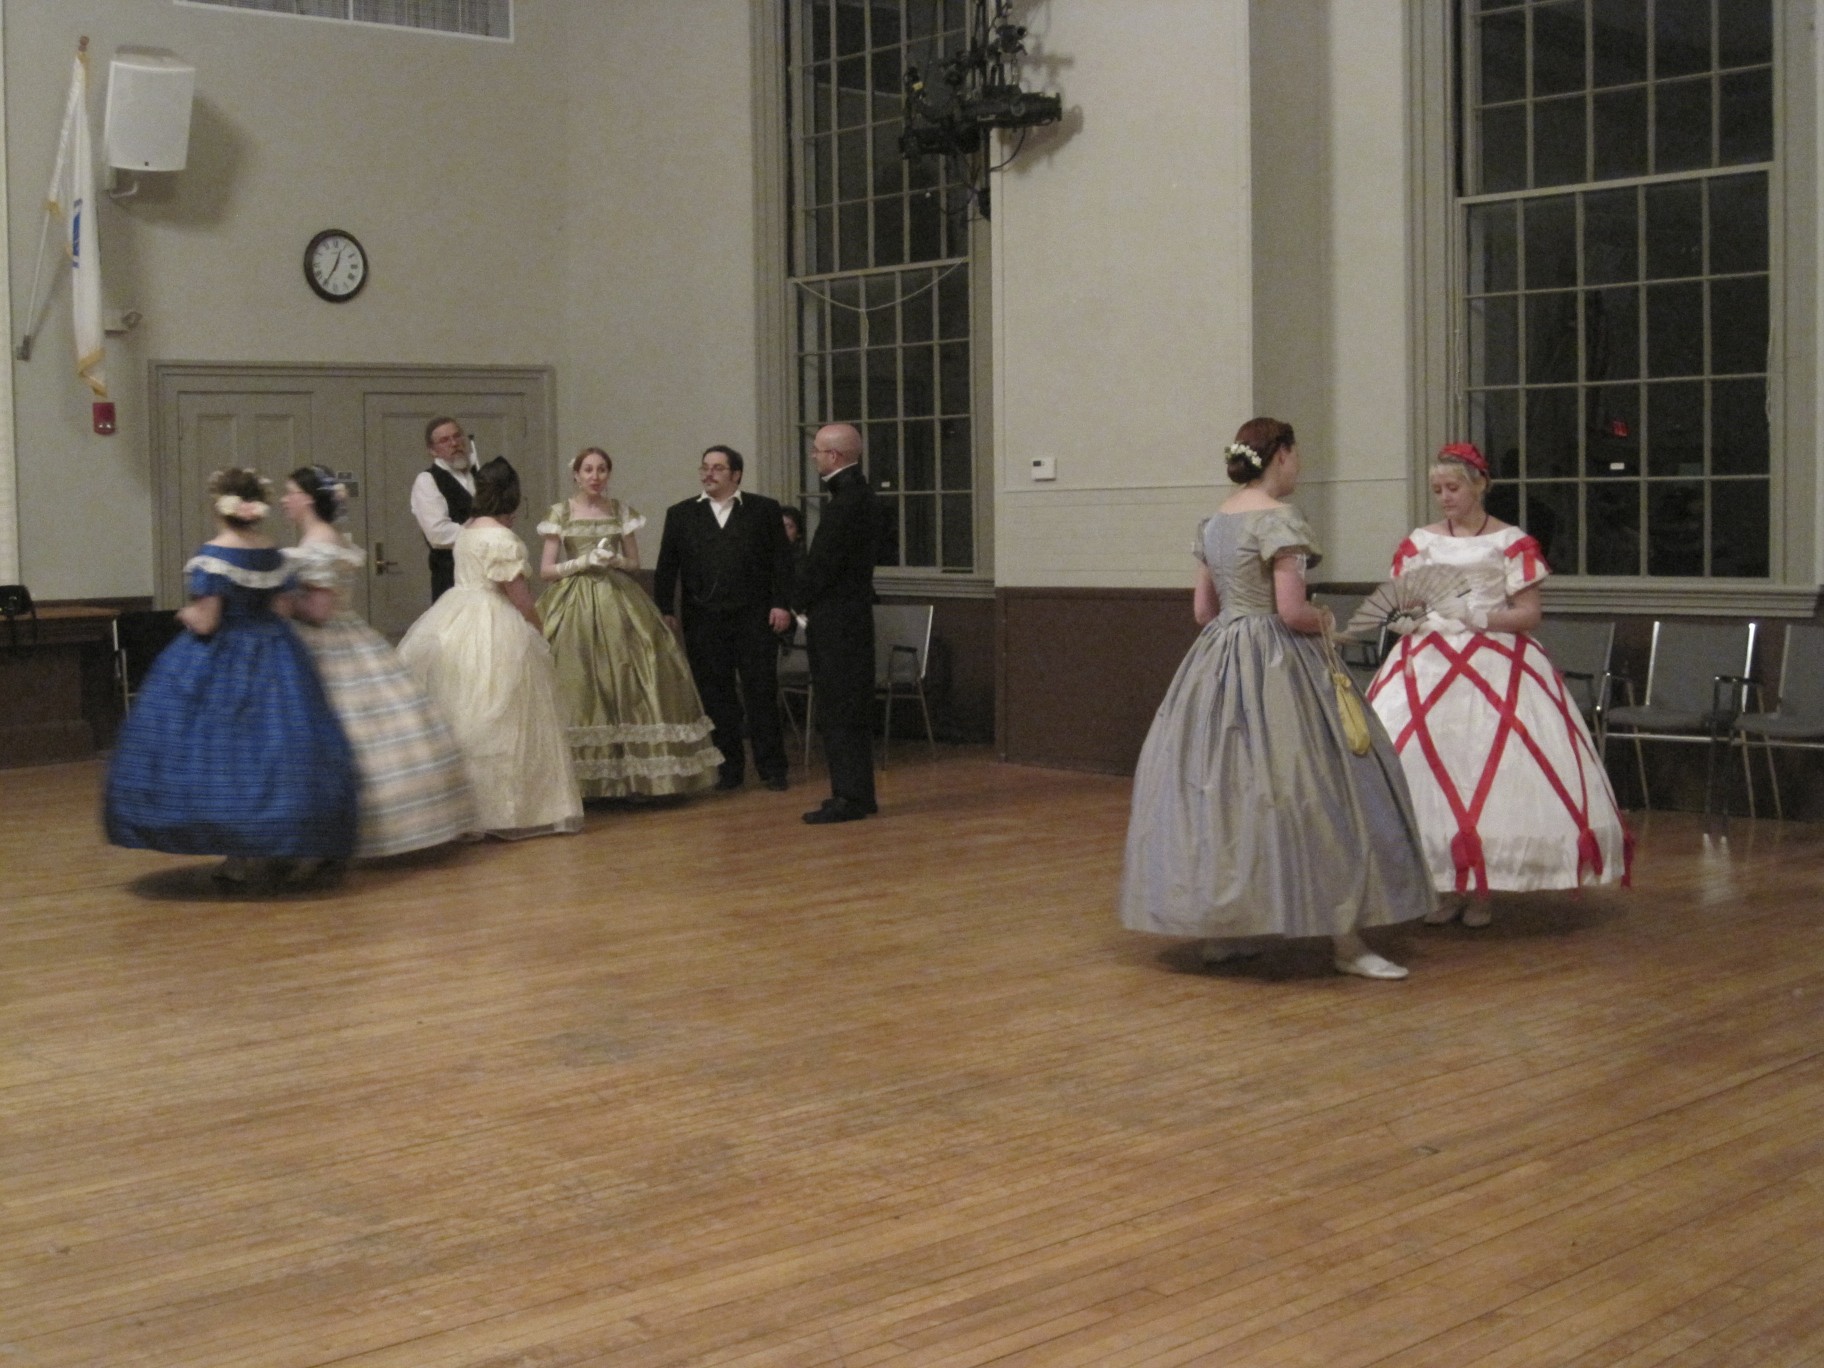
I have been dreaming of being in a room full of people all wearing crinolines and period menswear for years: the 1860s are my most favorite period! The night started out with all the ladies helping each other get dressed: lacing corsets, donning hoops and petticoats, fluffing skirts,  and securing bodices. Of course, it does take some time to get dressed, so while we were dressing the band was warming up and the men were standing around looking important and discussing… well, who knows what?

We were supposed to be using dance cards, but I was disappointed in that part of my dream as we wound up not using the dance cards that had been prepared. But that didn’t dampen my spirits for more than a minute or two, because the band started playing and we began to dance!
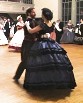
I have two favorite moments from the night: 1- dancing the Grand March in which every lady was wearing hoops (there was a lot of friction as well all spiraled around each other), the best part of which was joining in lines and progressing down the hall to “Dixie” and 2- dancing a waltz with a Zouave (see picture left).

Here’s a few more pictures (I should have taken more, but I was busy dancing!). I’ll just end with this video from the Returning Heroes Ball in 2007. It starts with a Grand March and starting at about 60 seconds “Dixie” is playing! Enjoy!
Project Journal: Victorian Women’s Tailoring Part XI: Time to celebrate!

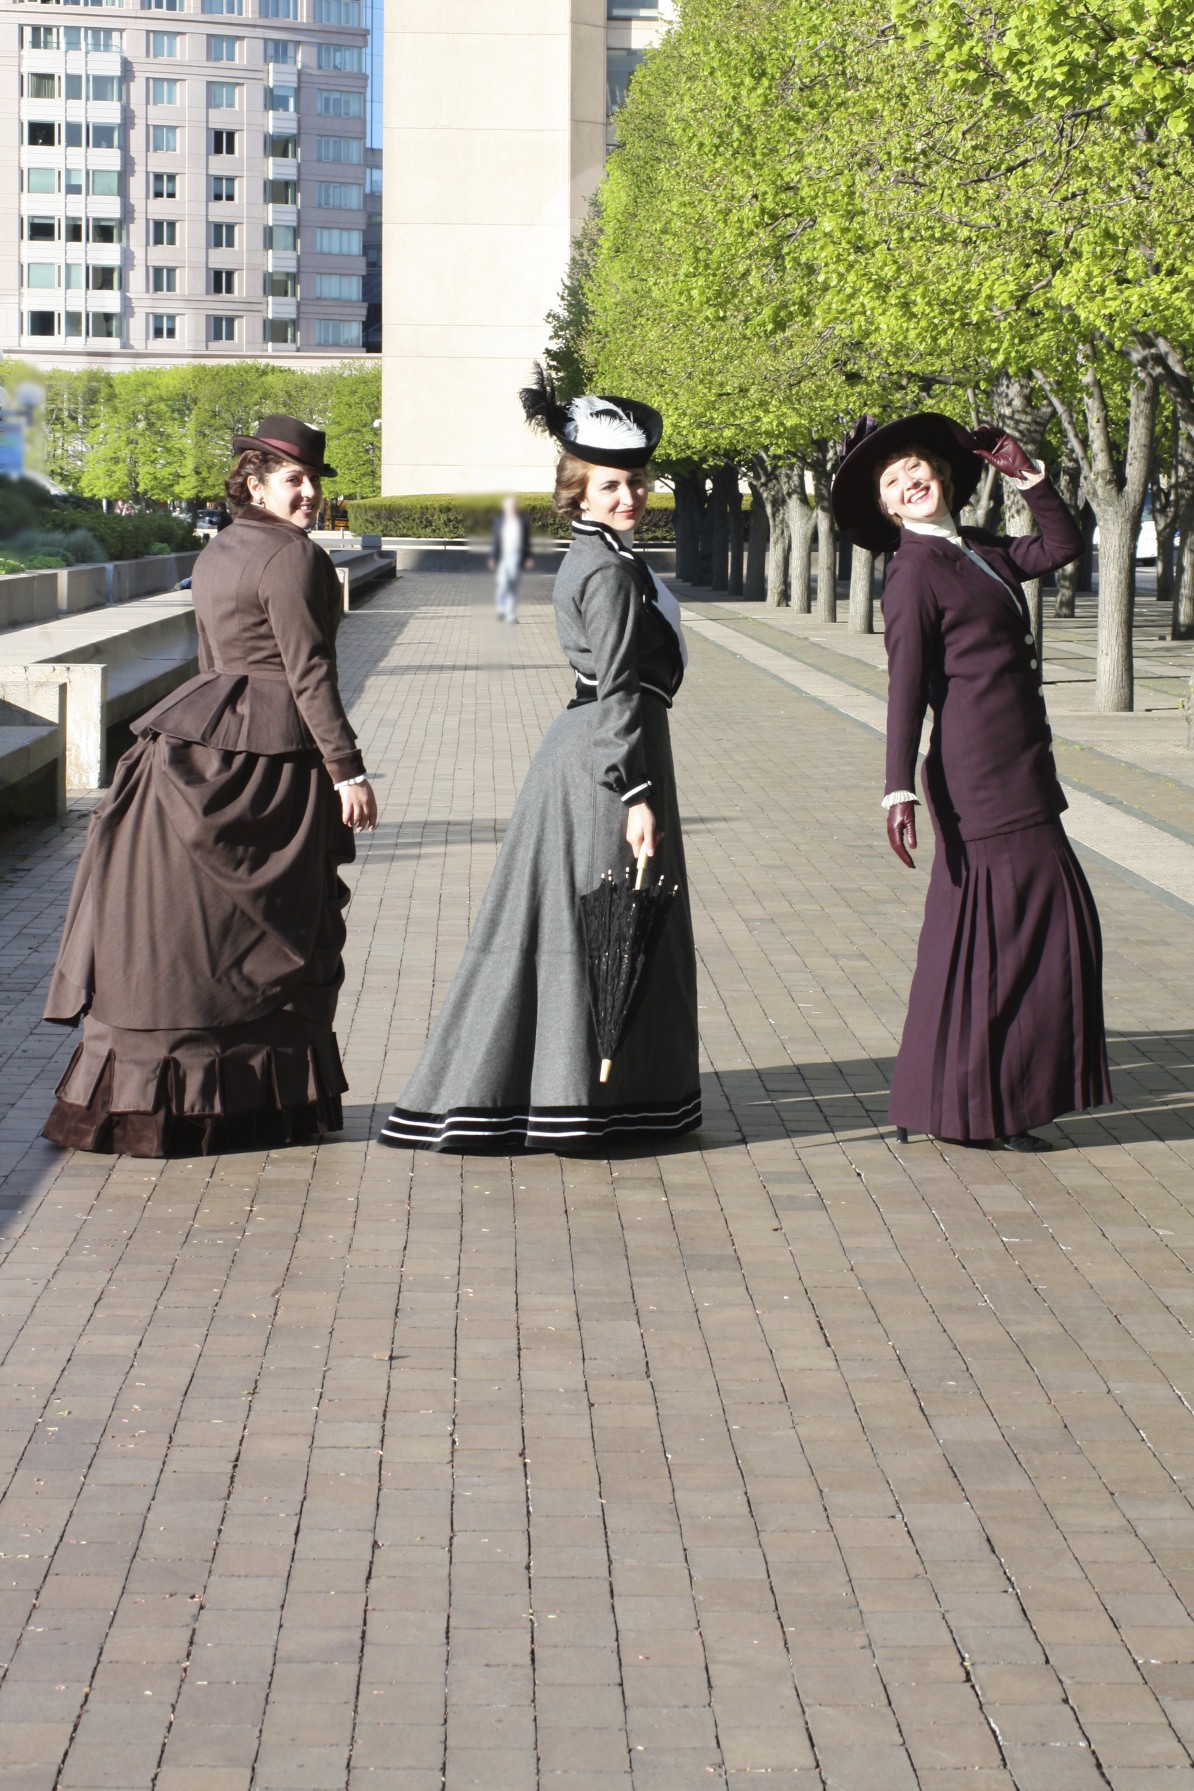
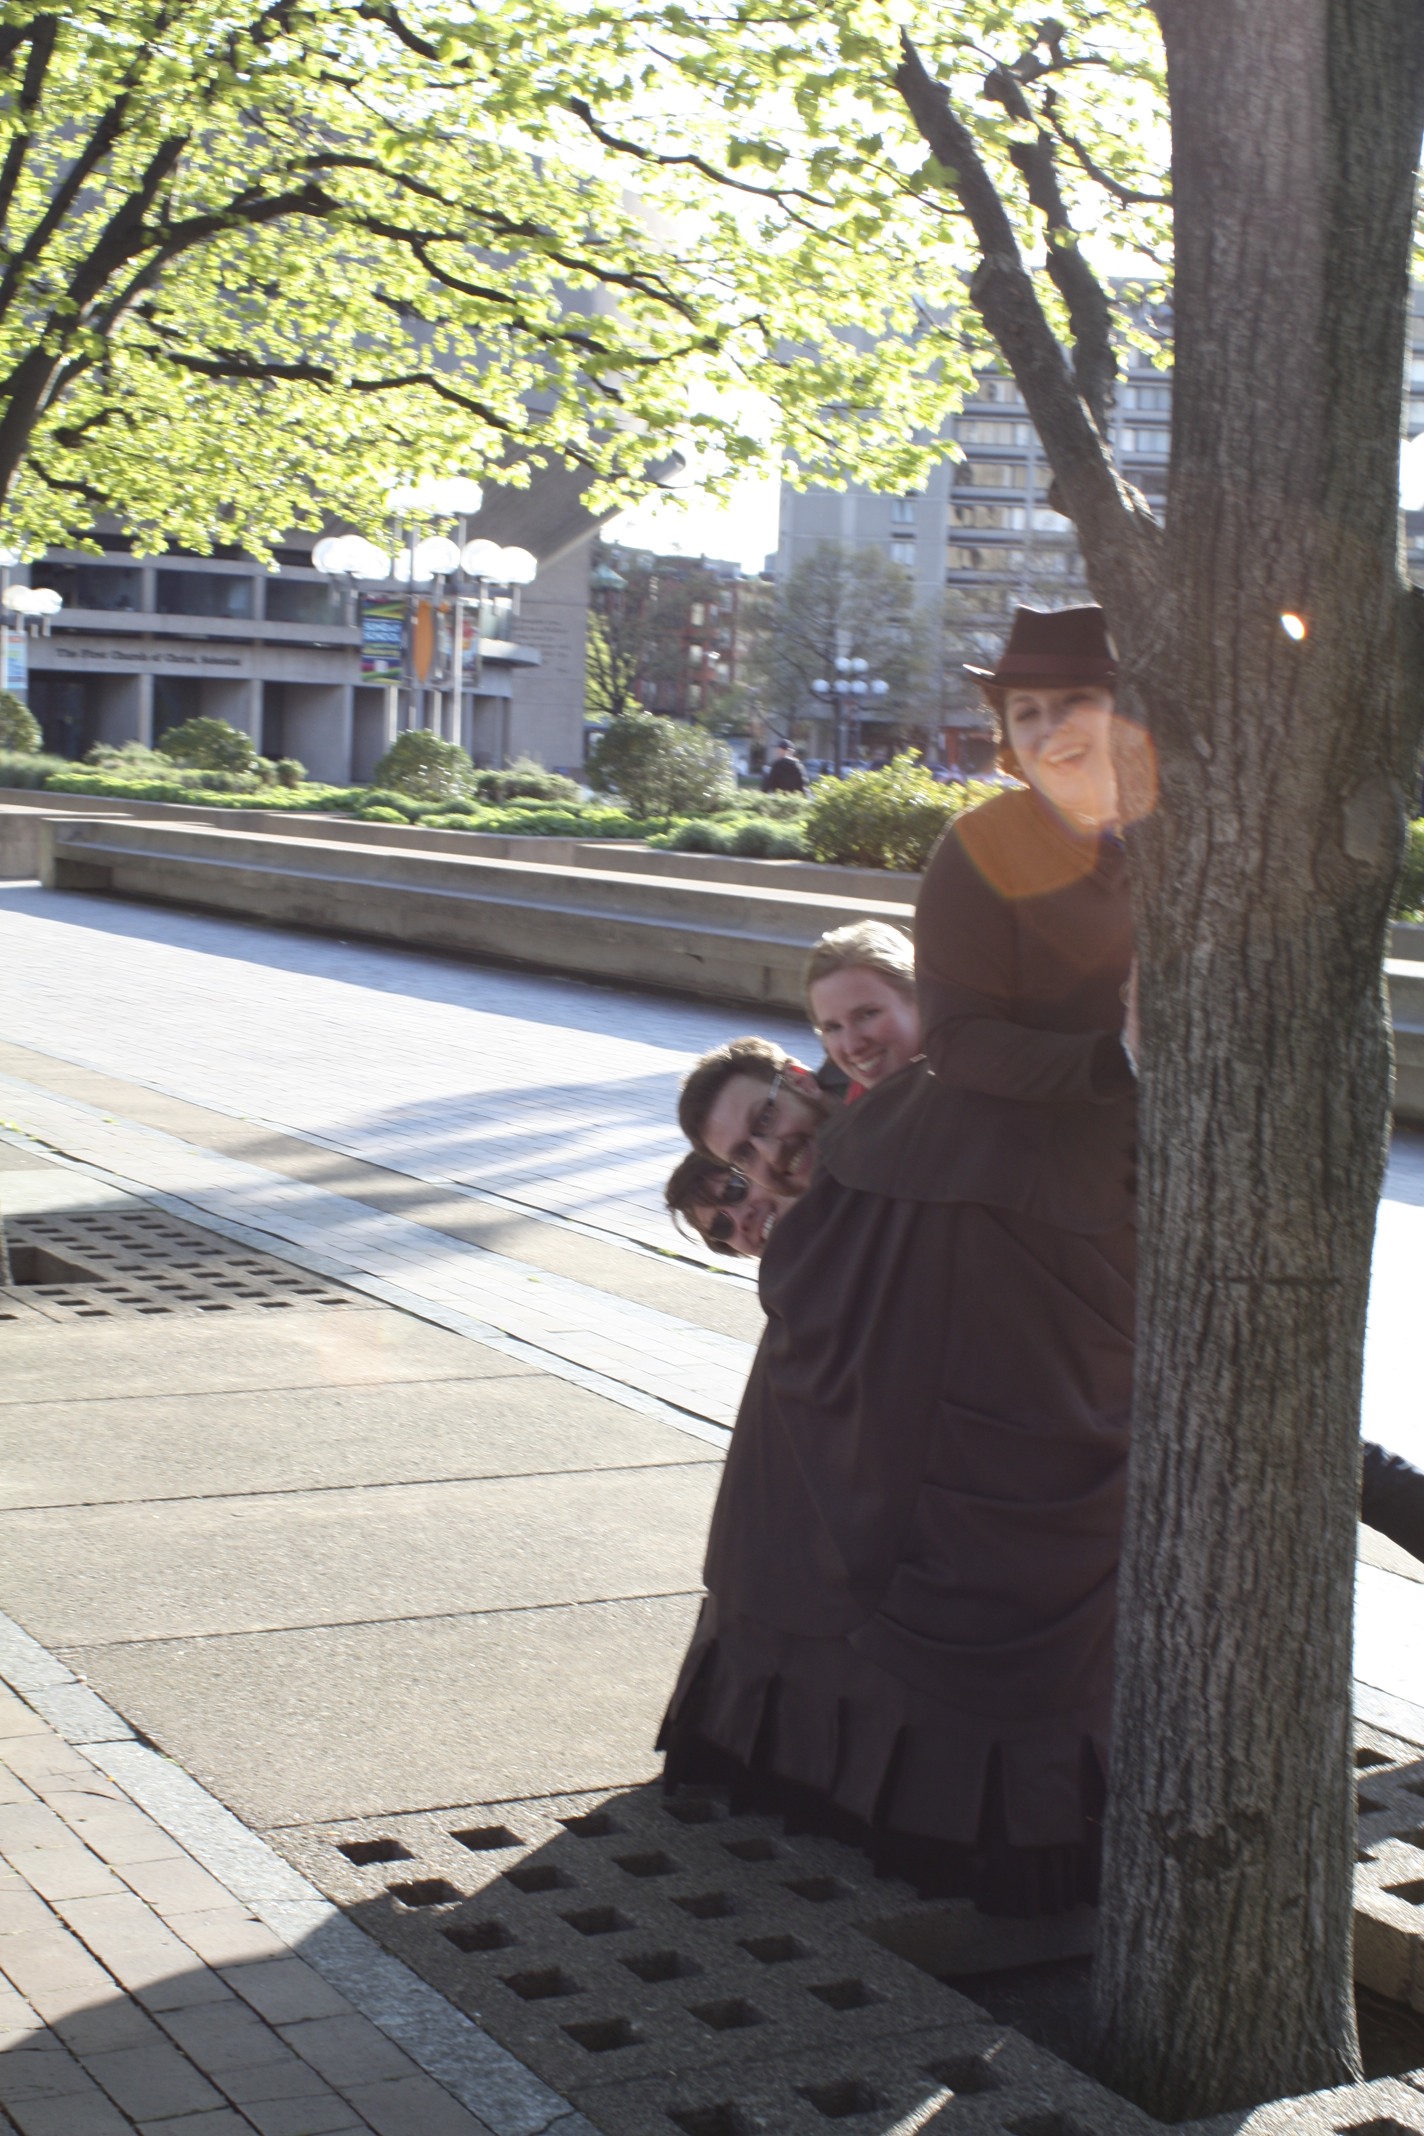
As a finishing touch to my Women’s Tailoring Project, I thought I’d share some silly pictures from my photo shoot with you! We received many strange looks and even had strangers whipping out their cameras to snap photos… I’m sure they were very confused about what was going on!

How many people fit behind a bustle???
Can a bustle hide behind a tree???
Waiting to cross the street...
Squeezing between cars (...I mean carriages...)
Let's all promenade!
Laughs are good, too!
Wait for me!
Strike a pose!
Don't forget to smile!
Trading hats and looking great.
Cut! I DID IT!!! Time to celebrate!

Project Journal: Victorian Women’s Tailoring Part X: 1913 Gallery

Here we finally are, at 1913! Let’s look at some truly lovely pictures!

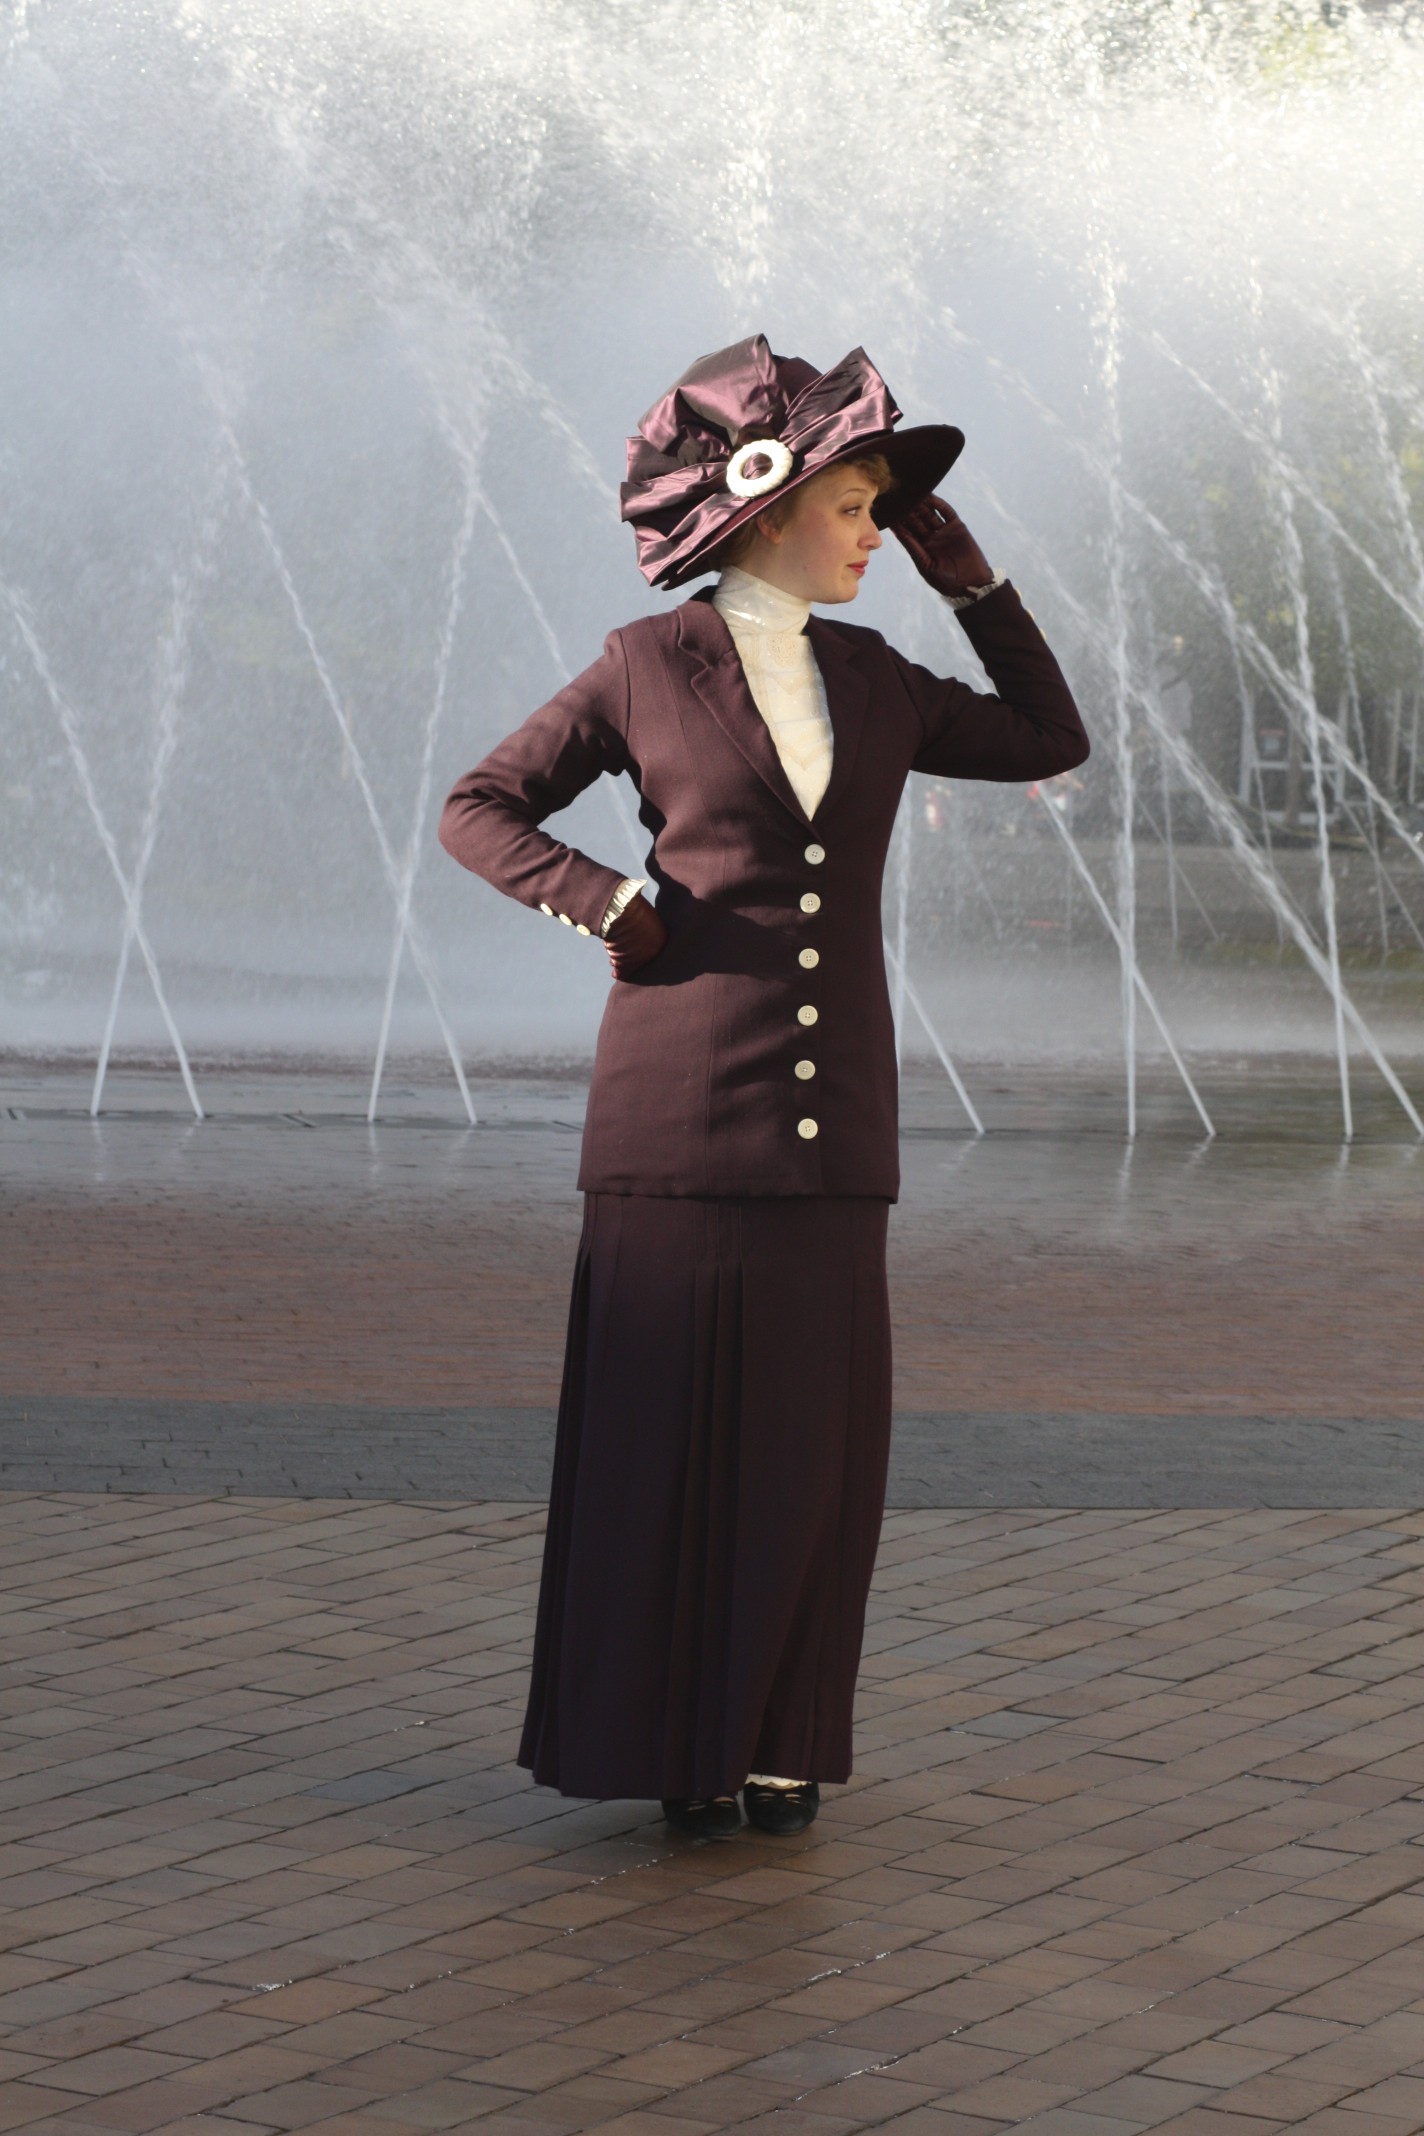
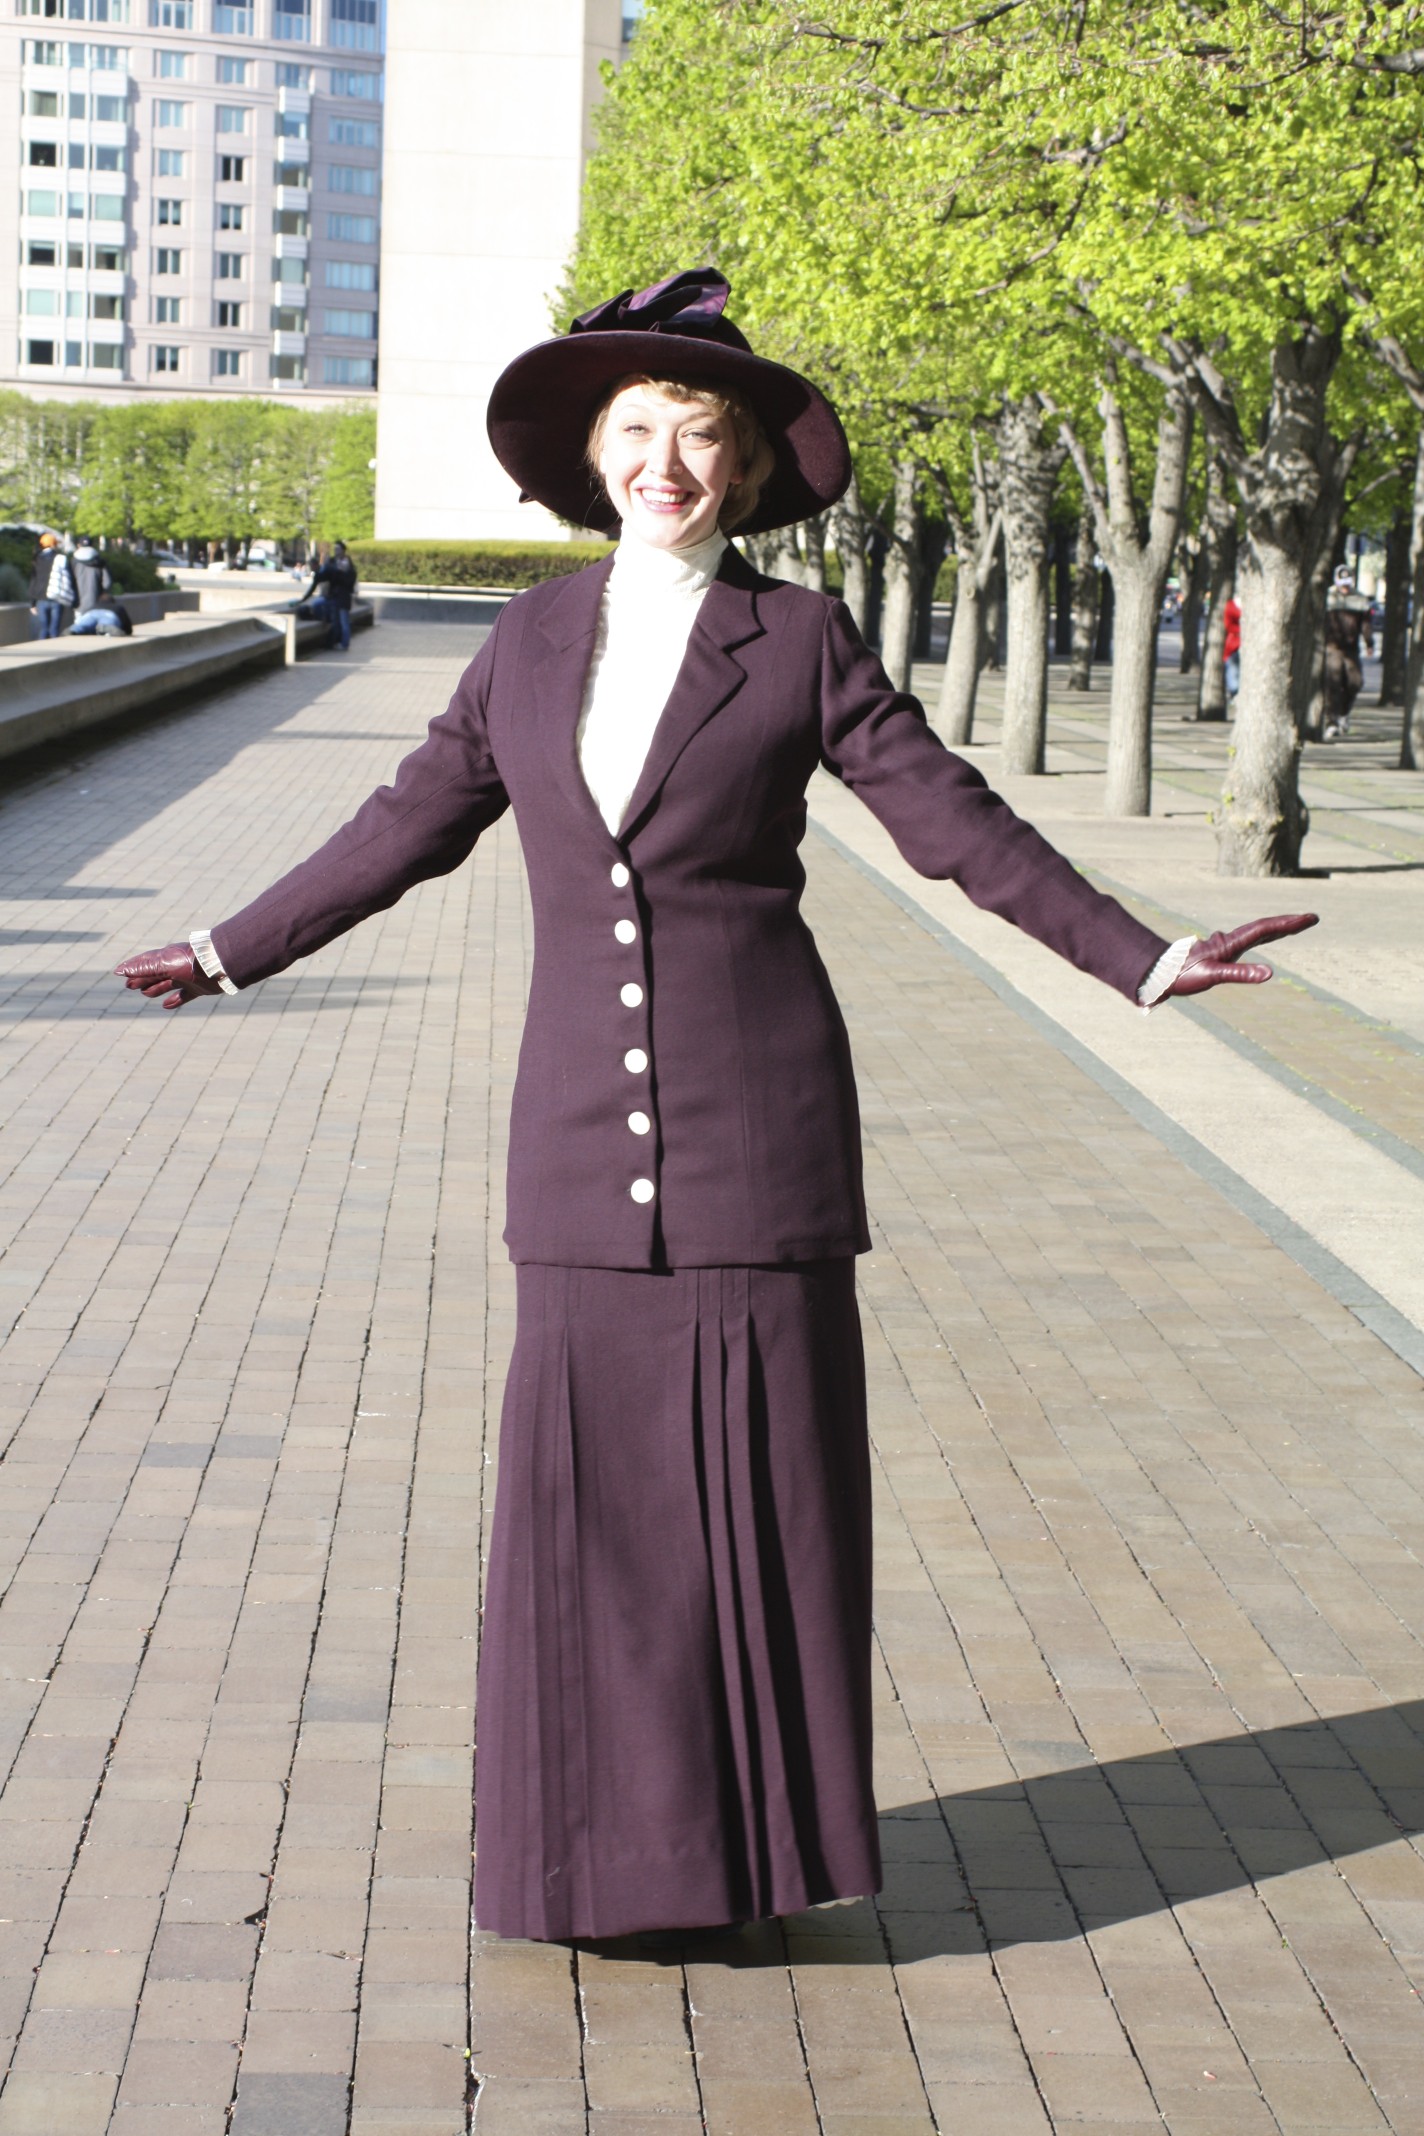
1913: Wool Suit. Wool Hat with matching Taffeta trim.
1913 Suit and Hat
1913 Suit and Hat
1913 Suit and Hat
1913 Suit and Hat
1913 Jacket and Hat
1913 Skirt, Blouse and Hat
1913 Blouse and Hat
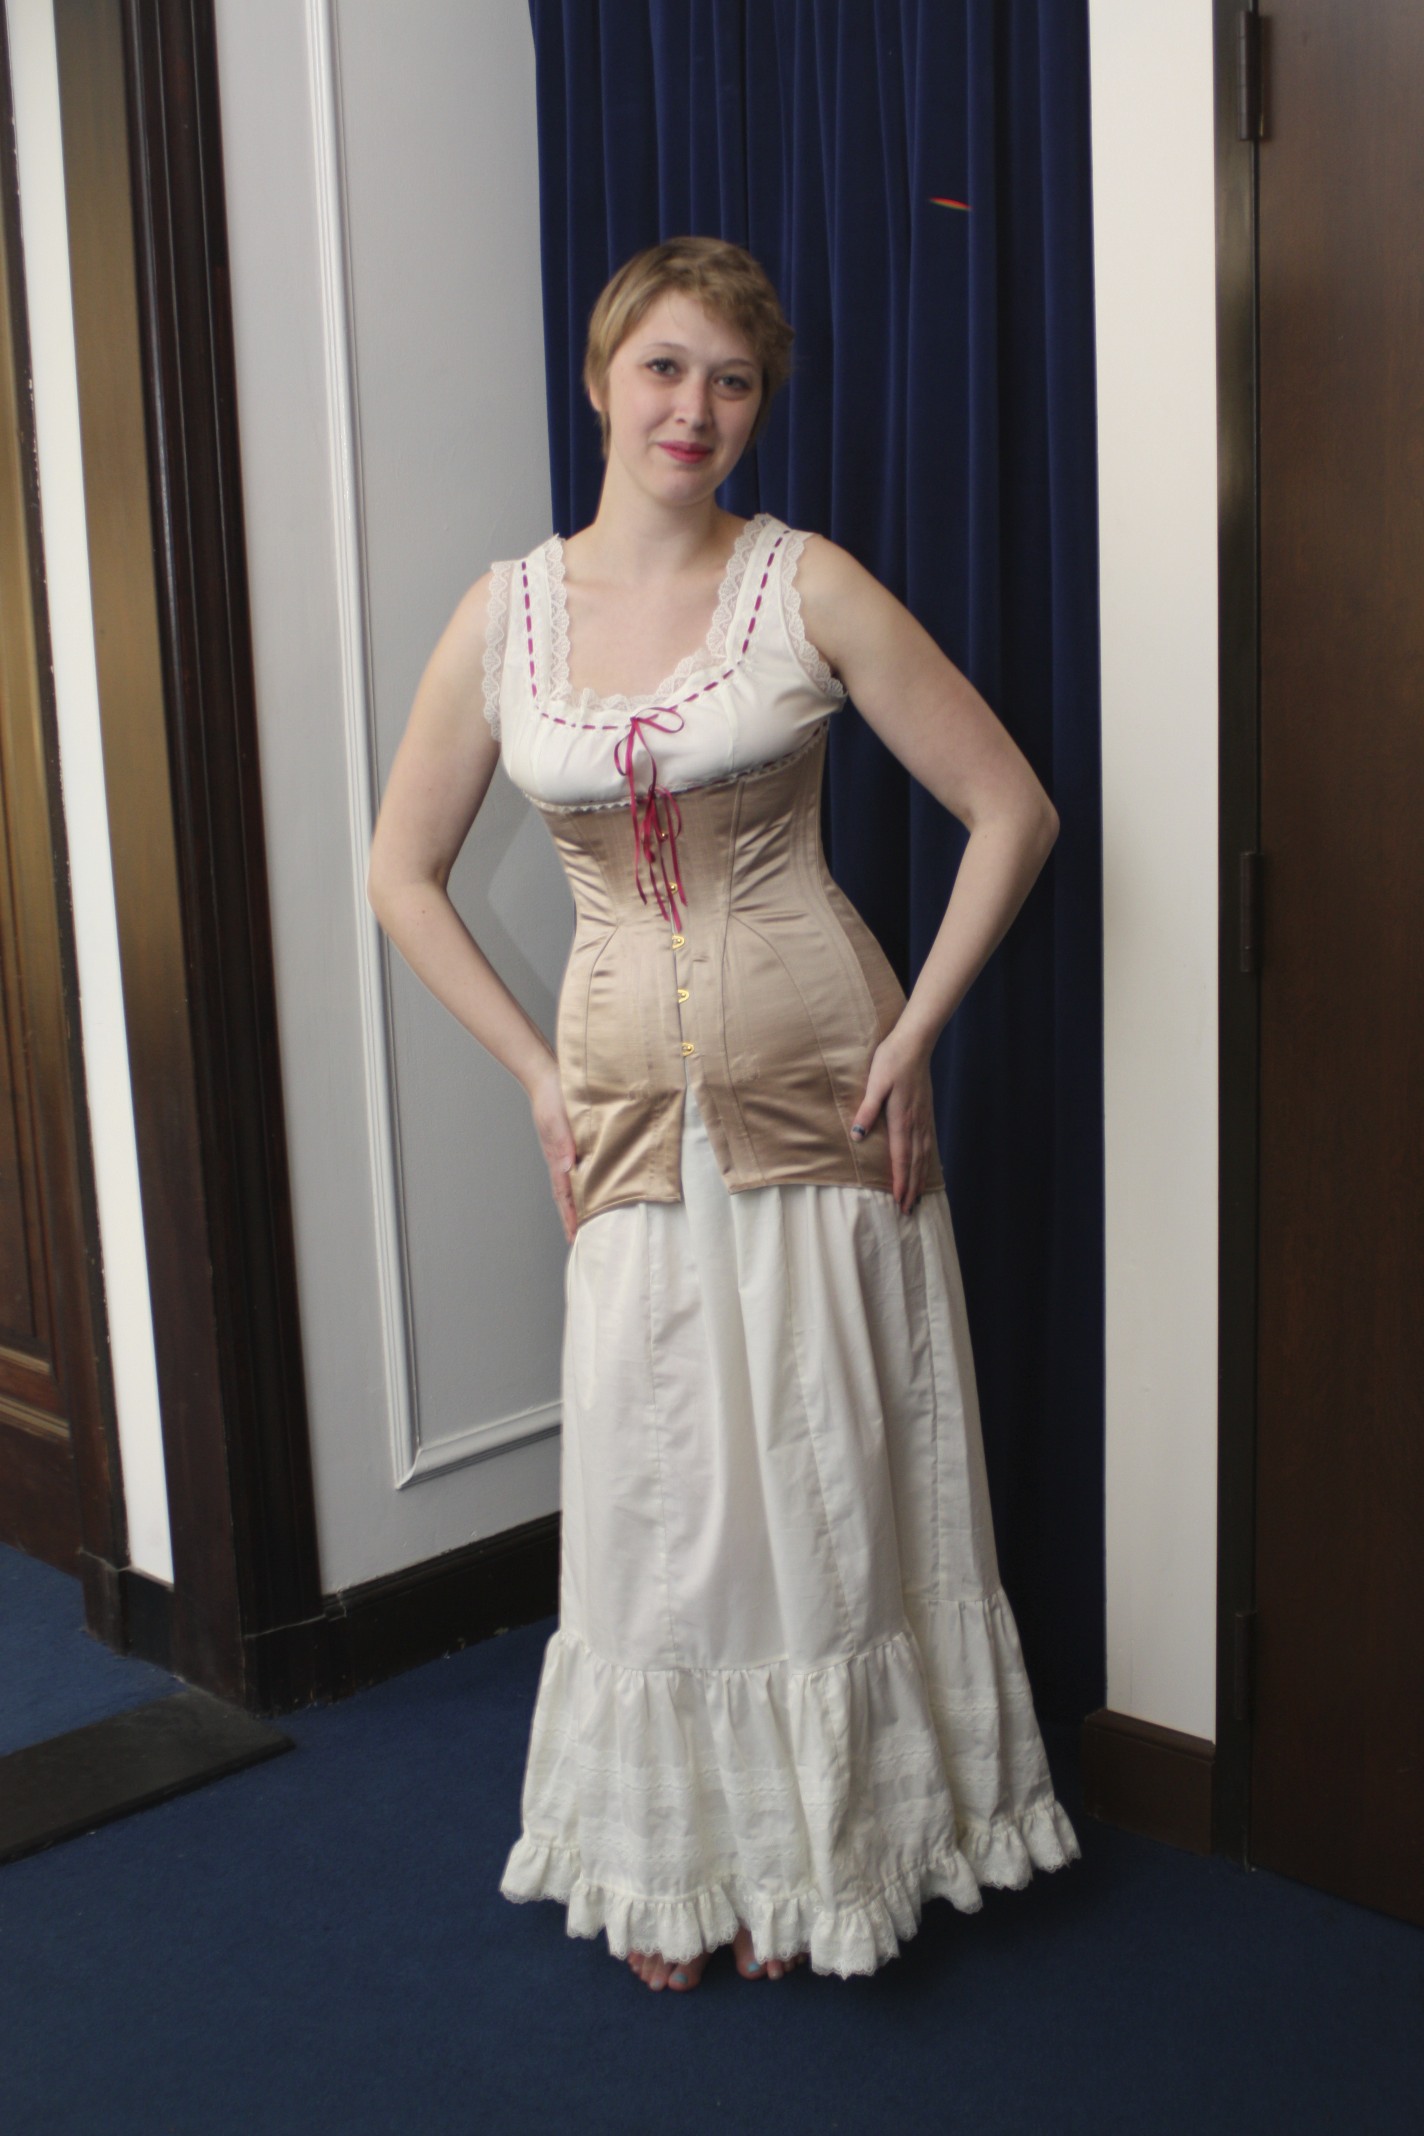
1913 Undergarments: Corset Cover and Petticoat
1913 Undergarments: Chemise and Corset
1913 Corset

Project Journal: Victorian Women’s Tailoring Part IX: 1903 Gallery

Well, we just got to see my 1883 tailoring project. Now let’s enjoy taking a mental stroll with my 1903 tailored look! Again, there are lots of pictures to see!

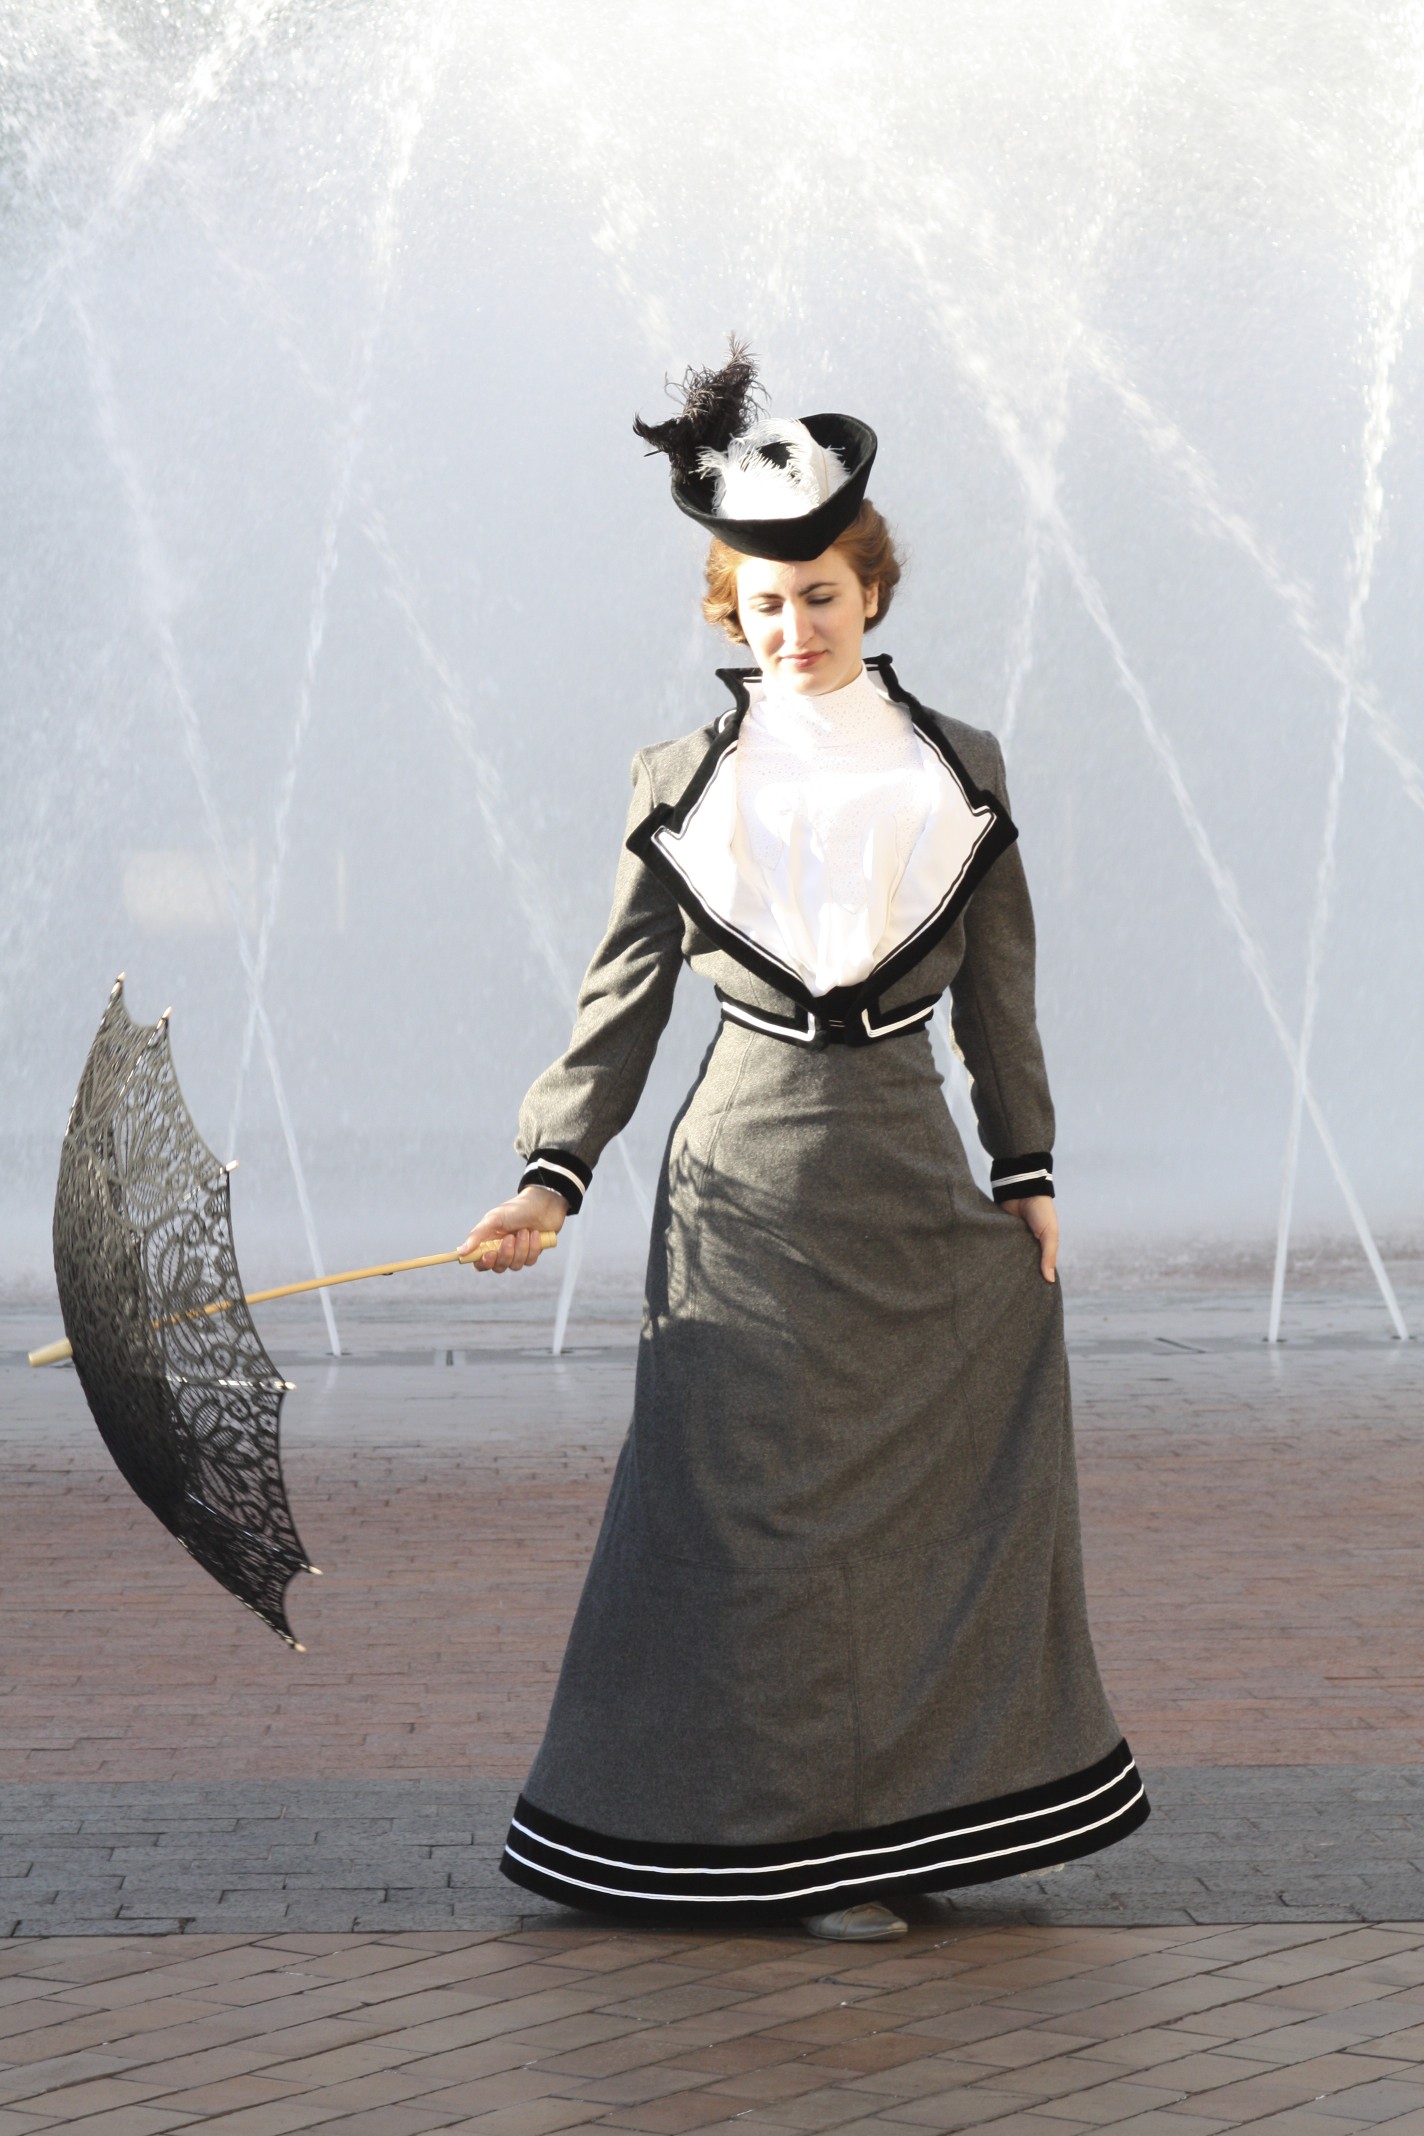
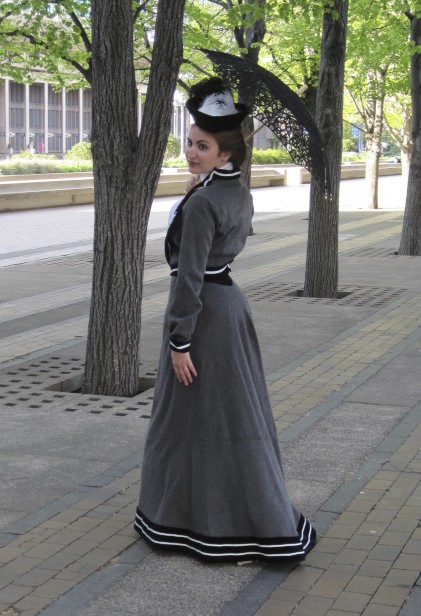
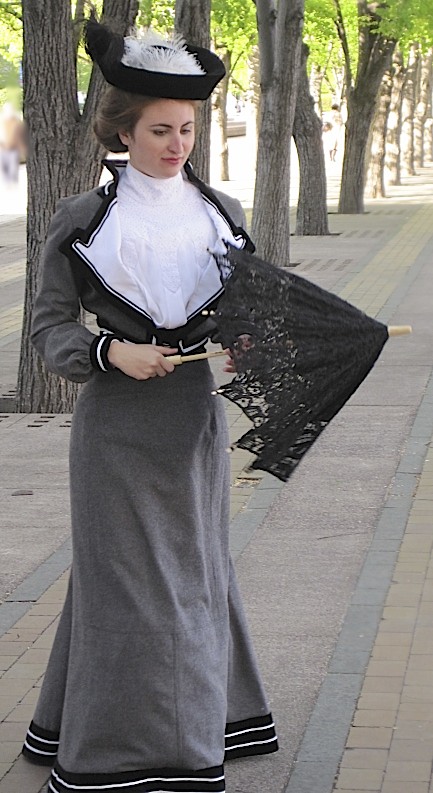
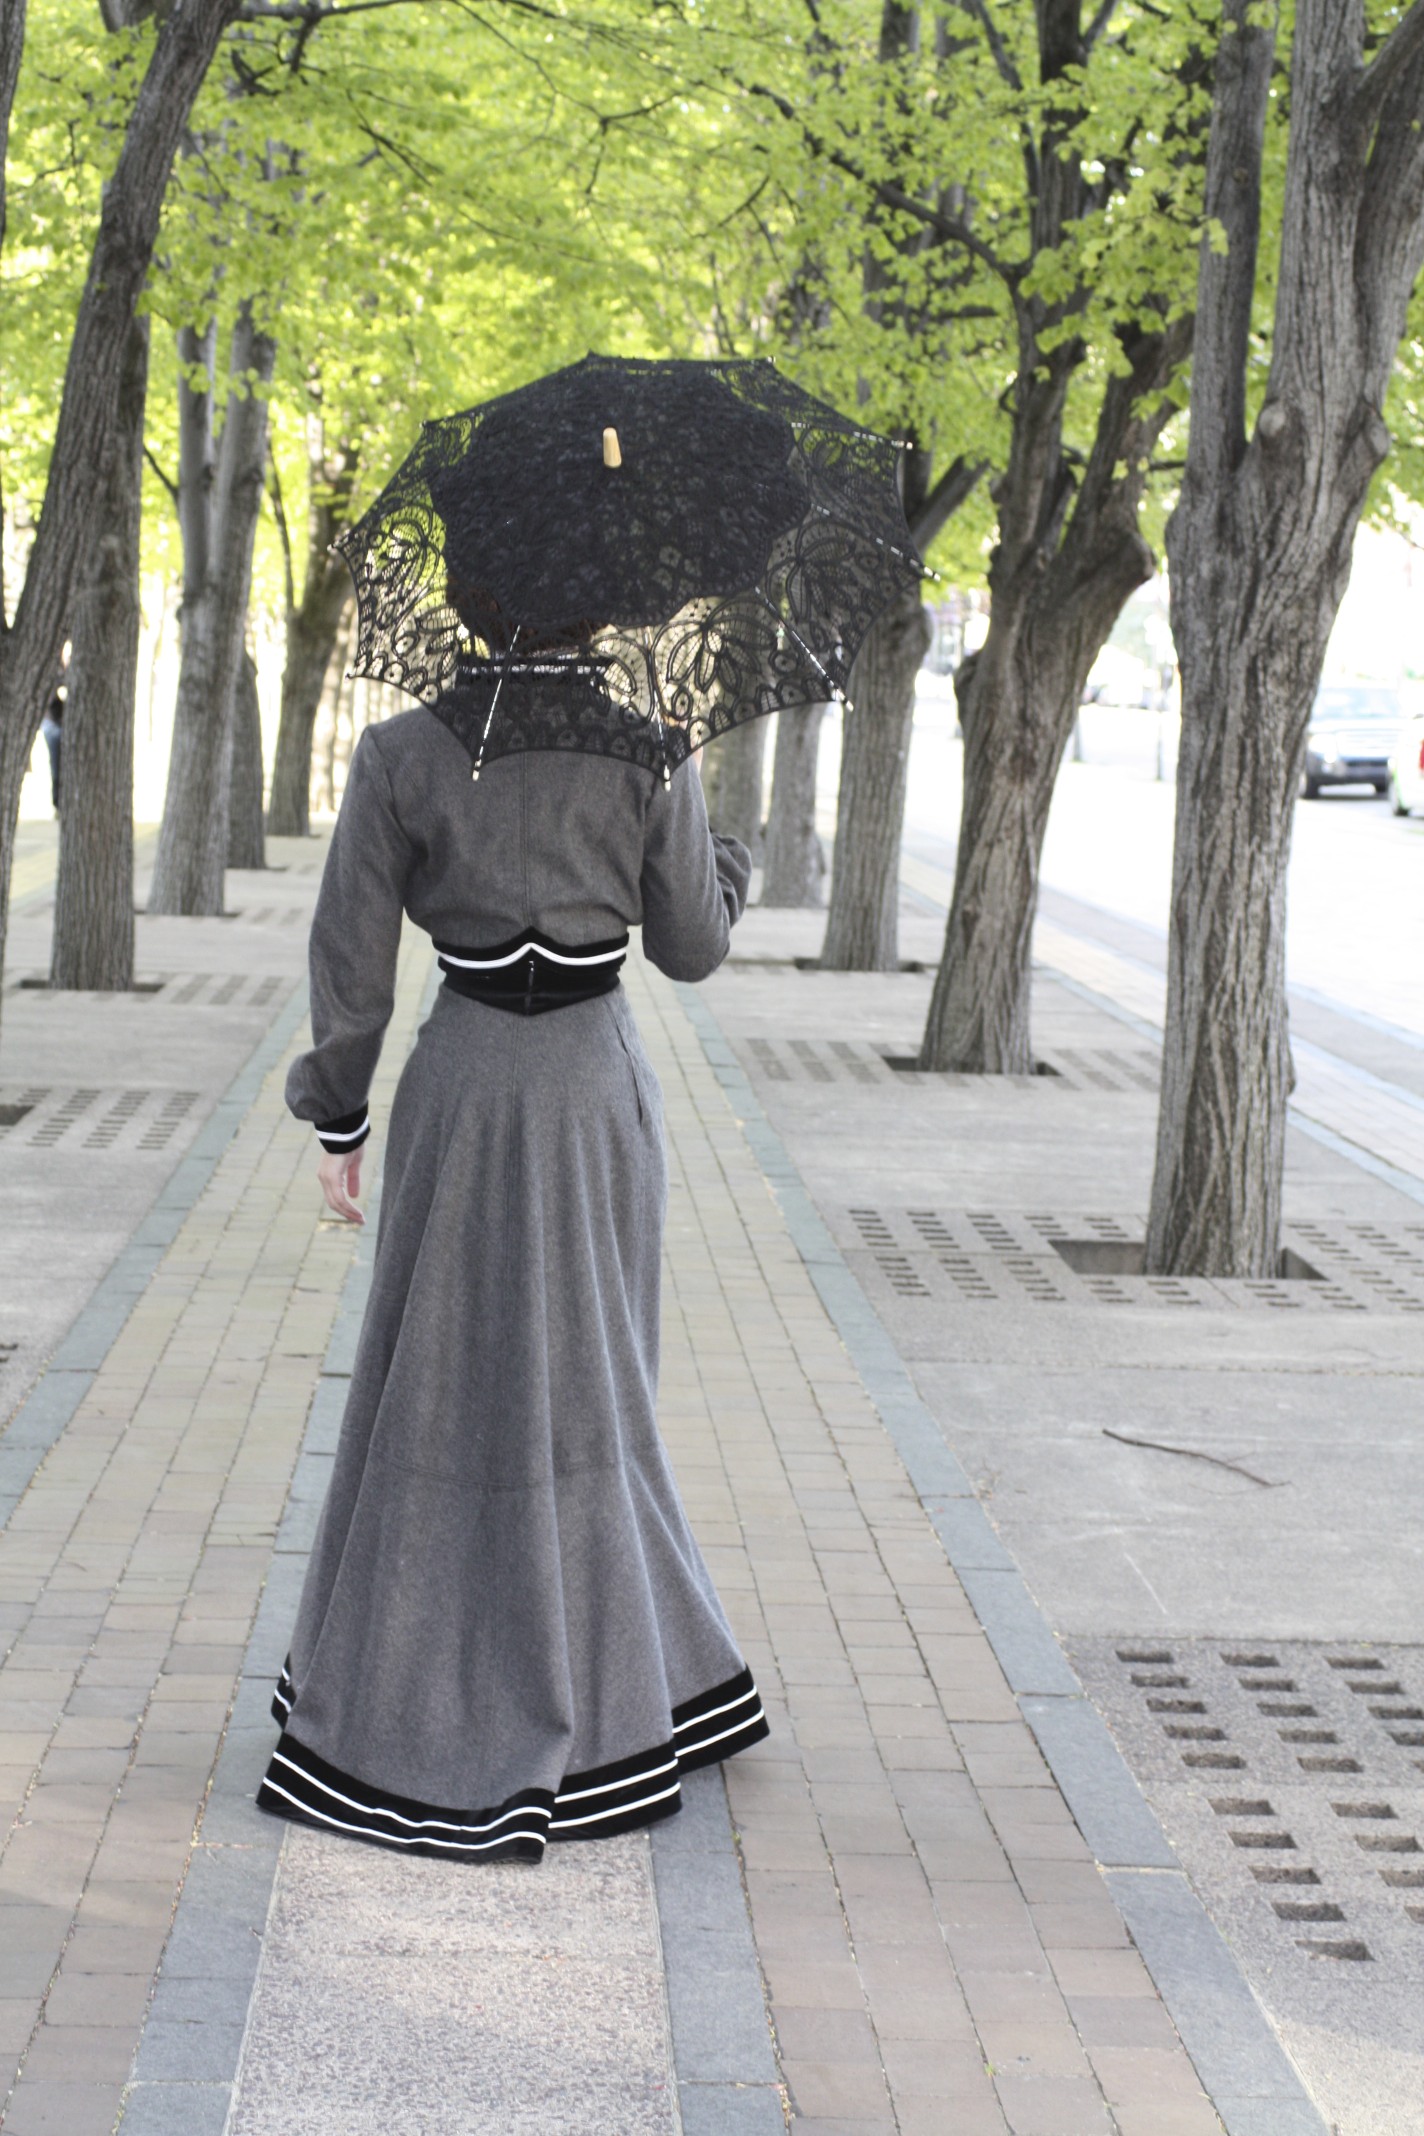
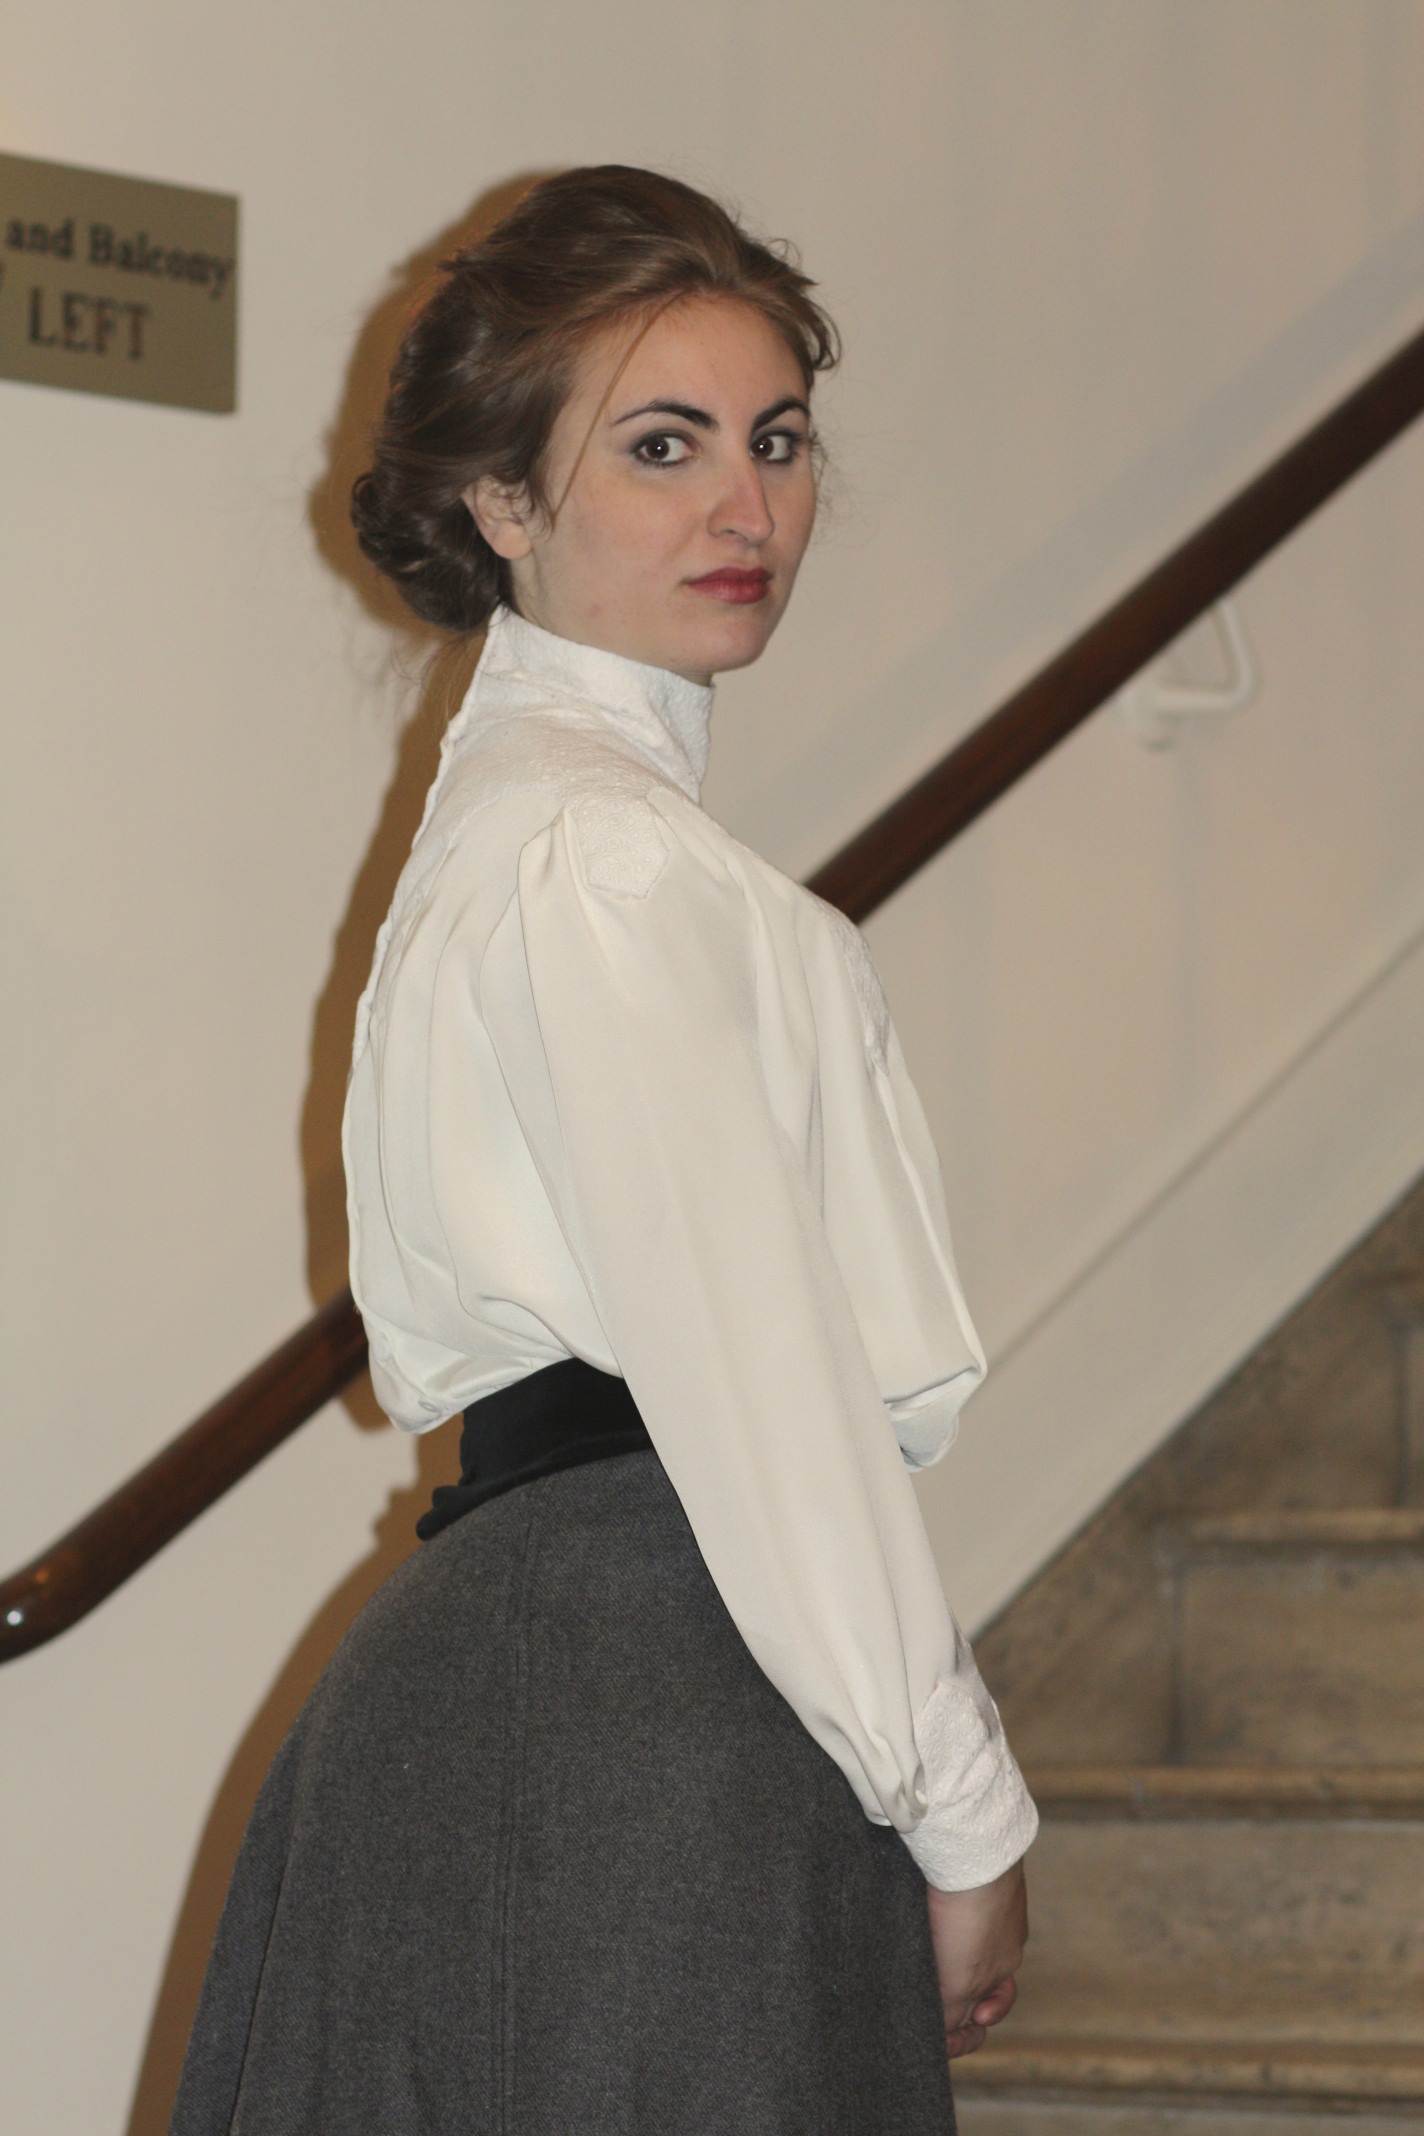
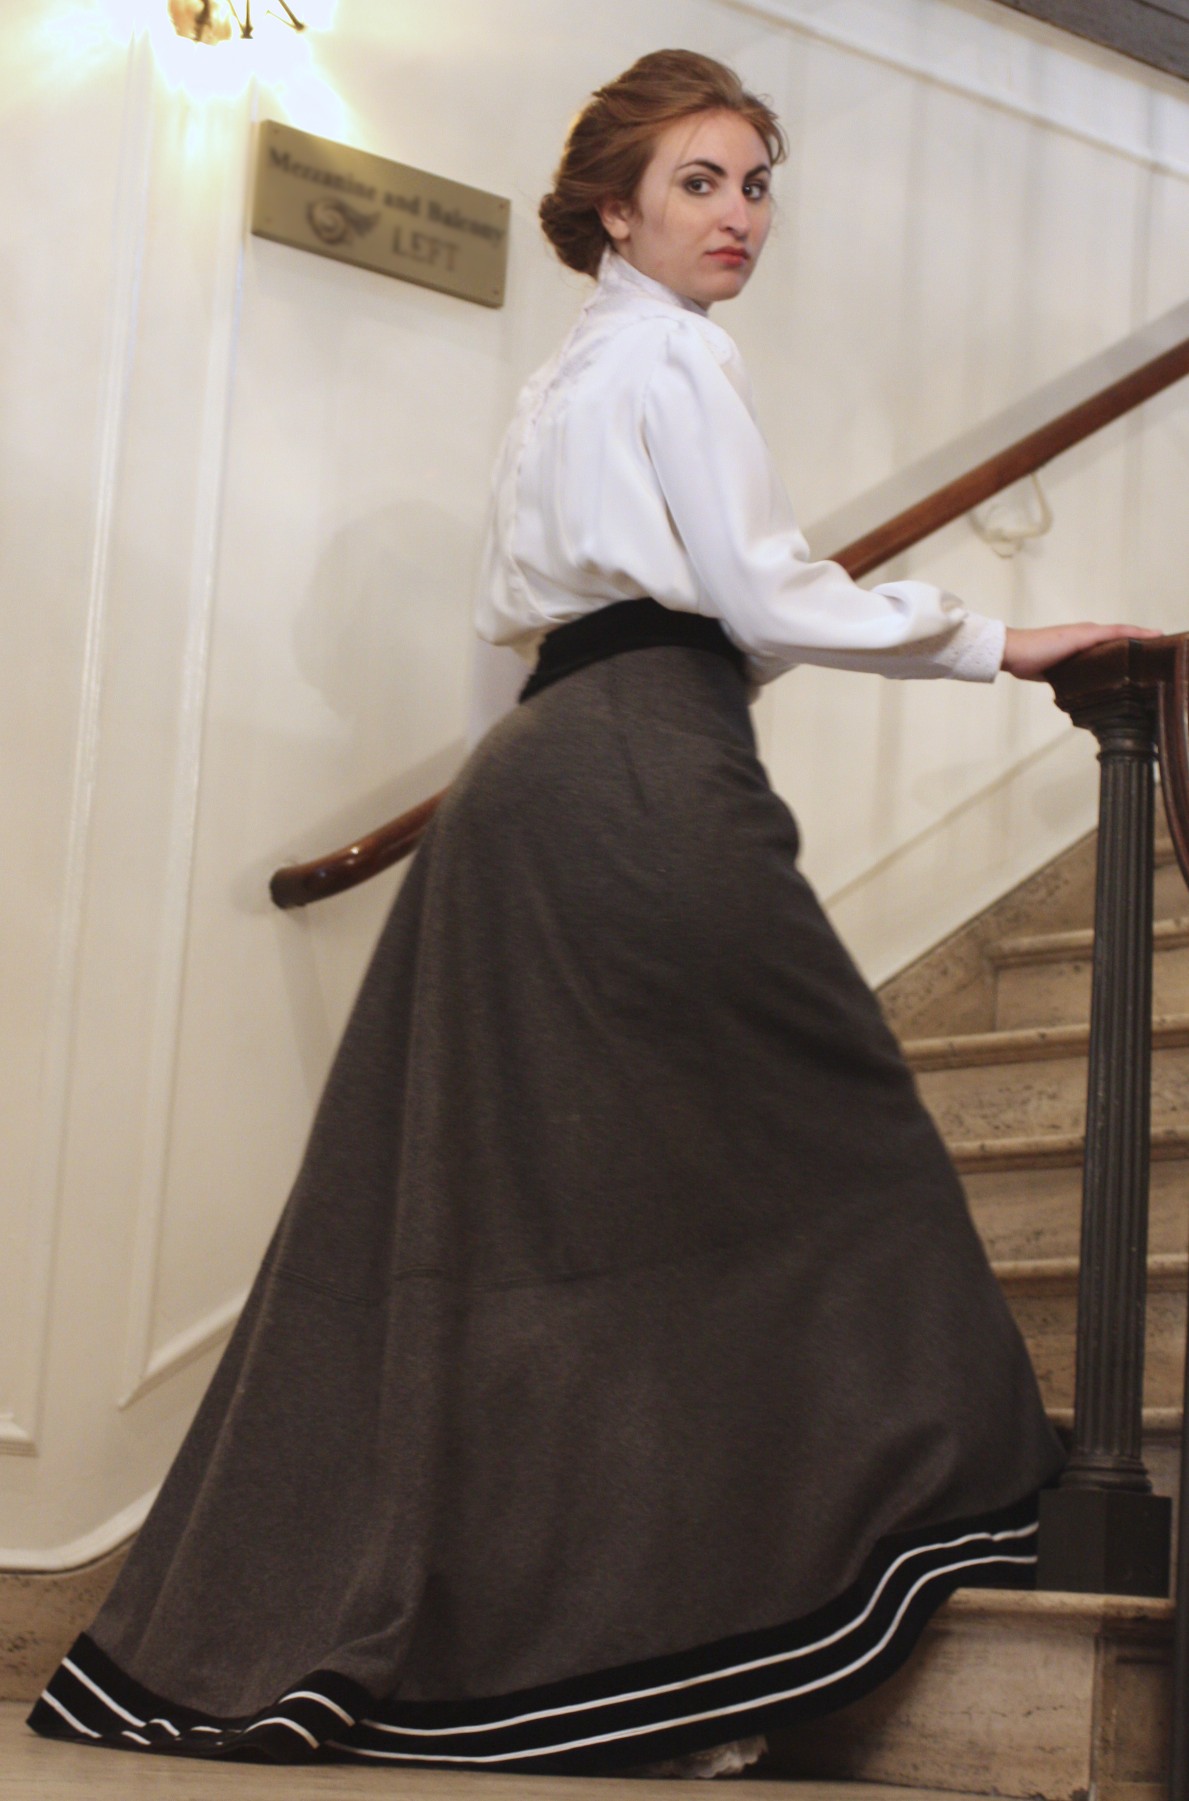
1903: Wool jacket and skirt trimmed with cotton velvet. Velvet covered buckram Hat.
1903 Skirt and Jacket
1903 Blouse
1903 Skirt and Blouse
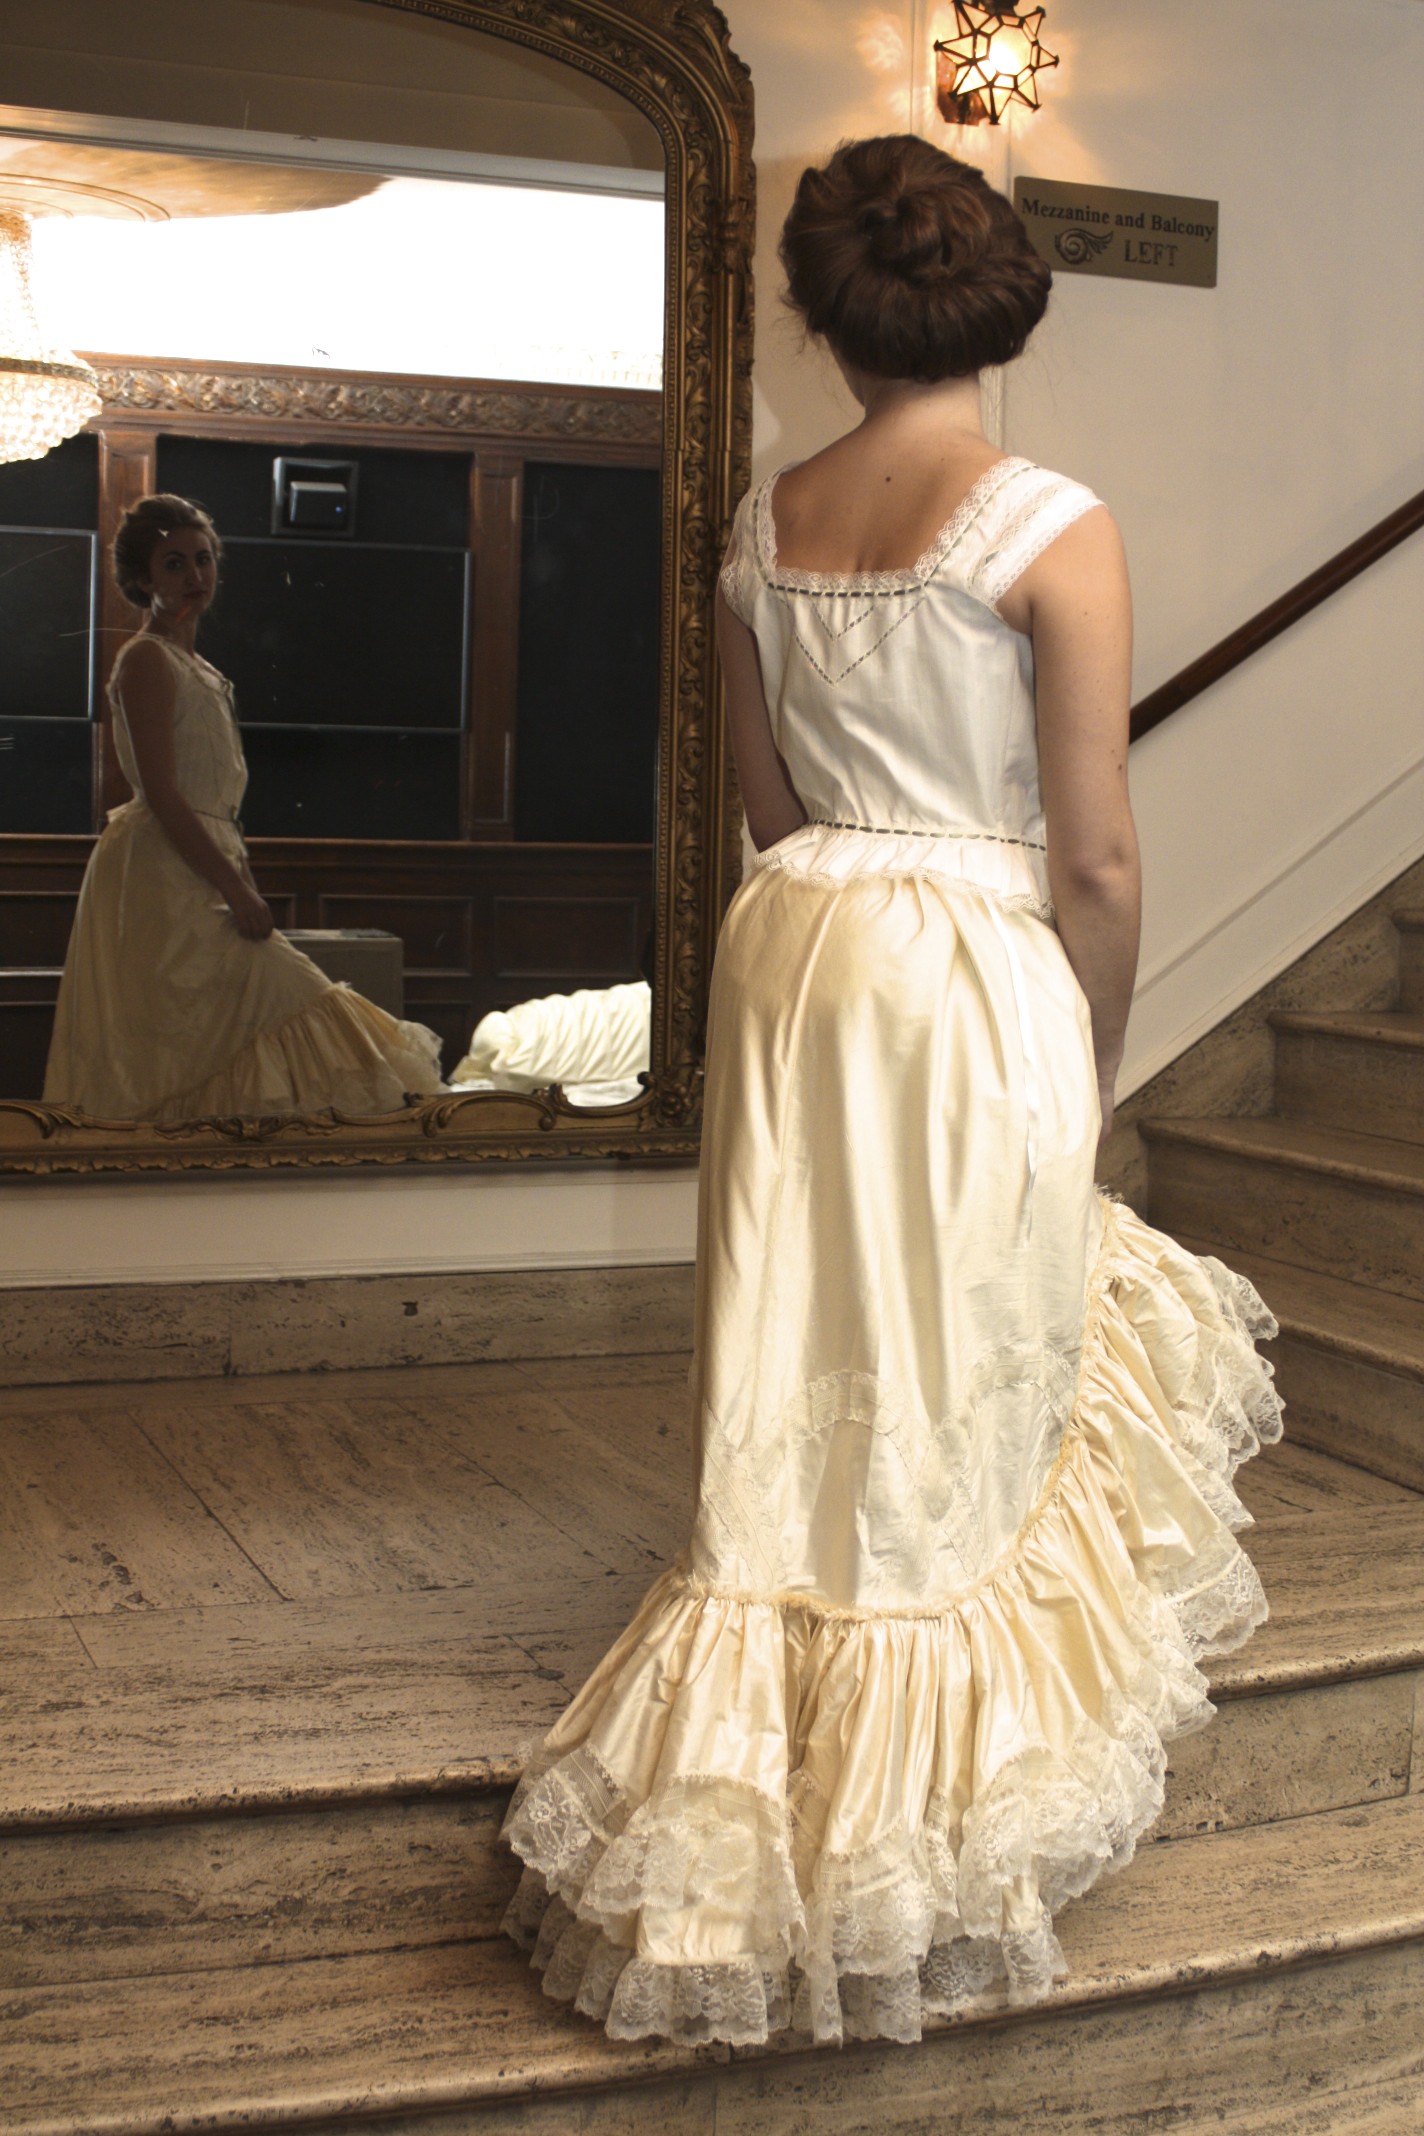
1903 Undergarments: Corset Cover and Petticoat
1903 Undergarments
1903 Corset Cover
1903 Undergarments: Combination and Corset
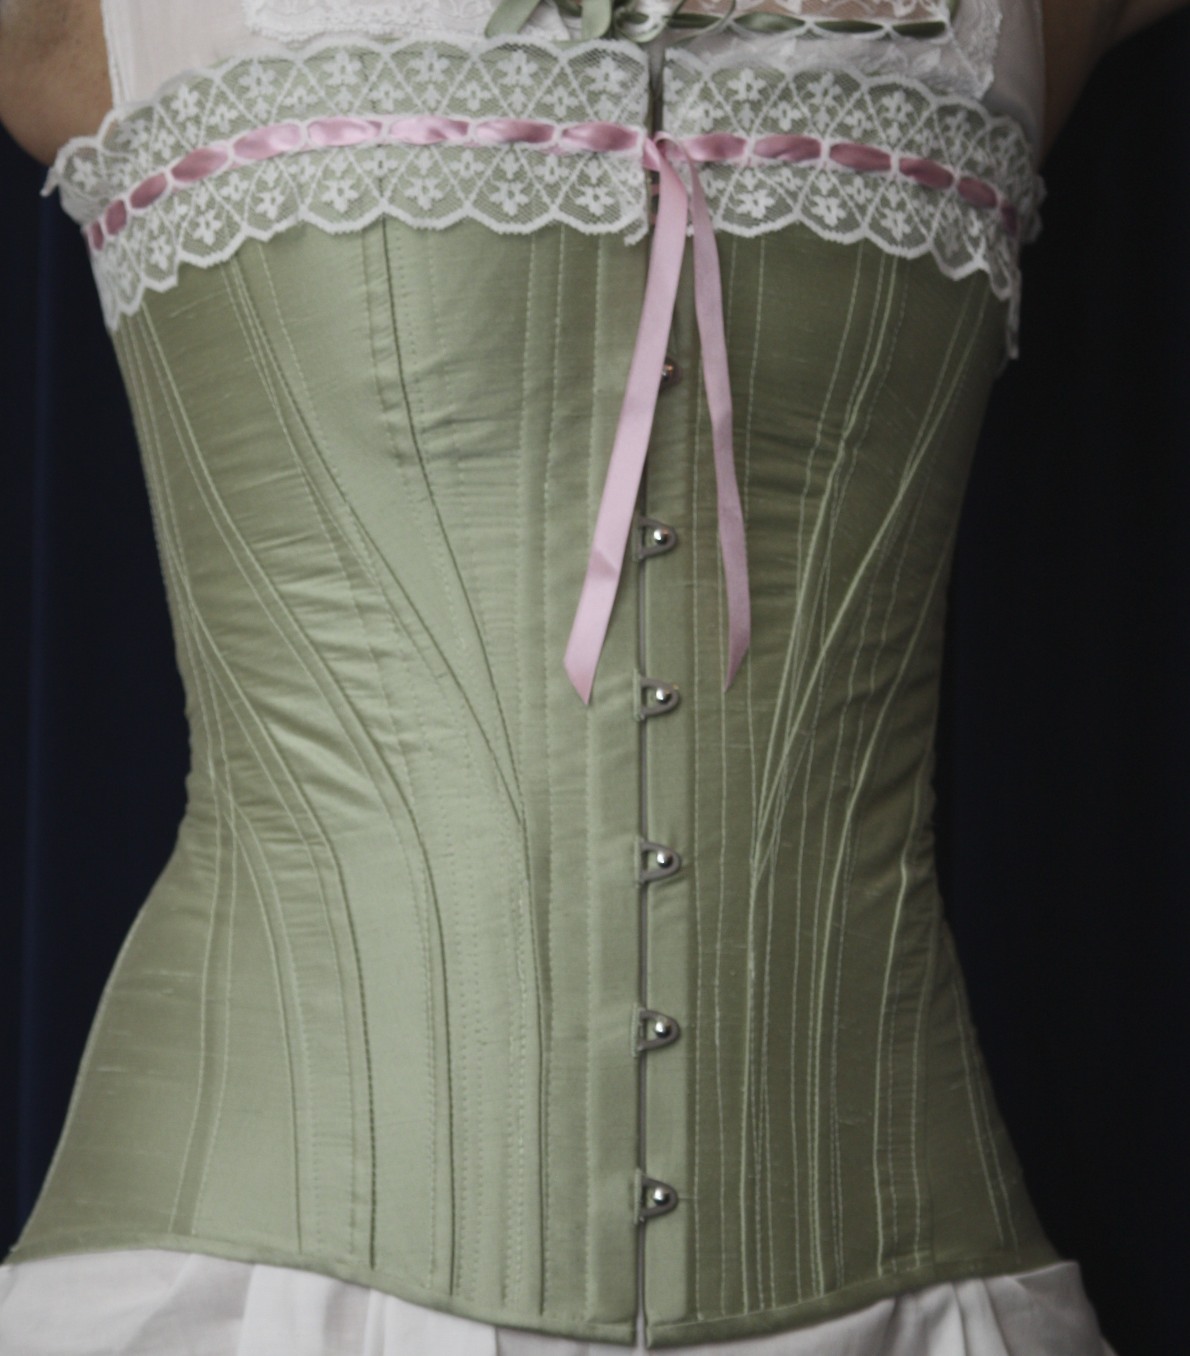
1903 Corset

Project Journal: Victorian Women’s Tailoring Part VIII: 1883 Gallery

Oh my goodness my 1883 tailored bustle dress and undergarments are finally finished!!! YAY! Let’s glory in the beautiful pictures and the fabulous clothes… Since I can’t decide which pictures I like best, you get to see more than a few.

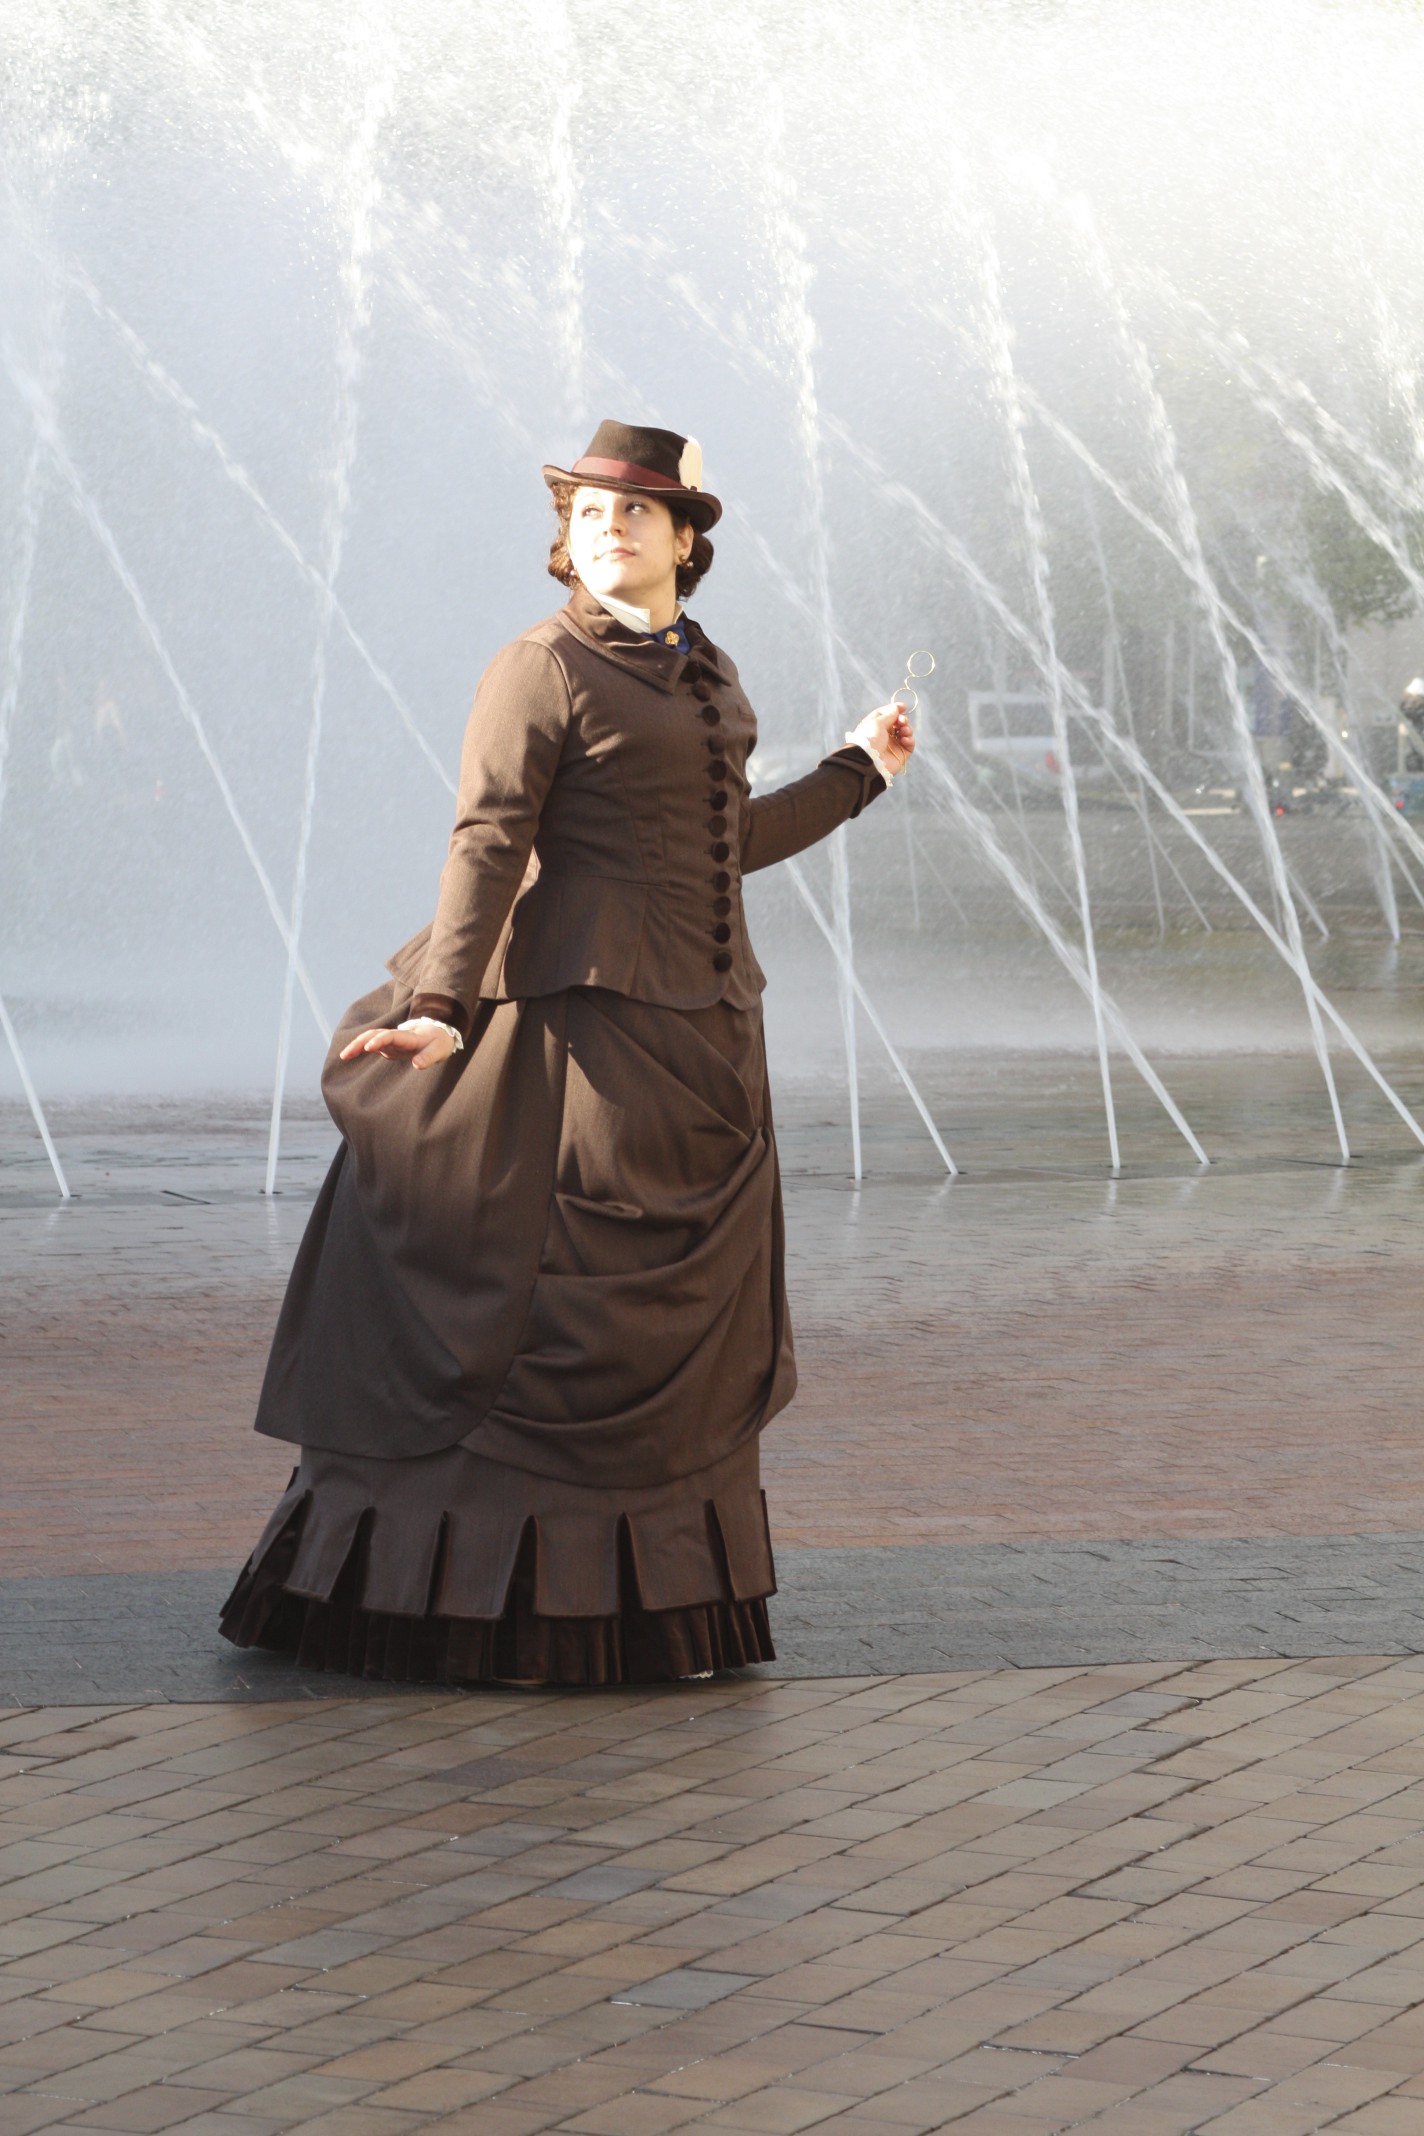
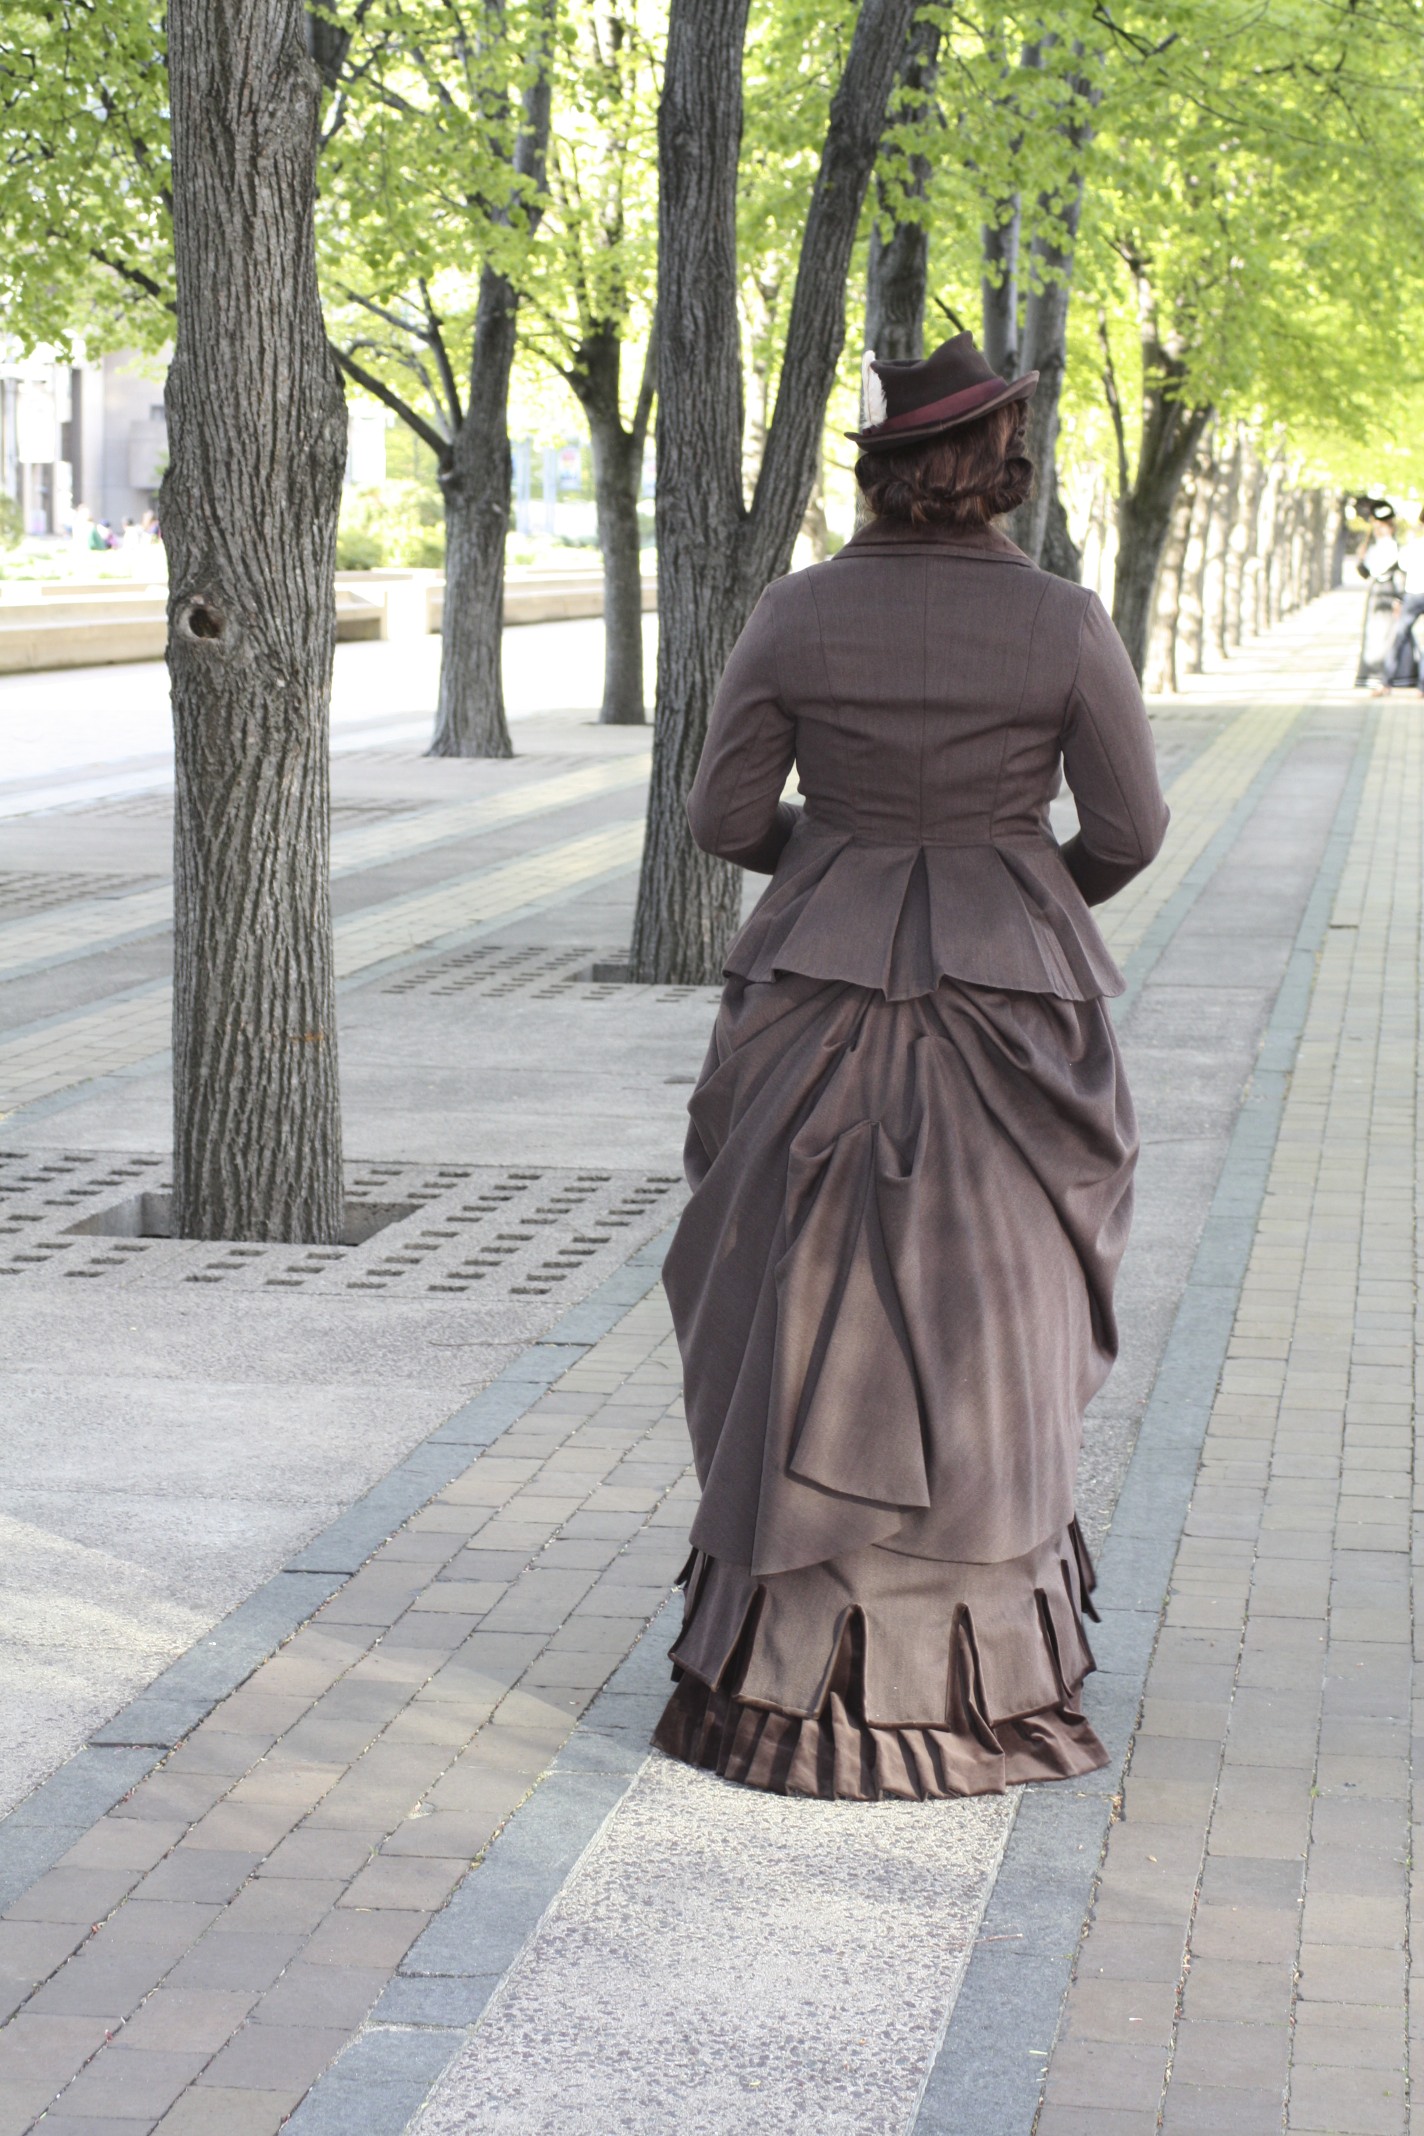
1883: Wool skirt and jacket with velvet trim. Wool hat trimmed with velvet and feathers.
1883 Bustled Skirt
1883 Bustled Skirt
1883 Skirt and Jacket
1883 Jacket and Hat
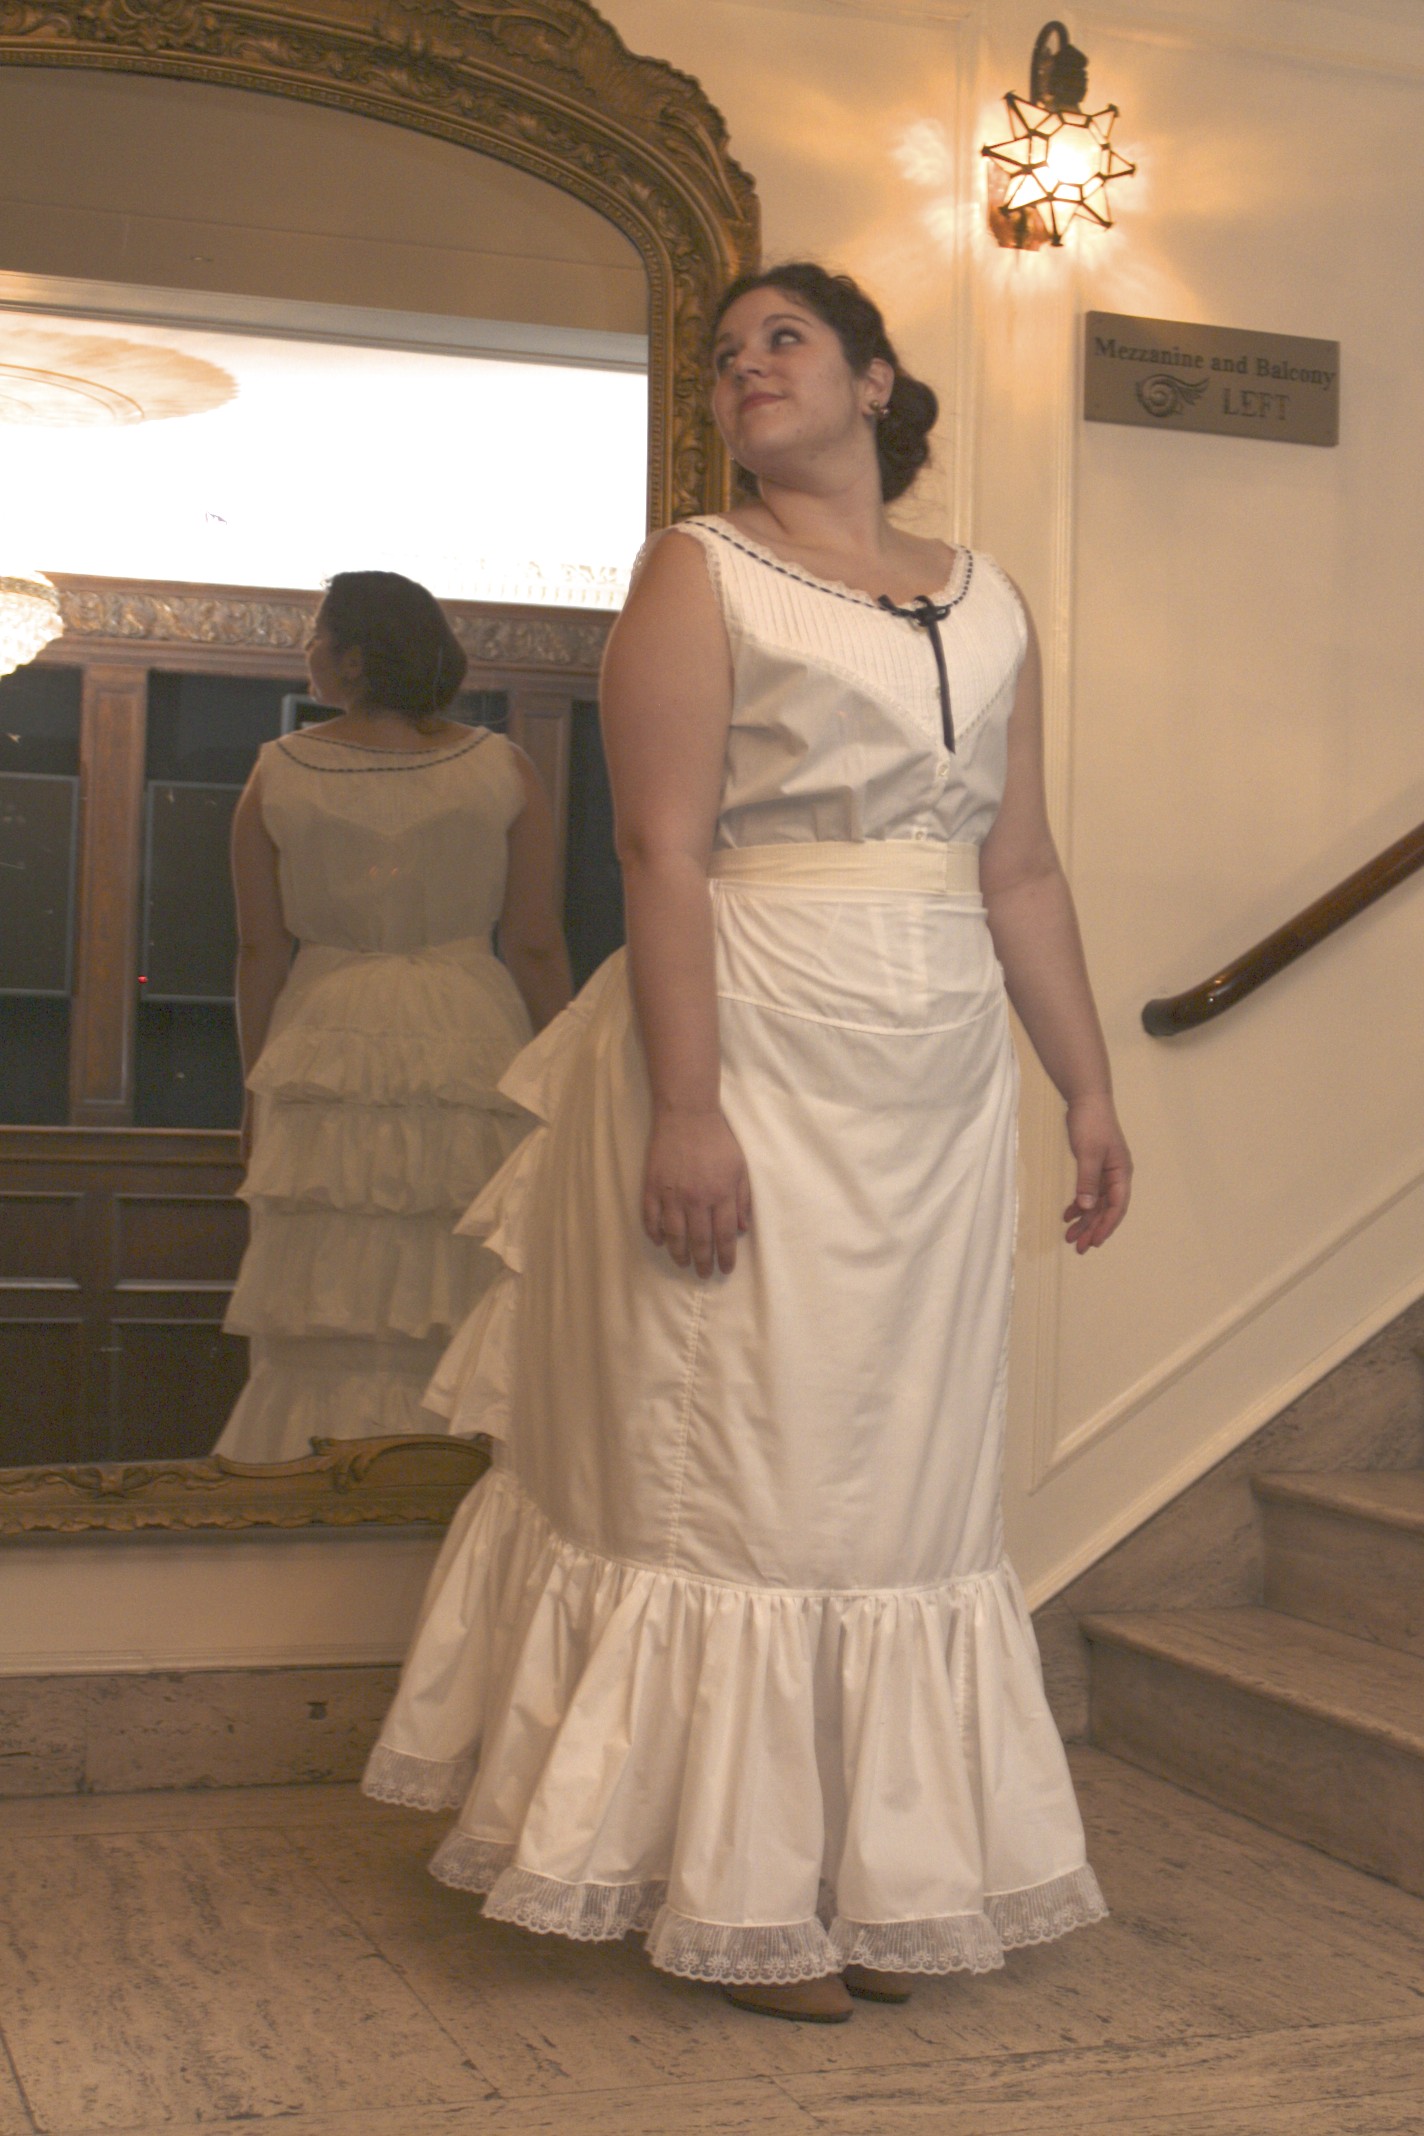
1883 Undergarments: Petticoat and Corset Cover.
1883 Undergarments: Bustle!
1883 Undergarments: Chemise and Corset

Project Journal: Victorian Women’s Tailoring Part VII: Fitting 1913 Garments

Finally, here are some pictures of my fitting for my 1913 tailored look!

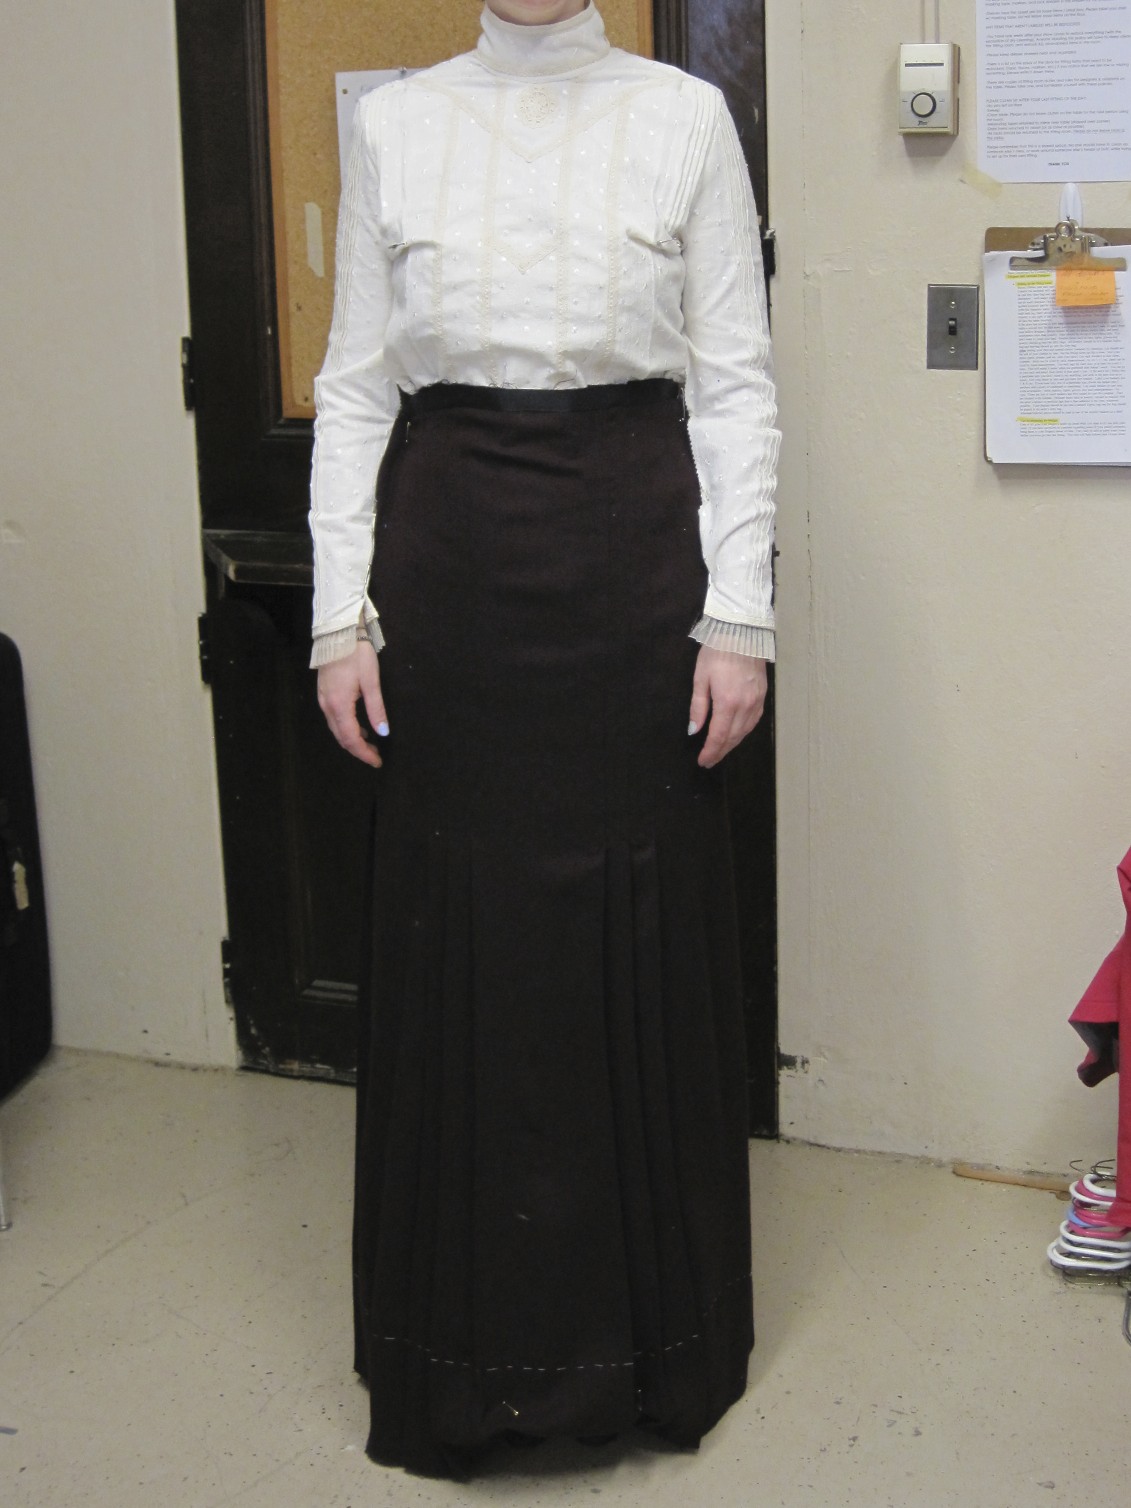
We’ll start here, where you can see the mostly dressed view. This look is a tailored suit from 1913. In the picture you can see the pleated skirt. I actually wound up making the finished length longer than I originally thought I would.

The skirt is worn with an Edwardian blouse featuring cluny lace, pin tucks, pleats, and pleated cuffs.

To the right you can see the look with the unfinished jacket and hat. The jacket still has a mock-up collar and at this point there is no facing, so the interior canvas is visible on the lapels of the jacket.

This period is a strange mix of Victorian holdover clothing (like the blouse) and 20th century clothing (the tailored suit).

Under the skirt are undergarments that have slimmed down since 1883 and 1903 while still remaining numerous and Victorian in principle. On the left you can see the full length chemise which still features lace, pin tucks, and silk ribbon. The silhouette has narrowed considerably from the Victorian shapes of the 19th century, but the whole look is Victorian, not modern. The corset is much longer at this time, but the bones stop about four inches above the bottom edge so that movement is not impaired. This corset is constructed of a silk/linen blend that is flat lined with coutil. The seams are flat felled on the inside. It is edged in the same fabric cut on the bias. The top edge is also edged with lace and silk ribbon. To the right you can see the corset cover for this look: simple and straight forward, with just a small edge of lace. There is also a matching fabric petticoat for this look. The petticoat (or underskirt) is edged with a pin tucked ruffle and finished at the bottom with matching embroidery. It closes at the waist with a hook and eye. The chemise, petticoat, and corset cover are all constructed of the same ivory cotton.

Project Journal: Victorian Women’s Tailoring Part V: Fitting 1883 Tailor Made Suit

As you saw in my last post, the undergarments for my 1883 look are complete. The understructure, especially the corset and bustle, is essential to the creation of the silhouette in 1883: without these pieces the exterior garments would crumple and sag. The thing is, the exterior garment is tailored to fit this exact shape: if that silhouette is not created by the undergarments then the exterior garments just don’t fit!

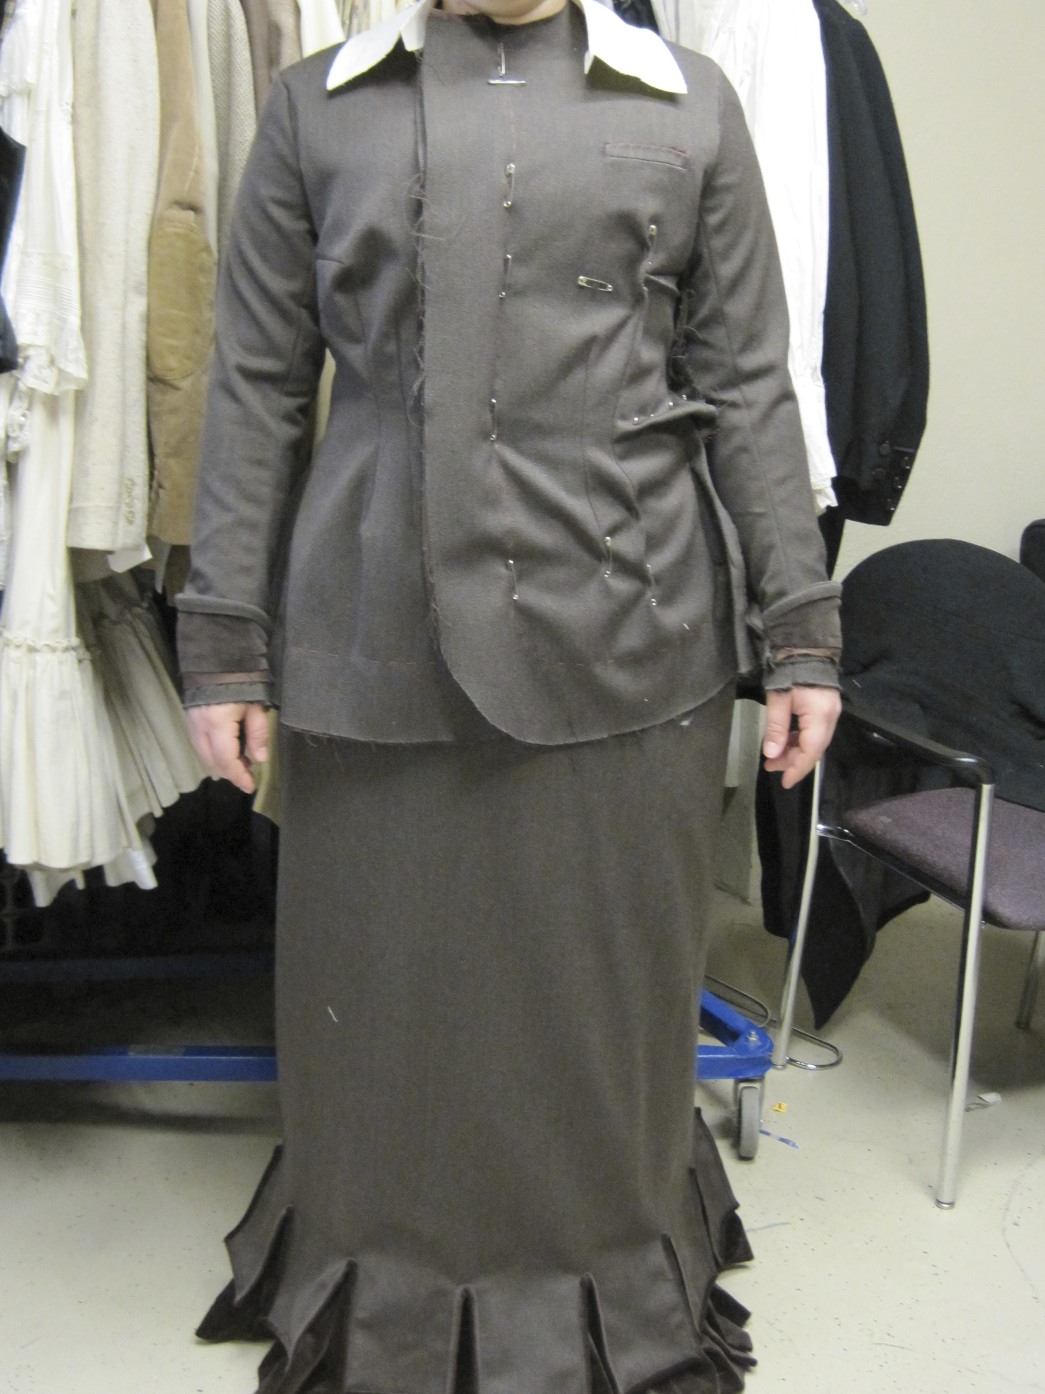
Let’s take a look at the exterior garments. First, the skirt. This skirt is many layers: the one you can see now I call the “foundation skirt.” It is the part of the skirt that hangs from waist to floor without any draping on it. In reality, the foundation skirt is actually made of two layers. The first layer is the one you can see with the velvet knife pleats along the hem–the knife pleats are 10″ high (ending just above the tabs in the wool)–but don’t be fooled, the knife pleats are attached to a cotton underskirt that extends up to the waist. Why? Multiple reasons: 1-this skirt is already super heavy with just one layer of wool and the velvet trim, and I haven’t even added the drapery yet; 2-the skirt is already super warm as well, it would be too warm with velvet all the way to the waist; 3-the Victorian mindset was to not waste precious money on beautiful fabrics that weren’t seen, so this technique of using cotton underskirts edged with fancy trim is very common; 4-velvet rather than cotton would add more bulk  to the circumference of the waist, and the goal is to make the waist as small as possible. You can’t see the pins, but I did have to make alterations at the waist, since the bottom edge was already finished. There are more skirt layers coming: a gathered and draped “back drape,” and an asymmetrically pleated “front drape.”

The jacket is the other exterior garment. This garment is actually a really good example of the alterations I almost always have to make before I am able to finish a garment. The left side is how the garment fit when I put it on my model. On the right side you can see all my safety pins moving and adding darts to make the jacket fit better. Although it looks wrinkly, once I stitch all those alterations it will actually allow the jacket to fit smoothly over the torso. You can also see my mockup collar on this jacket.

What comes next? Well, because I needed to basically take out all my front darts and seams and move them, I had another fitting with my model before starting to finish the garment. Unfortunately, I forgot my camera! I’ll try to finagle pictures, but they’ll be coming later. After the second fabric fitting I move on to finishing my garments completely!

Project Journal: Victorian Women’s Tailoring Part IV: Fitting 1883 Undergarments

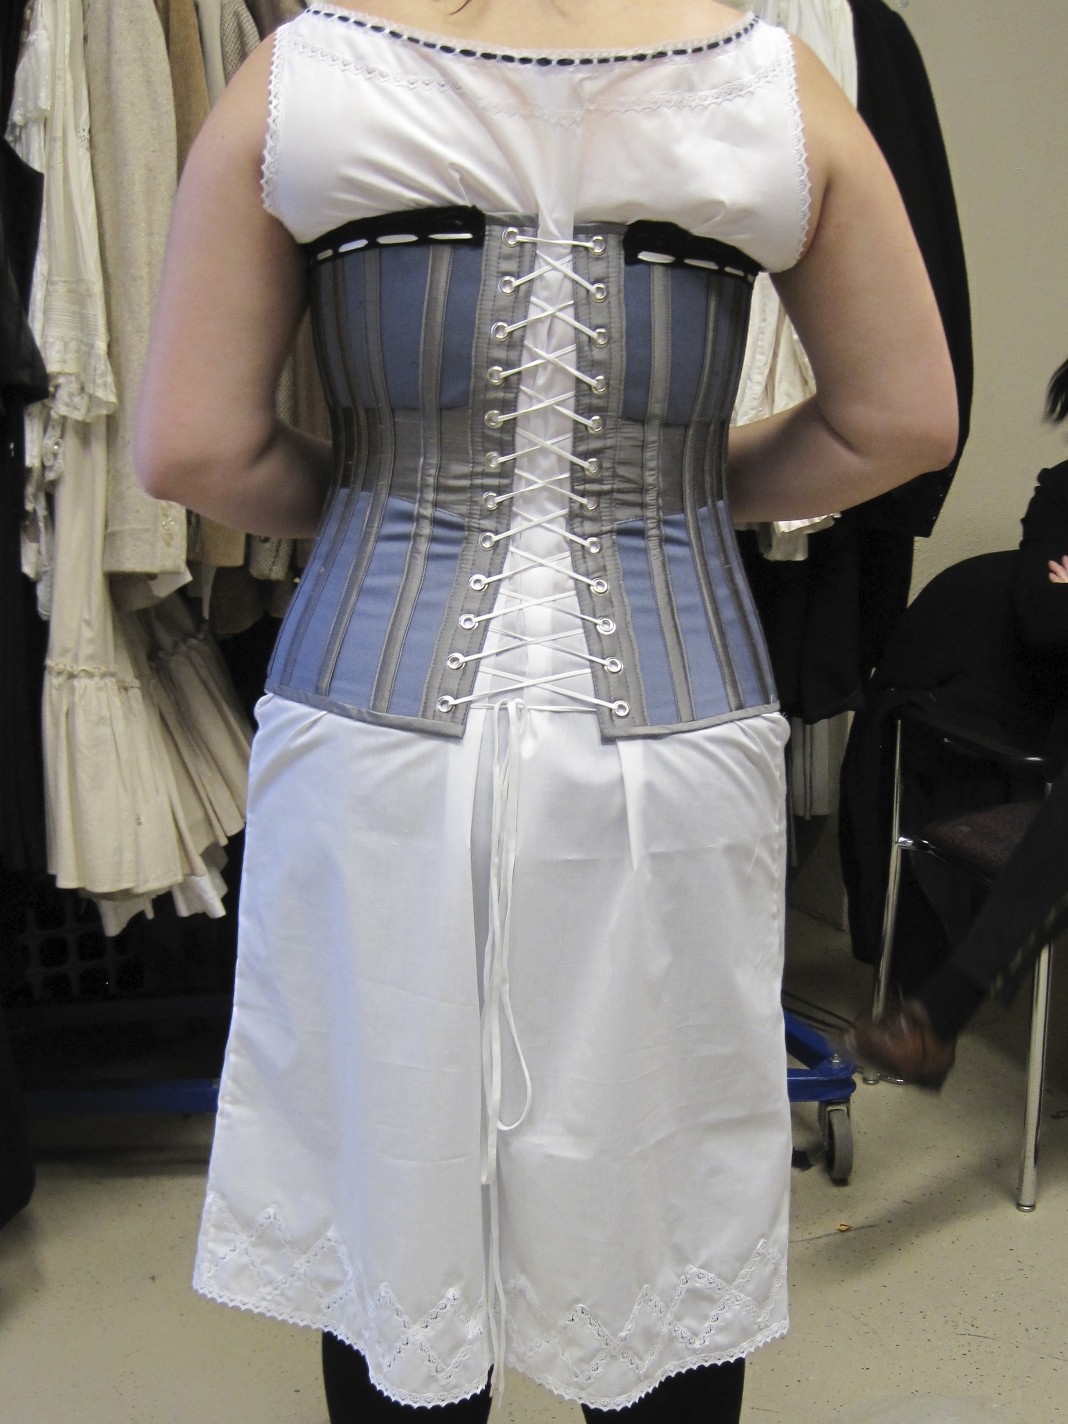
I’ve put together my actual fabrics! First to fit is my 1883 undergarments. These garments are essentially finished and ready to be worn.

The first layer is a cotton chemise with intersecting zigzag pattern lace insertion at the hem and simple lace edging around the neck opening and armholes. The tie is navy silk ribbon.

The corset is blue cotton twill flatlined with coutil for stability and grey silk shantung boning channels. The top is edged with black lace and off white silk ribbon. The bust also features cording across the front panels as well as flossing at the top of the boning channels.

It’s hard to see the corset detail in the first picture, so here’s a close-up. You can actually see the cording in this picture. The waistband is decorative as well as helping to cinch in the waist. The top and bottom of the corset are bound in bias silk shantung.

Here’s a small back view as well. It looks like I could have laced the bottom half a little tighter!

The next layer is the cotton corset cover with pin tuck decoration and navy silk ribbon threaded through lace around the neck. The front closes with pearl buttons down the front. You can see the corset cover detail in the two pictures below

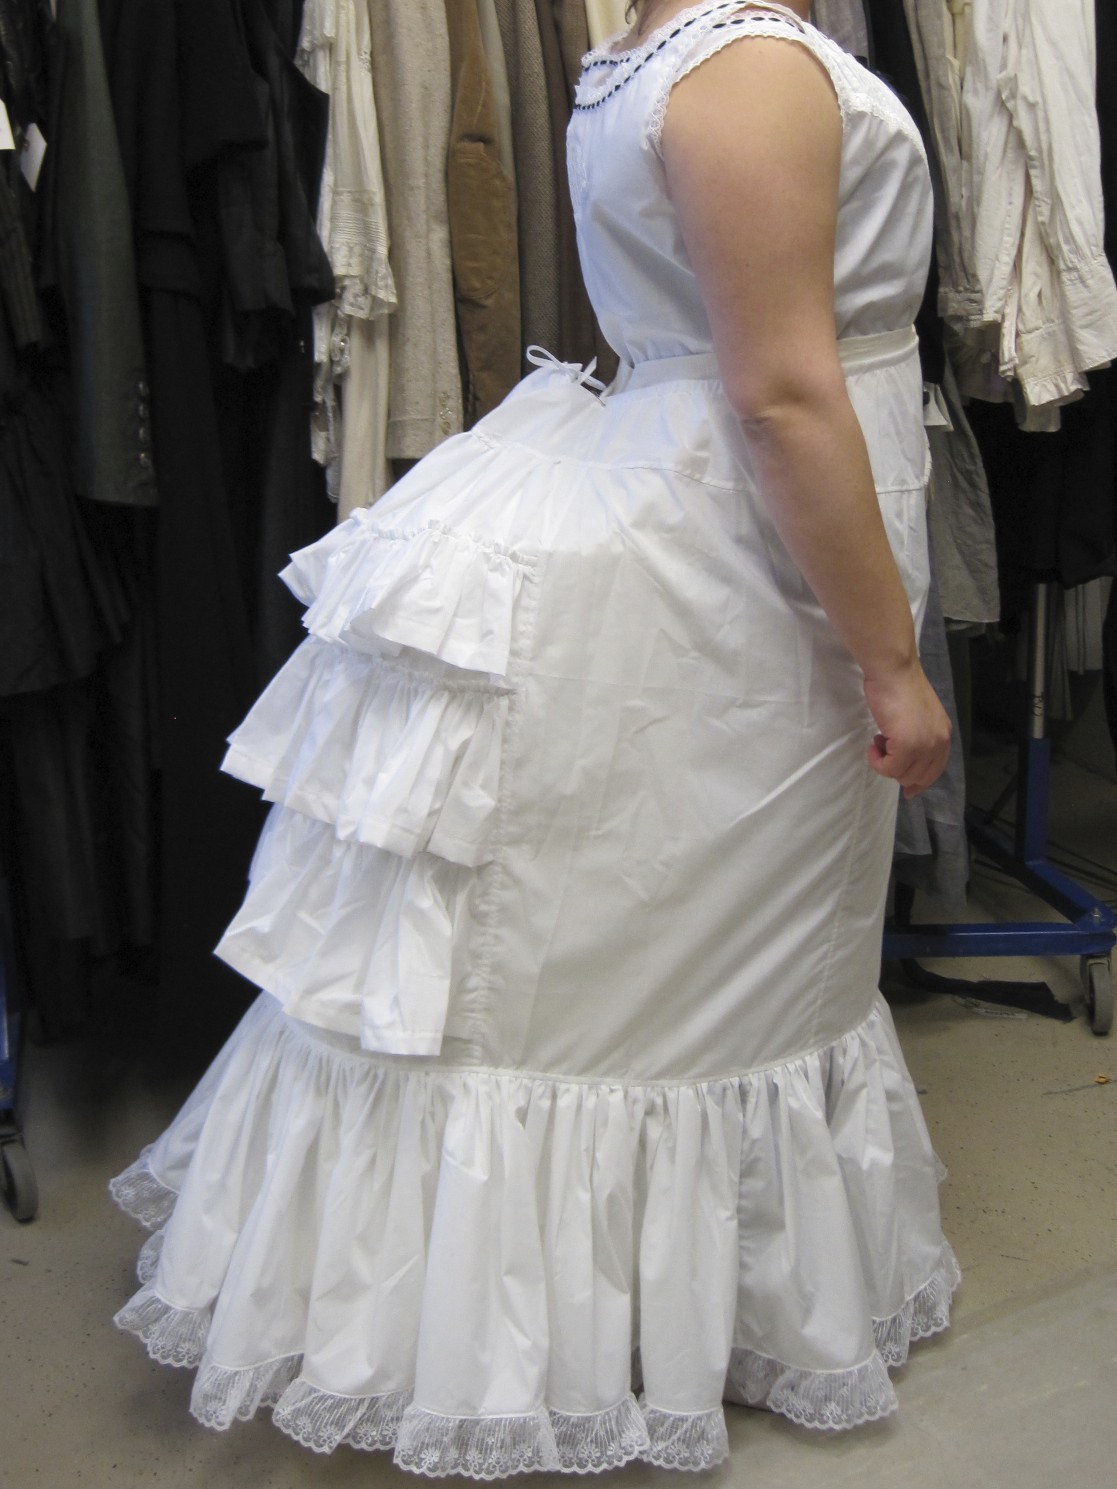
After the corset cover is the bustle itself! It is constructed of off-white striped cotton with hoop steel bones inserted into the horizontal channels. The bottom is finished off with a nice box pleat.

Back bustle view on the left!

On the right you can see the pin tuck detail on the corset cover.

After the bustle comes the petticoat! It is constructed of cotton with lace edging. Here’s a front and side view. You can also see the pin tuck detail on the corset cover in the front view bustle picture.

The 14 hour Regency dress (Sense and Sensibility Regency Ball 2011)

I’d decided months ago to attend  the Dancing with the Dashwoods (Jane Austen period) Ball recently hosted by the Commonwealth Vintage Dancers; however, I was in a sticky spot about what to wear! I did not have a dress appropriate to the period of this ball and I really needed to focus on my tailoring project… what to do?!?

Well, I decided to spend just one day making a cotton Regency dress. I quickly adapted a pattern from Norah Waugh’s The Cut of Women’s Clothes: 1600-1930 to my size and decided to forgo the mockup step. Cutting out the fabric is my least favorite part of making garments, so I tried to make that part go as quickly as possible.

In an effort to simplify things, I included two petticoat layers in the dress itself and decided not to worry about finishing my seams on the inside. The bodice also has two extra layers inside of it to keep it opaque. Each piece (of three layers) was treated as one piece when I went to sew it.

All in all, the basic seams went quickly. What slowed me down and took about a third of my time on the dress were the finishing steps of completing the neck trim and putting closures on the back. The trim took a fair amount of time to pin, stitch, and thread through the ribbon loops, and the hook and thread loop closures took time because it was getting late at that point…

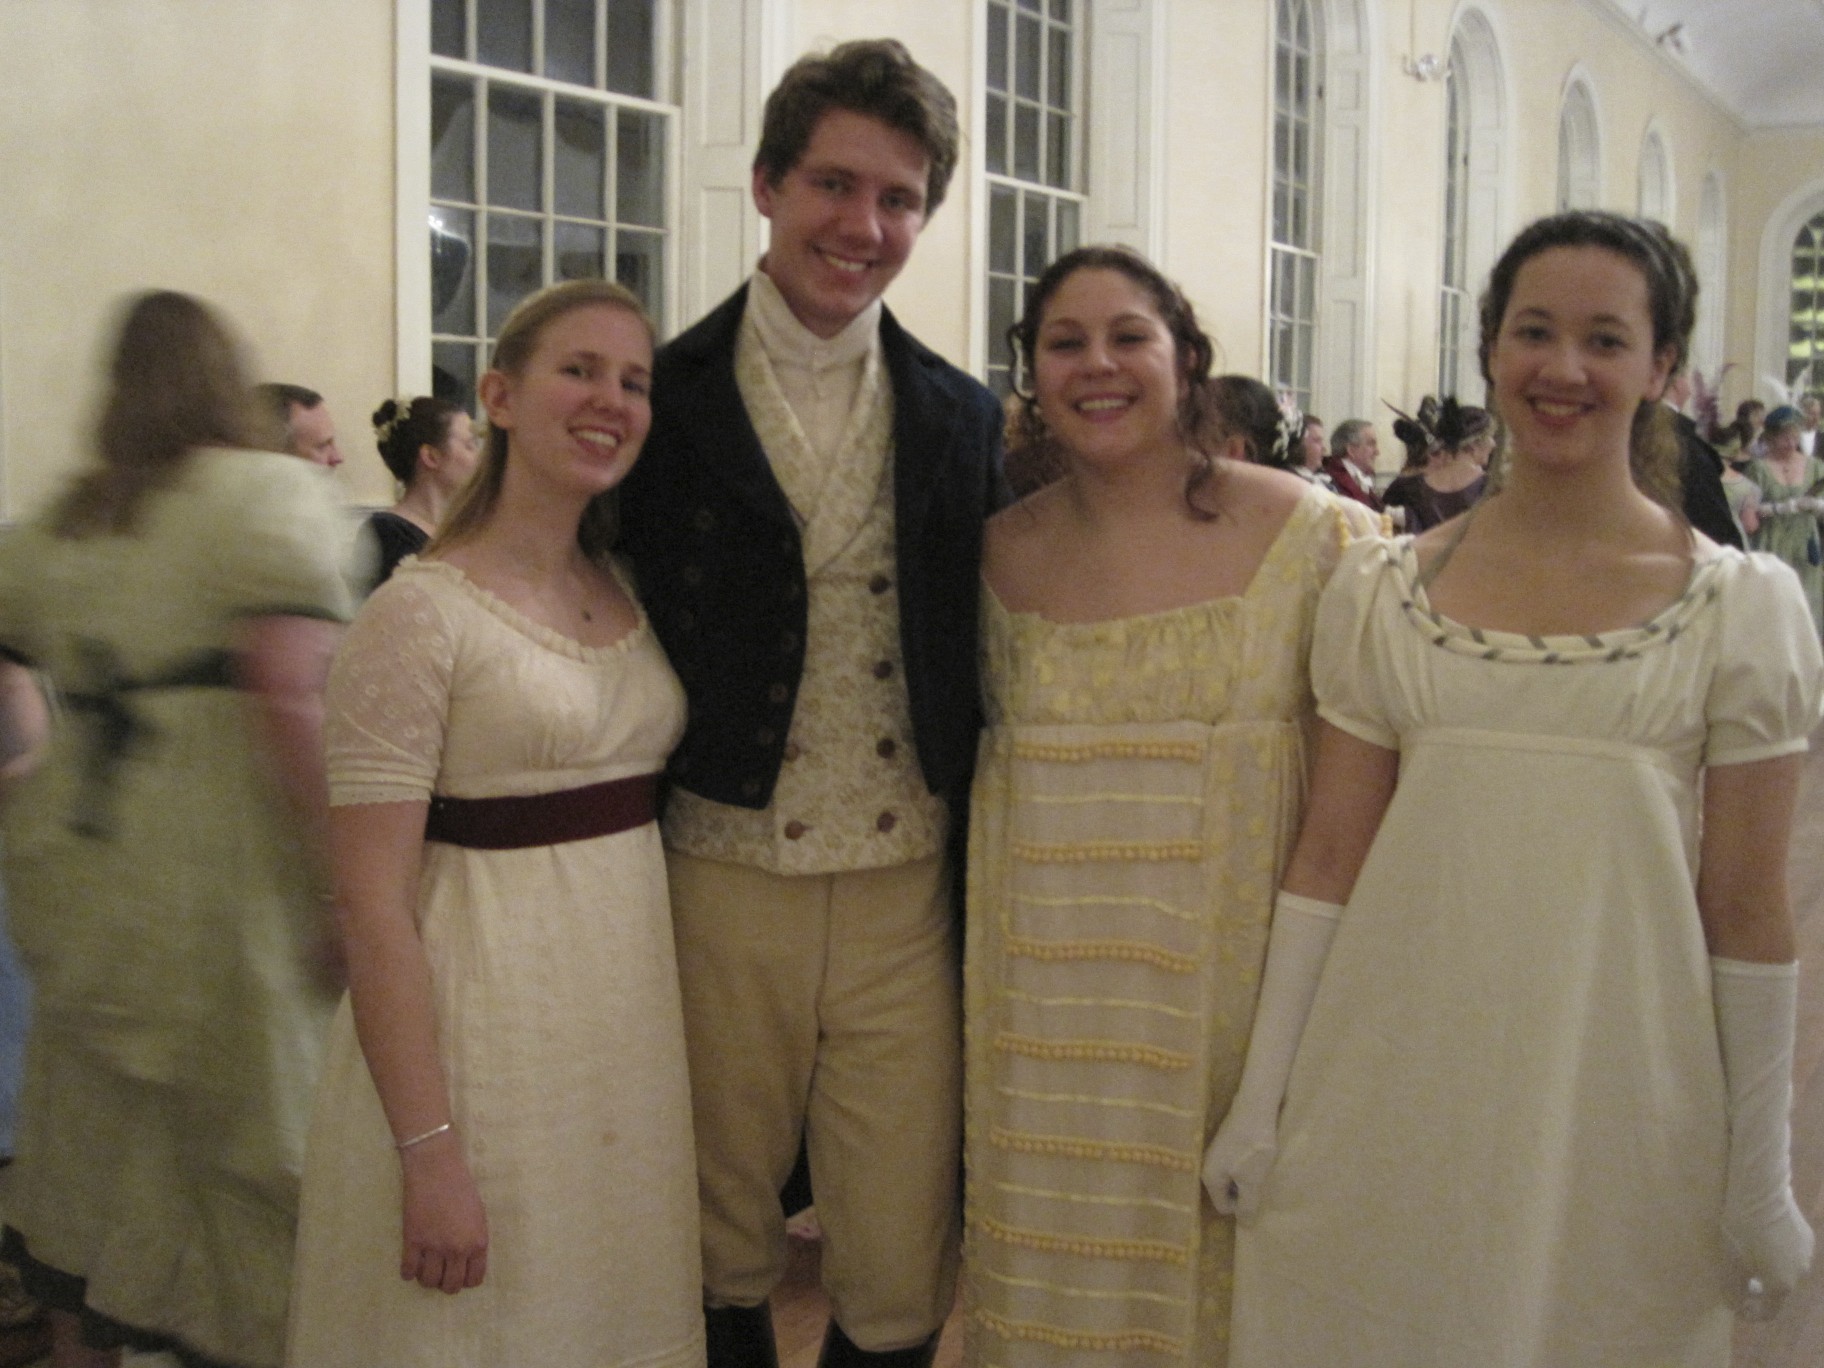
Fast-forward to the ball! I had the good fortune to be able to bring along friends as well! It was crowded but super fun to dance in period costume and a period hall! Enjoy the photos!

Project Journal: Victorian Women’s Tailoring Part III: Mockups

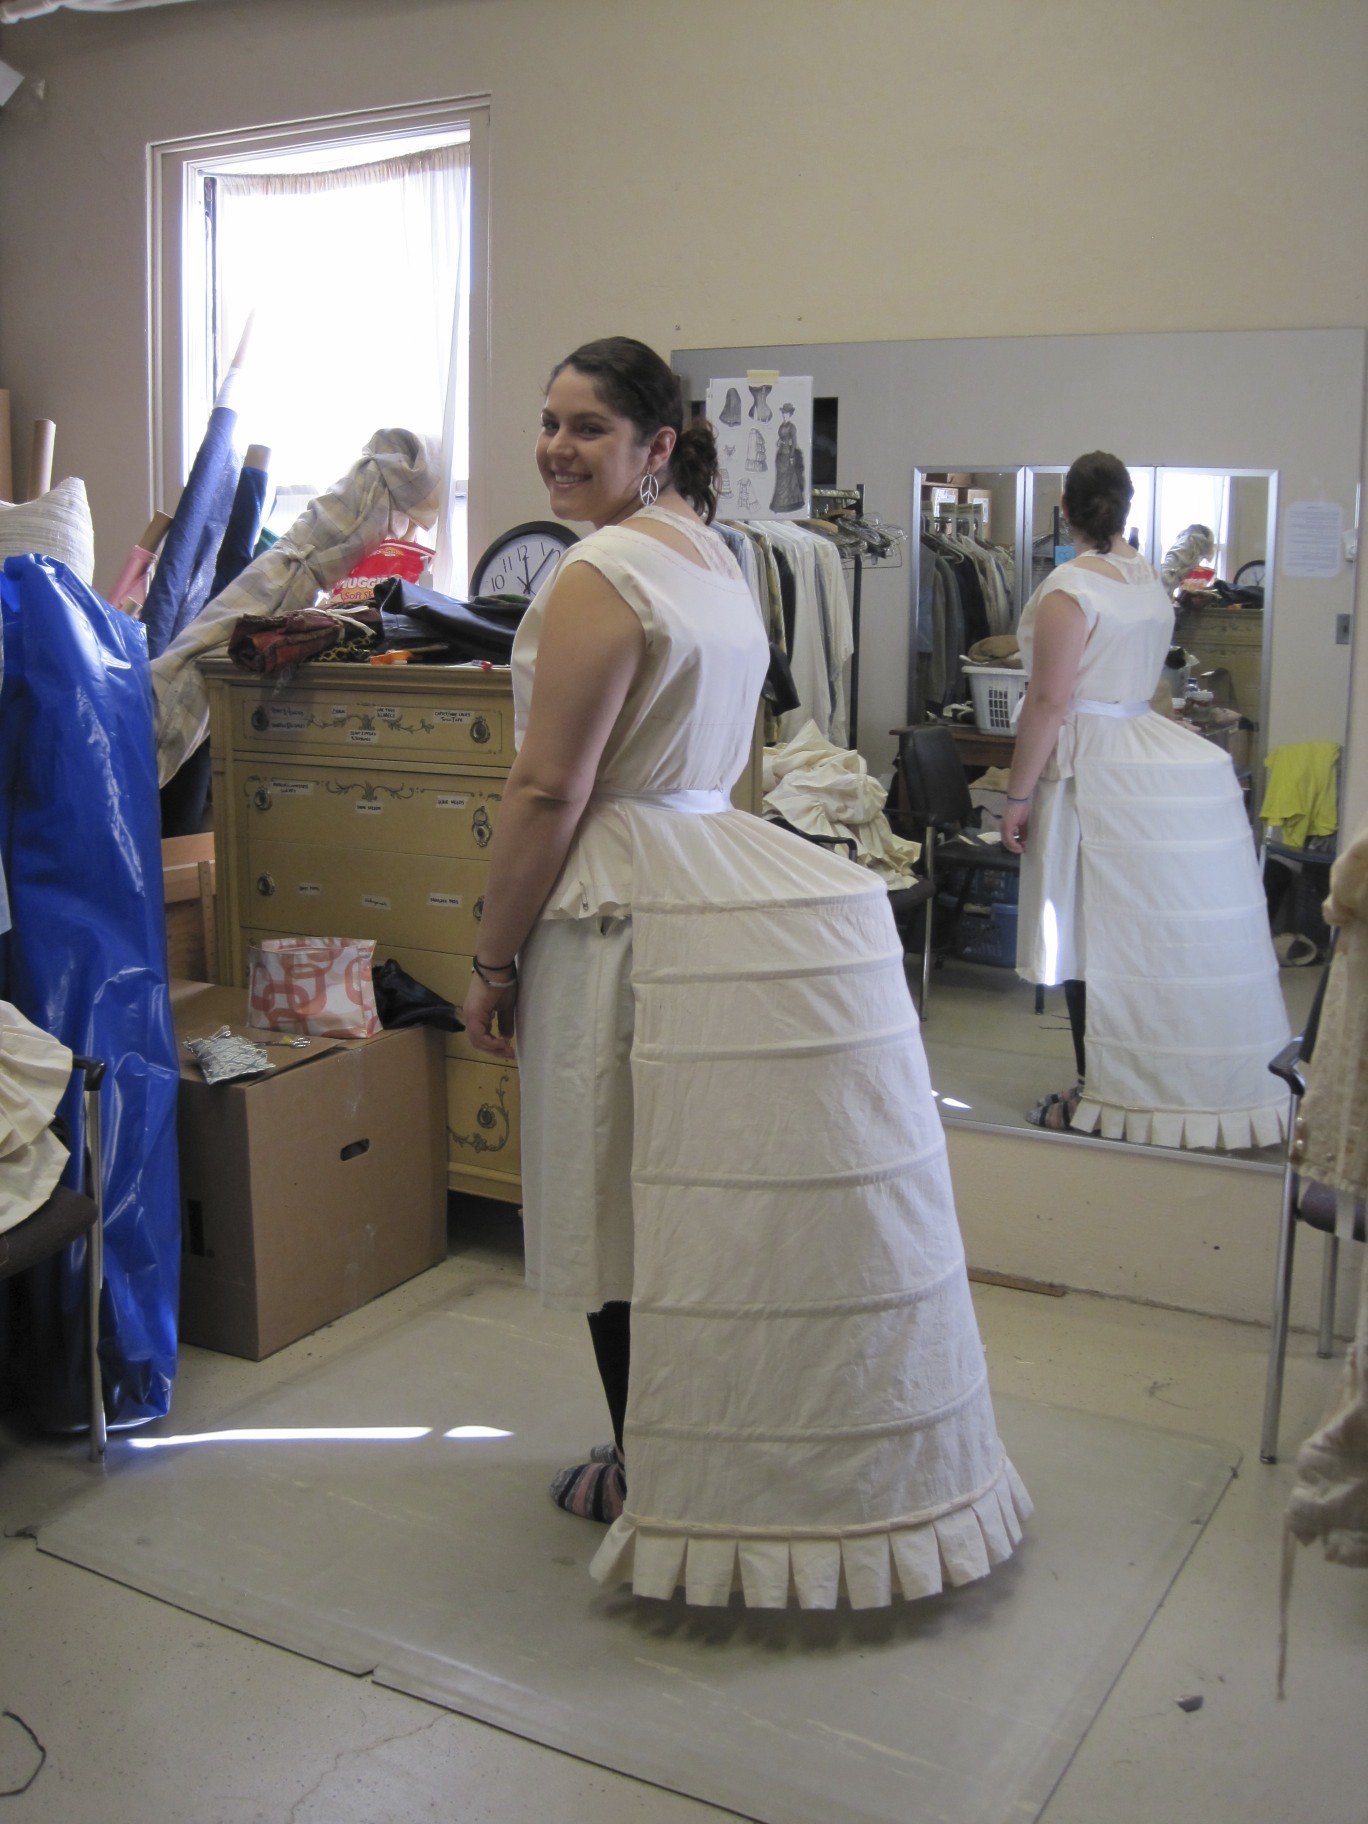
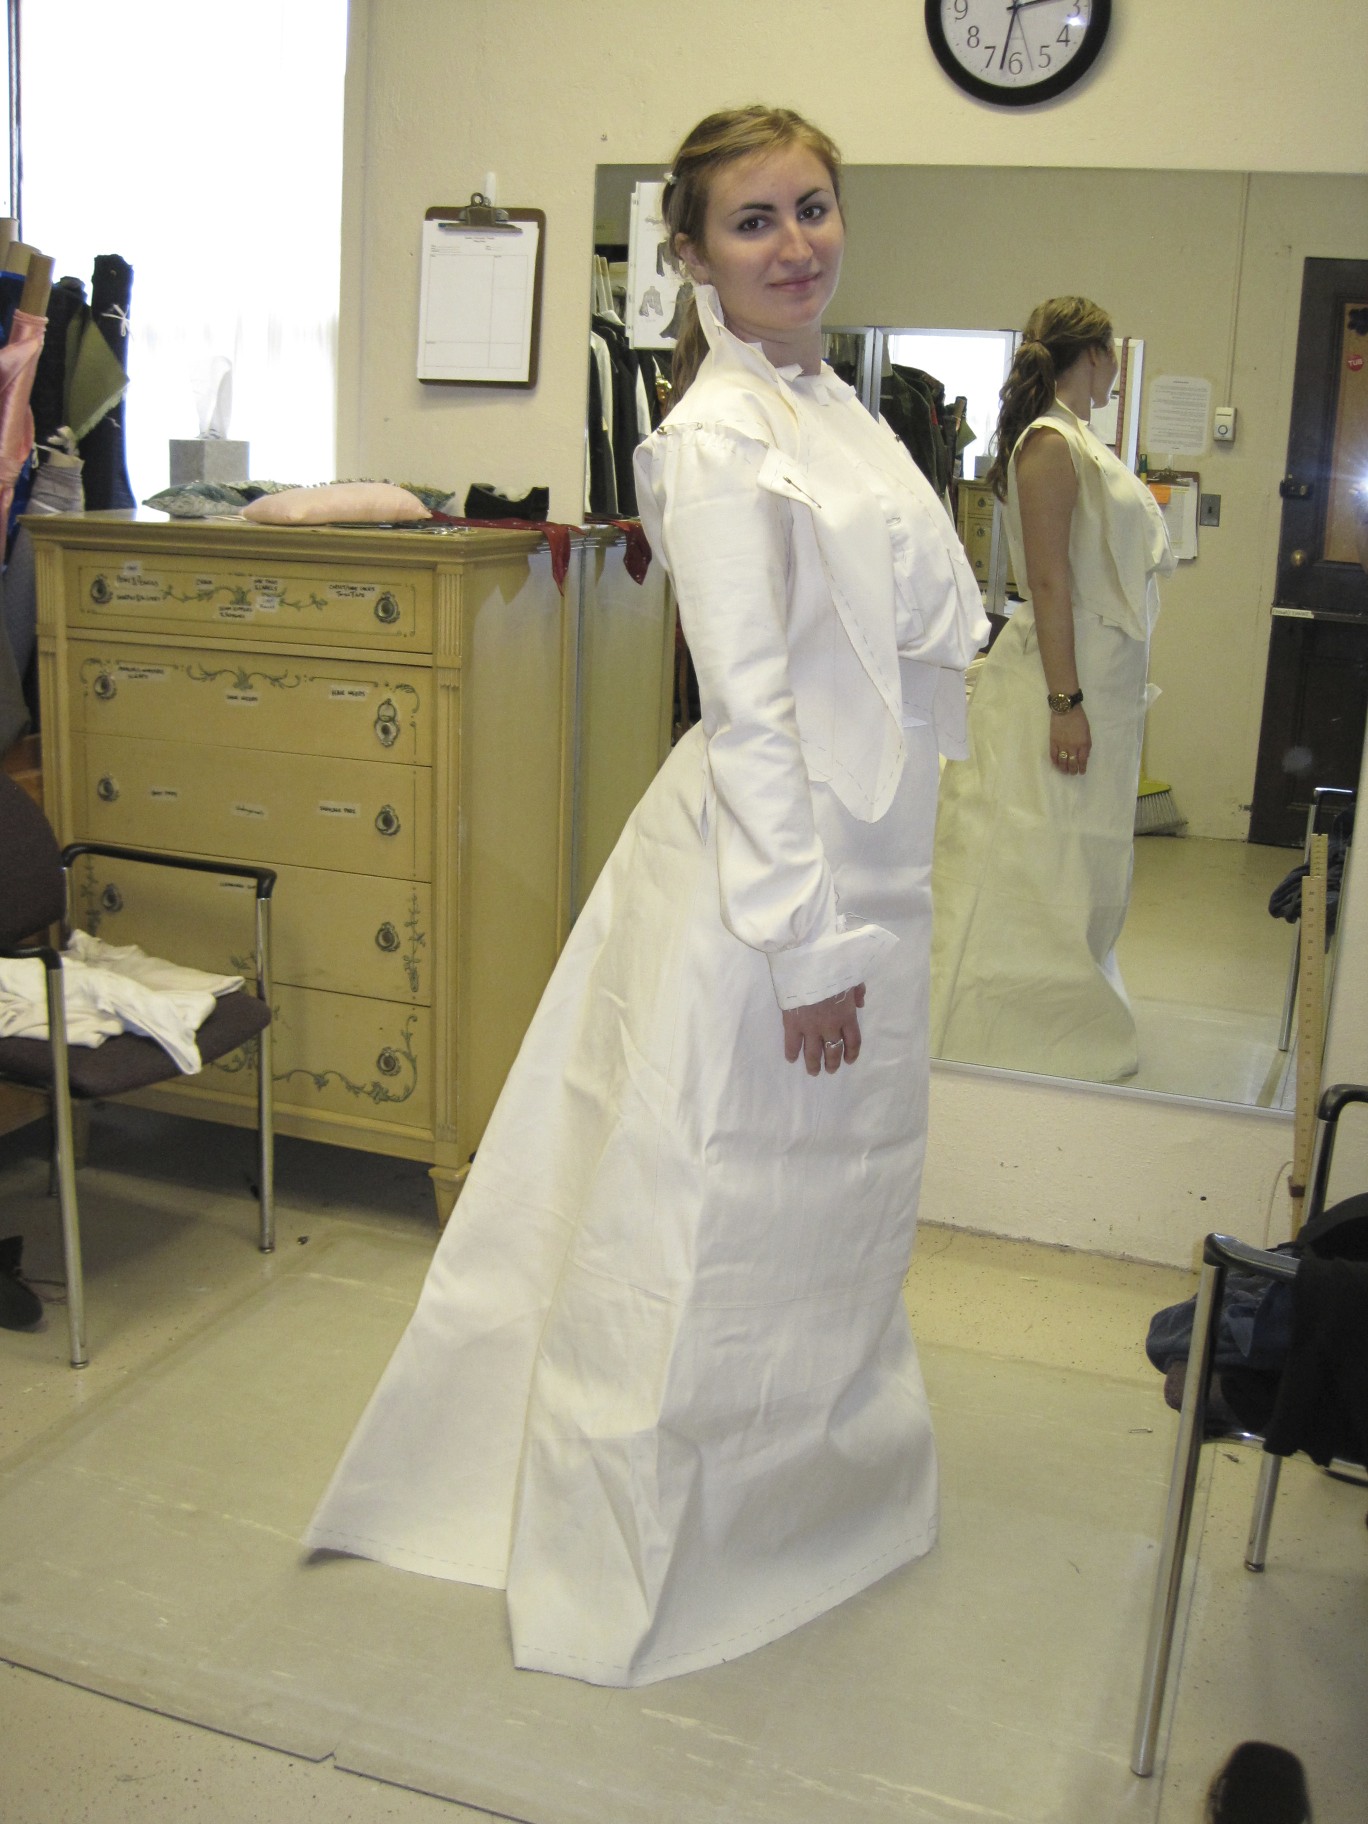
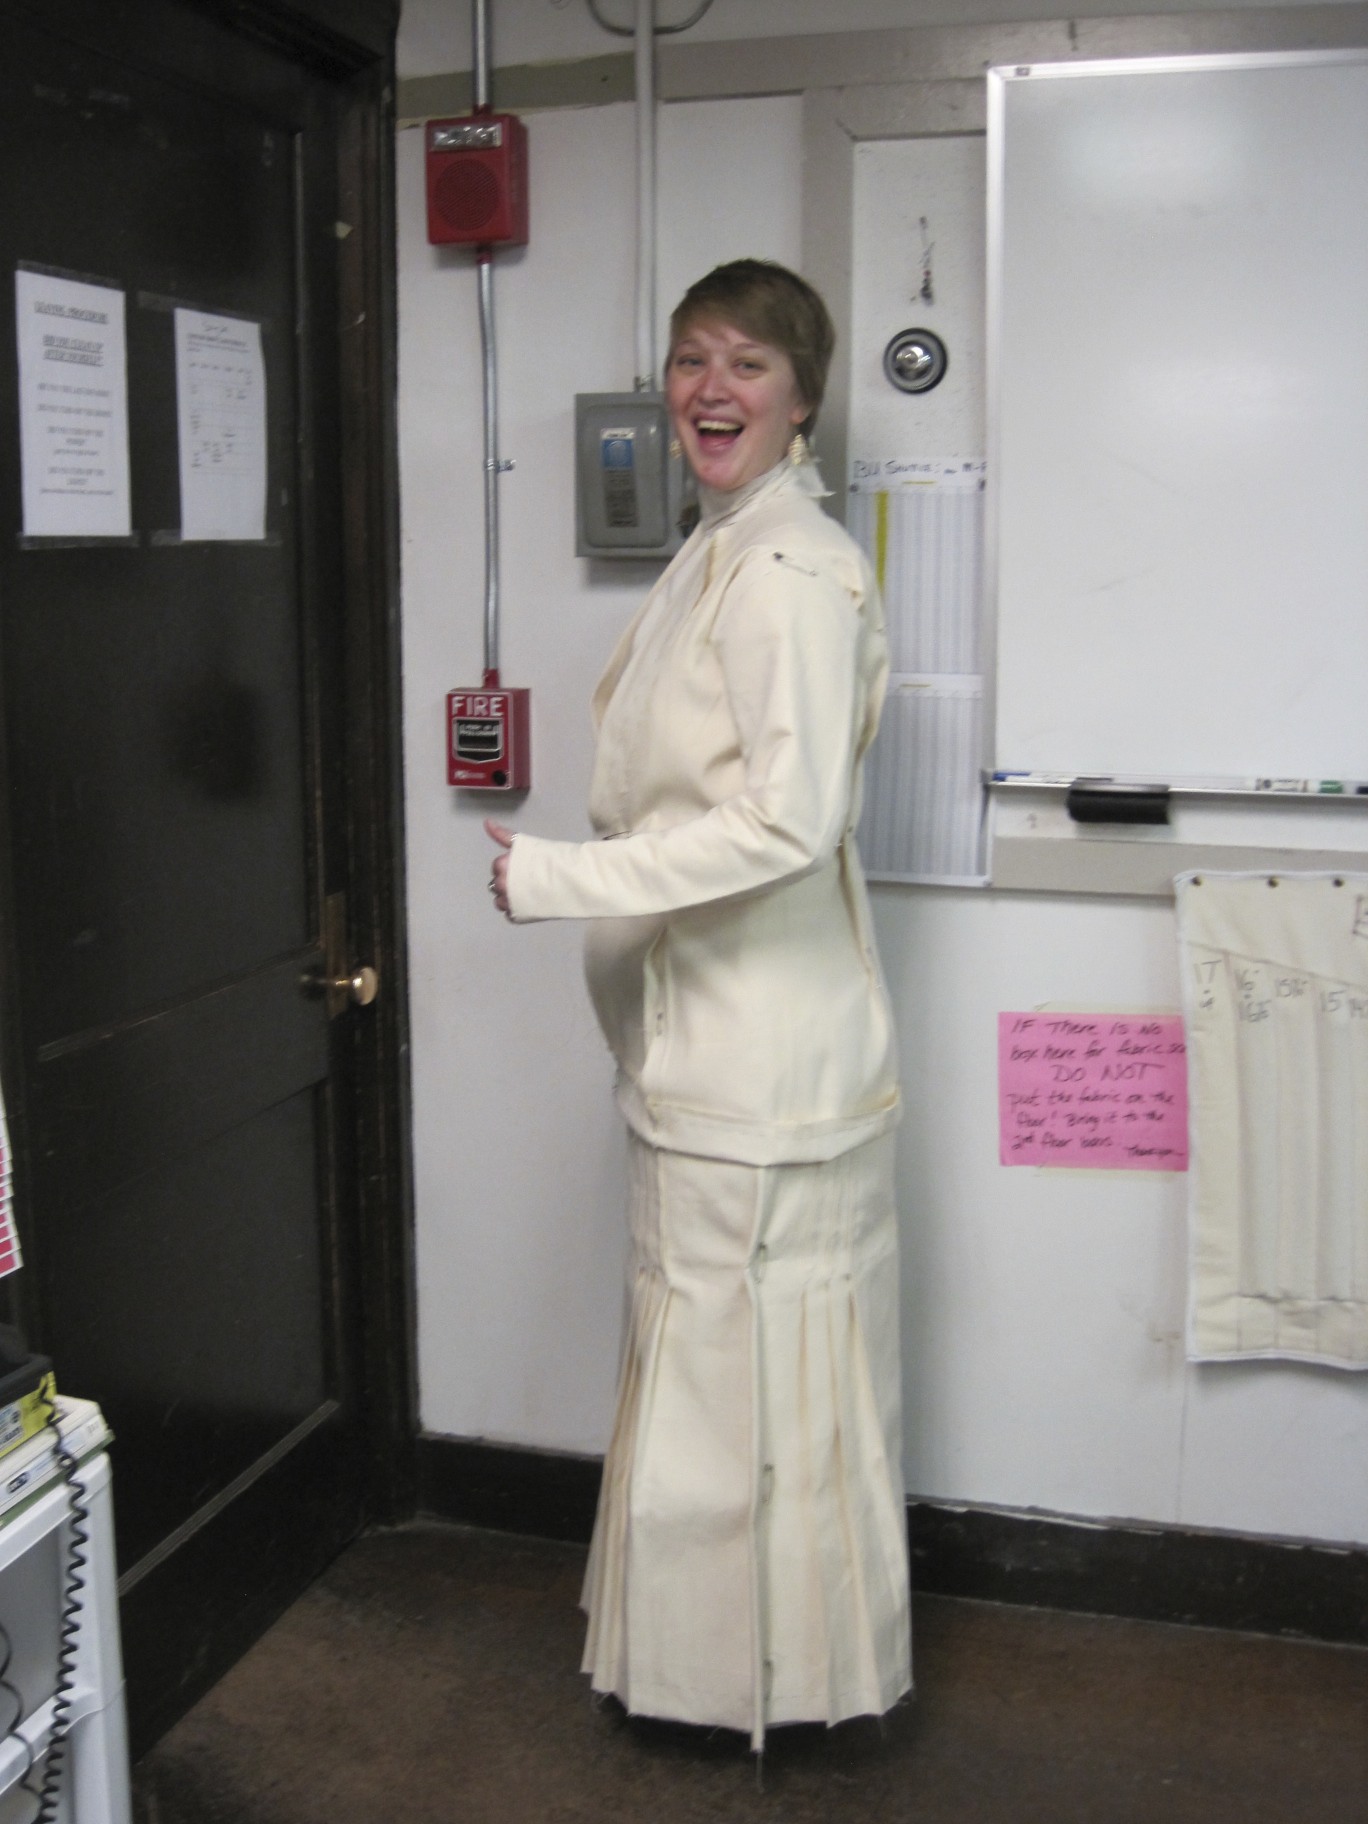
I reached a point where all my patterns were complete! The next step was to make a mock-up, or toile, of each garment. My mock-ups are made out of muslin: their goal is to determine what changes I need to make to my patterns so that the garments will fit well before I cut and sew the garments out of my fashion fabrics.

By eliminating major fit issues in my mock-ups I am able to achieve a better fit in my final garments with fewer alterations. In these photos you can see the pins that mark the areas of the garments that I need to go back and change on my patterns so that the fashion fabric garments will fit better.

Look 1: 1883. In my brain this is the “bustle dress.”

1883 mockups--including the bustle!
1883 mockups.
My inspiration "cheat sheet" for this look.

Look 2: 1903. This is the pigeon breast dress.

1903 mockups.
1903 mockups.
1903 garment inspiration "cheat sheet."

Look 3: 1913. This is the tubular suit look.

1913 mockups.
1913 mockups.
1913 "cheat sheet" for garments.

Yay! My project is on its way to becoming actual garments. There’s still more work to do, but it’s inspiring to see it beginning to take shape!