Vernet Project: Silly Shoes

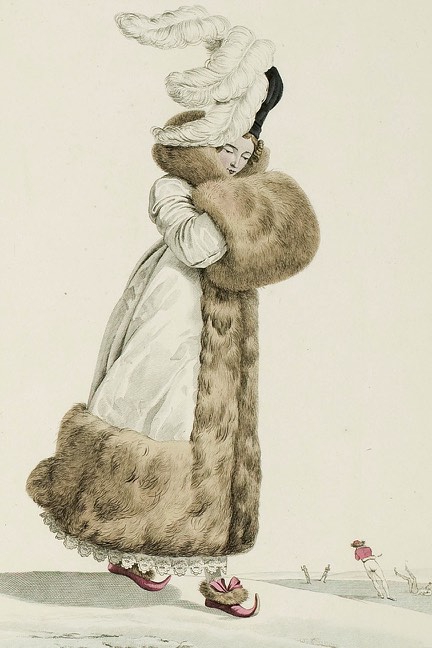
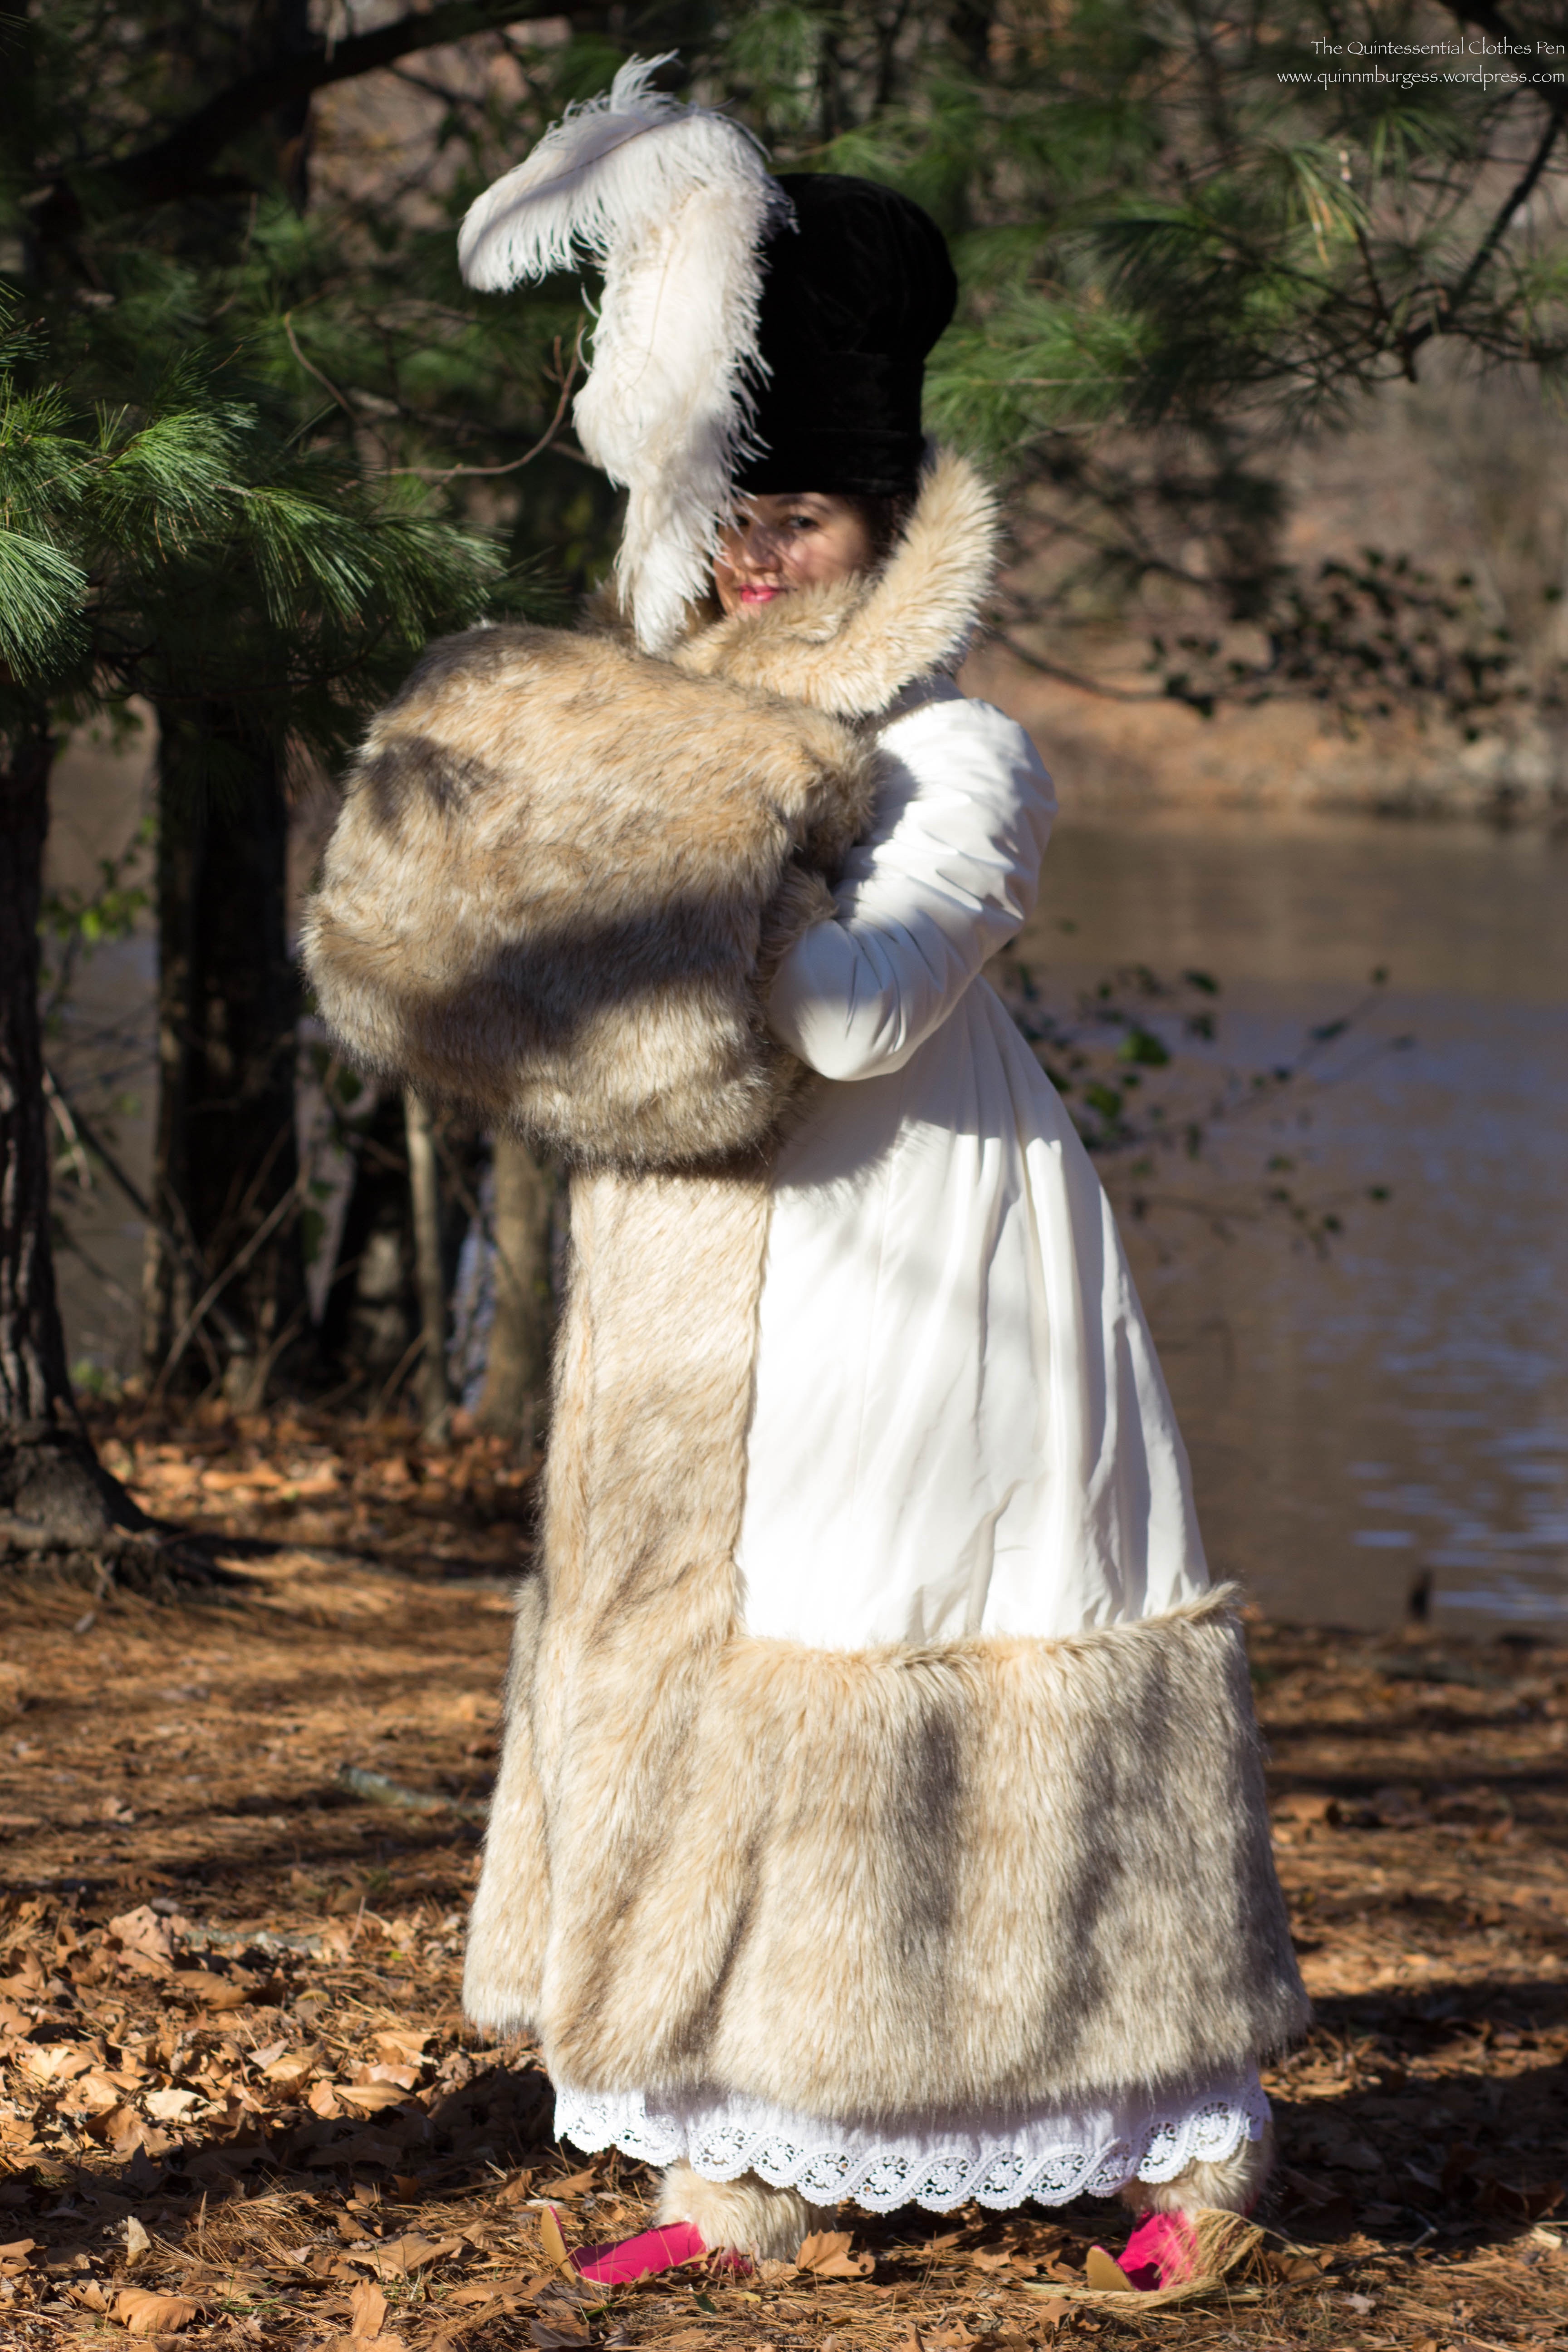
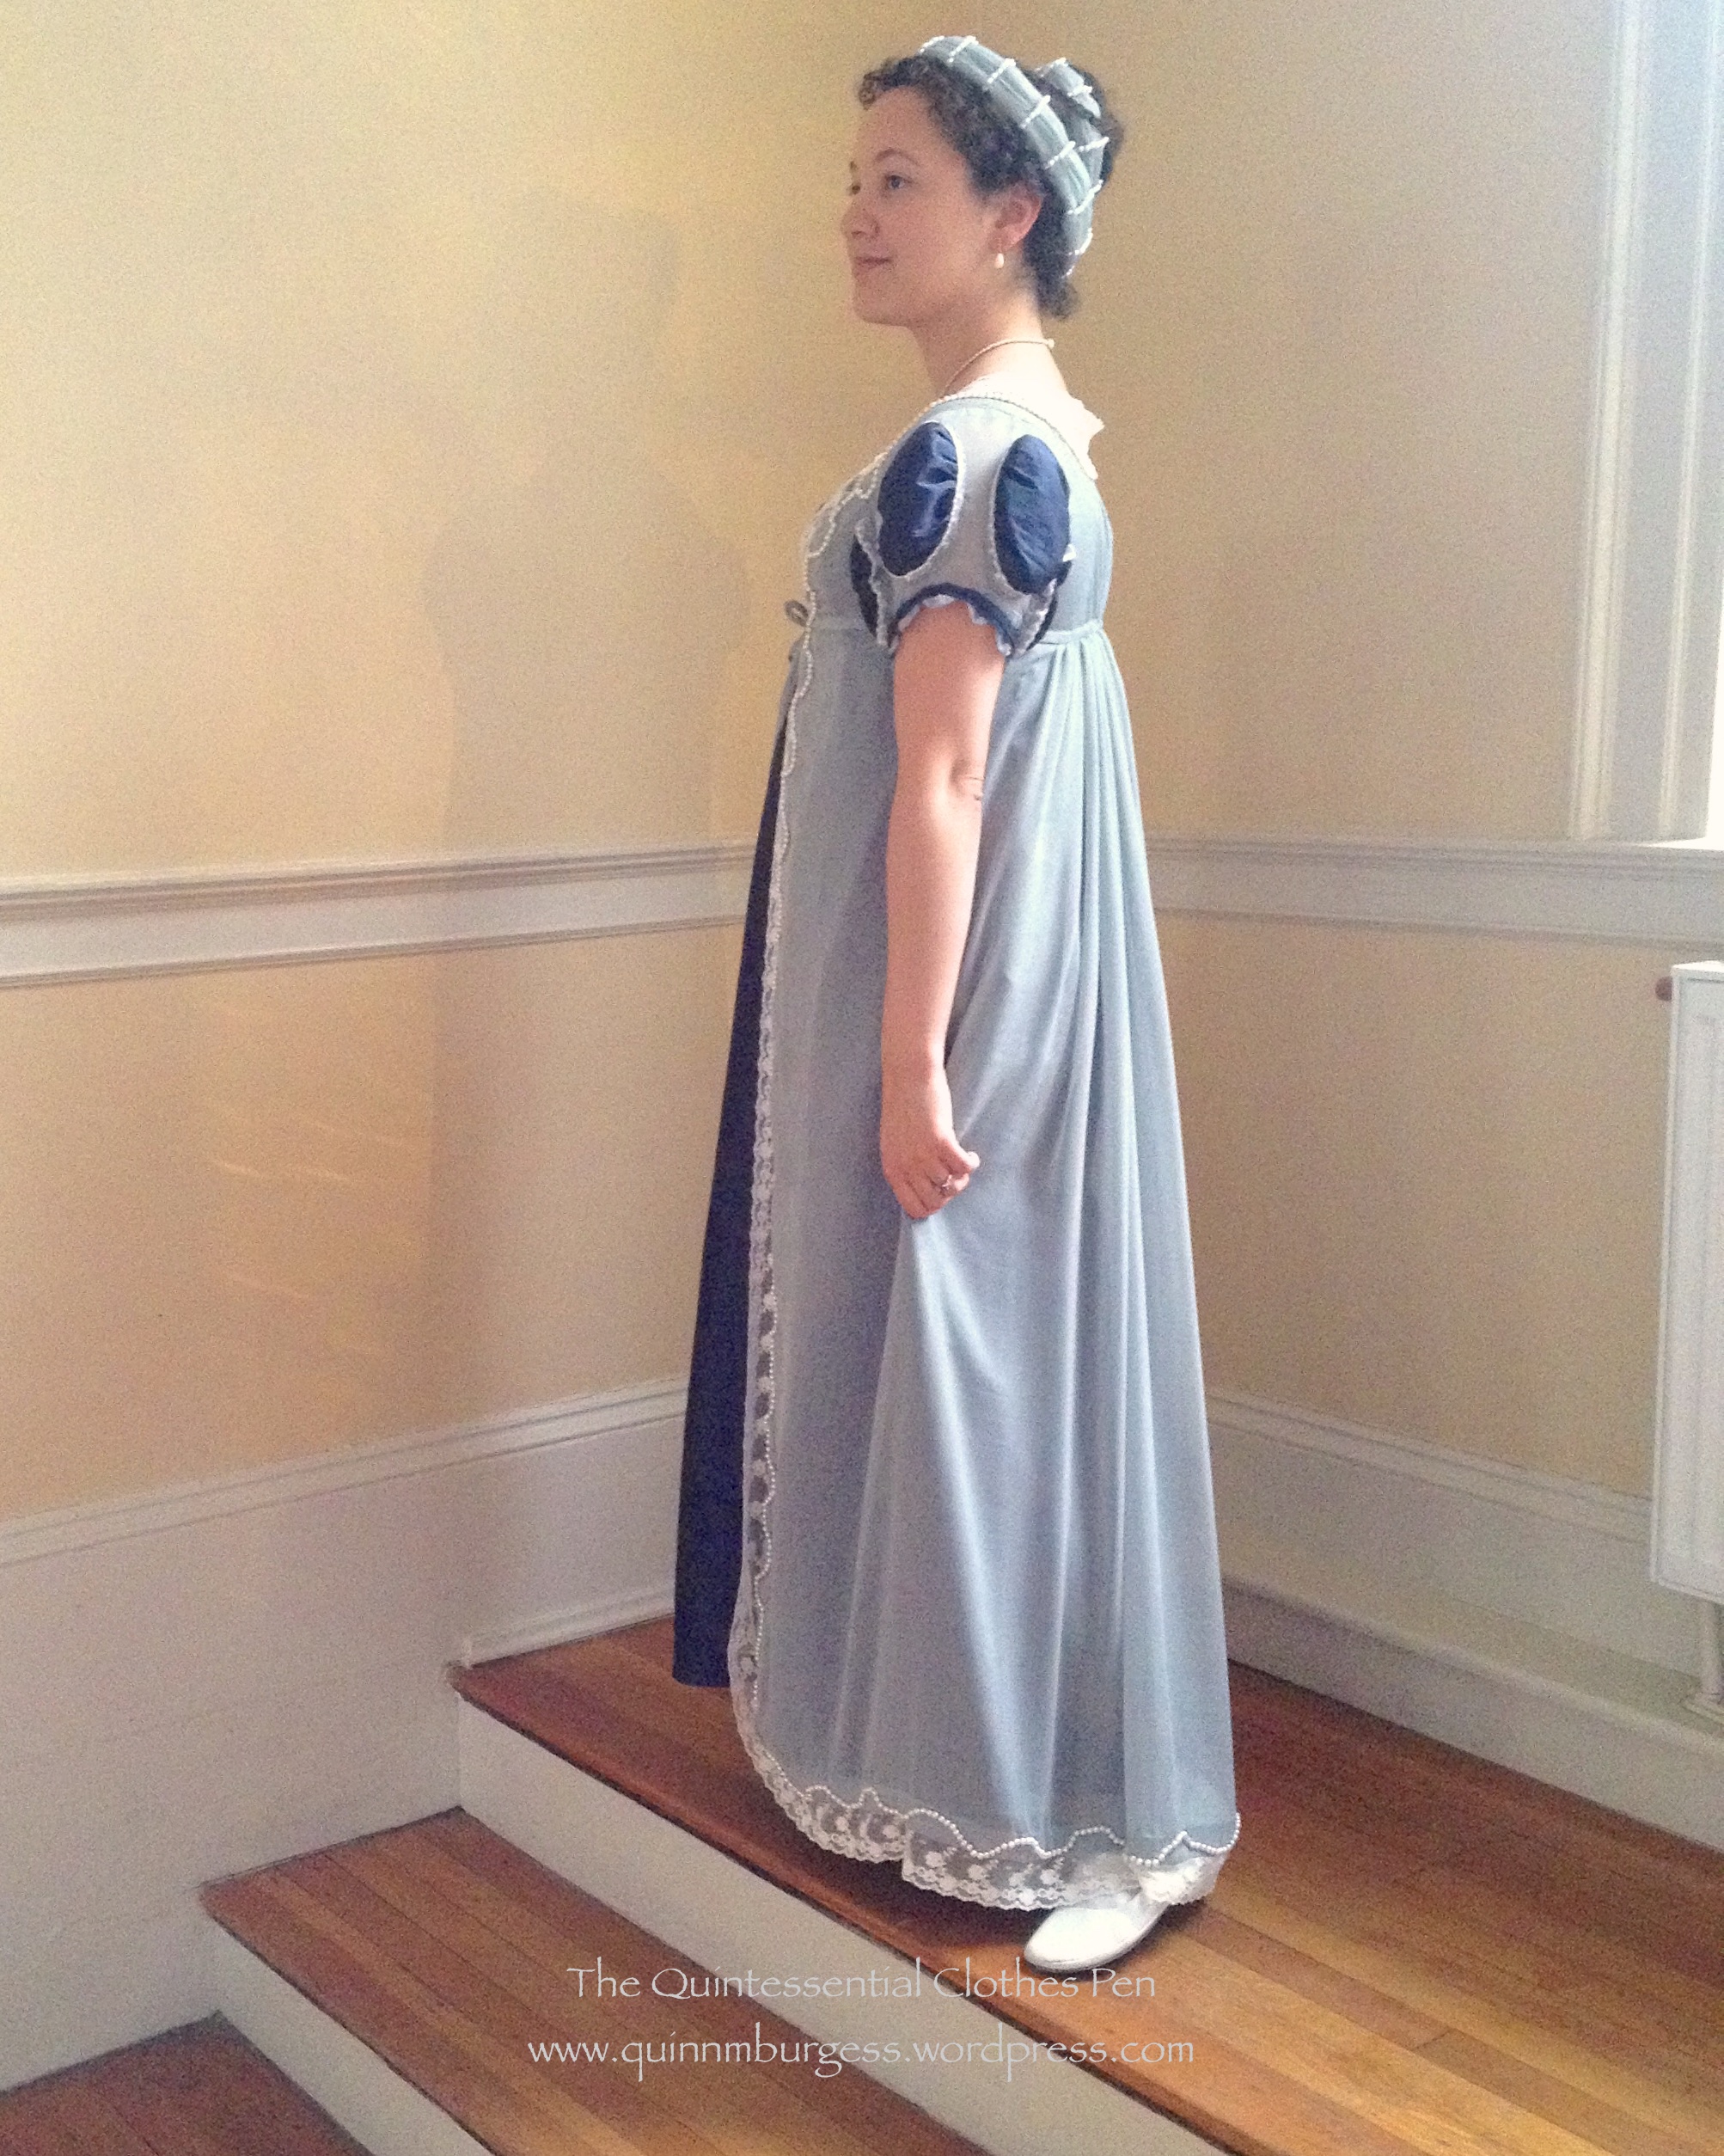
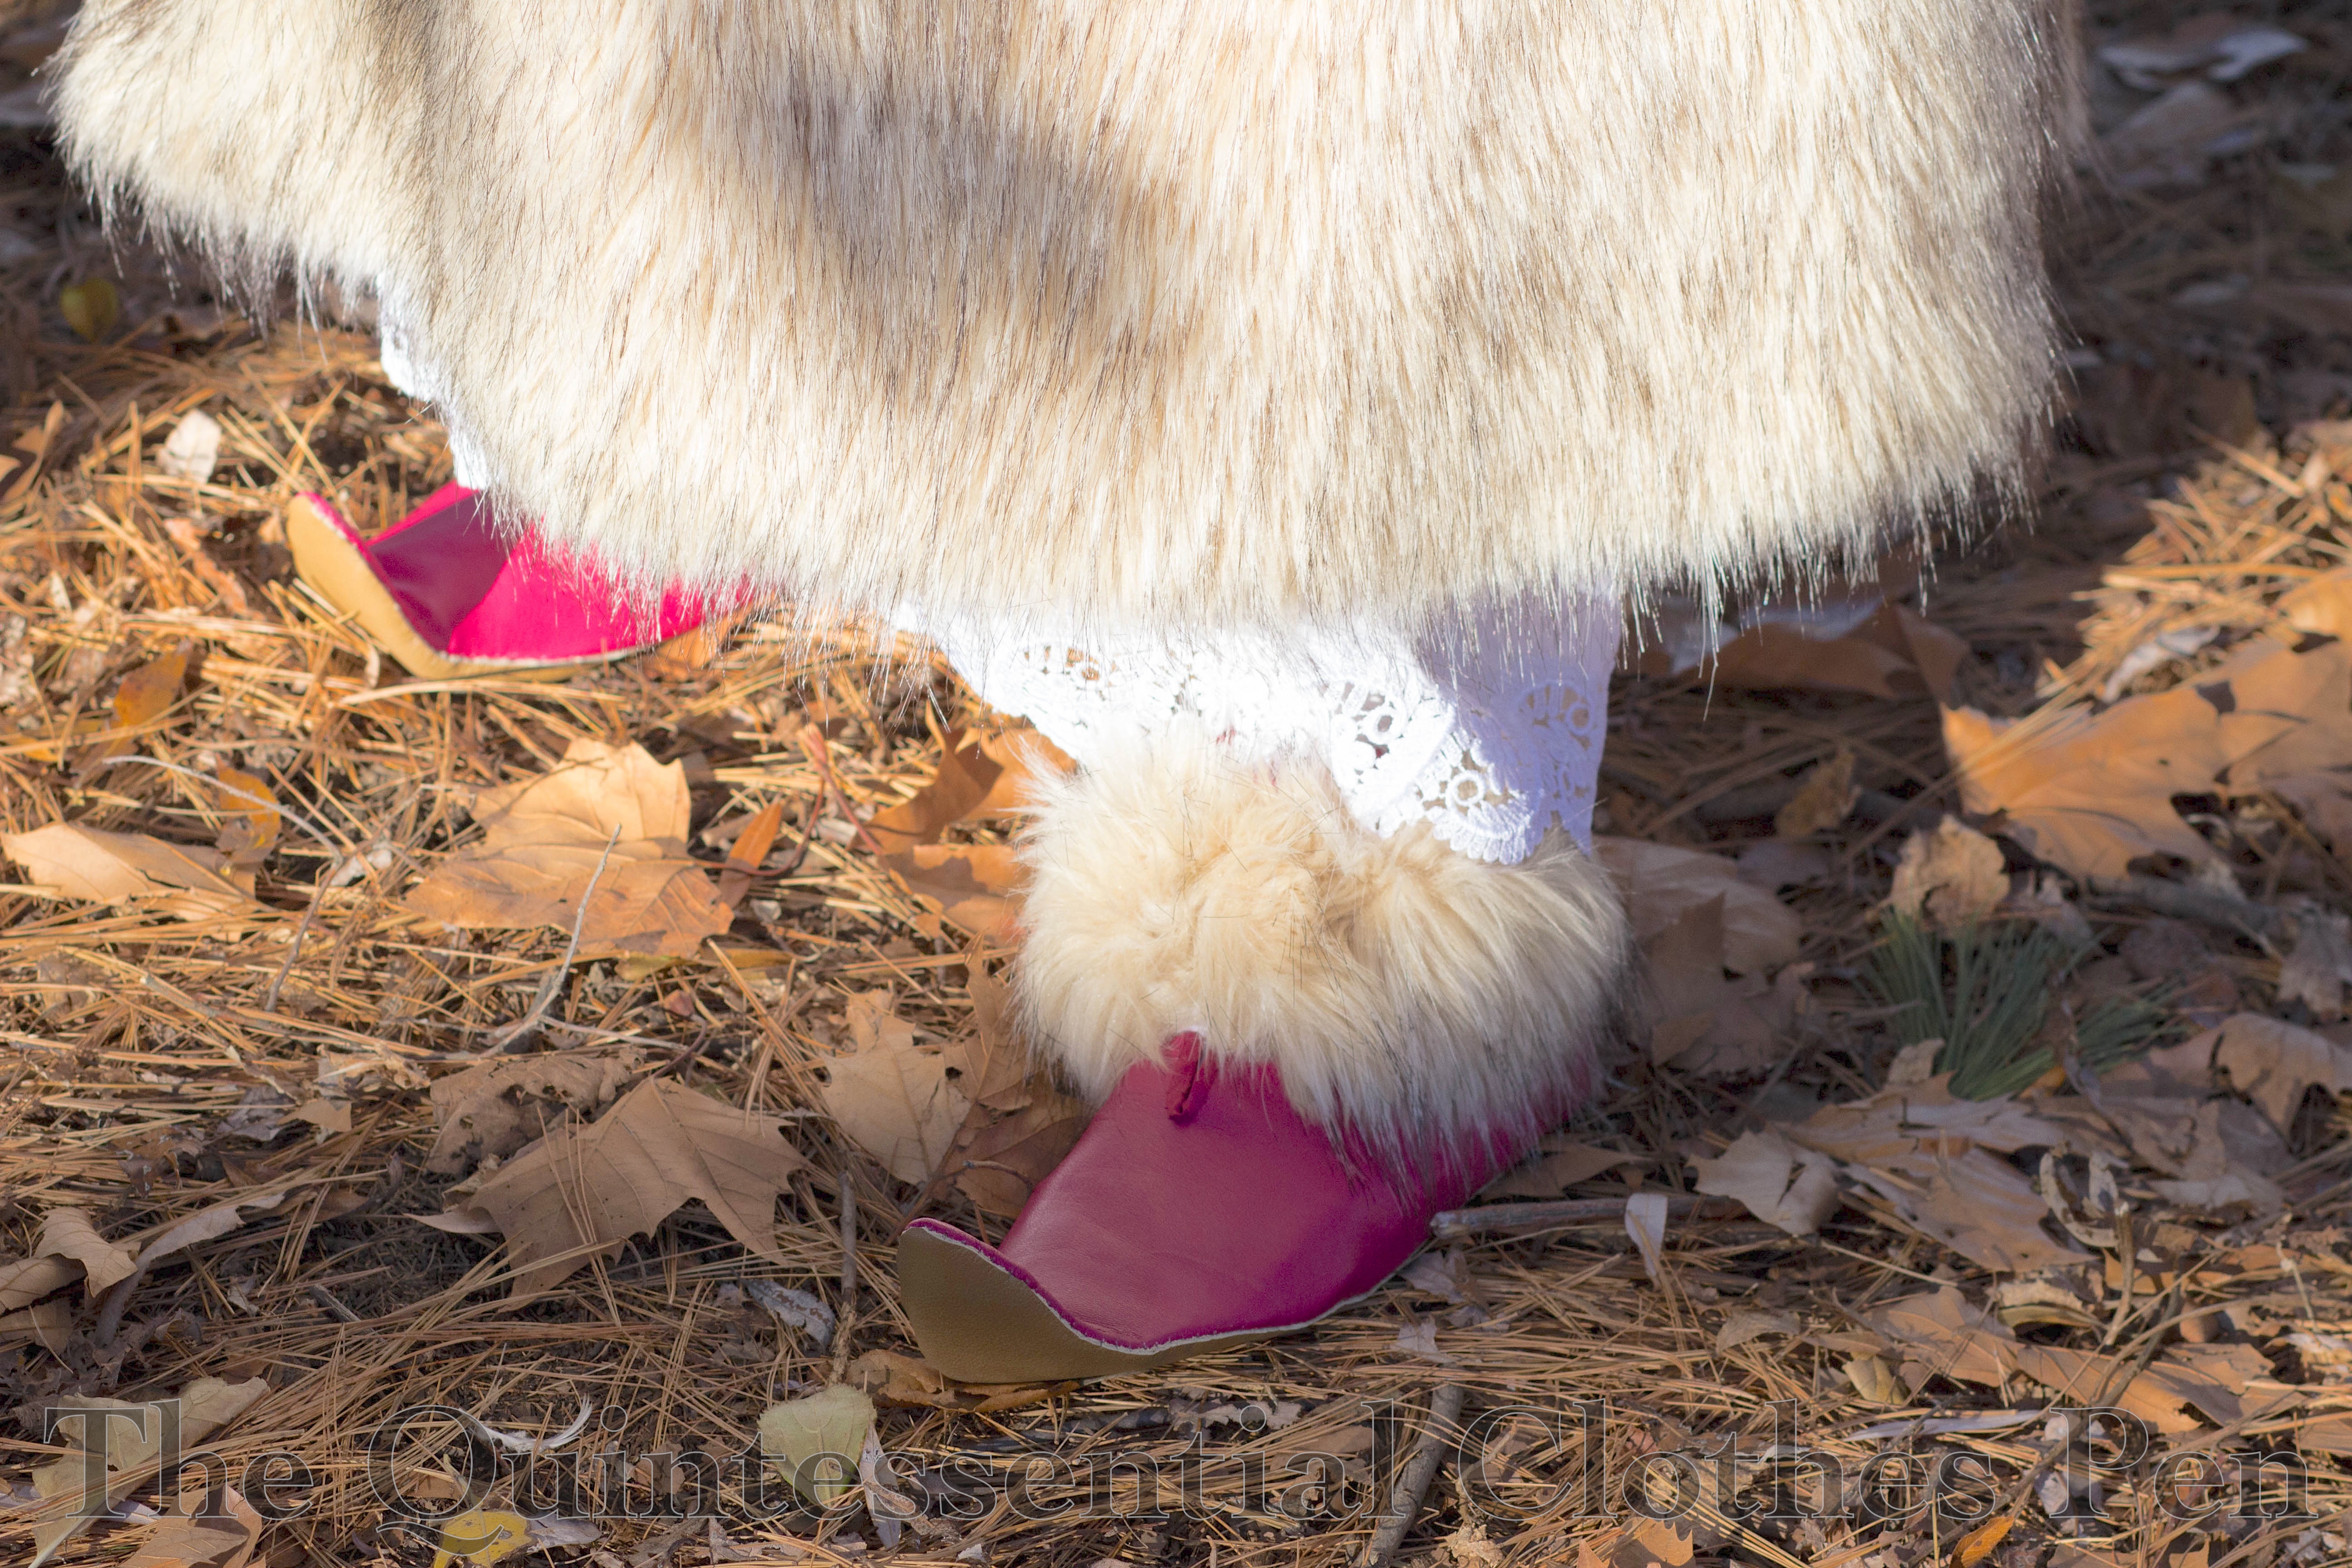
One of the five pieces of my Vernet Project was creating the silly up-turned-toe elf shoes in the fashion plate. Clearly, these are not shoes that could be purchased, as they are so specific in style, so I set out to make my own!

IMG_1920 (1)

In the beginning, I was thankful to have another Vernet project maker’s experience making her boots before mine to work from. Jenni posted a two part tutorial showing how she made her boots as well as sharing information behind-the-scenes with project participants earlier in the process (Part 1 and Part 2). She closely referenced Every Lady Her Own Shoemaker, published in 1855 (a little late relative to the date of the project, but still useful for construction advice), for construction methods and carefully documented her process. In fact, she did a much better job at documenting the actual sewing than I did… I also read Anna’s information about making mid-19th century shoes multiple times to help get my mind acquainted with the project (again, a little later than the period of the project, but still helpful). She also has lots of great construction pictures.

I started by creating a pattern for my shoe using patterns in Every Lady Her Own Shoemaker. Given that my shoe has the unusual turned-up-toe, I necessarily needed to make adjustments to the general slipper pattern. Here is my shoe at the mockup stage. The upper pieces fit pretty well! I adjusted the width of the sole as well as the shape of the turned-up section before moving on to cut out the final pieces.

Mockups.001

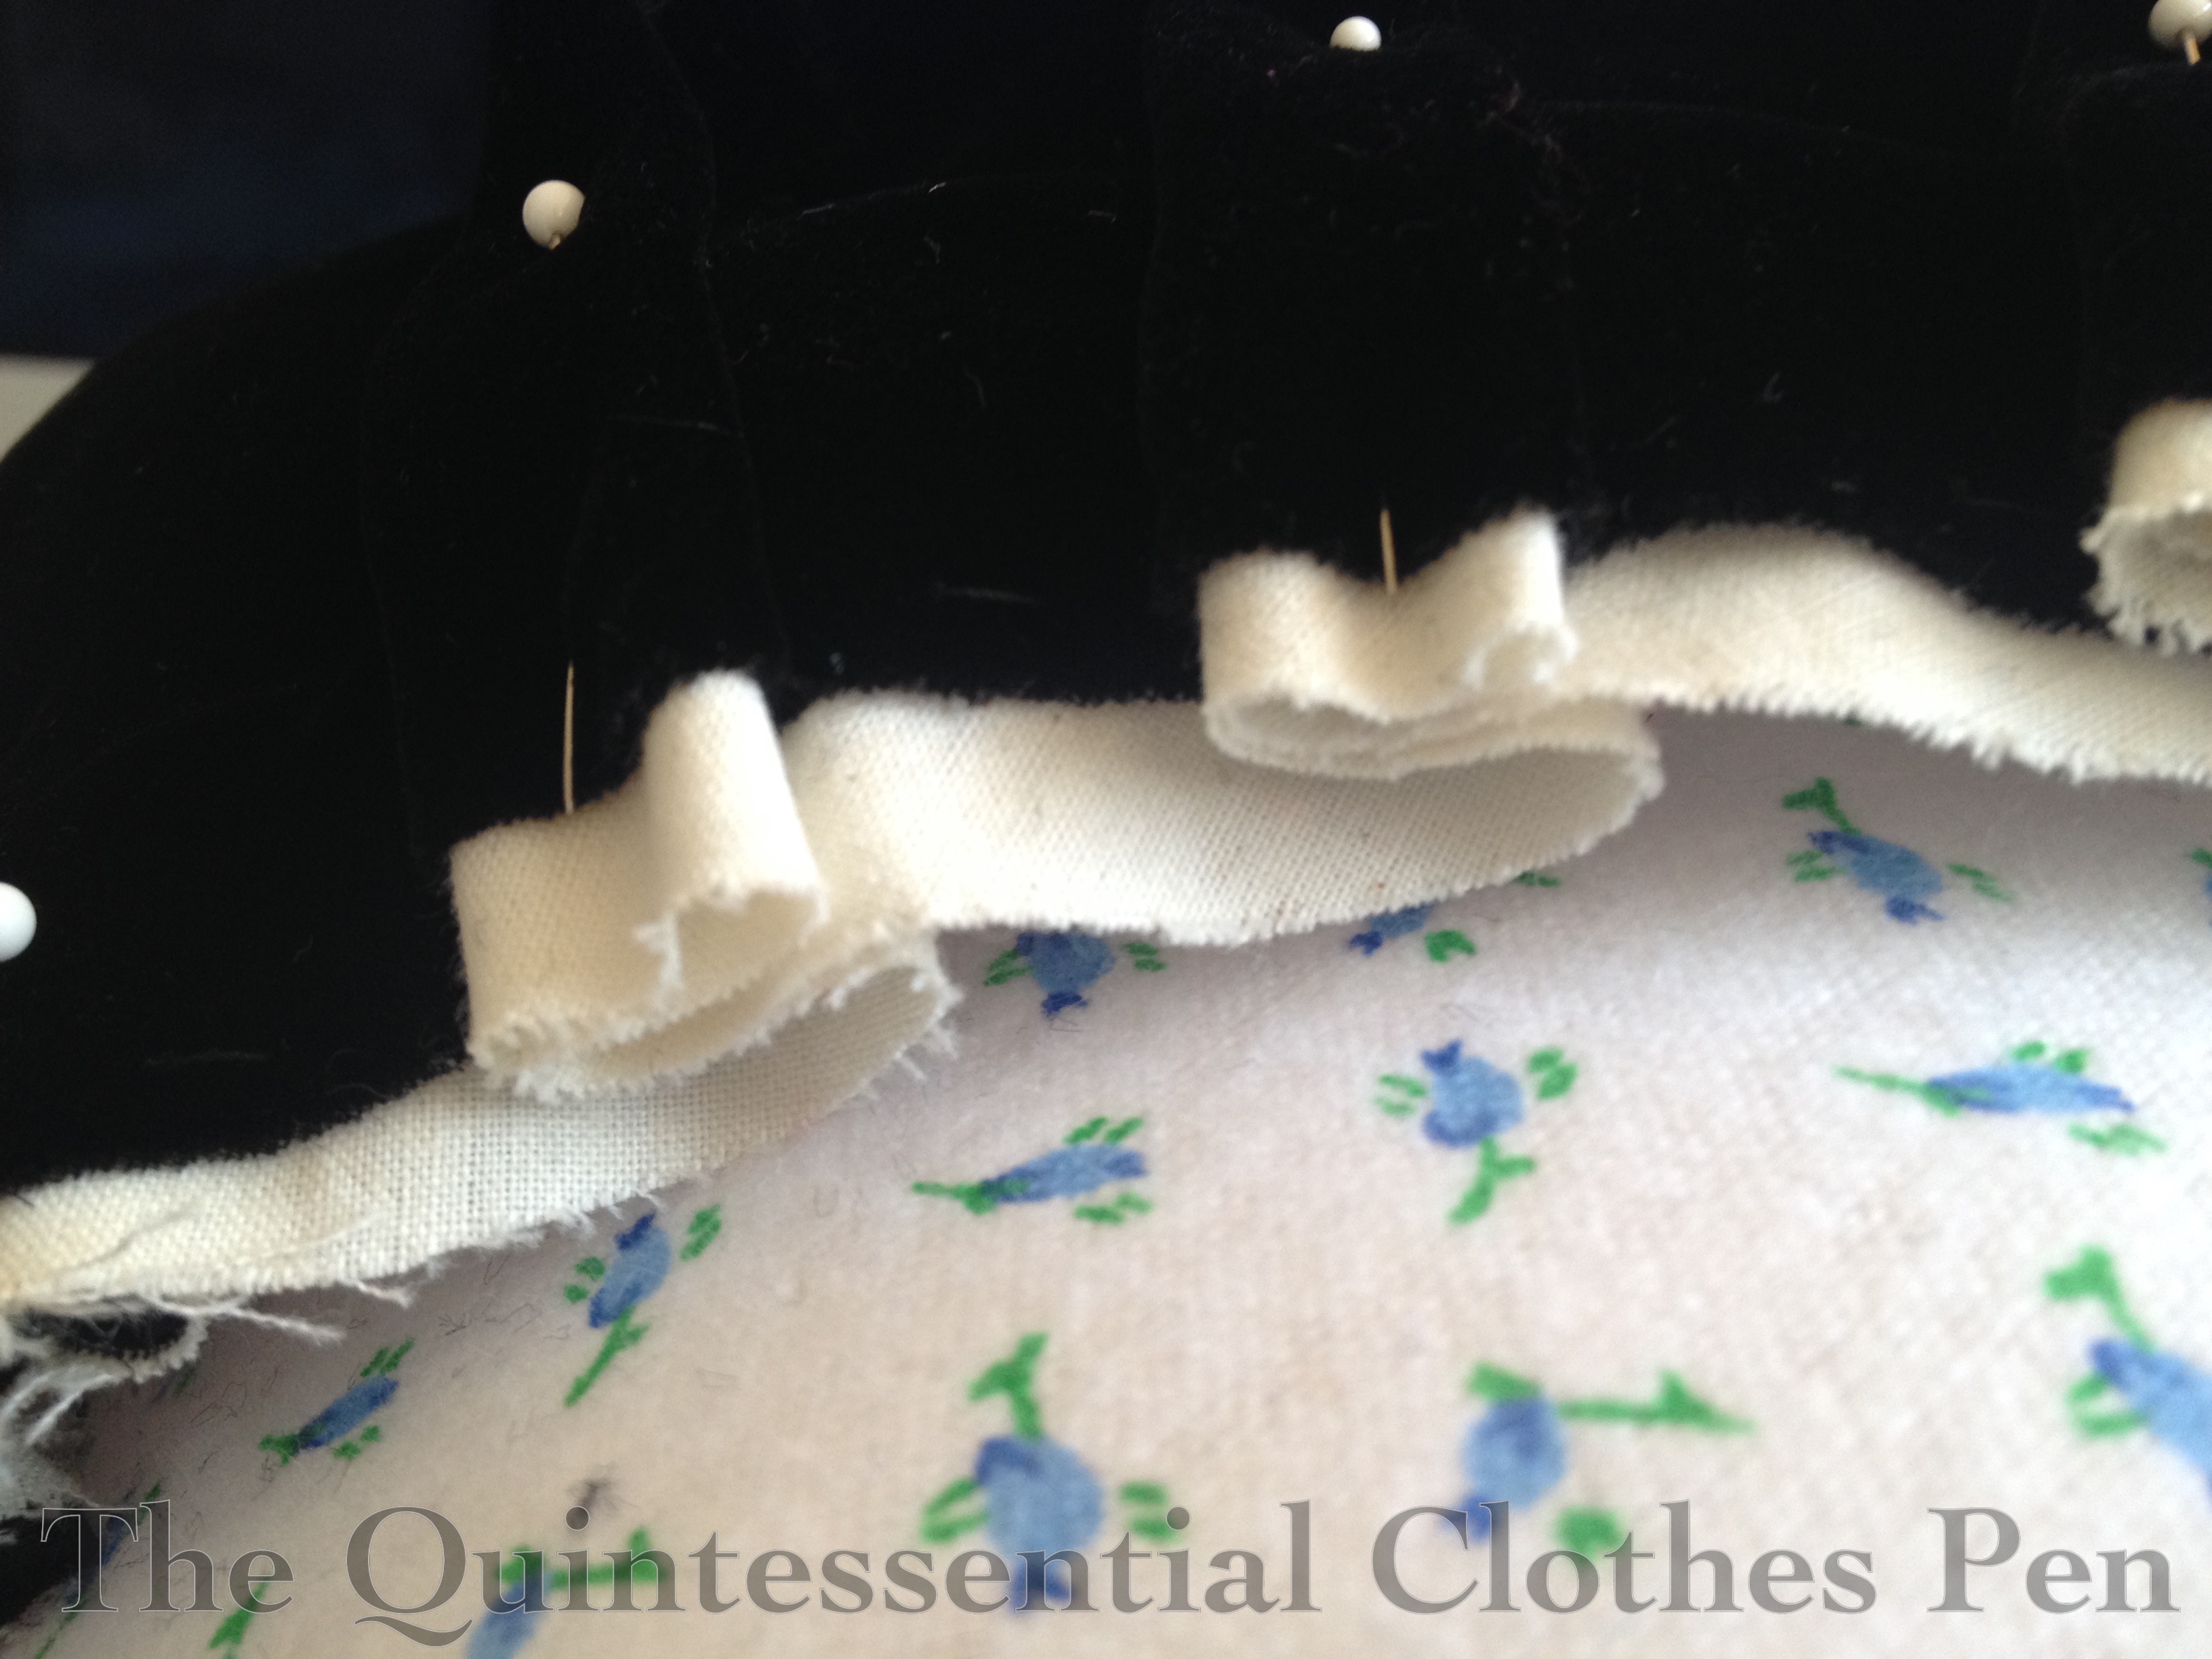
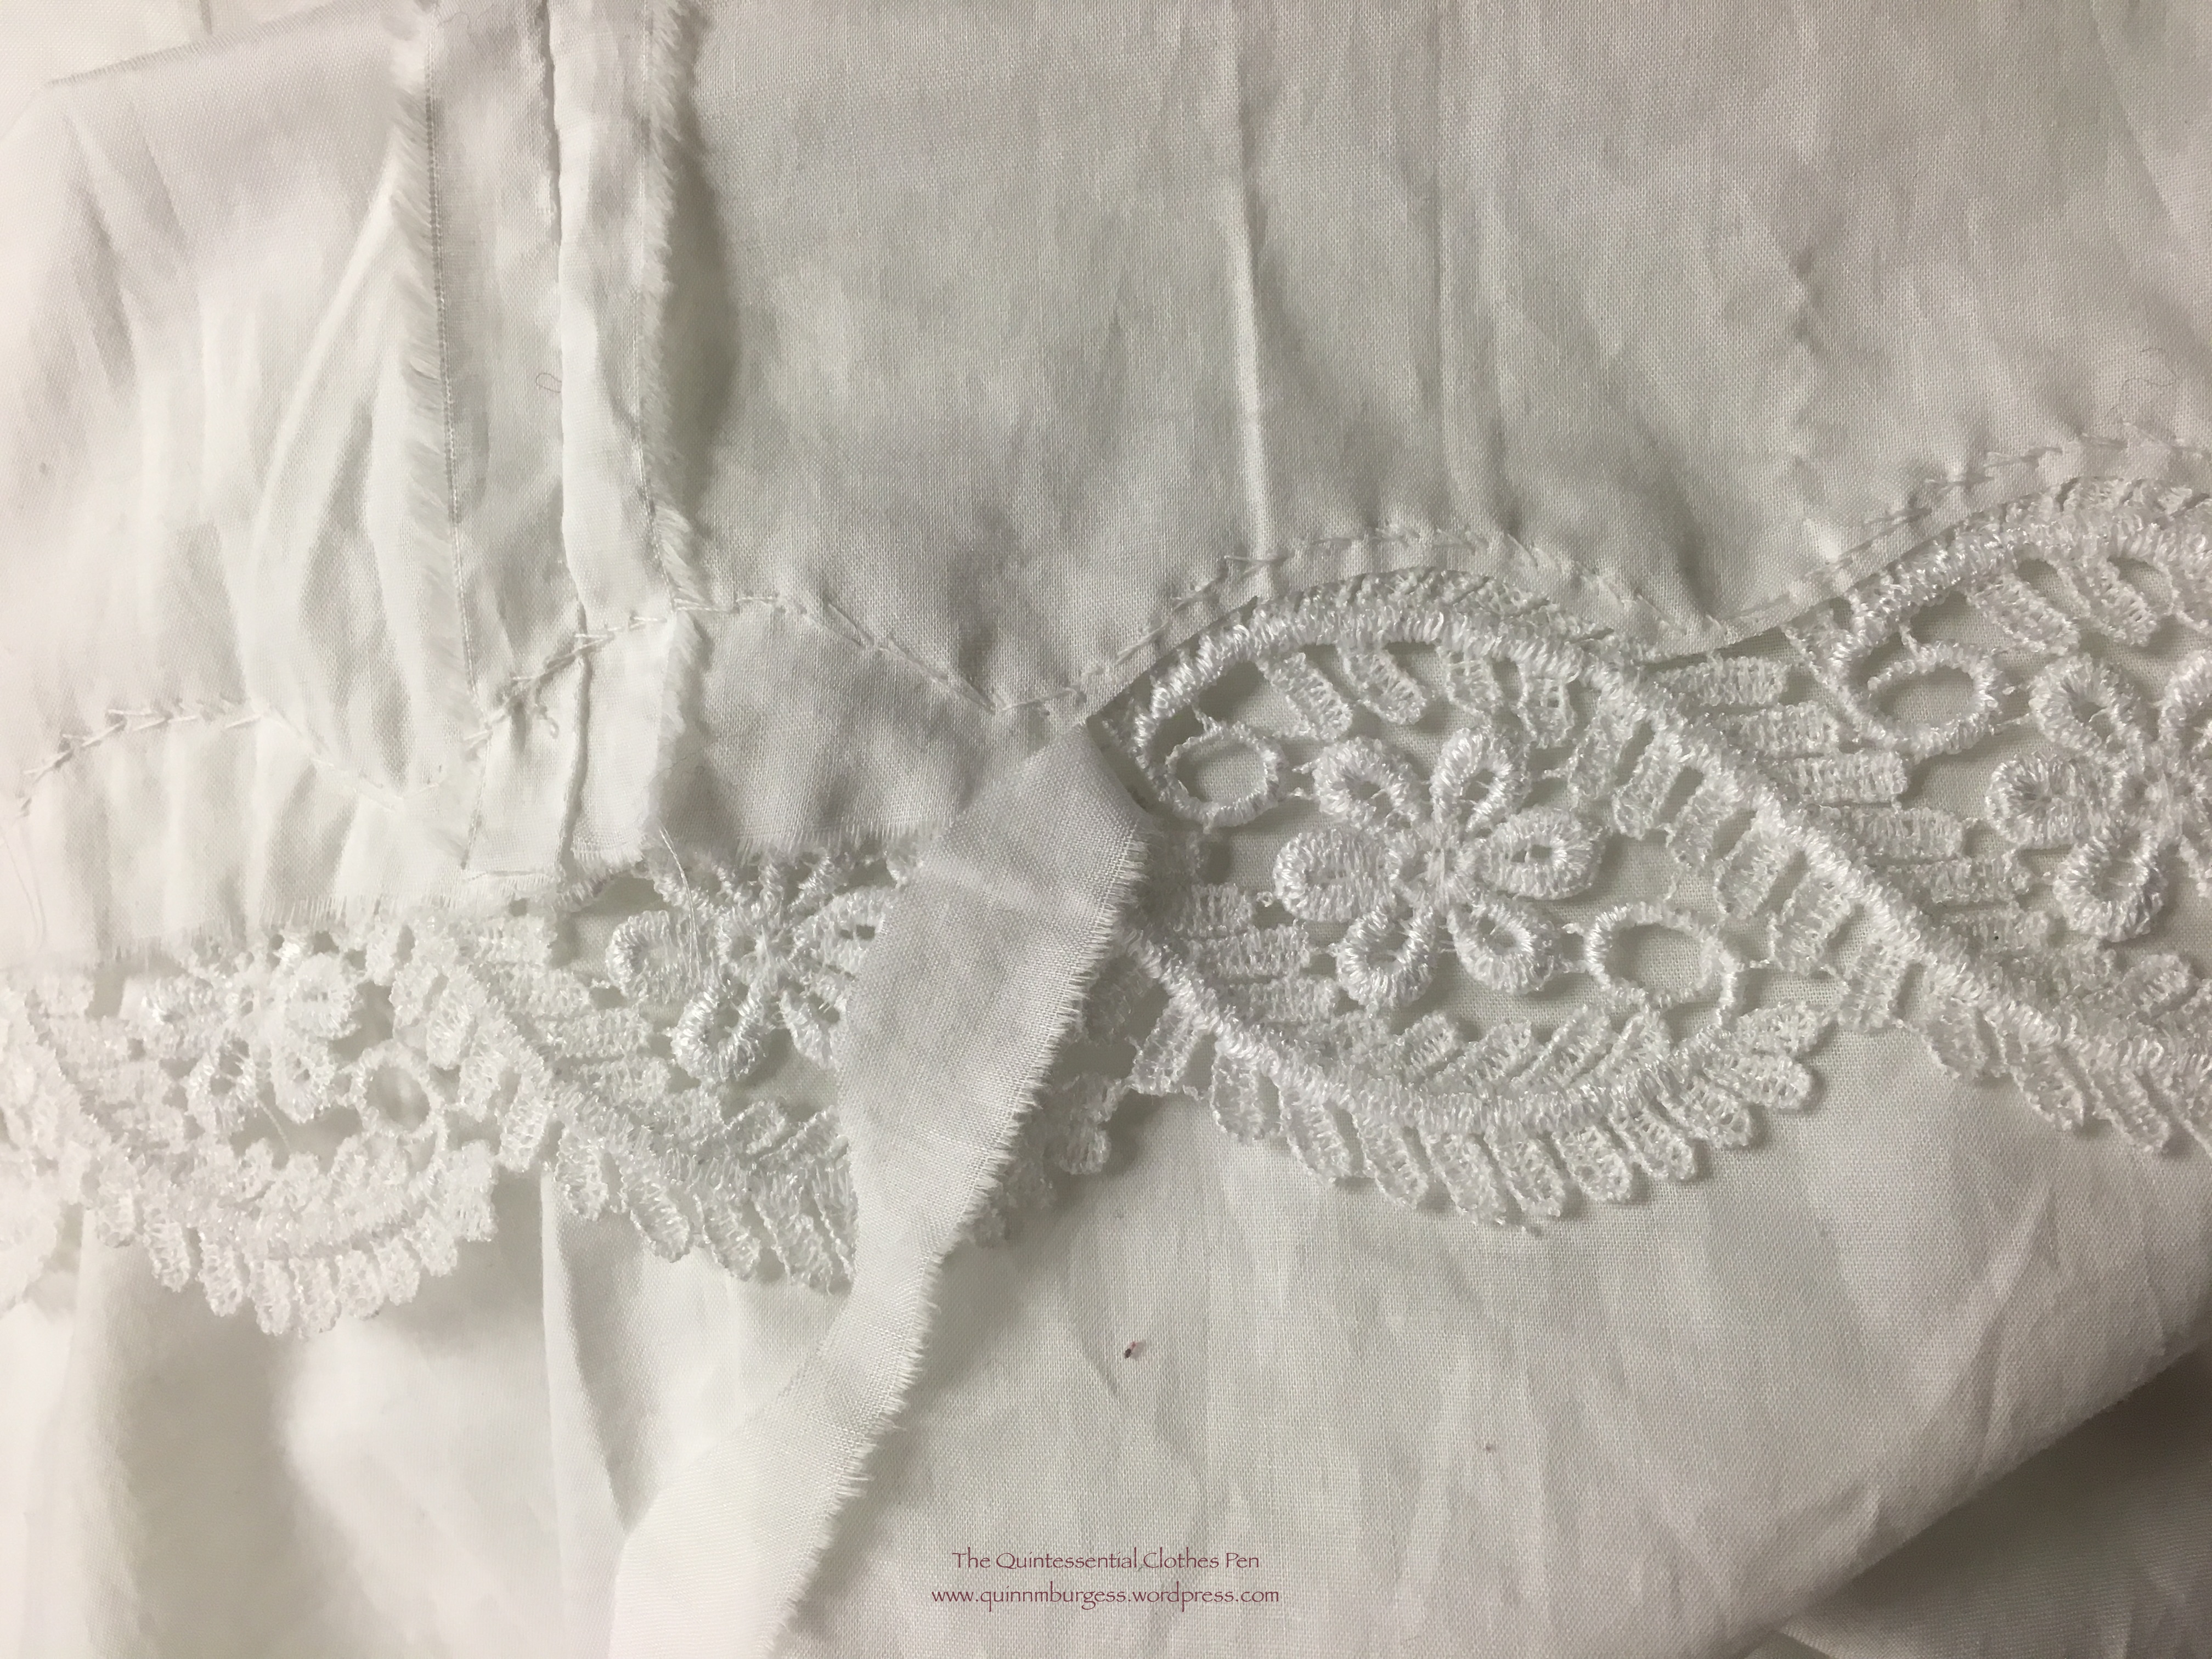
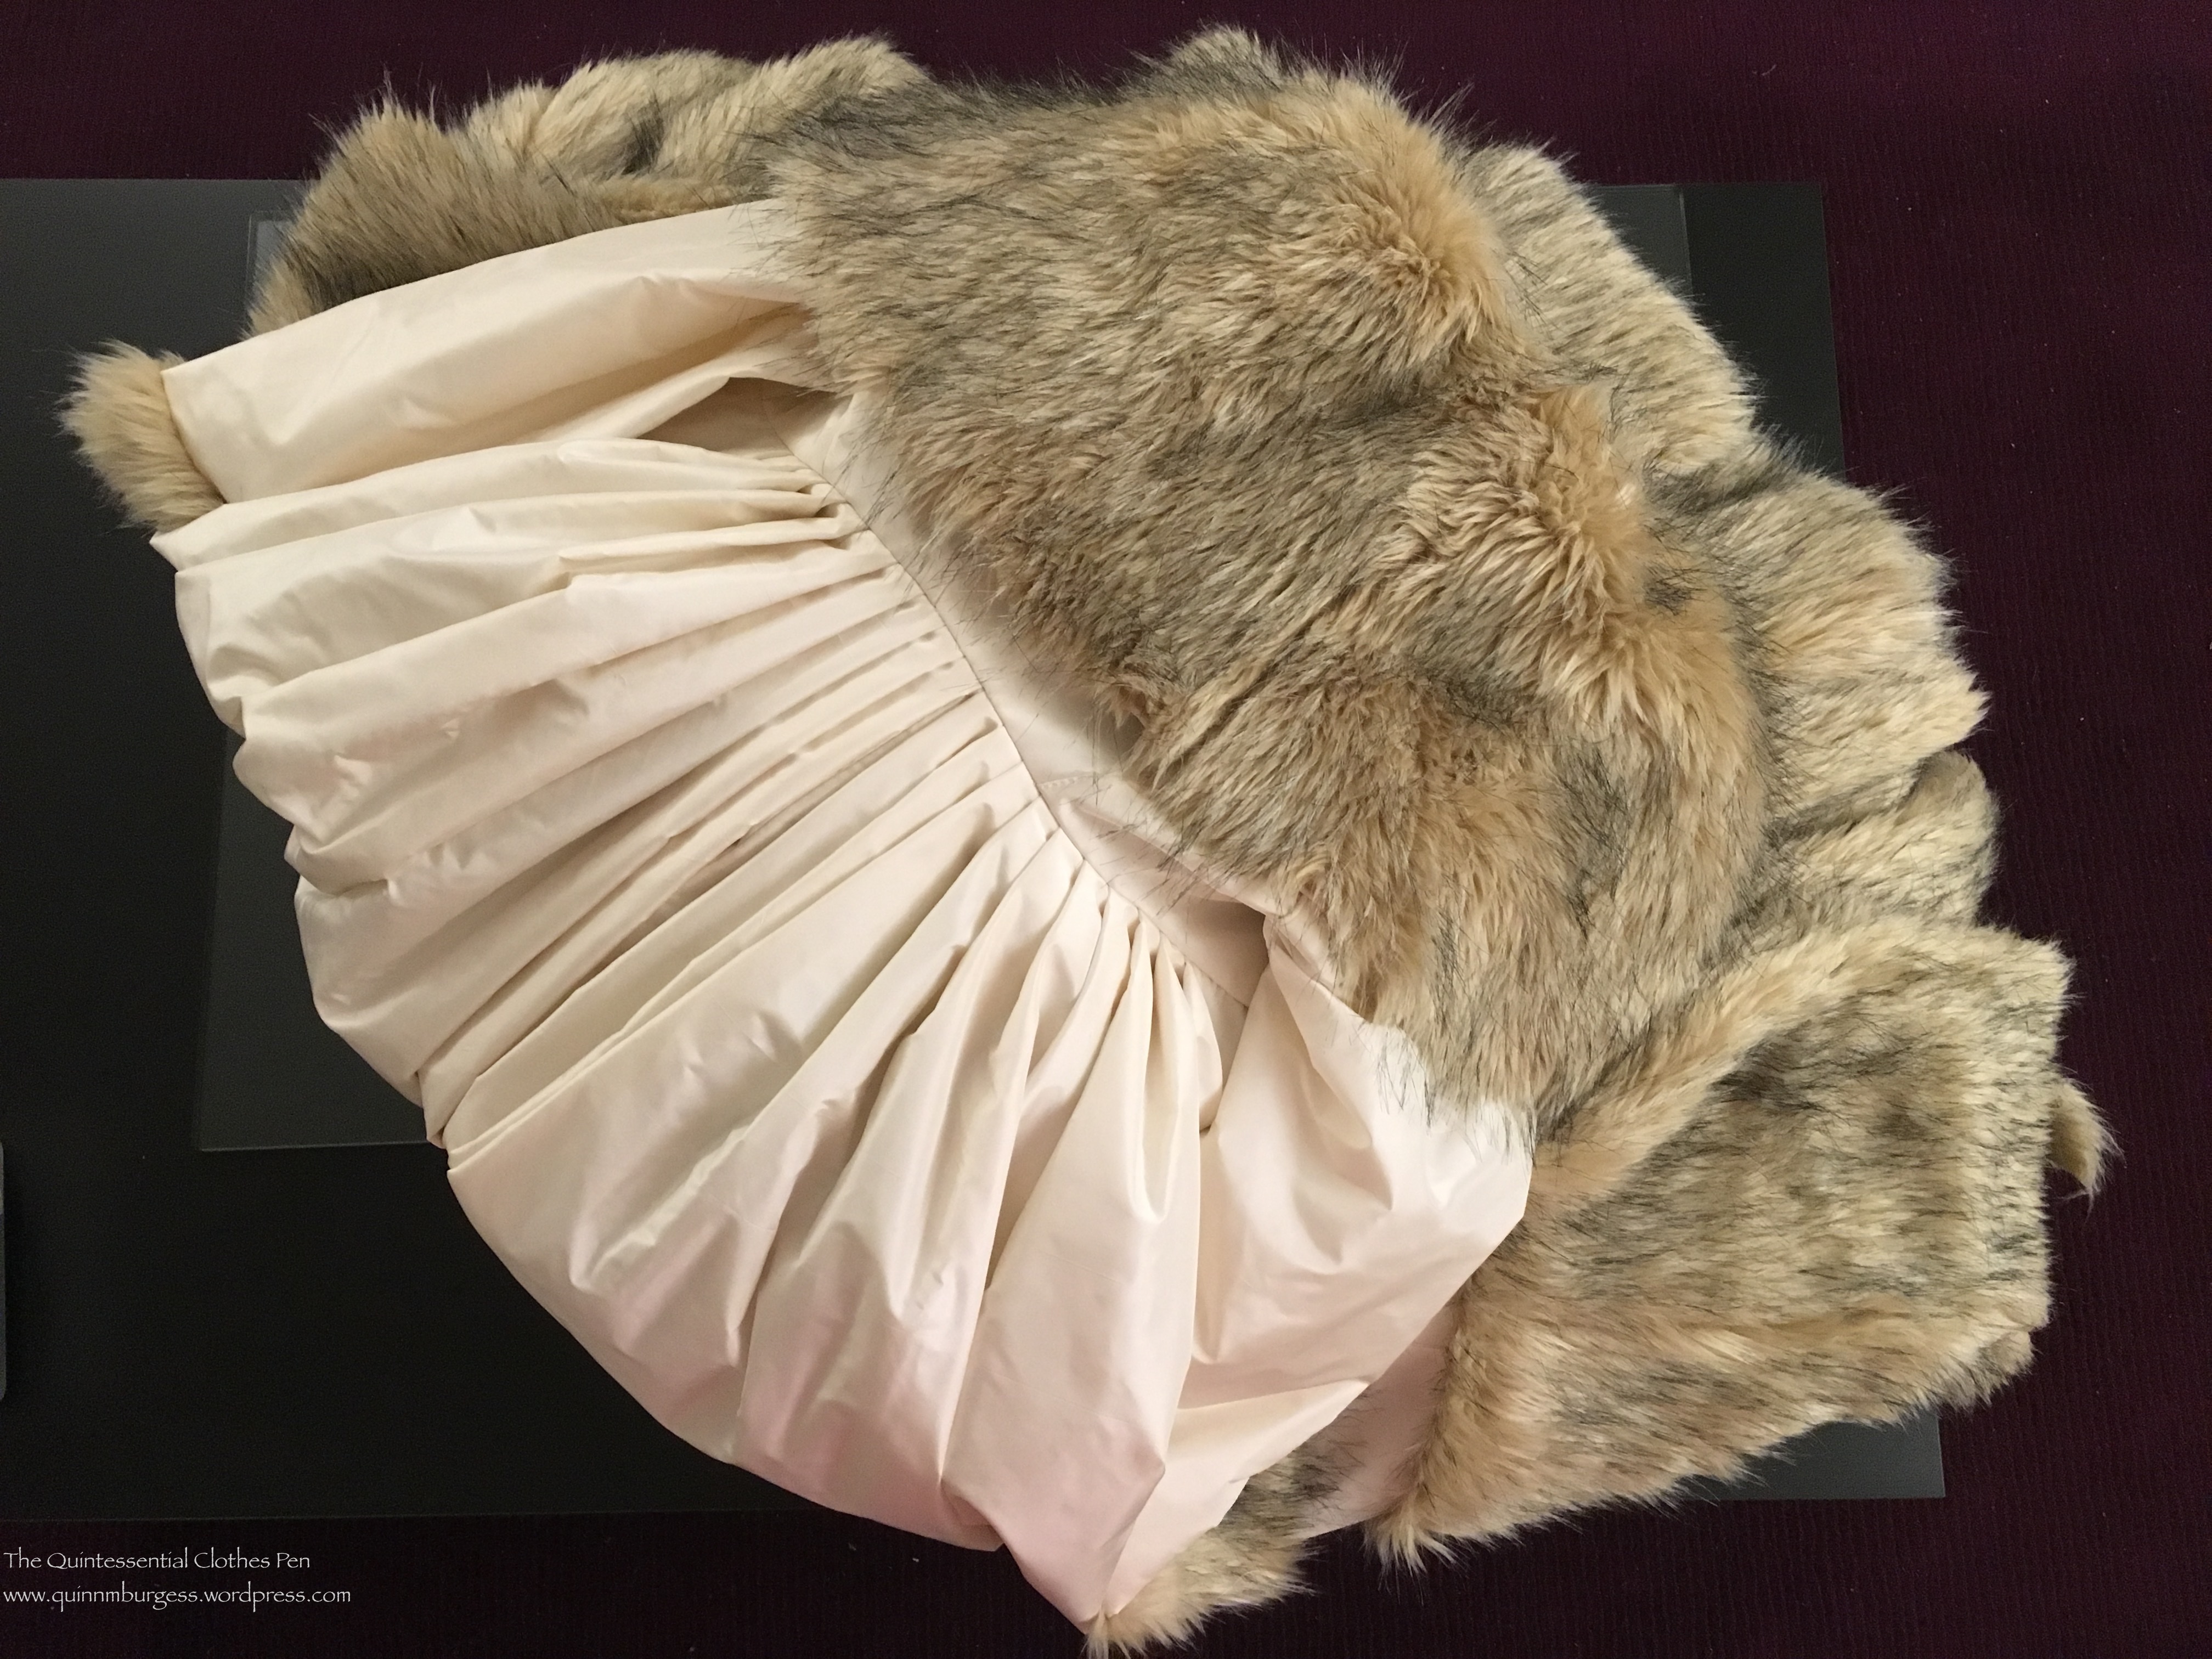
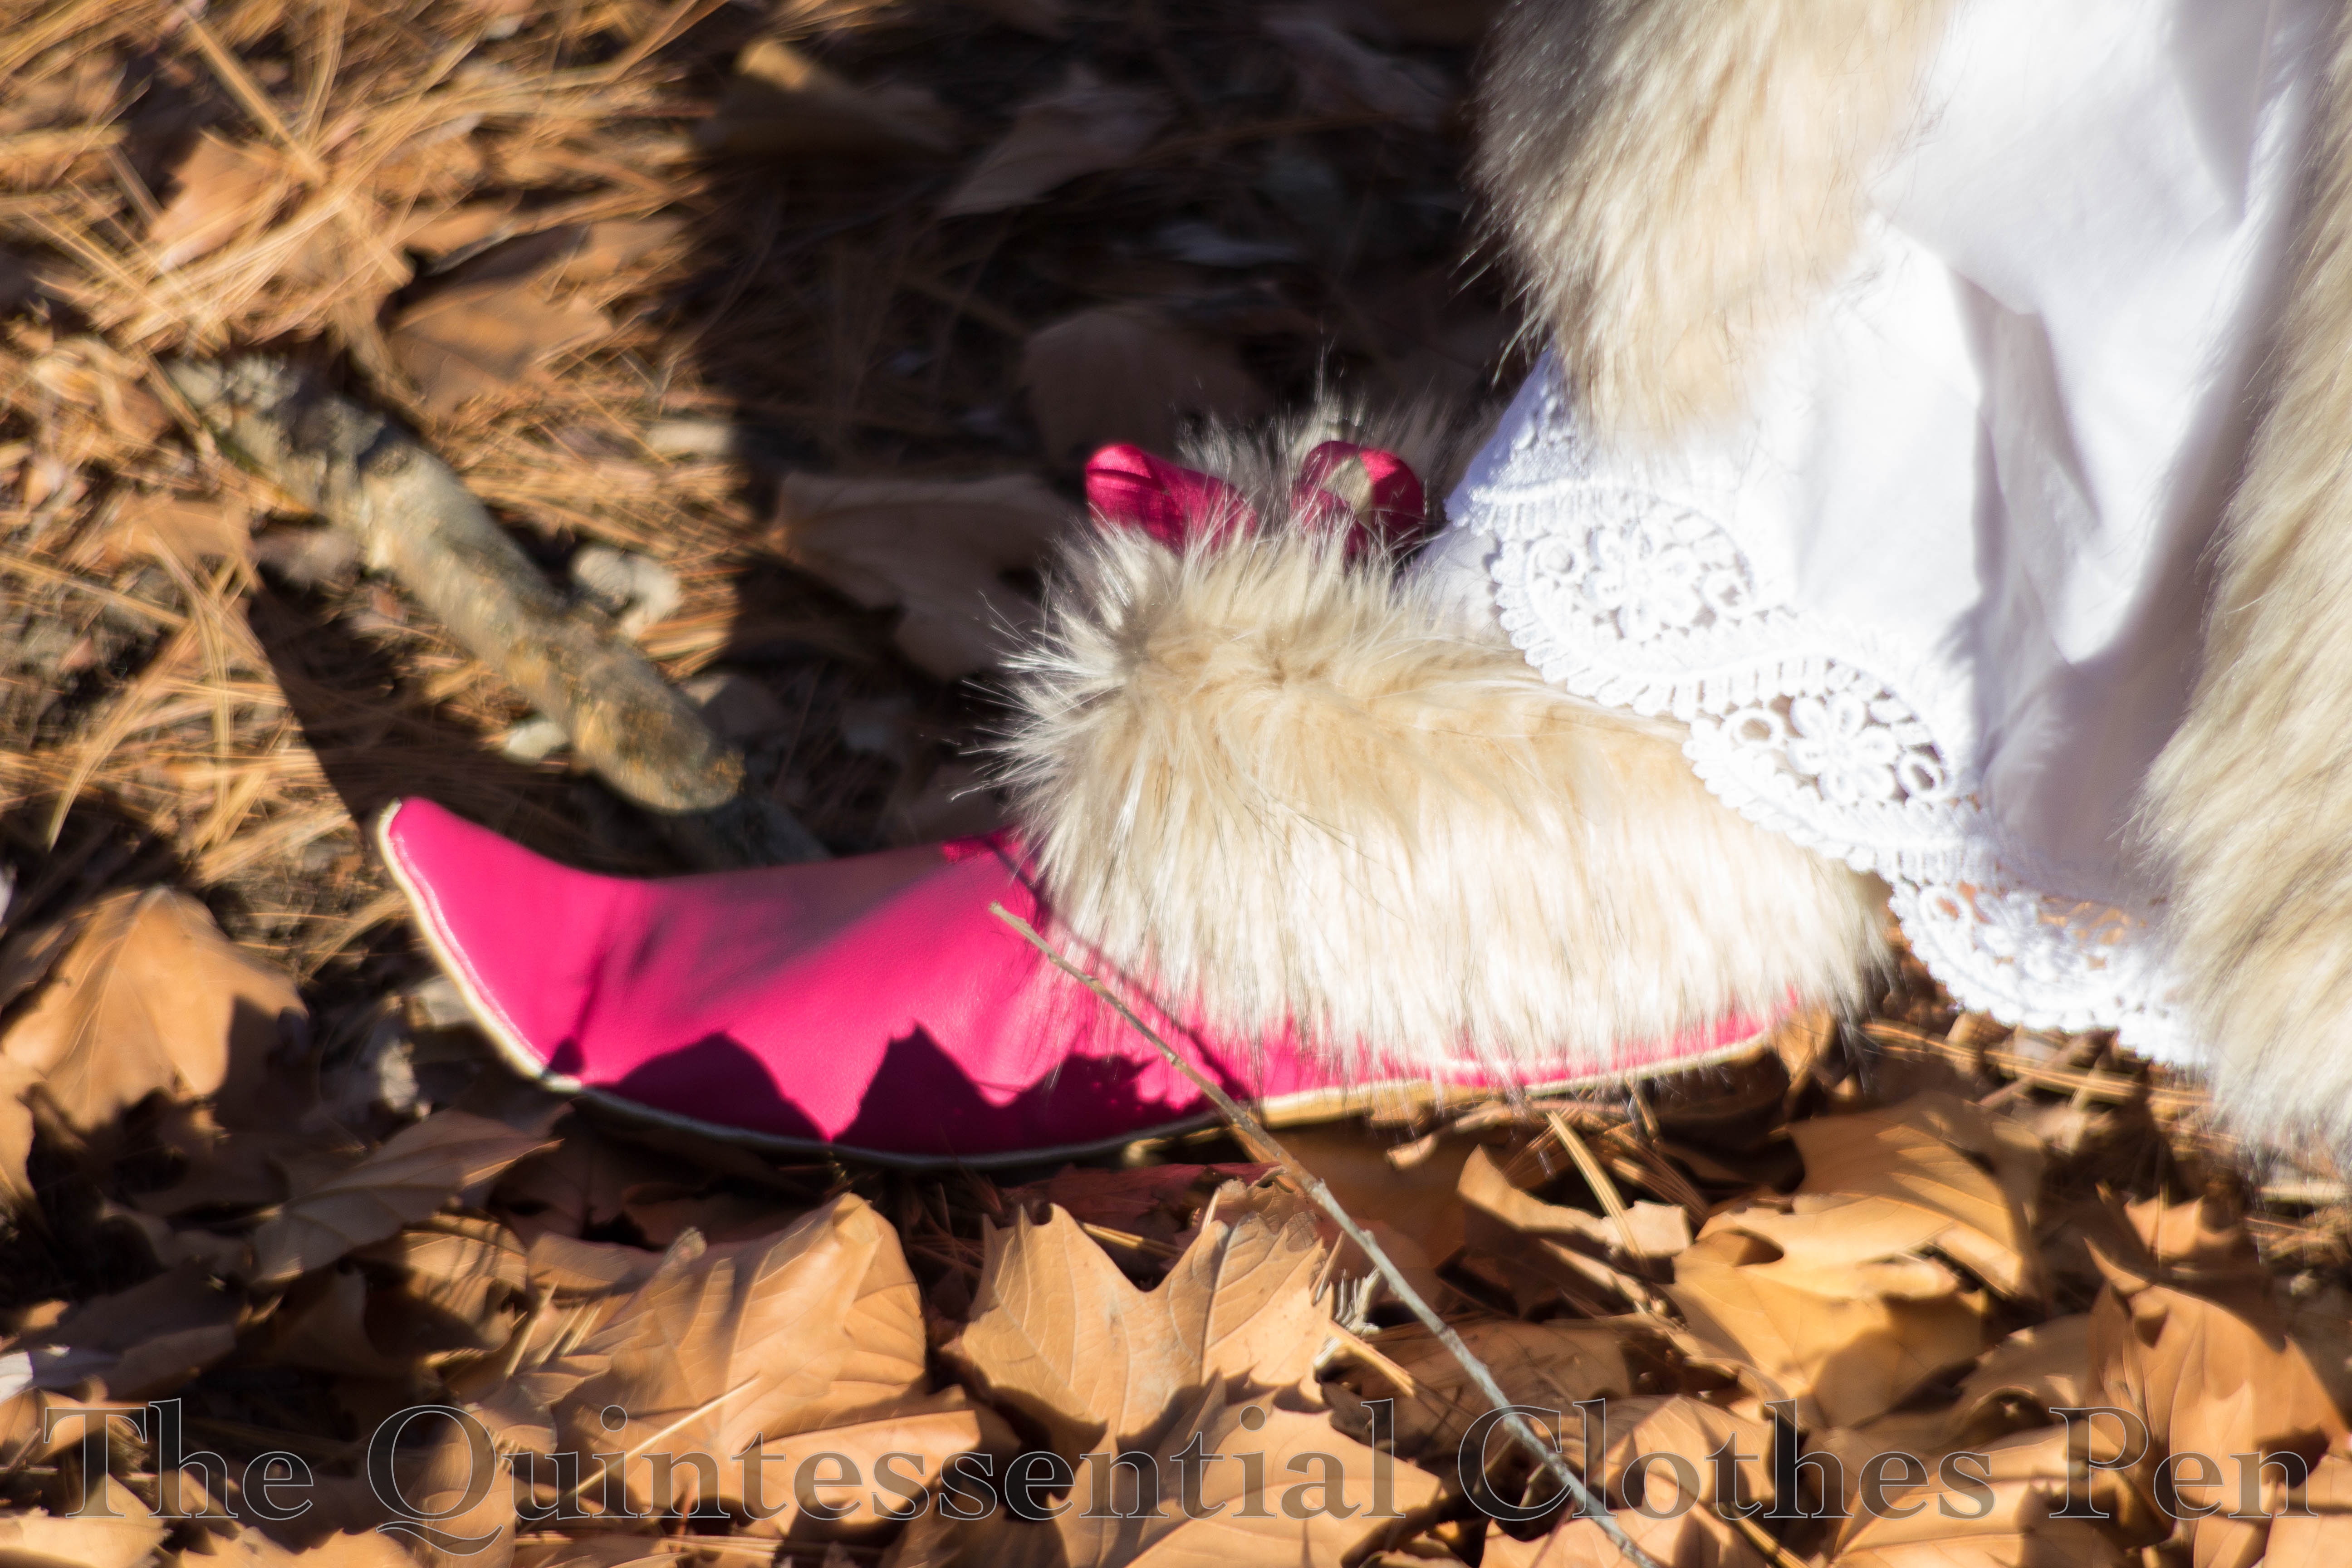
Here are all of the final pieces cut out and ready to assemble. The soles have three layers: heavier tan leather for the outer sole, cardboard for the inner sole structure, and white linen to cover the cardboard insole. The uppers have two layers: lightweight raspberry leather for the exterior and white linen for the interior. Later in the process I also added a faux fur cuff.

IMG_0239 (1)

To help the shoes keep their turned-up-toe shape I soaked the leather soles in water, taped them to a lysol wipe container, and let them dry. You can see the results below. Not perfectly curved up, but still helpful. I also tried boiling leather soles to thicken them before shaping, but found that the leather shrank unevenly which created soles that wouldn’t work for this project. I did save them, though, and hopefully will get to use them for a future shoe making endeavor. I repeated the soaking and shaping for the cardboard insoles before gluing the linen to them. There’s a picture of the insoles at this stage in this past post.

Soles in progress.001

After shaping the soles it was time to construct the uppers. I did the interior and exterior separately, then basted them together around the top opening and around the bottoms. Then I sewed the bottom edges of the uppers to the soles, using the slanting stitch through the side of the sole that Jenni shows in Part 2 of her tutorial. She used all sorts of nifty leather tools as well as a wooden last during construction. I purchased the nifty leather tools but found that they didn’t work for me and a simple non-leather needle worked just fine. (I think my leather was too thin and soft for these to be needed). As for the last, I looked online for a wooden one, never found one in my size foot, and eventually decided to give it a go without one, especially since I had to do the turned-up toe. In the end, I don’t think it was a problem not to have a last.

IMG_2253 (1)

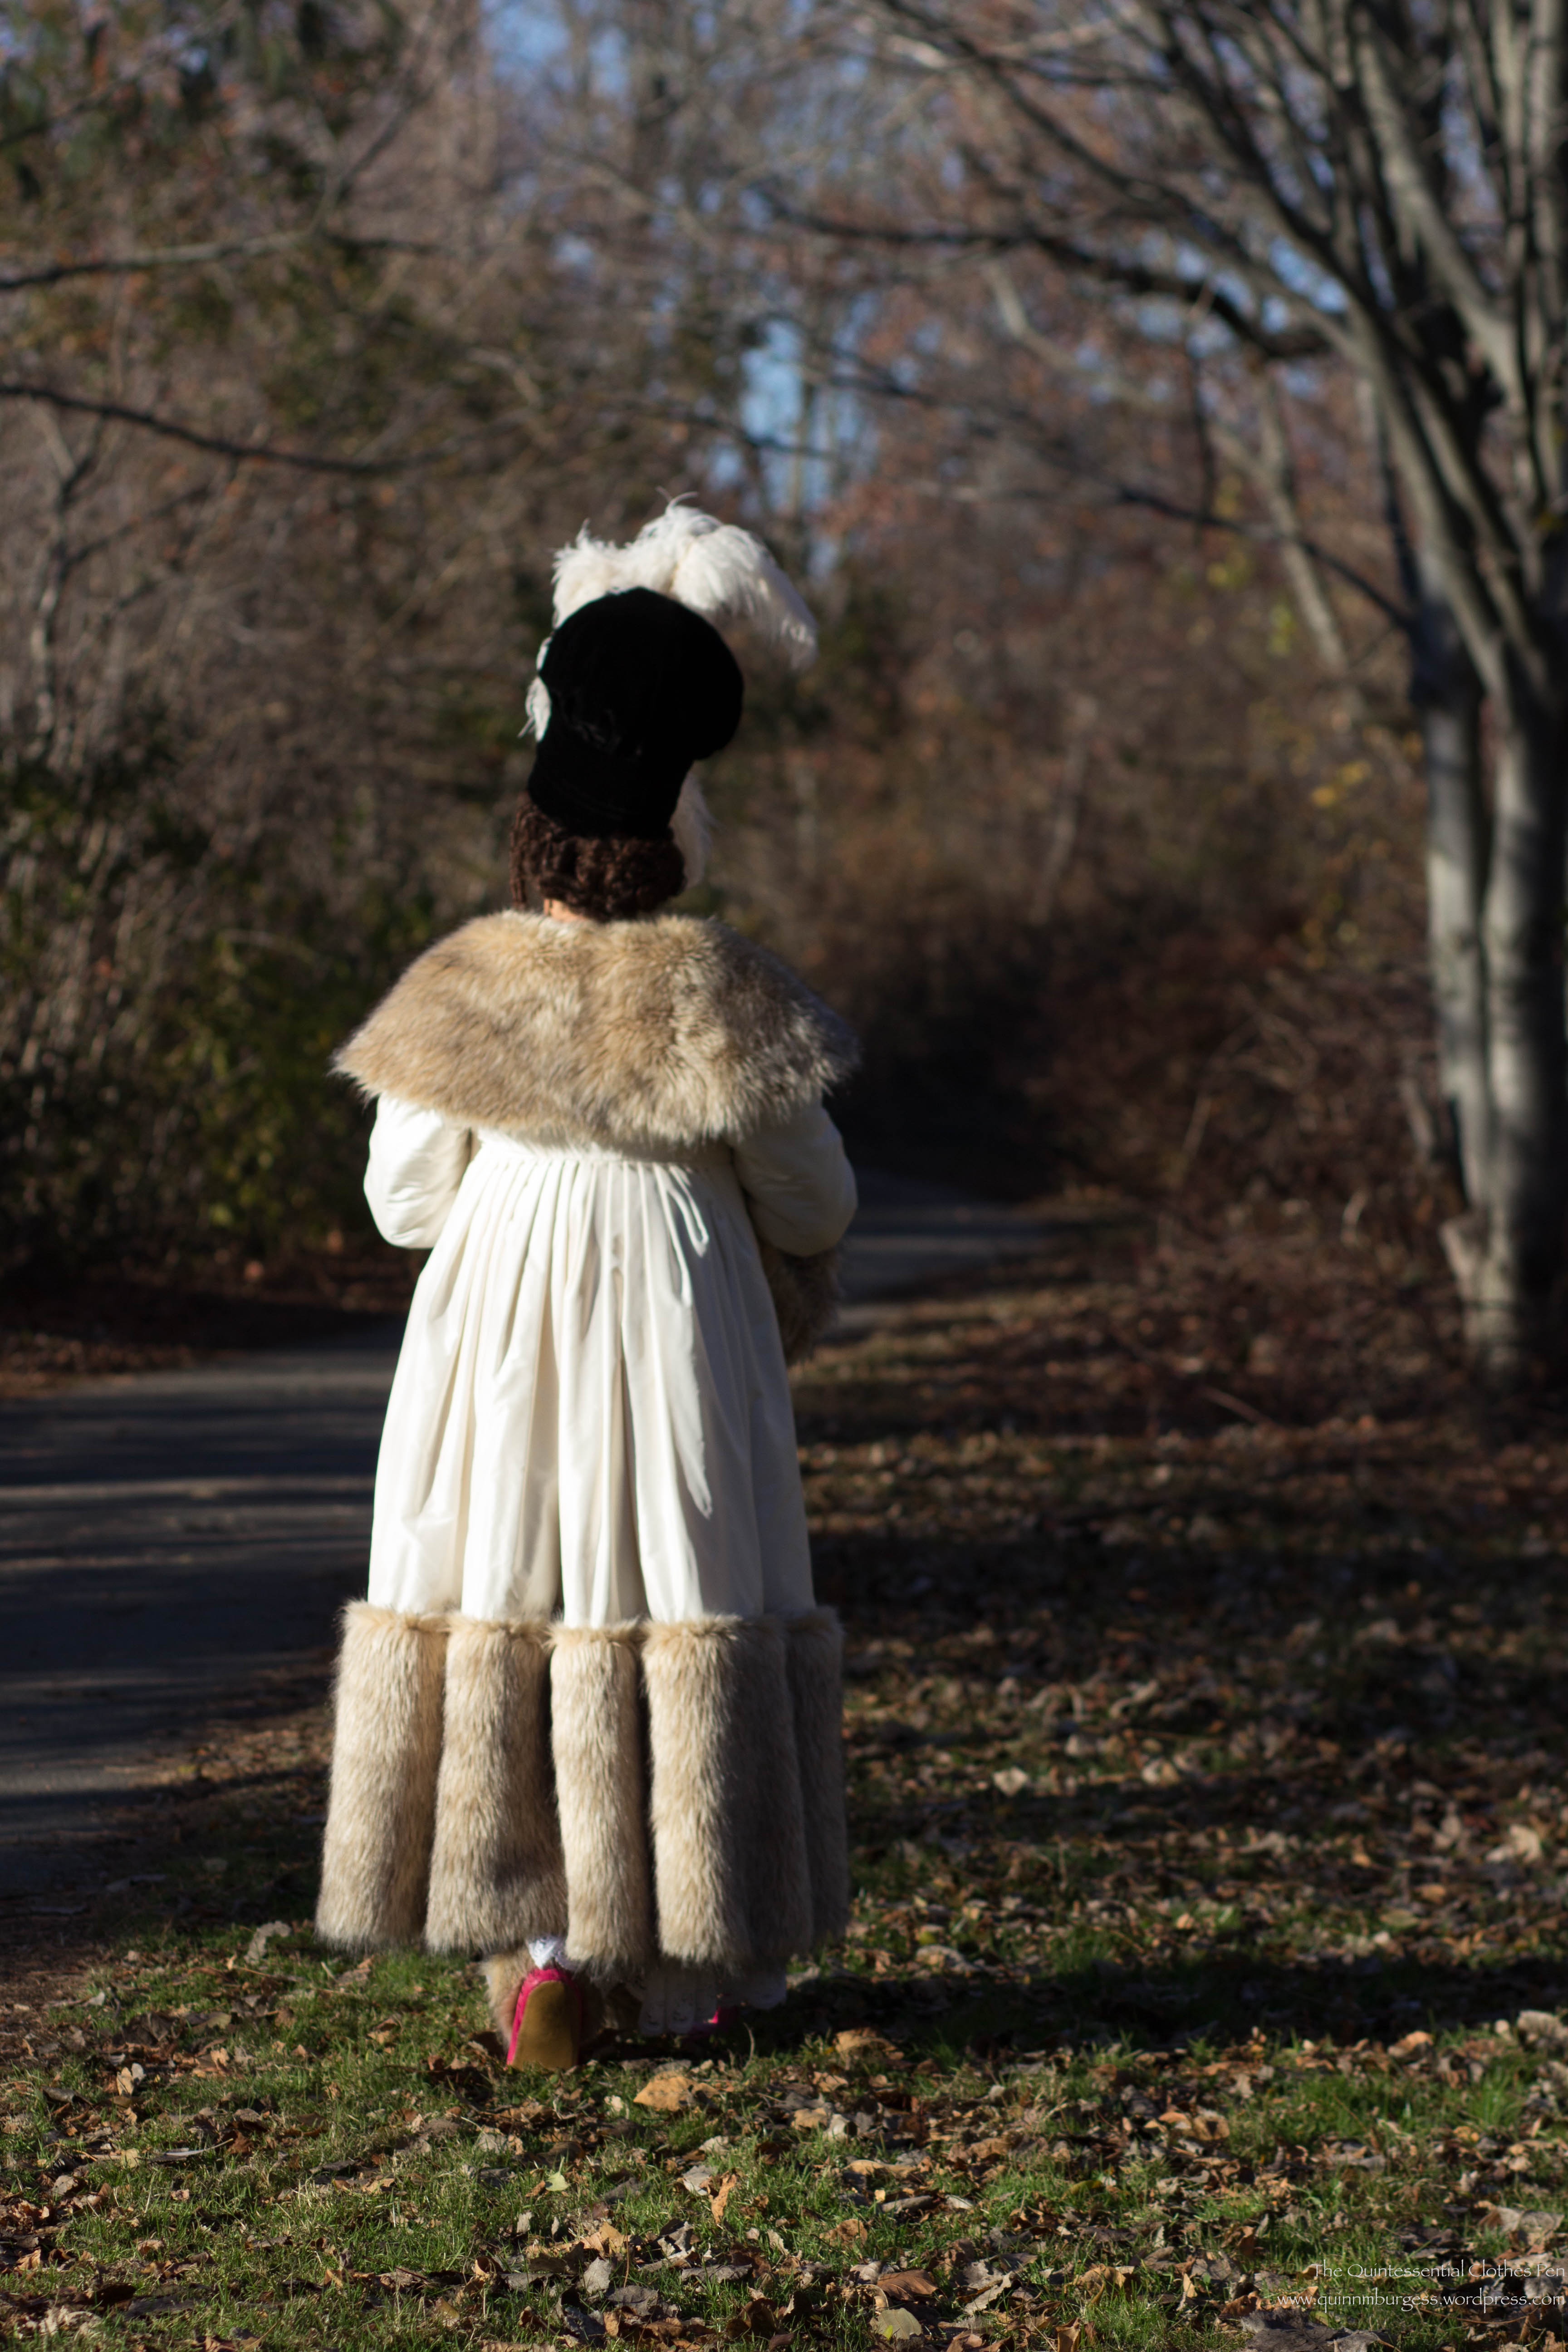
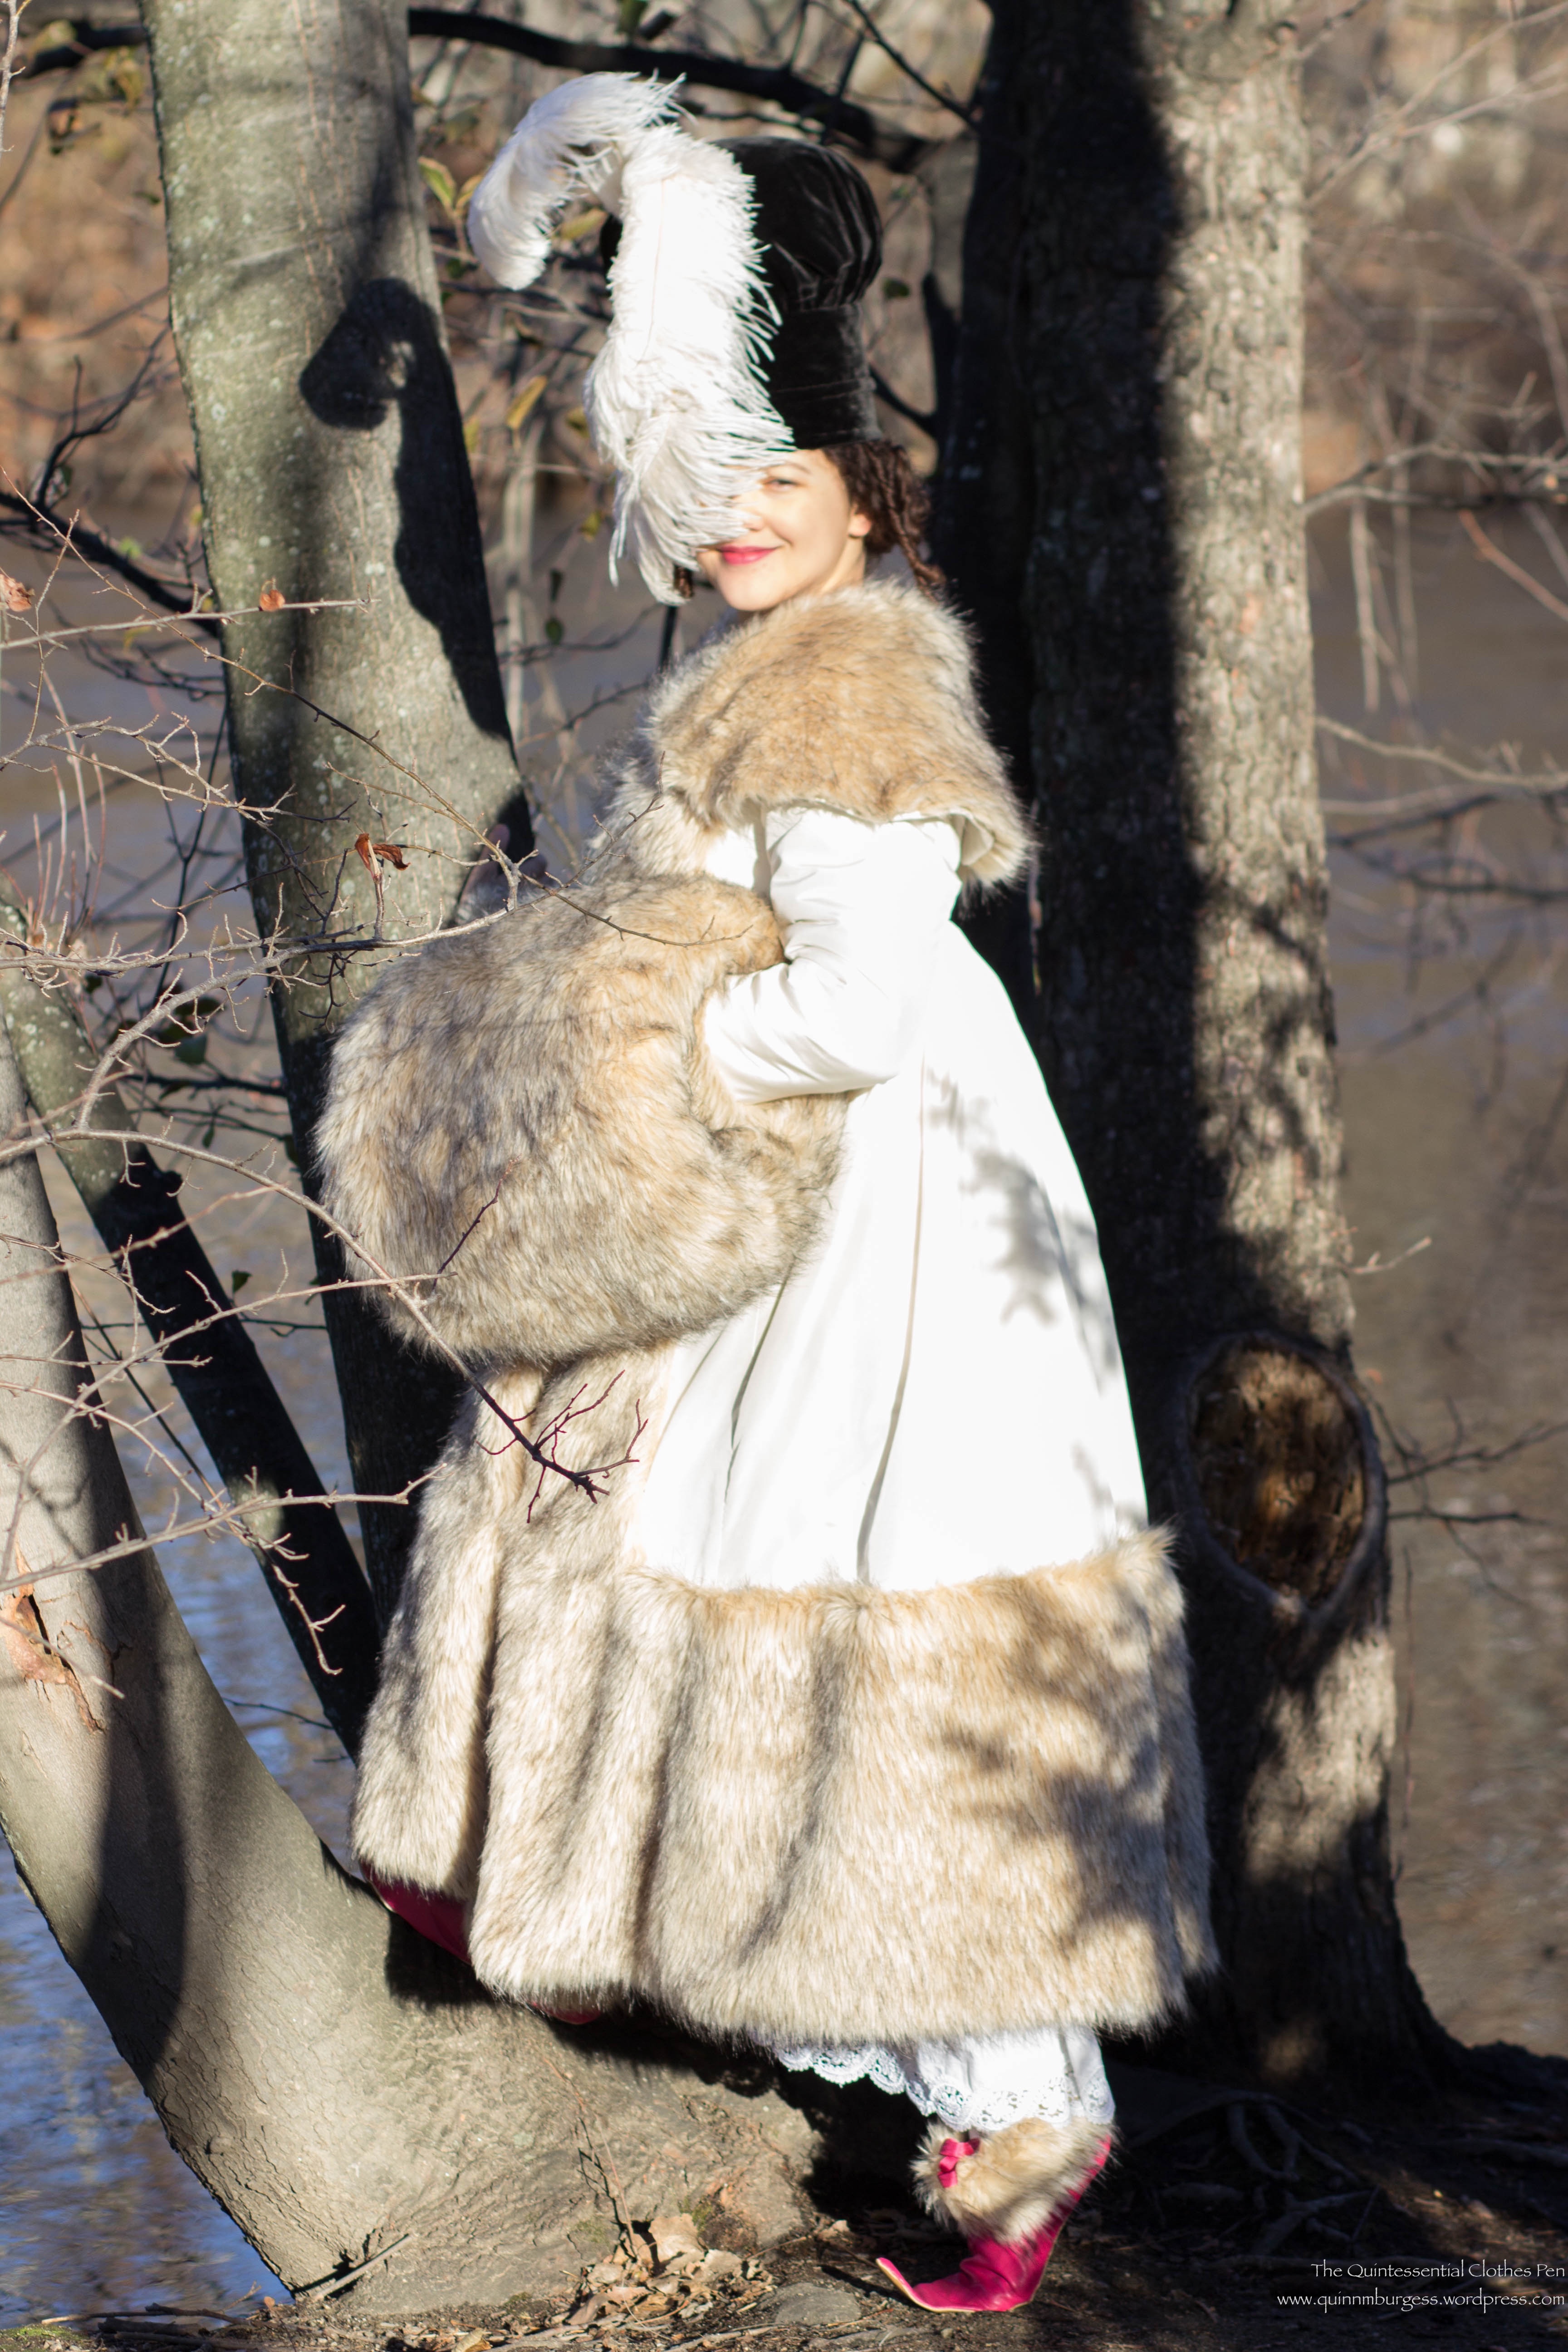
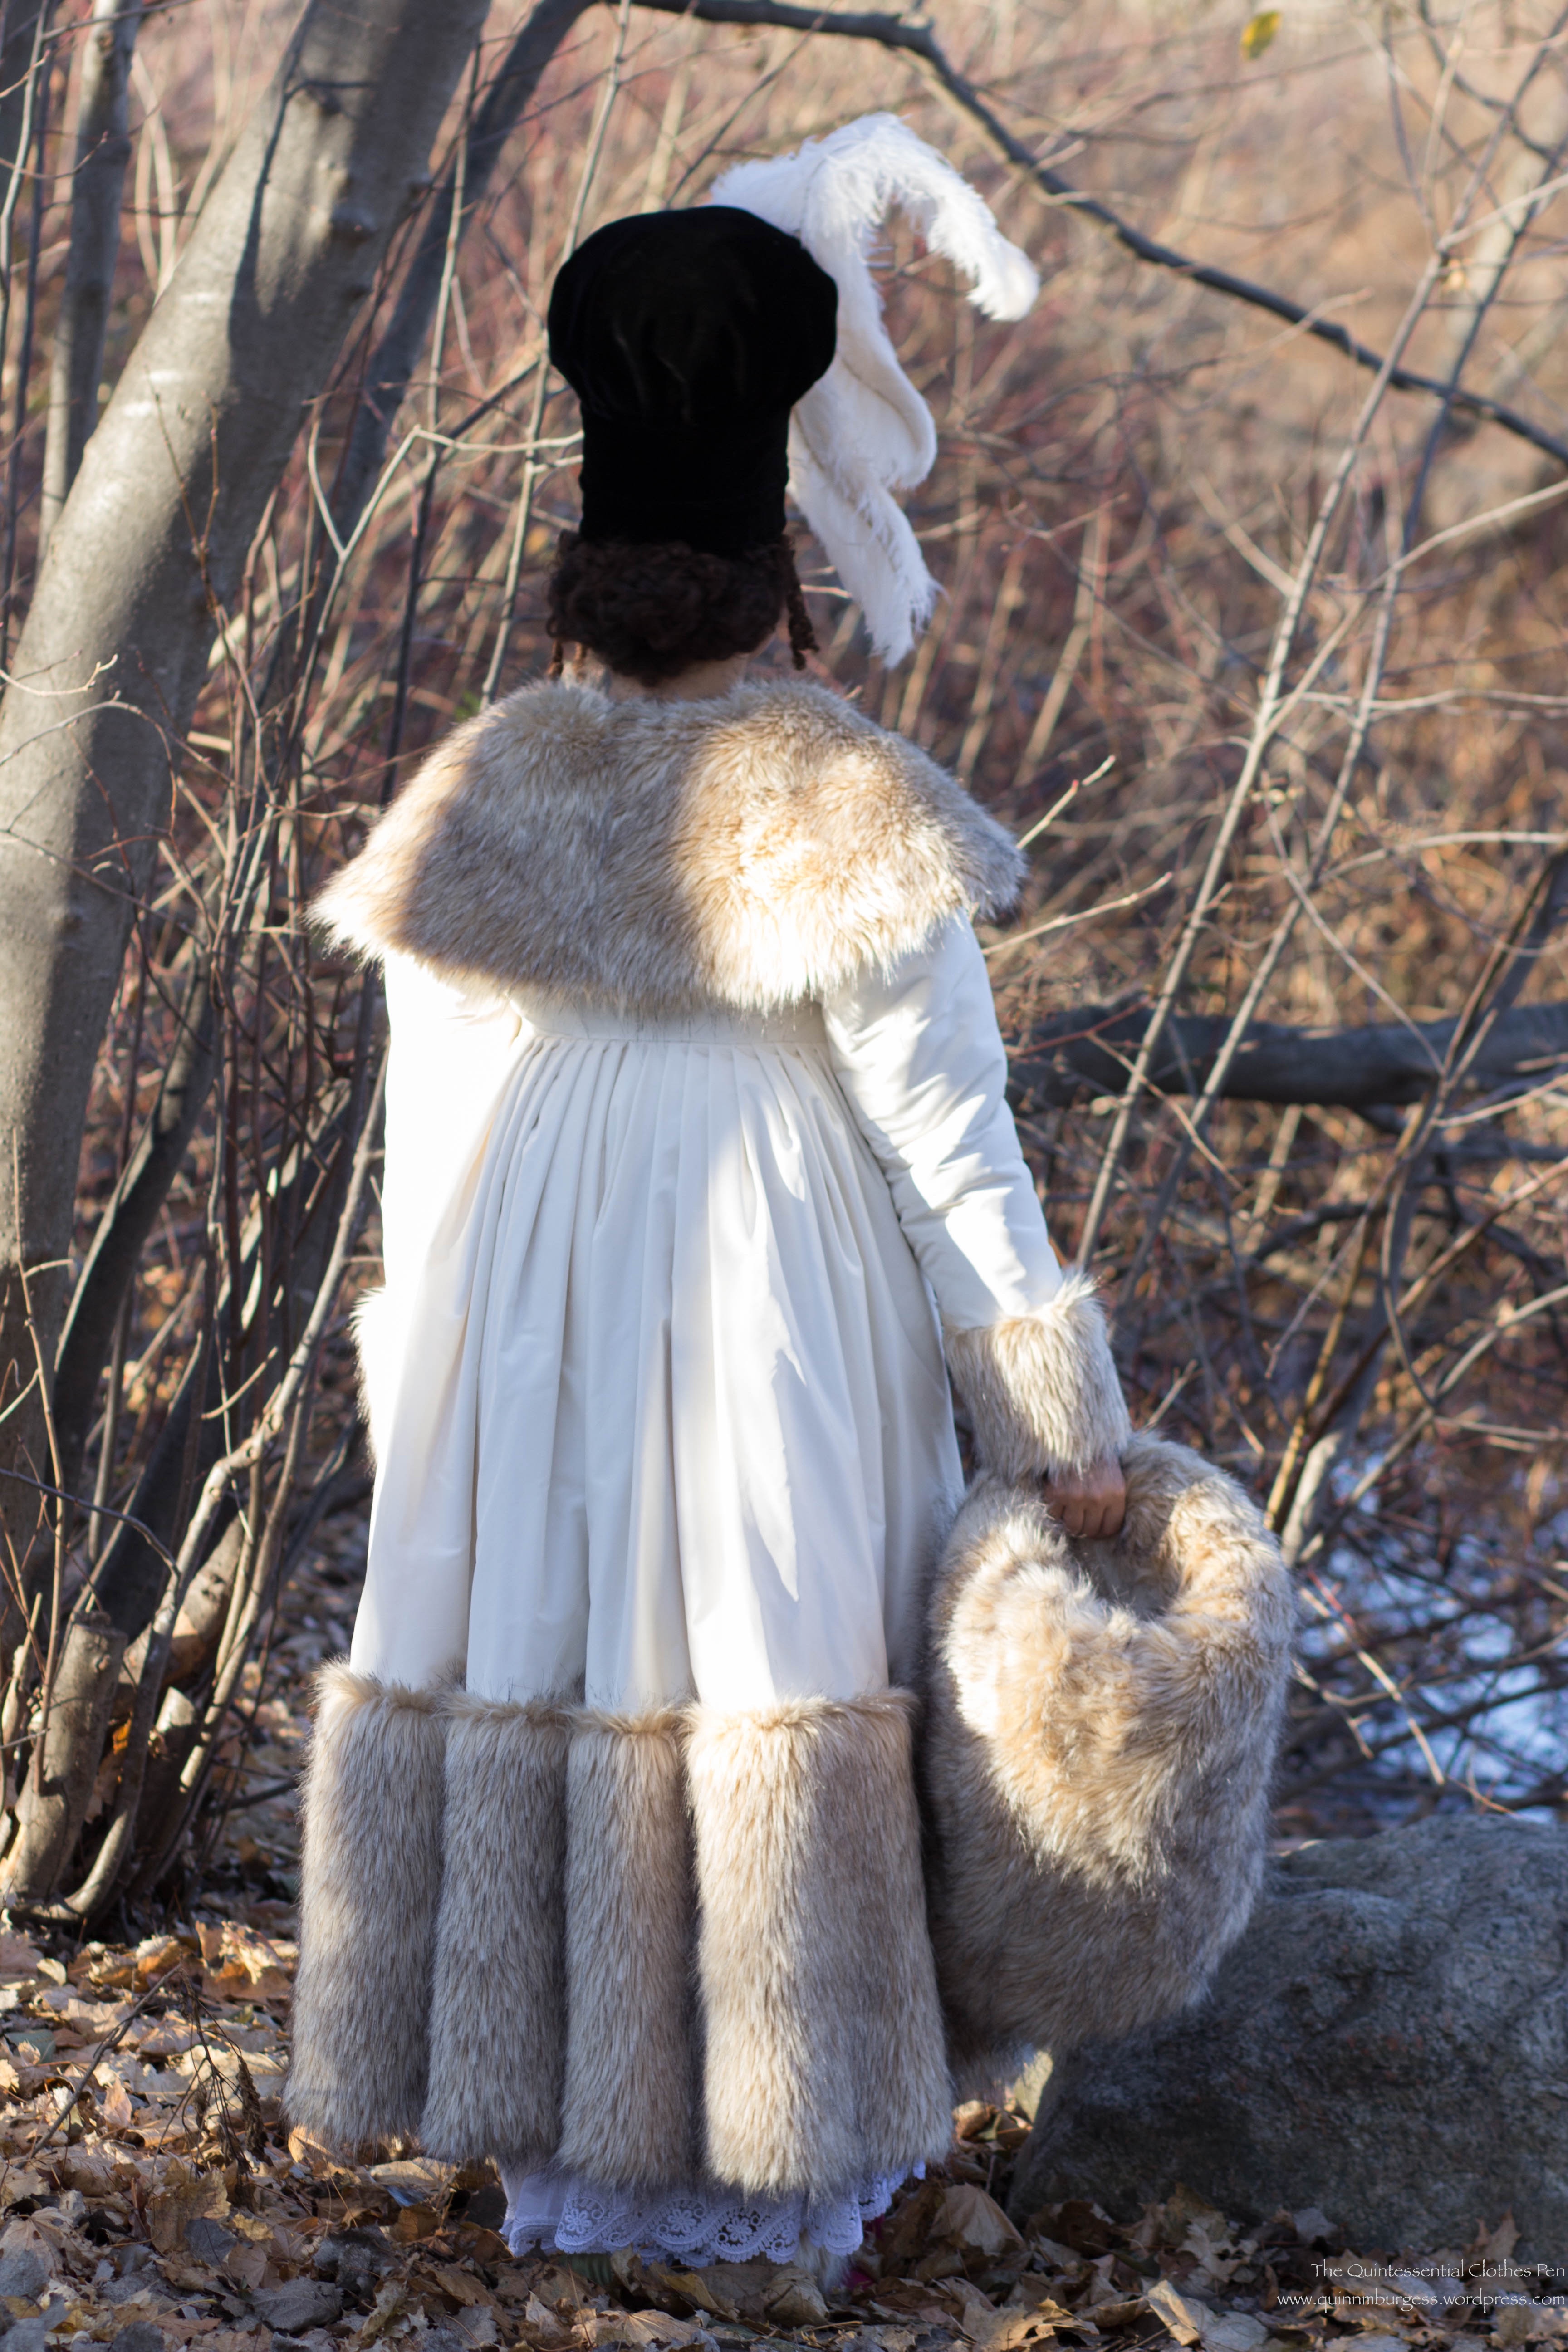
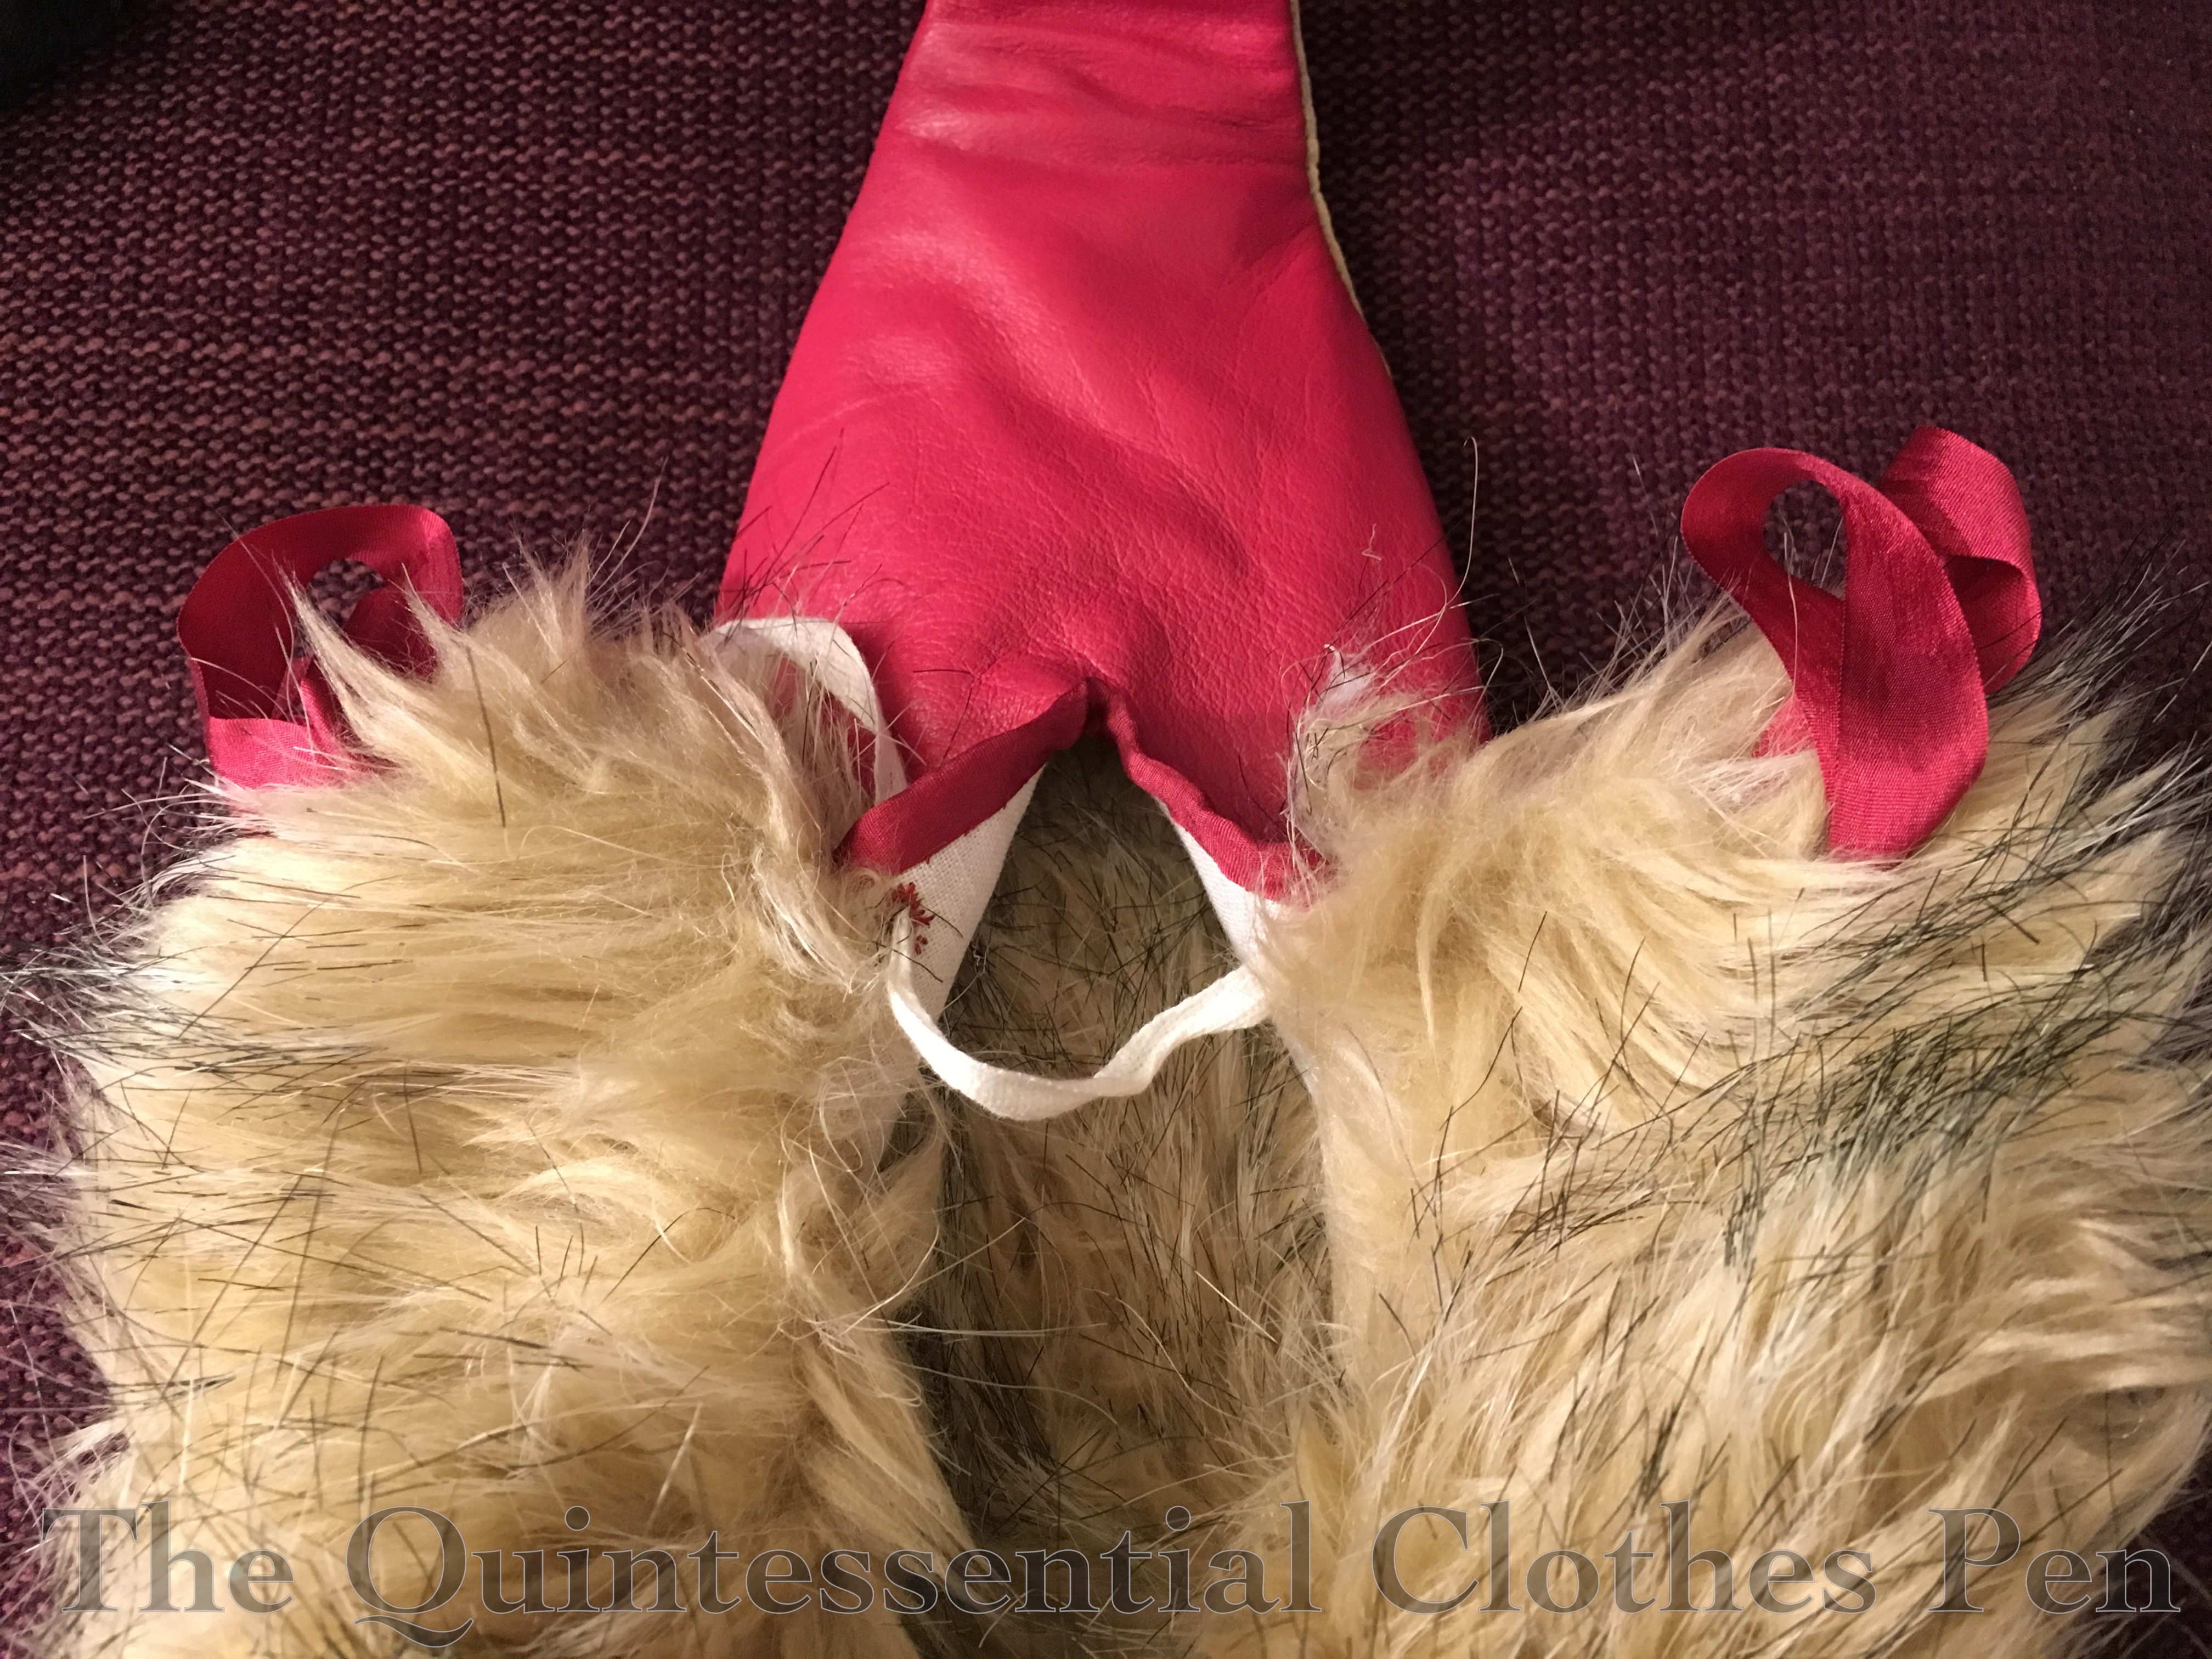
Once the soles were attached, I bound the front slit with matching silk ribbon. Then I cut a piece of faux fur for each shoe that went around just the top of the foot opening and could double over on itself. There are non-functional silk ribbon loops that are sewn to the front of the fur that encases the top edge of the shoe. The shoes actually close with a twill tape threaded through hand sewn eyelets on each side of the opening.

IMG_1684

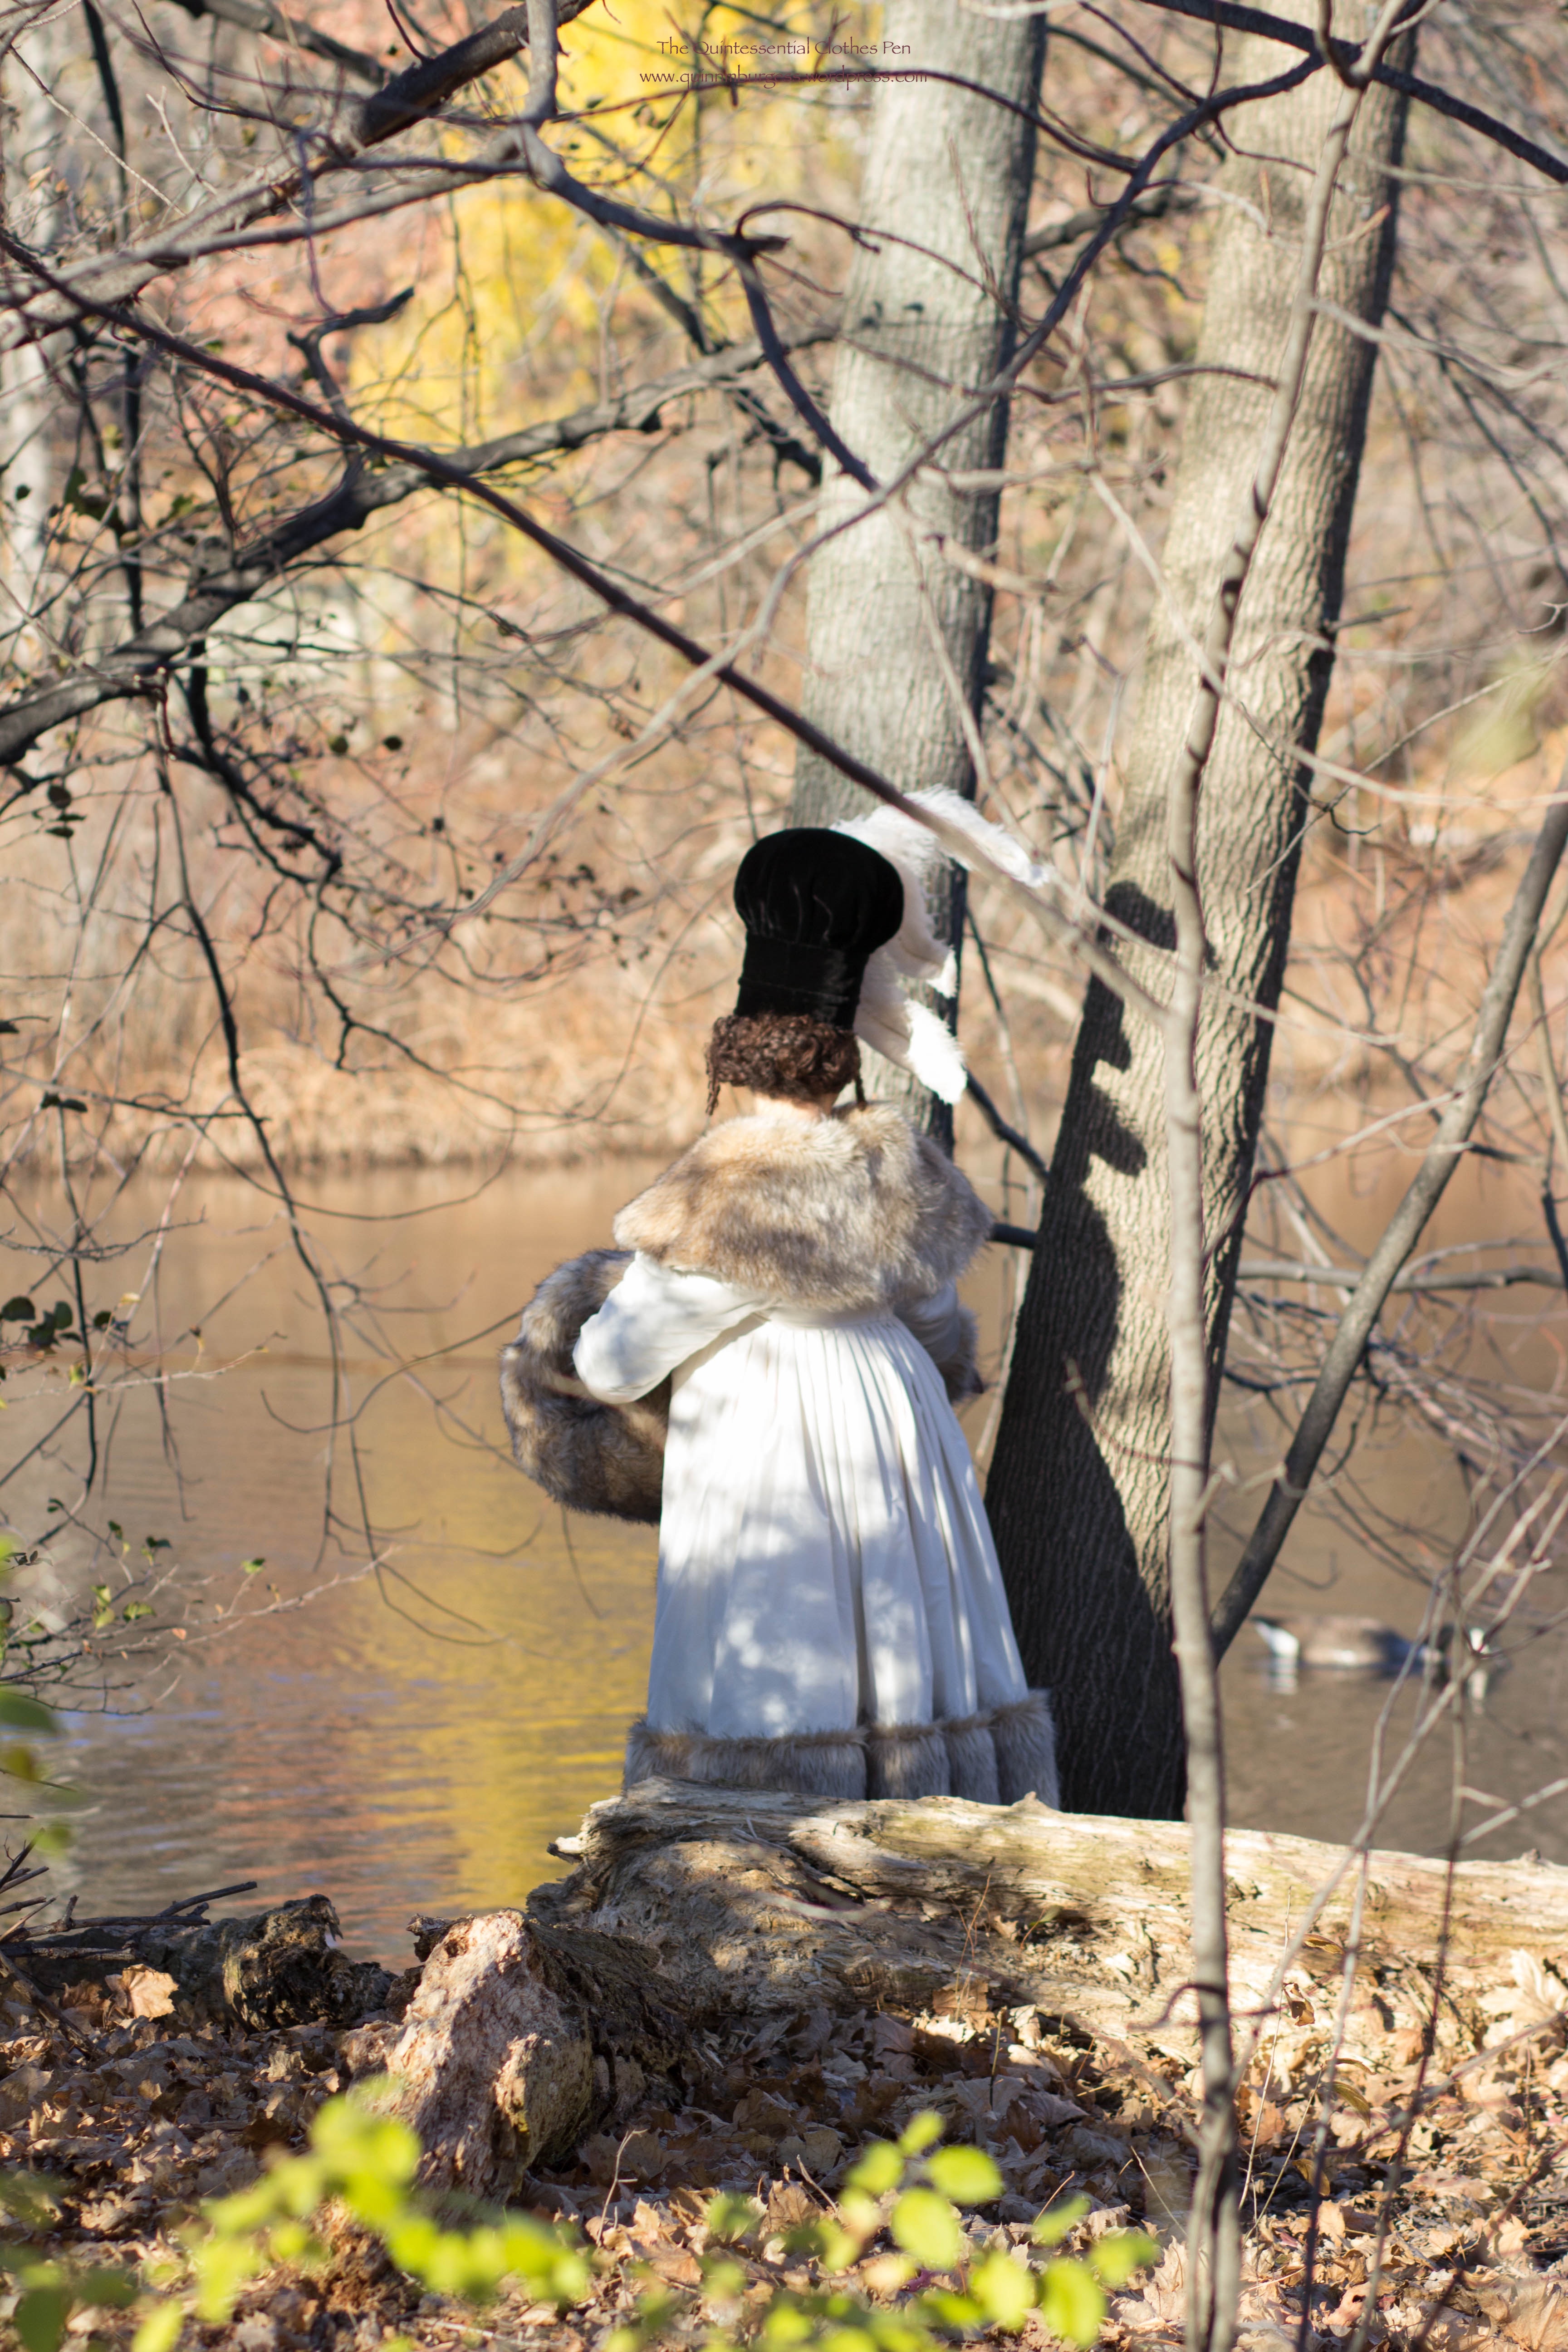
They’re actually quite comfortable for walking around in. I have very flat feet, so don’t really need arch support to be comfortable. The only thing is that my feet did get cold during our photoshoot due to the freezing ground only separated from my feet by a few thin layers of fabric. So, for the second wearing, while caroling at Christmastime, I added a faux fur insole. Problem solved! They were toasty and even more comfortable!

IMG_1884 - Version 2

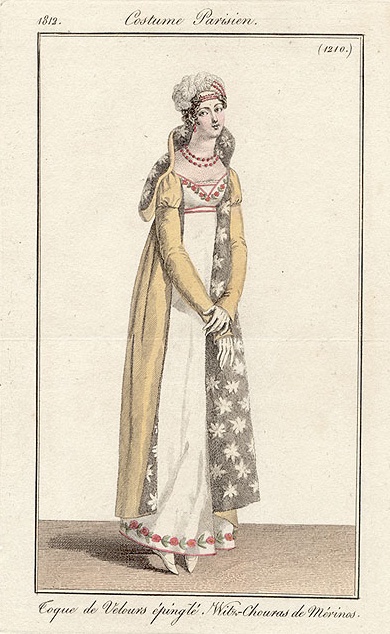
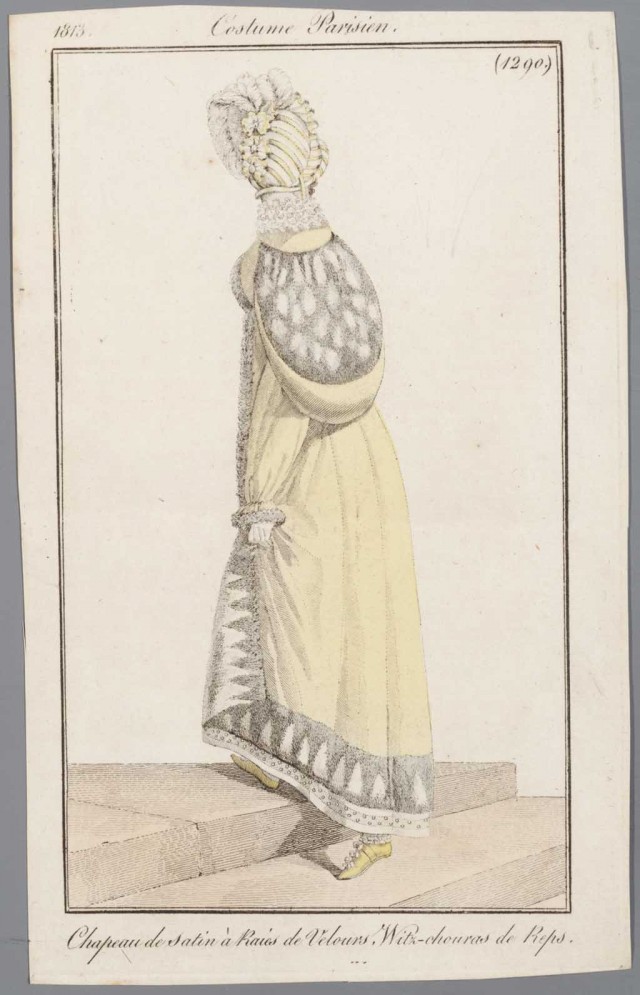
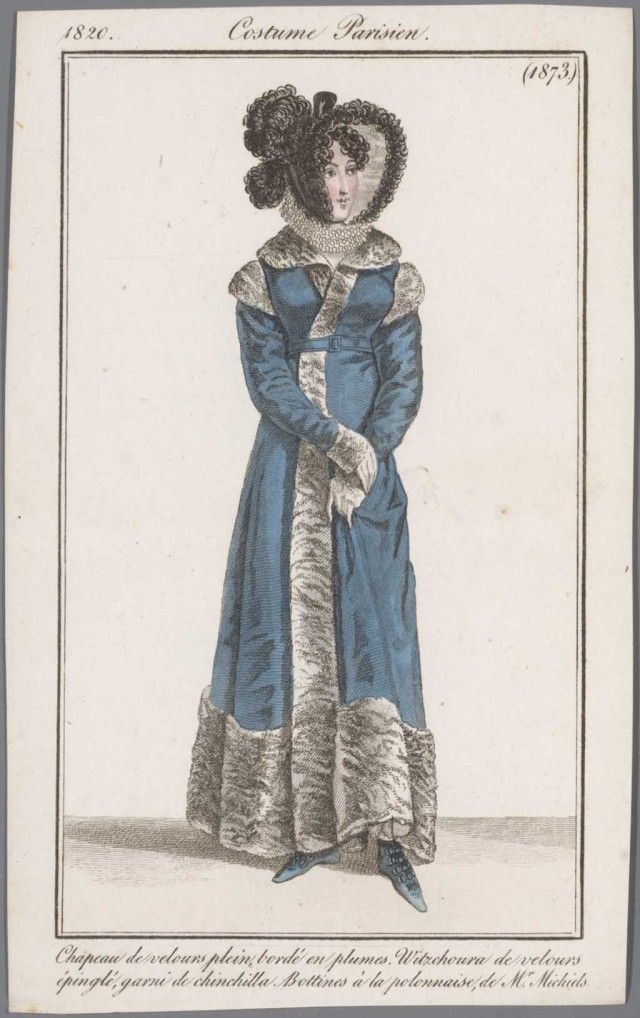
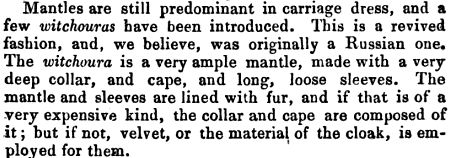
Interestingly, witzchouras are mentioned as being popular in Paris during the year 1827 by La Belle Assembleé, after a mention of other popular pelisses and mantles (well worth checking out!), and are are described as being worn with boots laced in front and with fur around the leg.

335d382370bd68a719024c208ffeff0c

Doesn’t that description sound oddly familiar? It reminds me so very much of the Vernet fashion plate and my silly shoes!

Vernet Project: A Bit More Toque de Velours

In January, when I posted about my Vernet Project hat (the Toque de Velours), I missed including a few in-progress construction pictures I later discovered floating around my photo library. Now is as good a time as any to share them.

To remind you, this is my toque de velours.

IMG_1903

Here is the toque in the mockup stage, early in the process. I was trying to determine scale and proportions more than anything. For ease, I combined the bottom two vertical sections into one piece of paper for the mockup.

IMG_1394

Here is the actual toque in progress. You can see the floral cotton flannel mulling layer that is between the buckram base the the velvet exterior. You can also see that I used my mockup poof to flat line my velvet poof in order to help the light silk velvet hold its shape. This picture also shows the double, or stacked, pleating around the poof.

IMG_2924 (1)

This is the beginning of a renewed effort to post details about all the pieces of my Vernet Ensemble, so keep an eye out for posts about the petticoat, muff, shoes, and the witzchoura itself this fall.

Vernet Project: Photo Shoot!

I thought I’d start the new year off with photos from my Vernet Ensemble photo shoot. (I’ll be doing separate posts with details about the construction of the ensemble as the year progresses.) I’m so incredibly pleased with my ensemble and with the quality of the pictures. I often have lovely pictures after events and when documenting sewing projects, but these are extra special in terms of the sharpness of the images, the clear colors, and the fun use of a historical lens.

Hopefully, you were following along with the release of finished ensembles in December, but in case you missed mine or haven’t figured out yet which fashion plate I was recreating, here it is.

Plate No. 20 “Toque de Velours. Witz-choura de Satin.”

164-0000-021 - Version 2

Below is the “official release” picture. I did my best to mimic the pose of the fashion plate, but it was really hard to wrap my brain around the left and right of things in my own pose relative to the fashion plate. Left was right and right was left, and in the end we did the best we could and called it done. I think we actually did it right, it’s just that I’m facing the camera at a different angle. It still boggles my brain to try and figure it out!

IMG_1915 blog

Unfortunately, there was no snow in November when we took these pictures and so I didn’t get ice skaters falling over behind me (also, I would have had to find ice skaters)… but I did get unfrozen water, and you’ll just have to imagine the ice and the skaters!

IMG_1903

IMG_1902

IMG_1936

IMG_1978

IMG_1963

IMG_1972

IMG_1985

IMG_2004

IMG_2020

These last few pictures with the blurred background were taken using a reproduction 19th century Petzval lens. You can read more about the lens and how it causes this effect here, at my photographer’s blog. 

IMG_1928

IMG_1922

IMG_1917

I am so incredibly blessed that to have a friend that joyfully enjoys practicing her photography skills with her nice digital camera (with fancy and historical lenses, to boot!) by taking pictures of my endeavors, amongst other things. She happily came over one afternoon in November just to accompany me for the photo shoot and take these absolutely gorgeous pictures. Thank you!!!

HSF/M #12: Green Regency Shawl

IMG_2034

I was inspired this fall to make an extra long Regency shawl. Others around the blog world have done this before–it’s certainly not a new idea I came up with so I can’t take credit for the creativity of sewing two pashminas together to make one longer one.

IMG_2032

I started by looking at my Pinterest boards to see what colors popped up often in fashion plates and extant shawls so I could pick a reasonably Regency color for my own creation (this board has a number of fashion plates and extant shawls). Common colors I saw were cream, dark red, grassy green, and dark blue. Occasional other colors included vibrant autumnal orange and rich yellow.

The second step was to consider the colors in my current Regency wardrobe so I could pick a color shawl that would harmonize with my outfits. Lastly, I looked at what was available on eBay for available color options and with sufficiently wide borders around all the edges to have the look of a Regency shawl. I found a few that matched my research but the color that best fit all of my criteria was grassy green. This shawl from the Met is a very similar in color to mine and was an inspiration in terms of border proportions.

The shawl fulfills the HSF/M Challenge #12: Re-Do, with a re-do of Challenge #7: Accessorize. Just the facts:

Fabric: Two pashminas.

Pattern: None.

Year: c. 1805

Notions: Thread.

How historically accurate is it?: It definitely passes Leimomi’s test of being recognizable in its own time in general and in terms of the color and border trim proportions, but most shawls would have been silk or wool, which mine is not. Also, since it is two shawls sewn together, it has an inaccurate seam down the back. So we’ll sway 75%.

Hours to complete: Less than 1.

First worn: December 5, 2015.

Total cost: About $10-$15.

IMG_2062

I was dancing in a Regency period hall in December and it was the perfect opportunity to get some of the classic Regency shawl pose pictures. (The hall was decorated for the holidays, which matched my accessories perfectly!) It’s always amusing to me how the shawls are often depicted halfway off the wearer or draped artfully but with no apparent desire to keep warm.

IMG_2069

I wore my 1812 square neck dress but removed the pink sash that I’ve had on it for the last two years or so. It was nice to go back to a plain white dress for a change. It’s not plain at all with the new shawl!

I took the time to create a fun hairstyle with small diameter face framing curls and an extra braid of fake hair. I was very pleased with the overall shape and silhouette. (I’ll be sharing more about how I made the curls at some point in 2016 when I post more information about my Vernet ensemble and the photo shoot of the completed outfit.)

IMG_2078

IMG_2080

I had a blast dancing all day in such a beautiful space. When I cooled off between dances the shawl was great to keep me warm. And I love how festive it looks with the red necklace! I hope your holidays are full of fun, joy, and blessings!

IMG_2089

Vernet Project: Check Out The Finished Ensembles!

Photos of each recreation of one of Vernet’s Merveilleuses and Incroyables fashion plates start to be released tomorrow (December 8) on the group Facebook page! One fashion plate per day will be shared right next to a photo of the recreation, right up through the 31st of December (my plate will be on the 21st). Check it out! It will be a fun way to end 2015!

10394822_835881046430902_3846149313268917321_n

I’ve seen some of the finished ensembles ahead of time, and let me just reiterate how wonderful, weird, and wacky they are! Further posts with more images and specifics about construction, etc. will be released by participants in 2016, so don’t forget to check back to see updates on the ensembles that most capture your fancy.

(You can see all my posts from this past year relating to this project here, and I’ll be sharing more in 2016!)

Vernet Project: Making Progress

Our group’s early December deadline to finish sewing our Vernet Projects is fast approaching! Thank goodness we’ve had all year to work on these–mine has been quite a project with all the hand sewing and patterning and learning new skills. Of my five pieces, one is totally done, two have less than three tasks left to be finished, and 2 are still about halfway completed. It won’t quite be furious sewing, but I do have to keep at it to get it done in time. For now, here is proof that I’ve been making progress!

IMG_0288

IMG_0284

IMG_0124

IMG_0272

Starting December 7th, you should check in often with the group on Facebook to see each recreation released side by side with the original Vernet fashion plate. It’s going to be really, really amazing to see these crazy and beautiful fashion plates in 3D form!

Vernet Project: Witzchoura Images

As a quick recap, I started my witzchoura research journey here, being confused about how the word was spelled. After sharing that with you, I moved on to look at basic witzchoura definitions and then further witzchoura references, but I haven’t really shared images of witzchouras with you yet, so that’s what this post is going to focus on.

Out of the thousands of pins on my historic clothing Pinterest boards, the images below are the only ones I could find that specifically mention that they show a witzchoura. (Never fear, I’ll be looking at not-quite-witzchouras in a future post.)  If you know of any other images that specifically name the garment shown as being a witzchoura please let me know!

I find it interesting that two are yellow and two are blue. Also interesting that all the furs that are depicted are textured or downright weird (like the first one with the flower-fur… what is that?). However, in terms of materials there is variation: one of merino (wool), one of reps (could be wool, silk, or cotton, according to the OED), and two of velvet (fabric content unknown, though wool, silk, or cotton would seem to be likely).

b2e293cd8d6787e52979911acc6c3539
Costume Parisien, 1812
pictura2009%5Cs_a_55466_000
Costume Parisien, 1813
49a82ad6569f70e121aebe638e857efd
Costume Parisien, 1818
1ec484b324c9135cf9d6934f28eb8dfd
Costume Parisien, 1820

A Turban Fillet, 1811

A while ago now, during the Journal Journey Into La Belle Assemblee series, Natalie over at A Frolic Through Time brought two similar ball/evening hair styles to my (and her other readers’) attention. These styles for October 1811 were pointed out by Natalie as being perfect for someone to attempt for a Regency event and I thought “Oh! These are neat! And they would go so well with my pearl trimmed 1811 Elusive Blue gown. Perfect!” So I saved the link to the post and have been meaning to go back to it for the last few months.

After returning to that inspiration earlier this year and comparing the two styles in Natalie’s post, I decided on a turban fillet (see end of post for a definition). February’s HSF/M Challenge #2: Blue was the perfect kick I needed to get to work. While I technically submitted finishing the trim on my elusive blue dress for the challenge, I also finished my turban fillet slightly after the deadline. I enjoyed having a small project: it was a nice change from the usually long and complicated projects I often take on and am constantly in the midst of.

Here, then, is the fashion plate to which I am referring.

october-1811-evening-dress-bassemblee-hern
No. 1. EVENING DRESS. A sea-green crape dress, vandykcd round the petticoat, and ornamented with large beads; a full drapery over the shoulders, and confined in to the back with a pearl band, ornamented round the neck and down the back with beads. A full turban fillet tapered, worn on the head. Pearl necklace, white kid gloves and shoes.

And here is the finished result of my labors.

IMG_2195
Side.
IMG_2198
Back.
IMG_2176
And the full ensemble.

I attempted to follow the detail of the hairstyle from La Belle Assemblee, down to the curls around my face (lots of extra work since all my hair is long!) and the little braid on the side. It was a puzzle to figure out and enjoyable to wear.

The question is, how did I get the turban fillet to stay in place on my head? Well, I thought of making a gathered tube wound with pearls, as Natalie proposes below, but decided to make my turban fillet have a flat back instead for multiple reasons. #1: there has to be a seam somewhere, so why not hide it intentionally? #2: I only had so many pearls, and winding them all around a sample tube used them up far too quickly so that I would never have reached the end and still been able to have pearls. #3: the angle of the pearls when winding them around was very challenging and I couldn’t figure out how to arrange them pleasingly. #4: “why waste pearls against my head?” I thought, when they’re going to be slightly uncomfortable and slippery there anyway?

So here is what I came up with: a length of fabric about 40″ long, wrapped around a strip of hi-loft poly-fill batting (not period, I know, but easy and free!), turned under and sewn down on the back, gathered across the top, with rows of pearls sewn on at intervals, and finished with loops on the back every few rows of pearls in order to secure the whole thing to my head. The entire thing is hand sewn. I have no idea how you would use a machine to assemble this the way I did!

IMG_2199
The top is the front of the turban fillet and the bottom is the back.

And yes, I was able to wear this to a Regency ball in April!

* Natalie notes the following about the description “turban fillet”. Please check out her post to see both fashion plates she refers to.

Turban fillet. For a change, just what you might imagine: a “fillet” is normally a narrow ribbon or wire wound round or encircling the head, while a turban is a, well, a turban. In this month’s evening dress hairstyle, we have a length of fabric well gathered to make a narrow, round, gathered tube, wound round the head. The turban is wound with pearls for extra measure. Handsome and I hope that someone will take up this style for a ball before long! The ball dress plate uses a similar design; it encircles the head more like the fillets we remember from Medieval fairy tales, but ironically, the effect is more turban-like to my eyes than the evening dress example, yet isn’t called a turban. Fashion, fashion.

Vernet Project: Further Witzchoura References

Last post relating to witzchouras, we looked at basic definitions of the word, determining that the garment and its name developed from Polish and French influences, that the garment was popular c. 1808 to 1835, and that the chief qualifications are that it is an outer coat or mantle lined and trimmed in fur. But let’s not stop there: here are more references to the witzchouras from the early 19th century.

In 1817, La Belle Assembleé has multiple mentions of witzchouras. The following excerpt tells us a good amount about this style:

8ae3d6c93e063c498406346d8b7c7662

Side note: A Louis d’Or is a French gold coin first struck in 1640. These were promoted by the French kings to fill the need for a large denomination coin, since the franc and livre silver coins were greatly decreasing in value. In 1726, France developed monetary stability and the Louis d’Or was established as being worth 24 livres, a value that remained static through the French Revolution. At the time of this quote in 1817, a Louis d’Or referred to a 20 franc gold piece, also called a Napoleon, so named because Napoleon coopted the idea of the French kings before him. (Sources: Merriam Webster, the OED for louis d’orNapoleon, and livre, and the Encyclopedia Britannica.)

France_1709-A_One_Louis_d'Or
Louis d’Or from 1709

Throughout the 18th century, a franc was similar in value to a livre, and about 20 of either of these coins equalled one Louis d’Or. La Belle Assembleé tells us that a witzchoura in 1817 was worth 30-90 Louis d’Ors. What I’m driving at here is the relative value of one of these garments.

The OED gives us an idea of the value of a livre over time: in 1746 one captain was paid 120 livres a month (6 Louis d’Ors). Extrapolate that for a year, and that captain was making 72 Louis d’Ors, just enough for a witzchoura or two and nothing else! Another example from 1797 sounds outraged that an English sea officer was charged 300 livres for eight days of lodging (15 Louis d’Ors). That’s almost 60 Louis d’Ors per month, which would easily be a witzchoura, though I doubt that sea officer would need a witzchoura instead of lodgings! The takeaway message is that, as La Belle Assembleé says, witzchouras were costly and worn only by the wealthy.

It is worth noting that there are fur lined pelisses mentioned which do not qualify as witzchouras in the eyes of La Belle Assembleé. I’ll be examining these almost-witzchouras in a later post.

Moving along some years, The Ladies’ Pocket Magazine describes fashionable witzchouras in 1833 (the OED had quoted part of this in their definition of witzchoura that we looked at in my last post):

ead143cce8137354ba0807c21dd308b2

As we established before, by the 1830s the shape of the witzchoura had changed to accommodate the changing fashions of dresses under them: becoming more cape-like, with collars and loose sleeves rather than being fitted like a pelisse as they were in the earlier years of their popularity. Again, we are reminded that witzchouras are made from expensive fur, and the more expensive the fur the more likely to see it displayed as much as possible.

Moving forward once again, C. Willet Cunnington mentions witzchouras in his book English Women’s Clothing in the 19th Century referencing a year as late as 1849: “The Witzchoura Mantle, for the carriage, lined and trimmed with fur.”

This quote from La Belle Assembleé in 1849 could be the source for Cunnington’s mention of the style, as the phrasing is quite close to Cunnington’s description:

1e04c8043ce18b6ef88613d6b34c37cb

Here there is a mention of another garment similar to a witzchoura: in this case a burnous. According to the OED again, a burnous is a woman’s cloak or mantle from the 19th century resembling an Arabian upper garment of the same name. It is interesting to note that by the 1830s and 1840s a witzchoura is described as heavy, cumbrous, and very ample instead of the more fashionable and positive descriptions from the decades prior.

One final mention of the witzchoura is from The Outdoor Girl Of A Century Ago, published in 1922:

books

This is the second mention in this post of a similar (or possibly the same) garment of Russian origin. In addition to the specific evidence of the Polish origins of the witzchoura in name and relating to Napoleon himself, I’ve also come across multiple mentions of the witzchoura style being brought back to France from Russia by Napoleon’s forces. Both of these influences fit in with the dating we’ve established and lead me to wonder if these are two separate and unique garments. Perhaps, though I suspect that if they were indeed separate styles in name they would have been variations on a similar theme, just like the fur-lined pelisse mentioned earlier in this post.

Vernet Project: Basic Witzchoura Descriptions

It’s time for a little more information about witzchouras! Back in January, I shared my round-about journey to figure out what a witzchoura is. Now it’s time to look at witzchouras in more detail to determine what qualities define them.

In that last post, we left off with this enlightening sentence from the book Empire Fashions by Dover Publishers: “Around 1808, a high-waisted, fur-lined woman’s coat appeared, the witzchoura [wi choo ra].” Here is an example of what a witzchoura looks like.

e8e5aa673e63adffbf95754dc2b25ffe
Costume Parisien from 1813

My go-to source when I get geeky about word history is the Oxford English Dictionary, and lucky for me, it has an entry for witzchoura! The OED tells us it as an obsolete noun from the French vitchoura and the Polish wilczura (a wolf-skin coat) that is defined as “A style of lady’s mantle fashionable c. 1820-35.”  The OED also shares four uses of the word from period sources. Here they are, with slight edits:

1823 La Belle Assemblée Dec. Witzchoura pelisse of gros de Naples,..trimmed with a very broad border of swansdown.
1833 Ladies Pocket Mag. The witchoura is a very ample mantle, made with a very deep collar, and cape, and long, loose sleeves.
1835 Court Mag. [The mantle] is of the Witzchoura form, drawn close at the back, with large Turkish sleeves, and a deep falling collar.
[1898 M. Loyd tr. O. Uzanne Fashion in Paris Witzchouras had not yet [c1806] come into vogue.]

So far, our qualifications for a witzchoura include: a high waist for earlier witzchouras (to correspond with the fashionable silhouette), fur lining, fur trim, the fact that a witzchoura is a coat or mantle (for outerwear, with another garment worn underneath), that it was most popular c. 1820-1835, and that it had not yet become fashionable c. 1806. Other sources add to a witzchoura’s qualifications those of its being full length, having large sleeves and a wide collar (or sometimes hood or cape layers over the shoulders) especially in the 1830s when the silhouette changed, as well as the general period of the “early 19th century” for its popularity, which makes sense since we’ve just looked at sources that mention dates between 1806 and 1835.

There is some information telling us that the garment became popular after Napoleon gained a Polish mistress in 1808 and other information that tells us that the garment was Russian in origin and became popular after the Napoleonic Wars brought the style back to France and England. (For more information about these early witzchoura influences, check out this post at the Sewing Empire blog.)

I’m excited the word has Polish or Russian origins, because “witz” sounds Polish or German to me. Also, I love that the last quote from the OED tells us that witzchouras weren’t popular just a few years prior to the year 1814. Oh, how fashionable is a merveilleuse!