c. 1880 Petticoat (HSM #5)

I decided I needed a new petticoat as part of the 1875 ensemble I’ve been working on for the last few months. I have a very ruffly petticoat from 1883 (shown in this past post) that helps with the shelf backside shape that became popular in that year, but I wanted a different shape for 1875… something to produce a more rounded silhouette and support the train I was expecting to include on my new dress.

My original thought was that my balayeuse would button to this new petticoat to create the support for the train of my dress (as opposed to making a trained petticoat and then potentially needing an additional petticoat without a train in the future). The idea is that the balayeuse + new petticoat will provide lots of wearing options for the future.

Along those lines, this new petticoat is able to fit over my large bustle from 1883 as well as having the ability to contain the back fullness so that it can also be used for the Natural Form years of approximately 1877-1882 (you can see the bustle in the same past post as the super ruffle-y petticoat). I don’t have a Natural Form dress yet, but it is on the to-do-someday list and in the spirit of reusing garments and saving time, this seemed like a reasonable decision.

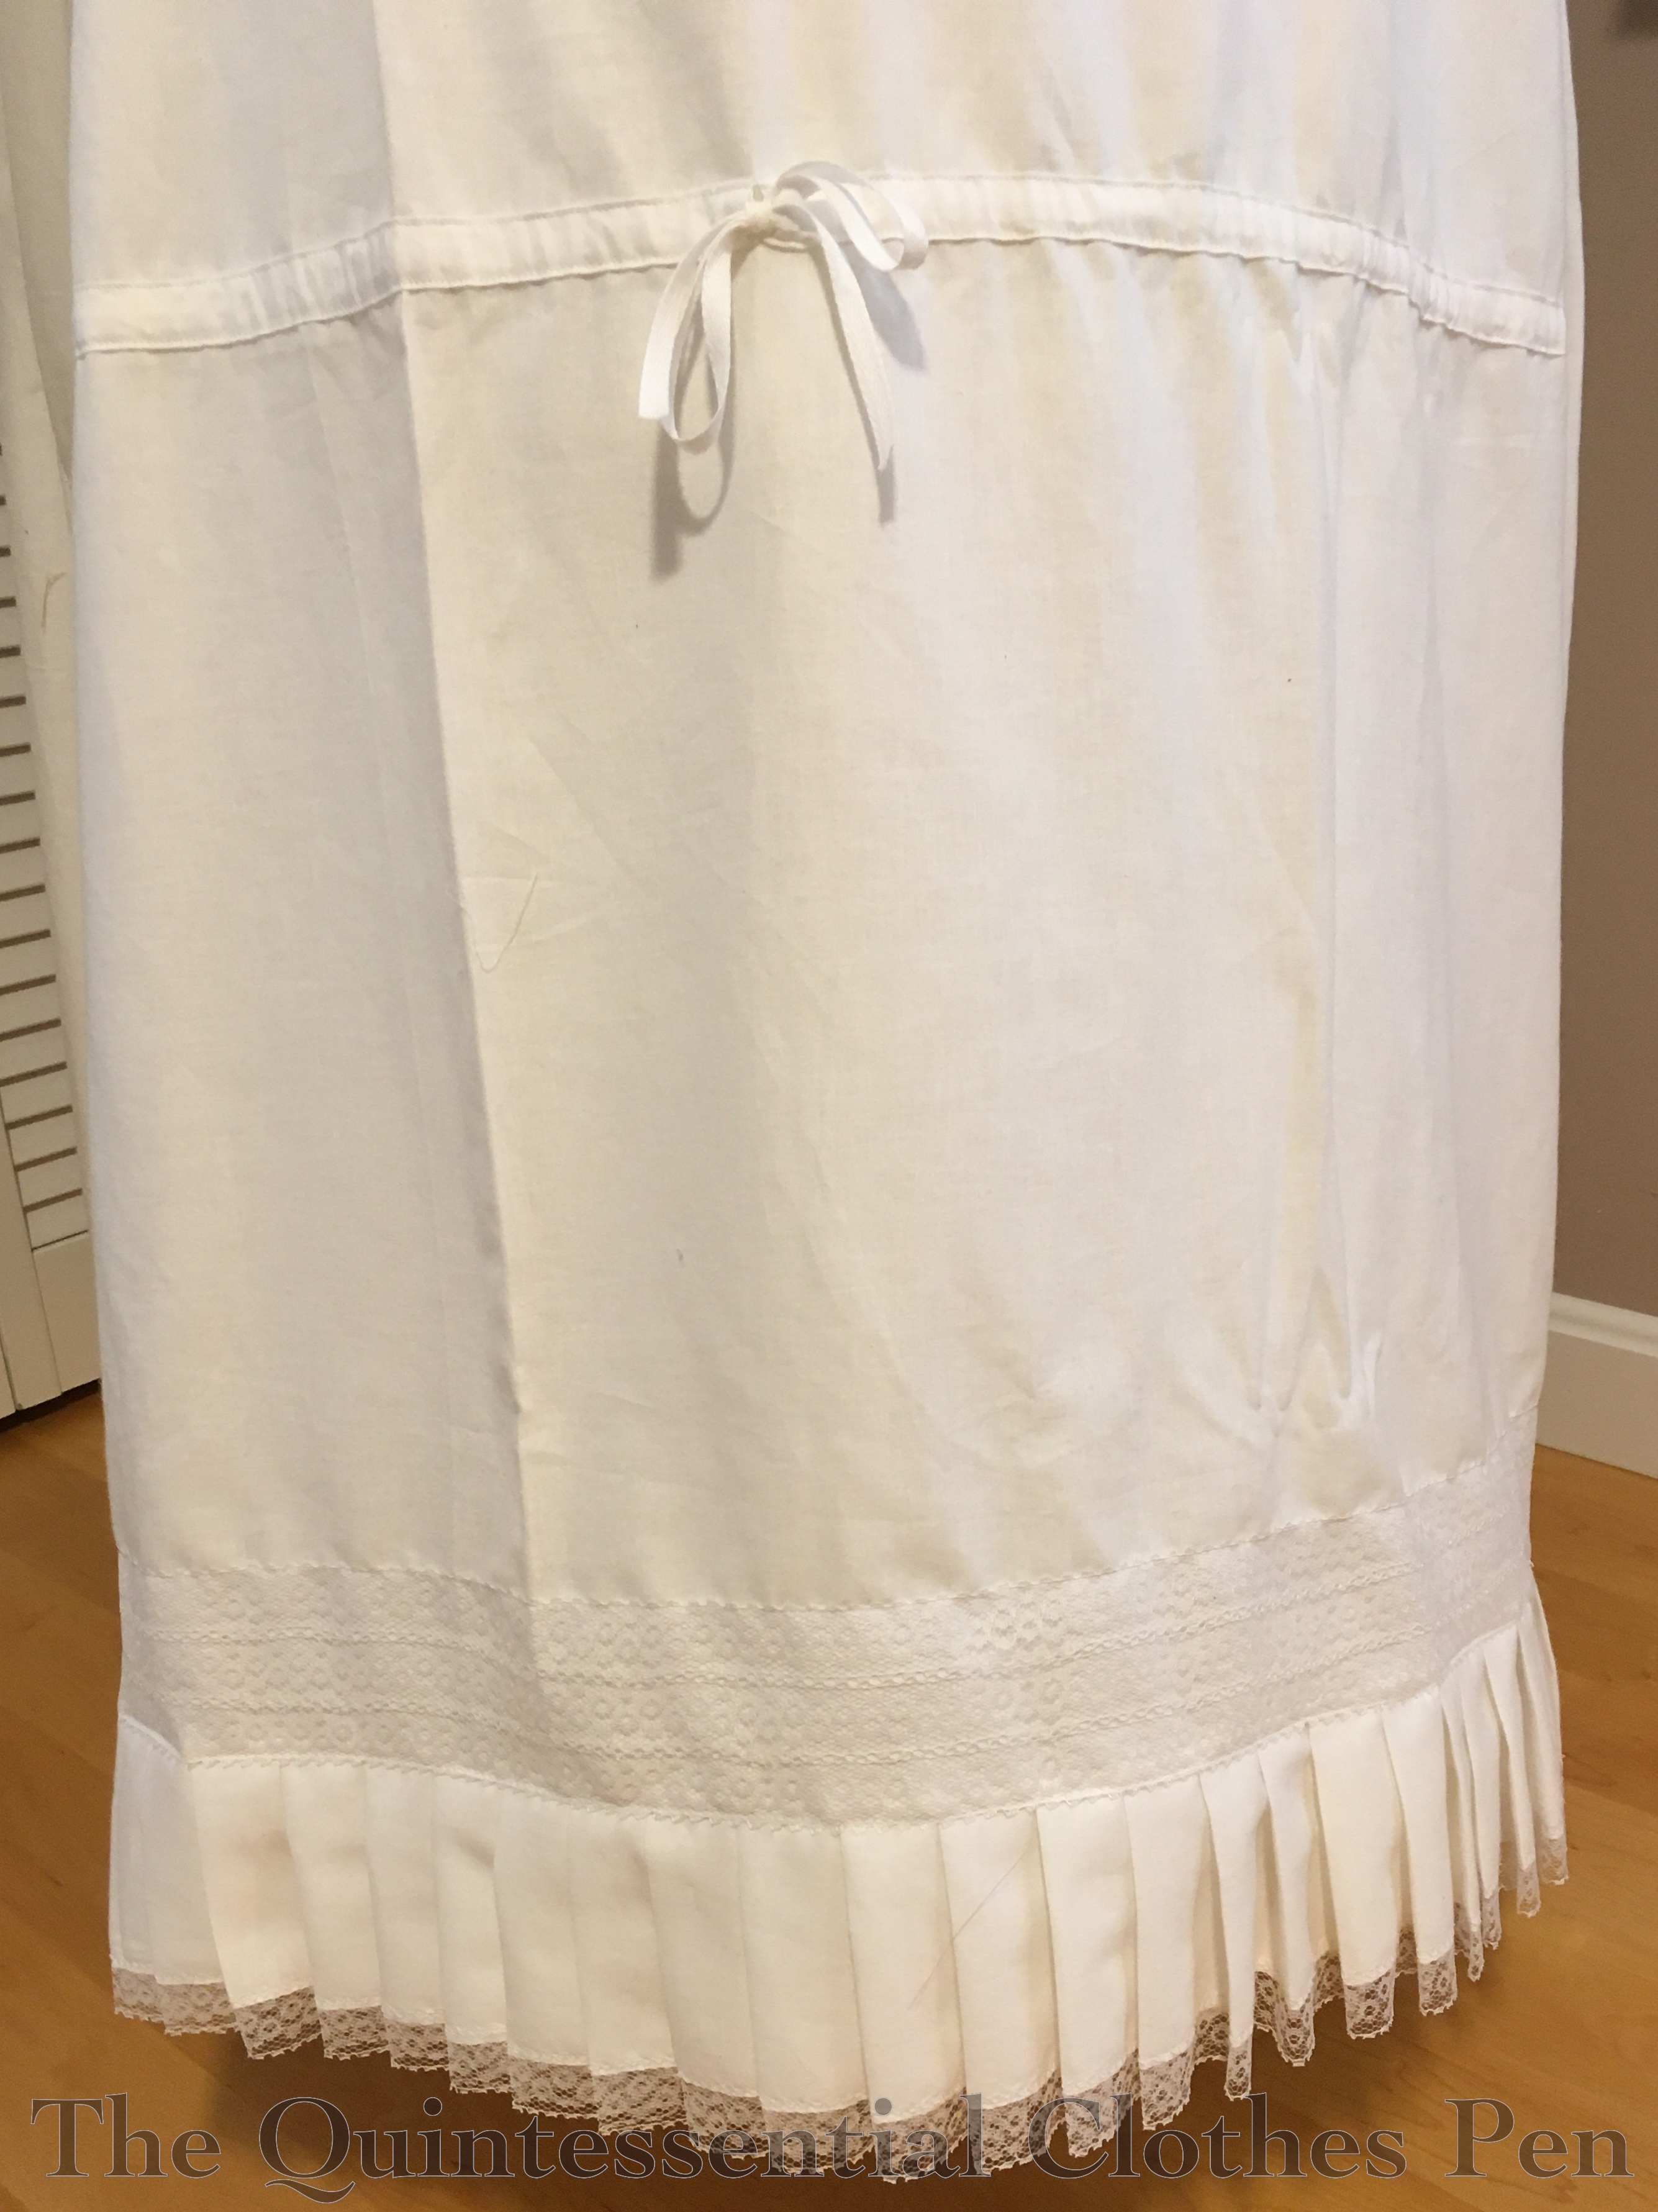
Here is the new petticoat over my large bustle. The drawstring partway down the back allows for the adjustment for different bustle shapes. It is anchored in the side seams.

Here is the petticoat without the large bustle. This is approximating the Natural Form look. While the hem pulls up a bit over the large bustle (above), it is pretty even for the Natural Form look (below). The great thing is that once there is a dress over the petticoat you can’t tell what the hem is doing!

The pattern for my petticoat is from Frances Grimble’s Fashions Of The Gilded Age Volume 1, page 107. It’s a pretty simple shape. Accordingly, I made mine using straightforward details and machine sewing/finishing.

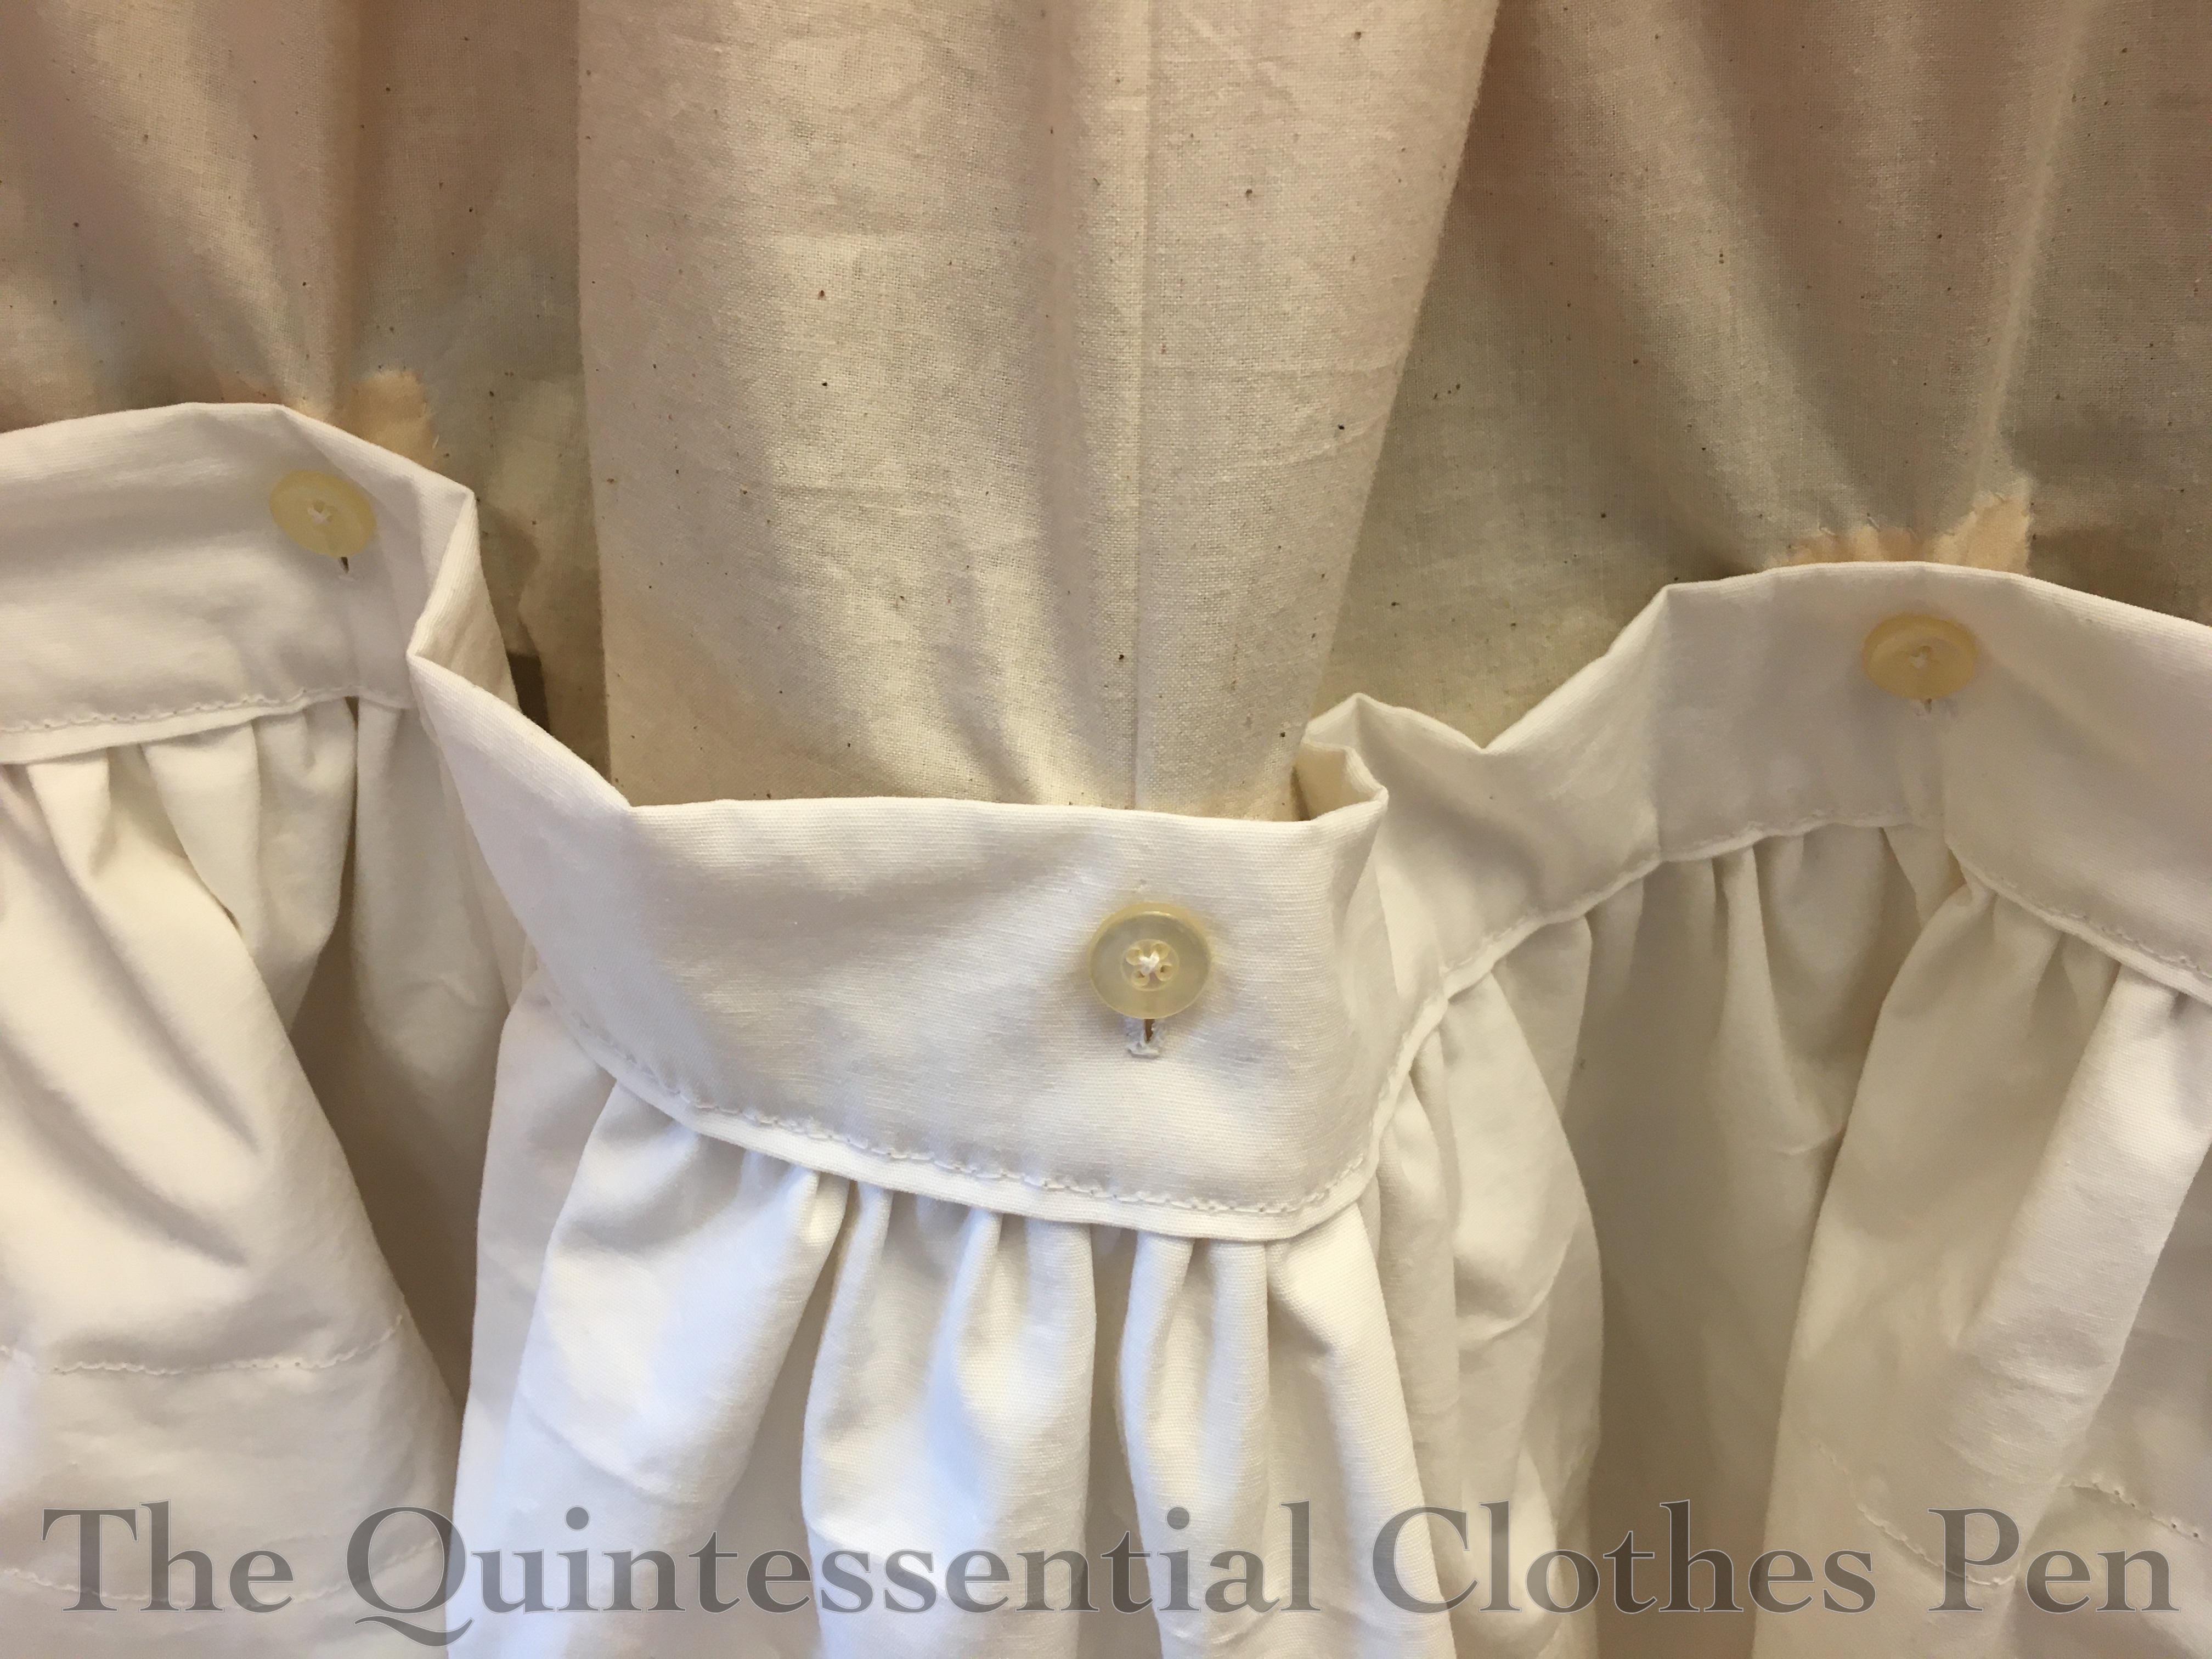
The petticoat has a drawstring at the waist, for adjustability. The drawstrings run through the waistband and are anchored along the sides with a line of machine stitching.

At center back the drawstring closes the top of the placket. The placket is just a slit that is bound with a strip of cotton cut on the grain. No bias here–this saves fabric and makes things easier to sew! The waistband and placket biding are finished by stitching in the ditch.

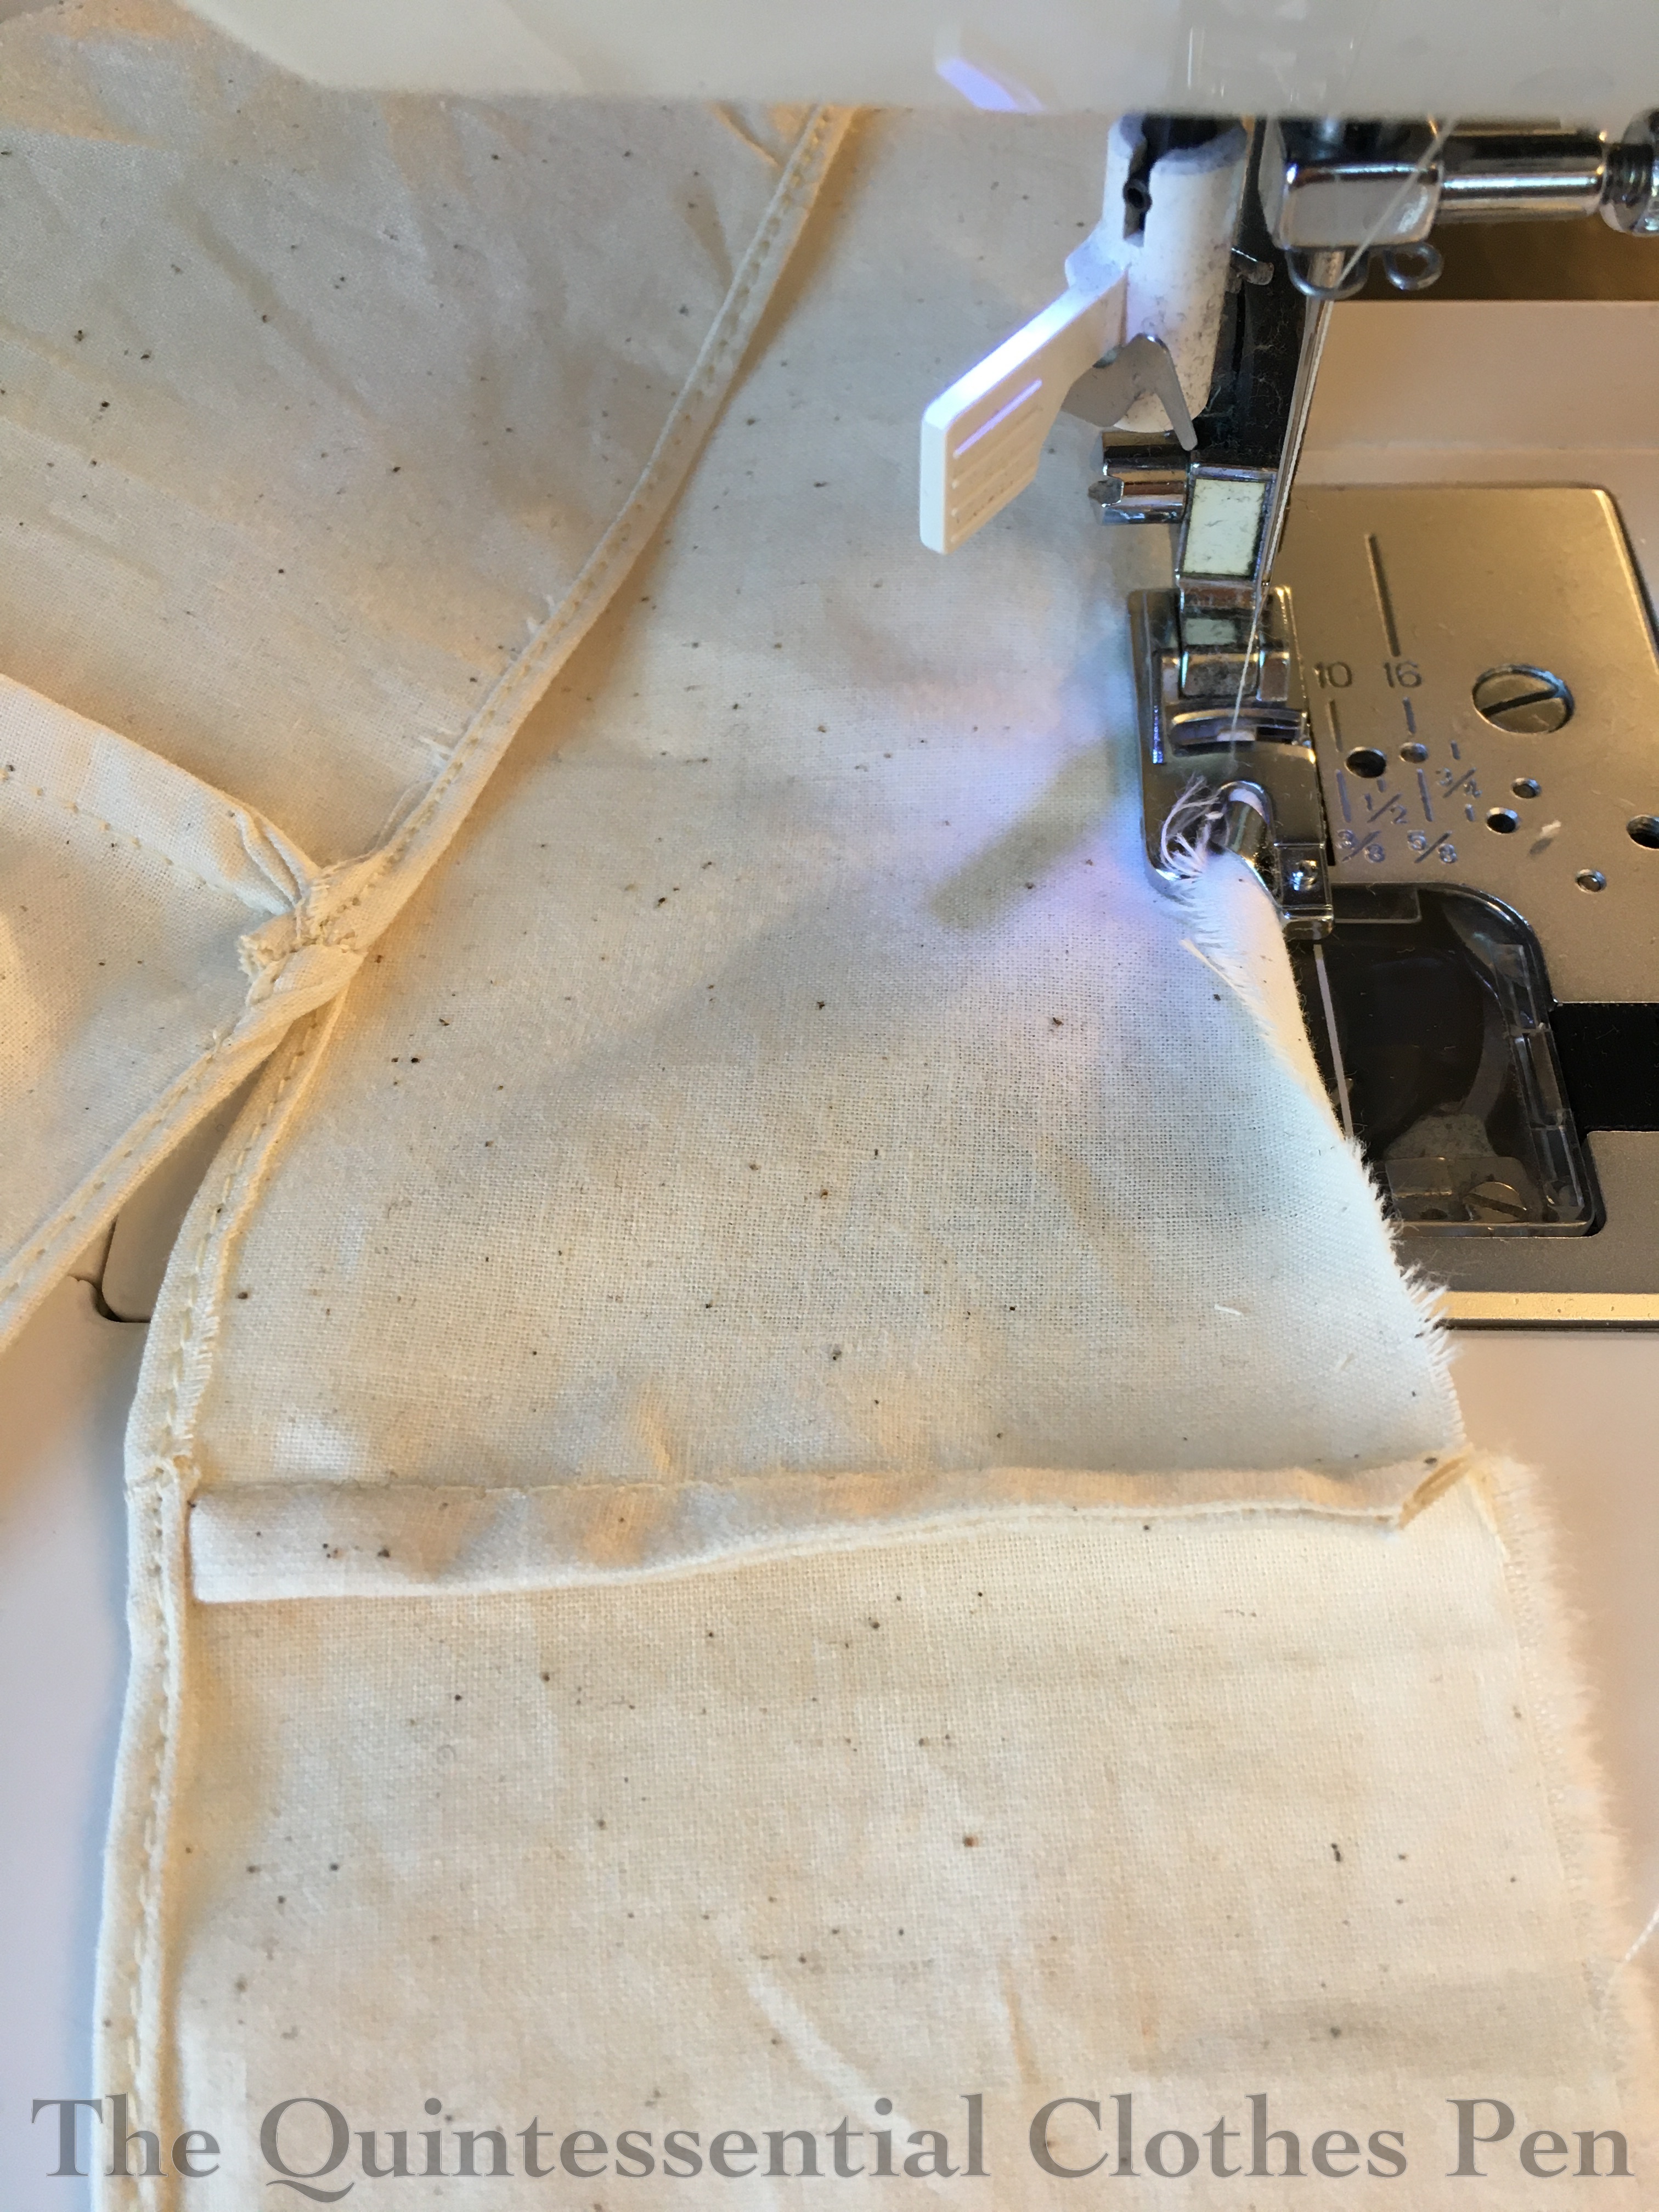
I decided on a medium width pleated ruffle for the bottom edge of this petticoat. I used a fork to help space the pleats, eyeballing and ironing as I went along.

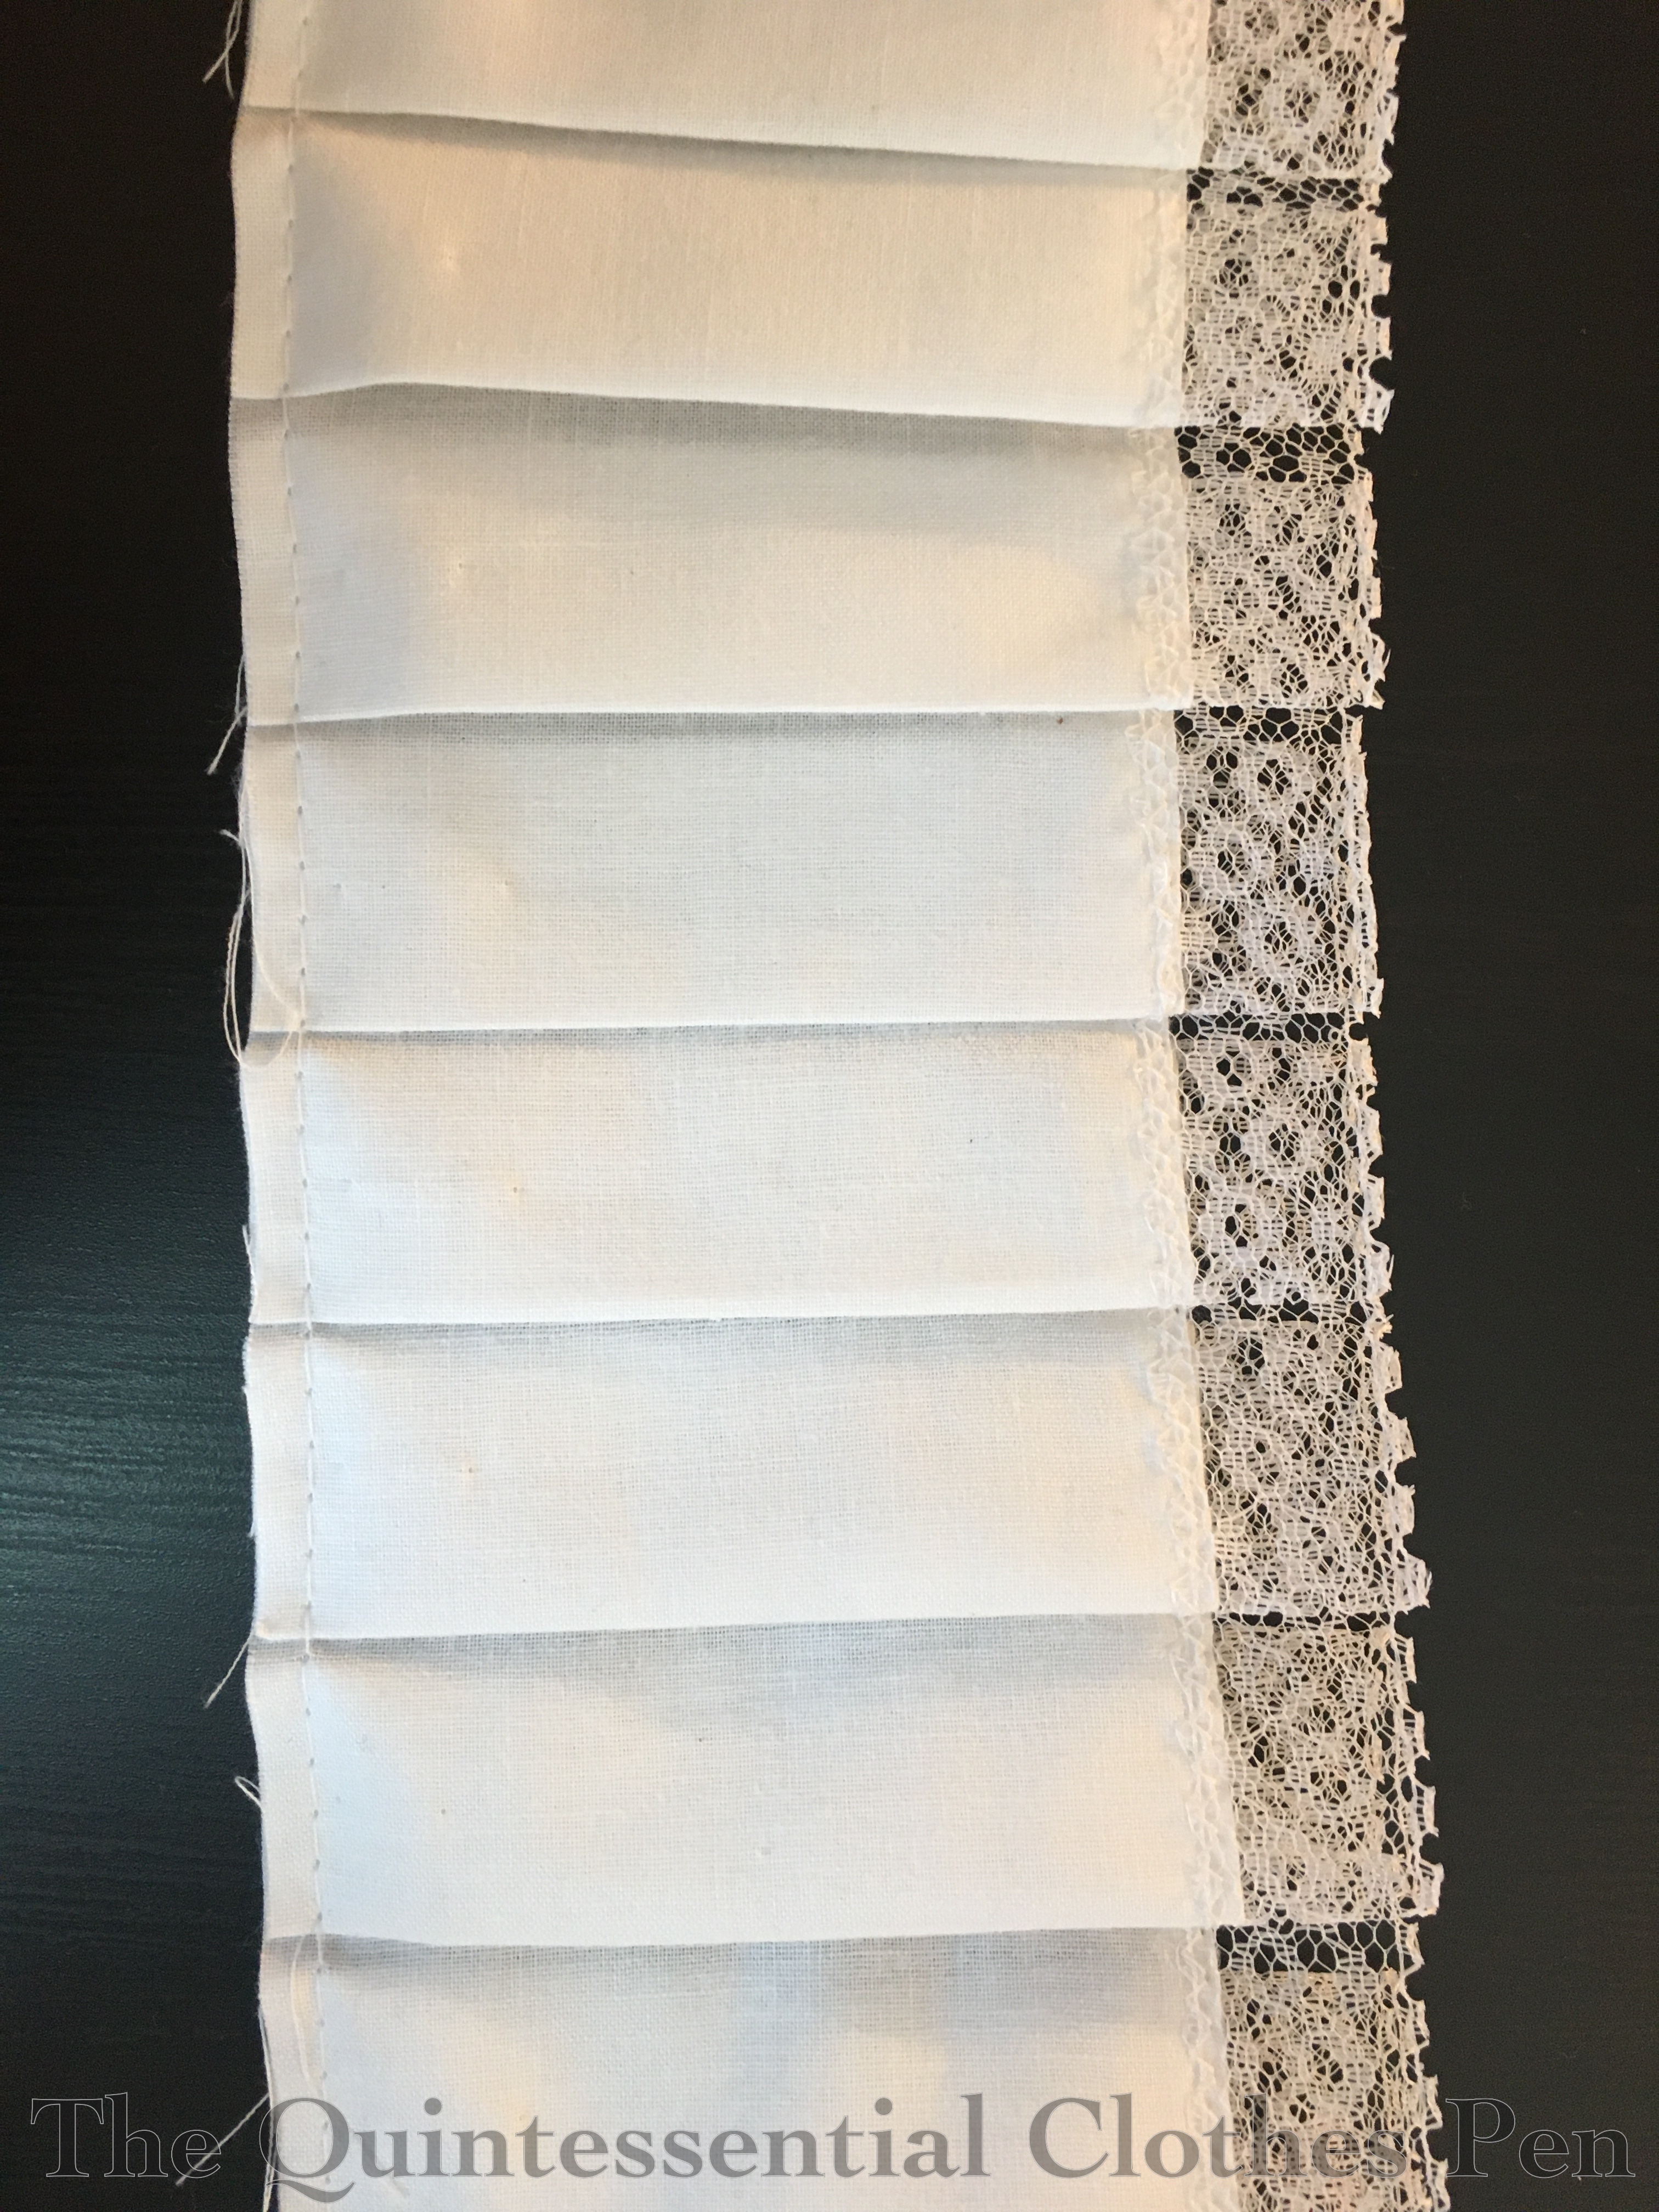
The ruffle is edged with a stiff lace from my stash. I’ve had this for nine years and always wondered what to do with it, because it is so stiff. Turns out it was perfect for a petticoat, when a little stiffness is helpful! The lace comes in the stack of three that I used to top the ruffle. To get the single width I simply cut apart sections of the stack.

Here’s another view of the stack of three lace, the pleated ruffle, and the drawstring. Both this drawstring and the one in the waist are cotton twill tape.

This simple garment qualifies for the Historical Sew Monthly challenge #5: Basic. I imagine it will be used for any project I make, day or evening, from about 1875 through 1882.

Make a garment that can be used for many occasions (like a shift, or the classic ‘Regency white dress’), or a simple accessory that will help you stretch the use of an already existing garment.

Just the facts:

Fabric/Materials:  3.5 yards plain cotton.

Pattern: From Frances Grimble’s Fashions Of The Gilded Age Volume 1.

Year: c. 1880.

Notions: 1 yard ⅝” cotton twill tape, 1 yard ¼” cotton twill tape, 5 yards lace, and thread.

How historically accurate is it?: I’m going to give this one 95%. It’s good on shape, materials, and methods. I believe would be recognizable and plausible for its time.

Hours to complete:  8 ¼ hours.

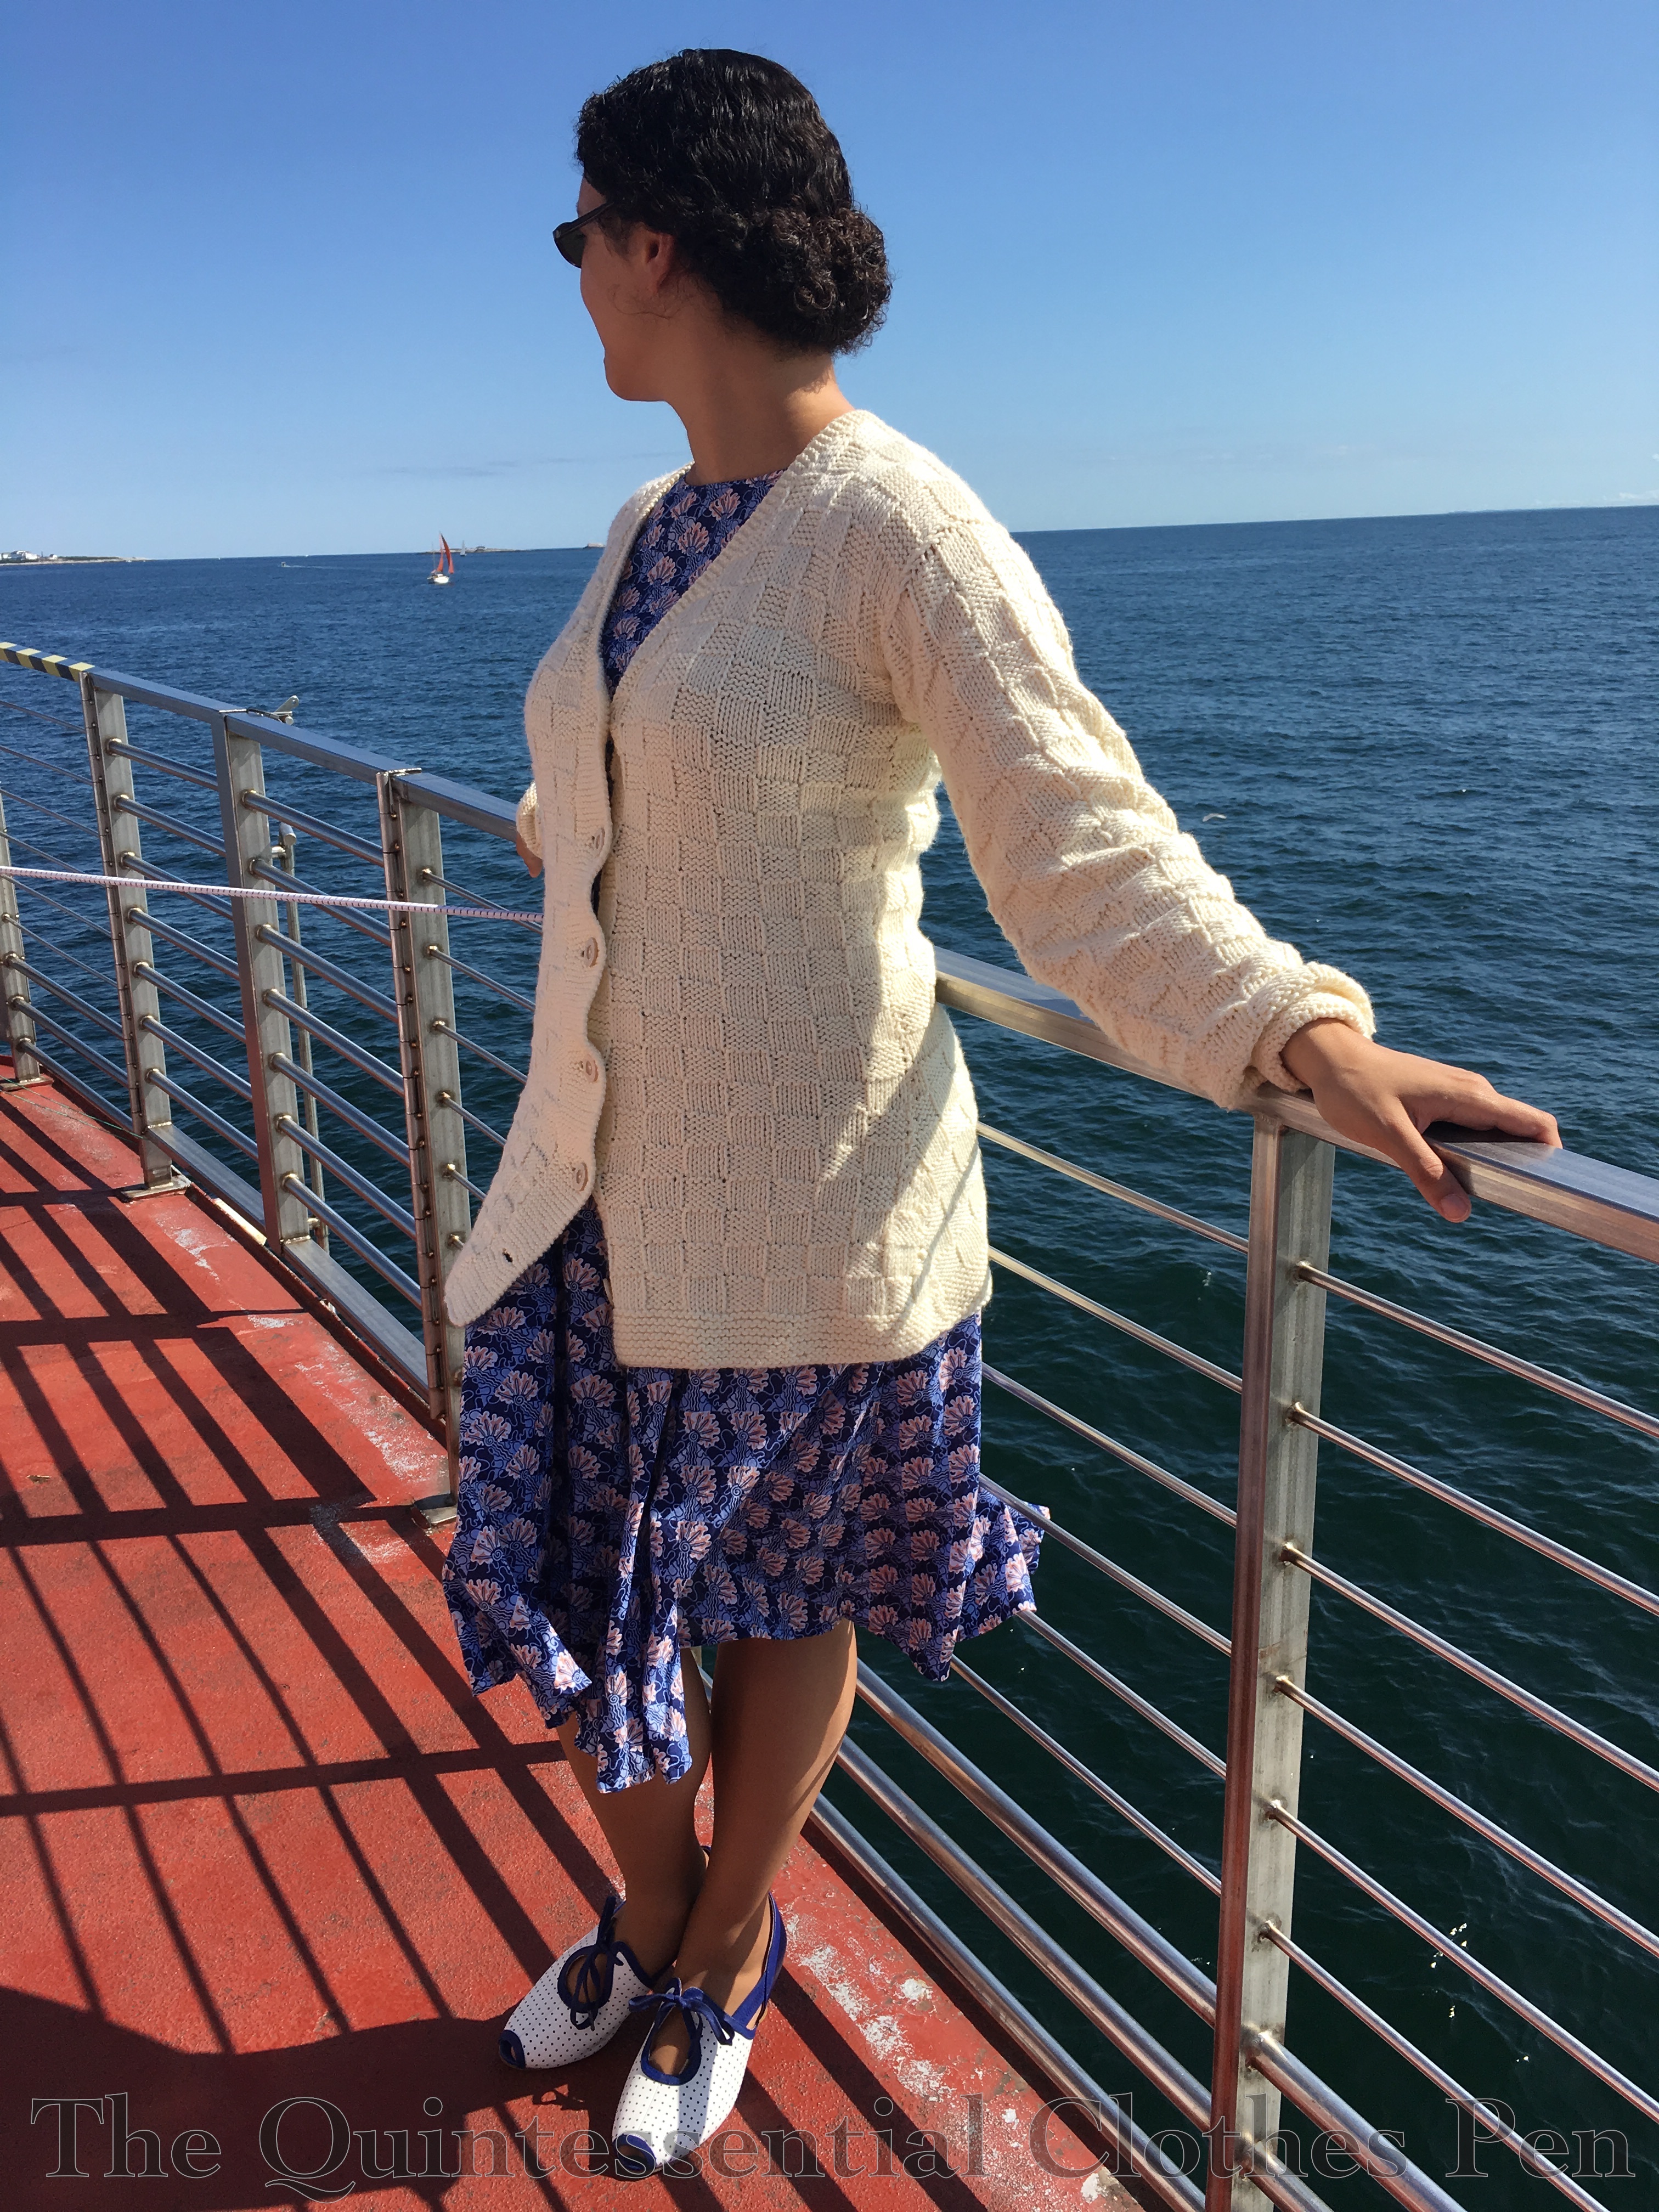
First worn: In May, for photos with my 1875 ensemble!

Total cost: This was a stash project, so free, but the original cost of the materials were $10.50 for the fabric, $2 for the lace, and about $2 for the twill tapes, so $14.50 total.

While not the most exciting project, this was a great start on the way to making my 1875 ensemble. I’m pleased to have made a garment that is easily adjustable, useful for multiple types of events and silhouettes, and is functional but still pretty!

Dreaming of Summer Adventures (Gatsby On The Isles 2019)

I don’t know about you, but I have most certainly been dreaming of historical and vintage summer adventures lately.

For this post, I don’t even need to dream! Instead, I can review my memories from the fun of Gatsby On The Isles last year. This is a lovely 1920s getaway on Star Island, off the coast of Portsmouth, New Hampshire.

The weekend’s events include the boat trips to and from the island, exploring, picnic-ing, games, an evening dance party, fabulous live music for the dance party and picnic, and more. If this post’s photos aren’t enough fun, check out these past posts about this event: 2018 and 2016.

Back to last year, here I am heading to the island in my 1925 Blue Coral Day Dress, 1917 Knitted Sweater of Angorina, and blue Ginger shoes from Royal Vintage (now American Duchess).

Normally, being August, it’s super hot and rather sweaty. Last year, though, we had unusual weather. It was very windy and rather chilly. It wasn’t necessarily cold, it was just slightly warm and windy, which felt chilly when I was prepared (and dressed) for quite hot temperatures.

The wind made rather large swells and rolling rides both to and from the island. Thankfully I didn’t feel motion sick, just in awe of the waves around us, but unfortunately others didn’t fare as well. For me, the wind made it harder than usual to get good photos, both on the boat and on the island. And it made me feel much less interested in lounging about outside–I generally stayed indoors so I didn’t feel cold.

Look at my skirt blowing around in the wind… This was Saturday after our arrival. I think I was headed to the hotel to get my sweater because I was cold standing up on the rocks without it!

I did go out on the porch to document my Sunday afternoon outfit: my 1930s beach pajamas with my Gingers! The windy weather meant that I spent the entire day in my sweater, again (and that it was hard to get a photo of my pants that wasn’t absurd looking!).

We also went out for a walk on Saturday evening before dinner. It’s fun to explore all of the different paths around the island (as long as I put on LOTS of bug spray–the mosquitos LOVE to bite me… ugh!).

The views are lovely as well! No matter which direction you look there is a gorgeous view!

Sunday morning is traditionally pajama croquet. I didn’t participate this year, but that didn’t stop me wearing my 1935 dressing gown to lounge about in!
The usual camera-toting-suspect had fun playing with her Petzval lens for the robe photo, as well as some others. They do a great job capturing the ambiance of the weekend. (Check out this post for a little bit of information about the Petzval lens and a link to a blog post with lots more information.)

I particularly enjoy the live and recorded music that our host provides for the weekend. Having a ‘soundtrack’ for an adventure only makes it that much more magical.

I also enjoyed these potted arrangements outside the hotel. The mixture of textures, colors, and shapes appeals to me, and I love how there are unusual colors mixed in, like the deep purple and very bright green.

What wonderful memories! Of sunshine, warmth, and fun with friends. It was very rainy and unseasonably cold in April, so these warm memories are especially appreciated!

The Amazing Balayeuse (HSM #8)

I am super pleased with a recently completed addition to my historical closet, my brand new balayeuse! Practical, utilitarian, and still managing to be a little frivolous looking, this thing is amazing!

I’ll tell you all about it, but first… what is a balayeuse? Our go-to source for etymology, the Oxford English Dictionary (OED), has the following information.

balayeuse, n.
Pronunciation:  /balɛˈjəːz/
Frequency (in current use)
Etymology: French, feminine of balayeur sweeper.
Dressmaking.
1882   S. F. A. Caulfeild & B. C. Saward Dict. Needlework 18/2   Balayèuse, or Sweeper.—A French term to signify the frilling of material or lace which lines the extreme edge of a dress skirt to keep the train clean as it sweeps along the floor. The balayèuse is allowed to project beyond the edge of the dress, so as to form a decorative as well as a useful trimming.
1894   Daily News 20 Jan. 5/7   Three flounces of..silk forming a richly-rustling balayeuse beneath the hem.

Please note: The Oxford English Dictionary is only available by subscription, therefore I have not included links to this definition as you will not be able to access it simply by clicking a link. Many libraries have subscriptions to the OED, so I suggest you start there for access.

Are you curious how to pronounce balayeuse? The OED provides us with the correct pronunciation, but the official pronunciation notes don’t mean too much to me. I think of the word as bal-ay-yuhz.

Ok, so now we know what this thing is and how to pronounce it. We even have an idea of the purpose, from the OED definition.

As you saw in the first photo, my balayeuse is it’s own garment. But there is another type of balayeuse mentioned in the first OED quote, from 1882. Also called a ‘dust ruffle’, this type of balayeuse is directly attached to the skirt. I’ve had great luck with this in the past and I really like the look of lace peeking out from under a late 19th century skirt, so I included that type of balayeuse on the pink skirt as well, but that alone was not enough to keep its shape.

I decided to make a second type of balayeuse–one that, in addition to the wonderful job of keeping the underside of the skirt’s train from becoming soiled, also helps the train to keep its shape and not collapse on itself. Caroline (of the blog Dressed In Time) mentions this function in a blog post showing her own balayeuse. Here is the train of my skirt laid out (sneak peak!).

I felt I had to make my skirt before the balayeuse, in order to make the balayeuse the right shape to hide under the skirt when it was finished, and so I’ve tried it on a few times without the balayeuse. The train is great looking when I twist and turn in my corset to get the skirt to lay just right, but it doesn’t stay that way when I move around.

But with the balayeuse it was so different! The skirt just magically lays exactly how it should as soon as I put it on and it stays that way no matter how I move–backing up, turning, it is amazing!

So how does this balayeuse really help keep the shape? Well, the main thing is that the base is a double layer of stiff cotton poplin (from Dharma Trading–I love them for my natural fiber, white, black, and unbleached fabric needs). This photo of the balayeuse with the ruffle side face down (as it would be worn) shows the poplin off nicely.

The poplin base is basically a big rectangle with the bottom edge curved up at the sides. I used the full width of the poplin, which was a little less than 60″ wide. The center is 17″ tall and the sides taper to about 9″. The base is gathered to a band that is 28″ wide and 2″ tall. I didn’t add extra stiffening to the band, as the poplin is pretty hardy all by itself. This blog post at Atelier Nostalgia has an image that was great inspiration for my shape (though my balayeuse is wider than this) and the button attachment method I’ll show you below.

The poplin base has three rows of ruffles attached to it. I decided to use unbleached muslin for the ruffles for a few reasons: #1 gathering three rows of stiff poplin didn’t sound like fun (and the base is plenty stiff enough as it is), #2 I figured that the muslin would be less obviously dirty looking, already being unbleached as opposed to very white, and #3 the muslin will be easy and cheap to replace someday, if needed.

As you can see in the photo above, the band of the balayeuse has buttonholes in it. This allows the balayeuse to be easily removed for cleaning and storage, or use with a different dress (thinking ahead, here!). To accommodate the buttonholes, there are buttons sewn to the lining of the skirt.

The buttons are reinforced with extra squares of muslin whipped to the lining, as you can see in the photo below.

It seemed too much to ask the buttons to hang on to a single layer of muslin while dragging the balayeuse around. Here’s what those whipped on squares look like on the other side.

The end result is this. As you can see, the non-ruffled top of the balayeuse overlaps with the skirt lining and would not be dragging on the ground. The muslin ruffles actually continue the muslin underskirt nicely, I think, though no one is likely to ever see that!

It might not seem super stiff, but this ruffle-y contraption spreads out beautifully when it hits the floor. For comparison, here is a photo of my mockup balayeuse, made from an old sheet (and without ruffles). It’s spread out for the photo, but you can imagine how an old sheet would collapse on itself when picked up.

One last thought… the ruffles! I decided to try out a new tool for these ruffles: a narrow hem foot. This is one of those things I should have tried before but haven’t ever used for a project, but miles of ruffle edges seemed like the perfect opportunity to practice!

I can report that practice definitely helped! For example, I had some trouble going over my french seamed joins in the ruffles. In the photo below, my first try is on the left, my fifth try is in the middle, and my last try is just coming up on the right. The french seam was just too bulky to fit through the hook on the presser foot that turns under the hemmed edge. I discovered that if I eliminated some bulk with a diagonal cut of the seam allowance it worked so much better!

I didn’t bother to go back and fix my first few sad-looking french seam crossings. I figured this was going to drag around on the ground, and who would be looking? Also, it’s more fun to make beautifully colored dresses than muslin ruffles… There was a bit of ‘done is good’ on that front for this project.

Yay for learning things! I also found I needed to move my needle just a tad bit to the right of center to easily (and speedily) stitch the narrow hems.

The mention of the narrow hem foot reminds me that this project qualifies for the HSM challenge #8: Celebration.

Make something for a specific historical celebration, make something generally celebration worthy, make something that celebrates a historical hero, or just make something that celebrates some new skills you’ve learned.

Just the facts:

Fabric/Materials:  1 yard cotton poplin and 1 yard cotton muslin.

Pattern: My own.

Year: c. 1875.

Notions: 5 light yellow plastic buttons and thread.

How historically accurate is it?: I haven’t seen an extant stand-alone balayeuse before, so I can’t be sure, but I would say 90%. Materials and style completely recognizable and plausible for their time.

Hours to complete:  5 ¼ hours.

First worn: In May, for fittings. I need to complete my ensemble (only the hat is left!) so I can wear it with the dress it was made for to get photos.

Total cost: $6.25 for the poplin and $4 for the muslin. The buttons were gifted to me. And the thread was negligible. There was a bit of shipping to get the poplin, so let’s say $15 total.

Further information I found helpful as I made my balayeuse included this blog post at Yesterday’s Thimble. It’s also worth mentioning that if this idea sounds great, but patterning your own balayeuse is too much, Truly Victorian has a pattern for a petticoat with detachable train that you can check out.