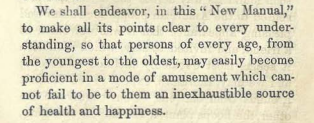
This post is part of my ongoing and slow work on a 1790s ensemble.
Last year, I was working on a petticoat and bum pad to create a foundation for a dress. The petticoat was pretty much done by the end of the year. The bum pad needed just a final fitting for me to decide if I liked the plumpness before sewing it closed.
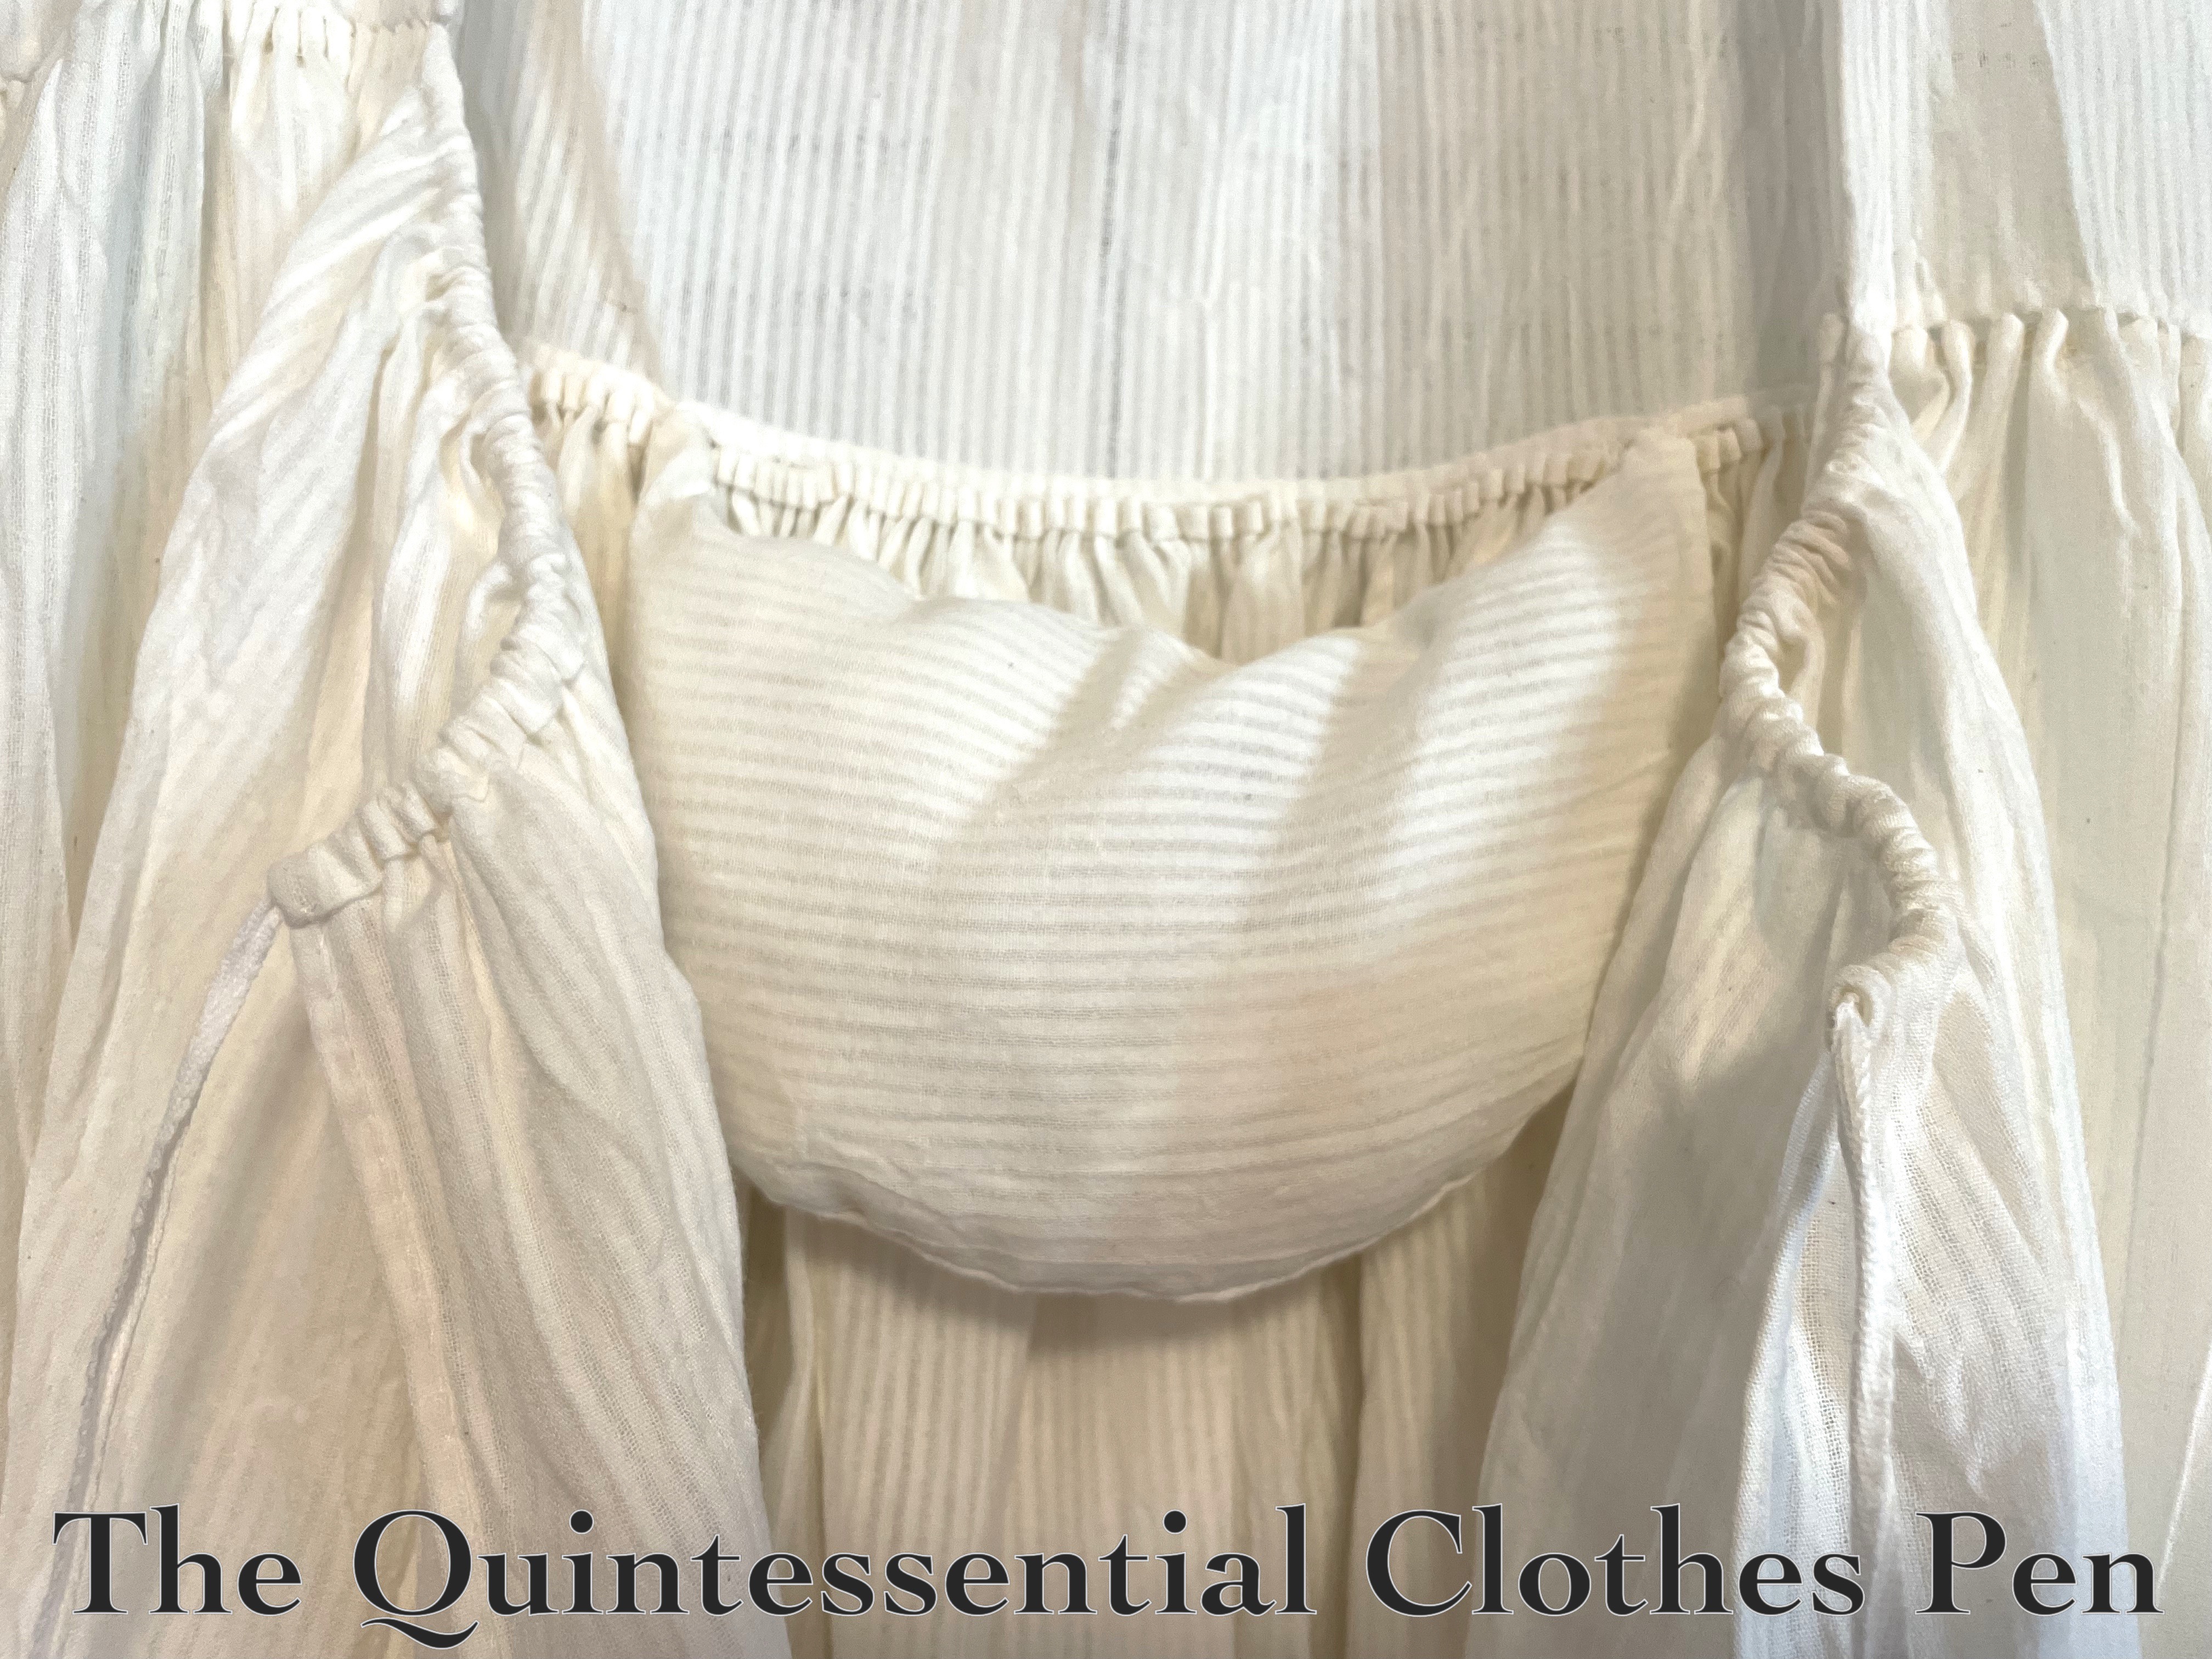
After a fitting when the dress was very close to done I determined that I did like the plump pad (stuffed with scraps of the white striped cotton the petticoat and bum pad are made of).
With the bum pad being good to go, I was finally able to finish up the petticoat!

This is my entry for the Historical Sew Monthly 2024 Challenge #8 Stripes and Dots:
Make something using striped or dotted material. The stripes or dots can be printed on the material, knitted/woven in to the material, or created with surface embellishment (ex: embroidery). Textural stripes or dots (i.e: those that are the same colour as the base fabric) are permitted!
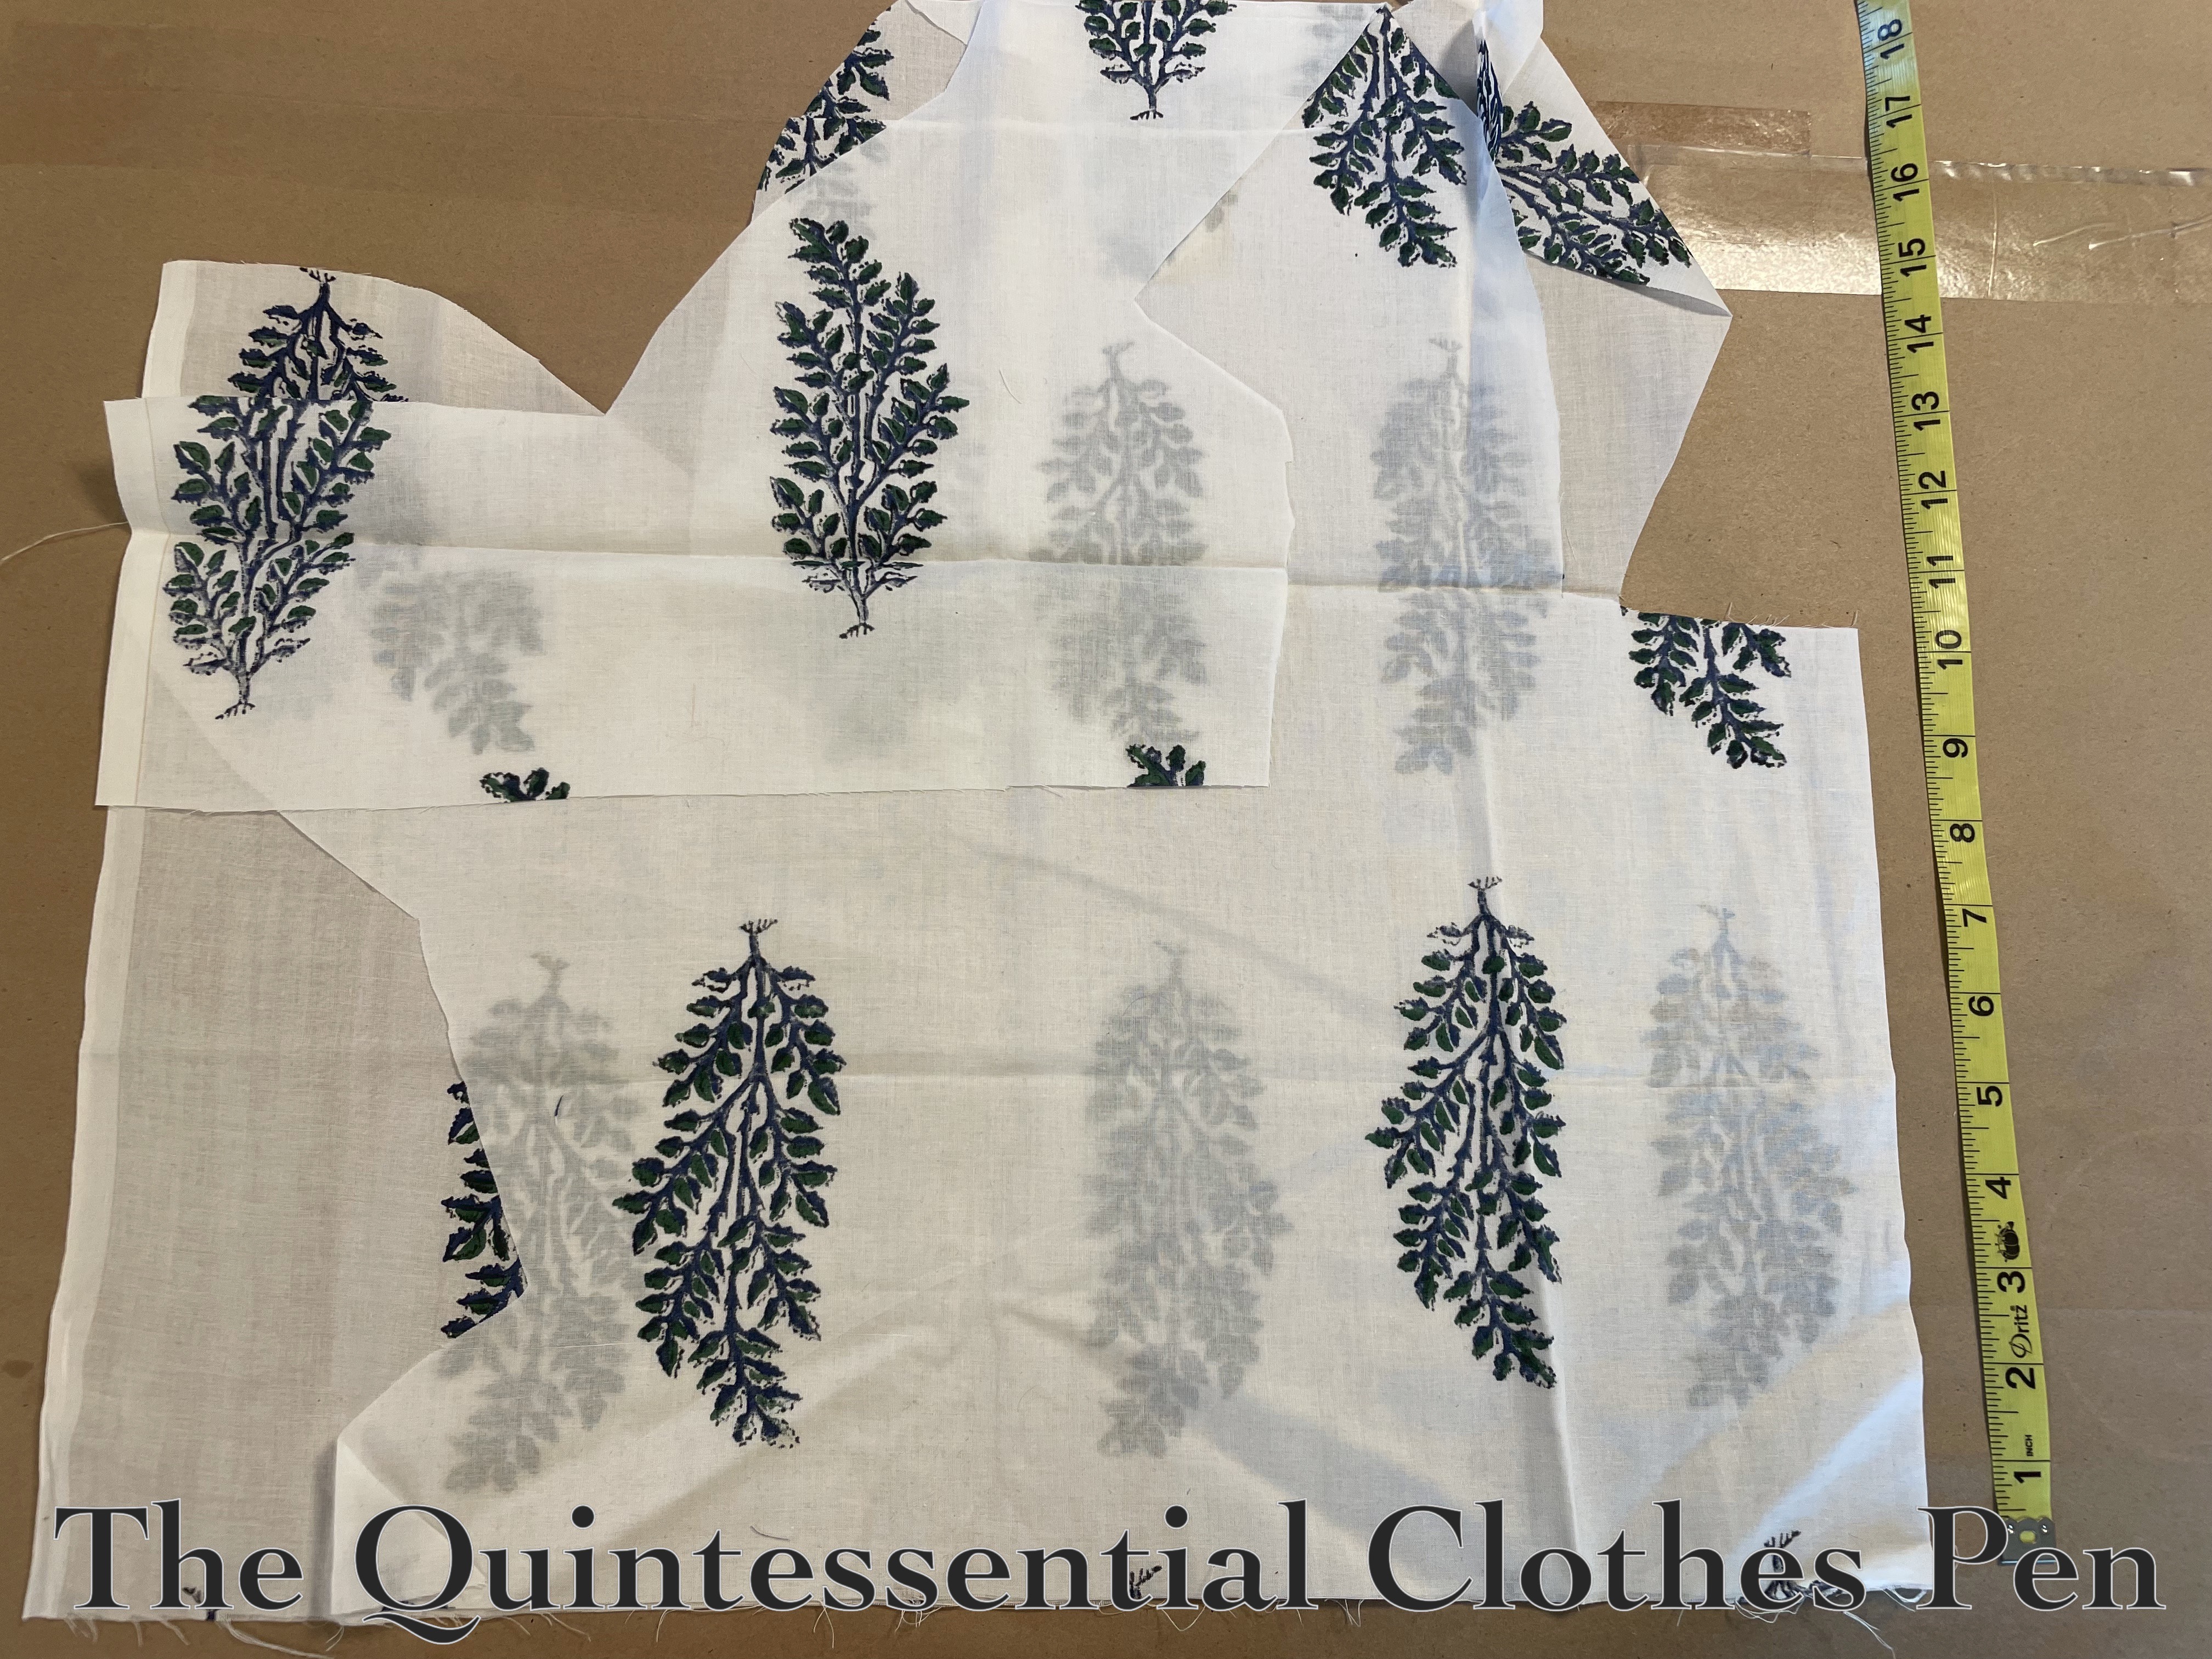
This petticoat is made from fabric with a narrow woven in stripe.
Just the facts:
Fabric/Materials: Approximately 3 yards of white striped cotton.
Pattern: From The American Duchess Guide To 18th Century Dressmaking by Lauren Stowell and Abby Cox.
Year: c. 1795.
Notions: Approximately 1 yard of 1/4″ white cotton twill tape, 4 hooks and loops, and thread.
How historically accurate is it?: 100%. Entirely hand sewn, made from plausible fabric, using a pattern that is backed up by lots of research… I’d say this one is pretty accurate!
Hours to complete: About 2 ¼ hours.
First worn: Not yet worn.
Total cost: Approximately $4. The fabric was just $1 per yard when I purchased it years ago and the twill tape and hooks/loops were bought in super bulk and probably cost no more than $1 for all of the bits that I used.
More details:
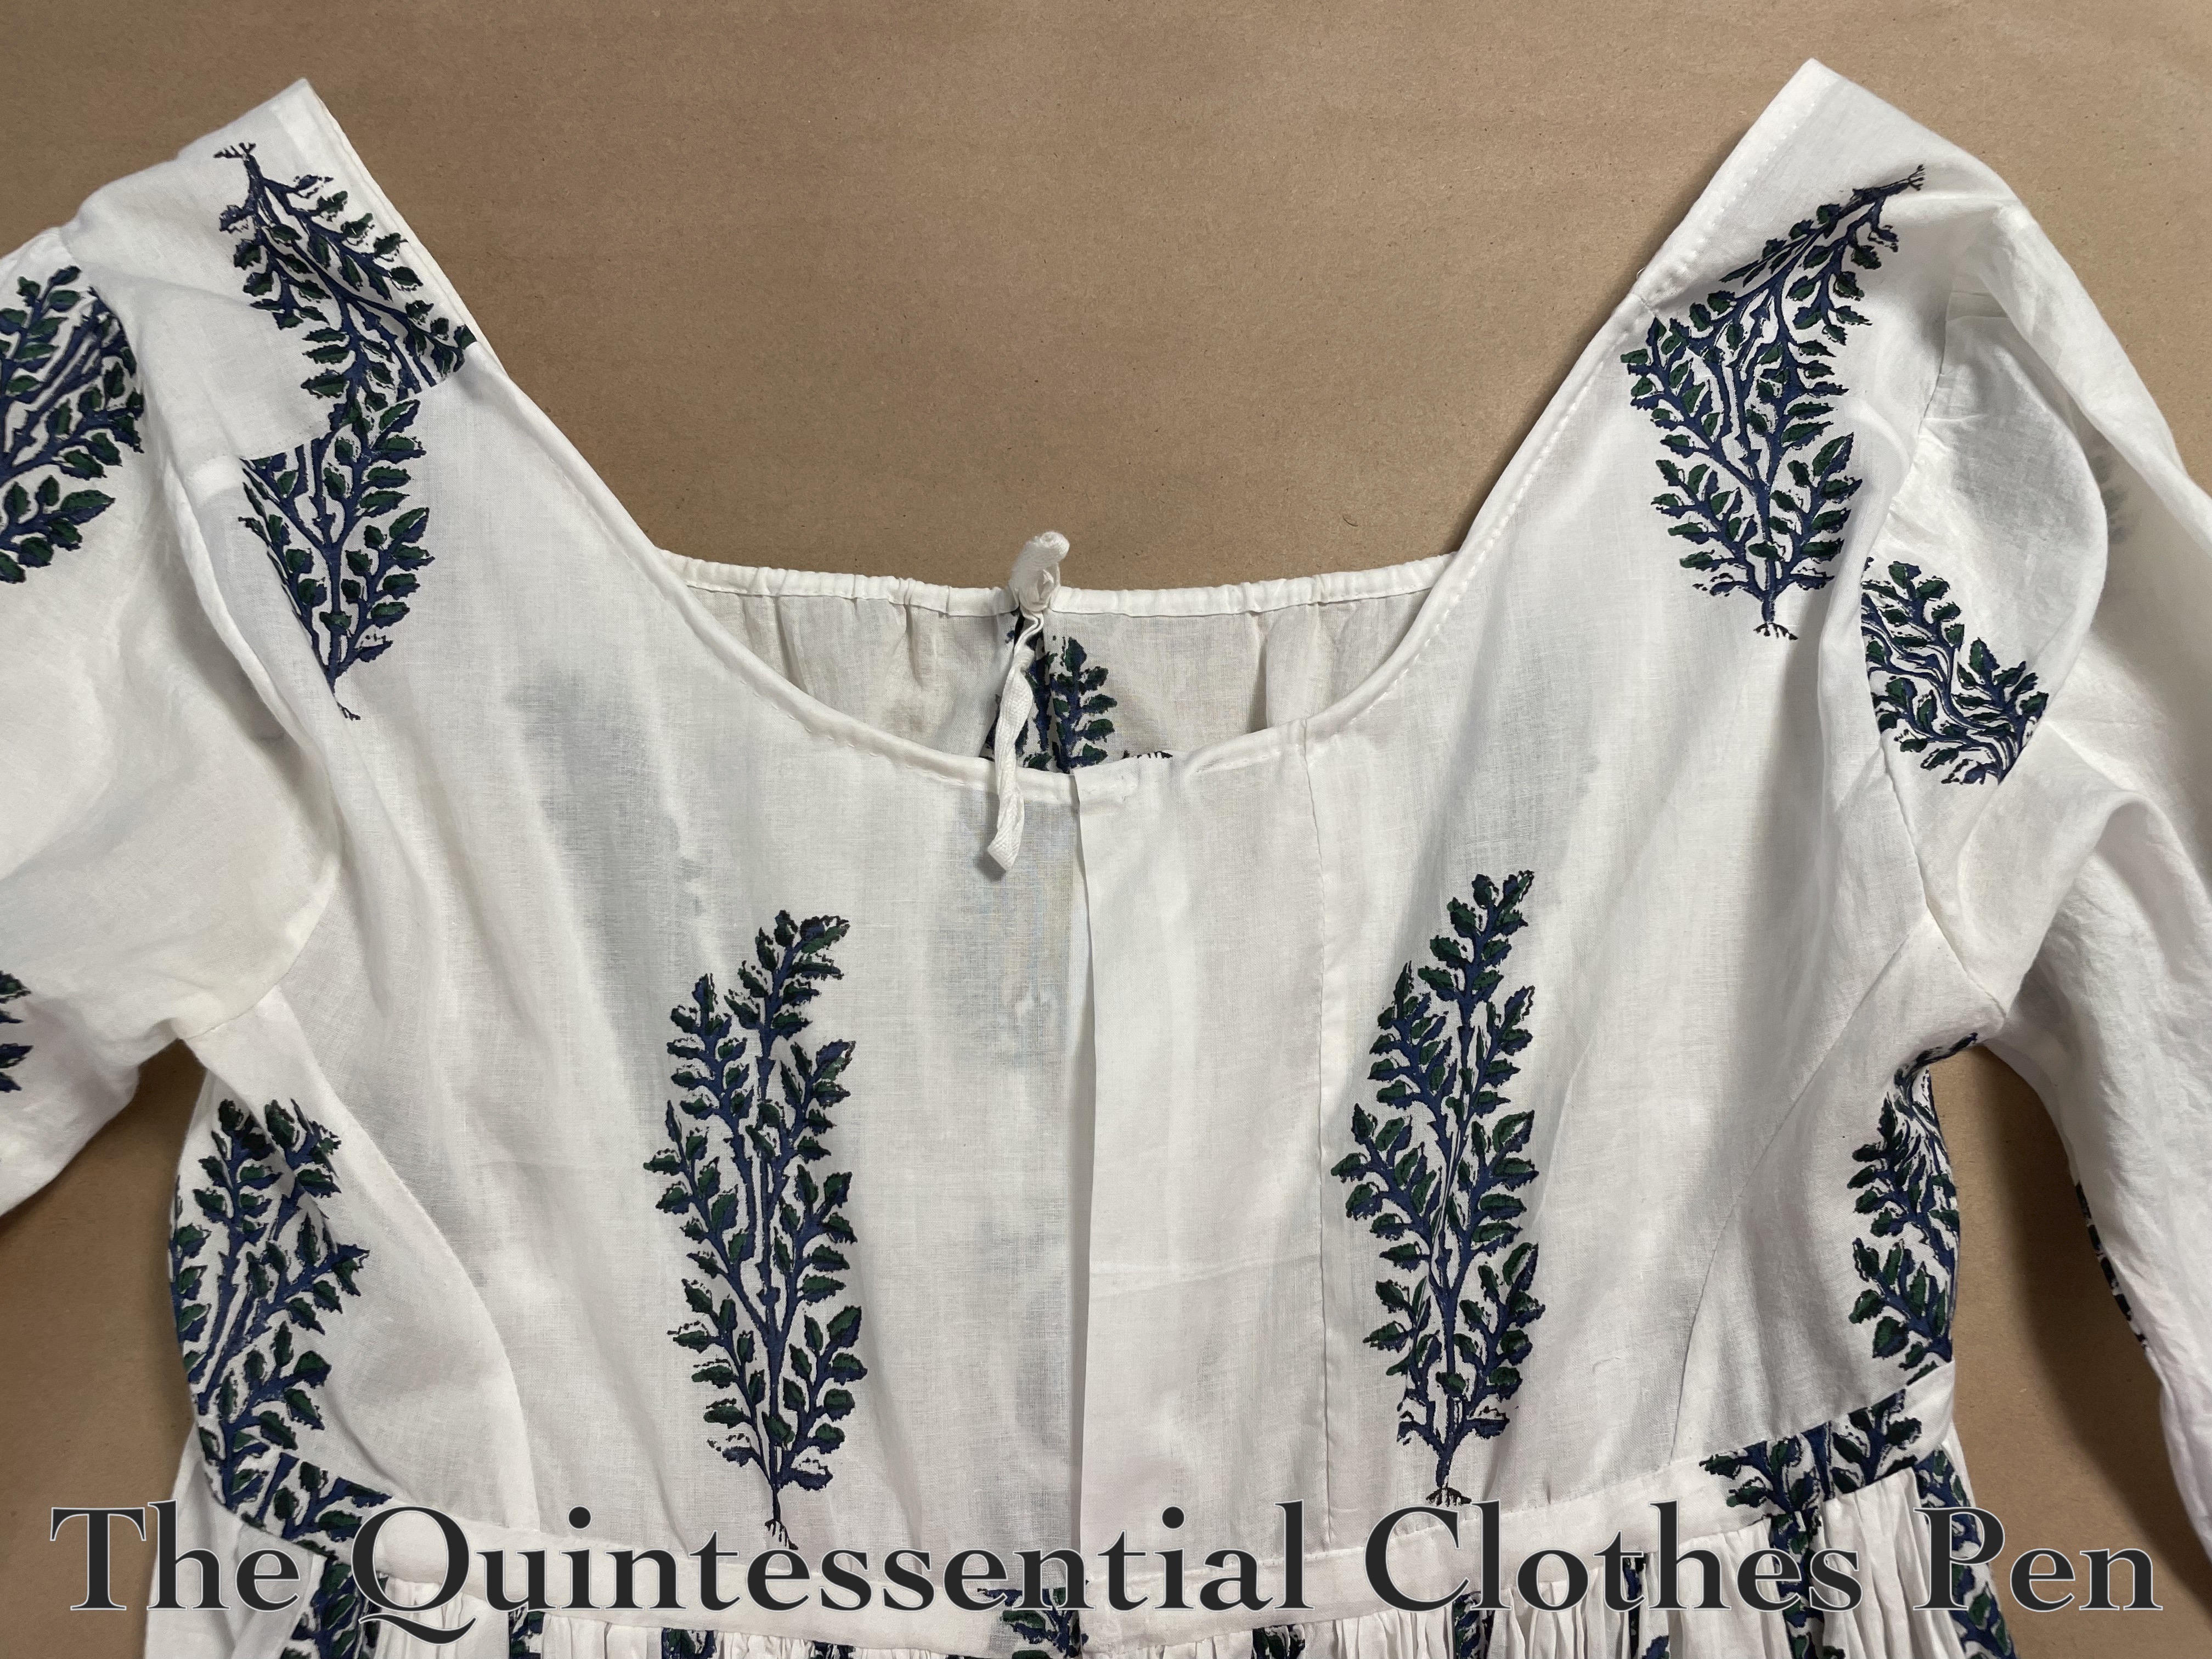
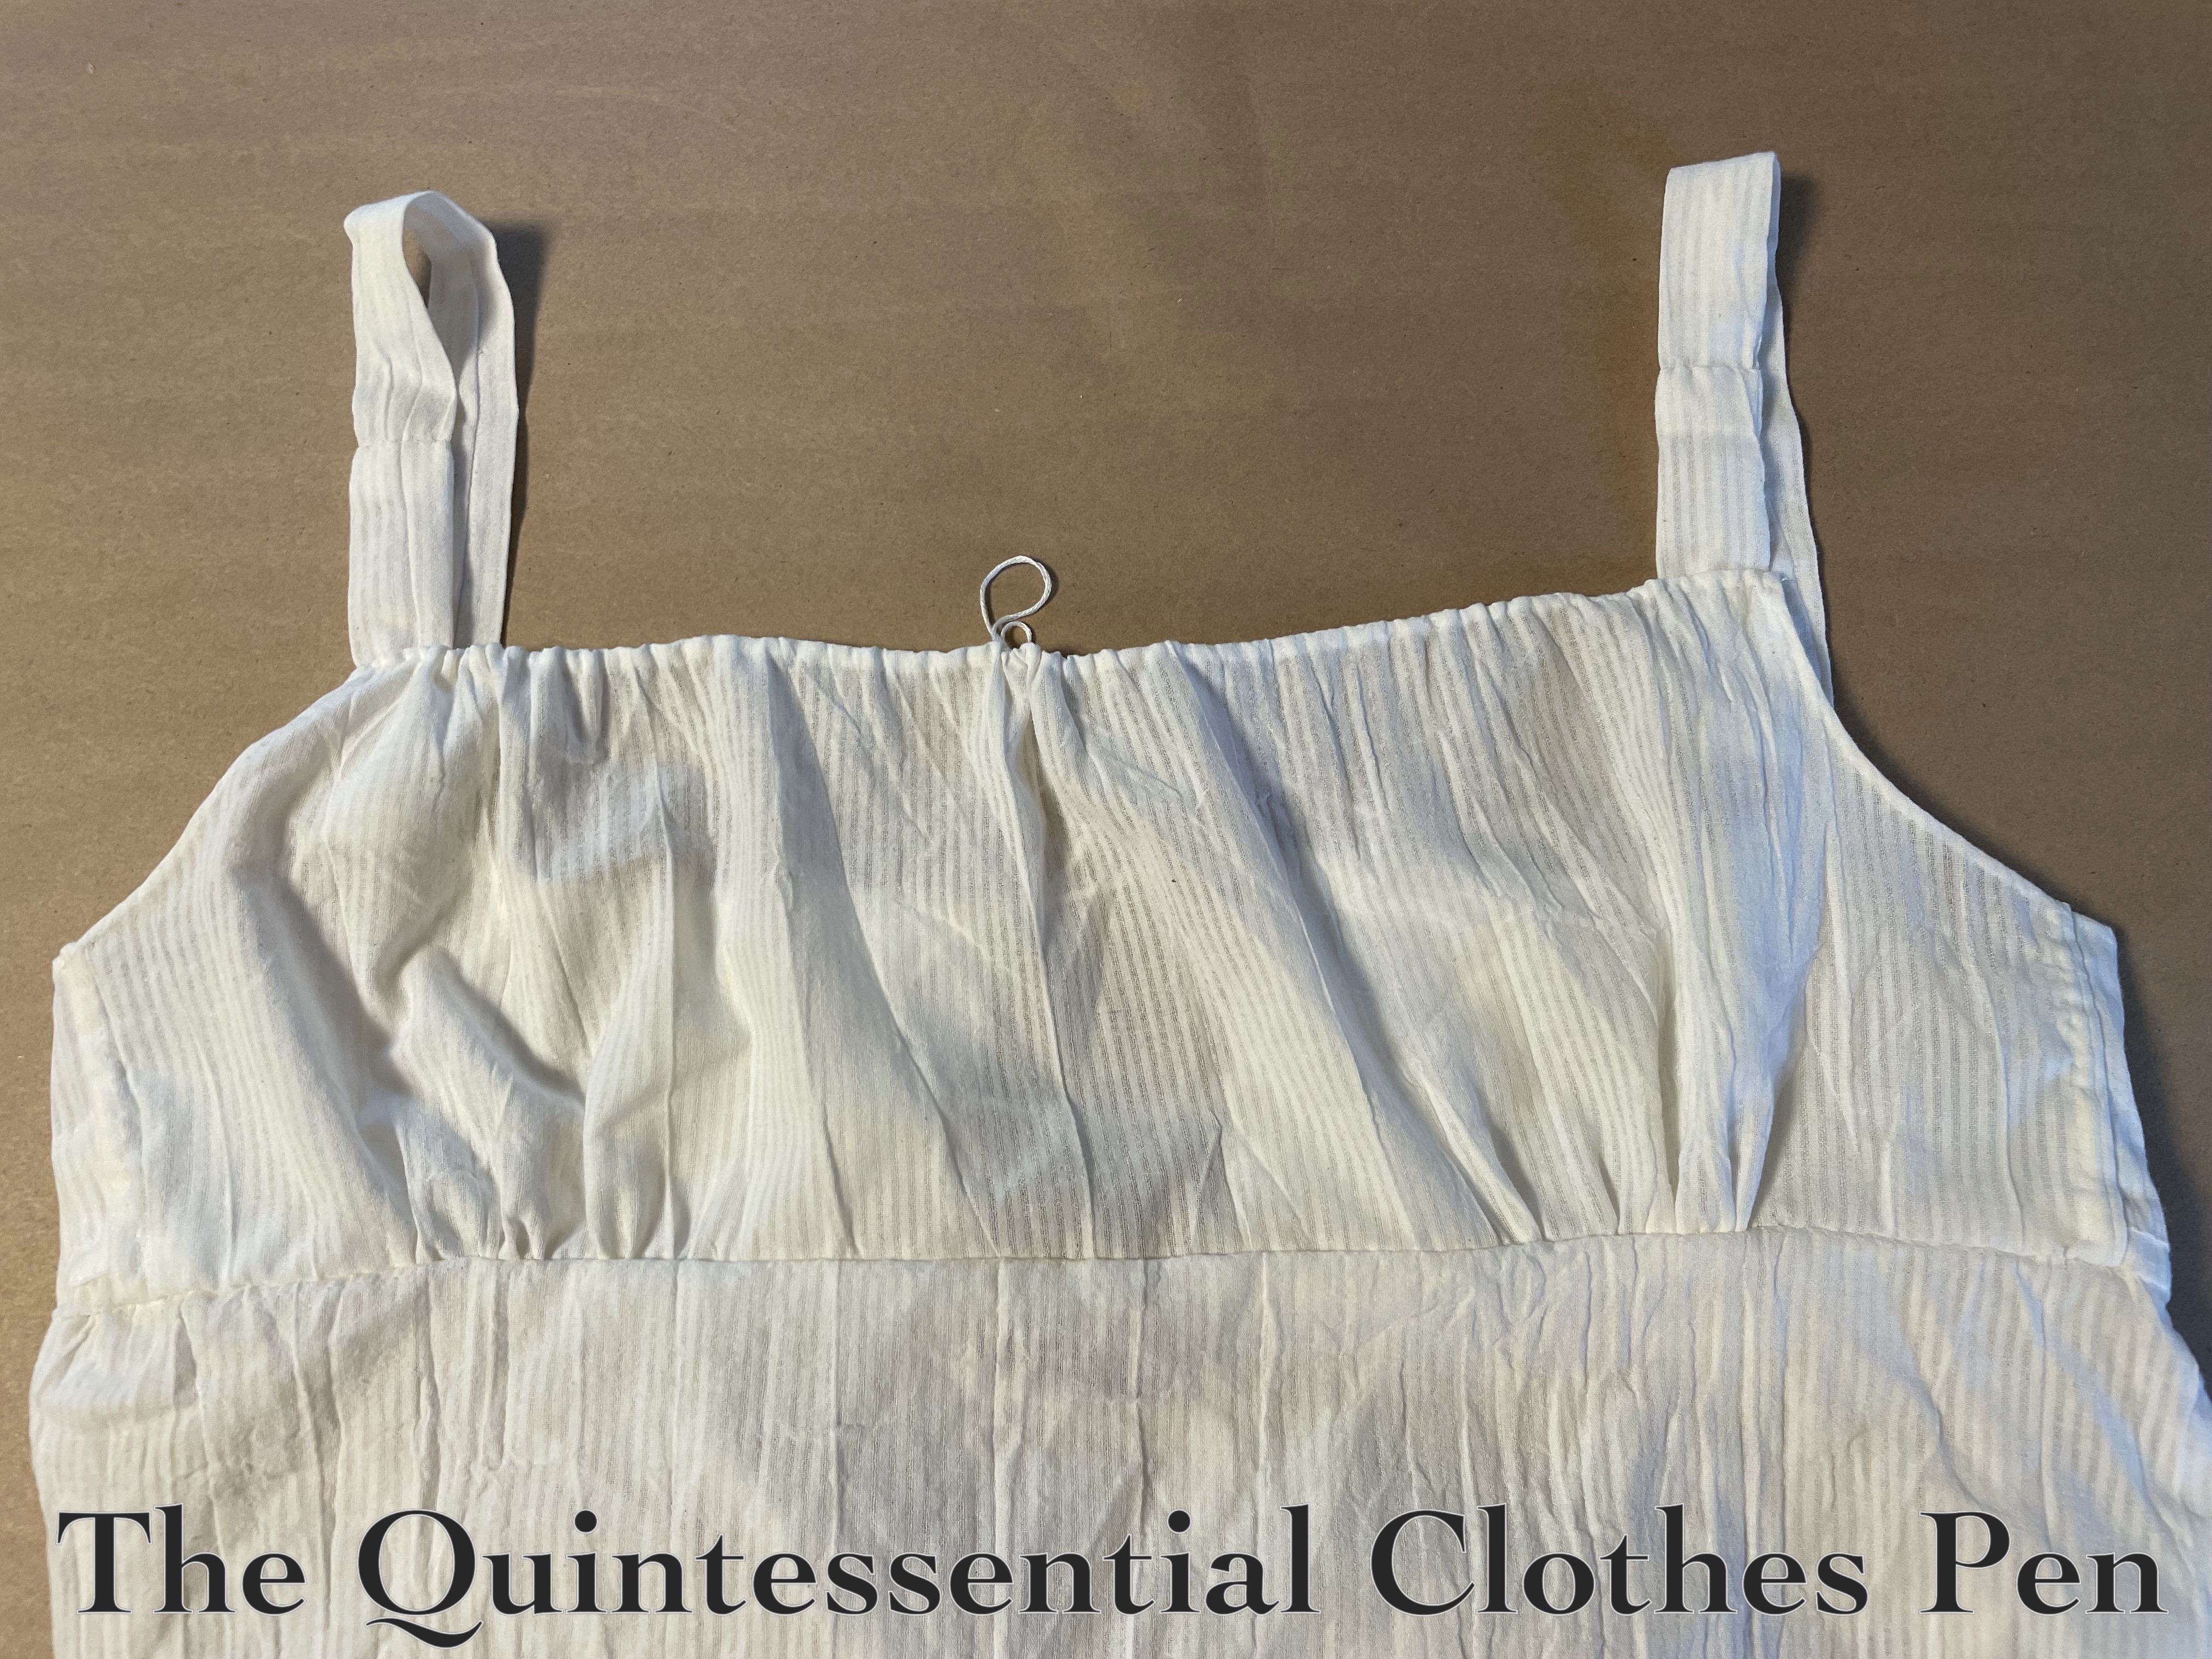
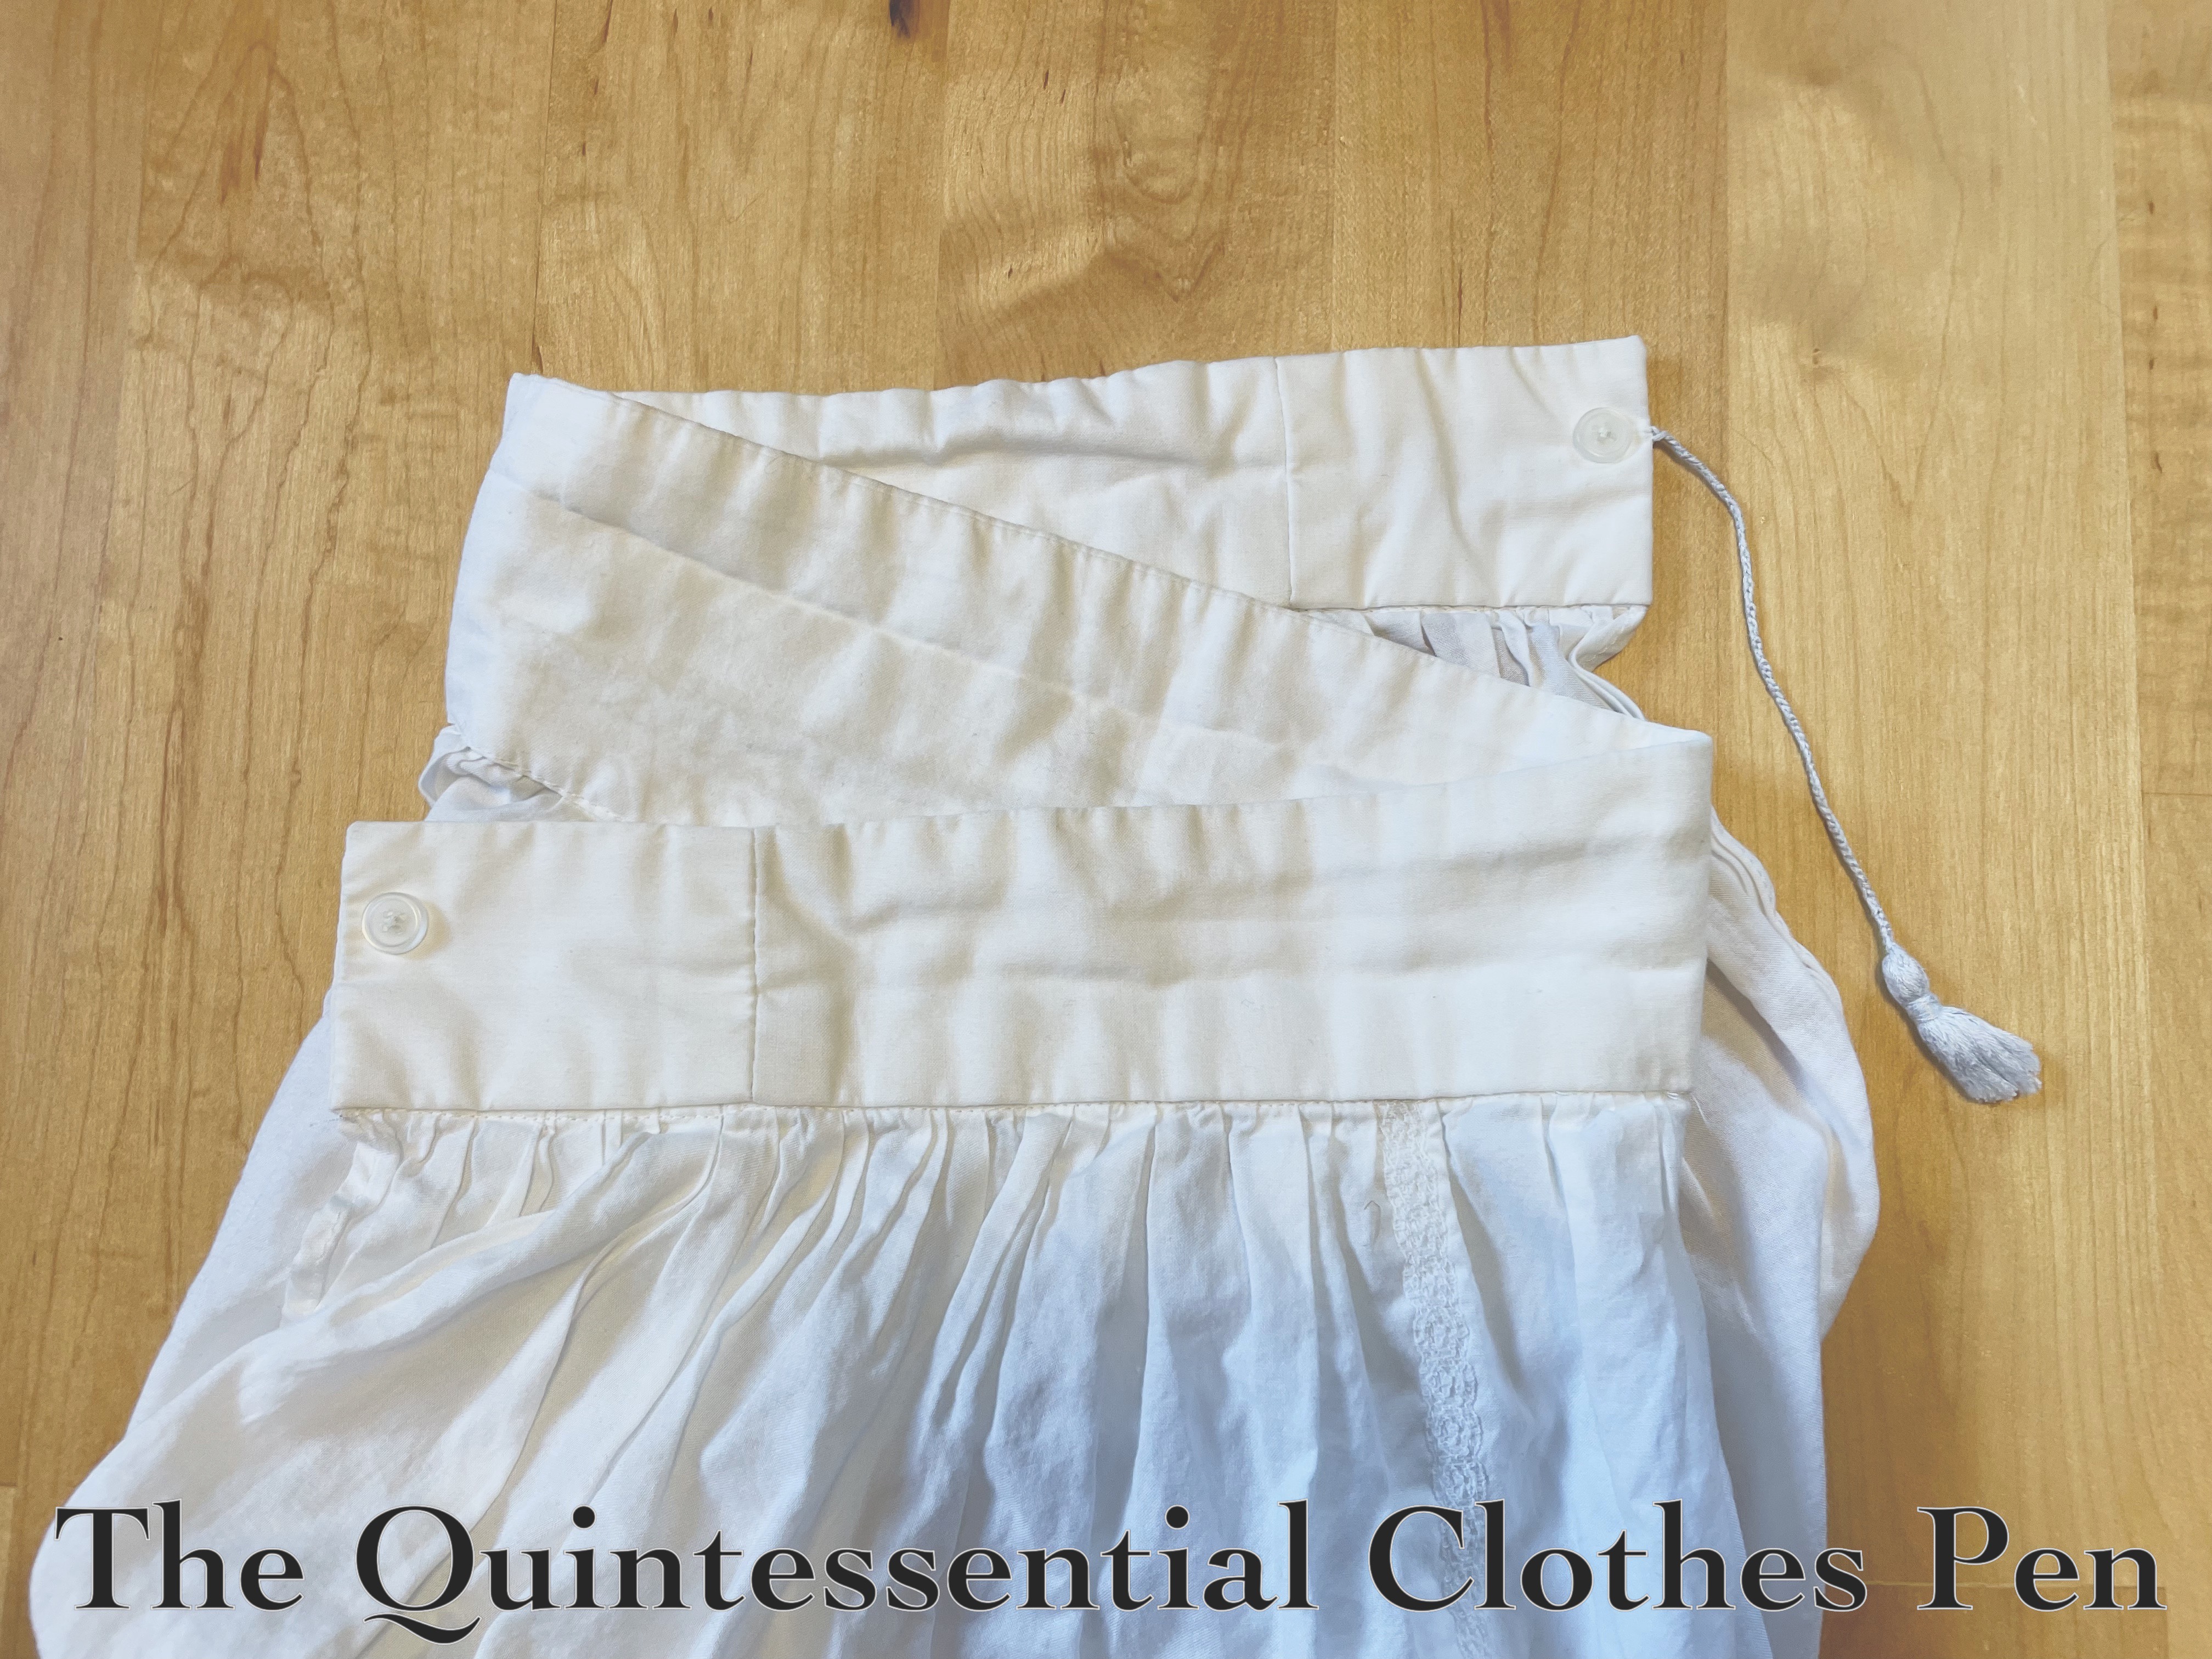
The petticoat closes with a drawstring, as can be seen below. I love this, as it will make it easily adjustable (a common theme in my recent sewing projects!)

The front opening is finished on both sides with a narrow hem. It’s long enough that I didn’t feel the need to reinforce the bottom, as I don’t think I’m likely to rip it getting in and out.

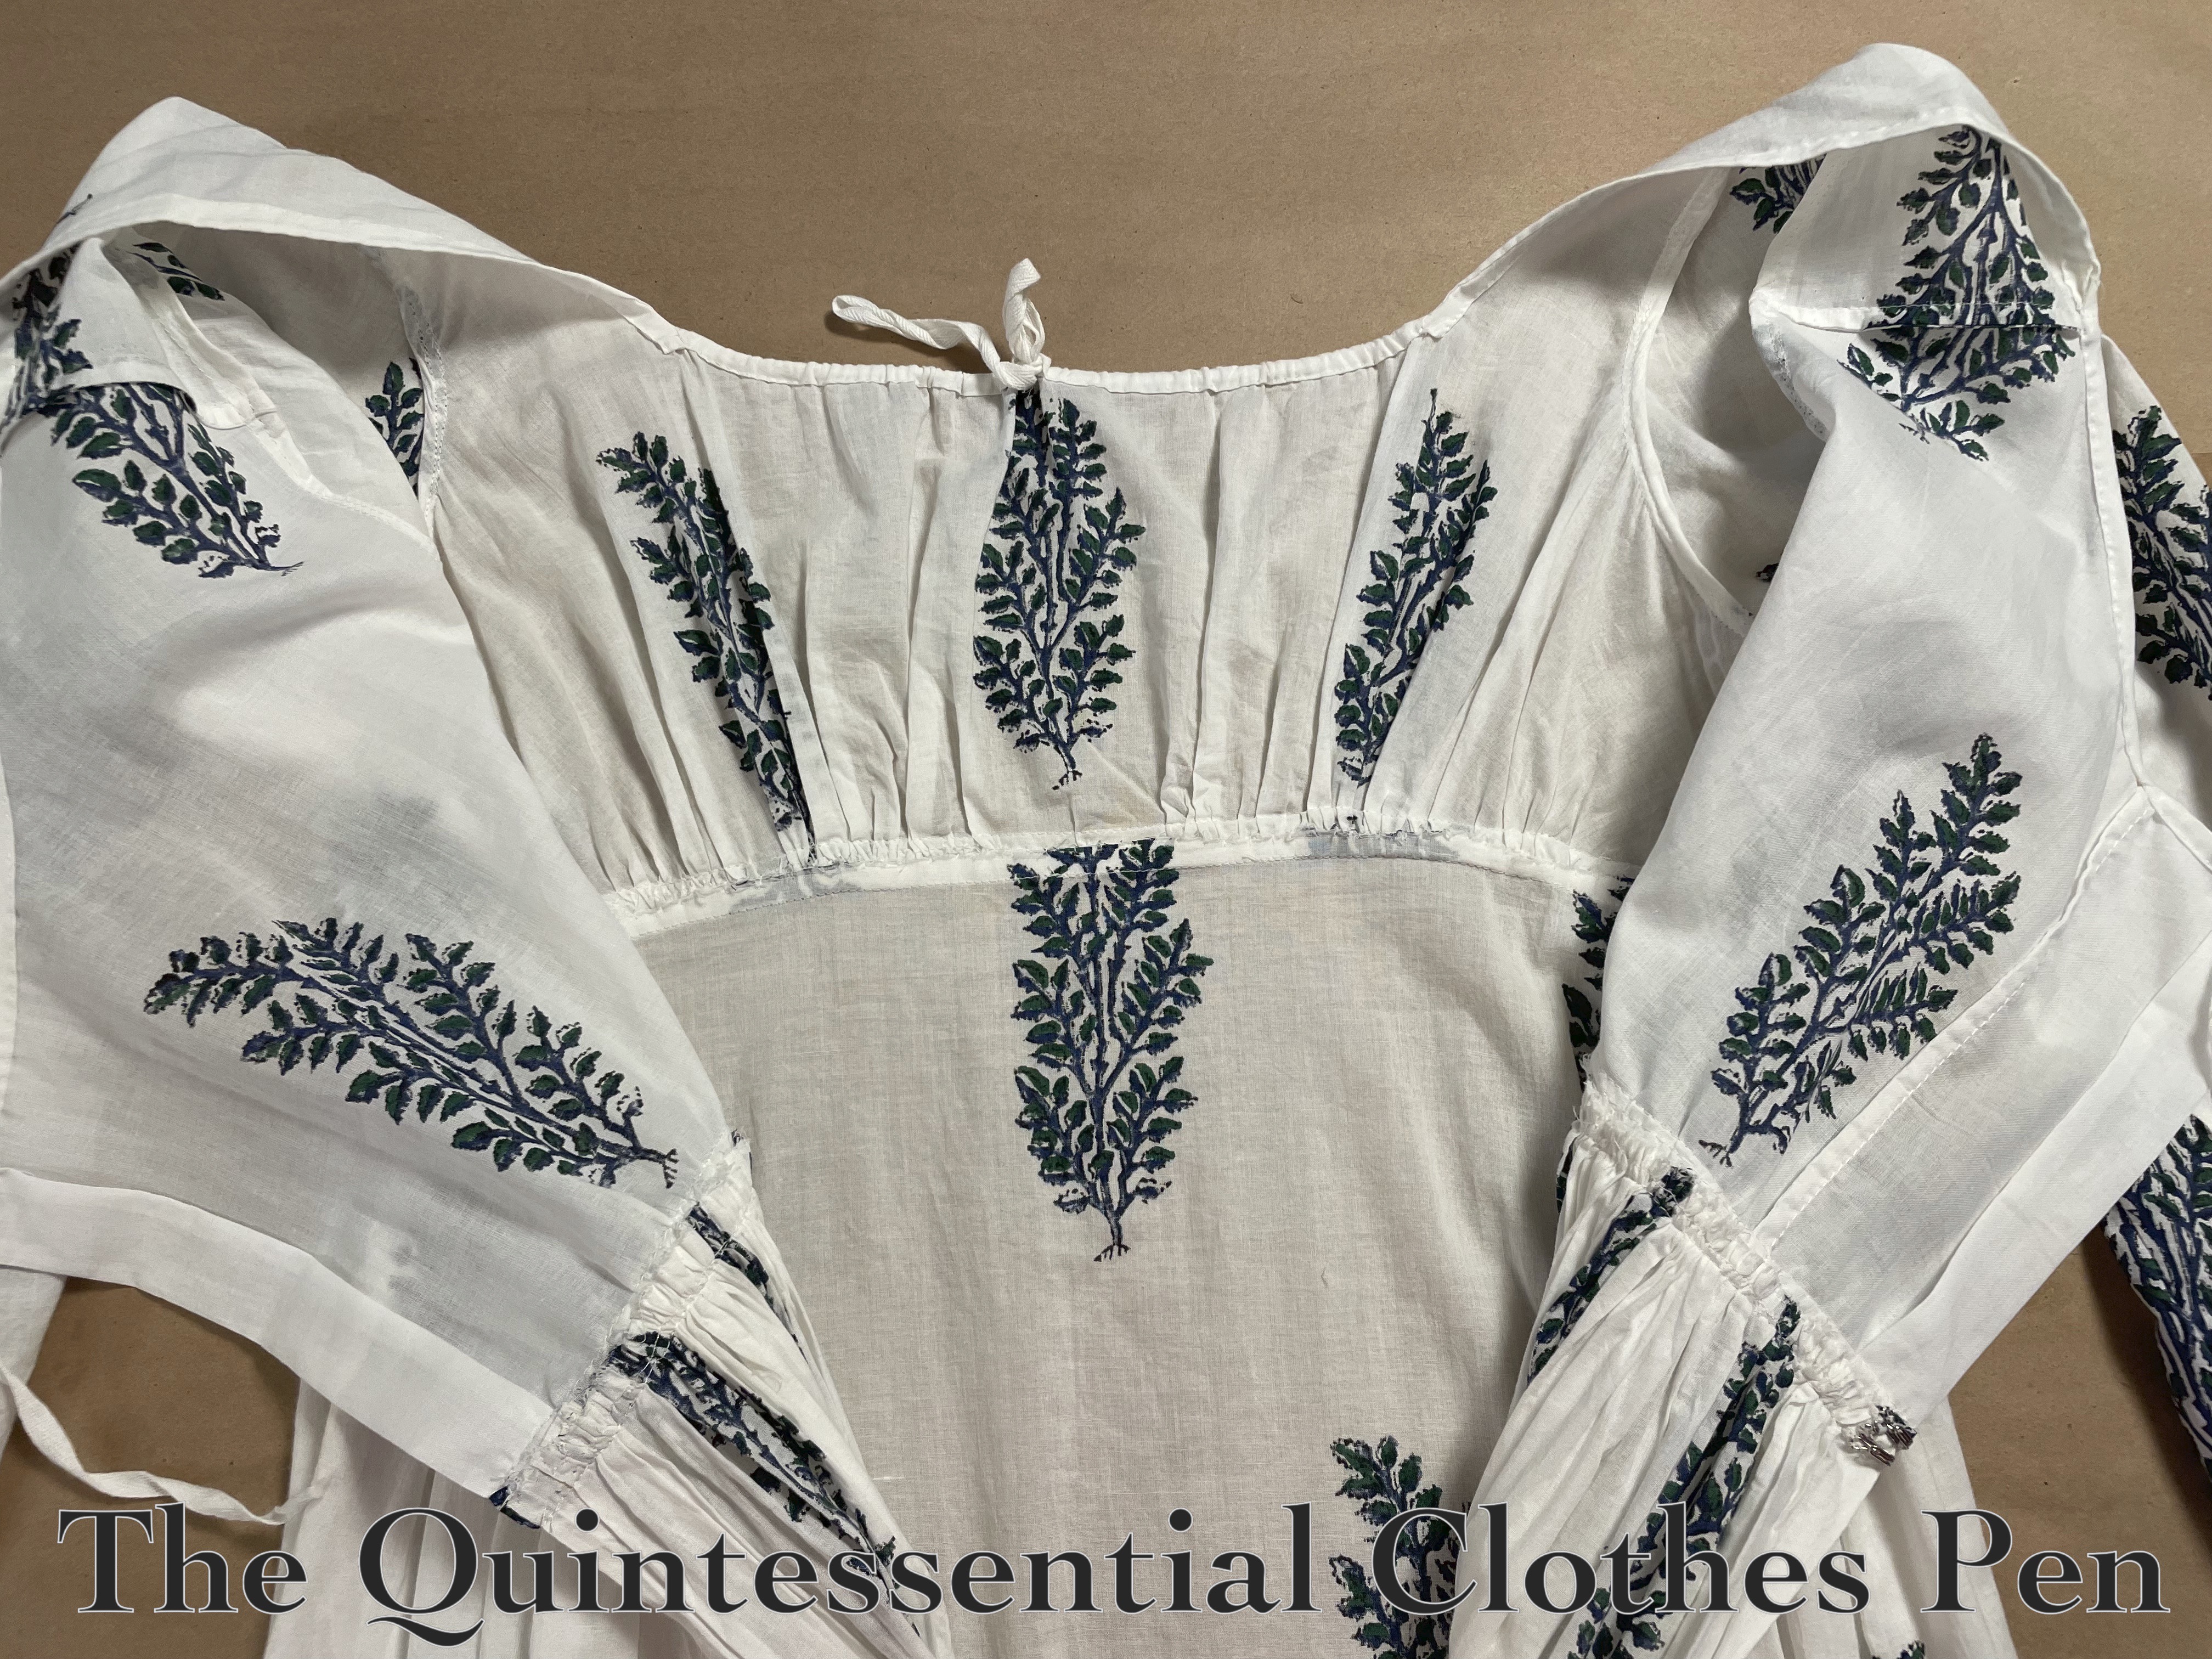
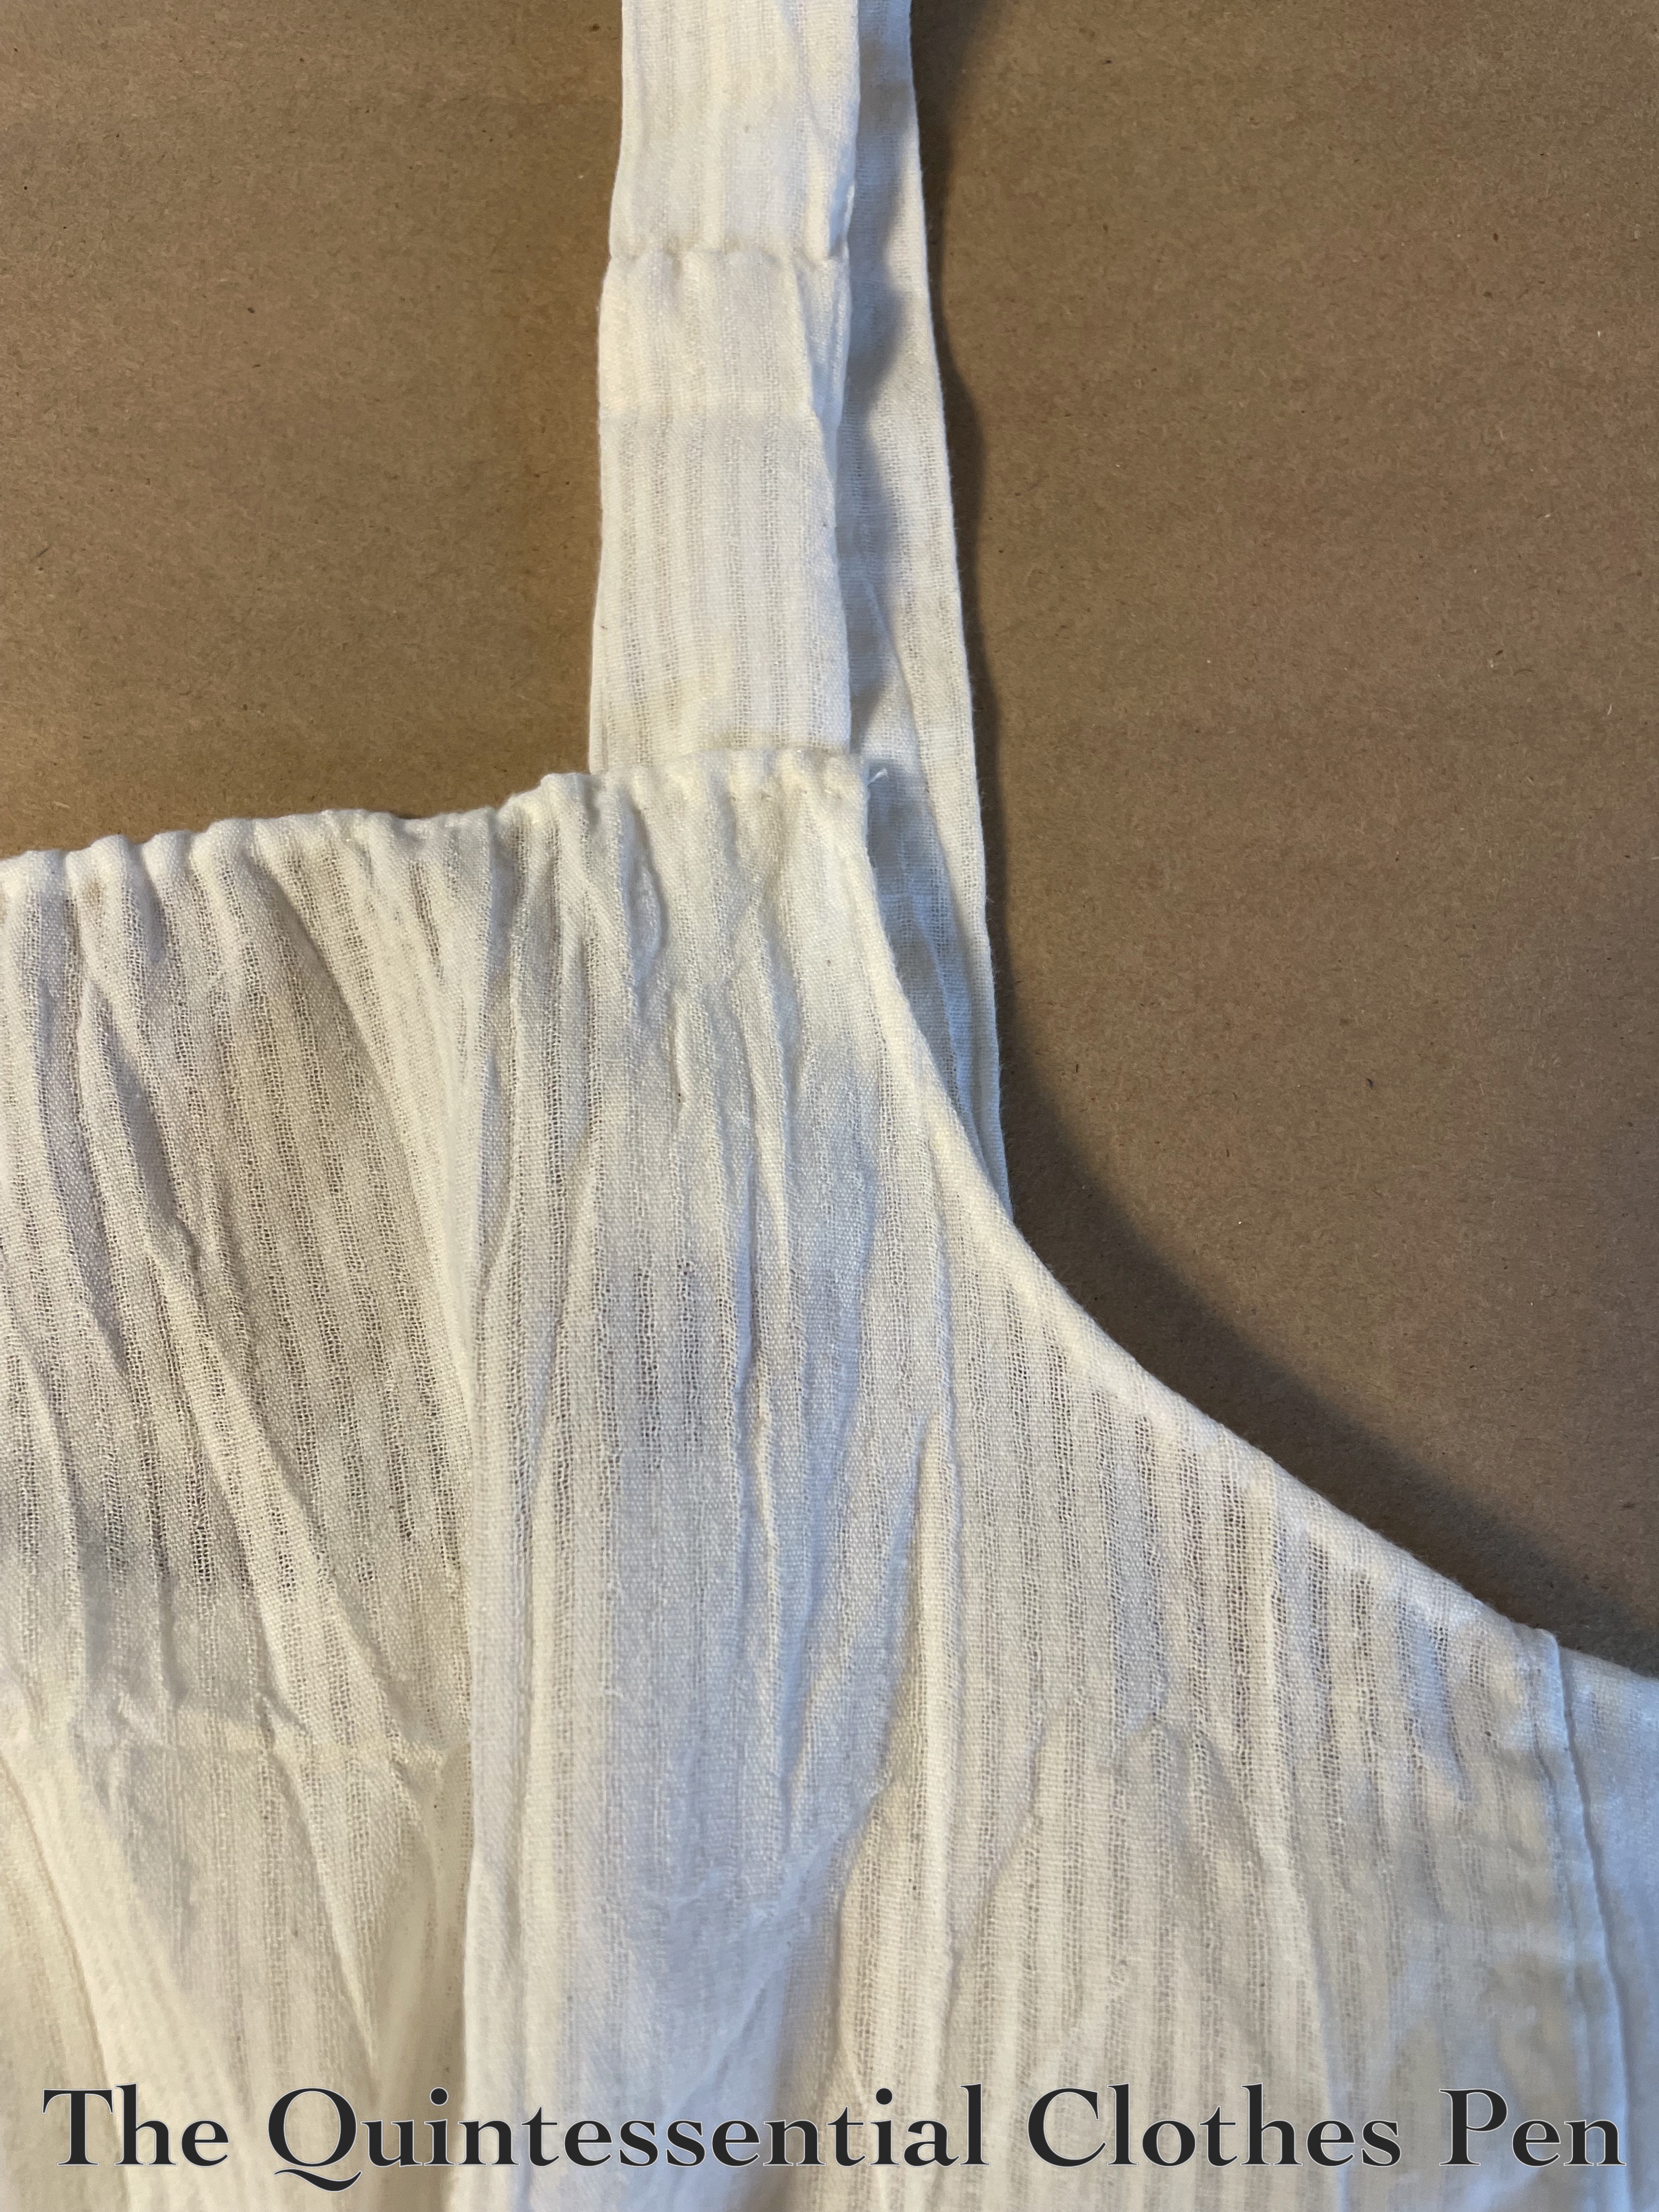
The next photo shows that I left extra seam allowance at the sides and shoulder seams… again on the theme of garments being alter-able!

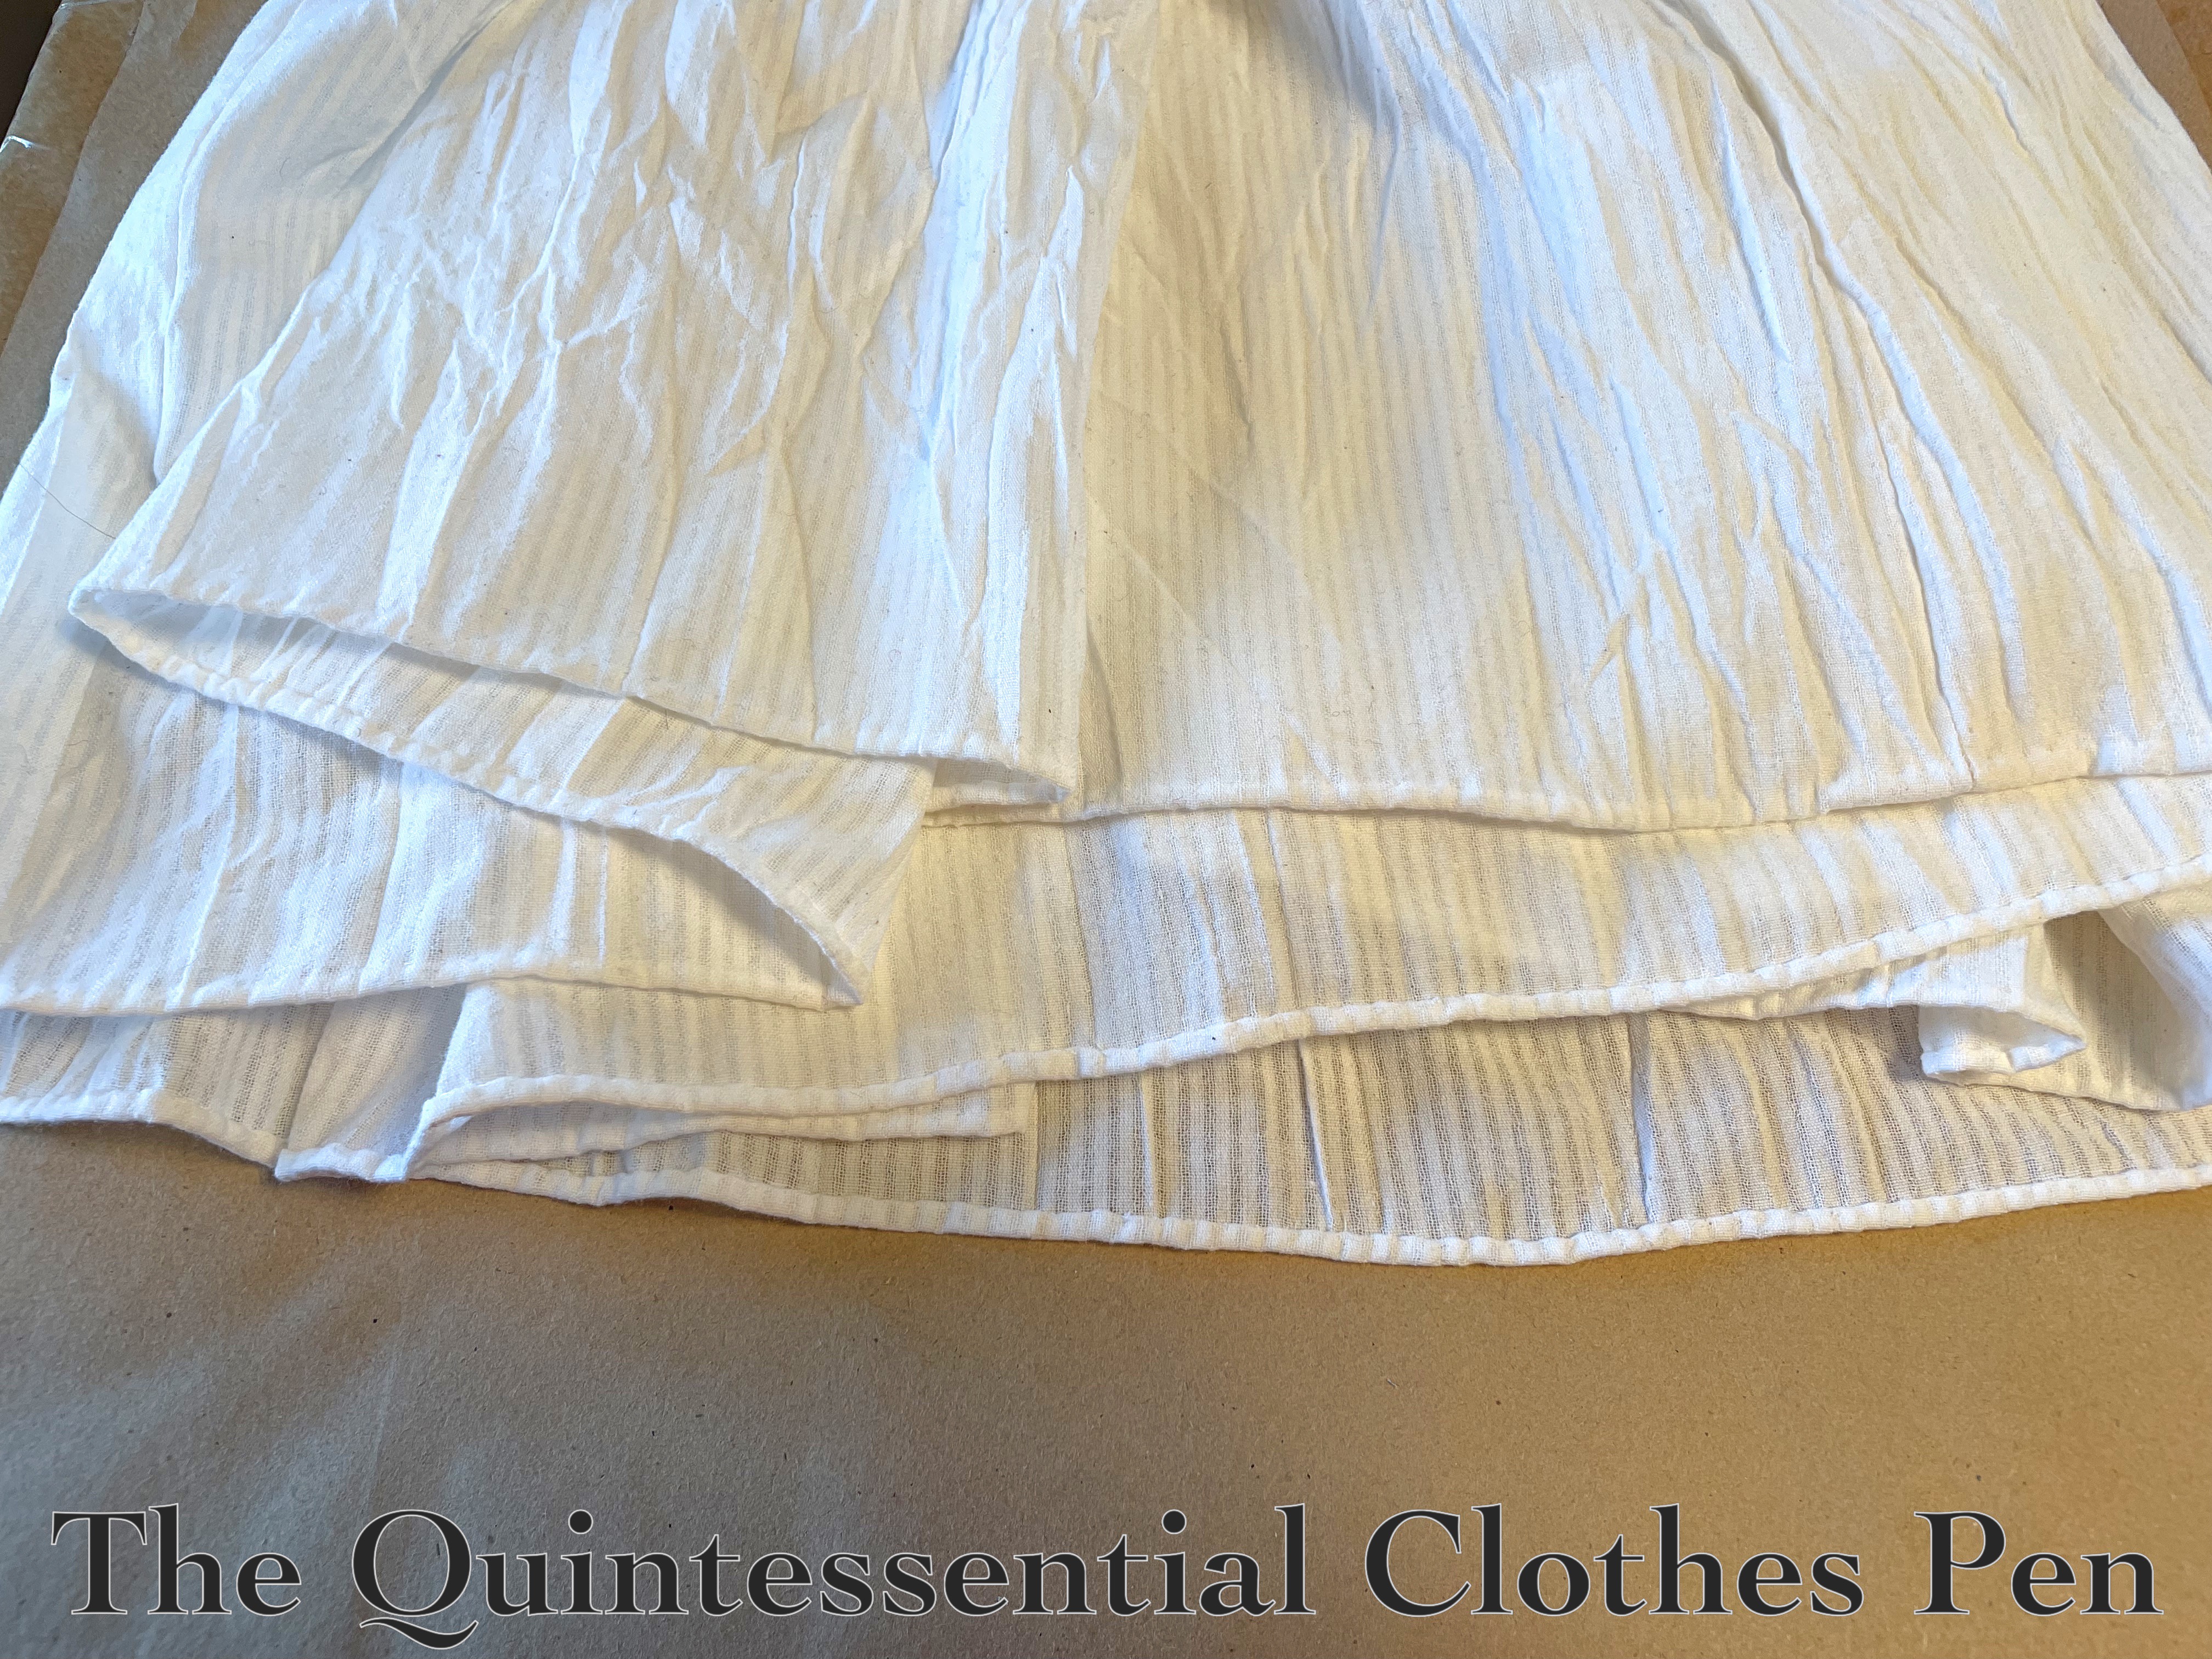
And finally, a hem! I needed to max out the length to accommodate the sheer dress that will be worn over this, so the hem is only about ¼”.
And that’s it! I’m excited to have another foundation piece for a new-to-me decade of clothing and I’m pleased that it is entirely hand sewn.