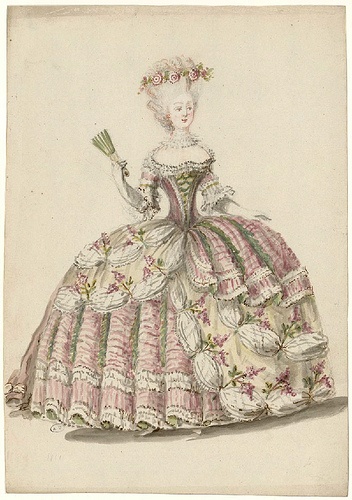
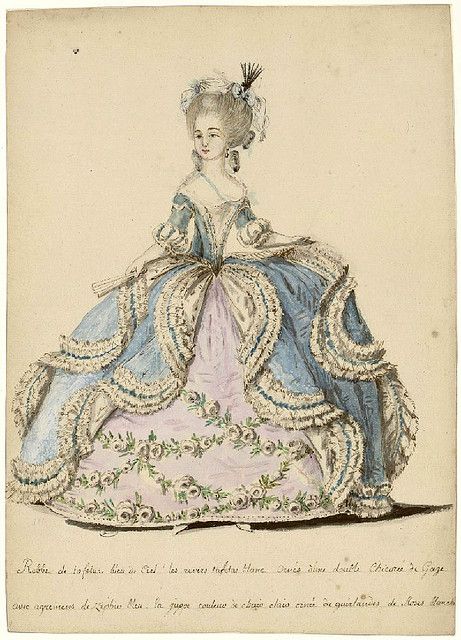
Project Journal: Versailles Sacque: Meet Mr. Panniers

There are five big checkboxes on my related-to-the-trip sewing to-do list before my trip involving Versailles in May:

  1. Panniers
  2. Petticoat
  3. Robe a la francaise (with a subset of trimming)
  4. Hair
  5. Shoes

This week, I checked the first item off the list!

IMG_0681
“Take that, Mr. Panniers! You are totally and completely done!”

I think part of the reason I feel so triumphant is that I really had to wrangle these to make them bend to my will. I started back in 2013 or 2014 when I decided to join the 18th Century Court Gown Sew Along. At that point, I made the decision to use the Simplicity pattern (#3635) and $1/yard lightweight and tightly woven mystery fabric from my stash.

At first, everything seemed to behave: I cut out the pieces and started sewing. Then I realized I didn’t have time for the project and so I let the panniers languish until earlier this year when I pulled them out again to finish them so I could use them as a base for my Versailles Sacque. Perhaps it was the languishing that caused Mr. Panniers to take on a personality and want to thwart me when I got back to him this year…

It started with perfectly amiable sewing. The waist casing and drawstring were without event. And then, boning! There was twisting, and warping, and curving inwards, and all sorts of bad. The lower three bone channels eventually cooperated, but those angled top bones? Nope! No cooperation from them! (Yes, check my picture, there are no angled top bones. No, I’m not trying to trick you.)

The bones curved in on my bum and front side so badly that it made the panniers look like a jelly bean! Not what I was aiming for. My solution was to unpick the channels across the front and back (not the sides) and make one continuous horizontal bone channel like those below it. (That’s why you can’t see angled bone channels in the picture.) But the fabric is a very tight weave and does not easily forgive pin or needle holes, so you can still see the angle I originally stitched as directed by the pattern if you look closely.

IMG_0682

Mr. Panniers was much more cooperative with the new horizontal channel across the top. Whew! And ok, I have to take some responsibility for the problems because I’m confident that some of the struggle was due to my choice of boning–1/2″ wide zip ties about 18″ long that I masking taped together to get the lengths I needed. I have to pack this guy, and having bones that don’t weigh a lot (like metal) and won’t break (like cane or reed) was high on the list. The bones are simply overlapped in the channels, each of which has an opening, so the plan is to remove them (and label them) for packing, then reinsert them once I’m unpacking the whole ensemble in France. Anyway, the zip ties were coiled in the packaging and didn’t want to change their shape, which is why the angled bones were curving in towards my body and why the whole thing is so bent on warping if not carefully and delicately handled.

IMG_0684

Here’s a look at Mr. Panniers interior. The white ribbons are suggested in the pattern to help keep the shape. They’ve all been adjusted to my body shape (tedious, but worth it–sewing these on and fixing that angled bone channel problem were the things that kept this from being finished a month ago!).

As you can see, in terms of materials and construction, Mr. Panniers aims for the right shape as the goal. To that end, I appreciate that with my overlapping bones I can easily adjust the size at any point by overlapping the bones more. I find that this pattern is a bit too trapezoidal for my taste, so I’ve overlapped the bottom bone a little extra to make the skirt hang more vertically from about the knee down.

Needless to say, the bones are staying in and Mr. Pannier will be resting flat and collapsed until I need to pack him, so that for any fittings, etc. no more wrangling will be necessary.

(Side question: Does anyone know when it would be appropriate to use singular ‘pannier’? Would that be appropriate for referring to one of a set of two pocket hoops, for example?)

Side note: this is officially the last post that will be tagged 1770 court gown, since that project has now morphed into the saga of the Versailles Sacque and accessories.

Summary Of 2015: Looking Forward To 2016

It’s that time of year, when I look back at what I’ve accomplished in the past year and share what I’m thinking of for the next year. As usual, I rather forget all that I’ve accomplished until I stop to think about it. When I put together pictures for this post it’s always amazing to see how many awesome projects I completed and how many special events I was able to be a part of in absolutely stunning places.

To start, projects I completed in 2015:

IMG_1956
January: One of my favorite ever outfits to wear, 1895 Skating Ensemble (HSF/M #1)
IMG_2021
February: Polka Dot Ice Skate Soakers
IMG_2042
February: Completed 1811 UFO (HSF/M #2)
IMG_2195
March: Turban Fillet
IMG_0622
March: Flower Basket Fancy Dress
IMG_2254
May: Modern Dotty Tap Pants (and a pair of jeans turned into capris that I wore all the time this summer but didn’t get pictures of)
IMG_2390
June: 1924 Robe de Style
IMG_2344
June: 1880s Steam Molded Corset (HSF/M #6)
IMG_2446
July: 1880s Flower Pot Hat (HSF/M #7)
IMG_2658
July: 1930s Beach Pajamas and Halter
IMG_2725
August: 1885 Frills and Furbelows Dress


IMG_1597
September: 1910 Dowager Countess Evening Gown (HSF/M #10)
IMG_1915 blog
November: A serious accomplishment, my 1814 Vernet Ensemble! (Don’t worry,I’ll be posting details about this ensemble in 2016!)
IMG_2069
November: Green Regency shawl (HSF/M #12)

Also in 2015:

I participated in the Historical Sew Monthly 2015 and completed 6 of the 12 challenges. As usual, many of things I was sewing did not line up with the challenges. I wasn’t sure if I was going to participate in 2016, as I tend to sew the things that I have an immediate opportunity to wear or that bring me joy without intentionally matching them up to a challenge, but I’ve decided to attempt it and see how I do.

In terms of events, I participated in 25 in 2015: 6 balls, 11 other events (teas, picnics, outings etc.), and 8 vintage dance performances.

Sewing-wise, I completed many of the things on my 2014 “to make” list (many pictured above), including the 1895 skating ensemble, the 1811 elusive blue turban fillet, my 1814 Vernet fashion plate recreation, the 1910 dowager countess evening gown, the 1880s steam molded corset, the 1885 frills and furbelows day dress, and the 1924 robe de style. Plus, I also squeezed in some small things that weren’t on the list in 2014!

There were also things that didn’t get made, but those were all on the maybe list, so I don’t feel at all bad about not getting to them, especially when looking at all the other fabulous things I did get to making!

Looking forward, I’ve been thinking of my 2016 sewing plan for months… and already have a full sewing schedule to keep me busy through May! Beyond that, it’s a little hard to know what items will take priority without knowing what events might pop up on my calendar. Also, it’s nice to keep things a little flexible so that I can adjust my sewing level as needed throughout the year. But I can say that these projects are certain:

  • An 1899 evening gown with two skirts: one for dancing and one with a  train
  • An 1880s “Starry Night” or “Starlight” fancy dress evening gown (I haven’t decided on a name yet)
  • A 1780s robe a la francaise (with panniers and accessories)

These other things are on the maybe-sew list for 2016:

  • A modern dress made of black patterned rayon
  • An 1850s plaid ball gown and a new smaller set of hoops
  • A pair of modern black capris
  • Finishing a modern cotton dress I started in 2013
  • Finishing an 1814 pelisse and matching hat
  • A 1900s blouse
  • An 1890s daytime skirt
  • An 1830s evening gown
IMG_0255
One thing in 2016 that will be incredibly special and exciting is that I’m going to make a garment from the fabric I set aside for the 18th Century Court Gown Sew Along in 2014. (It’s the pink silk in the middle… I love the colors in this picture!)

Last year, I was sad I hadn’t worked on the project very much and was hesitant to let it go… But in May, I will be attending an event at Versailles. Yup, that Versailles. In France. Yikes! And of course I need clothes! (And hair! And shoes! There will be blog posts about getting things together! It will be great to have a reason to decorate and wear the Kensingtons I’ve had since 2012, but which have never been worn!)

This event is perfect inspiration to complete my court gown… except that if I ever have need of another lovely 18th century gown for an event in the US, it would be much more practical to have a robe a la francaise in my closet instead of a court gown… Luckily for me, by the 1770s a robe a la francaise was allowed in the French court except at the most formal occasions (check out Leimomi’s post about court gown history to learn more). I’ll be making wide panniers instead of modest pocket hoops, because it is Versailles, after all, but I’m feeling better about my decision to spend all the time and materials making something that might actually be worn again. So, I’ll sort of be completing the Court Gown Sew Along. The gown will certainly count in my books, and that’s what counts, right?

0029-burgess
Blessings to you in 2016. I’m looking forward to more fun, more historical clothing, and more adventures!

HSF #1: The Make Do Shift

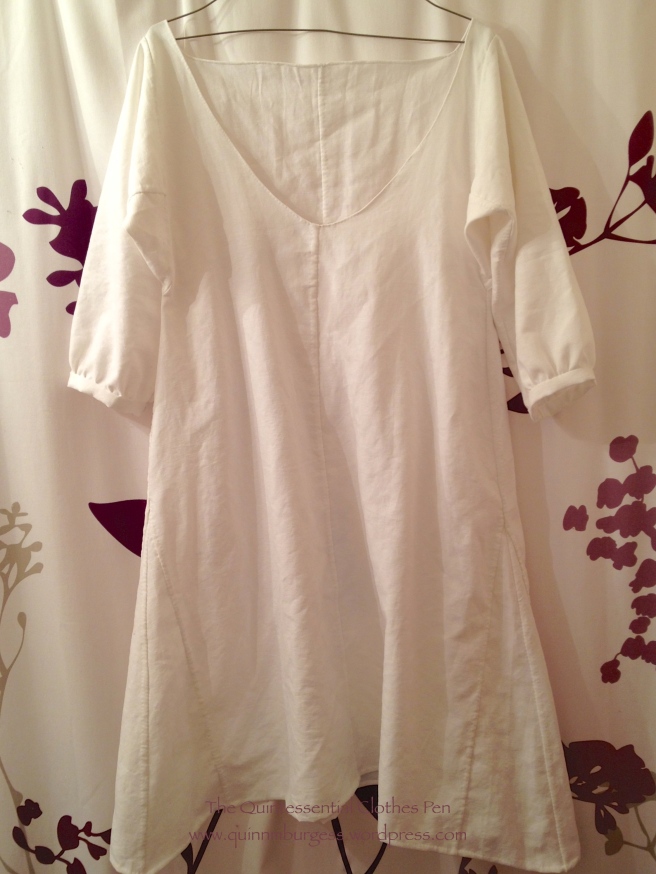
The first challenge of the Historical Sew Fortnightly (HSF) 2014 is Make Do And Mend. At the start of January, none of my in-progress projects qualified, unfortunately, and while I wanted to get started on the right foot for the HSF 2014 and not miss the challenge, I also didn’t want to make something just to make something. I don’t need more stuff with no purpose and it’s hard to stay motivated on a project if you’re doing it “just because.” So I racked my brain trying to think of what would work for the challenge and be useful, without taking too much time. I settled on the idea of turning a gifted partially finished linen man’s shirt into an 18th century shift suitable for the mid-to-late 18th century. That just happens to be the period my 18th century court gown will be from at some point this year. Useful! I made an 18th century shift a few years ago, but it’s actually late 18th century/Regency, with short sleeves, which really isn’t appropriate for the rest of the century. This new shift will sort of work for the entire century, though the sleeves aren’t really full enough to be entirely accurate for the first half.

IMG_0672
1750-1790 shift

All of the seams are flat felled. The neck is narrow hemmed. It’s pretty accurate, though I did have to add center front and center back seams, which is not usual for these garments. Those seams are due to the fact that the shift was super wide after I cut it out because I had to deal with the neck opening of the partially sewn shirt, and that was gathered into the neck, so was super full. There was just way more fabric than was needed, so I seamed it and kept the extra with the other scraps I had. I’m sure they’ll get used someday! It’s very nice, light linen.

The facts:

Fabric: Linen reused from a partially completed man’s 18th century shirt.

Pattern: I used Mara Riley’s 18th century shift draft to cut my pieces, though I had to make some adjustments given that I didn’t start with fabric yardage.

Year: Loosely 1750-1790.

Notions: Thread.

How historically accurate?: It’s 100% hand sewn using 18th century stitches and cut in the manner of an 18th century shift, so lots of points for that. I probably should loose a few points for using polyester thread. The only other odd thing is that I have seams up center front and center back, but they did piece a lot in the 18th century, so it’s not totally out of the realm of possibility, given that this challenge is Make Do and Mend. I give it 90%.

Hours to complete: 10-15 maybe? I didn’t really keep track.

First worn: By the hanger. I probably won’t wear this until I have more things to wear with it!

Total cost: Free!

Surrender!

…to the costuming peer pressure…

icon

The short explanation of the crazy is that Kendra, of Demode Couture, has started an 18th Century Court Ensemble Sew-Along. The longer explanation of the crazy is written by Kendra herself, here on her blog.

I’m talking about it on my blog because I’ve submitted to the indirect costuming peer pressure and joined in! (You should too…) I’ve got my fears about my participation (I spent about two days debating my decision to join in!): I’m unlikely to have a relevant event to wear a court gown to (unless I make one!), I’m not super confident in my ability to get 18th century “right” yet, and I don’t want to spend mounds of money on this project (which you could so easily do!).But… I want to participate! So, I’ve found some cures for my fears and committed, in a thoughtful and careful way, to the crazy.

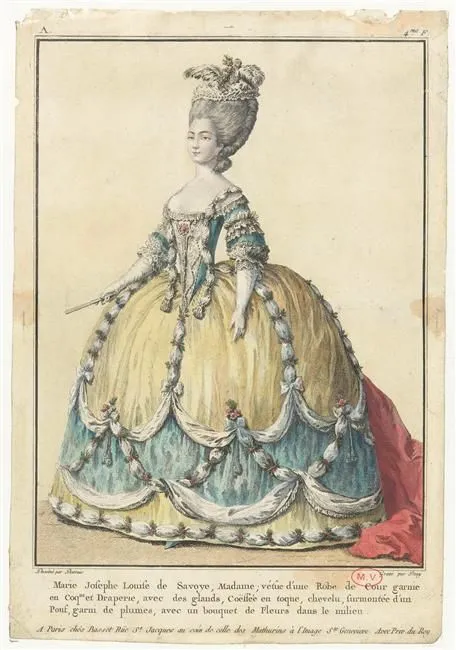
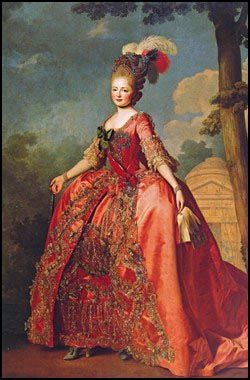
This is the gown I’ve decided on. It was a hard choice! But it’s a good choice for me, because I’ve already got pink silk in the stash that I bought back in January with the intent of making “an 18th century something” perhaps, so that takes care of the bulk of the materials (and the cost). So I’ve just got to procure the trim materials and accessories. I’ve already found the things I want, but I’m going to wait a bit to purchase them and get started on the sewing, so stay tuned for more posts about that in a few months!
e97cee6a74d1756827c28213e6397915
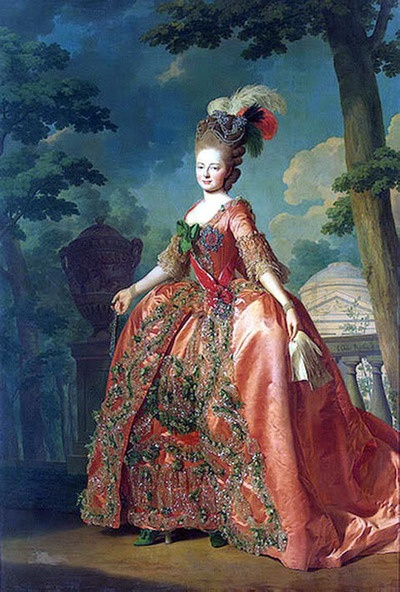
Grand Duchess Maria Feodorovna by Roslin, wearing the Star and Badge of the Order in 1770. (I’ve also seen this dated as 1777.)
c628b97dc89626f6577689f549884f42
Slightly different version of same painting. Included in an article about Women’s Imperial Court Costume In Imperial Russia.

I also considered these other gowns, but decided against them in the end.

2b3135733bdb0420963a1a7c04afd51a
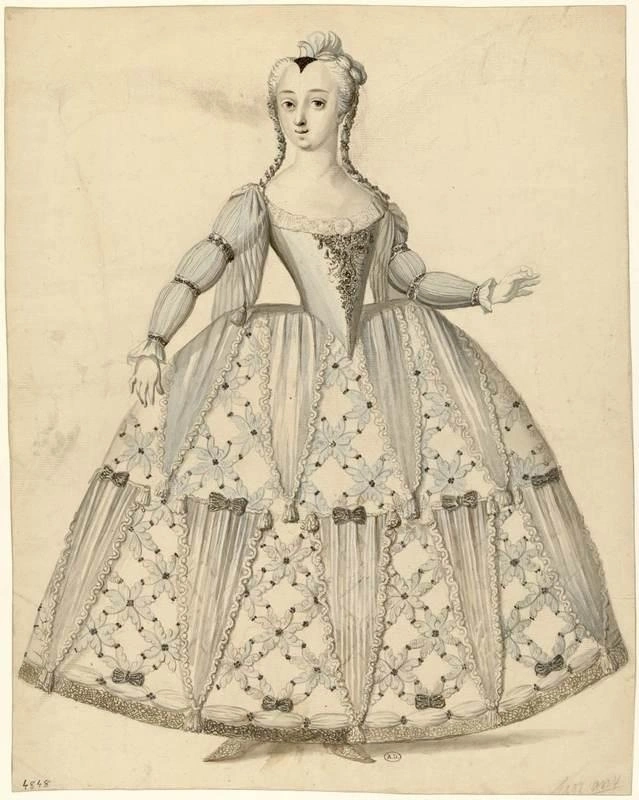
Robe de cour from Les Arts Decoratifs

I love this robe de cour! It looks more like fancy dress than a court gown to me. I can imagine it as “Snowflake” or “Winter” or “Snow Queen.” I seriously considered this one… but I don’t have any of the appropriate materials in my stash right now, and the cost of the materials I wanted to use was more than I wanted to spend on this project. So I’ve added this to my list of “things I eventually want to sew.” I can even envision it as fancy dress in the 19th century with a different skirt shape… a bustle gown, perhaps? I just love that the triangles look like icicles, and the diagonal trim looks like snowflakes… It’s pretty ridiculous!

4af7326884f958d2409f5320c53b6e7b
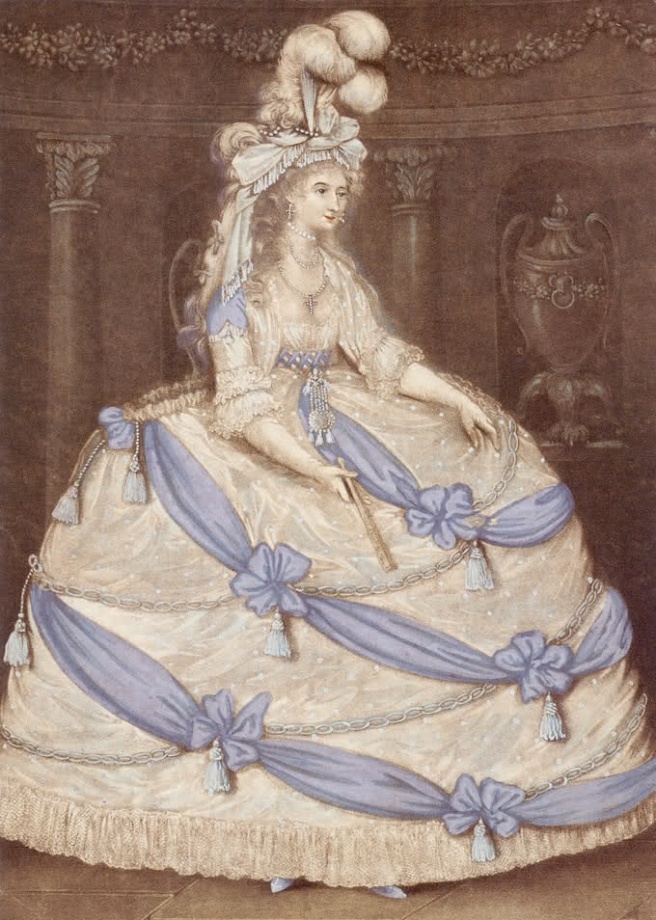
1795 – Caroline, Princess of Wales

Then there’s this absurd looking court gown from the very end of the 18th century. I love the periwinkle color, the tassels, and what looks like chain (wouldn’t that be fun to figure out!) edging the poofs. It’s pretty silly. But again, I don’t have any appropriate fabrics in my stash…

25e7c98dcf6e7807e2e4806bdbfd1107
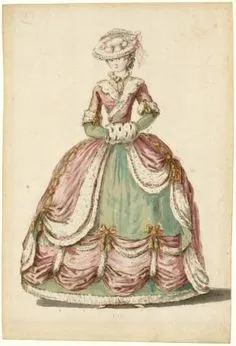
Robe de cour from Les Arts Decoratifs

I like this last one, too, although not as much as the first two. I feel like this would be a great use of an iridescent shot silk, at least for the green part. I like the fur trim, and the gold, but I’m just not overwhelmed by awesome-ness.

The choice was made more difficult by the fact that other people have already “claimed” certain court gowns they want to make, and the idea is that no two dresses are the same. (So I might have had more options, but they’d already been claimed!) You can see what other people have picked and keep track of all the court ensembles being made on Kendra’s blog: Demode Couture. There are at least 30 people participating so far and lots of pretties have been chosen! These are my favorite gowns from among the ones that are already claimed.

18th century court gown. It’s so cute!
ef20e9a8894c14ec10b57fac190c75fc
18th century robe de cour. How to achieve those fantastic waves? But I do love this one!
183fec6f65f70eced493dc859b7a9326
18th century robe de cour. This one has great waves as well! Lovely.

Kendra already did a post on 18th Century Court Gown Basics that’s a great introduction to this oddly specifc class of garments, and I’m sure more information will be coming over the next year from all of the participants.