Successful Regency Face Framing Curls (Dolley Madison Ball 2014)

f1dc373fbb99bc8d70ad756b4acd5614
Portrait of Maria Theresa of Austria (1801–1855), 1817

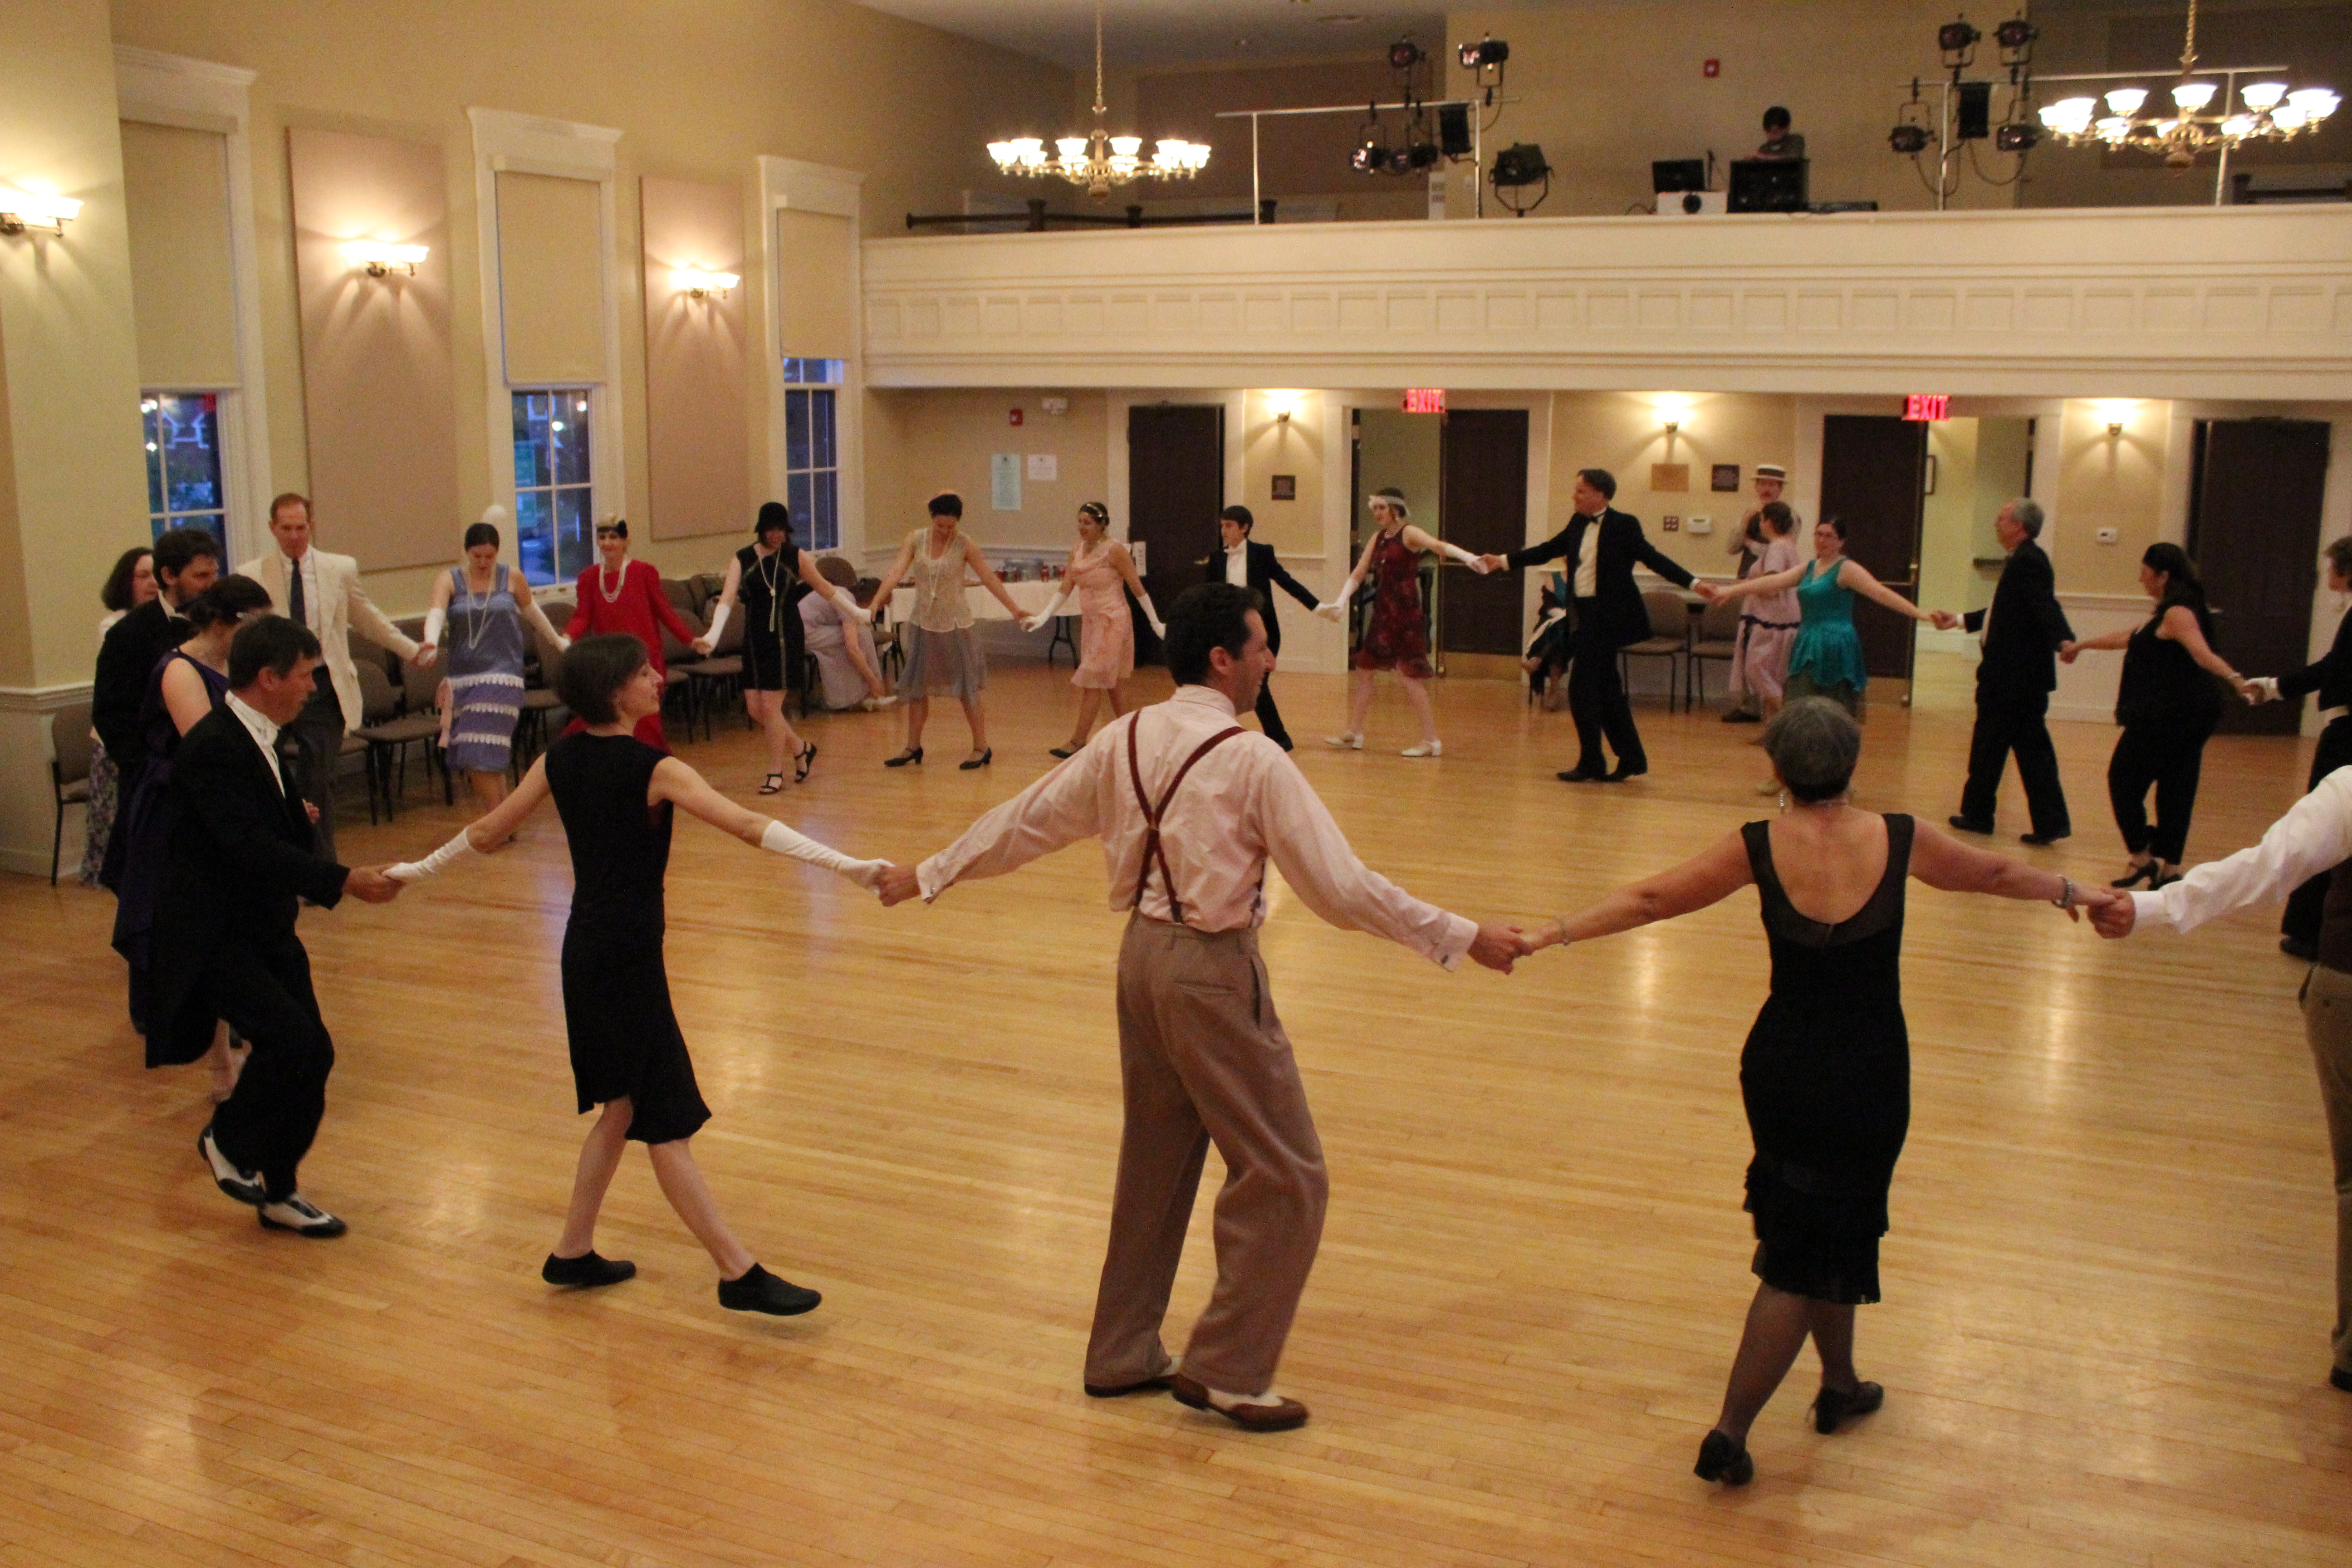
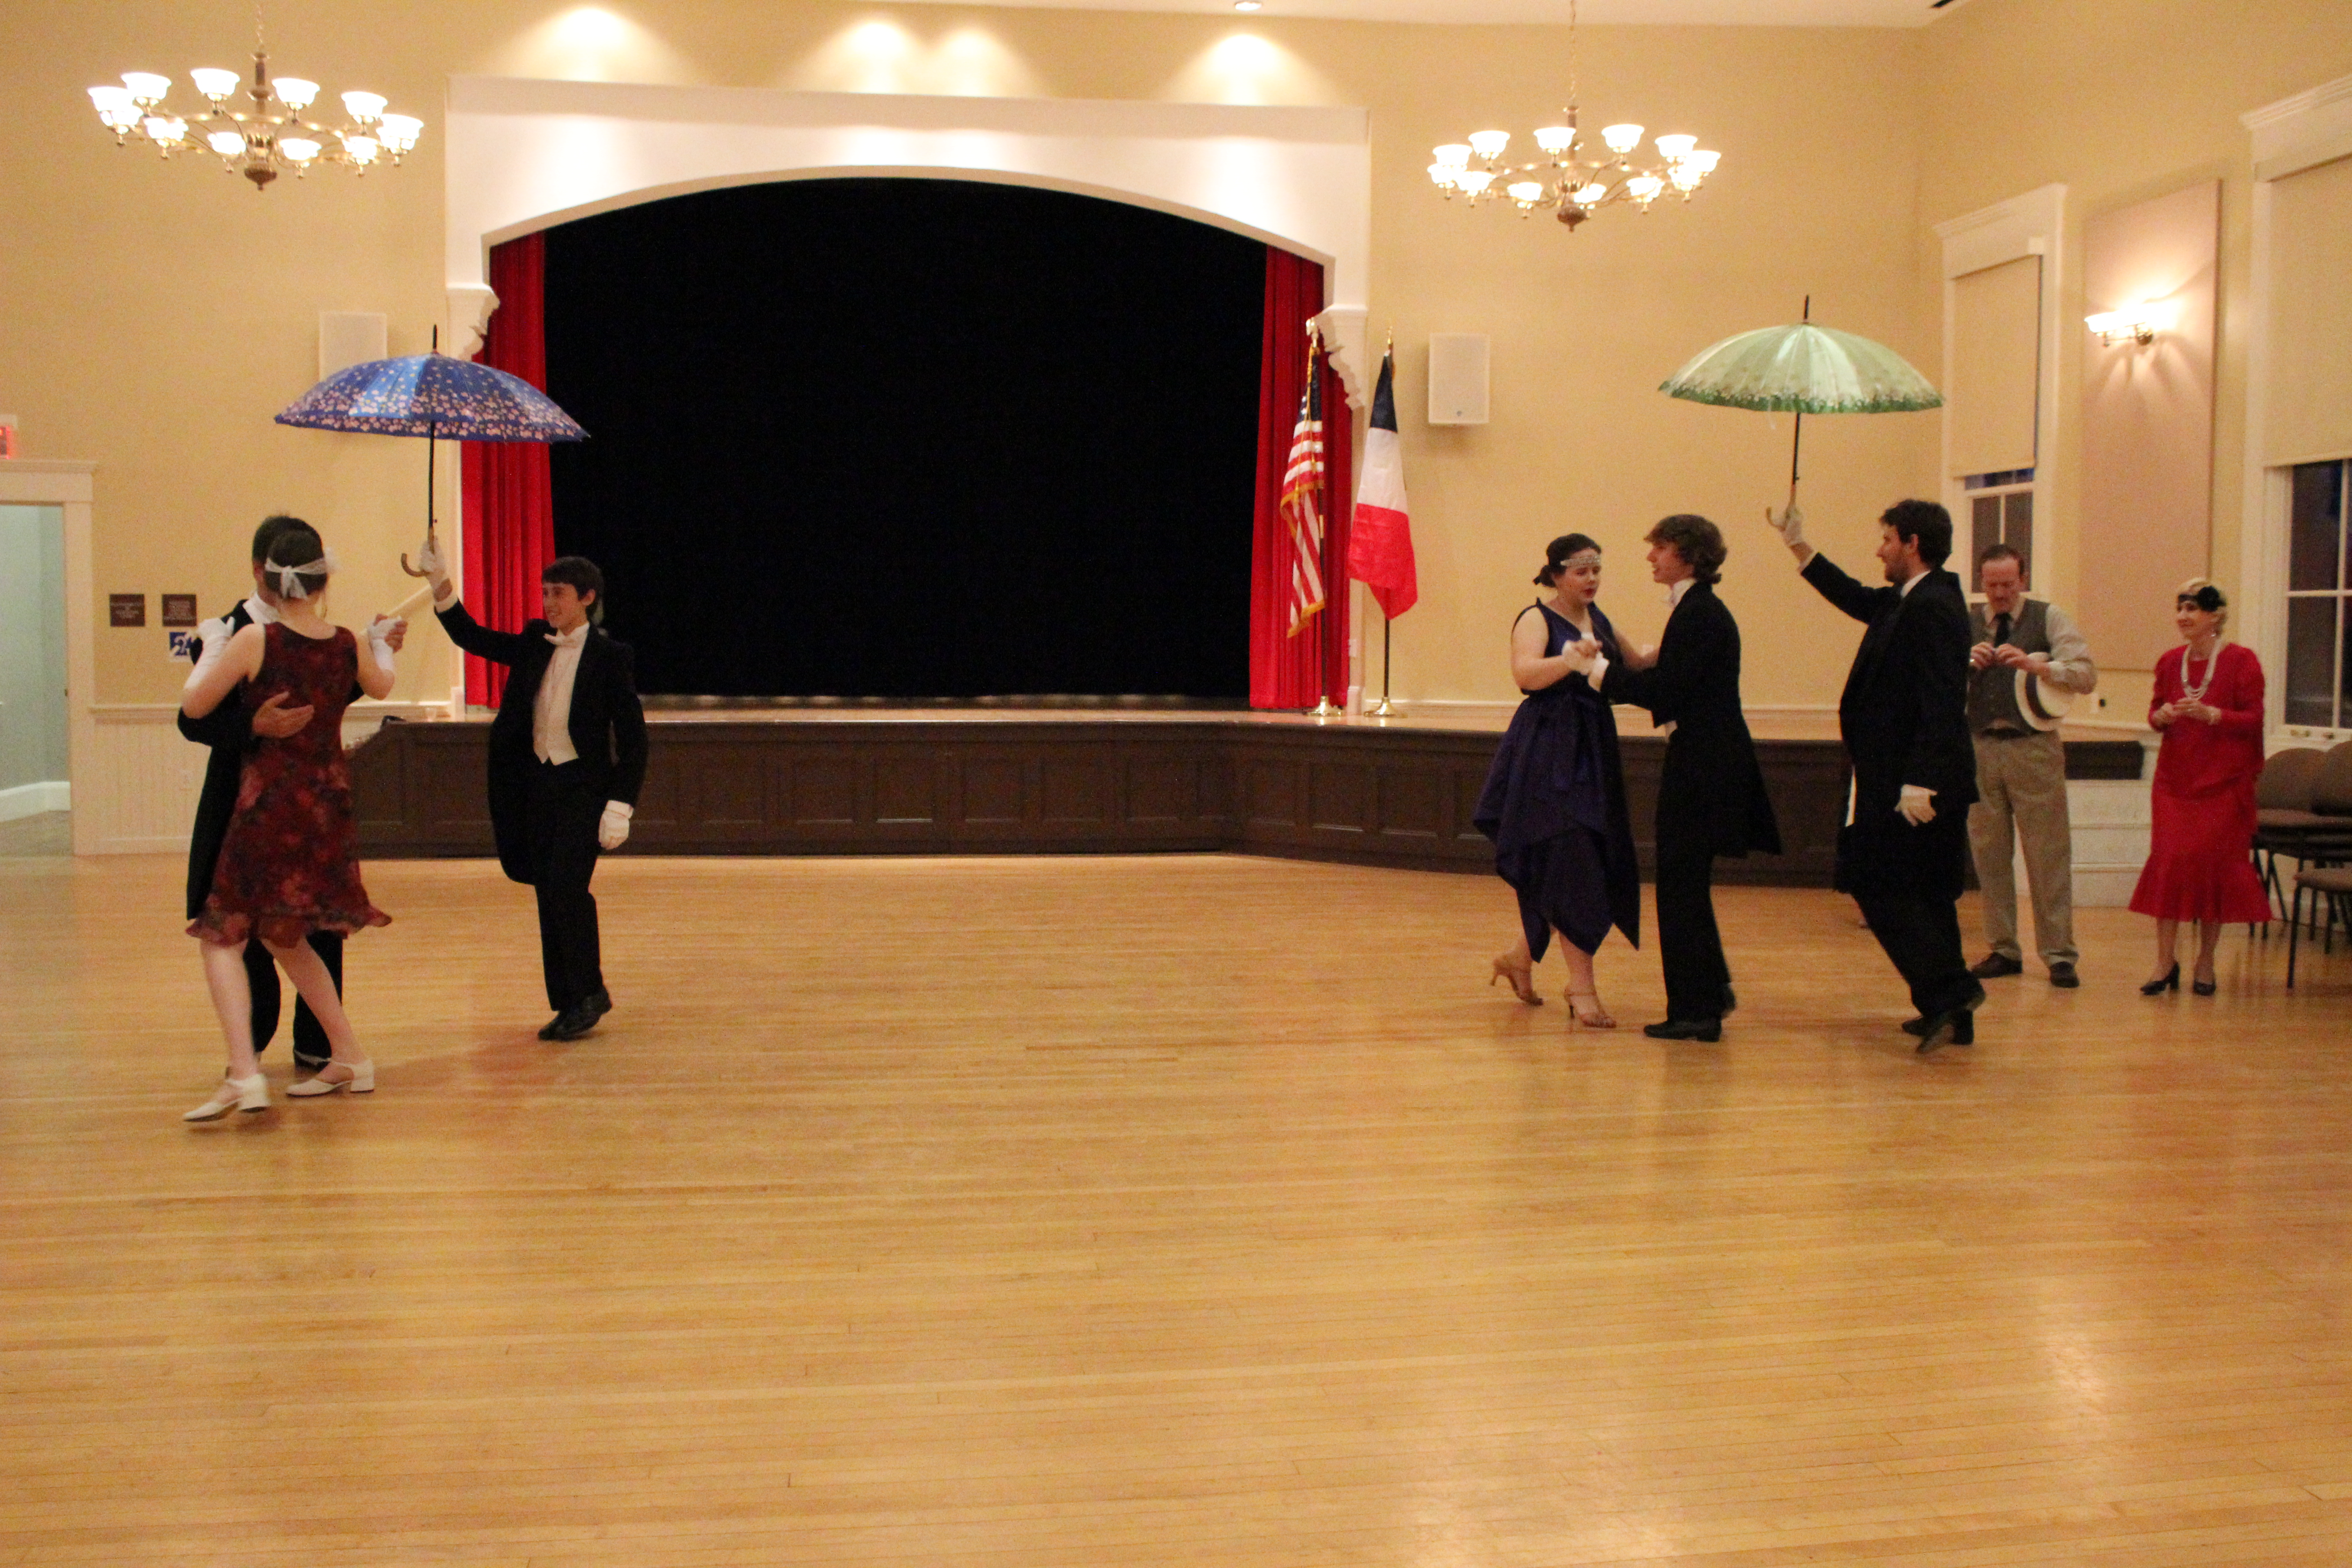
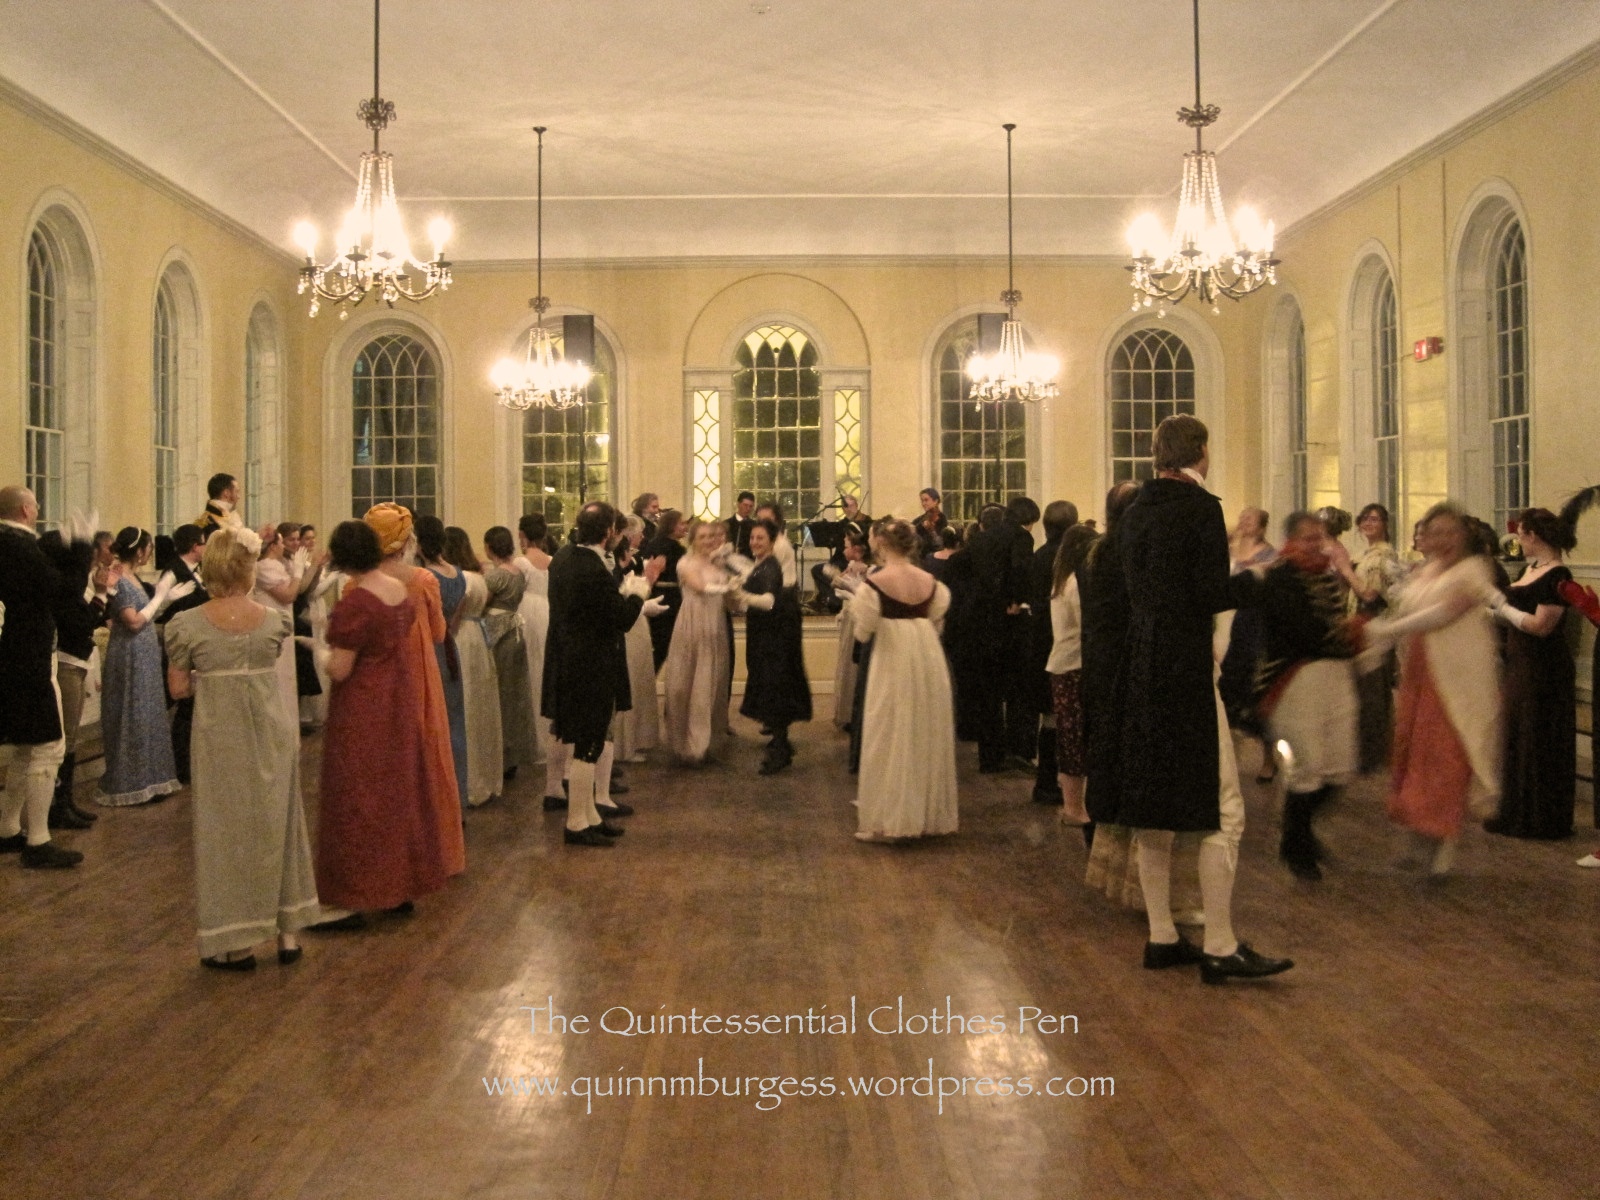
You know those face framing curls that Regency women often sport in paintings and fashion plates? Modern ladies with bangs have it so much easier than those of us with all around long hair when creating this style! Unfortunately, I’m one of those modern ladies with long hair all around. The only short pieces I have are frizz! Nevertheless, I wanted to try to create this style at the Dolley Madison Ball hosted by the Commonwealth Vintage Dancers earlier this month.

IMG_7440
A scene from the Dolley Madison ball. More pictures of the ball can be found at Plaid Petticoats blog and Dames a la Mode blog.

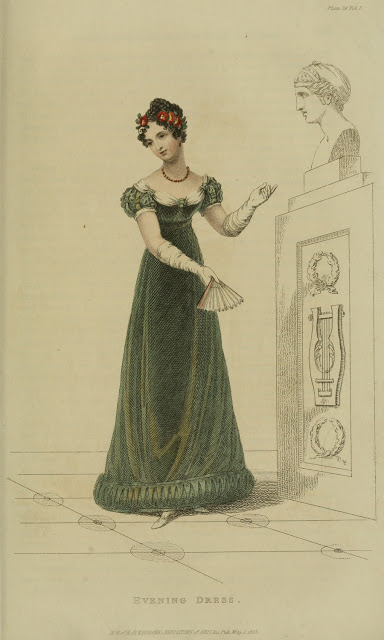
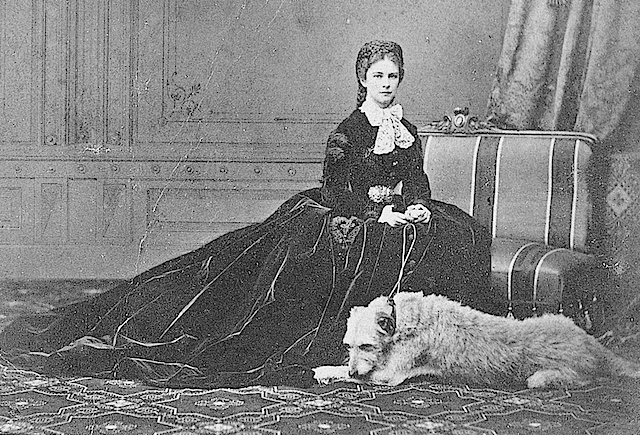
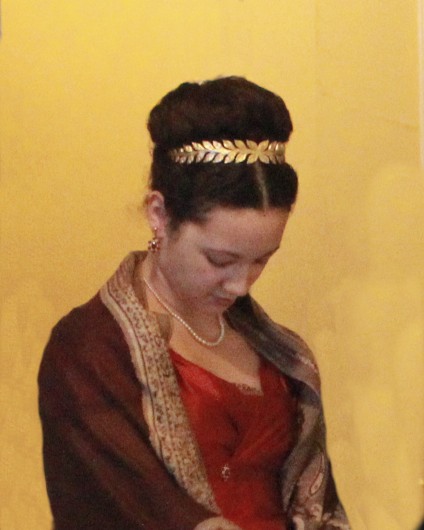
I’ve been pondering how to fake these face framing curls with my long hair for awhile. I’ve contemplated hiding the bulk of my hair length under a turban and having the curly ends come out from under that (which I still think would work, though I haven’t tried it…yet). I had the fabric for the turban picked out from my stash, but then I decided to wear my 1819 ruffle dress and when I looked at images for turban inspiration I didn’t find anything similar to what I was envisioning for that particular period. But I did find a lot of cute buns with braids and flowers (like the painting at the beginning of this post, and this portrait from 1813, and this fashion plate from 1819, and this fashion plates from 1816). So I changed course and decided to go in that direction, instead.

IMG_7629
Successful face framing curls surmounted by a braided bun and ornamented with a little flower bouquet!

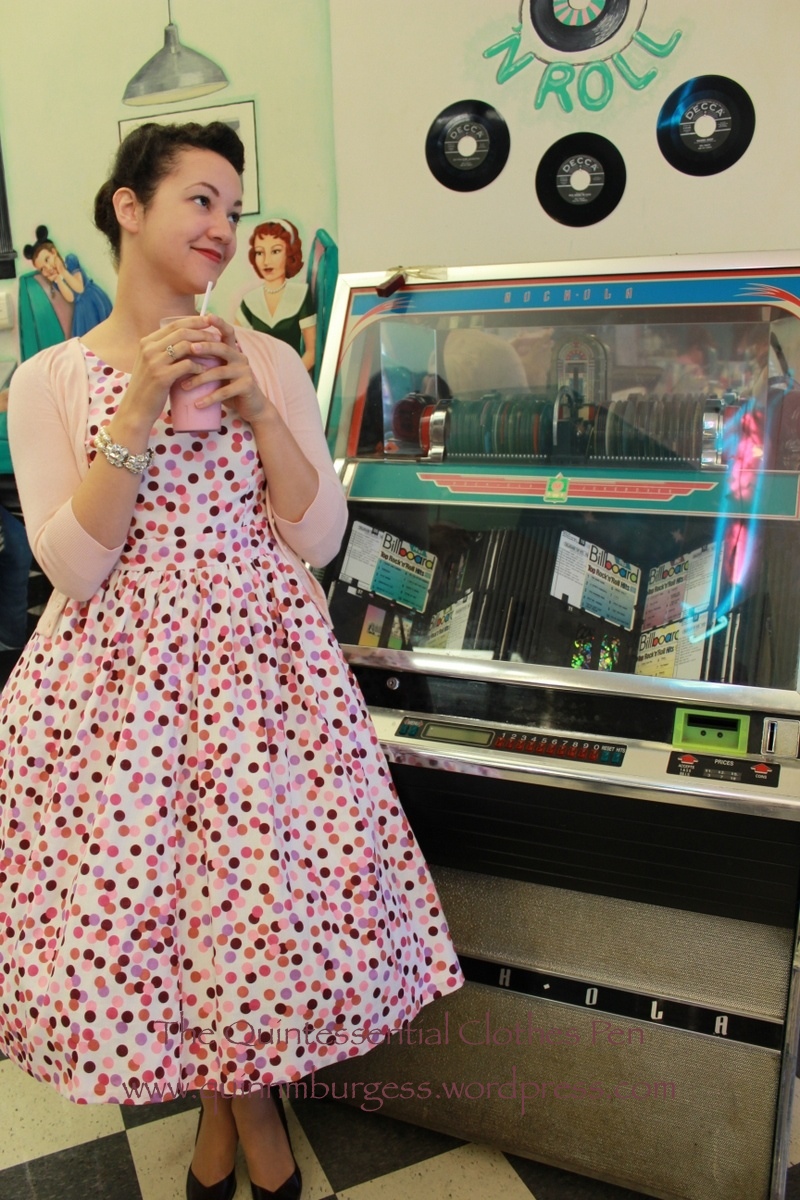
All of the flowers and leaves used in my little bouquet are intended for millinery, meaning that each stem of blooms and individual leaf is wired. That makes it particularly moldable once it’s on my head! Originally, both flower sprays were bright white which I didn’t think would go with my ivory dress and lavender jewelry, so I decided to try dyeing the flowers to a more suitable color. After brainstorming for awhile I decided that going in a purple direction with the flowers would nicely complement the jewelry and make the entire ensemble look put together. So that’s what I did, using RIT. I wanted to be down and dirty about just getting the flowers dyed, so I used whatever colors I had (which included navy blue, wine, and purple). I made a few different cups of dye with different colors and then dipped the different stems in until I liked them, which also created variation within the sprays, which I think helps them look more lively. Unfortunately, some of the silk flowers lost their nicely cupped petal shapes after being soaked with dye, so the flowers do have a different style than before they were dyed. The more vertical sprays didn’t seem to droop at all after dyeing nor did they loose their shape. I’ll have to keep that in mind for next time!

IMG_7628
A better view of the bouquet.

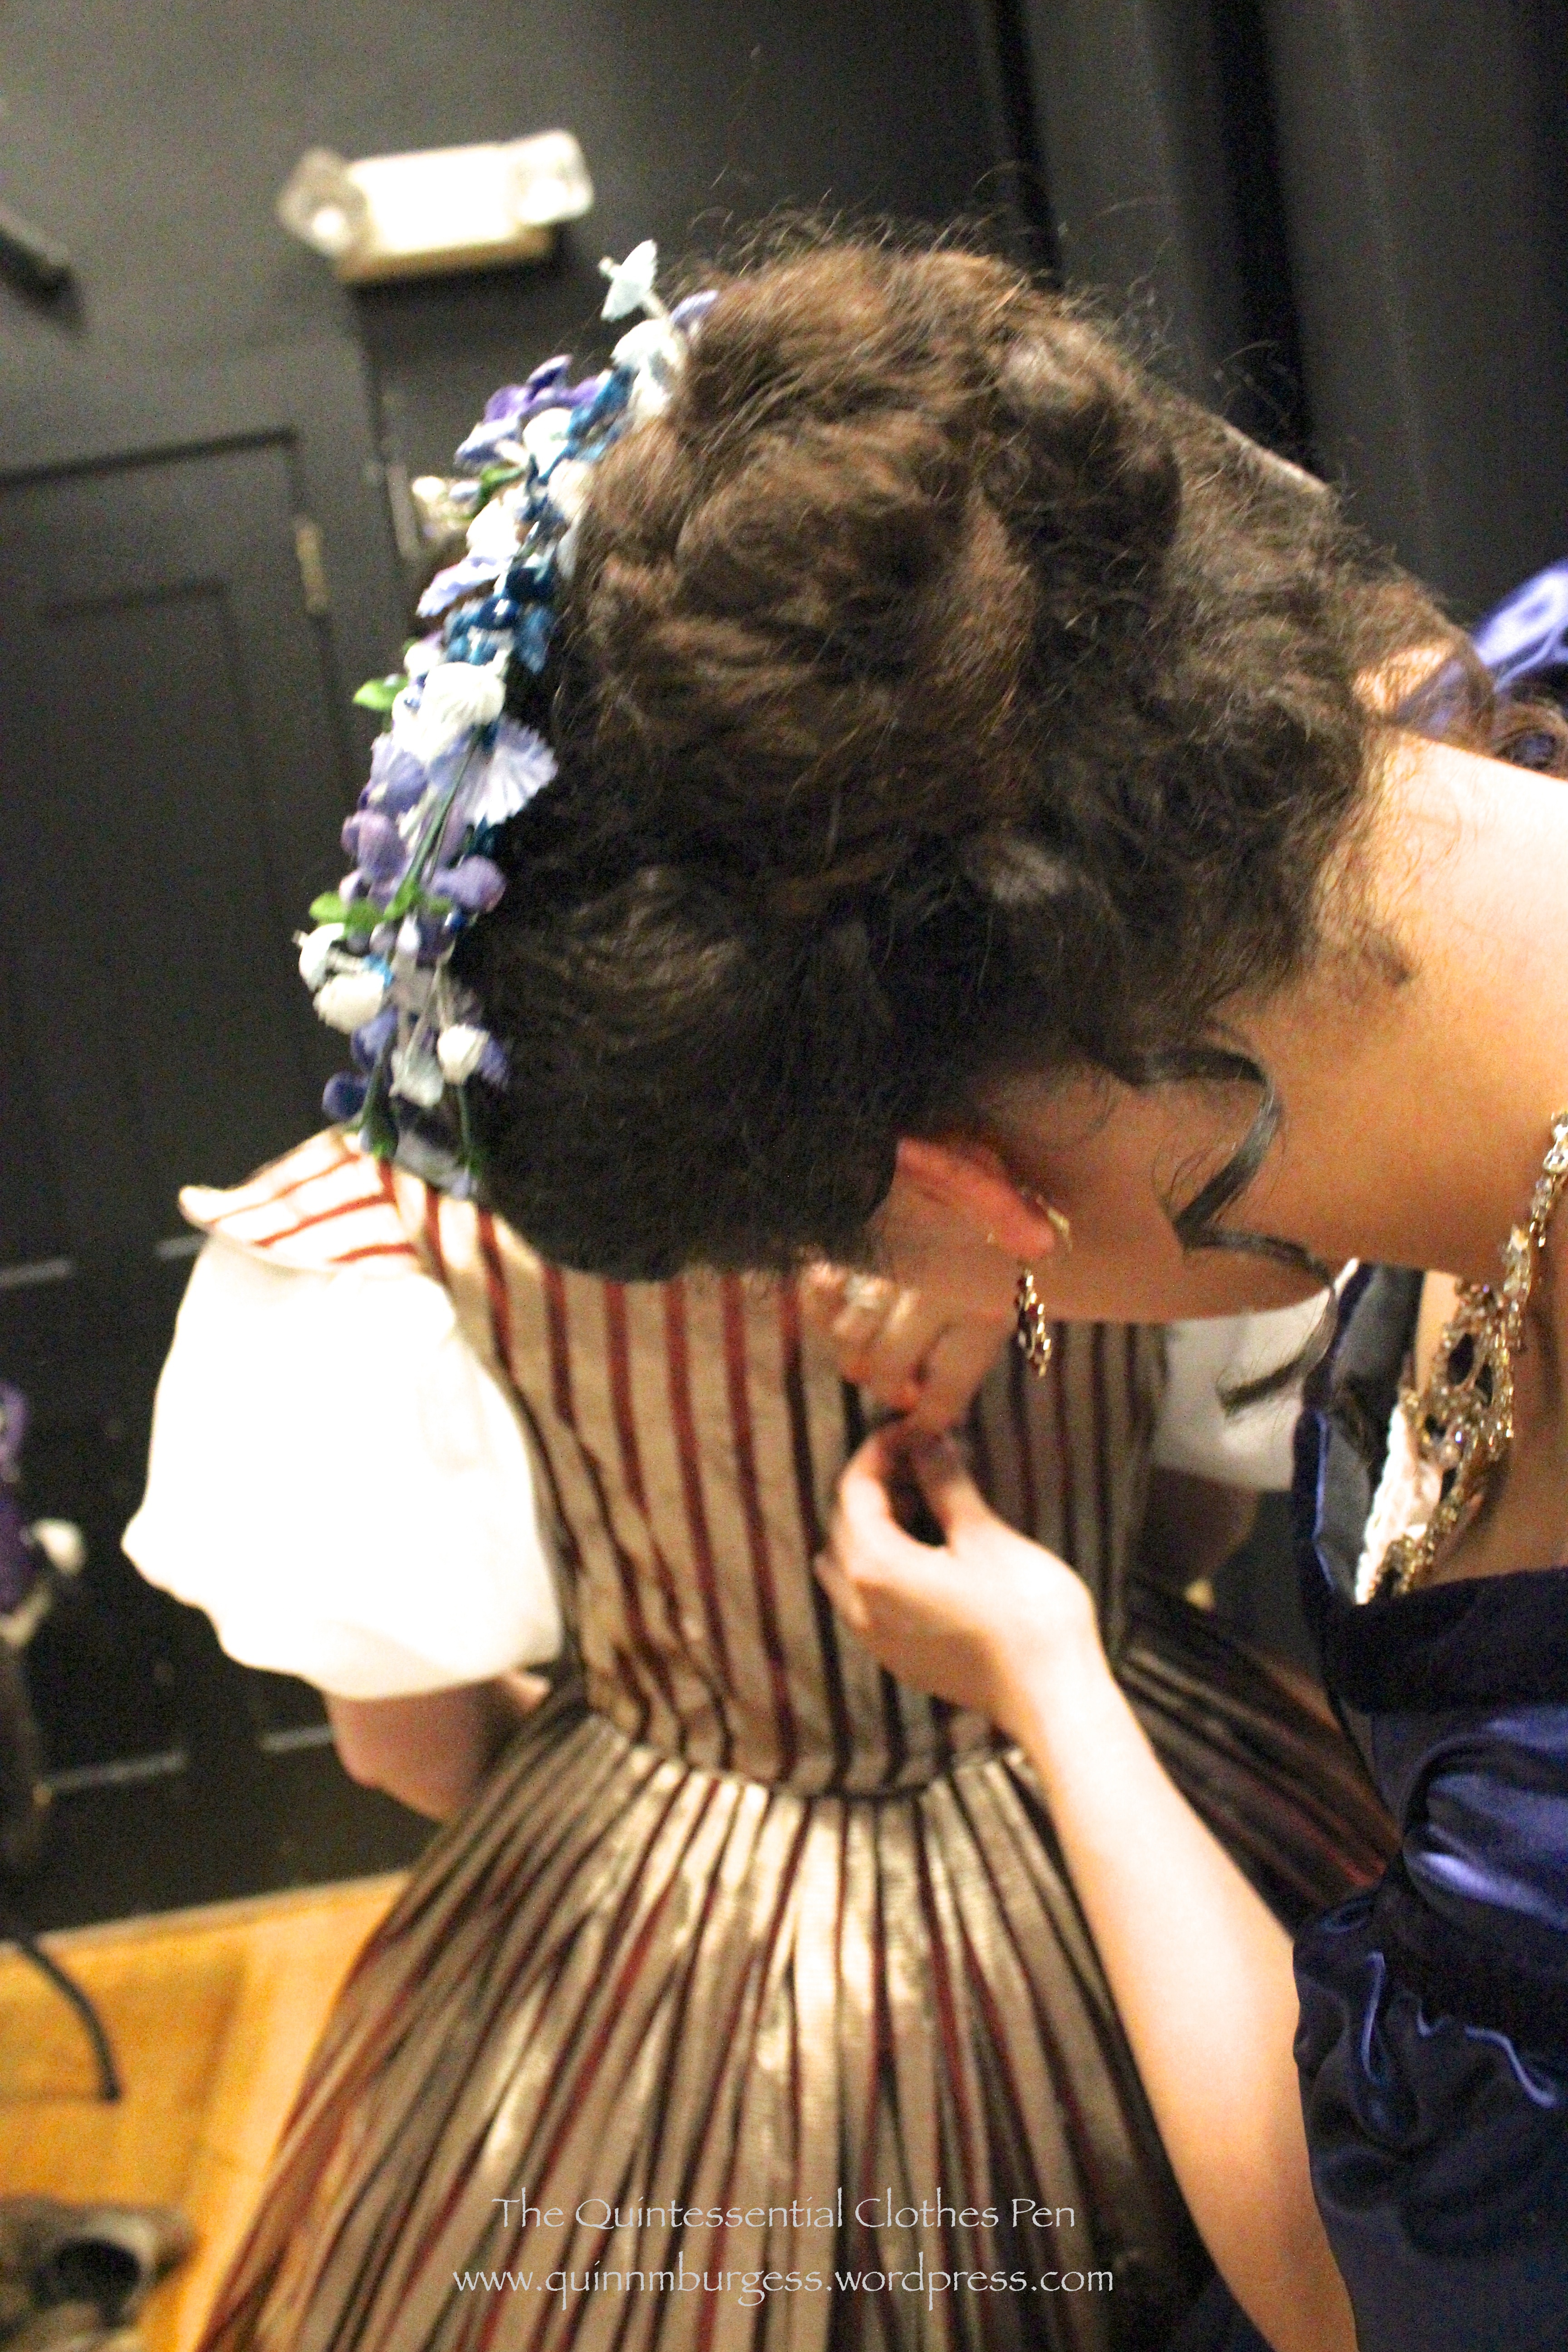
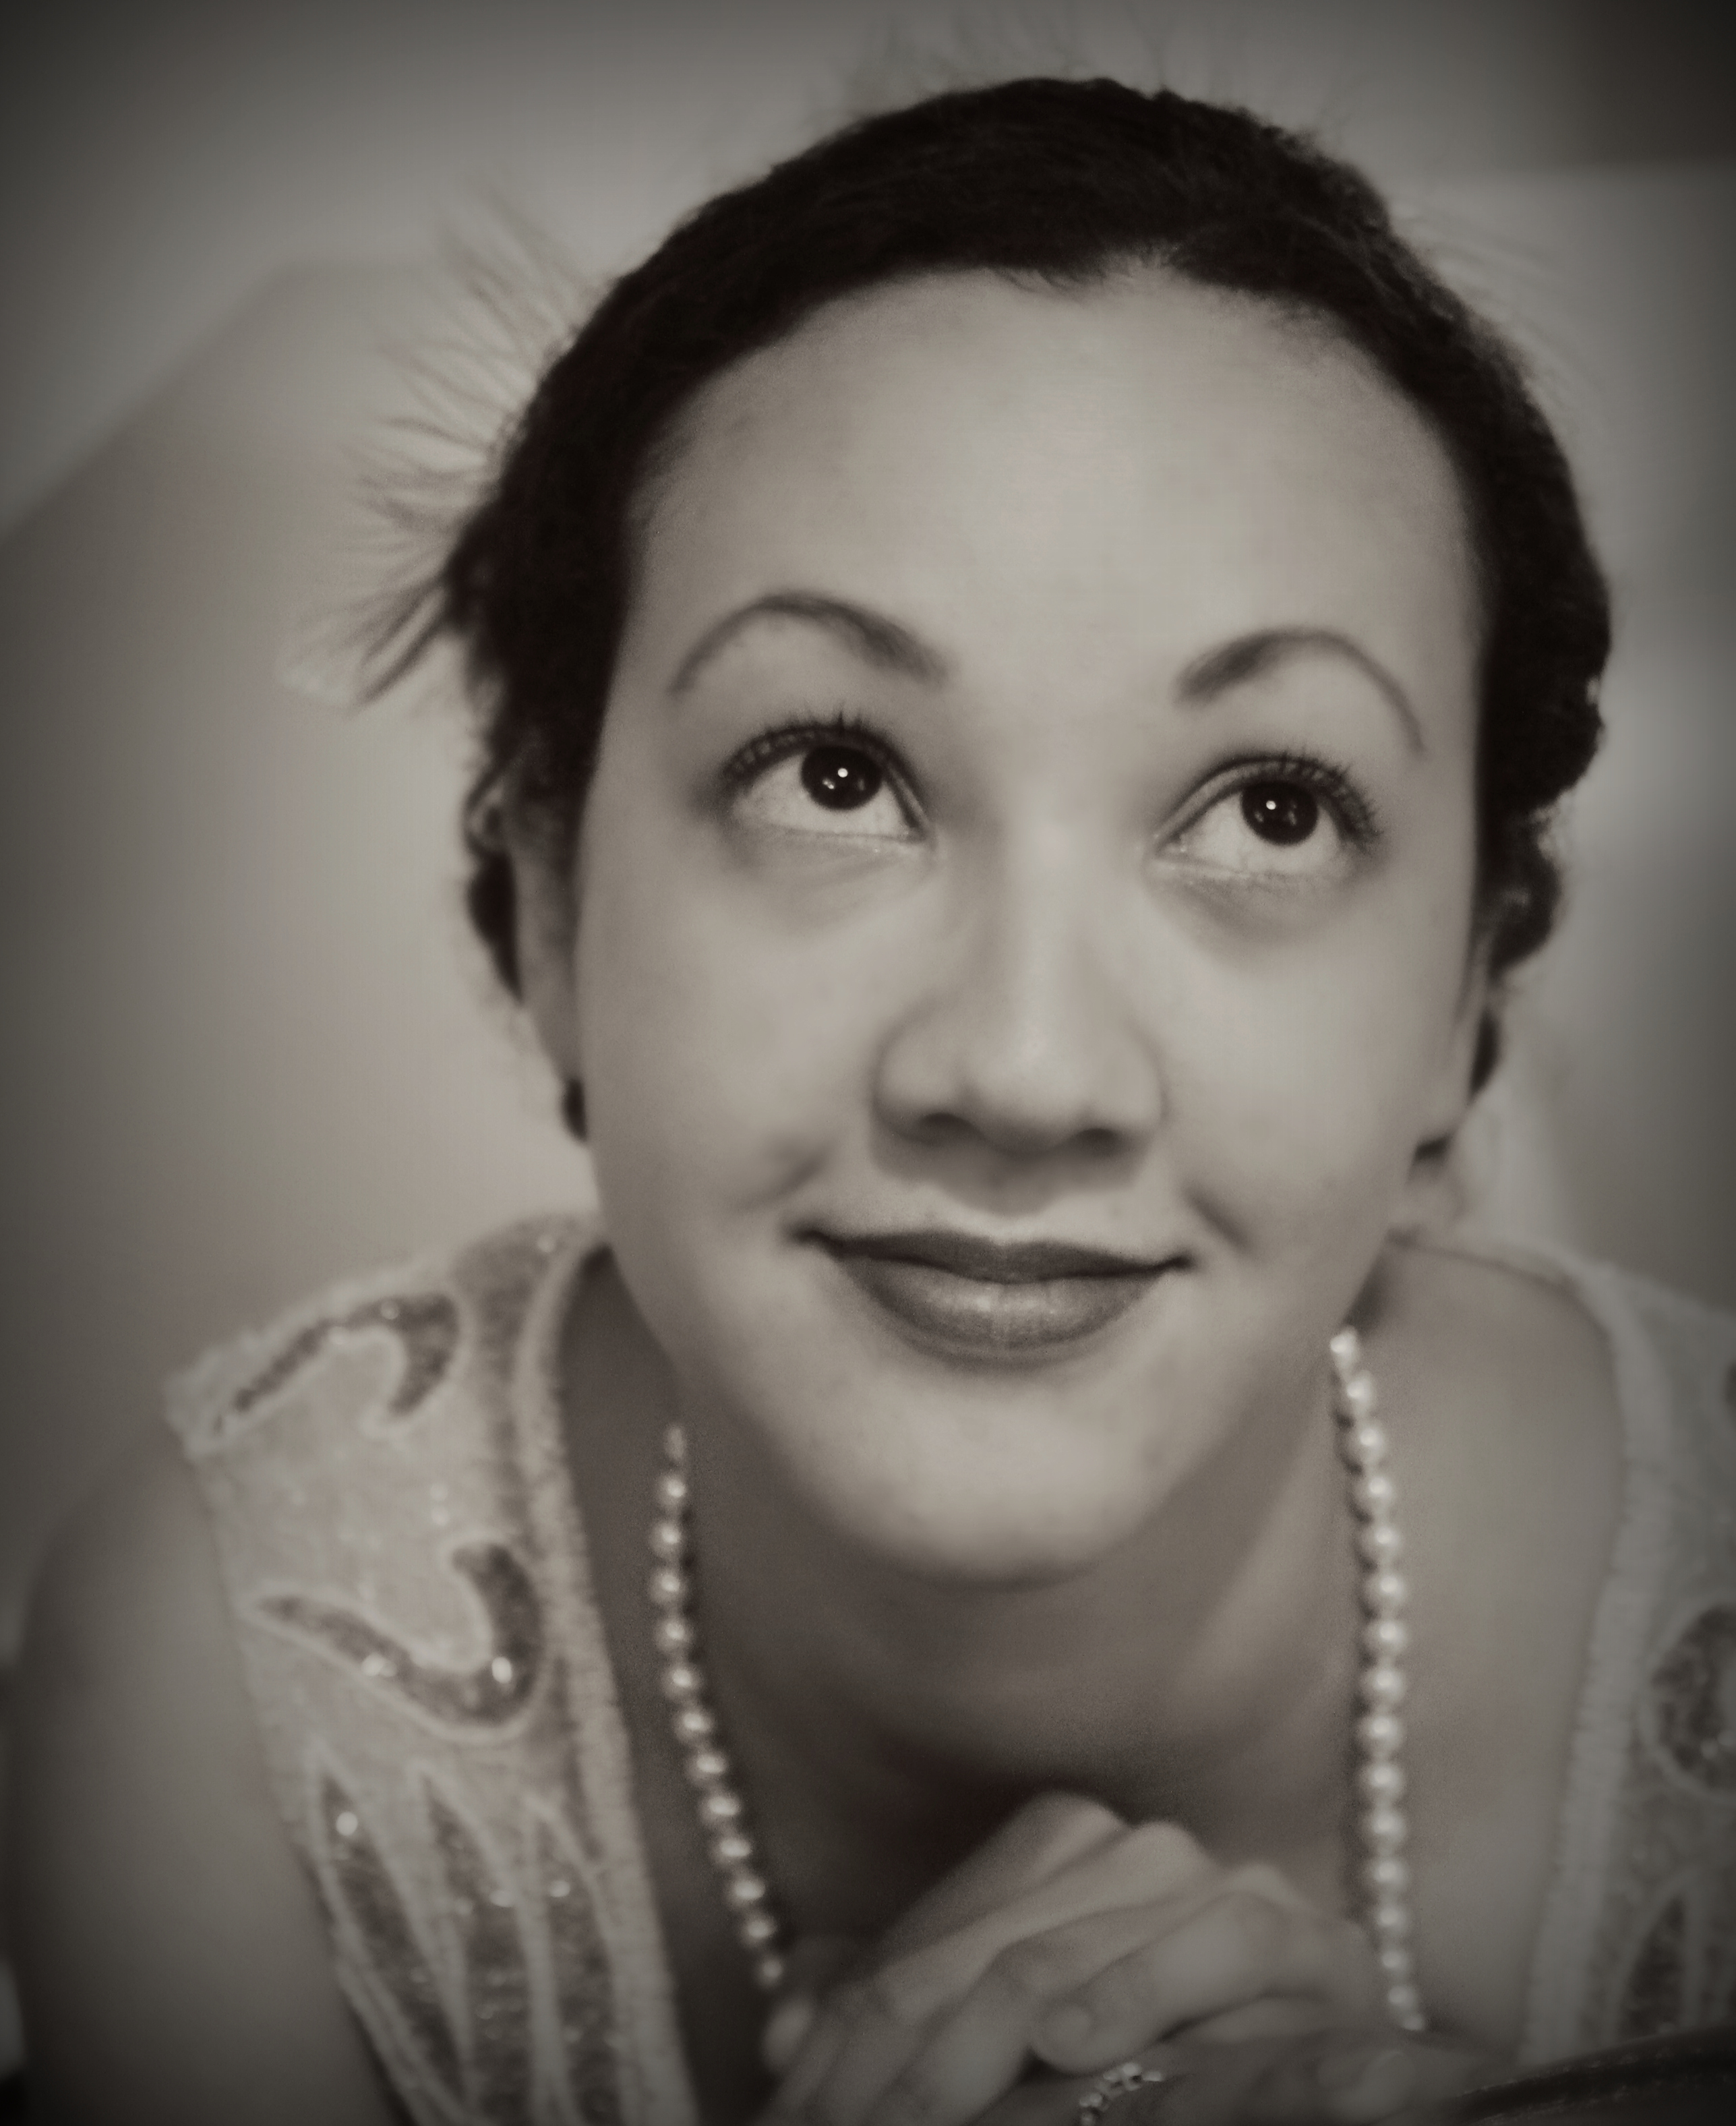
So, how did I do it? First, I separated the hair at the front crown of my head to save for later. Then I put the rest of my hair into a pony tail. I curled bits from the pony tail (about three per side) and then pinned them along the top/side of my head so they terminated right below the separated crown bit I held out from the beginning. That took a lot of bobby pins… Once I was satisfied (which took a long time and included a melt down… sigh, it happens to even the best of us sometimes!), I parted the separated crown bit and brought those pieces down over the side of my head to cover all my bobby pins. Then I wrapped the ends of those bits up into the bun. I also braided some parts of the bun, though it’s hard to see that detail in the pictures.

IMG_7631
I had fun helping a friend make similar face framing curls for the ball, too. Here we are, being curly hair friends!

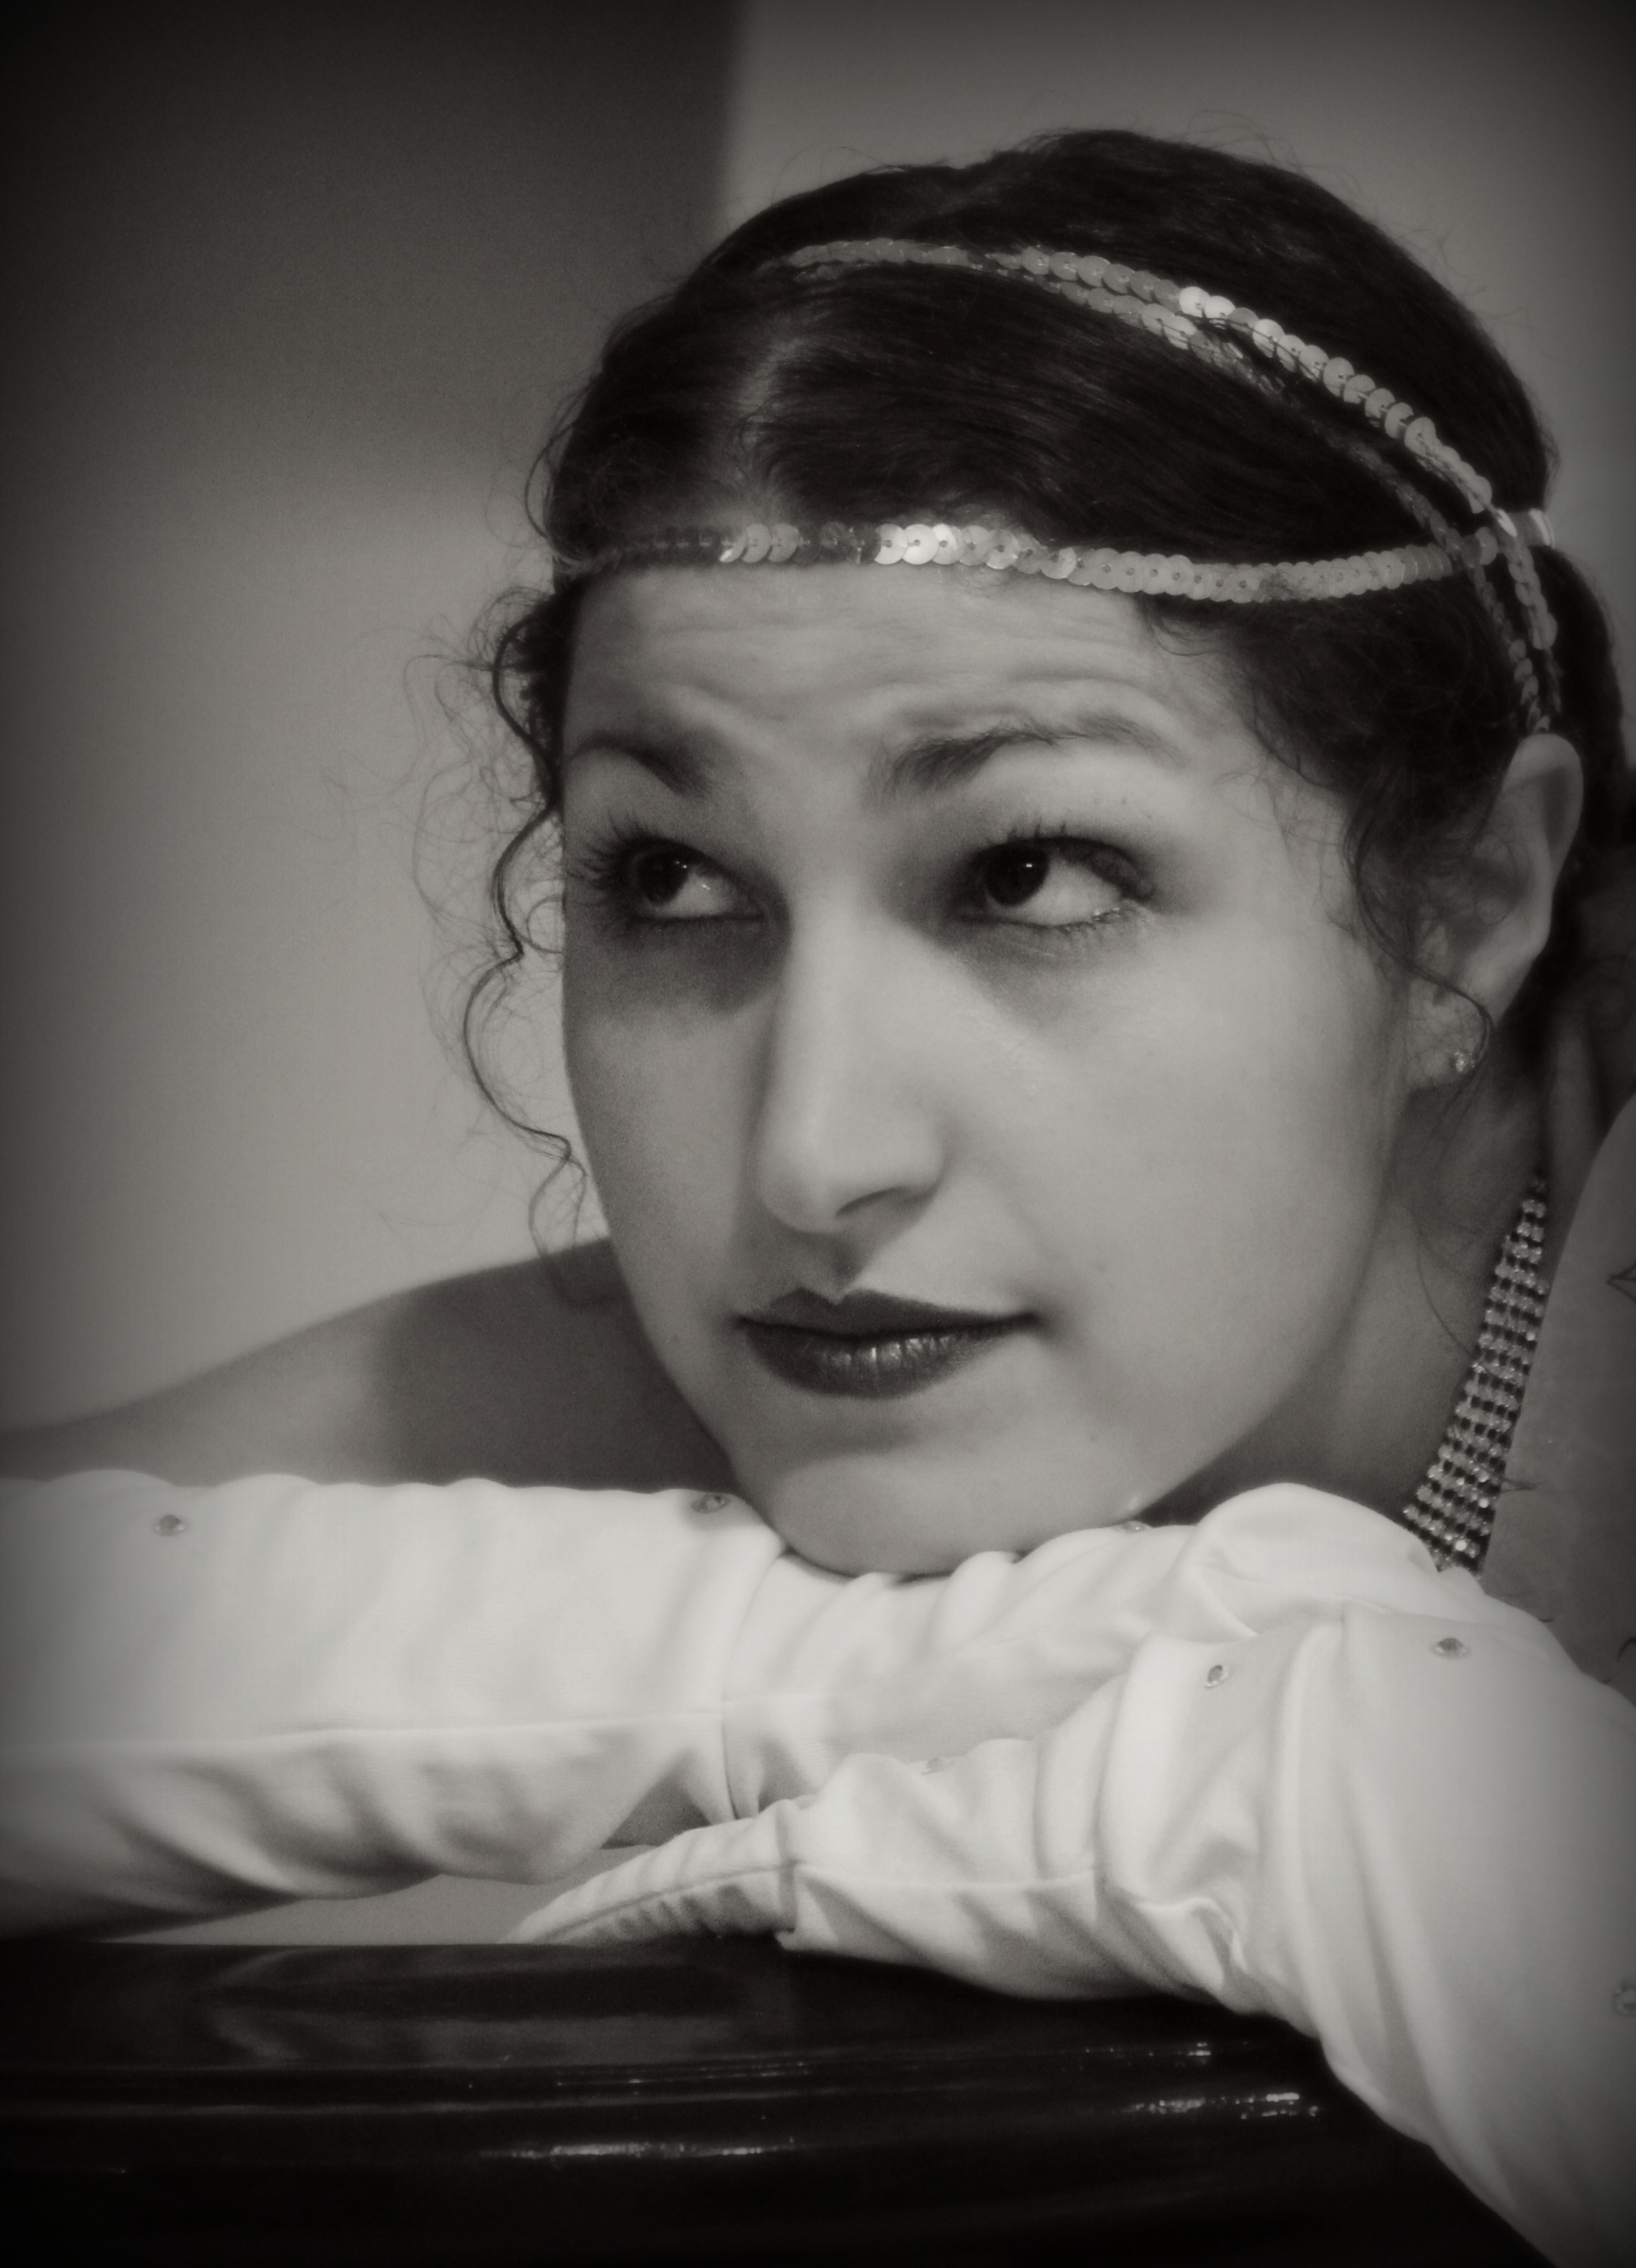
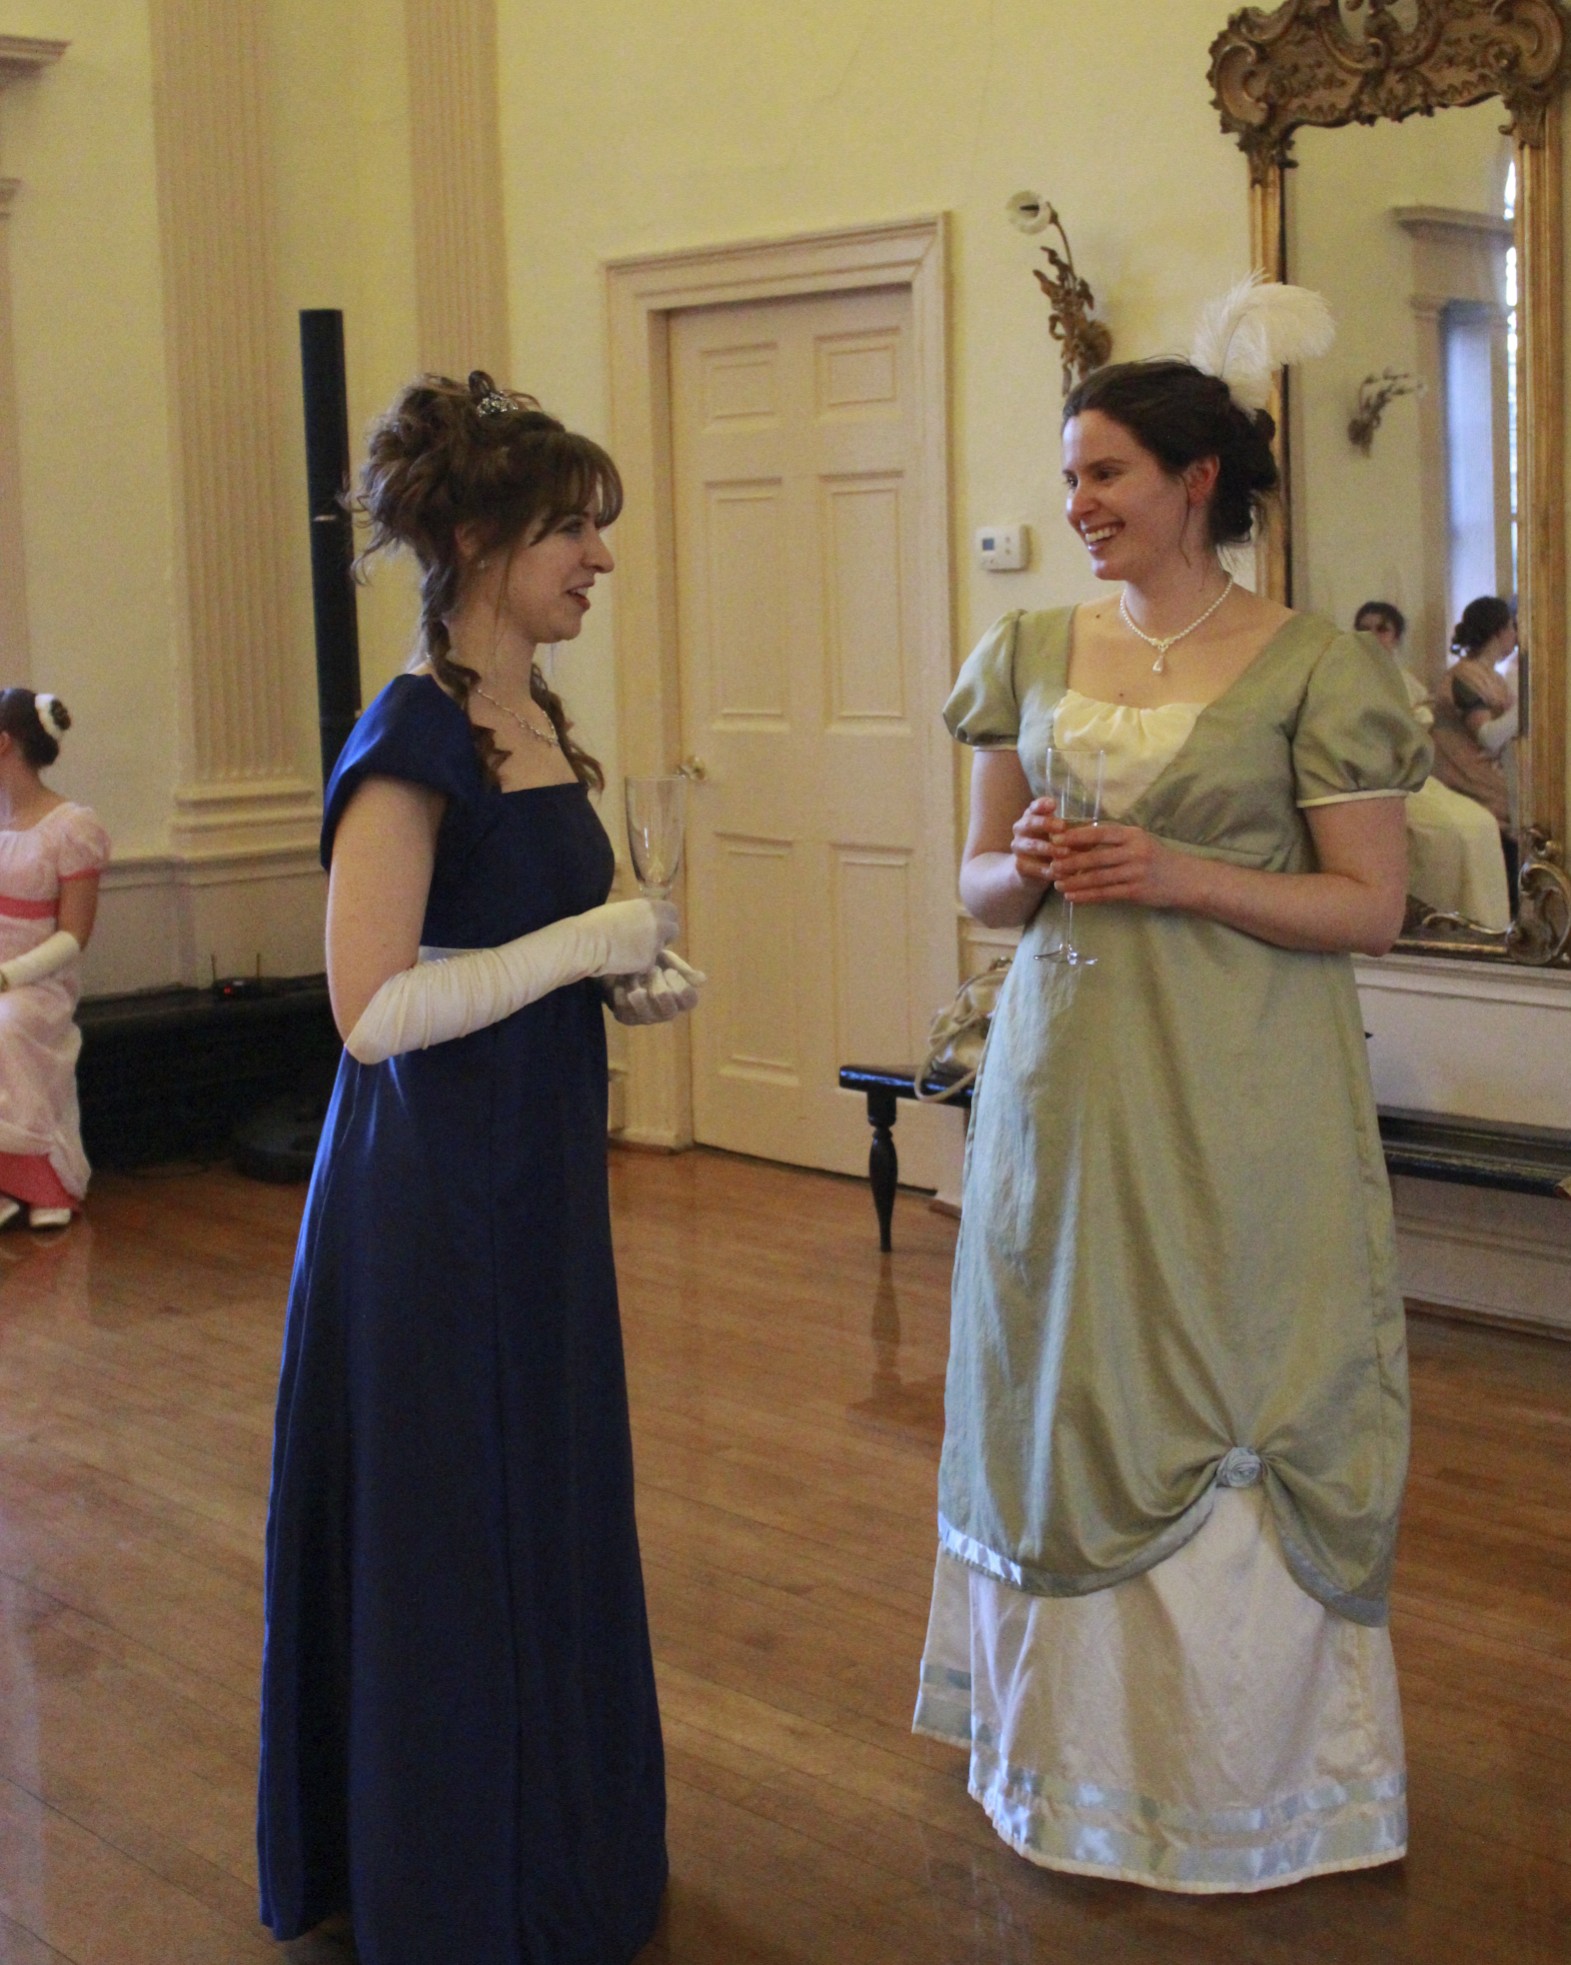
Note: My friend has shorter hair than I do–it’s maybe shoulder length (mine is at least 6-8″ longer than that)–so we were able to use the same method for her hair, but without the added extra effort of putting the front bits into the bun and then running them back to the front of the face. Basically, with my hair I had to zig zag back and forth to make the pieces short enough, but with her hair all she needed was a curling iron and the front parted bits to cover the bobby pins!

Project Journal: 1822-1824 Ensemble Part VII: Trimming Complete (Fezziwig’s Ball 2013)

I am very excited to share that I am finally done sewing the trim on my 1822 Walking Dress and 1824 Ball Gown. I actually finished sewing the trim on both garments about two months ago. Yay me, for being ready for a ball a full month ahead of time!

The walking dress has a previous post from when I completed sewing the trim. The ball gown has previous posts about being worn partially trimmed last year and about sewing on the hem appliques. Here is the link to the category that shows all the posts related to this ensemble.

I wore both garments this year at Fezziwig’s Ball, hosted by the Commonwealth Vintage Dancers, just as I did last year. Last year, however, I didn’t have enough time to trim them like I wanted to and I didn’t really have time to look into proper hair styles either. So this year, in addition to adding trim, I also decided to try out a different hair style that would be much more early 1820s.

I looked at lots of fashion plates and noted what elements made the styles look 1820s. This is the look, from 1823 (also pictured a little farther down). The style required a new hair wreath, so that was the only last minute sewing for this year’s event. I did the same style as the fashion plated: crossed braids on top of my head and little curls around my hair line. When you have long hair and no bangs like me it’s quite a challenge to get curls around the hair line. I managed to make the little curls happen, but I still want to improve my methods. The hair wreath was essential for hiding my long hair and only showing the curly ends. It is made of wired millinery flowers sewn to a length of millinery wire. The front bits are small flower sprays and the back is velvet leaves.

IMG_3222
Caroling before the ball.
IMG_3213
This is a great view of the back of my walking dress and the back of my new hair wreath.
IMG_7406
Here we are: 1822 walking dress with trim, worn with a chemise, corset, corded petticoat, muff, tippet, gloves, and my new hair wreath. (If you want to see/read more details about these garments you can view the entire Project Journal for this ensemble.)
Ser3 v1 1823 Ackermann's fashion plate 29 - Evening Dress
1823 – Ackermann’s Repository Series 3 Vol 1 – May Issue (My inspiration for my hair wreath, hair style, and for the picture below.)
IMG_7416
Changed for the ball: 1824 ball gown with finished trim on the sleeves and front. Same undergarments with different accessories (long leather gloves with red stockings and burgundy shoes to be in the holiday spirit!).
IMG_3272
Lining up for a grand march during the ball. I loved the garlands hanging in the background.

I was amused throughout the night that people kept commenting on how much they liked the sleeve appliques on my green dress. I didn’t realize they were so exciting, but I do think they balance out the skirt nicely. By the end of the night my curls were looking a bit crazed… but it was fun, and I do enjoy wearing these garments and the style of the 1820s, in general. Oh, and I was able to wear my refreshing apron, too, though we were too busy refilling refreshments to take pictures. So yay for completion! It’s nice to get these things off the sewing list to make room for other fancily trimmed things!

Problem Solving In 1893

It’s been over a year since I attended an event that allowed me to wear my bronze and pink 1893 ball gown. The last time I wore it, at Newport Dance Week in August 2012, there were a few minor problems: it was  wrinkly and the shoulders kept falling down. I was able to solve both of these problems for this wearing. Ironing was easy and to solve the shoulder problem I did as one of the readers of a previous post suggested and ran a drawstring through the bias neck binding. The drawstring is sewn down in the back and exits the casing at center front, so it’s easy to adjust while I’m wearing it. The technique worked wonders! The shoulders stayed up all night with no problems. I look like so much more put together when my dress isn’t falling off!

IMG_7399 2

I had fun doing my hair in a different way than last time, too. This time I opted for a more poofy style with a small high bun in the back rather than a more severe style with a poofier bun behind the tiara as I did last time. I really like how my hair turned out. I think the poof on the sides helps balance out the dress. And with a suitably haughty/benevolent face, the overall effect is quite regal!

IMG_7401
Here’s a side view. It took a lot of sections to make this happen. Side, and back, and top of the head, and front top… lots of sections.

Unfortunately, the lighting in the venue was very low and not good for taking pictures, so this is it. A brief post.

1860s Dance Weekend: Part II, Sunday

This is part two of a series of posts about a recent 1860s dance weekend hosted by The Commonwealth Vintage Dancers. The first post, which was about the Saturday of the weekend can be viewed here. This post is about the second day, Sunday. Unfortunately, we didn’t take as many pictures of dancing on Sunday as we did on Saturday. We did, however, continue our tradition of taking lots of pictures of us not dancing, but doing other things. So you’ll just have to humor me during this post filled with a little bit of dancing and a larger proportion of other things.

Before I get started on pictures of dresses and dancing, I’m going to share a few pictures of the building the event was held in, so you can get a sense of the atmosphere. Think cold New England winter… blue sky and a cold breeze… no leaves left on the trees…

IMG_7372
One of the lovely tall windows reflecting the slightly cloudy blue sky, with leafless branches joining the scene.
IMG_7376
Looking through bare trees at the lovely windows of the hall.
IMG_7375
I’m sort of cheating here. This pictures is from Saturday, when we were in a hall next door to the one pictured above. But I just loved the berries on the bare tree and the very New England style window and building behind them!

Now that you’ve got a sense of the venue, let’s proceed to the ball:

IMG_6619
Sewing a friend into her dress. I include this because it is an excellent shot of my hair!

I tried to do something different than my usual 1860s style for this ball, and I must say that I like the results. The more you try out different hair styles, the easier they become! I’d brought my curling iron and I wanted to make use of it for this ball. (I have naturally curly hair, so it’s quite ironic when I use a curling iron. My curls are quite frizzy, a bit wild, and untamed rather than cork screw like, so the curling iron acts as a taming agent.) In the end I had two curls, one hanging on either side of my head. I wouldn’t do this for every ball, but it worked well with the amount of crazy bling I had and with the heavy quality of my dress.

IMG_6798
See? Crazy borrowed bling! (The necklace is much more sparkly in person than in pictures!) I was quite dazzling, or blinding, depending on your perspective.

Anyway, in addition to the curls, I did my usual poofy side roll on either side of my center part. I tried to be imaginative in the back but ran out of time. It’s hard to remember now, but I’m pretty sure I braided the back section and made a bun  with the braid. Or perhaps I wrapped my braid around a bun that was made with the ends of the poofy side rolls. Either way, there was a bun and a braid. My Belle hair crescent was mounted over the result. I rather like that it was a little higher on my head than in previous wearings. It was a little more visible from the front.

As you can see, I wore Belle. She was my first historic dress, ever. I wore her more often when I first began vintage dancing a few years ago, but I got a little tired of wearing her and so she’s been living in my closet for over a year. She’s super heavy, which I remembered, but I hadn’t remembered that the weight of the skirt pushed my hoops into an awkward diagonal elliptical shape. I have a bum pad that fixes the problem, but since I’ve been wearing Evie so much and she doesn’t need it I’d forgotten to bring it! Oh well. It was exciting to bring Belle out again, and though I’m not the same size I was about 7 years ago when I made her, she still fits and is still stunning.

Here are some dancing shots from the ball:

IMG_6665

IMG_6695

IMG_6708

After the ball we took some more not dancing photos. Our prop for the night was a rather short column. And so I present to you a series of column shots:

IMG_6820

IMG_6802

IMG_6835

IMG_6860

IMG_6840

This is my end of the weekend “I’m tired” pose. I love how my tiers fan out and create an elongated effect. It’s quite regal! (The heavy fabric flowing across the floor reminds me of the image below of Sissi–Empress Elisabeth of Austria.)

82ebec13a5b1628c811b5637a04537b7
1867 Sissi in famous pose with her dog ‘Shadow’ by Emil Rabending

Well, there you have it. An 1860s dance weekend. I do hope you enjoyed it!

1950s Adventures Part I: Dots At The Diner

Remember when I posted the details about my 1953 dot dress, I mentioned that I was waiting to participate in a grand adventure to get photos of the dress on me? It worked out recently that schedules were free on the same day, so we were able to have a 1950s adventure! We started out going for brunch at a 1950s themed diner, then stopped by the side of the road to take fall color pictures on our way to go to a thrift store (where I purchased a flip top picnic basket for $4!), followed by roller skating, and then we finished off the evening with a Regency ball. It was a long, awesome day. I was absolutely exhausted by the end of it.

But I’ve got lots of fun pictures to share! Yay! I’m going to break up the 1950s pictures into three parts: photos at the diner, fall color photos, and photos of roller skating. There will be a separate post about the Regency ball (which includes pictures of my Refreshing Apron in action and my new tiara!).

Our 1950s group at the diner. We had another patron take the group shot and she sort of cut off people's heads, but we're grateful for the photo nonetheless.
Our 1950s group at the diner. We had another patron take the group shot and she sort of cut off people’s heads, but we’re grateful for the photo nonetheless.
I rather loved the aqua and pink color scheme, which included the aqua/green coke water glasses.

I noticed crayons on another table the waitresses were clearing off and asked if we could have them… because you never really stop being a child! Though I have to say I was more easily inspired when I was a child. It was hard to come up with something to draw!

Crayons!
Crayons!
"My name is Indigo Montoya. You killed my father. Prepare to dye." The crayon color was Indigo, and the reference is from The Princess Bride.
“My name is Indigo Montoya. You killed my father. Prepare to dye.” The crayon color was Indigo, and the reference is from The Princess Bride.
Doodling away. We were competing to see who could draw a better record.
Here's mine. It's hard to draw a record with crayons! Do the music notes help?
Here’s mine. It’s hard to draw a record with crayons! Do the music notes help?
And here I am, drawing away. I really like this picture! (I'm not making a crazy face!)
And here I am, drawing away. I really like this picture! (I’m not making a crazy face!)

Now is as good a time as any to talk about my hair and accessories (especially since I’m about to subject you to a series of me-shots). I tried to do rolls with my hair. I think they were quite successful, though they did take a very long time. I had to dry my hair, straighten my hair, then curl my hair while adding hairspray and trying to contain the waves and the frizz… I aimed for an asymmetrical style but in some pictures it looks like I just have an odd halo of hair on one side of my head and not the other. I ran out of time and inspiration for the back, so my hair is just in a bun. It’s the first time I’ve attempted this sort of hair style, so I certainly don’t have lots of practice. Ah well, I like that I look very put together and made up–that just seems like a 50s way to be.

Unfortunately, the juke box isn't functional. But it's a great photo opportunity!
Unfortunately, the juke box isn’t functional. But it’s a great photo opportunity!

Oh right, and accessories! Well, I’ve got a modern sweater from Old Navy. I’ve got Nine West brown heels (a little tall for the 50s, but other than that they have a great shape). And I’ve got a faux pearl and jewel bracelet (another of the costume jewelry presents from my mom). Thanks mom!

Posing with someone else's shake. But it's pink, so it had to be done. I'm pretty bad at posing. There are lots of pictures where I'm just making awkward faces...
Posing with someone else’s shake. But it’s pink, so it had to be done. I’m pretty bad at posing. There are lots of pictures where I’m just making awkward faces…
One of my favorite pictures! I love the painted people in the background, and that I'm not making a crazy face.
One of my favorite pictures! I love the painted people in the background, and that I’m not making a crazy face.
See? Half halo head. Anyway, I like this picture, too.
The actual owner of the pink shake also posed by the juke box. That guy on the wall is pretty funny.
Gumball machine!
Gumball machine!

Finally, step outside and there’s a cute scarecrow waiting for you (at least during the month of October…)!

Shaking hands with Mr. Scarecrow.
Ditzy faces. Oh hey, my hair looks less dorky in these scarecrow pictures. It really depends on the angle!

See? So many smiles. Next stop will be the side of the road where we stopped to take fall color pictures…

Picnic At The Commandant’s House

A few weekends ago I participated in a picnic and dance performance at the Commandant’s House. You might remember that we danced there last August? It was great fun last year and we were pleased to be able to participate in another event at this lovely location.

This time around we were there mostly to picnic, so that’s what the majority of my pictures are from. But we did dance a little in the house and lounged around to take a few pictures. Enjoy!

IMG_4835
I love how picturesque we all look in this photo! It’s sort of funny how the white dresses all clumped on one side and the colored dresses on the other.
IMG_4871
After eating we played Graces.
IMG_4861
It’s much more fun with lots of people and lots of hoops!
IMG_4953
We played it in a big circle and would just call someone’s name to get their attention (hopefully) before flinging the hoops at them.
IMG_4910
There were some really good catches and really close misses.
IMG_4936
We had a great time and laughed a lot!
IMG_4911
With trees around, I’m sure you can guess what happened…
IMG_4898
I didn’t want to do a boring bun, so I opted for two rolls of hair instead.
IMG_4992
We were called from Graces to dance inside the house. I was particularly appreciative of this wallpaper this time around. It’s in the entry hallway. You can see other interior pictures of the house in this post from last year.
IMG_4980
The curtains in this room have a lovely glow when the sun shines on them.
IMG_4988-001
Looking for Mr. Darcy, perhaps? I just love the shadows and the glow.

More 20s! (Prohibition Ball 2013)

Only one week after I attended the 1920s Lawn Party, I was immersed in the 1920s again, this time at a Prohibition Ball in Chelmsford, MA. I would guess the attendance at maybe 40-50 people total, though I’m not sure we were ever all in the ballroom at the same time. It was a nice, social group of people and I saw everyone meeting and greeting new people, dancing with a variety of people, and generally being social and having a good time with everyone around. It was also nice to see some of the new people we had met at the 1920s Lawn Party at the ball. The venue, the Chelmsford Center for the Arts, was a lovely place I’d never seen before.

IMG_4196
I wore my 1925 beaded dress and accessorized with a long string of pearls and jeweled/feather hair decoration.

I tried a new style with my hair! I did my now usual 20s thing, where I gel the front sections and use a fine tooth comb to create waves in front while my hair is wet. Then I secure it to my head and let it dry. Usually, I’ve taken the back and put it in a tight bun at the base of my head (like when I’ve worn my not-quite-sailor dress). The idea in doing that is that it makes my hair close to my head and  thus, maybe, more bob-like (I know, I’m kidding myself, it does not actually look like a bob!). This time however, I did something totally different with the back. It seems counter-intuitive, so be prepared… I took my curly hair, and curled it with a curling iron. Yup. Actually, the curling iron eliminates all my usual frizz (that alone is amazing!), but it also creates nice, even, wide curls. I was in a super hurry to get my hair done, so I just did some rather messy curling iron curls then pinned them up in a mass at the back and added my jeweled/feather clip. I love the defined curly mass (different than my normal frizzy, curly mass)! I’m excited to try out curling ironed styles for other events, too!

IMG_4164-001
Defined curls coiffure surmounted by feathers and jewels.

The other cool thing about the feather/jeweled clip is that from the front I have a small halo of feathers showing. I like that it is visible from the front and packs a big punch in the back! Success!

IMG_4199-001
Glamour shot! I often make really silly 20s faces, but I think this one works! I love the defined eyelashes, the red lips, the feathers, the pearls…
IMG_4202 close-001
More glamour! I’d call this a more sultry shot than mine, which is more playful. It’s got those same fun elements, though, eyelashes, lips, sequins, jewels…

I did mention that this was all for a ball, right? And the ball did include dancing! In addition to normal couple dancing, and large group Charelstons (you can dance the Charleston in a circle like you used to dance in high school!), there were also a lot of mixer-type dances, where participants changed partners, or danced with unknown partners…

IMG_4178
Attendees chatting with each other and looking great.
IMG_4150
Dancing… A foxtrot or one step, perhaps?
IMG_4204
Dancing!
IMG_4207
One of the mixers with a name like “Paul Jones” or something similar.
IMG_4276
The dancing couples trying to escape the gentlemen with umbrellas.
IMG_4320
Another mixer. See the hand over the sheet? Neither gentleman nor lady knows who his or her partner will be.
IMG_4321
Surprise!

There was also a slightly unplanned performance of our five lady Charleston (the same one we performed at the Great Gatsby in May). People really enjoyed it, and it’s always a pleasure to dance a Charleston to the song Egyptian Ella. The Great Gatsby performance post includes a video you can listen to that has the song we performed to, if you’re curious. It’s a fun song!

IMG_4378
We sort of look like penguins in this shot… At least we’re on the same feet!
IMG_4360
There are little bits where we do solos: here I am washing the windows.
IMG_4361
Then I turn and back up. There really isn’t a good way to describe it… looks fun though, right?
IMG_4365
Another solo (well, duo, I suppose). I don’t actually know what this figure is called, but it’s super fun to watch.
IMG_4375
Starting to do the shimmy! (I think it’s the shimmy… It’s really just wiggling, it’s not as shimmy-like as you’re probably imagining!) It was super scandalous in the 20s!
IMG_4388
Final pose.

And of course, there was silly-ness. That’s to be expected when I’m around.

IMG_4355
The “Hello Charleston”… (I made it up…)
IMG_0544
How low can you go?

I had the added bonus of my parents being available to experience, in person, their first vintage dance event. They’ve seen thousands of pictures but have never been able to attend. It was fun to share the experience with them and to Charleston with them! I sure had fun, I hope that you’ve had fun reading about it!

Model Ts, A New 1926 Dress, And New Shoes: Part I

A few posts ago, when I introduced The First Picnic Of The Summer, I mentioned my involvement with other events that same weekend. It’s time  to share pictures of another event from that weekend: an afternoon of music, dancing, and Model Ts at the Braintree Historical Society in Braintree, MA.

Let’s start with atmosphere: some Model Ts! Model Ts were produced between the years 1908 and 1927 by the Ford Motor Company. My grandfather worked for Ford years ago (though not on Model Ts!) and I have family members who still live in Michigan, so I feel a special connection to that part of car history. As far as I could observe, all of these Model Ts were still operational, drivable, and licensed to drive on the street! Neat!

IMG_2970
Front view of a Model T.
IMG_4565
I love the luggage storage on this one!
IMG_4572
Pretty swanky, with all that gleaming wood!
IMG_4563
I like that this picture has a modern car in the background!
IMG_4570
Need I say more? It’s labeled!
IMG_4580
“R. I. Brow & Son; Oil Dealer” I love it! Especially with the canisters attached.
IMG_3125
Two Model Ts parked in front of the barn.
IMG_4587
A pretty fabulous red Model T with be-boater-ed gentlemen lurking behind it… (They had no idea I was taking a picture! bwhaha!)

The reason we were in attendance at this event was to do a few small dance performances. We did the same 20s dances that we performed at the Great Gatsby: the Charleston, Tango, Foxtrot, and One Step. I don’t have pictures of the performances… but in between performances we had time to wander amongst the Model Ts and have a picnic lunch.

Oh yes, and I wore a new 1926 dress and my all new American Duchess Gibsons! I also attempted some “make-do finger waves” in my hair. Basically, that means that I didn’t try for real finger waves… I just put some gel in my hair and used a fine tooth comb on the top bits. Since my hair has natural waves it just dried in a sort of wavy way and I put up the back in a low bun. I think it turned out pretty well, though, for not trying that hard!

This link contains an affiliate code, which provides a small benefit to my shoe fund. This does not affect my impressions and reviews of this product.

The dress was made because we needed day clothes for this event and my other two 20s evening dresses are not appropriate. As I mentioned in the post May Fabric Stash Additions when I shared this fabric, I wanted a cotton so it would be lightweight and washable… and this is what I wound up with. I thought it might be to sailor-y, but in the end I don’t think it is! I like that it’s a rather striking color and not something I would normally pick out for myself.

I didn’t use a pattern for the dress, I just sort of used my measurements and made it up while referencing a lot of 20s patterns in the COPA archive for skirt shape, mostly. The front and back bodice and sleeves are all one piece cut in the kimono style. It’s all french seamed  and the skirt and sleeves are finished with hug snug. The waistband is a little messy on the inside, because I haven’t taken the time to finish it and because the sides were doing a weird thing I had to fix with a wonky side dart. But eh, no one will see the inside! I’m glad it’s done and I like the faked tie-collar.

IMG_4457
Gibsons!

The Gibsons are comfortable and cute. I like that the sole is a little thicker than on my Astorias, because it means the pointy toe shoe leather isn’t getting scratched while I walk (as it is on my Astorias). The toes are pretty pointy but they are starting to stretch to my foot shape, so that’s good.

IMG_3004
Trying to pose… “This is an engine. It moves the car.” Plus, new dress and a good view of my hair!
IMG_3132
Looks a lot different from a modern car engine, doesn’t it?
IMG_3108
A better view of my new 1926 day dress and Gibsons.
IMG_3110
Another view. The red car is fun, too!

The blue cotton is slightly sheer, so I made a cotton slip to wear under the dress to add opacity. It’s made of the same $1/yd white cotton that the trim on the dress is made of, so if it shows at the neck or elsewhere it just blends right in. I used the same measurements I used for the pink slip of my 1925 beaded dress. I was inspired by looking at 1920s patterns to add the curved panels on the side instead of having another straight slip.

IMG_4596
White slip to go under the 1926 day dress.

As I said, in addition to looking at cars and dancing, we also had a picnic lunch.

IMG_3057
1920s picnic!
IMG_3068
After eating we listened to some stories read aloud.
IMG_3060
And read some 1920s magazines!

One of the most exciting parts of the afternoon was when one kind gentleman asked if we would like to sit in his 1920s car! Of course we said “Yes!”

IMG_3024
“How do I drive a car?”
IMG_3032
Practicing my princess wave.

All in all, it was a pretty fun, low-key event. Next post I’ll share some of the more “artsy” photos from the day, as I did in The First Picnic Of The Summer: Part II.

First Picnic Of The Summer: Part I

Last weekend was a whirlwind of events and that means I’ve got lots of pictures to share! The pictures will be coming in small-ish groups. I do hope you’ll be able to vicariously enjoy the nice weather and fun through them.

The first event was a low-key turn of the 20th century picnic in the Boston Public Garden. You might remember that last year we did a Regency picnic in the same place? We were out to have a good time and get some fresh air without worrying about 100% historical accuracy, hence the low-key part of the description. So without further ado, pictures!

IMG_2651
Taking a turn about the garden.
IMG_4492
There are lots of ducks in and around the swan pond in the center of the garden and this time of year you can also see baby ducks! There were 9 of them in this bunch. Aren’t they cute?
IMG_4502
There are also swans around the swan pond. These ones were nesting in a fenced off area. Pretty, but you wouldn’t want to get too close. Swans are big, and mean.
IMG_2880
There are lovely old trees around the garden as well.
IMG_2913
The trees make great backdrops for photos.
IMG_4509
Walk a bit away from the swan pond and you are likely to encounter George Washington, who happened to be showing off his Bruins spirit this past weekend. (I love that the city, presumably, had a custom all-weather jersey-cape made, since Washington can’t actually move his arms to put on a jersey, given that he’s bronze…)
IMG_4524
All around the statue of Washington are lovely flower beds. The flowers get changed out pretty regularly so they’re always blooming and pretty. These flowers are my favorite though! They’re called allium, and I love the colors, and the size, and the circle-y-ness of them.
IMG_2699
I believe I have a weakness for circle-y things. And, my outfit matched the flowers! I think my gibson-y hair turned out pretty well, too.
IMG_2704
I know this picture is similar to the last one… but I can’t decide which one I like best. I’m hoping maybe you have an opinion that will sway me one way or the other?
IMG_2743
It got warm promenading about the garden, so we returned to the blankets in the shade to play cards.
IMG_2803
After the rest, we broke out the croquet set we had brought along. Apparently we were more interesting while playing croquet than we were at any other time during the day, because we actually gathered a crowd of people who were watching us play.
IMG_2814
Contemplating my next shot. I was getting out of the metal panel obstacle…
IMG_4552
I was the pink ball! I think it was supposed to be red, but it looked awfully pink to me!
IMG_2845
My outfit choice was inspired by an image in the KCI collection. I did my best to imitate it in spirit, despite my lack of a boater.
ce257125a81f4b3e3a2f99407ae4f099
When revisiting the image I realized that it does not include a croquet mallet. Be that as it may, I tried, and I think the inspiration is clear, even though my memory is not!
IMG_2787
Picnic-ers!

Regency Dance Weekend Part IV: Reception

Having successfully completed the first day of the Regency Dance Weekend and then archery on Sunday afternoon, we hurried off to prepare for the Grand Reception and Ball on Sunday evening. These events were held at Hamilton Hall in Salem, MA. This hall that was built in 1805: perfect for our Regency events!

The reception was to include a toast with sparkling cider, so we pre-filled glasses to have ready to go at the right time. In addition, we worked on laying out the refreshments in pretty glass compotes and on silver trays as well as making the punch and laying out all the necessary silverware and dishes. Preparation was a bit hurried and I have to confess to getting super grumpy at one point…

IMG_0867
Picturesque filling of the glasses.
IMG_0860
Picturesque grumpy face.

The alterations I made to my skirt to fix the rip created a new issue. Sigh. See those horizontal wrinkles on the rib area? Because the front of the skirt hangs differently now, the front skirt wants to wrinkle. I can fix this problem, but ugh! It’s so much easier when the clothes just fit perfectly!

IMG_0869
Partially completed spread of refreshments.
IMG_0925
When everything was ready we joined everyone else for some pictures in the lovely ballroom, where there were real candles in the windows! So pretty!
IMG_0958 - Version 2
These mirrors are stunning and beautiful, in addition to being wonderful places to pose for the camera.
IMG_0874
I thought my hair looked particularly regal for this event. Here’s a good picture of my poof and laurel wreath tiara.

It’s convenient for these sort of events to have hair that is easily made poofy. I don’t have any short bits of hair around my face (aside from frizz…) so curly tendrils for Regency hair styles don’t work for me. This had become my go-to Regency style: center part in the front with the front bits of hair saved for last; the back part of the hair put into a pony tail and brushed out to be super poofy, then rolled on itself to create a self rat and hide the ends. The poof is then pinned in place, the front bits are wrapped down and around the back which creates lovely lines on the back of the head, and finally the tiara is added to define the area between part and poof. The whole thing is finished off with a liberal douse of super hold hairspray to contain the frizz and keep the style in place.

But enough pictures of my dress and hair! After these reception pictures we all descended the stairs to the sidewalk, where we watched a celebratory champagne bottle be opened with a saber. Neat!

IMG_0905
Ready?
IMG_0913
Each person was served with a glass of sparkling cider on his or her way back up to the ballroom.
IMG_0966
And then we all had a bit of time to socialize and admire the room, the people, and the circulating cider refills.

When the cider was beginning to dwindle (which didn’t take too long), the time had come for the dancing to begin. And my, what dancing there was!