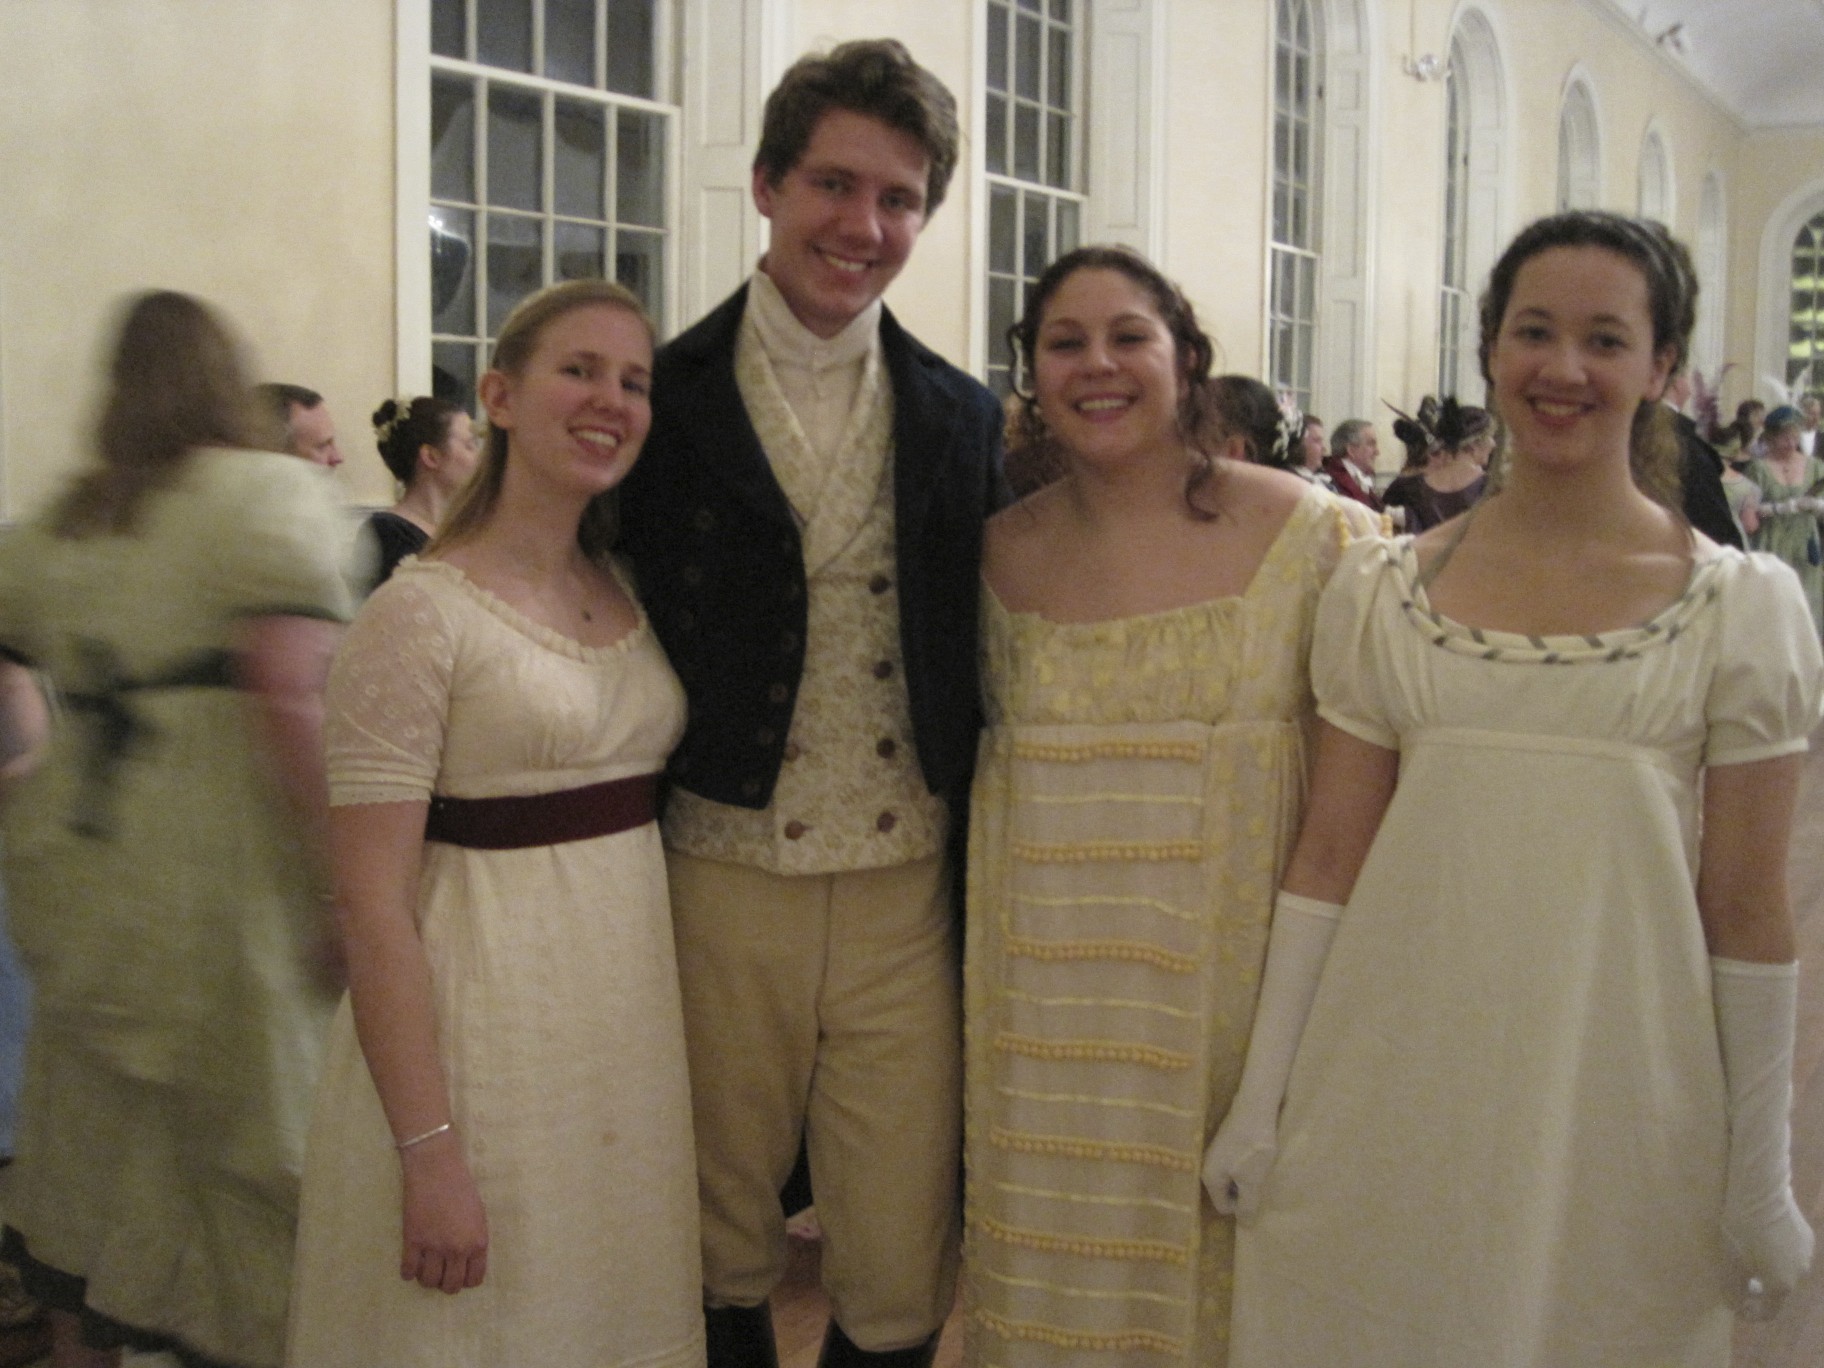
I’d decided months ago to attend the Dancing with the Dashwoods (Jane Austen period) Ball recently hosted by the Commonwealth Vintage Dancers; however, I was in a sticky spot about what to wear! I did not have a dress appropriate to the period of this ball and I really needed to focus on my tailoring project… what to do?!?

Well, I decided to spend just one day making a cotton Regency dress. I quickly adapted a pattern from Norah Waugh’s The Cut of Women’s Clothes: 1600-1930 to my size and decided to forgo the mockup step. Cutting out the fabric is my least favorite part of making garments, so I tried to make that part go as quickly as possible.
In an effort to simplify things, I included two petticoat layers in the dress itself and decided not to worry about finishing my seams on the inside. The bodice also has two extra layers inside of it to keep it opaque. Each piece (of three layers) was treated as one piece when I went to sew it.
All in all, the basic seams went quickly. What slowed me down and took about a third of my time on the dress were the finishing steps of completing the neck trim and putting closures on the back. The trim took a fair amount of time to pin, stitch, and thread through the ribbon loops, and the hook and thread loop closures took time because it was getting late at that point…
Fast-forward to the ball! I had the good fortune to be able to bring along friends as well! It was crowded but super fun to dance in period costume and a period hall! Enjoy the photos!


 I thought I would just quickly share with you this 1812 Tailcoat Pattern. You can find it in the pattern section of Wm. Booth, Draper. The pattern actually has a wider date range on it than strictly 1812: it is listed as a tailcoat pattern 1800-1820. This is the description: