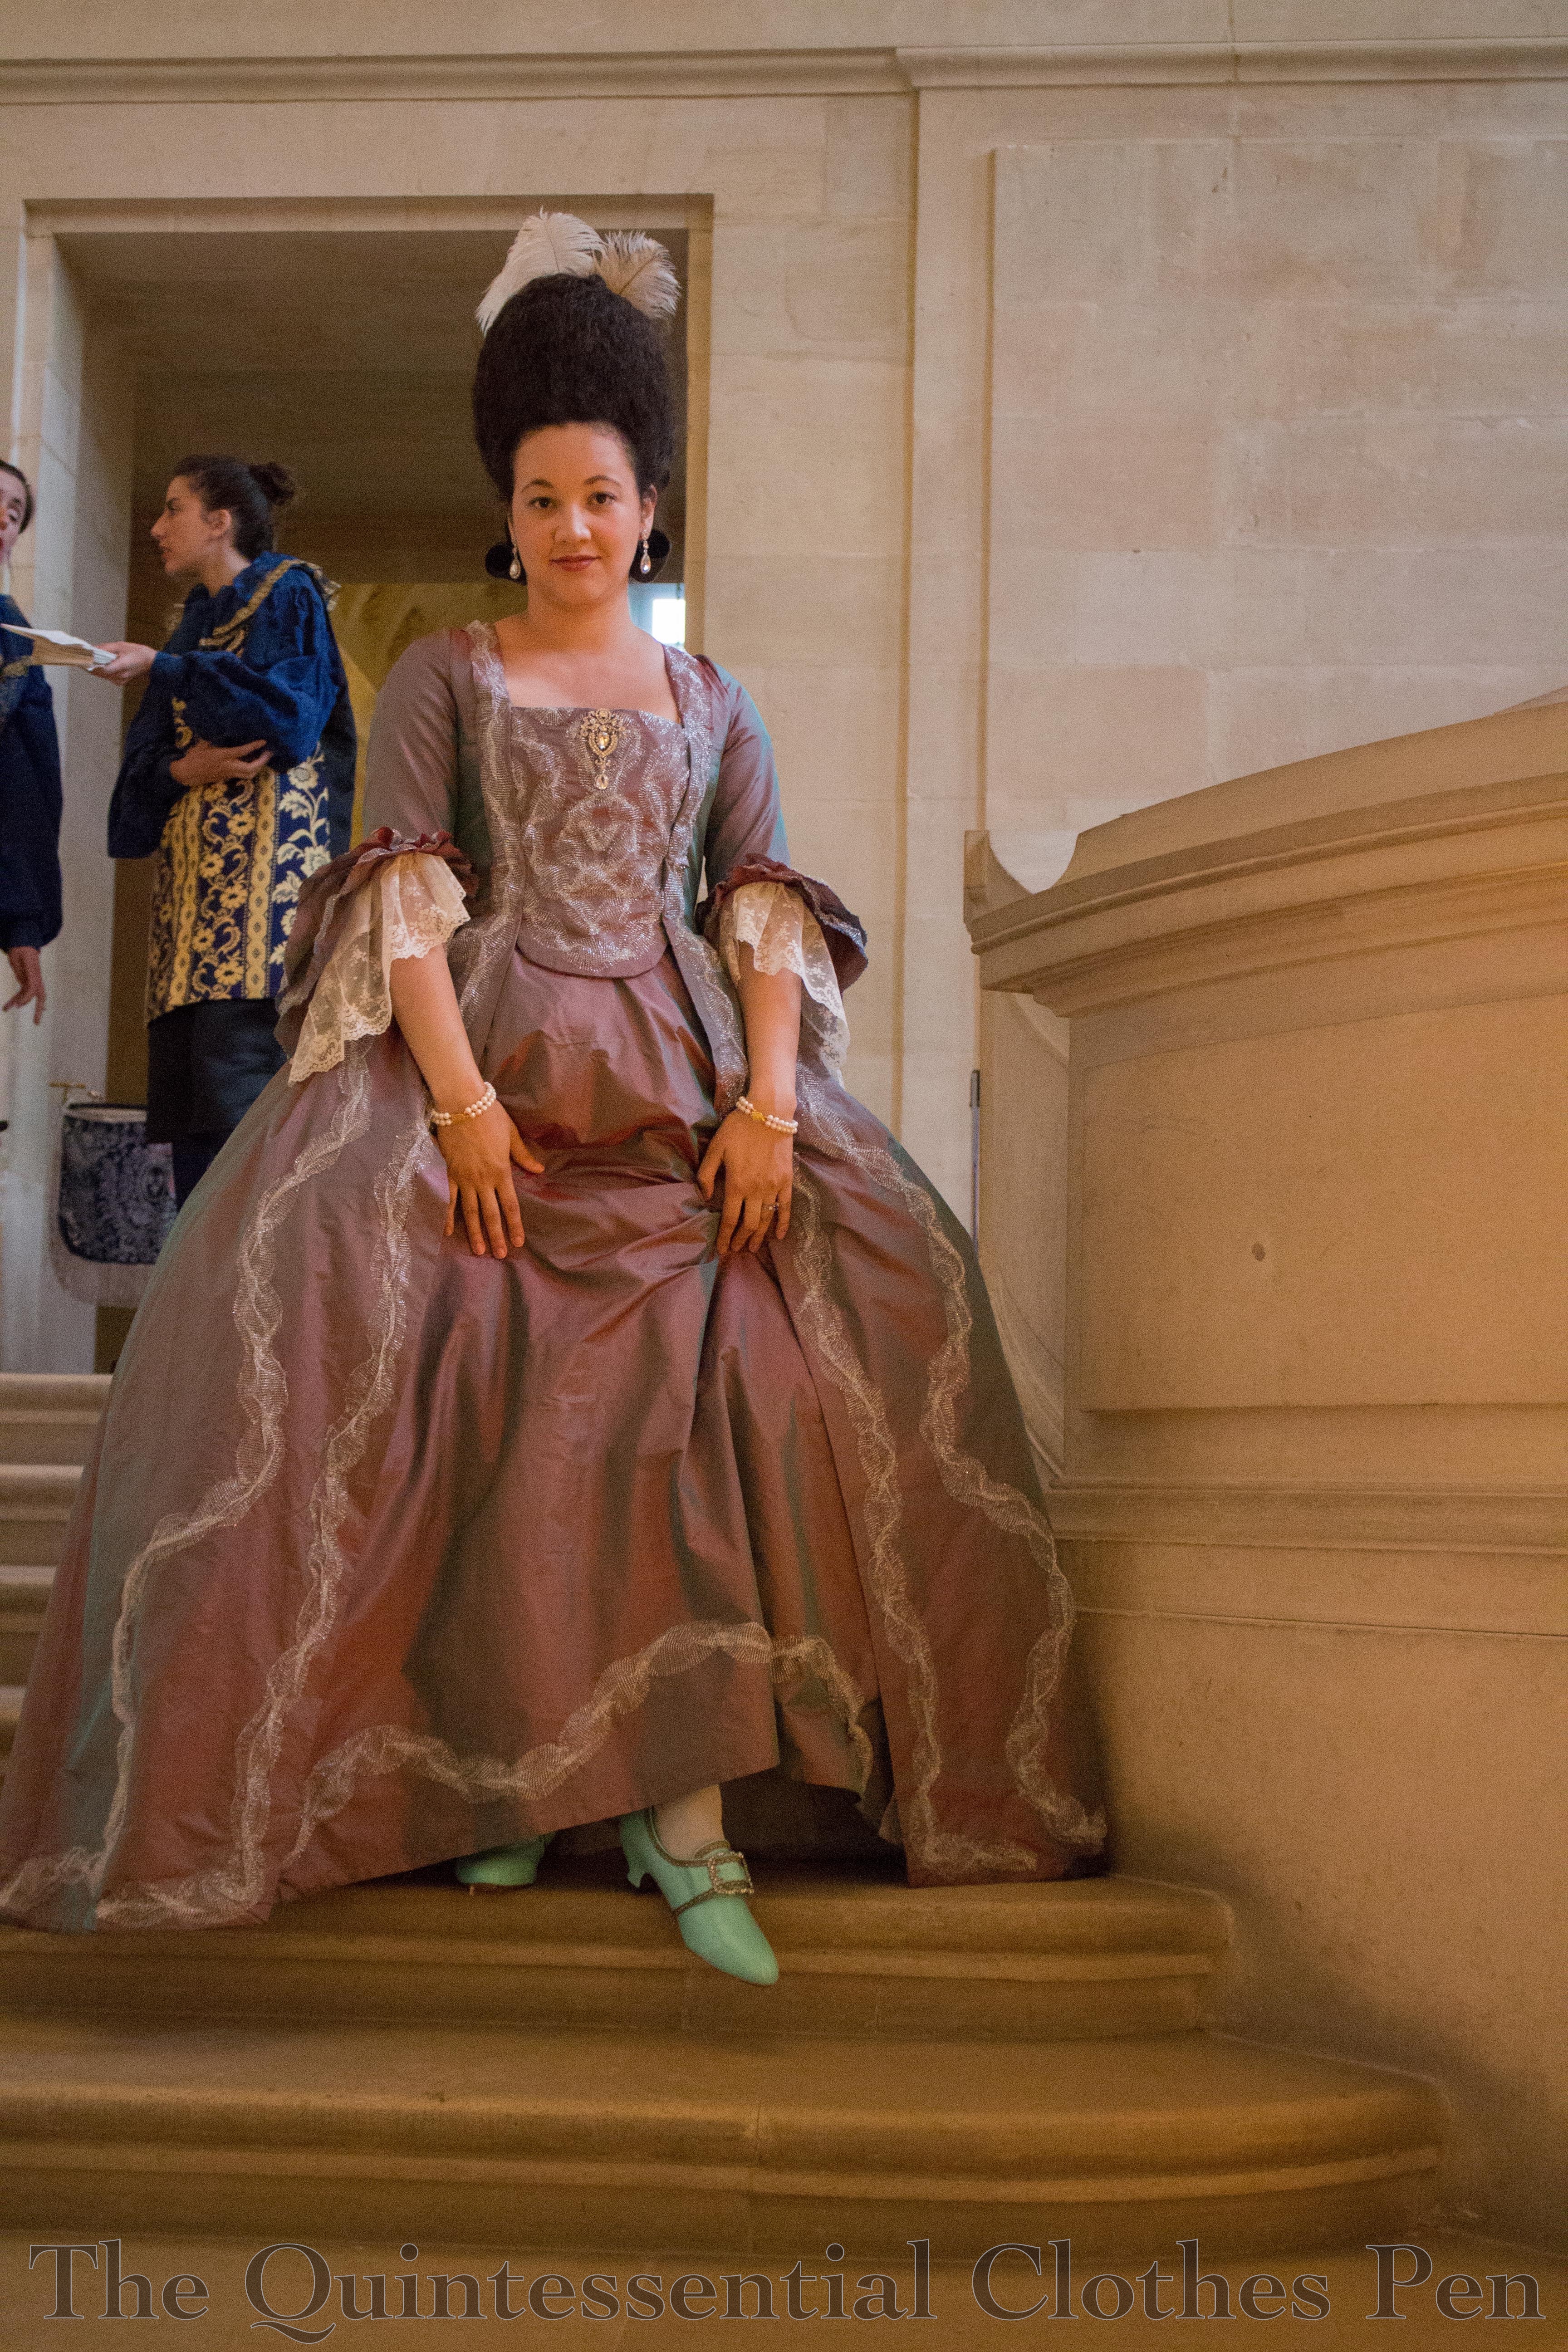
One of my goals for the second wearing of my Versailles sacque was to finish a small detail that didn’t make it into the first wearing back in 2016 (you can read about that exciting adventure in this past post). Below is a photo from that first exciting wearing of the dress. My new goal: to fill in the neckline of the dress with a bit of lace known as a ‘tucker’.
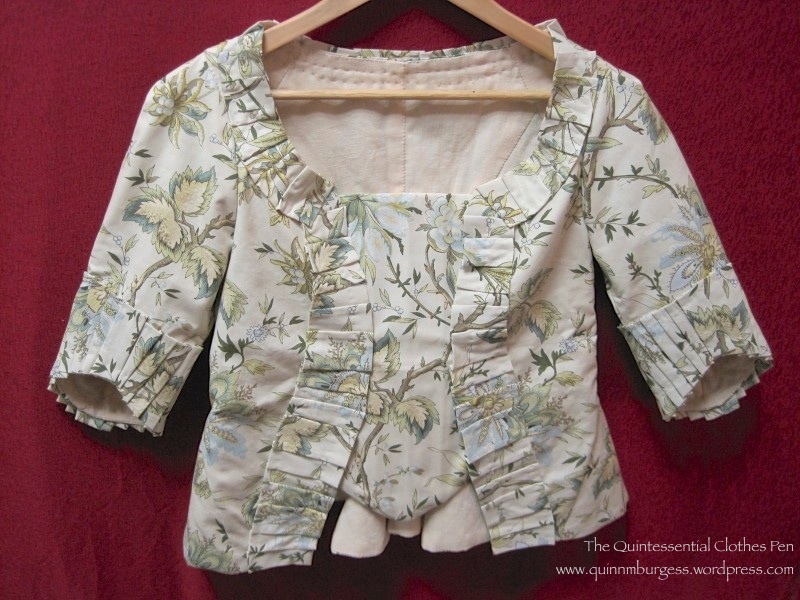
In addition, I also wanted to have a second tucker to complete the neckline of the new Yellow Sacque that I was working on.
Accordingly, over the summer of 2024 I dug around in my stash to find a suitable lace to use for these simple accessories. I came up with a 1 ⅞” wide lace that I’d purchased a roll of 100 yards of from Debs Lace and Trims. (I’ve purchased quite a quantity of lace from this shop over the last 15 years and have great things to say about it. I’ve never found better prices, which is excellent for historical projects that need large quantities of lace. I say that with no ulterior motives. I’m not affiliated with the store in any way!)
I followed the instructions on page 122 in The American Duchess Guide To 18th Century Dressmaking by Lauren Stowell and Abby Cox to make these two tuckers. They are exactly the same except that one is slightly longer (by 3″) than the other.

The ends of the lace are neatly hemmed, as you can see below.
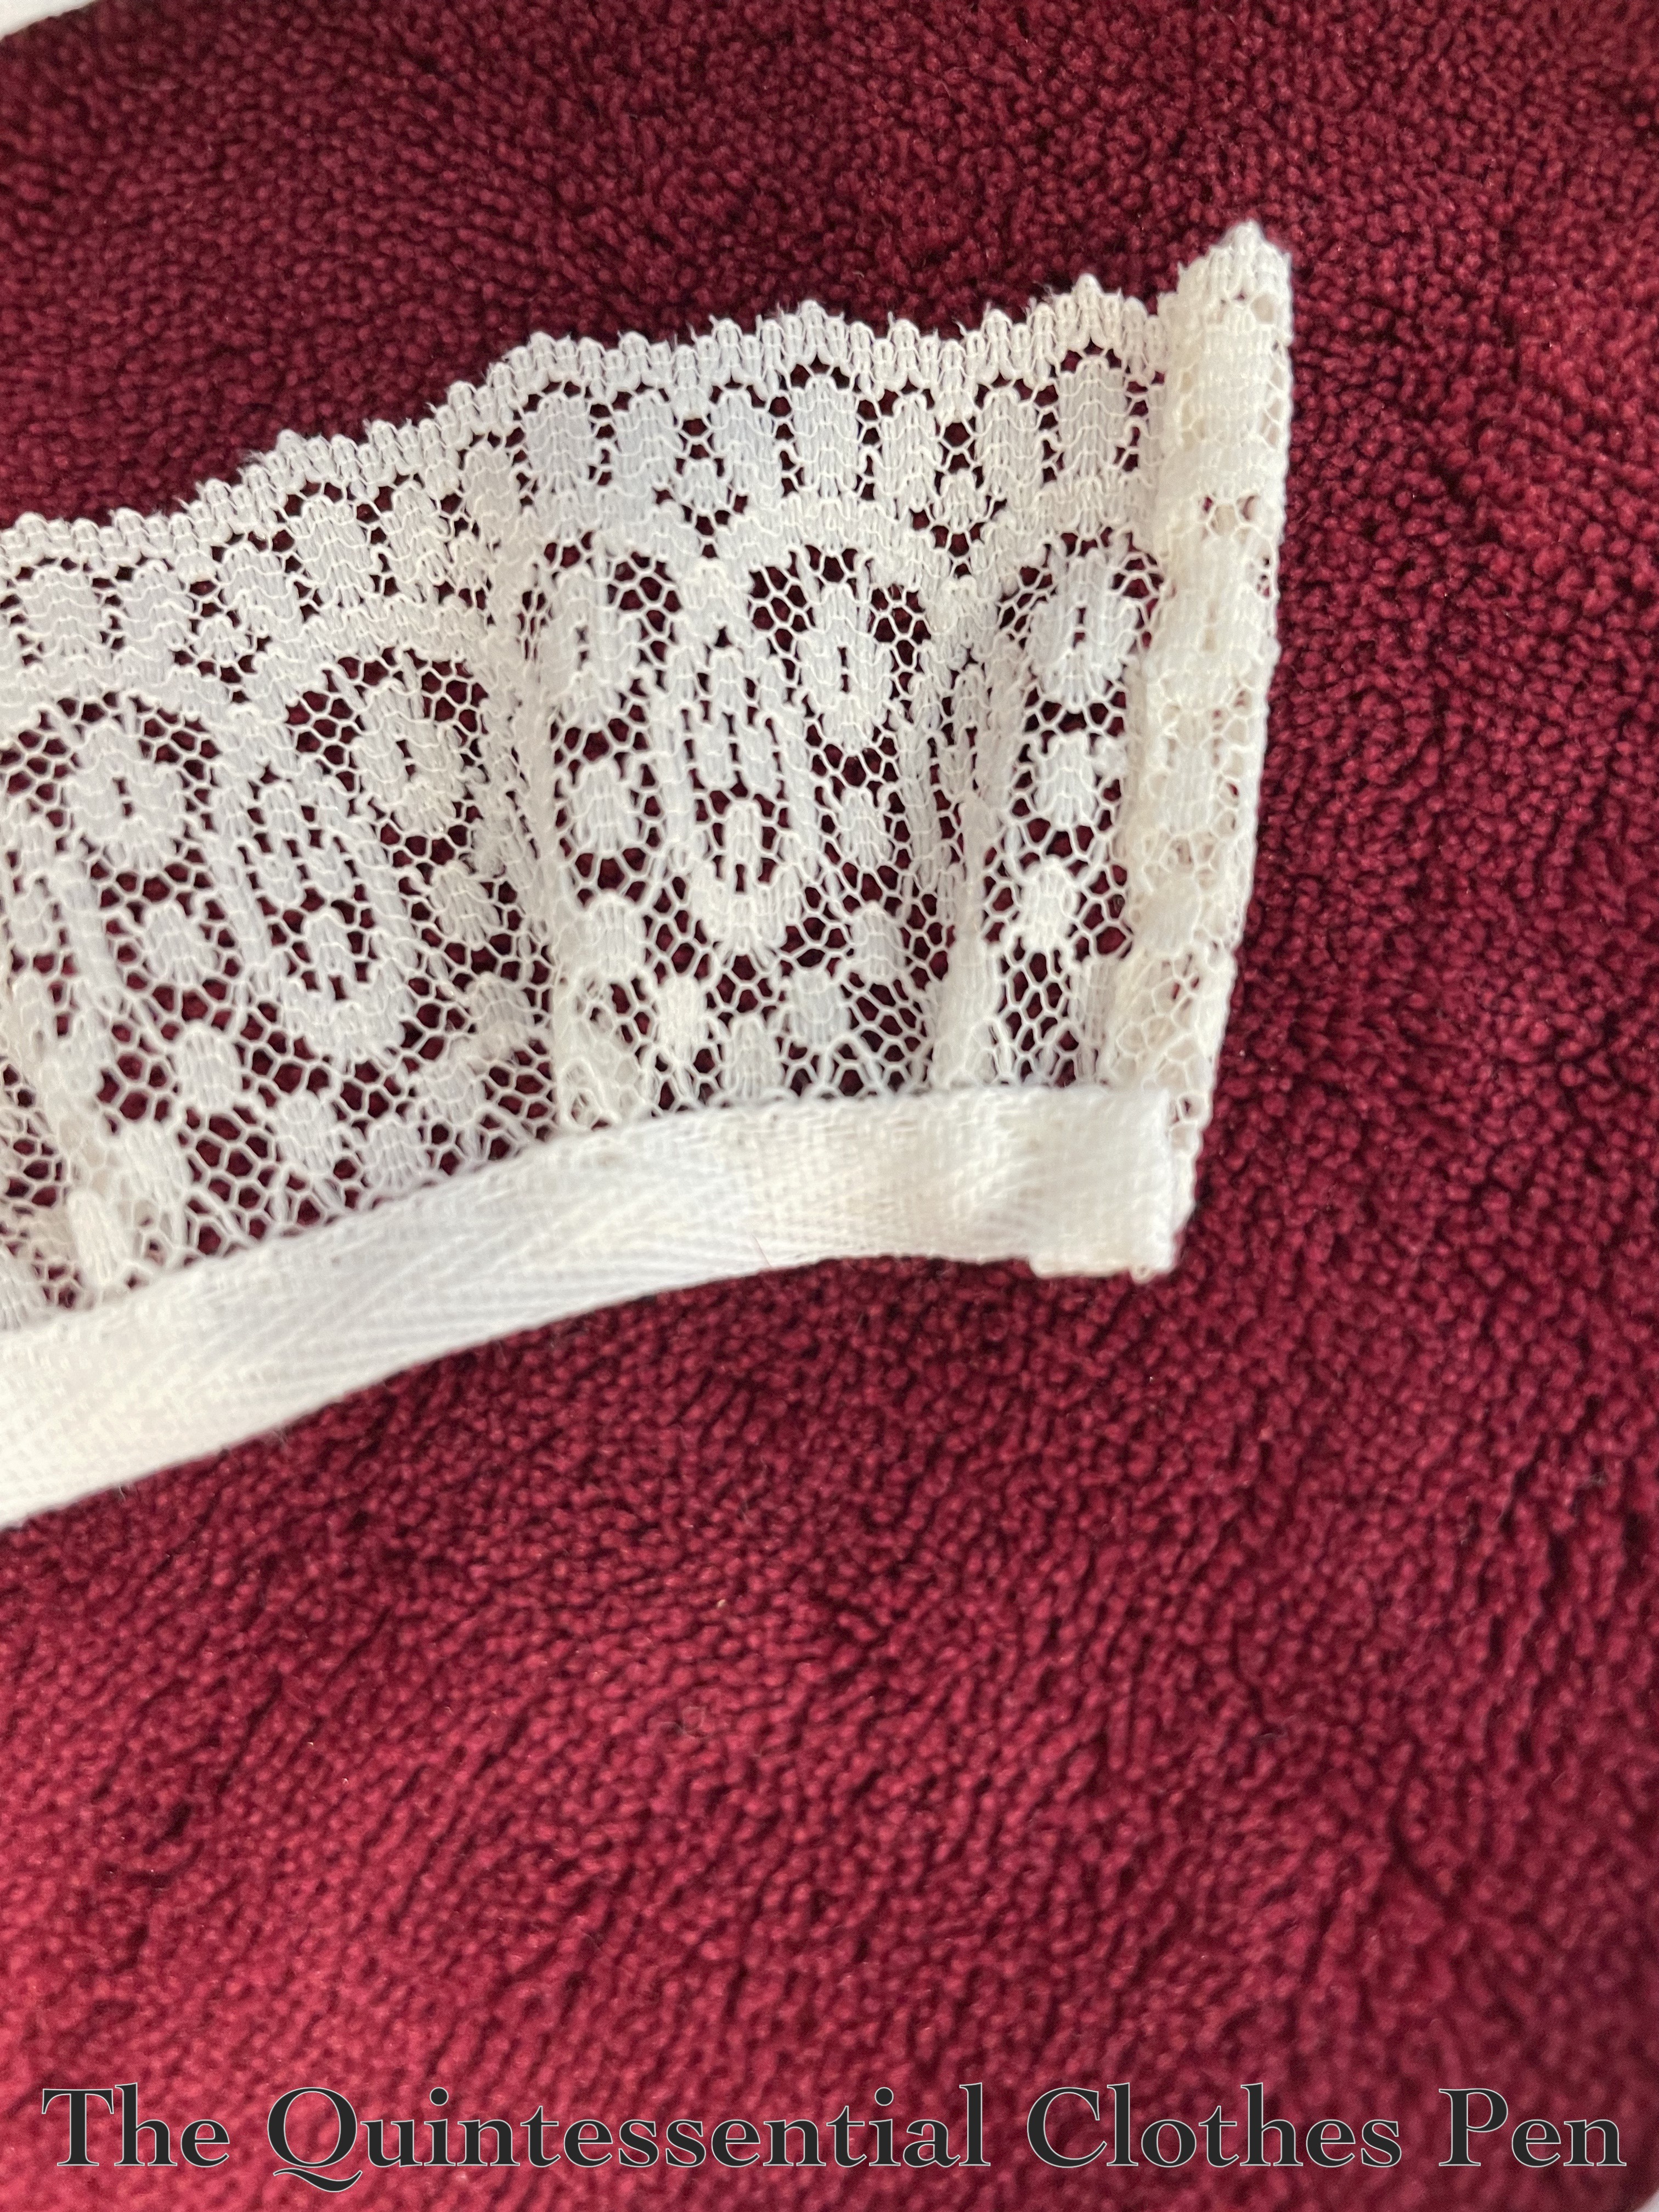
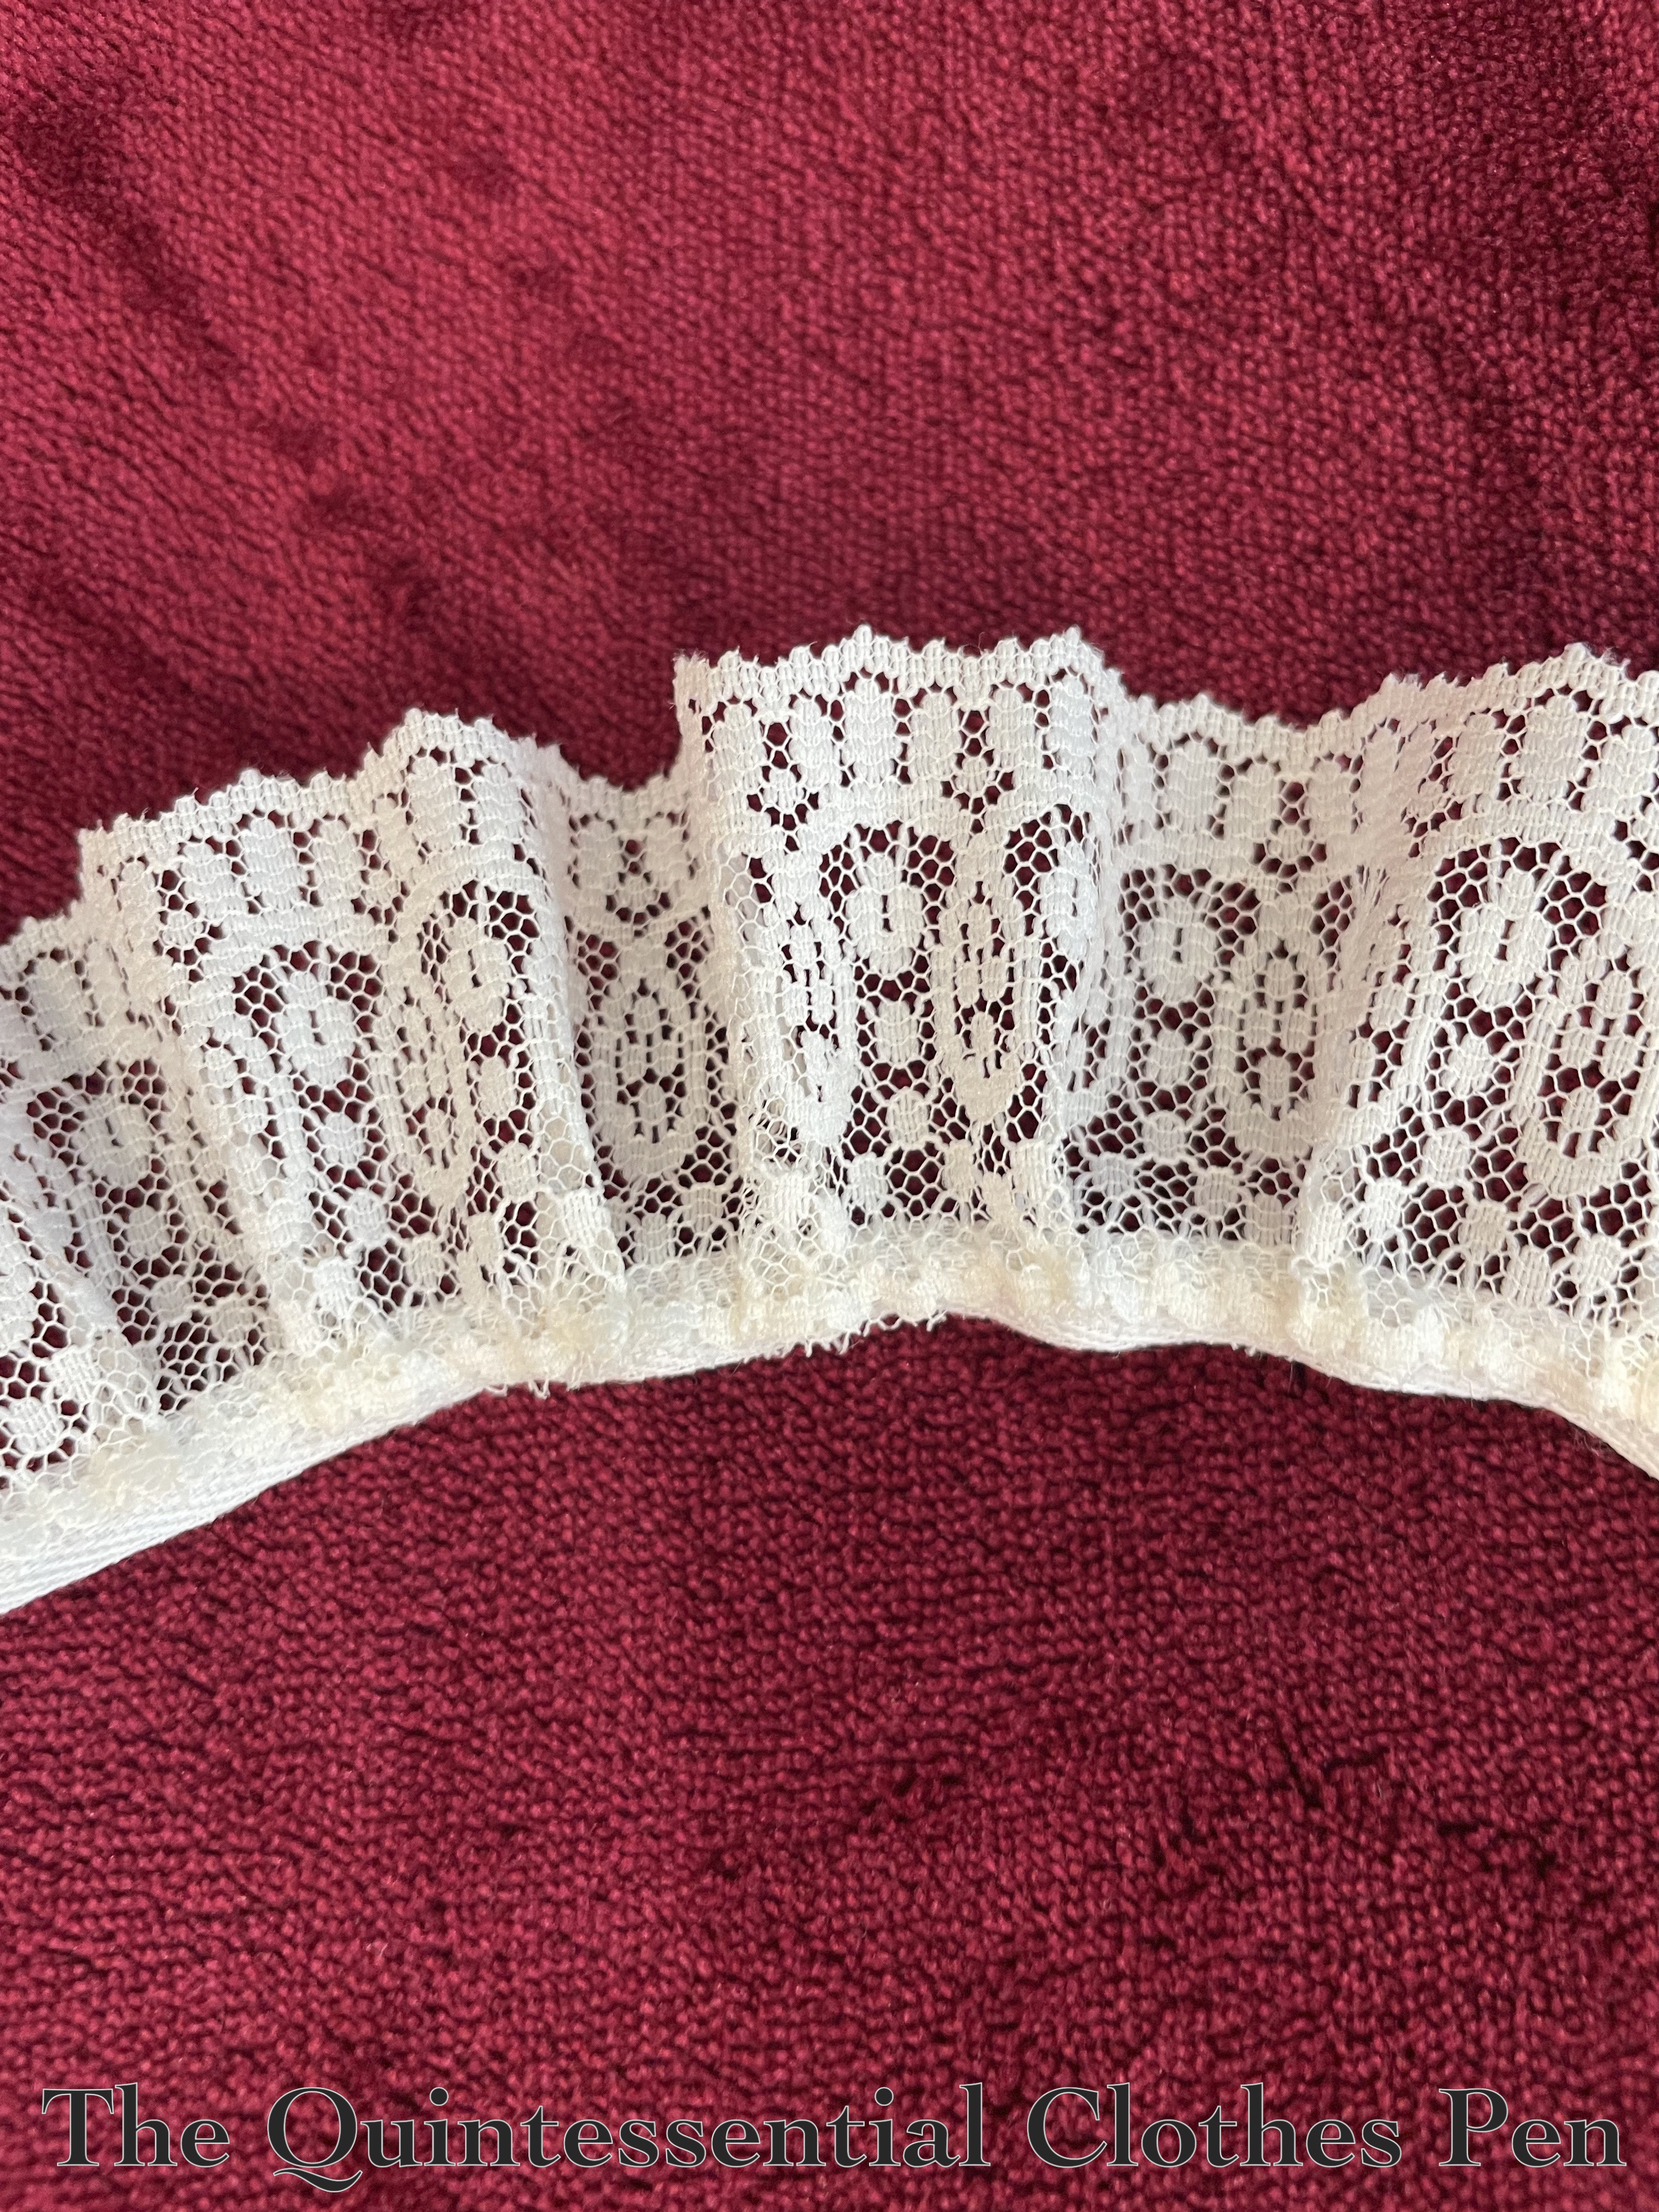
And the lace is whipped to a 1/4″ cotton twill tape, as you can see in the photo above as well as the one below.
And that’s it! This is my entry for the Historical Sew Monthly 2025 Challenge #6 Accessorize:
Accessories add polish to your outfits, helping to create the perfect historical look. Create the perfect period accessory for yourself.
Just the facts:
Fabric/Materials: Approximately 2 yards of 1 ⅞” wide lace (for each tucker).
Pattern: From The American Duchess Guide To 18th Century Dressmaking by Lauren Stowell and Abby Cox.
Year: c. 1770.
Notions: Approximately 1 ¼ yards of 1/4″ white cotton twill tape (for each tucker) and thread.
How historically accurate is it?: 90%. Entirely hand sewn, made from plausible looking materials, and using a pattern that is backed up by lots of research. I just give a little off for the fiber content of the lace and the use of ¼” cotton tape rather than ½” linen tape.
Hours to complete: About 1 hour per tucker.
First worn: October 5, 2024.
Total cost: Approximately $3, for both tuckers! The lace was just $0.10 per yard and the twill tape was also purchased in bulk — I probably only used about $1 or $2 worth.