

I haven’t posted about mask making on the blog. It’s felt as though doing so would sort of confirm the situation of wearing them. Ignorance is bliss, right? Or something?
Last weekend, I was going skiing and finally decided that the masks I’d been using weren’t going to cut it for that activity. Instead, I made new gaiter style ones!
I made my new gaiter masks from old t shirts in the spirit of recycling, extending the use of clothing I already own, and using what I had on hand. I was excited, took photos of my process, and wanted to share them, hence the inspiration for finally sharing about mask making.
Gaiter masks made from old t shirts!
The (Rather Lengthy) Background
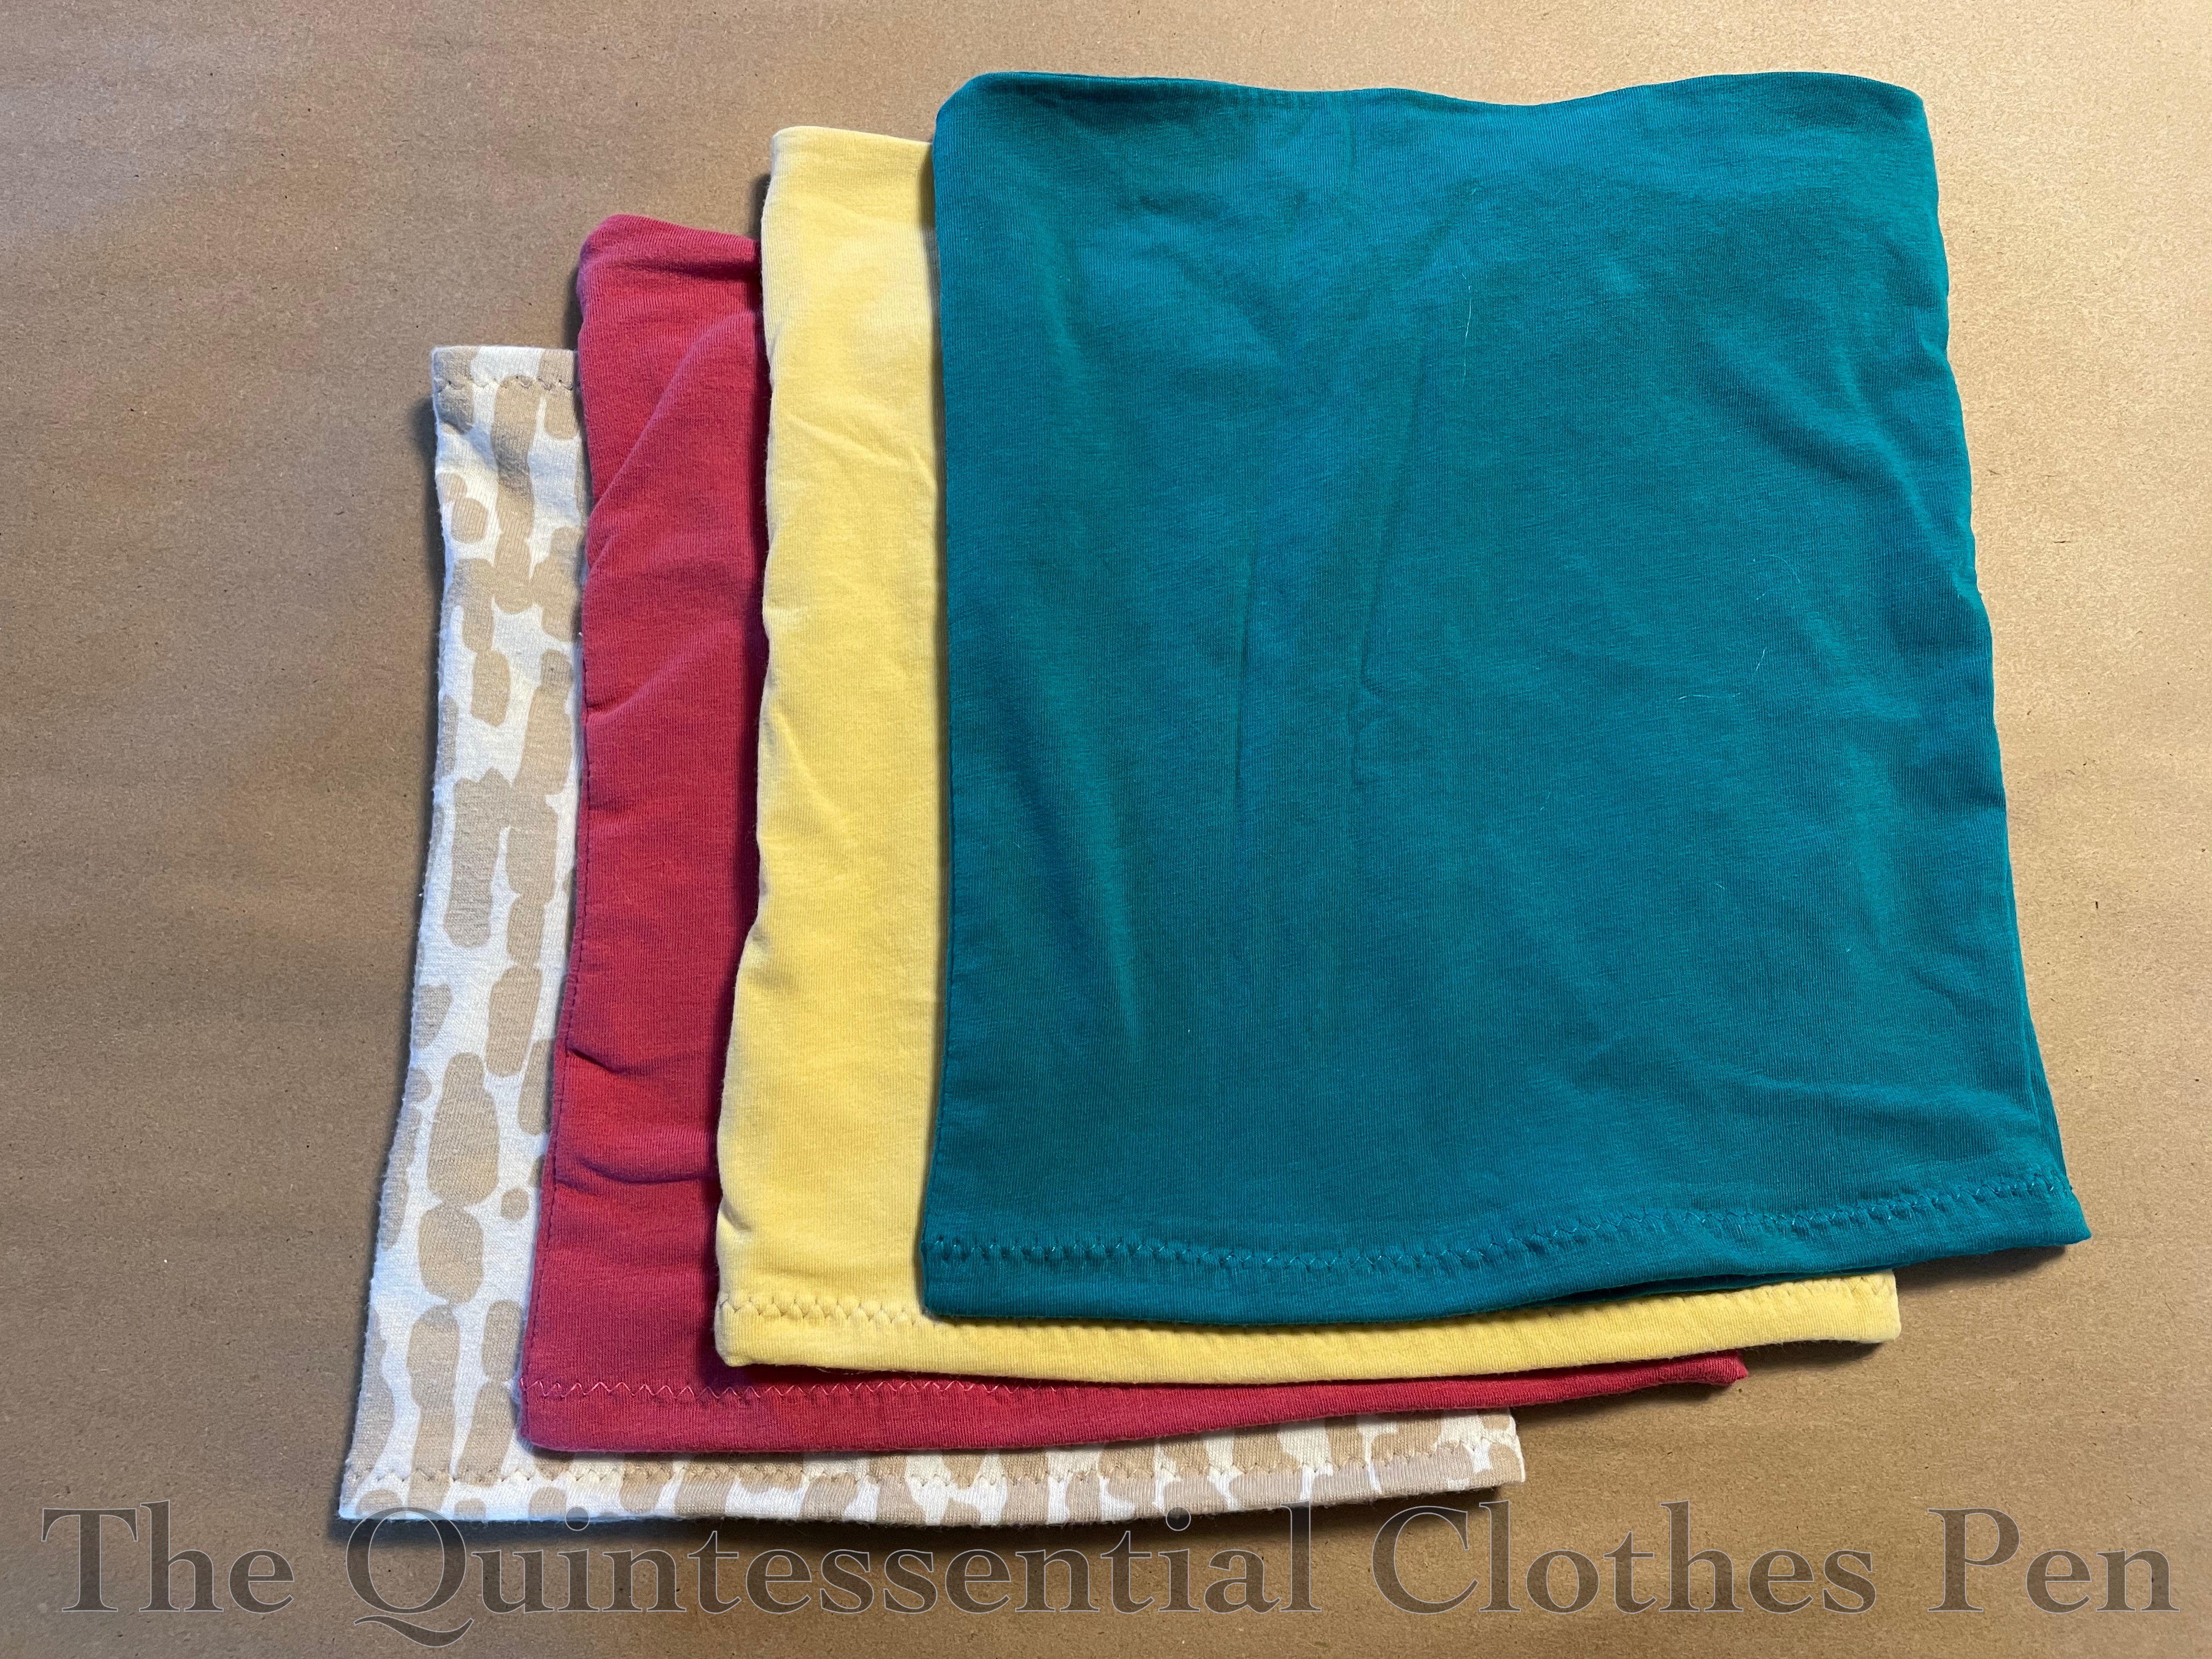
I’ve made it through the last 9 months using self-made masks with ties. Here’s a colorful assortment of my masks, made from cotton scraps of old projects, random fat quarters I had in my stash, and old sheets for most of the ties. Recycling again!
I have very few subtle masks… I made enough to wear them every day and still be able to launder them no more than every few weeks. This is only a sampling!

I have a single mask that has elastic (made specifically to match my 1834 yellow dress, because tying a mask on with 1830s hair and a bonnet just did not seem feasible!). My preference for masks with ties come from the fact that I wear glasses most of the time and don’t like the feeling of more things behind my ears. Also, it’s nice that the lower ties can double as a neck cord when needed, such as when I’m driving between errands.
But for skiing, a tie mask with a helmet was just not going to work for me. I don’t even think the ties are long enough to go over a helmet. And ties under the helmet? It would be a pain to adjust, so I wasn’t inclined to do that, either. I’ve seen people wearing the gaiter style masks for months, especially for physical activities, but I don’t like the idea of breathing through polyester and I’ve been stubborn about wearing the masks I had already made.
In my mulling over the idea of a gaiter style mask, I realized I could make my own, to whatever specifications I want! However, I didn’t have fabric yardage easily accessible that was stretchy. But then I had the thought that my donation pile had a number of t shirts that no longer fit… and that recycling them into gaiters would be a wonderful way to keep their life going!
So, without further ado… a tutorial!
The Tutorial
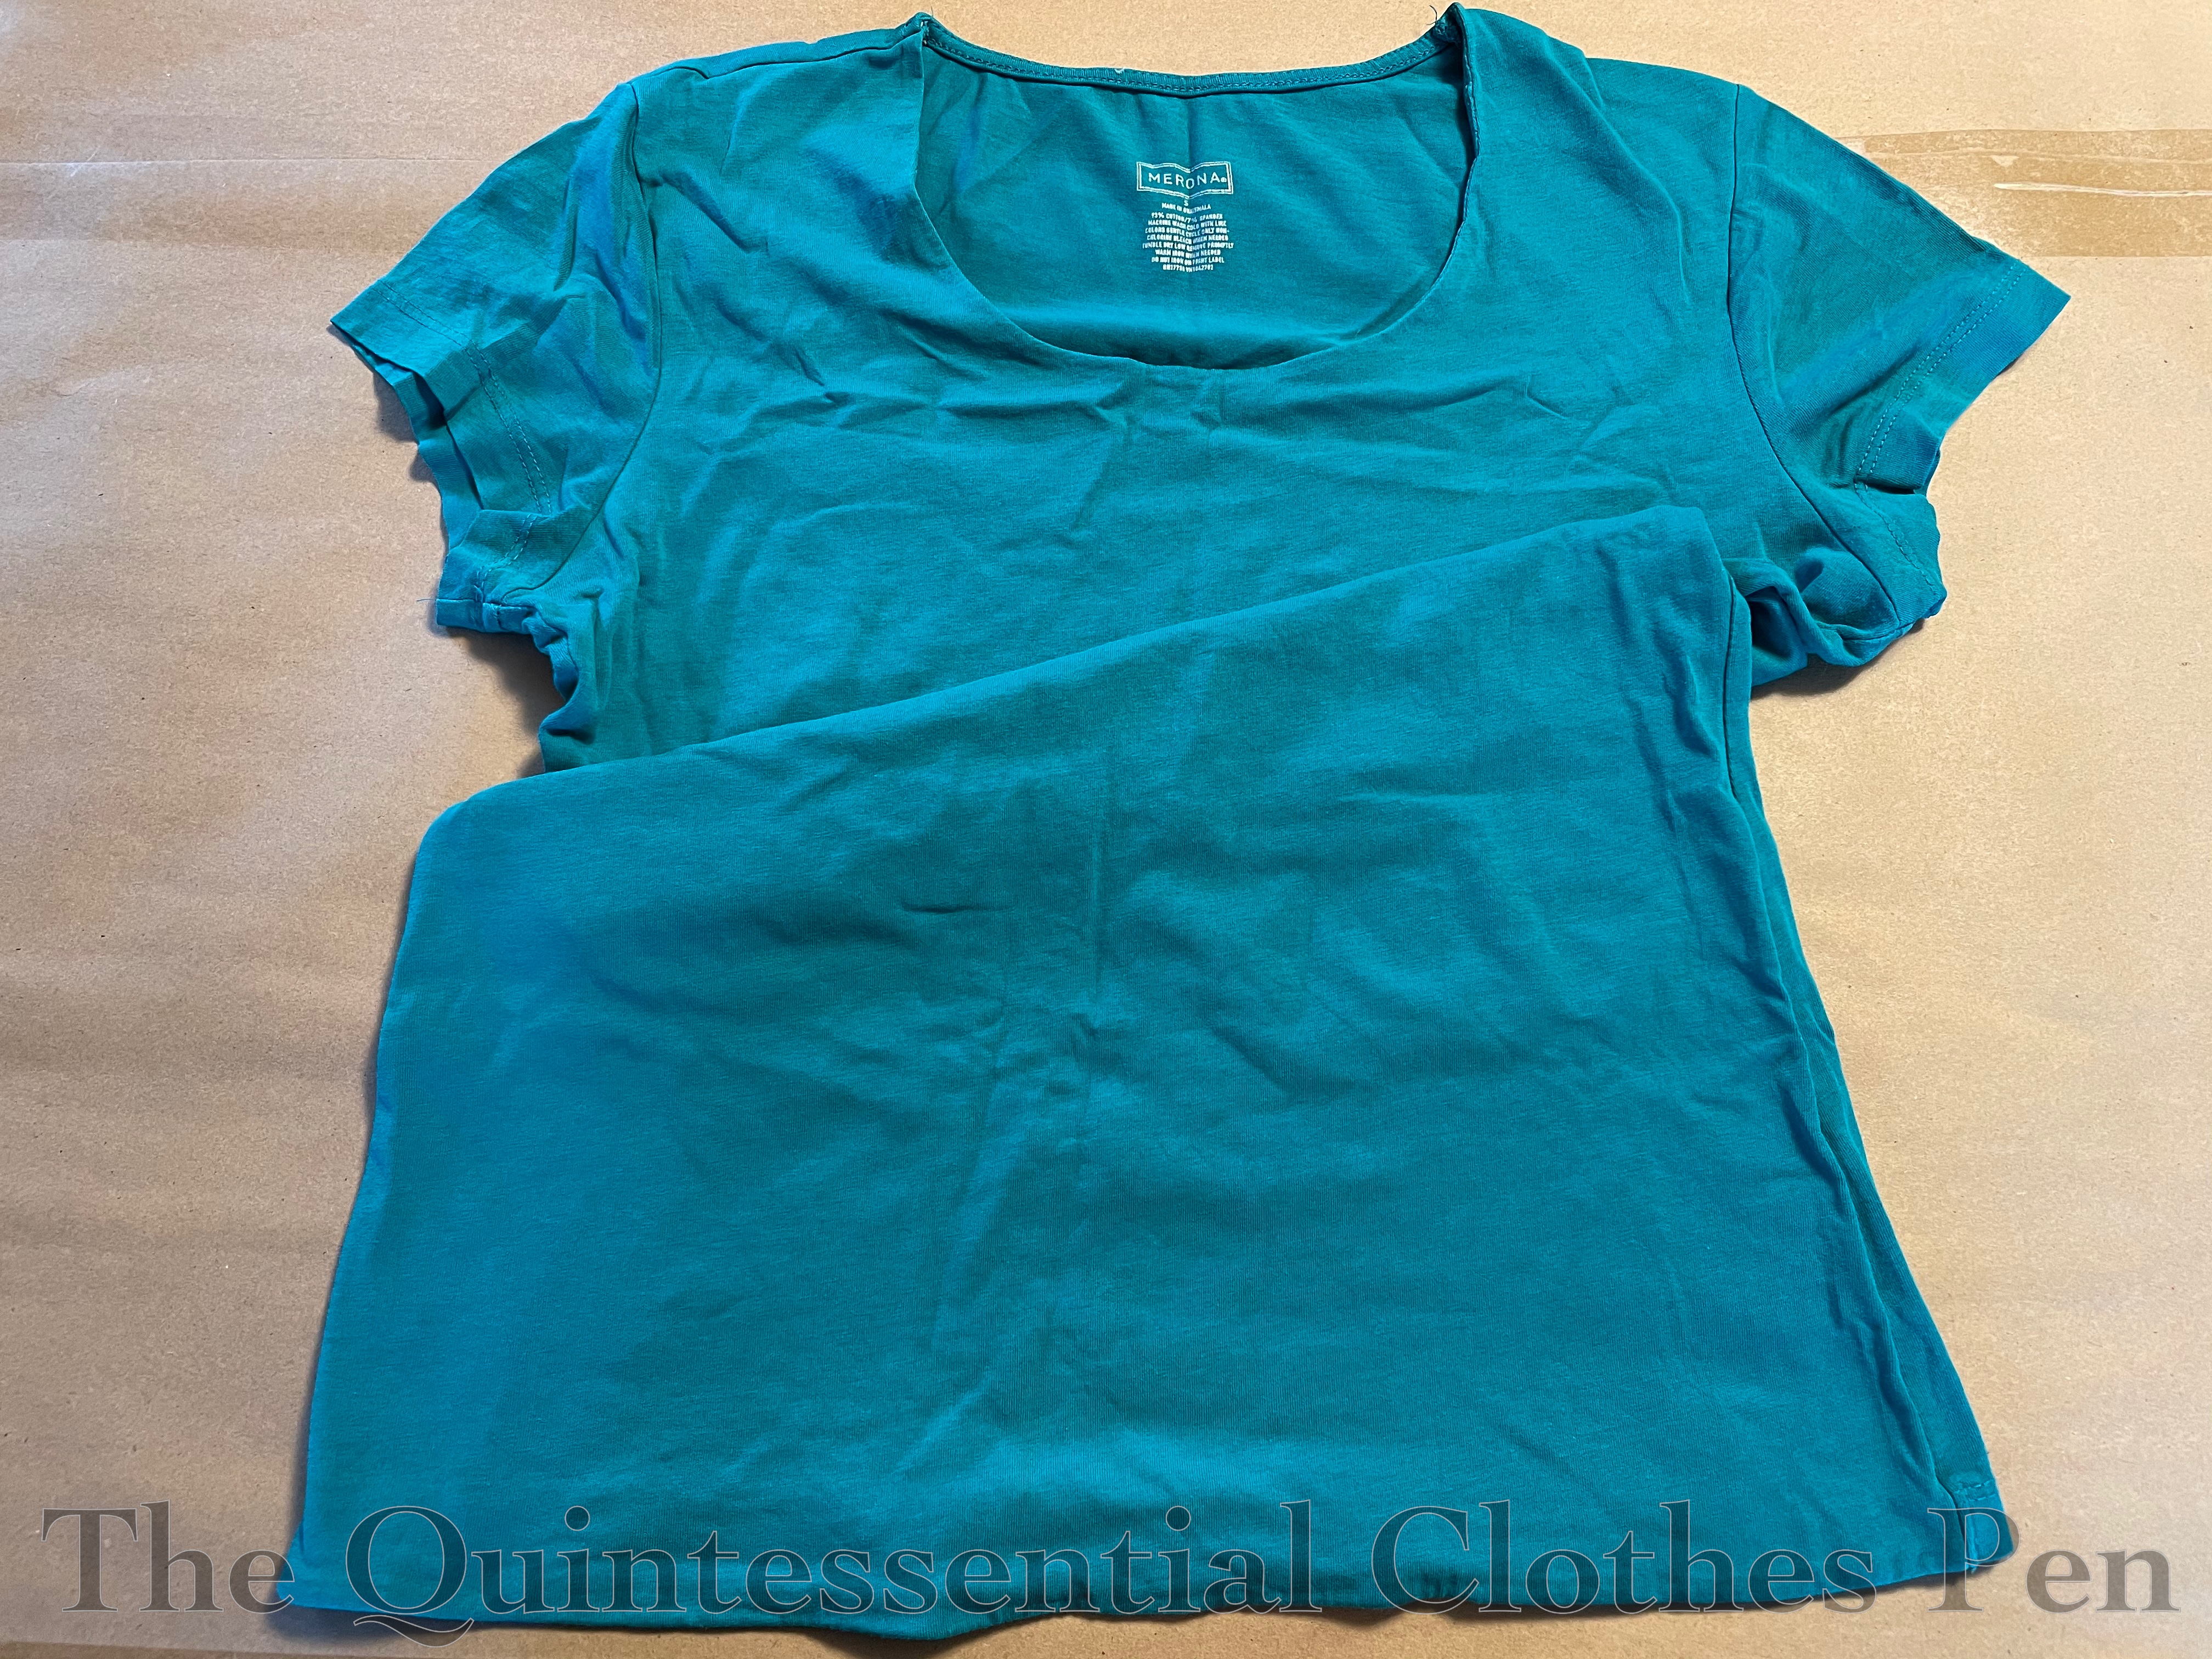
I started by laying one of the old t shirts out on my table. I smoothed out the layers, but didn’t worry too much about it being perfect. It’s a knit that’s been folded for quite awhile, so there were some wrinkles to contend with, as you can see.
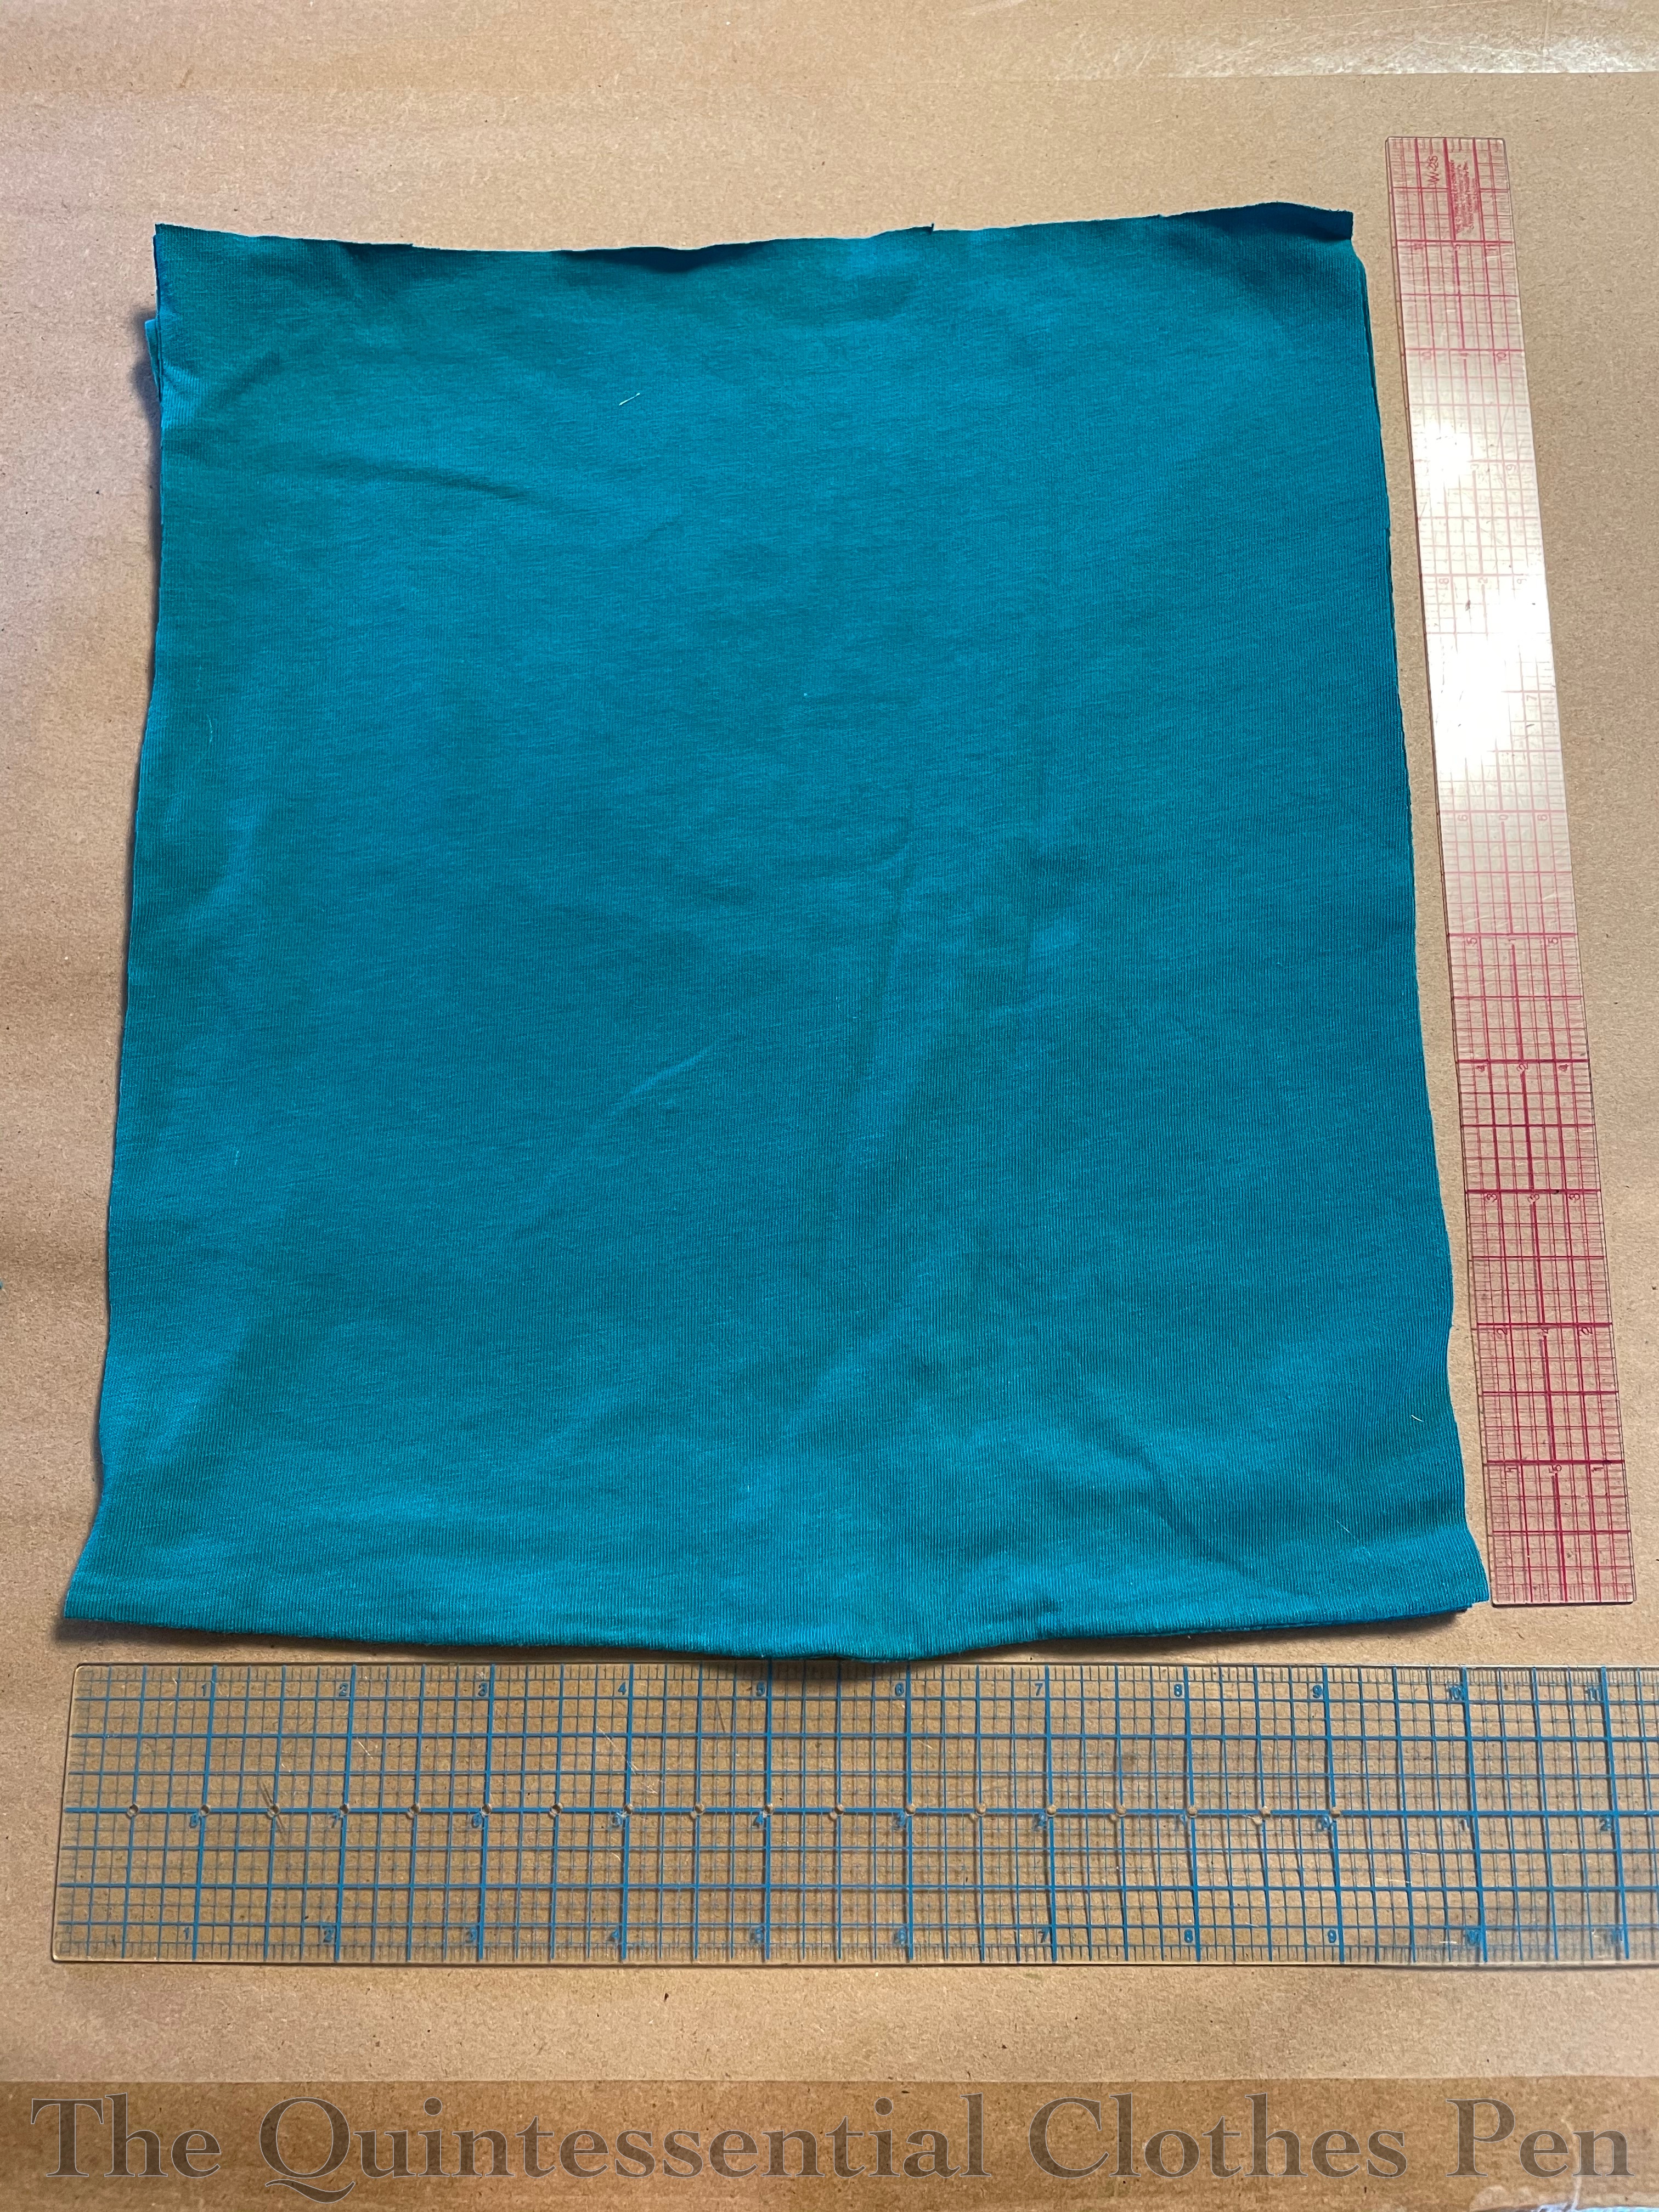
I measured a rectangle 10″ wide by 11″ tall and cut through both layers of the shirt at the same time, leaving me with what you see below, as well as an oddly shaped scrap I’ll keep that and see what other creative uses for it I can come up with! (If you have a small-ish or large-ish head, or a t shirt that is really stretchy or really not-stretchy, you might need to adjust the measurements.)
Finishing the gaiter mask is much faster and easier if the bottom edges of the rectangles use the finished bottom edges of the t shirt as the ‘cut edge’. That means not cutting anything off that side!
Pin the vertical edges right sides together and stitch them with a straight stitch on the machine using ¼” seam allowances. (You can use a straight stitch because you’re not trying to preserve vertical stretch.)
Here’s what my gaiter looked like after sewing the sides. The fabric should make a tube!
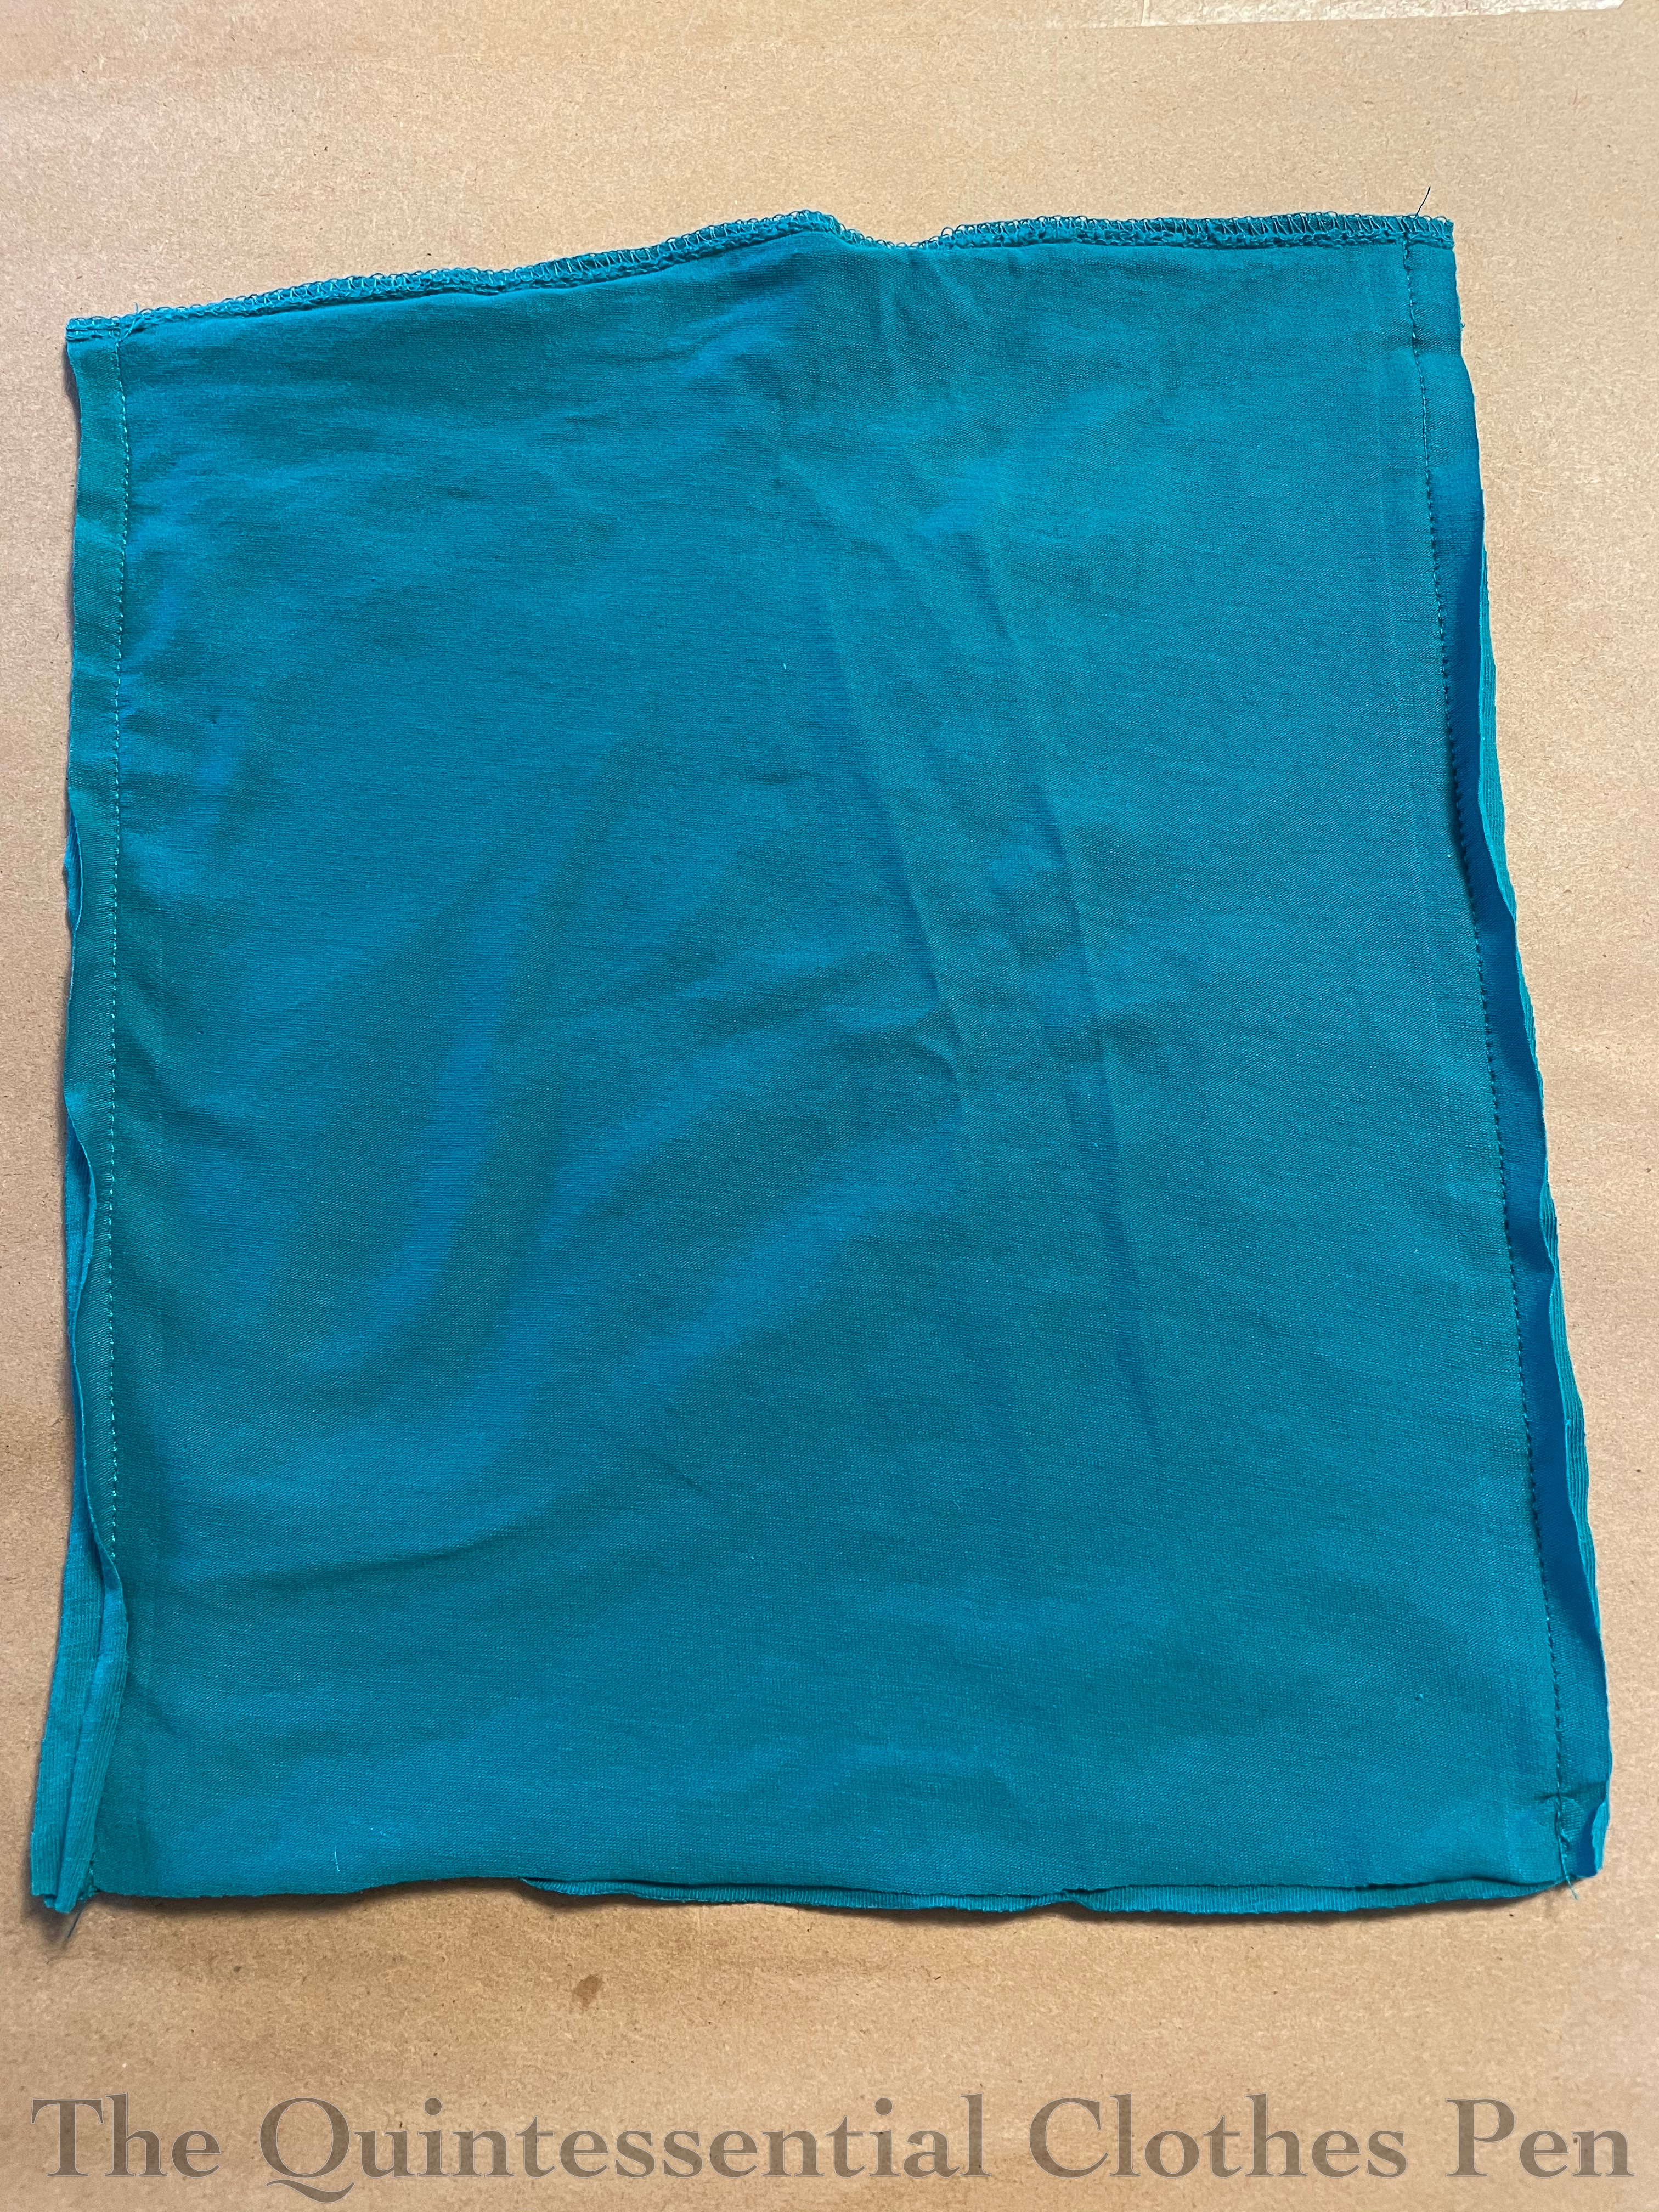
Once turned right side out it should look something like the photo below. If you’ve used the finished t shirt edge for one side then you’re close to being done!
In my case, the t shirt I used was two layers of fabric in the front, which is why the left and right sides of the top edge in the photo below aren’t finished in the same way–they weren’t on the original t shirt either. The two layers allowed me to seam the vertical seams in a way that encased the raw edges between the double layer side of the mask. Nice!

But most t shirts are not two layers in the front, so how to finish those raw edges of the seam allowance? They won’t fray, because the fabric is knit, but if you don’t want them flapping around you can flat fell them using a zig zag stitch.
The tan and white gaiter mask below is halfway through having the seam allowances flat felled. I’ve pushed all the layers of seam allowance to one side and am using the machine to zig zag over the cut edges. It’s a little tricky to make sure that only the part you’re intending to sew gets under the presser foot of the machine, but going slowly and checking where all the layers are makes it completely do-able. (I had enough of the tan and white fabric to make this whole mask double layer, but not all t shirts have enough fabric to make that possible.)

Here is what that looks like when finished. (This gaiter also has a hem already, which is the next step!)

Finishing the top and/or bottom edges of the tube is the last step!
In the tan and white example above, the edges are already finished because I used two layers of fabric and turned them right side out before stitching the sides. To keep the layers in place I zig zag stitched near the top and bottom edges through both layers as a final step. (I used a zig zag so that the stitches would allow the fabric to stretch without breaking the thread.)
Back to the teal example we’ve been looking at, I simply folded up the raw edge of the fabric and top stitched over the edge with a zig zag (in the same way as for the seam allowance finish on the tan and white example). I used ½” seam allowance for the top and bottom edges. It looks like this when complete!

And that’s it! Each gaiter took me about 30 minutes to make.
Final Assessment
I wore the teal gaiter while skiing! I don’t plan to wear these every day, but for that purpose the gaiter style was great!
I did find that it tended to slip down as it absorbed the moisture of my breath, in combination with the head movement required to check behind me, etc. while skiing. Due to this, I had to pull it up somewhat regularly. I eventually tucked it into my helmet a little better and that made it stay in place. Another solution would be to take tucks in the sides to make the top circumference smaller. Or, perhaps, for next time (or for you!), make each rectangle ½” smaller across (so only 9.5″ instead of 10″) to make the gaiter a little more fitted.
The two layers of fabric on the front of my gaiter felt thick enough for virus protection while still easy to breath through. All that condensation made for a pretty damp mask after a few hours though… It was fine while I was out in the cold, but after taking it off in the car on the way home I had no desire to put it on again without a wash (though that’s true with any mask, regardless of the style)!
Whether this inspires you to make a gaiter mask or not, I hope my t shirt recycling inspires you to also consider recycling textiles (or other materials) in some way… perhaps in a way you hadn’t considered before!
