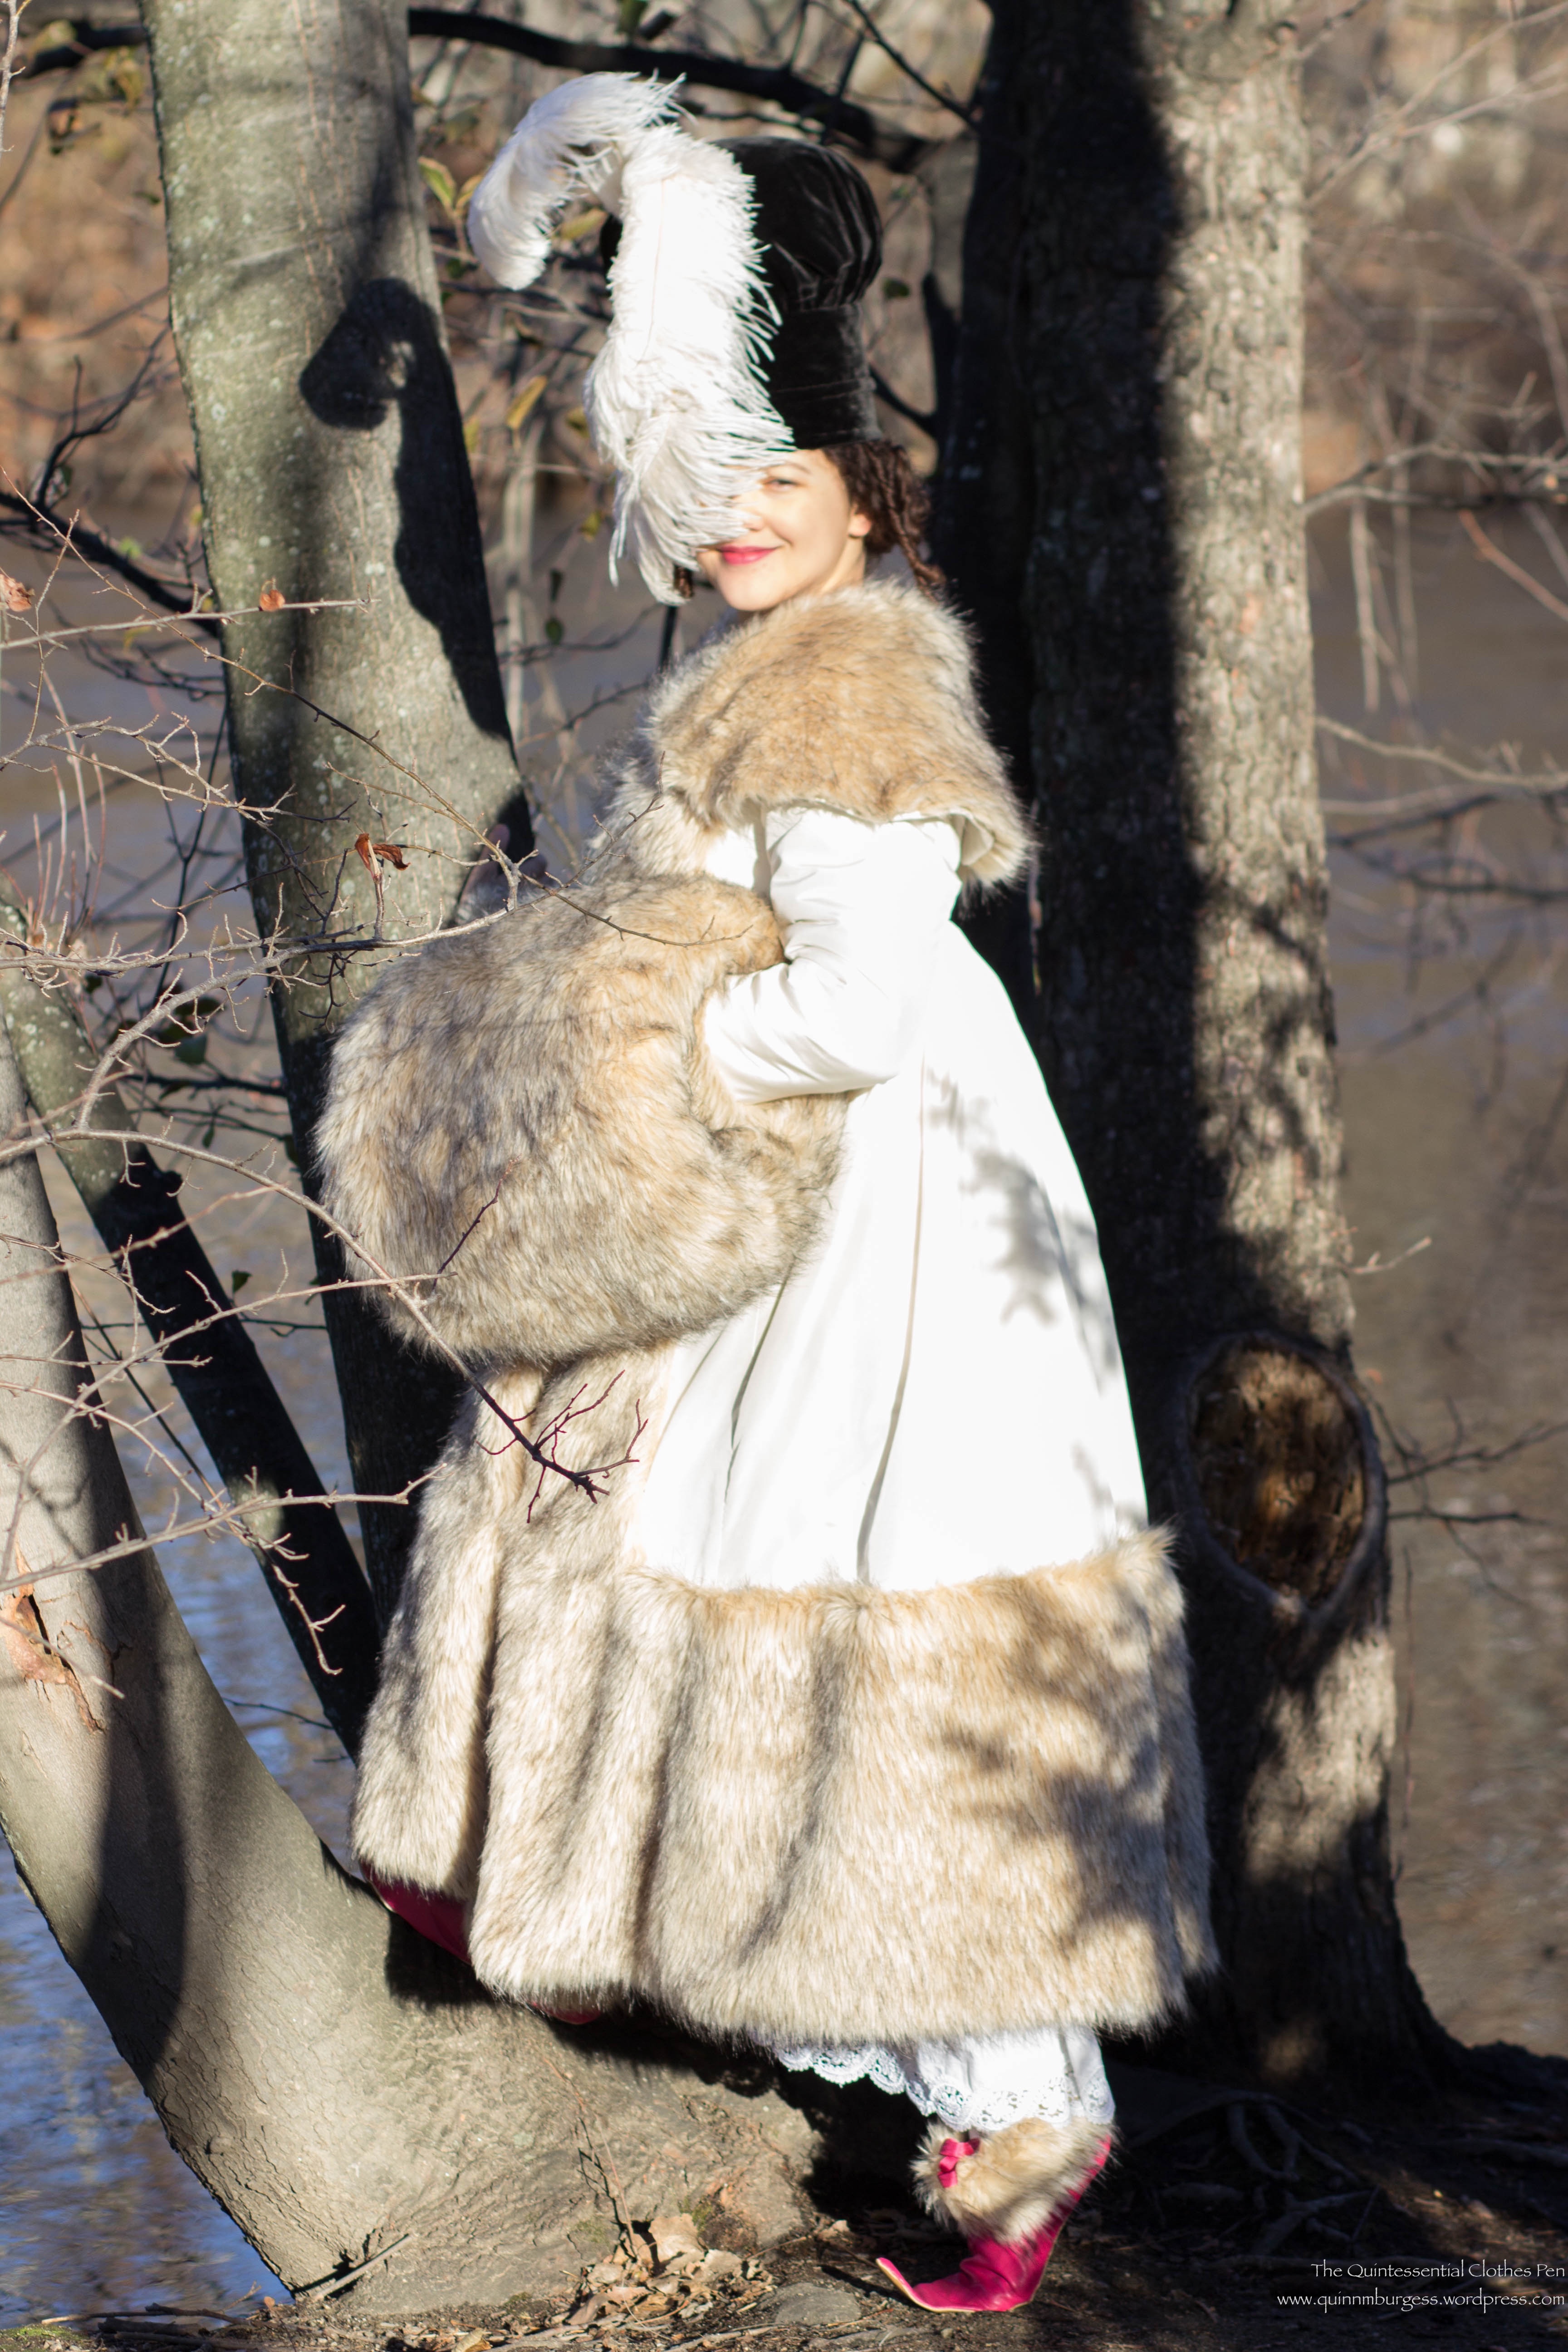
After the many coats of paint I shared about already, there was one final coat that I convinced myself had to be the last because I needed to move on and finish decorating my Kensingtons. After that I went ahead and put on a matte acrylic finisher as suggested by Lauren at American Duchess. I then made the holes for my buckles using this tutorial also from American Duchess. The shoe buckle tutorial was invaluable and made the process incredibly easy!

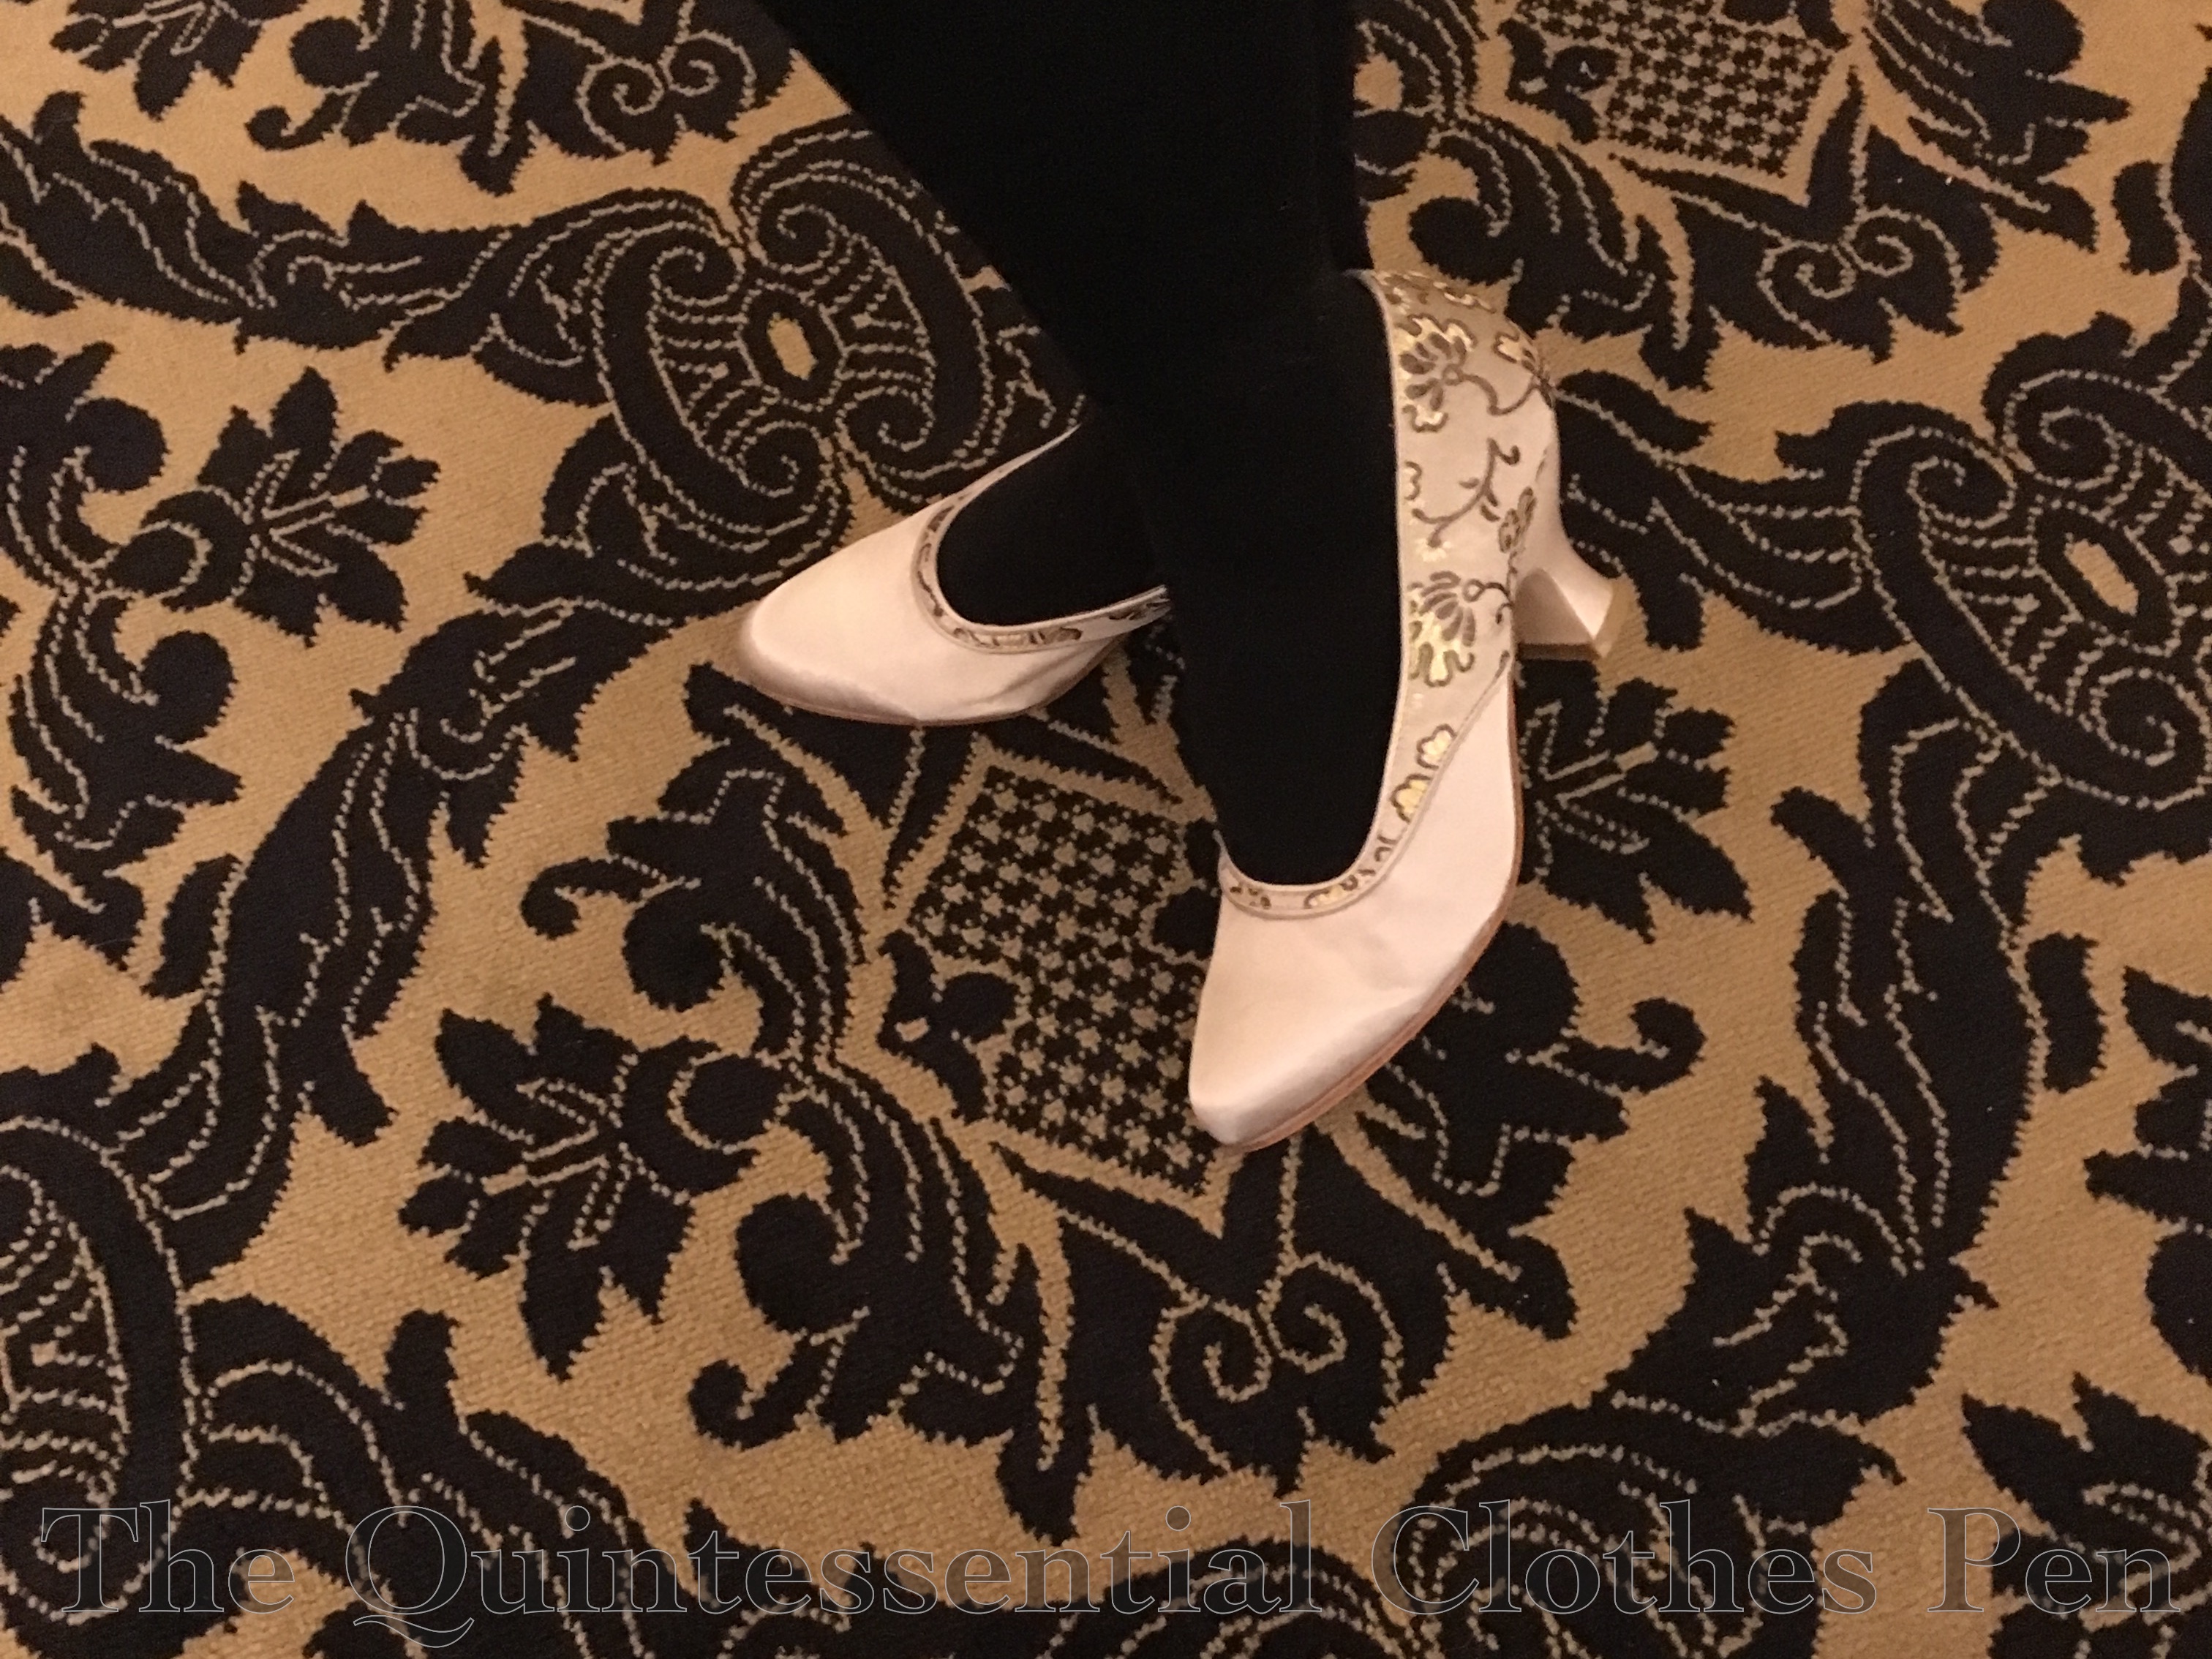
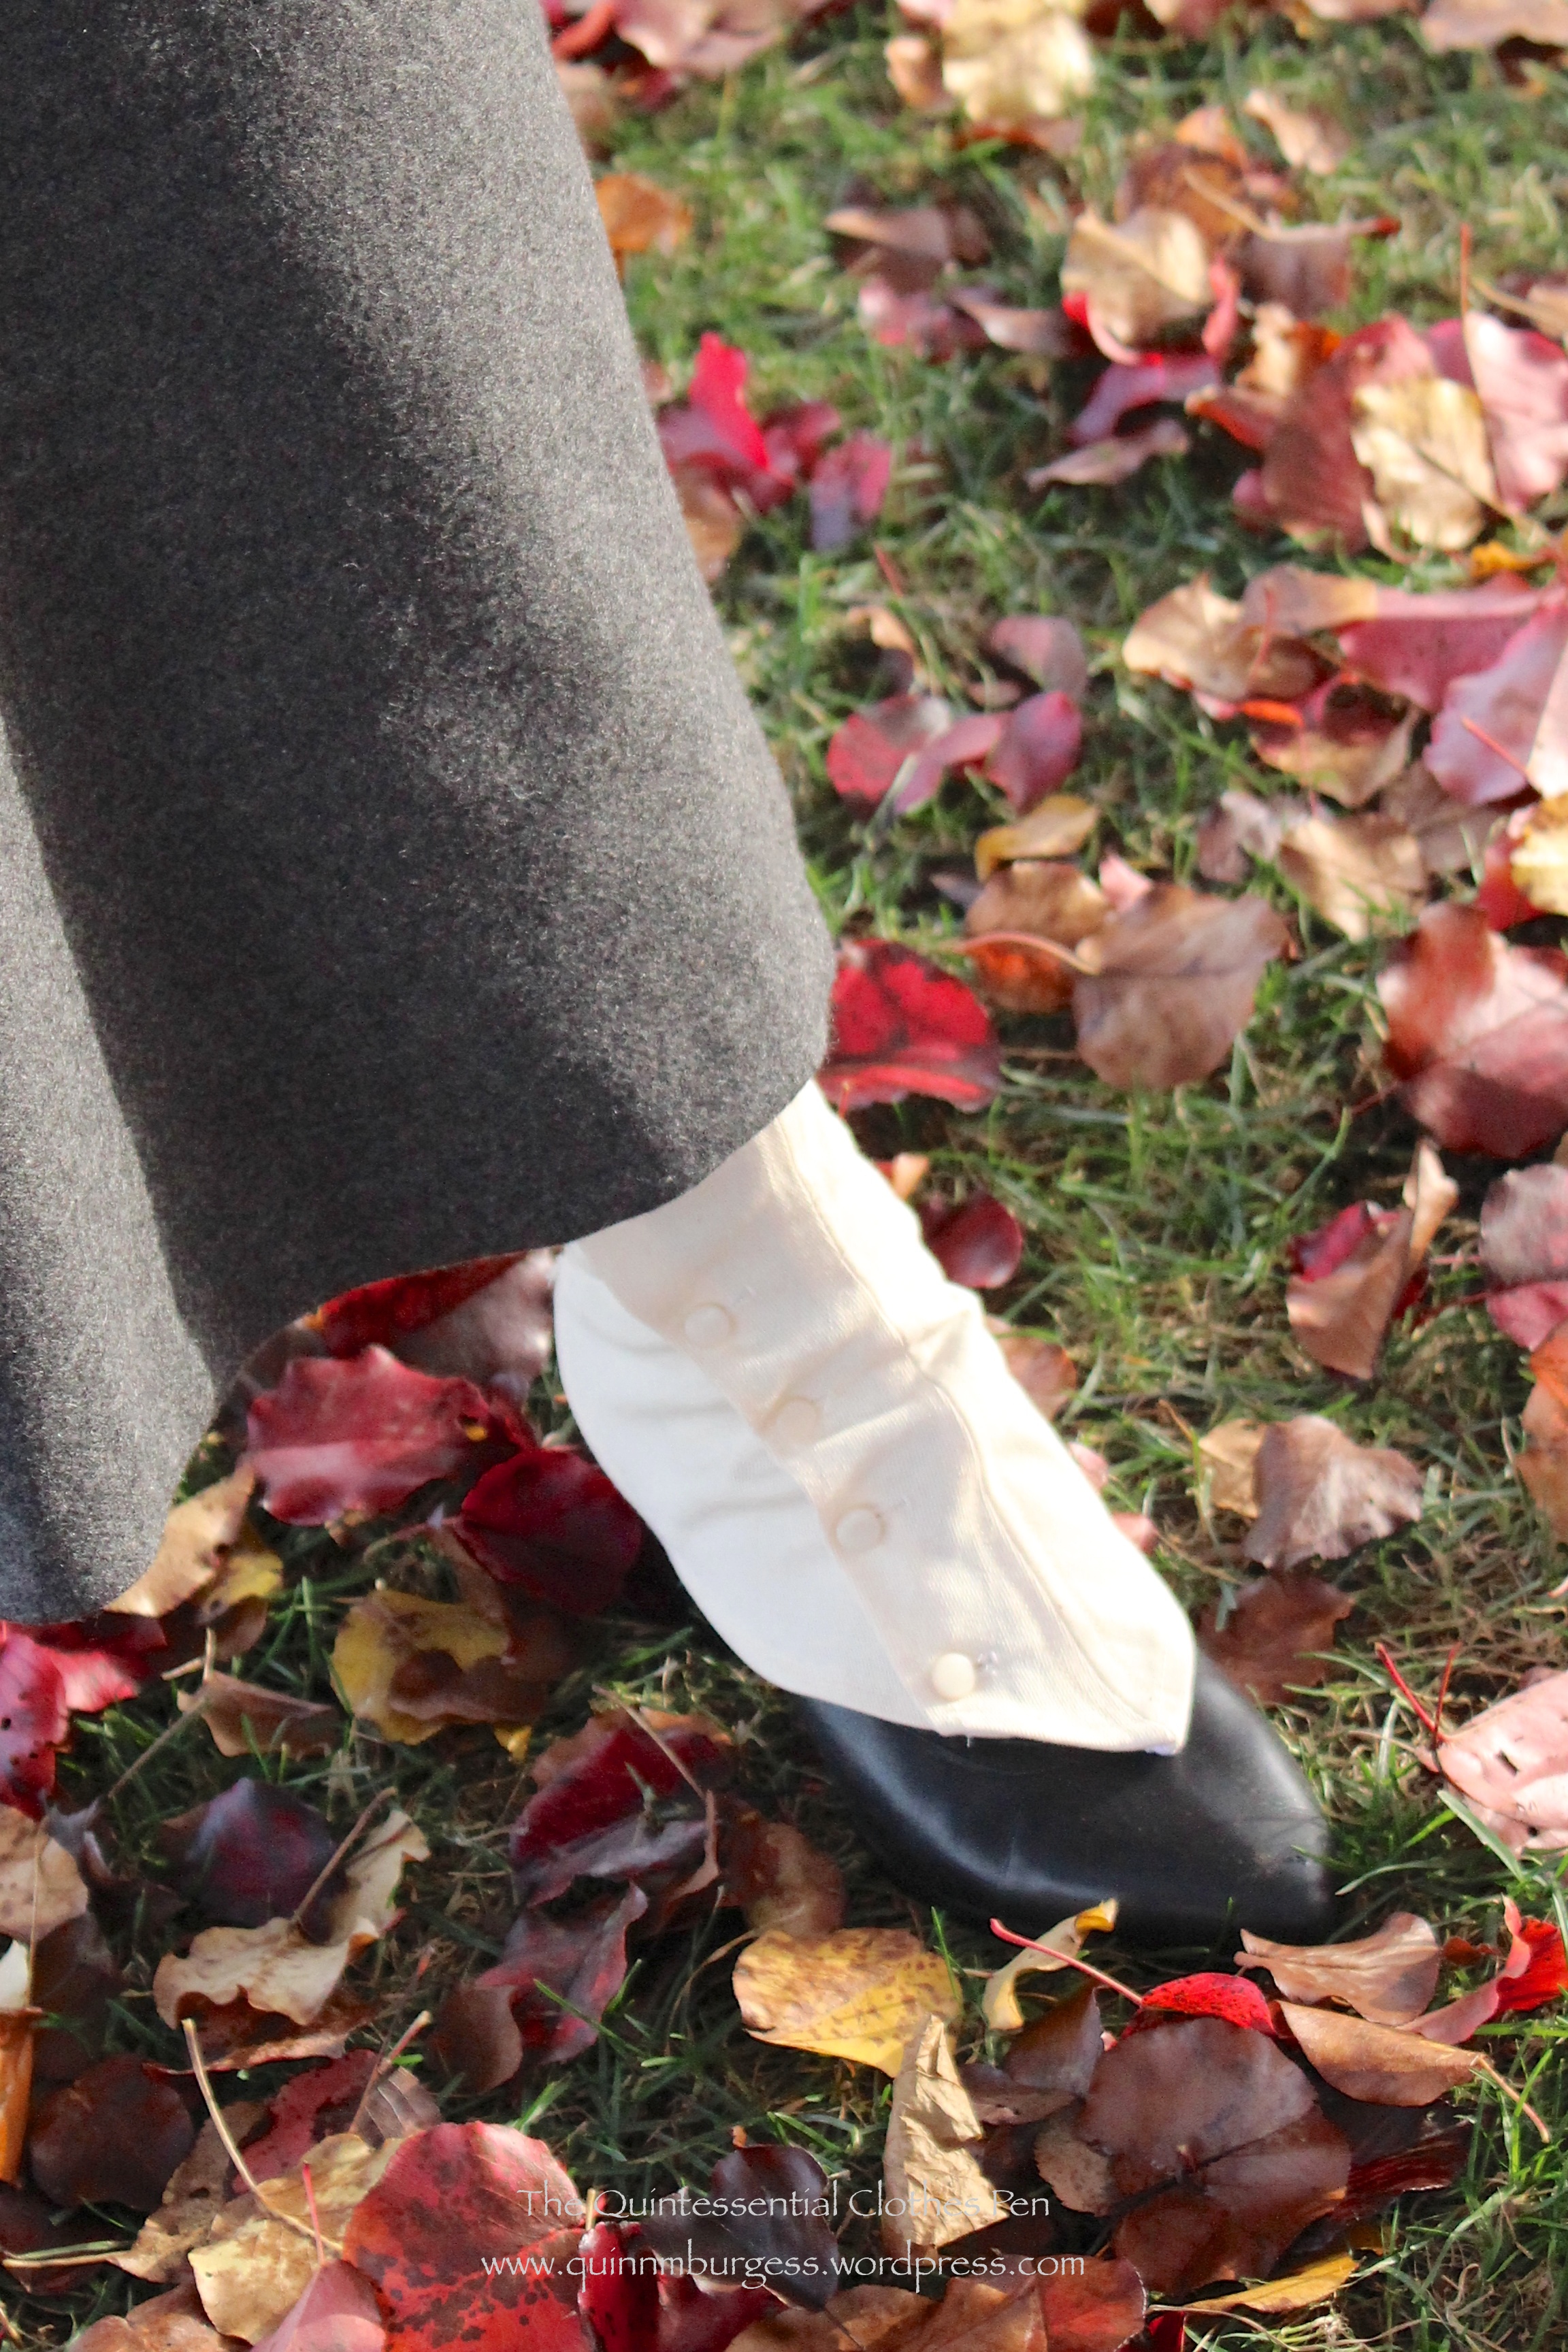
I told myself the shoes were done, but I still wasn’t entirely happy with them. I think perhaps I was not satisfied because I had painted my shoes a color I’ve only really seen in cloth shoes rather than leather. But I moved on… and then this shoe-remake popped up on Pinterest and I was captured by the idea of adding metallic lace trim to my shoes to finish them off.
And so I went on the hunt on eBay, settling on this. It was a reasonable price and arrived quite speedily. As in the inspiration re-make, I used hot glue to attach the lace to the shoes. It was easy to work with and is generally reversible if I decide to change the shoes sometime in the future (though that’s pretty unlikely…) I think the trim suits my dress fabric nicely and it was narrow enough to follow the curves of the shoe without too much hassle, even on the latchets (which were the trickiest parts).
I also considered creating a design for the toe box area of the shoe, but decided against the idea once I realized how tricky it would be to get something I like. The lace doesn’t do tight curves easily and all the ends would need to be finished if I used non continuous pieces of trim, so all the ideas I came up with were going to be time intensive or poorly executed. I decided on simplicity.

Now when I look at my shoes I have a smile on my face. They finally feel done and like they make sense! Yay–cross that off the list!
Panniers- Petticoat
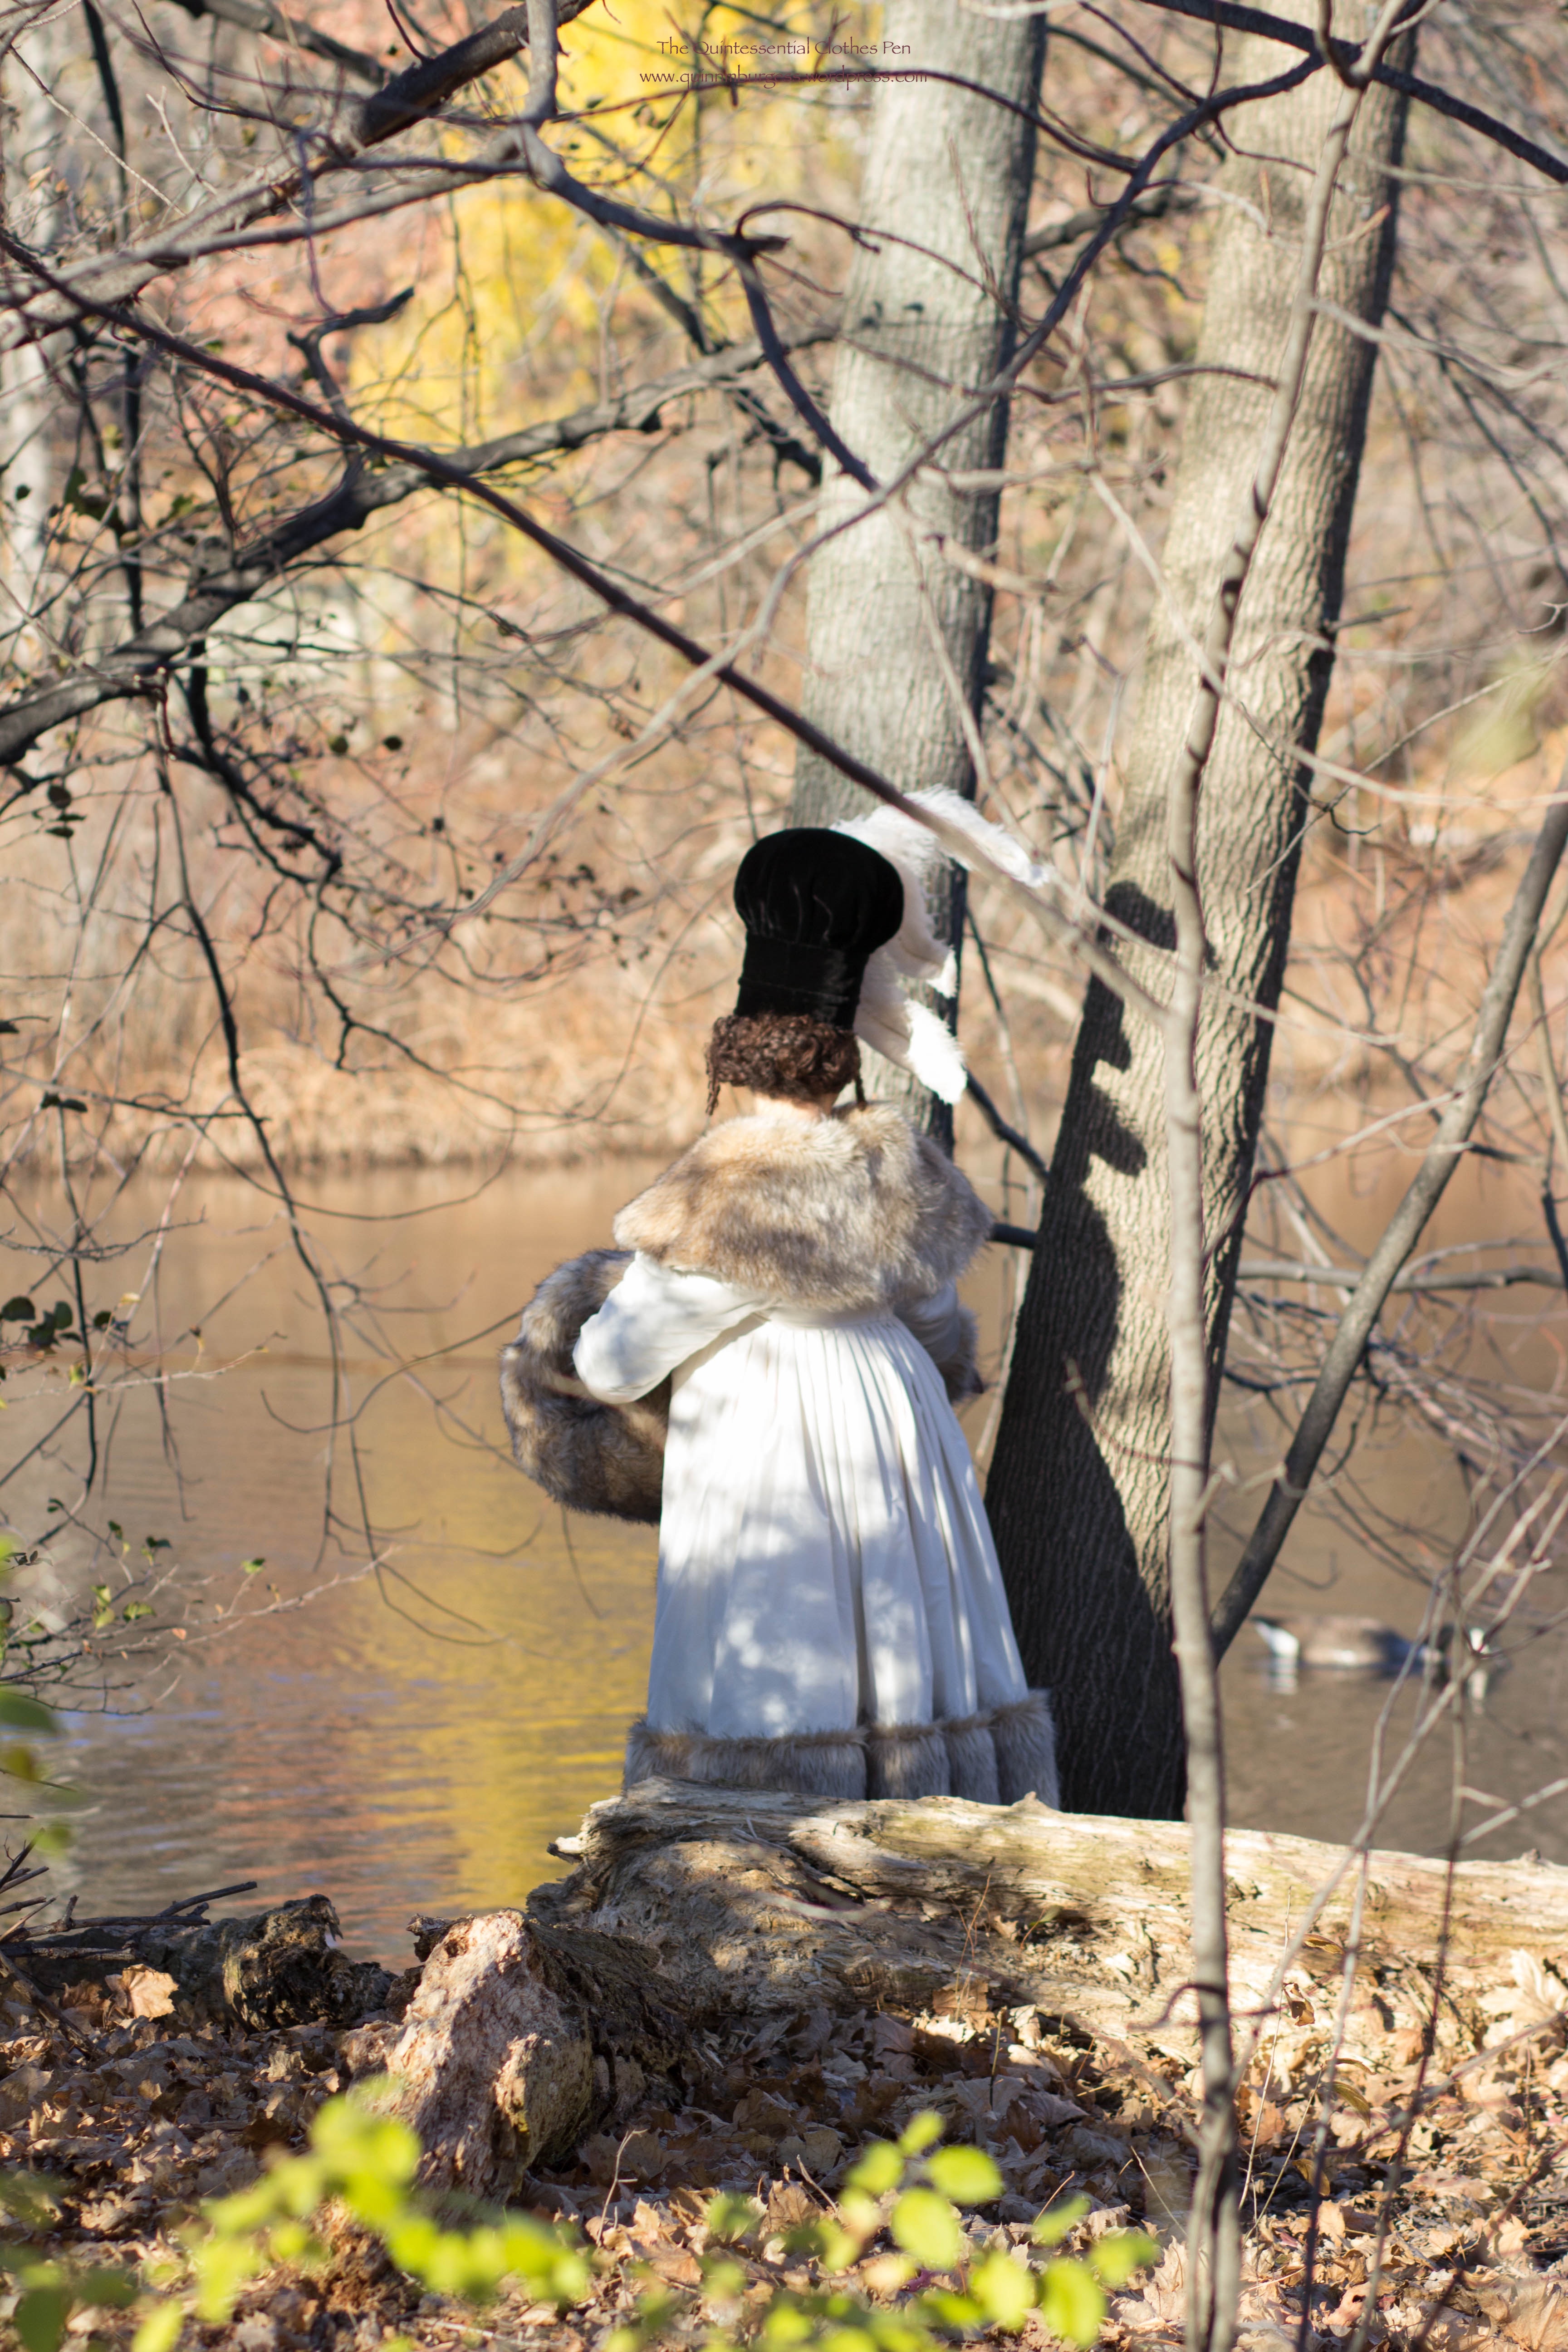
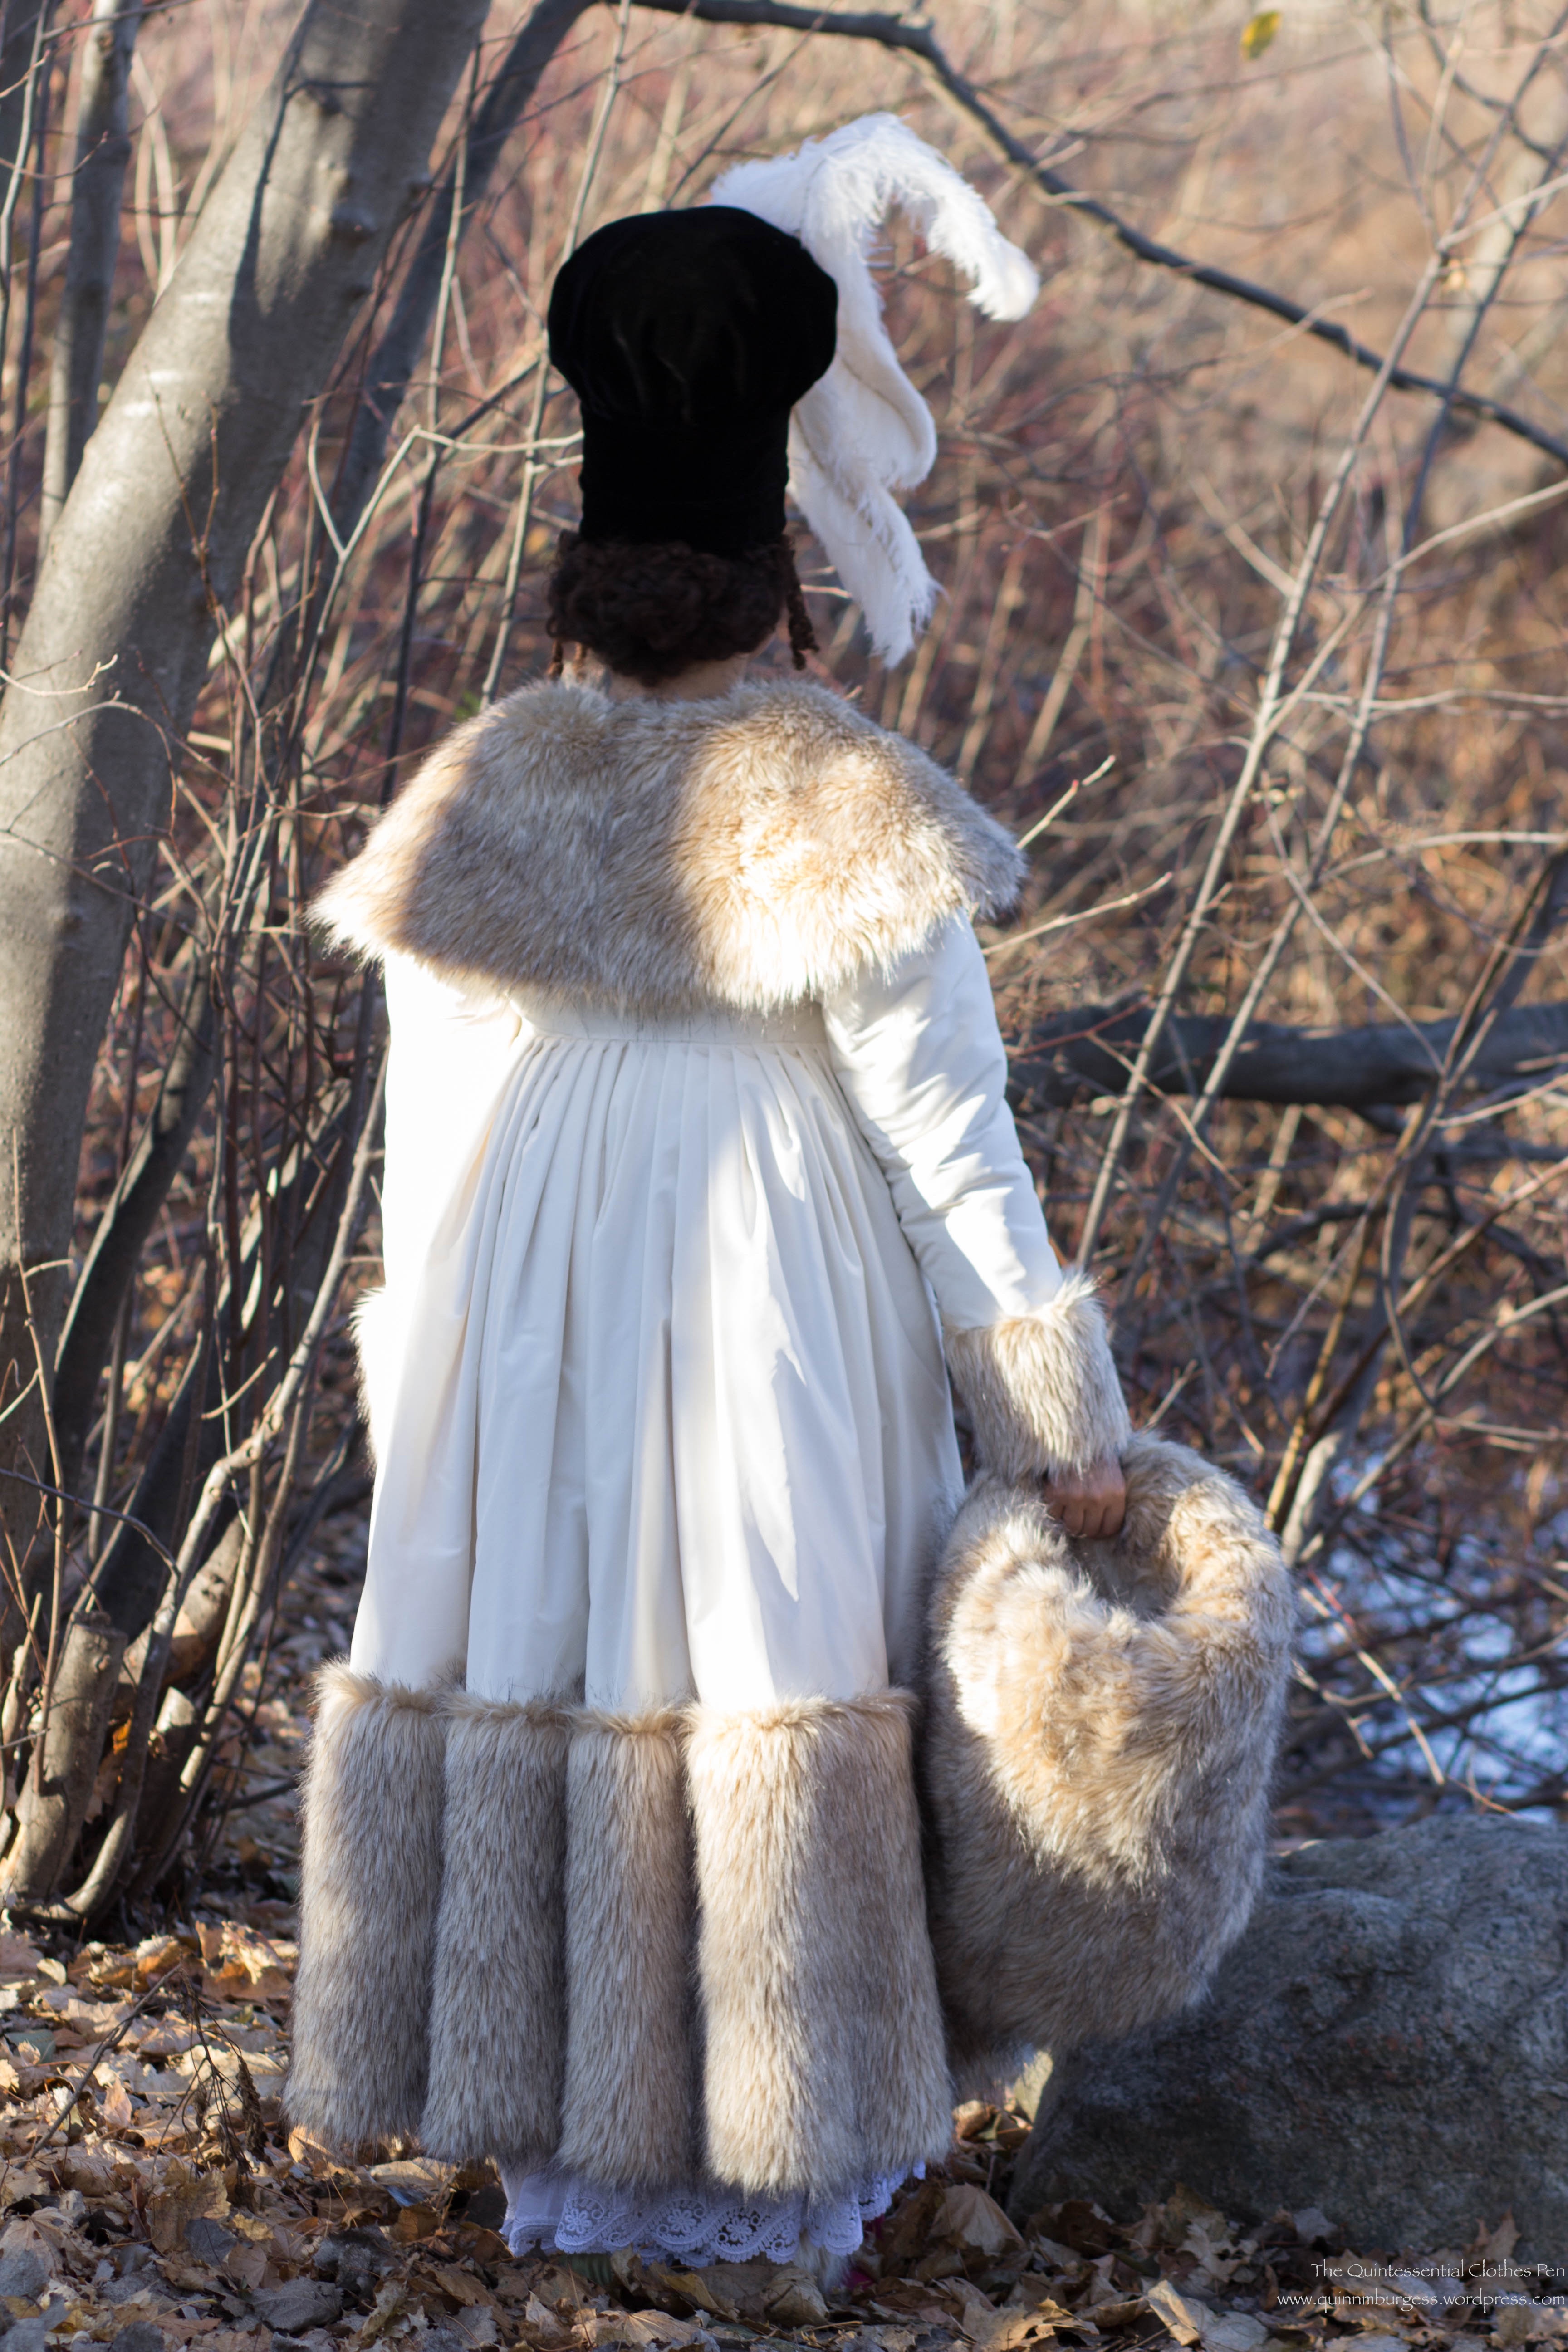
- Robe a la francaise (with a subset of trimming)
- Hair
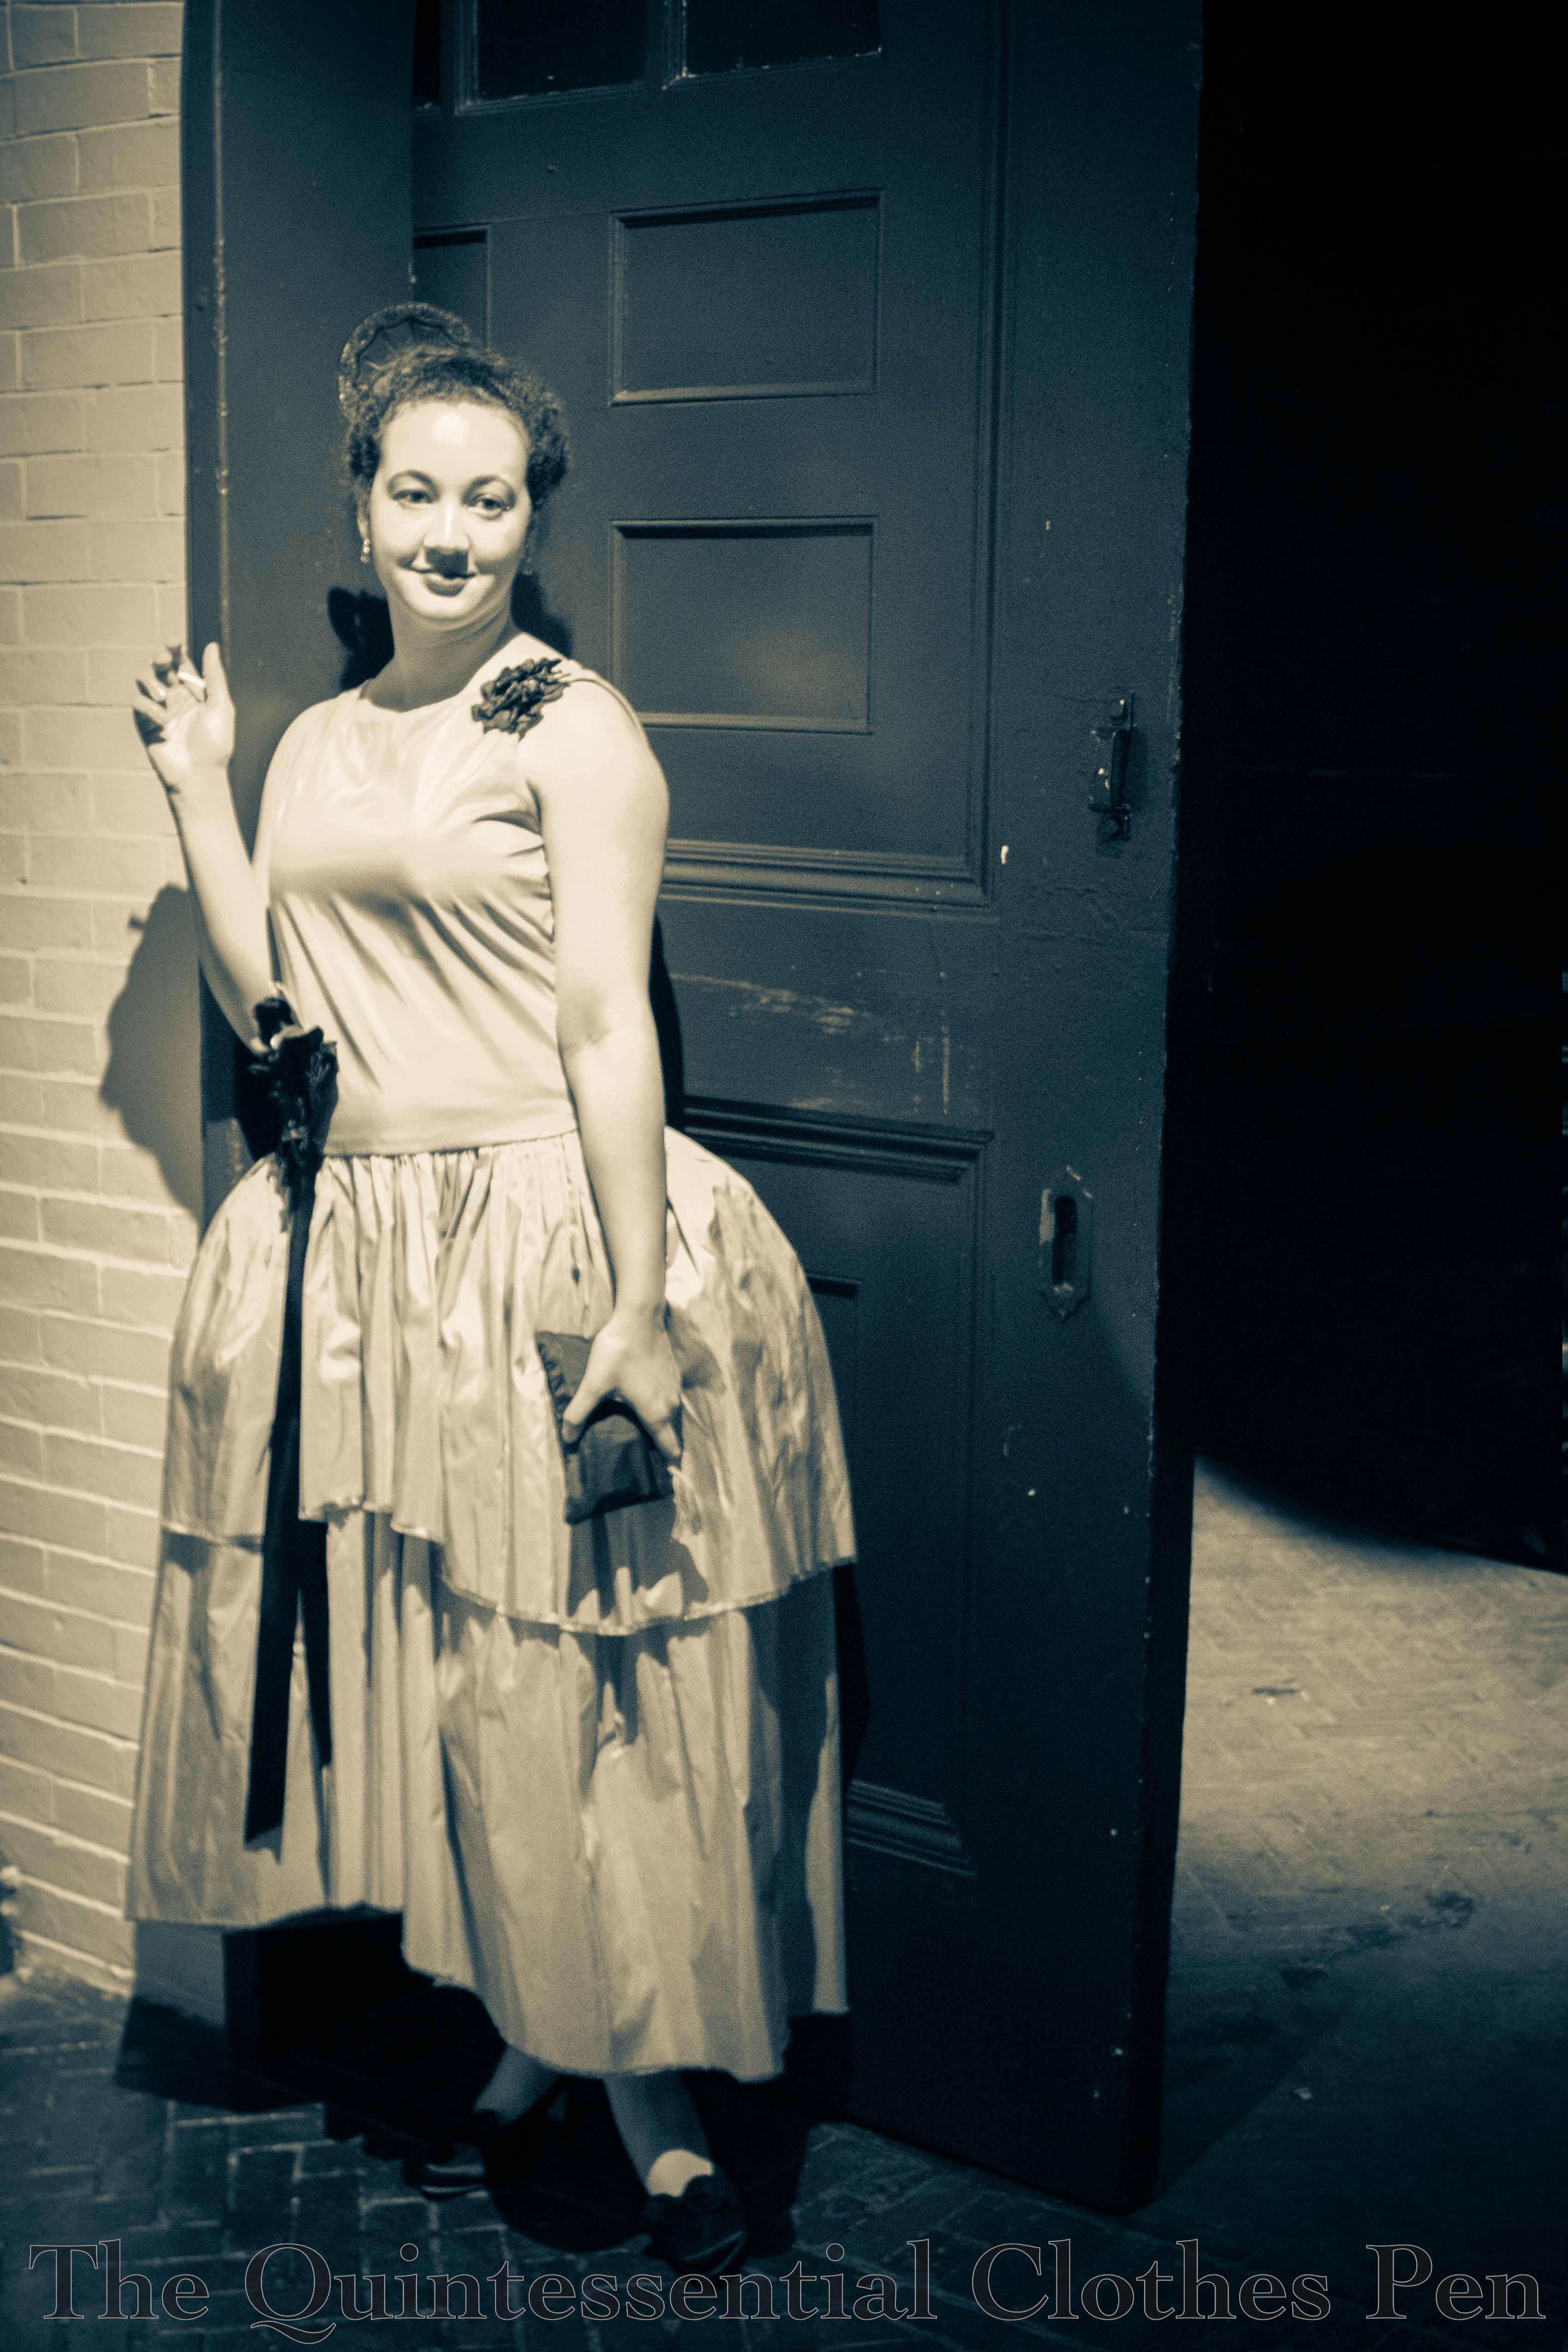
Shoes
Product links in this post contain an affiliate code, which provides a small benefit to my shoe fund. This does not affect my impressions and reviews of this product.